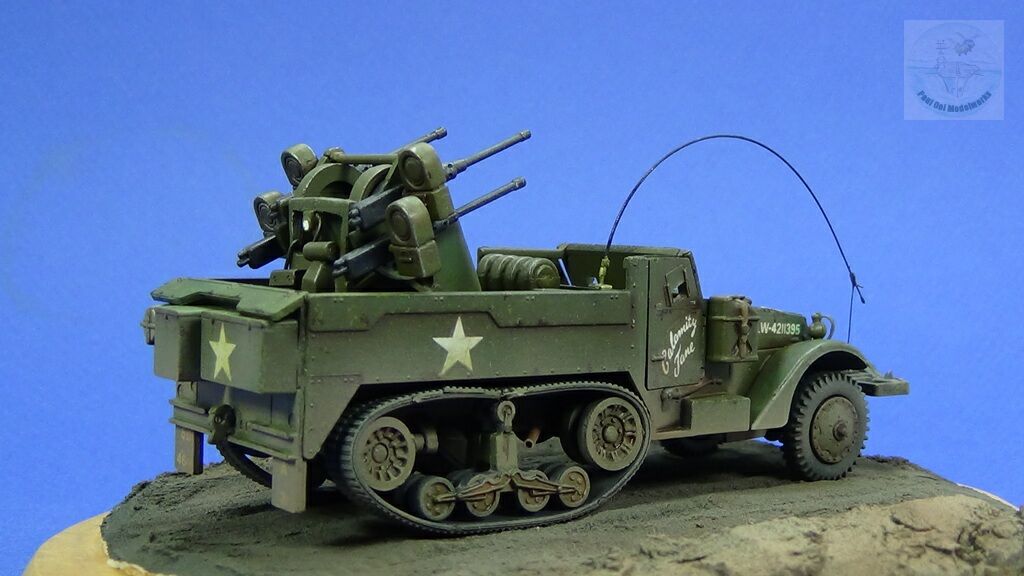
The M16 Half Track, mounting the quad 50 caliber machine guns in the Maxson M45 Quadmount turret was introduced in US mechanized units in early 1944. Meant to provide much needed protection against strafing Luftwaffe aircraft, it soon struck fear in low-flying German pilots and ground forces alike. The withering fire from the quad arrangement could throw 2000 rounds per minute, giving it the nickname Meat Chopper or Kraut Mower. When the quadmount weapon was turned on enemy formations, the carnage was fearful with infantry and soft-skinned vehicles alike. it was a favorite weapon of Allied units advancing across Western Europe. The M16 served in the post-war US army until the advent of modern jets took it out of the air defense role. However, it continued to be a good weapon for ground support and the Maxson turret was even employed for convoy defense during the Vietnam War.
Gallery

Construction Notes
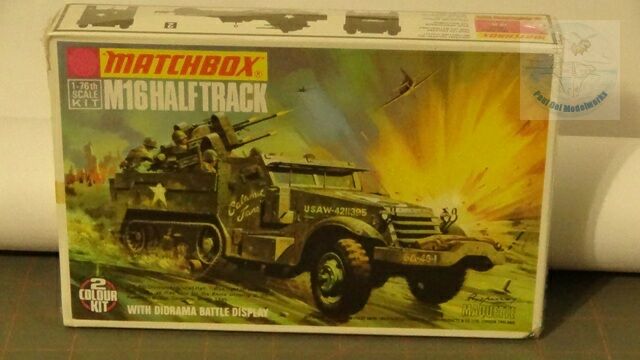
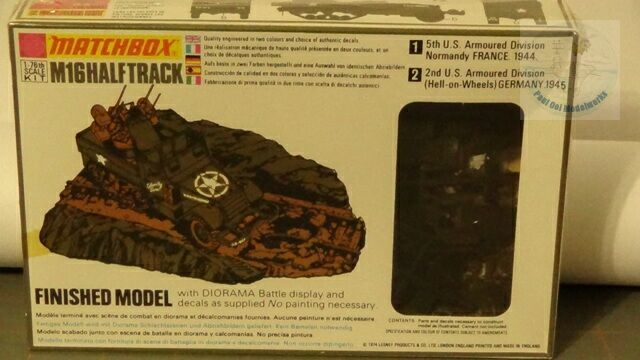
During the last Nordic Con show, I came upon this vintage 1970’s 1/76 scale Matchbox kit being sold by a vendor. It was a model that I remembered well from my own childhood. It was a popular kit in its day although I never personally had it. The half-track looked rugged and the mean-looking quad gun arrangement was an instant winner. However most of my friends had a hard time aligning all 4 guns to look just right. There were two things that always bothered me about the kit though. One was that they provided the gunner but where were the driver and the observer to help the guy? The second thing was why the vehicle was sitting there on a railway track diorama which is hazardous even for a half track to negotiate plus the crew would really get messed up by the constant rattling from riding on those railway ties (see that rear box art)?
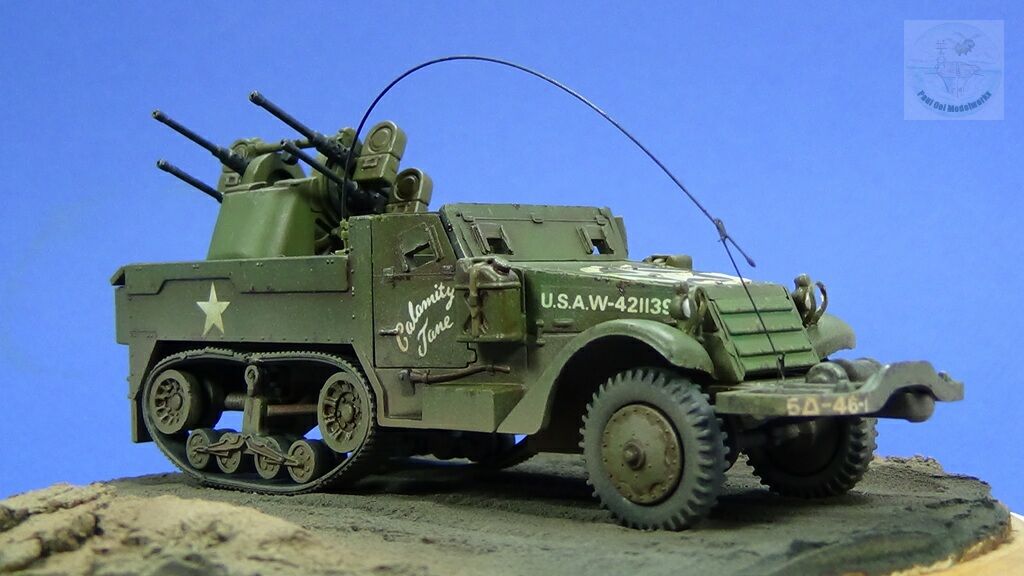
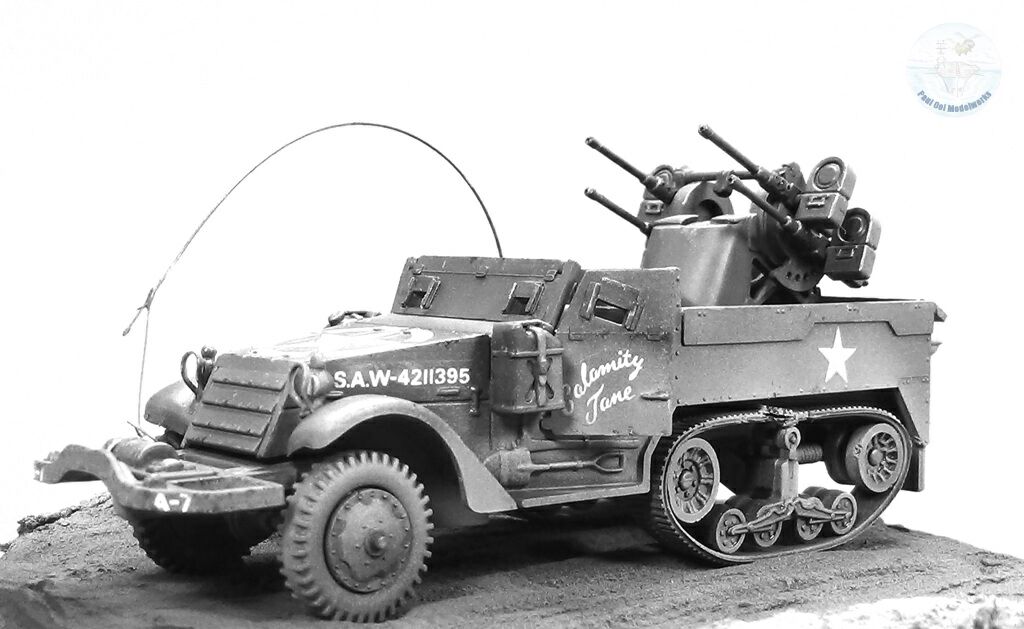
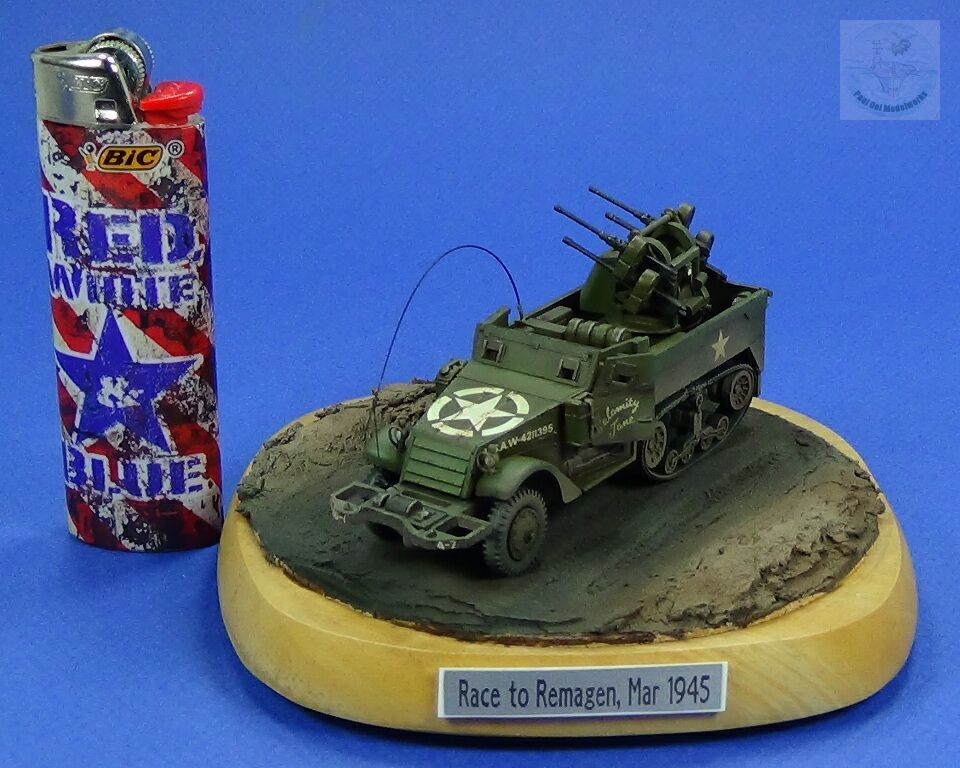
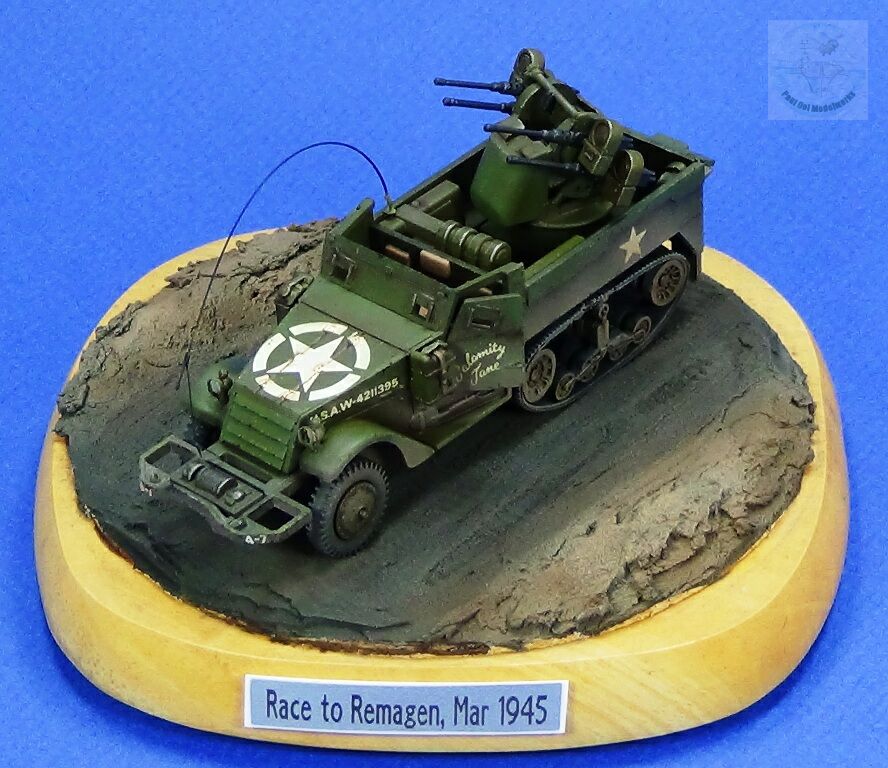
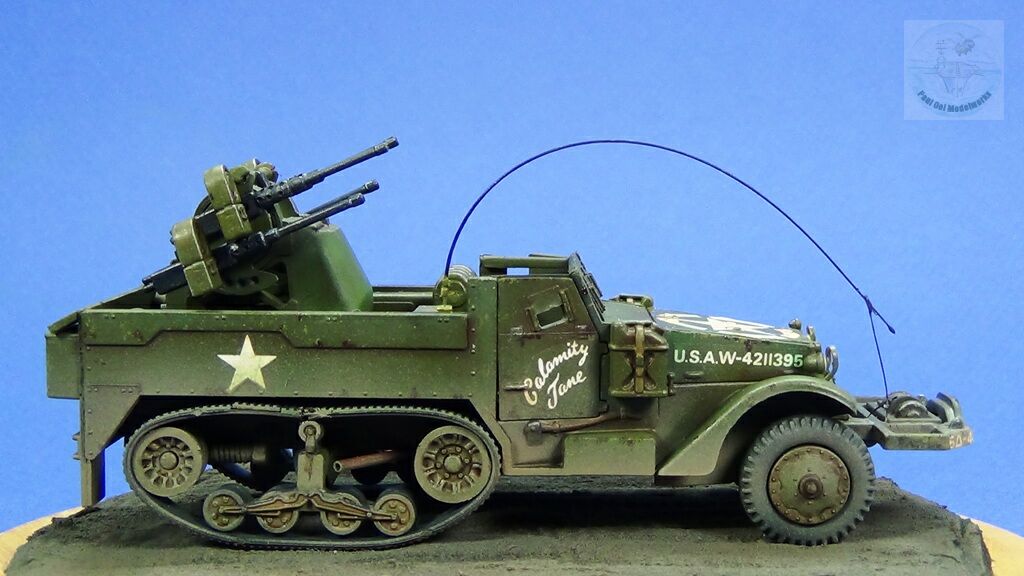
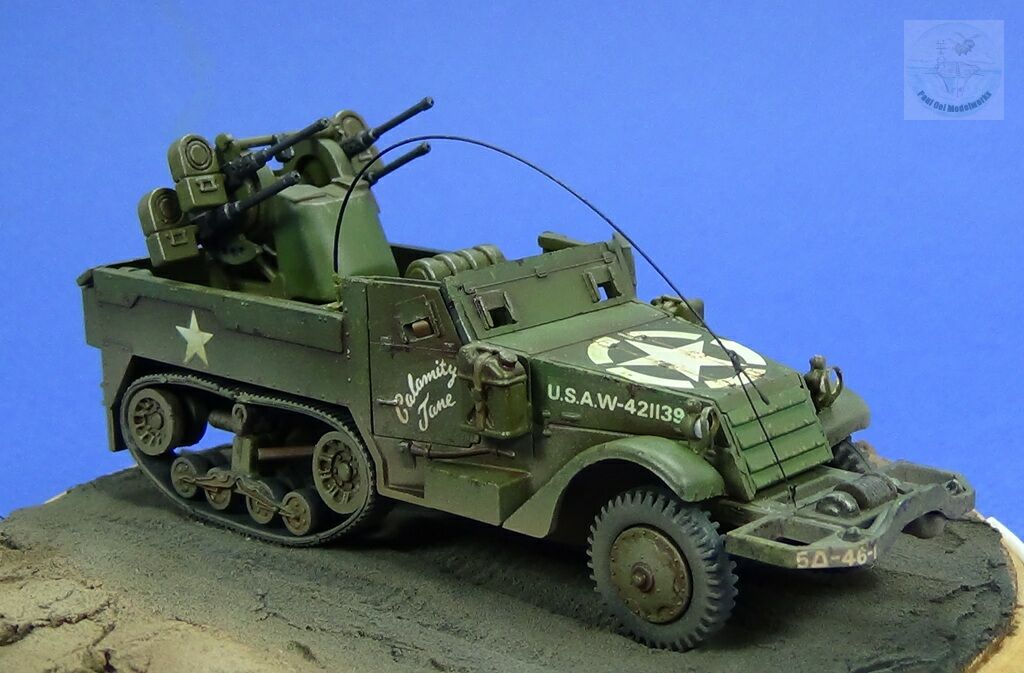
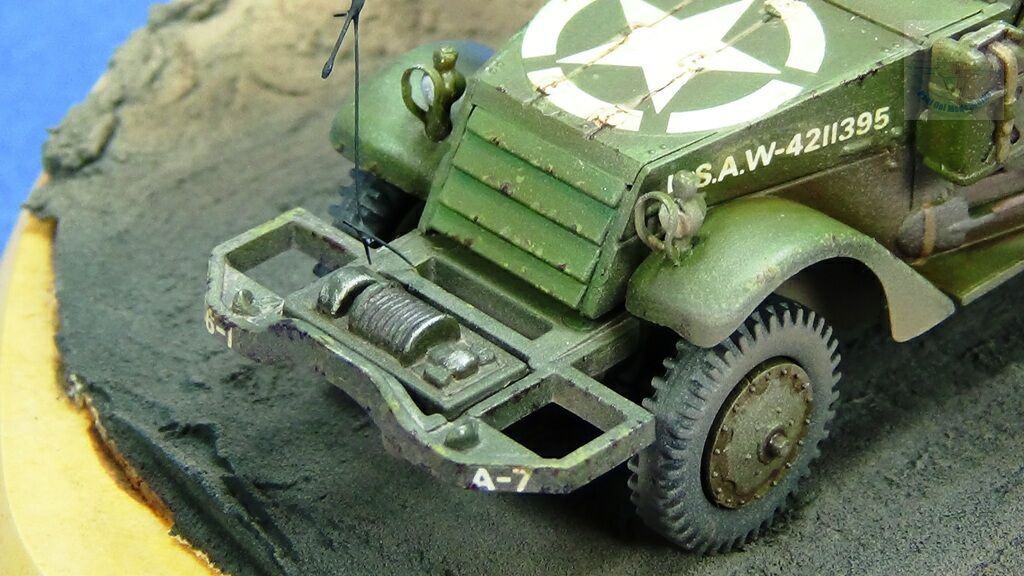
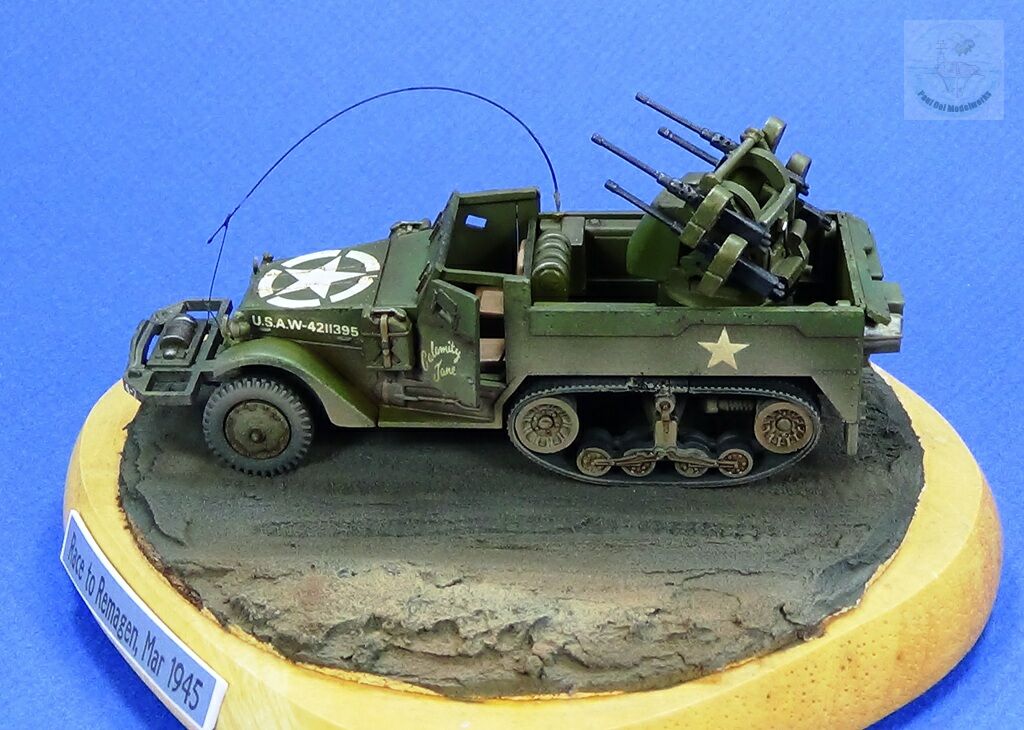
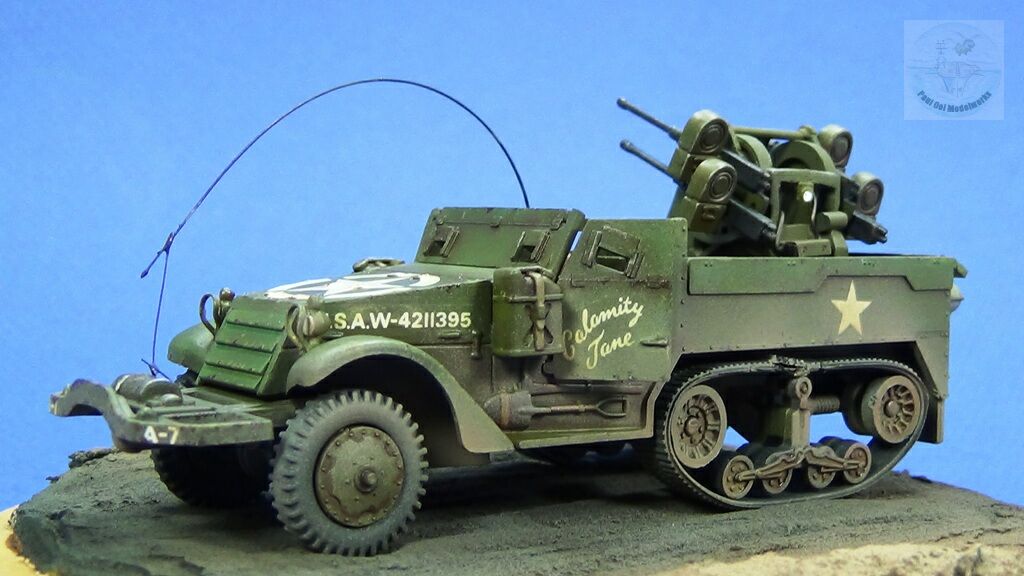
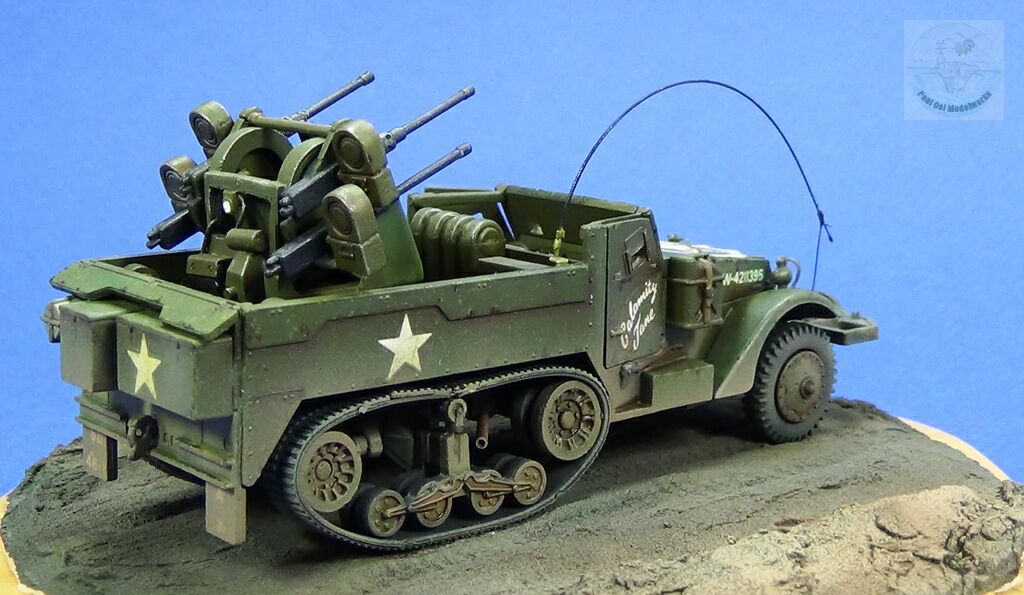
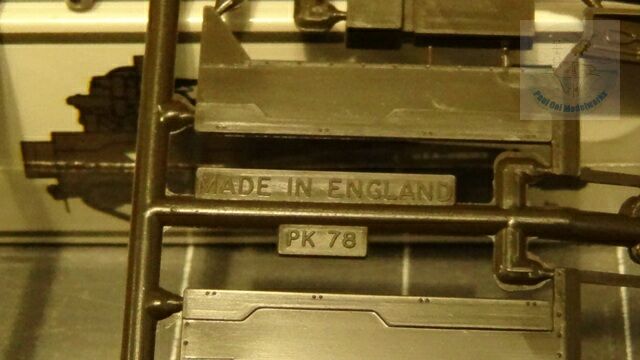
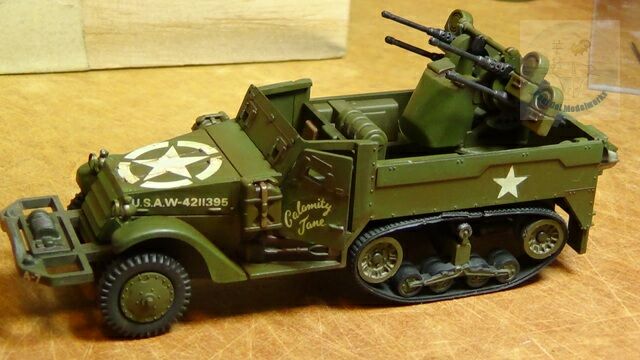
At any rate, this kit presents me with the challenge to build this kit to more current building practices and see how much I can improve on Matchbox’s kit. The molding was actually pretty good and a marked improvement with their framed sprues (a standard feature today) compared to those open sprue trees common with bagged kits of that era where the parts would detach and sit loose in the bags. As one can see on the sprue frame, the kit was the original batch made in England, instead of the currently reissued kit by Revell. I decided to make my own simple base of showing the truck on the road to Remagen with the markings of “Calamity Jane” of the US 5th Armored Division in March 1945. It seemed like a more logical place to be operating a truck than the railroad scene.
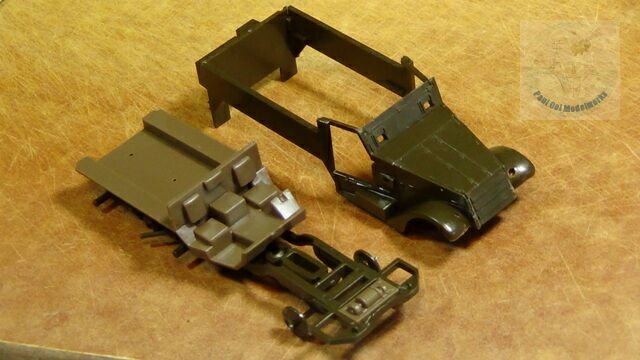
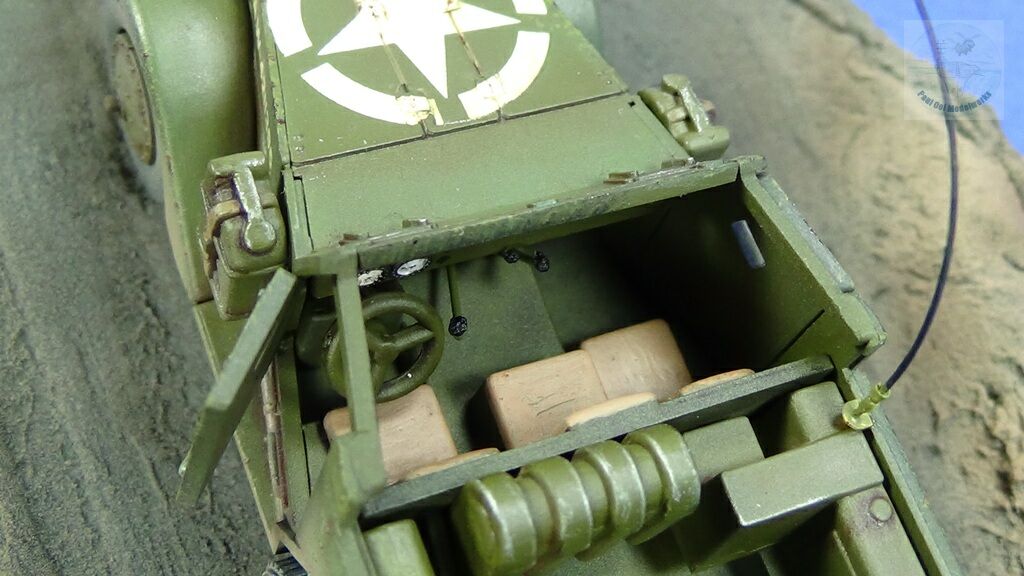
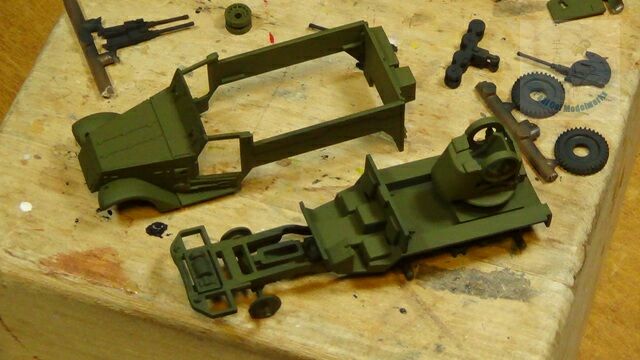
I started out building the chassis and the truck’s body separately, but constantly checking the fit between the two. the reason why I kept them separate was because I needed to have access to the driver’s cabin for some fine detailing after apply the base color. Since the original compartment only had a steering wheel, but no instrument panel or control shift sticks there was some work to be done inside there.
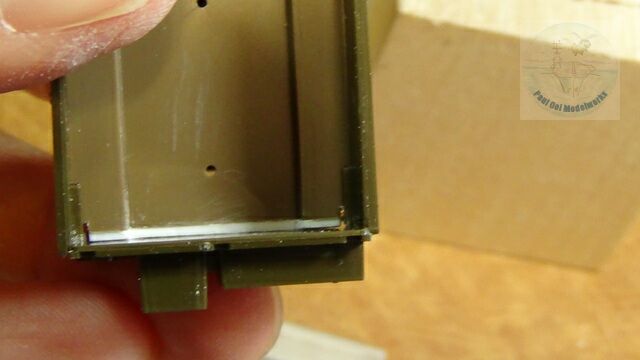
Generally, there was good fit, but there was a slight gap at the rear panel of the truck, which I filled with Evegreen plastic stock.
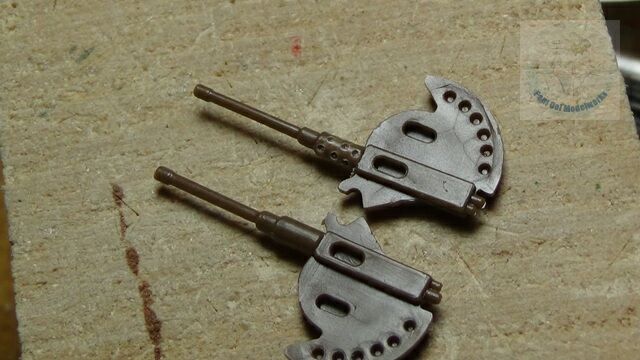
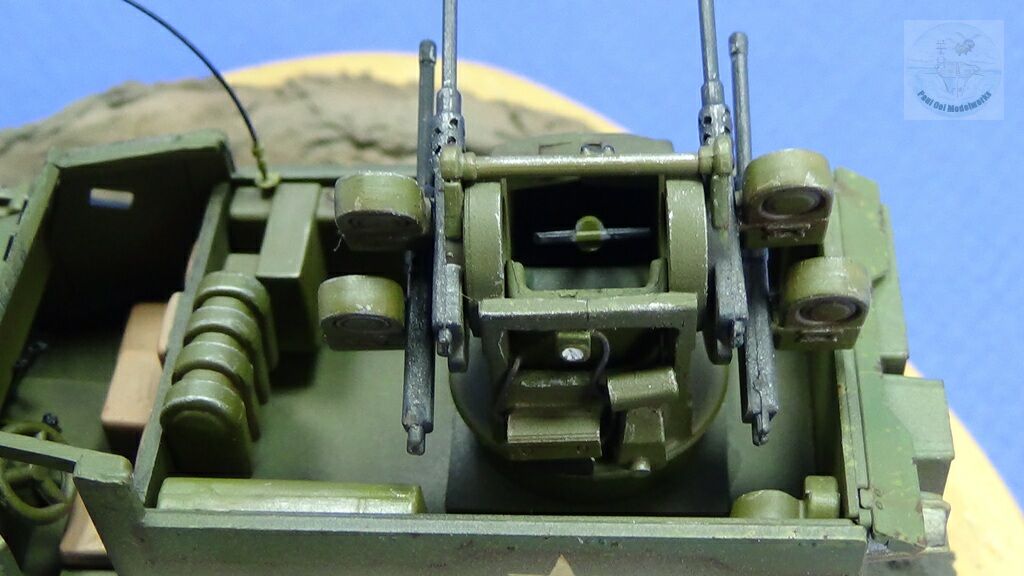
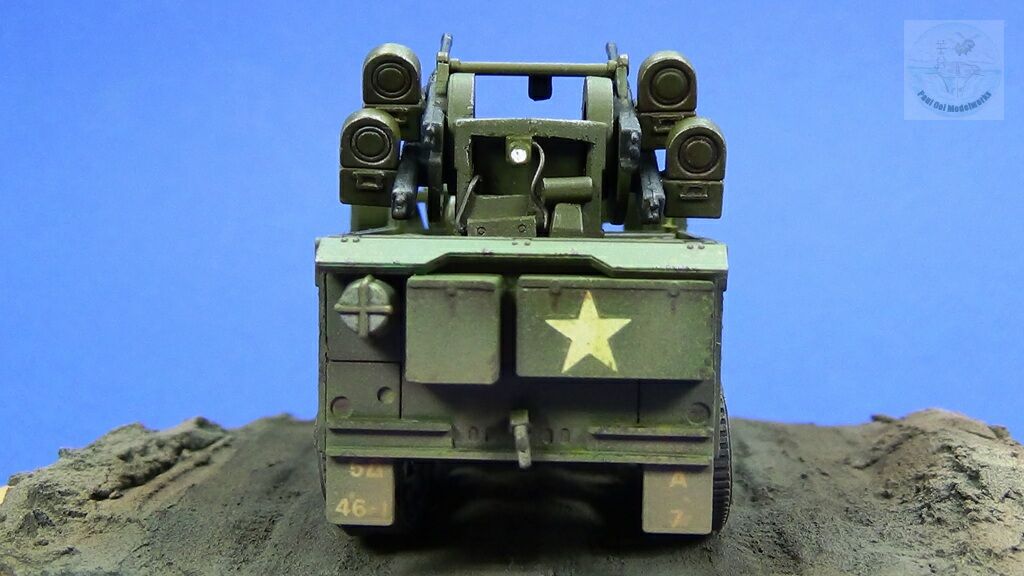
Another detailing work doen was on the quad 50 caliber guns, where the original mold (lower) lacked air-cooling holes characteristic of the M2 Brownings. I drilled these indentations with a pin drill.
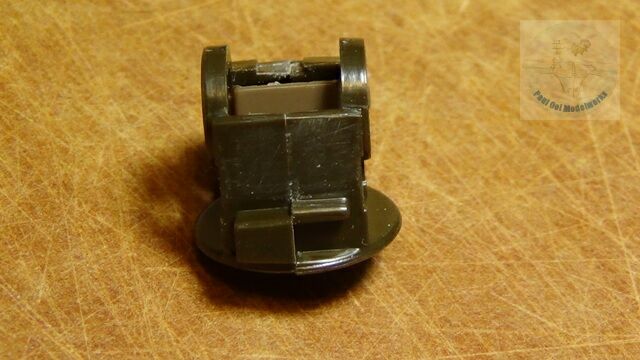

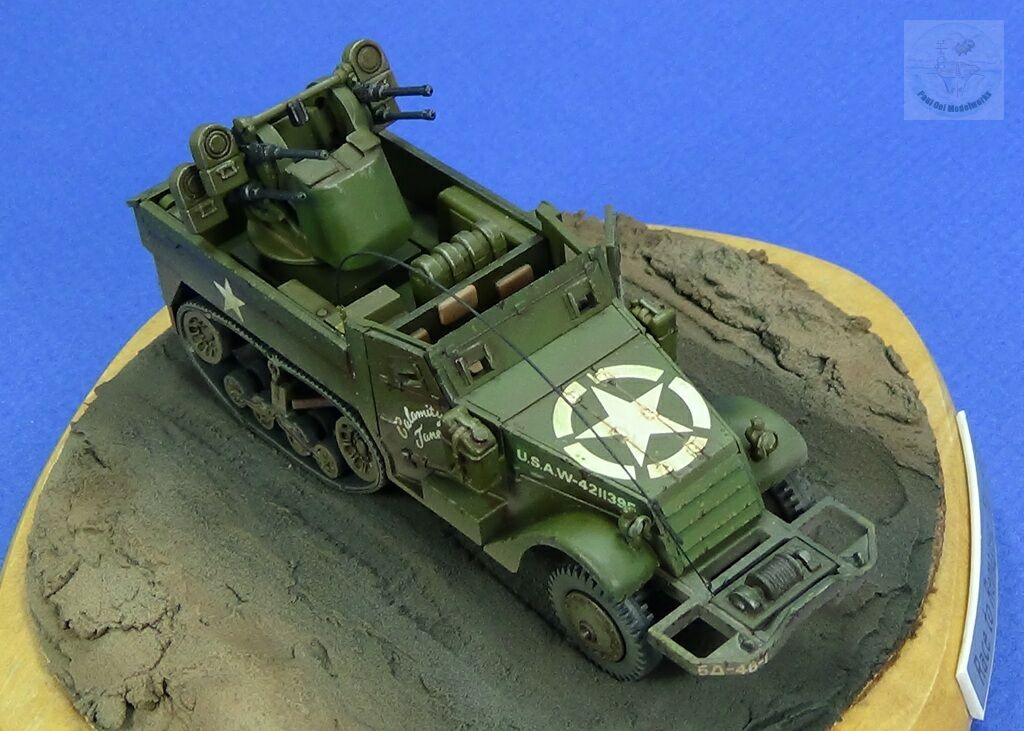
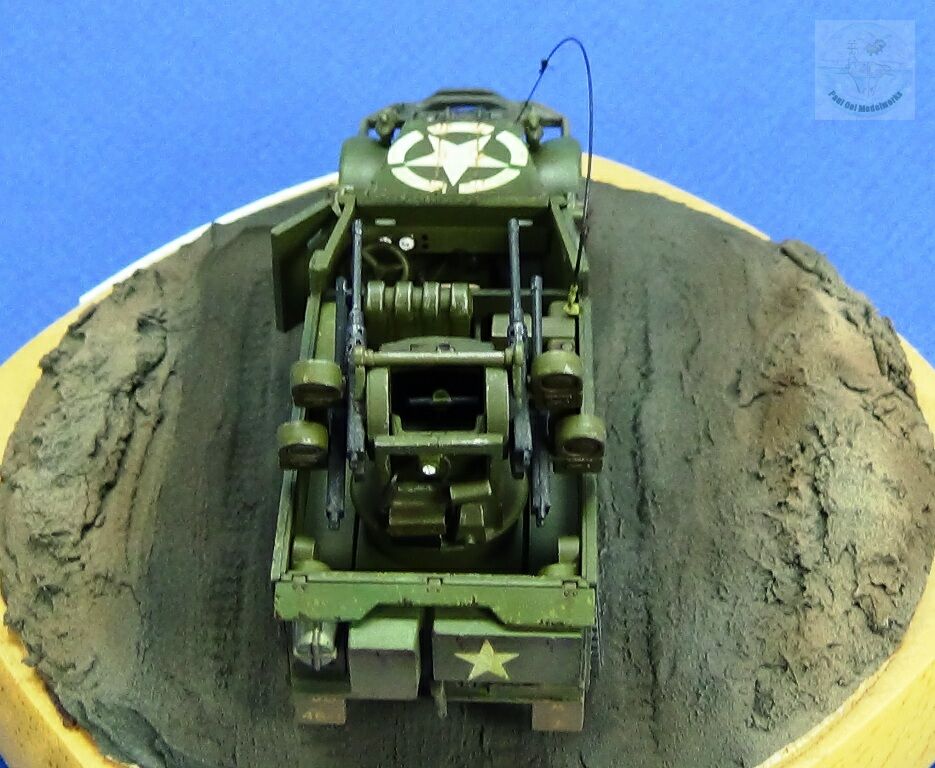
The rear panel of the Maxson turret was over-simplified, devoid of the battery and drive mechanism for the machinery. I cut out the solid rear wall and added parts from my spare part box based on the photographs of the original.
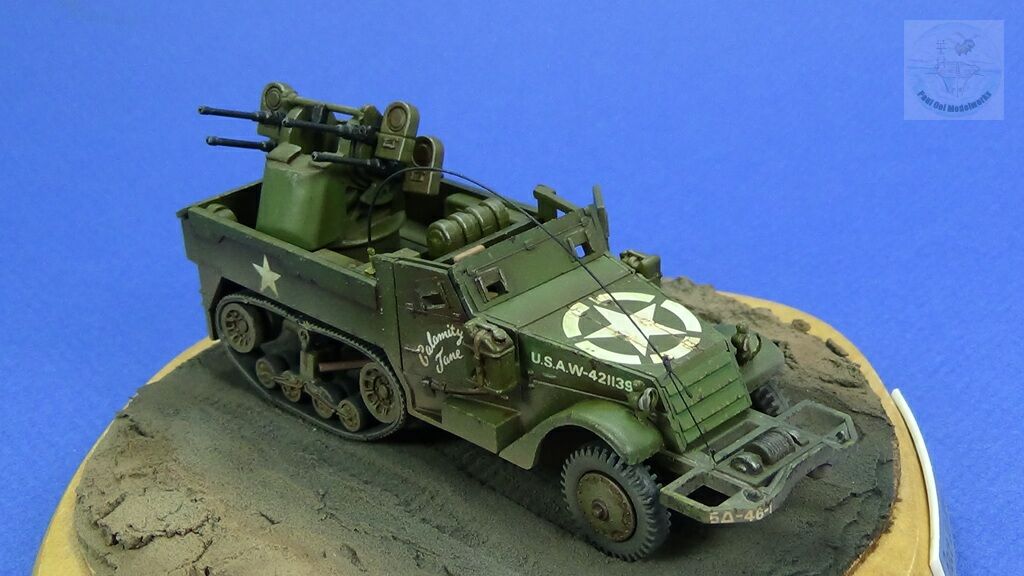
Once the turret has been properly detailed, I spray painted the main sub-assemblies with, first with NATO Black XF69 as my priming layer, then Tamiya XF64 Olive Drab lightened with 20% XF2 Flat White for scale effect.
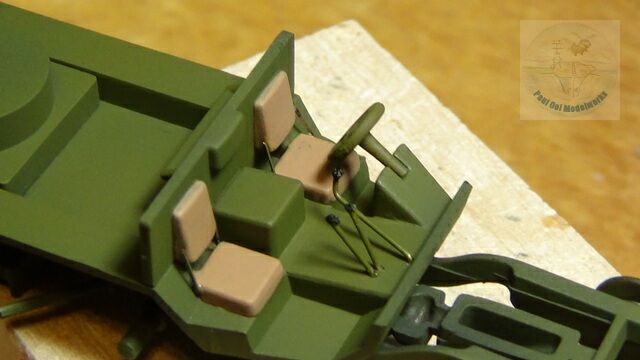
It’s time to add a little bit more detail to the driver’s compartment, adding the stick shift, and a few other control sticks. The seat cushions are painted US Khaki from Pactra (Tamiya XF49 will also work).
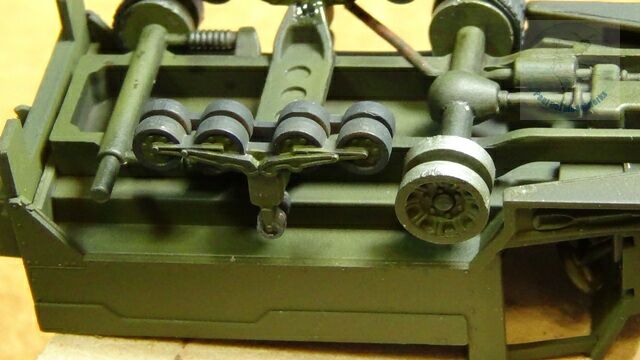

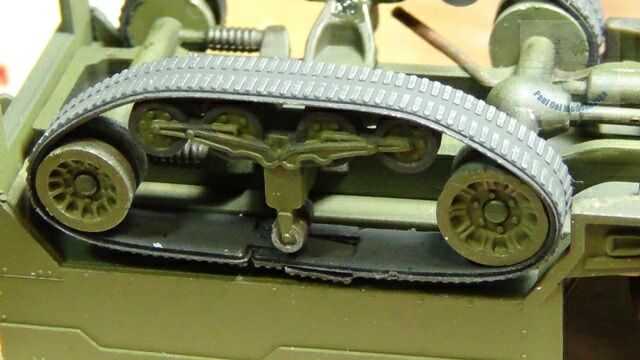
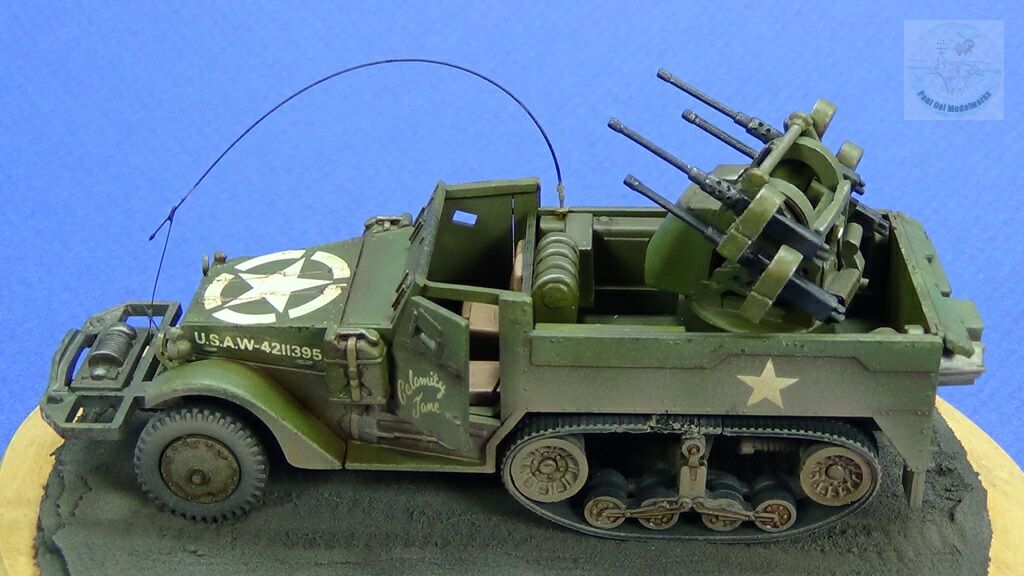
Now comes this step that use to cause my childhood compatriots so much grief all those years ago. Sprockets will break when they tried to apply the elastic tracks like a rubber band. The trick is to leave the last guiding sprocket off, fit the loose looped track on the track row, then stretch the the track with the last sprocket wheel and fit the latter into its post. Voila! No more tears!
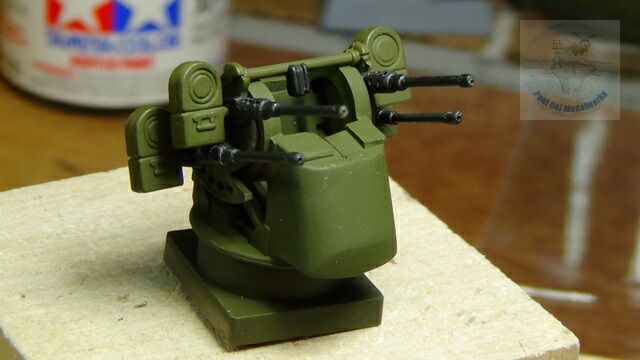

I turn my attention back to the Maxson turret. I added the trigger column (I was not putting in the gunner figure) inside the turret compartment. I also added the battery gauge and cables to the rear panel. The turret is ready to be mounted into the truck.
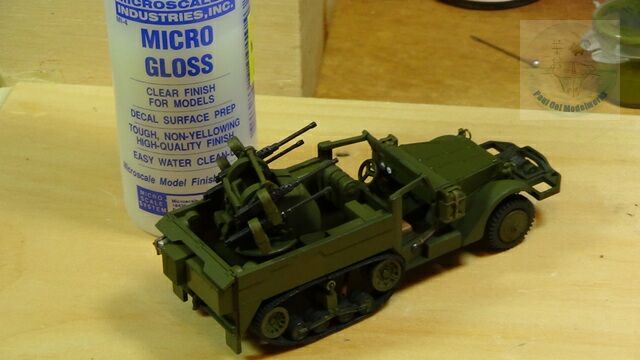

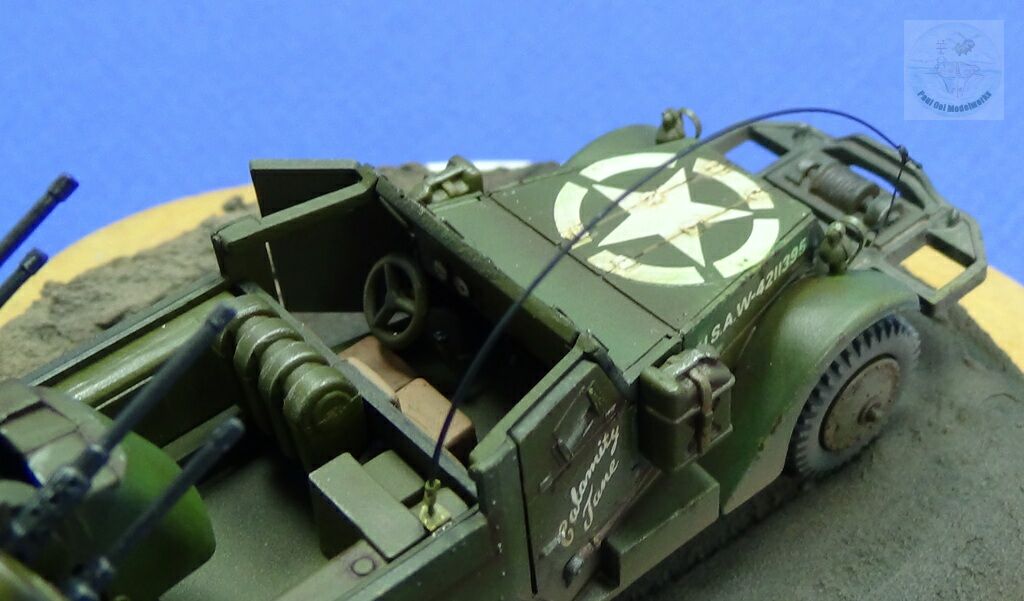
I prepped the locations for decals with a gloss layer of Microscale Gloss. After that cured, the old decals applied very well with some persuasion from Microscale’s decal setting liquid. The high gloss is then toned down with my own mix of slightly satin varnish.

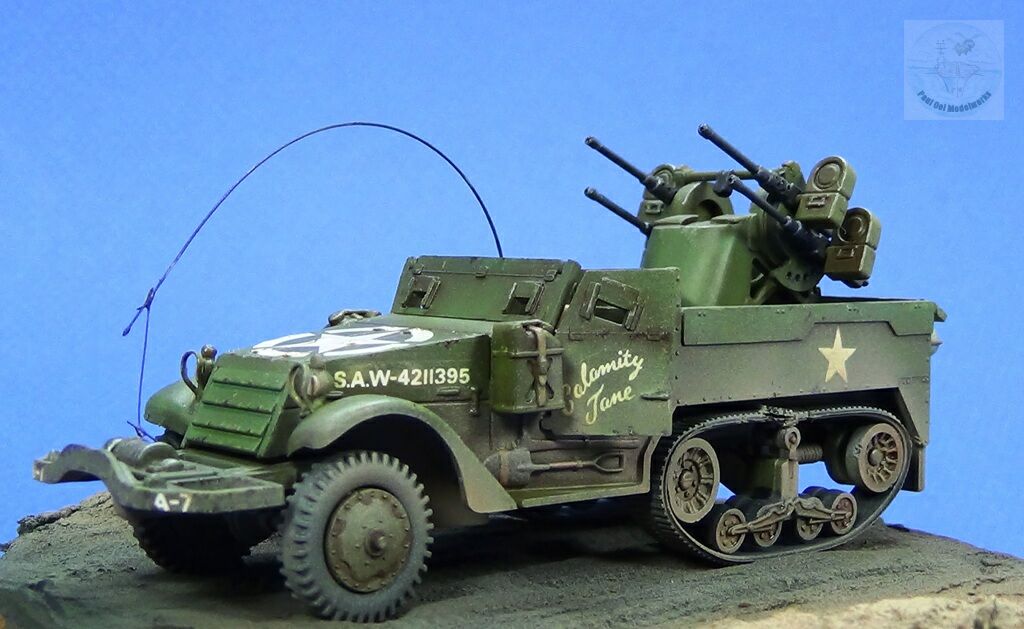
No, it’s not the army’s version of a formation truck. I applied oil paint filter that is then dragged with a soft brush. After that, I used some burnt umber oil paint and wash to get into the nooks and crannies. Thinned down burnt umber is used as pin wash to bring out the machinery details.
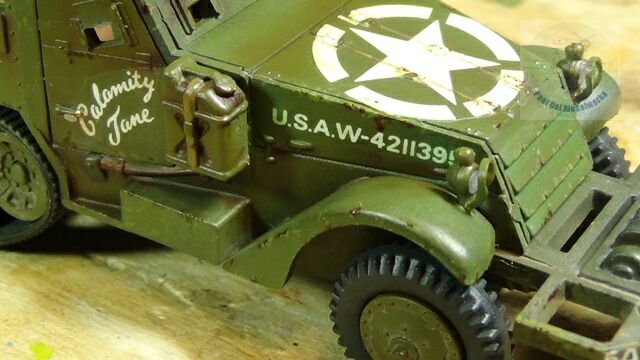
Final weathering is done with shades of lighter green and brown rust marks, and also a spray for Flat Earth on the underside and tracks. The M-16 is ready to mince some meat.
Another superb piece of work done. For a model so small in overall physical size, how did you manage to even see where and how to put on the details to the even smaller parts that goes into the model??? 🙂
Kudos and thumbs up for you, Paul!!
Hi Carl,
The rule of a little well placed detail goes a long way is true here. I confess to using a pair of 2X magnifier clip-ons over my reading glasses to help me. A funny one: some years ago during a model show, someone looking at all that fine scale stuff exclaimed that we must have made the models at a larger scale and then shrink them to a smaller size! If only such a machine exists!
Paul
Dear Brother,
Never imagined that a model out of a Matchbox set could look so real. I remember those tank model sprockets coming out with the glue still sticky on them. Blechh!
Yes, one of my intentions was to demonstrate how an entry-level childhood kit can be made to exacting modern standards and come of looking very good. I think many readers can also identify with the dreaded “tank-track quagmire” with broken sprocket and stubborn tracks, hopefully they will find the fix here. Maybe this will encourage a few to pick up the hobby knife and glue again… 😉
Paul,
Well, you’re really cranking them out. You must be multiplexing back and forth between two or three models at a time.
Gotta love your ventilation holes on the .50 cal barrels. Given the fact that the entire half track is “matchbook-sized” – this custom detail is amazing. As is your tied-down whip antenna. I’m sure that’s another custom touch that you whipped up (no pun intended) from your spare parts bin.
Coincidentally, several weeks ago I was channel-surfing and landed on a show called “The Weapon Hunter” (HIST, NAT GEO, AHC – one of those channels). And this episode was all about the quad fifty (with the host cobbling together a working unit from his network of military geek buddies). Worth your time if you happen to catch it.
Finally, I was fortunate to visit the Remagen bridgehead on my first European trip in 1999. The historical site sign (“turn here”) on the highway is very small and the historical marker at the remaining masonry bridge abutment on the river bank is strictly “Just the facts, Ma’am.” in its brevity and lack of embellishment. Lots of graffiti on the massive stones too. Not at all surprising when you understand that this was a major defeat for the Wehrmacht – which I believe most Germans still respect as historically somewhat insulated from the true Nazis.
Looking forward to whatever you finish next (it’s always a pleasant surprise!).
Cheers!
Dave Hardy
Thank you so much Paul. I loved this post. I have this exact kit (just the Revel rebox) and I wrote down every single thing you typed here so that I can do something similar (hopefully). Just one question, what did you use for the aerial? Regards – Darryl
Dear Darryl,
Aerial is made from stretched sprue (with a taper) ending with a blob of gel-type superglue. It is tied down very carefully with a finer bit of stretched sprue as well.
Paul