
Figure Painting
Scale modeling often involve human figures to give life and context to the machine or scenery. However many modelers who are extremely good with inanimate objects have a healthy fear and aversion for figure painting. So it is not unusual to encounter badly painted figures accompanying exquisitely finished aircraft or tanks in a model competition.
However a patient, methodical approach to figure painting goes a long way to overcoming this problem. Just as we build machines in layers from the interior details, then the exterior shell, followed by the final small details, we should “dress” our human figure. Paint the clothing in almost the order one would be dressing.
Scale
When painting the human figure, size does matter. Painting small 1/144, 1/72 scale figures will use a somewhat different approach than one with more visible faces and features in 1/35 scale. And as we progress to even larger scales like 90mm or 120mm, much more detail can be seen in terms of coloration and subtle shading.
This tutorial covers the post popular scale encountered in aircraft and AFV, which are 1/48 and 1/35 scale figures. In these scales, the figure is still small enough to present a challenge of having somewhat tiny details but large enough that you cannot hide shading using an easy wash.
Figure Preparation
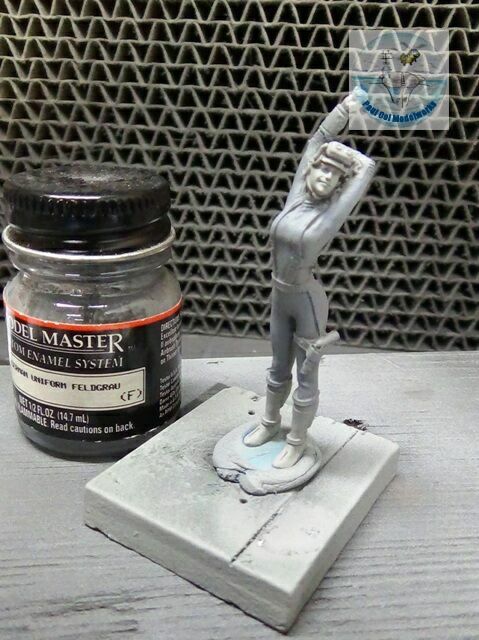
Like all parts, the figure must first be cleaned of flash, mold lines, and for this resin figure, even possible pinholes. Depending on the final dominant coloration of the figure, the primer would be either grey or white. Black primers are normally used for smaller scale figures or where plate armor or chain mail dominates. For the figure of Ute here, since her body suit will be in German field grey, I have used a grey primer. Given the large area of the uniform color, I decided to airbrush the base field grey over the body area, but I did mask off the face.
Painting the face
The face is the most important feature for a human figure and will go a long way to providing the character and situation being portrayed.
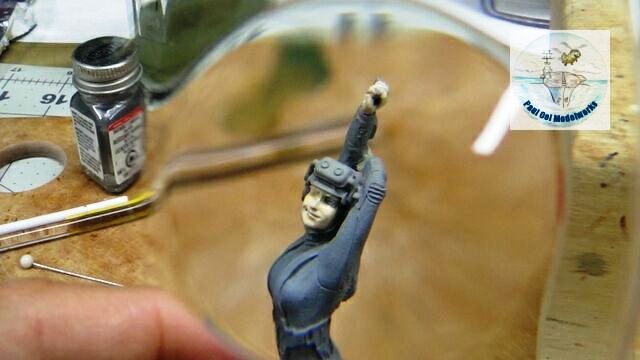
Paint the entire face except the eyes with an acrylic base like Vallejo Basic Skin Tone 70.815 or Tamiya Flesh XF-15. Do the same for the hands and other exposed skin areas.
Paint in the white of the eyes using a fine round brush size 0 to 00. It is alright to exceed the boundaries of the eyes.
 Using a 000 round brush, paint in the pupils, first. Here I used Tamiya Blue X-4. When looking straight ahead, the pupils normally line up with the corners of the mouth. Then, I will use a 00 brush to paint the remaining acrylic flesh to shape the eyes. Eye lashes are added last using Burnt Umber oil paint with a 000 sized round brush or finer. In this figure the right eye is winking as she stretches, so it is painted shut.
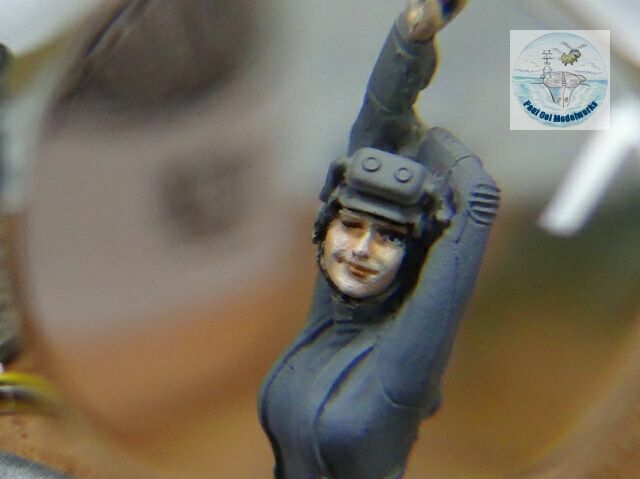
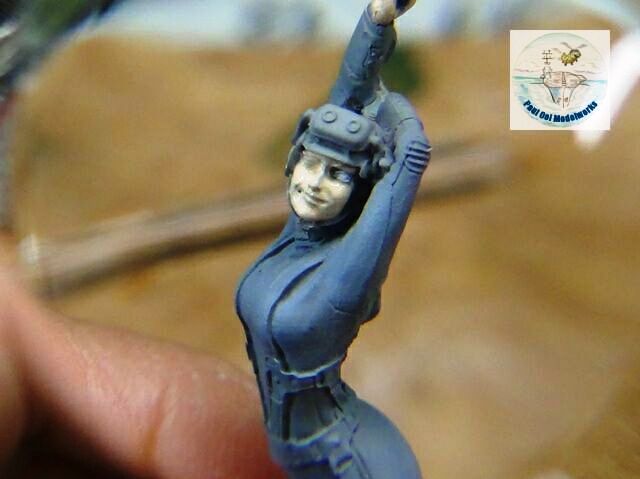
Next I line the edges where the face encounters the helmet line, chin straps and collar with very thin lines of Burnt Umber oil paint. These will provide the shadows for the face where it meets these objects. Next I apply a flesh tone of Flesh Tint lightened with Zinc White oil paints on the face, using the lighter tone to provide highlights for the nose bridge, chin, and cheek bones. This basic tone will encounter the Burnt Umber lines near the edges and allowing some feathering of the two colors will provide a soft transition where the shadows are. To provide some color and shade, use a small amount of Burnt Sienna blended to the flesh tint to shadow the sides of the nose bridge, mouth line and hollows of the cheeks. Finally the natural lips are highlighted also using Burnt Sienna without blending too much with the flesh to provide a muted tone (not lipstick). If the figure needs lipstick, use a slight stronger shade of Burnt Sienna. Avoid using an outright red color as it is too strong in this scale.
Clothing and Accessories
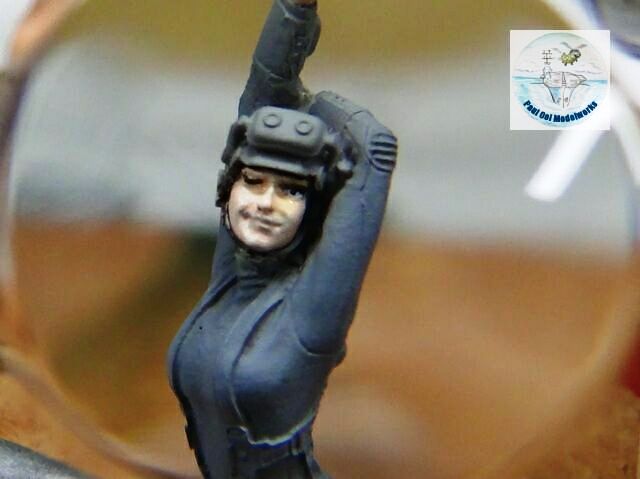
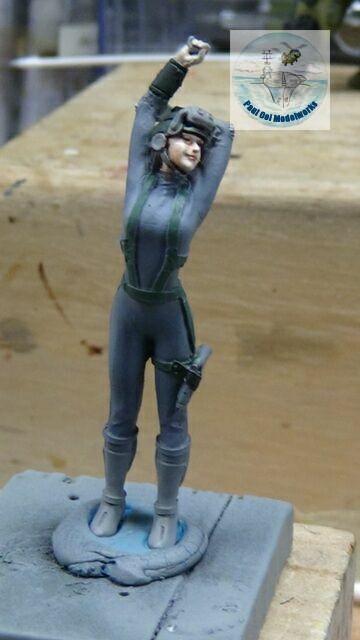
Since the main body suit is already in its base color of Field Grey, I can now start on the webbing. I use Panzer Olive Green for the strap, belt, and holster strap. Her helmet and arm guards are painted with Tamiya Black Green XF-27.
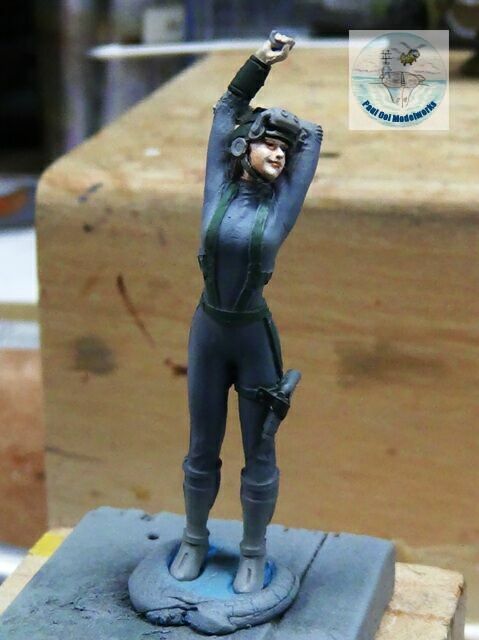
Highlights are applied using oil color mix of Lamp Black 30% +
Titanium White 70% to highlighted areas of the clothing.
Shadow areas of the clothing are applied using oil color mix of Lamp Black 70% +Titanium White 30%. Make sure to blend the highlight and shadow areas so that the transitions are subtle. Areas to concentrate are like along webbing, belt, folds of clothing.

Hair is painted on at the back. Here I used Desert Dark Yellow for the base, and then highlighted with oil Titanium White + Cadmium Yellow.
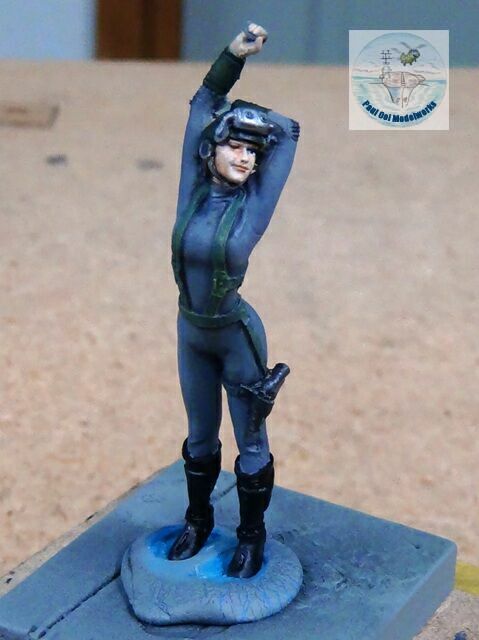
Accessories like the metal visor (Model Masters Magnesium with Tamiya Clear Green lenses) and pistol (Model Masters Gun Metal) Tamiya Flat Black for the boots are painted last.
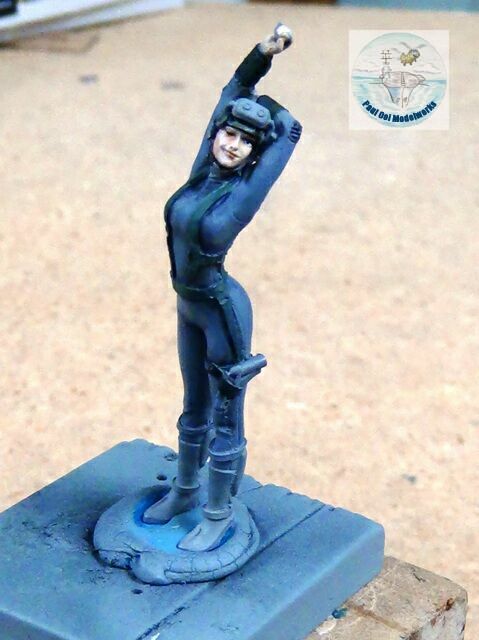
To bring out the details of the webbing and belt, I dry-brushed some Tamiya Sky. Also to bring out the seams of the body suit, I used a sharp-tipped liner brush with thinned NATO Black along the lines.
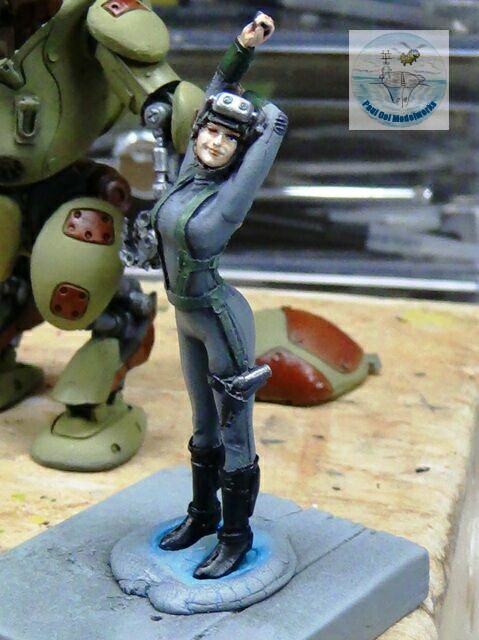
Ute is now ready to get into her mecha-suit Hammerschlag.