
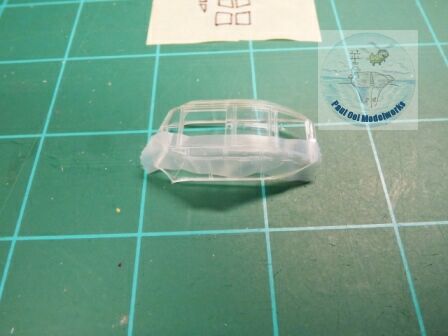
Nothing puts the fear of God into a beginner modeler like these bird-cage canopies and nose sections (think Heinkel, Mitsubishi Betties). So what is the best way to paint them? When we were kids, we ignored them, and left them alone unpainted, never imagining that there are people crazy enough out there to…..paint them. There are three ways to go about this: A. super steady hands with 1/10 brushes to paint the lines free-hand, B. spray paint thin strips of masking tape in the fuselage color, and them apply them last like decals, and C. mask the panels, spray paint together with the fuselage, and then remove the mask. We will discuss how to do C as I find this last one, still the most lifelike and satisfactory.
 Work on small sections at one time. Using clear cellophane tape, spread over a small section. With some curved sections, you have to confine that to covering only one or two panels to avoid distortion of folds, etc.
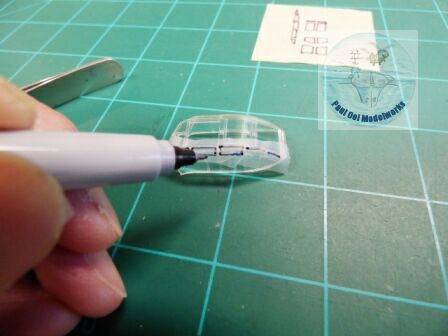 Using a fine or superfine felt tip pen, carefully trace out the INSIDE outline of the panel line. DO NOT use a ballpoint or nipped pen as this may scratch the clear styrene. Take care not to mark directly onto the clear surface, but only on the cellophane.
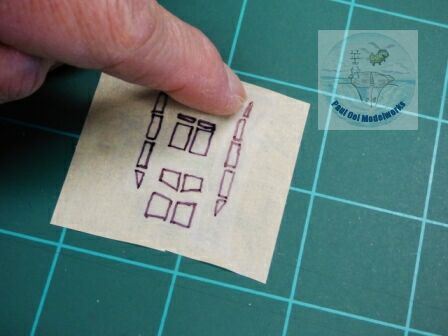 Transfer the cellophane trace onto masking tape and press it down firmly. As you progress, you can systematically place the array of panel windows, like the one seen here.
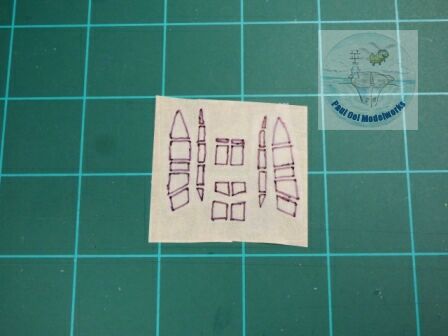
With some care and patience, you will complete the entire array. There are a total of 28 panels to cut 🙂
…..not counting the nose section.
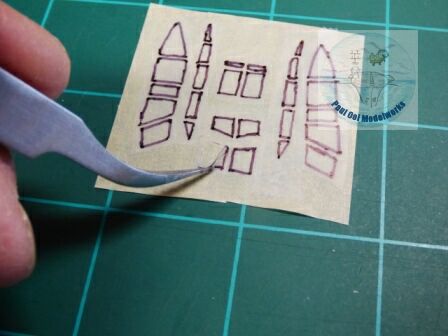
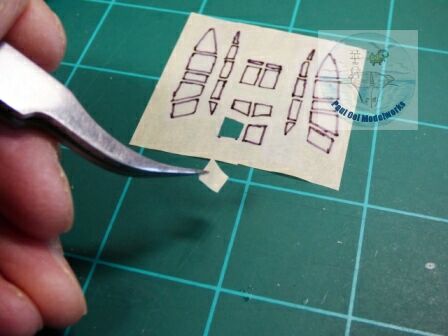
Using a sharp X-cto blade (please change out a new one to begin), cut along the OUTSIDE edge of your pen trace through the cellophane layer AND the masking tape below it. Use a straight edge rule to help if necessary to get neat straight lines. Using a pair of tweezers, remove the cellophane trace layer first, and then the actual masking tape. Take your time to do this methodically.
If the shape is done right, it should cover the intended panel nicely. Sometimes, correction can be done to trim the mask down a bit. Now repeat this 28 times to cover the entire canopy.
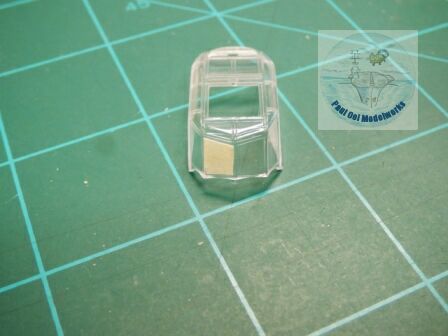
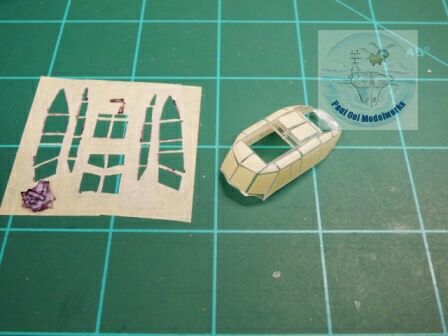 The canopy is now completely covered.
 I prefer to paint the canopies separately from the fuselage (to prevent fogging of loose spray on the interior). If you plan to do the same, remember to MASK THE INTERIOR to protect the insides.
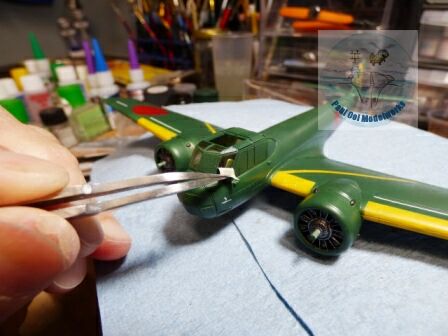
Once painted and attached to the fuselage, you can now safely remove the masks, one panel at a time. Be careful with the tips of the tweezer so as not to scratch the clear panels.
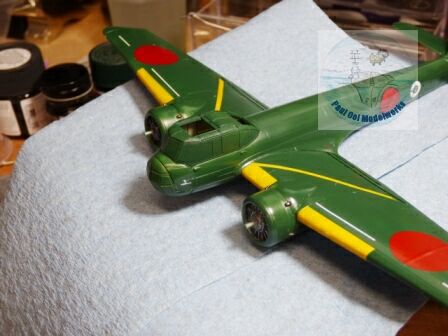
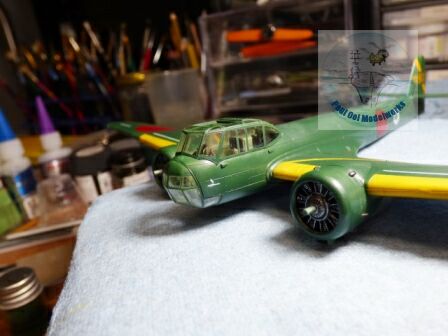 If you have followed this tutorial carefully, the bird-cage canopy will be your pride and joy!