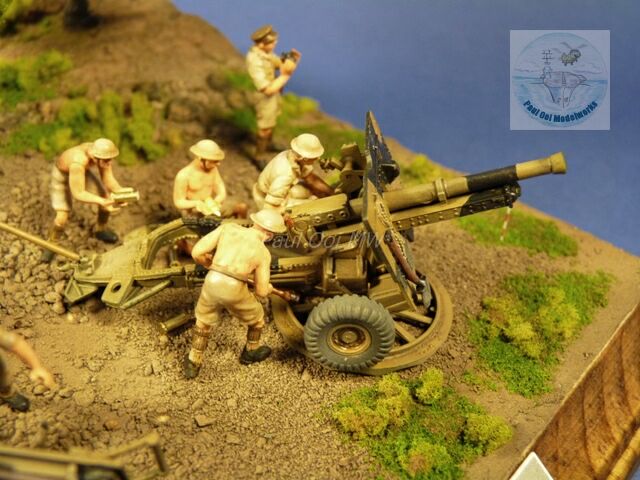
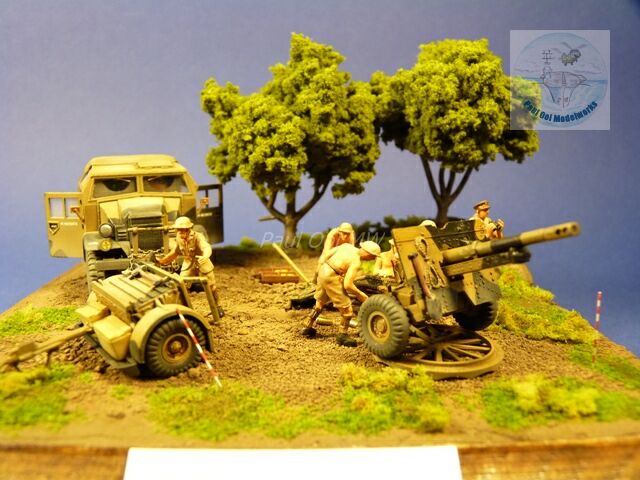
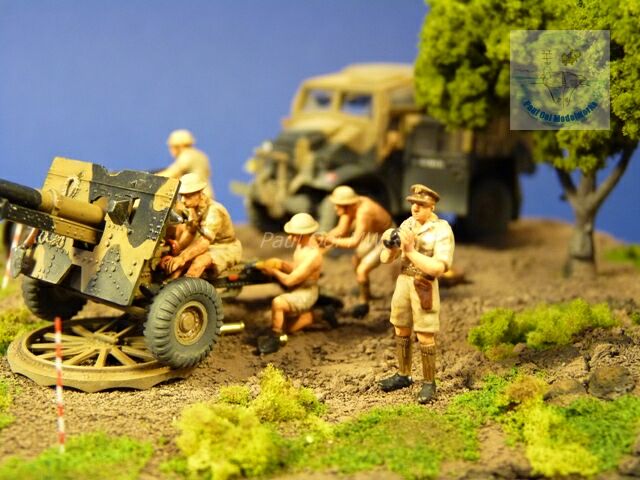
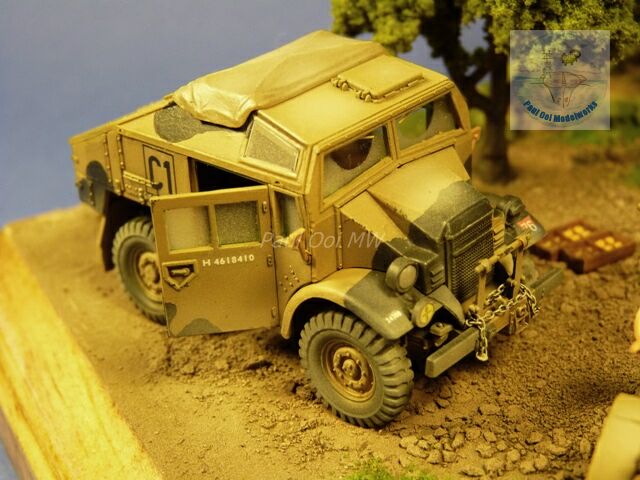
The British 25 pounder field gun (equivalent to an 80mm caliber) was the standard infantry support piece for Commonwealth forces during WW2, and even through the post-war conflicts all the way up to 1981. It was the British answer to the fear German “88”, and while it may not have the high velocity of the latter, it had a higher rate of fire, range and versatility to be used as a howitzer or as an anti-tank gun. The 25 pounder was also very mobile in combination with its towed limber and the Quad tractor. The gun could be deployed very quickly in all sorts of terrain, deliver its firepower and then be hitched up to move again. This characteristic of the gun made it much feared by its opponents with its ability to lay down a heavy sustained neutralizing fire in a very short time. The Quad tractor itself was a tough truck which could move the artillery train around with a top speed of 50 miles per hour while carrying the full 6 crew members for the gun. There were at least 2 makers for the Quad with slightly different appearance, namely Morris and Canadian Ford.
Gallery:


Construction Notes:
After a very long 10-year break from building armored fighting vehicles, I decide to build this 1/72 scale Italeri kit as a practice run for a future customer build involving a desert scene. Plus I have always liked this artillery theme with very good diorama-making potential as the kit came with the gun, limber, tractor and 6 crew men. The Italeri kit was also pretty well-molded despite being an old Esci product from the late 70’s (?). I liked the black-and-sand color scheme of the early part of the Sicilian campaign where a lot of equipment and crew were still garbed very similar to the North Africa campaign.
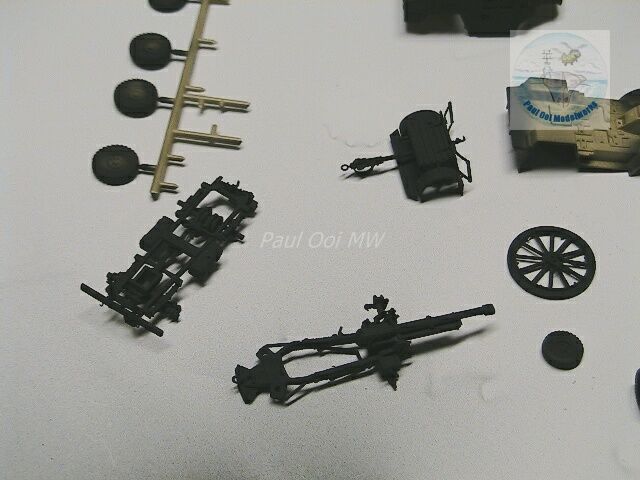
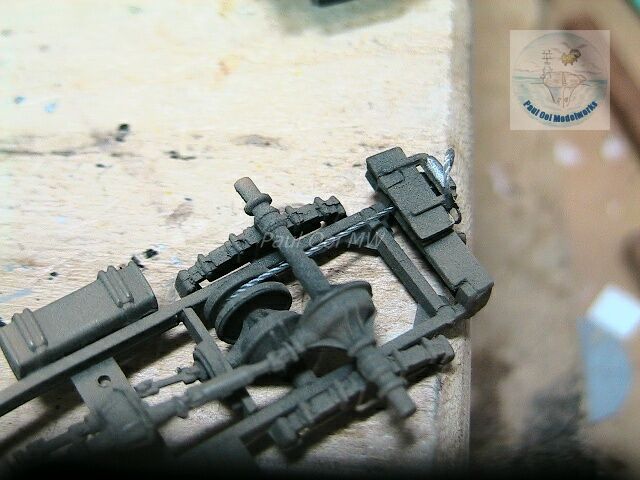
I built the chassis of the tractor first and kept it separate from the box-like body. I also built the gun and carriage, keeping the gun shield separate. The limber was built completely and for all three items, I kept the wheels separate for easy painting. The one important detail that I did do some detailing was to form the gun breech semi-cylinder by drilling it out. If not, the gun breech area was only a simple rectangular block of plastic which did not look right at all. Then I primed all the sub-assemblies with Tamiya NATO Black XF-69.
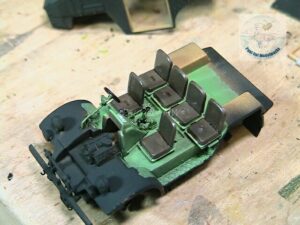
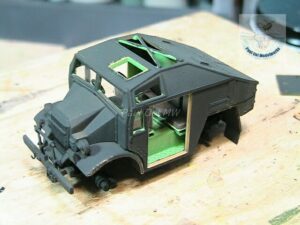
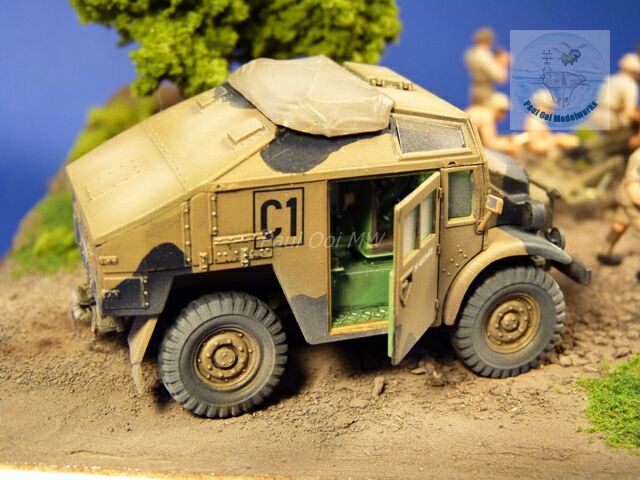
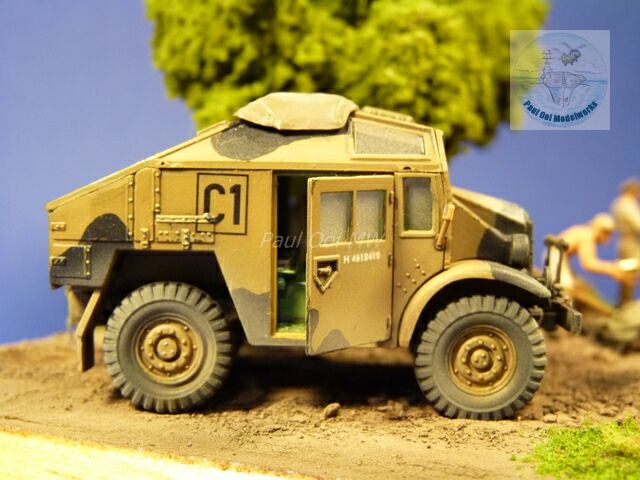
Next, I painted the interior details of the tractor cab, using Testor’s Pale Green and Khaki Drab for the seats. The interior color of British trucks ranged from Pale to Bronze Green while the seats were from a faded Kahki all the way to Khaki Drab. For this smale scale, I felt that the pale green color showed the details better. Once painted, I fitted the body onto the chassis.

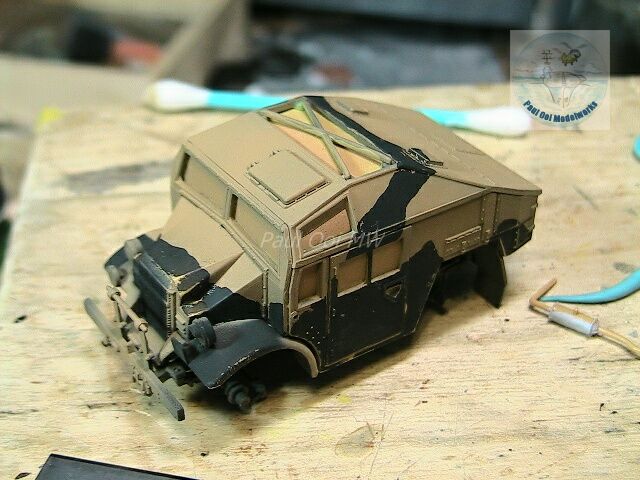
After masking off all the windows, temporarily attaching the doors and hatches with tape, a applied liquid mask over the black regions in a wavy pattern so that the Desert yellow will not cover it to form the camouflage pattern. After this, I applied Tamiya Desert Yellow XF59 on the tractor body, its underside and on the gun and limber sub-assemblies. For the underside, I kept the sand Yellow coverage very light and patchy to preserve the shadow effect of the black undercoat to give the truck underside that equipment grease-and-grime look. Once dry, I removed the masked layer to reveal the black camouflage pattern. Some brush touch-up was required where the black rubbed off.
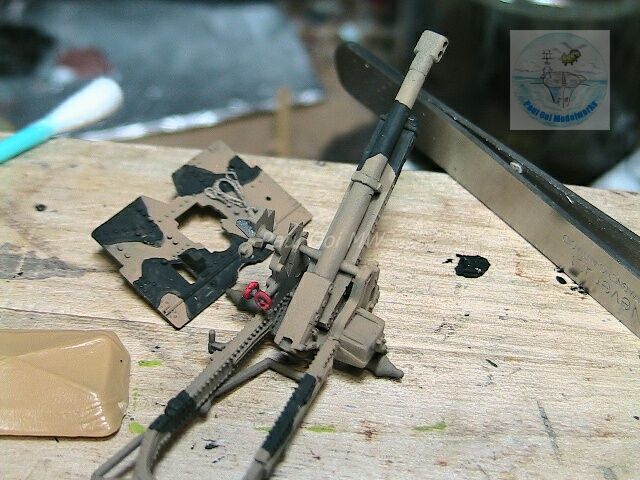
For the fiddly gun and limber assemblies, I brush-painted the black pattern onto the desert yellow. Masking was not going to work so well on these fragile assemblies.
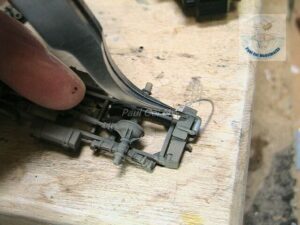
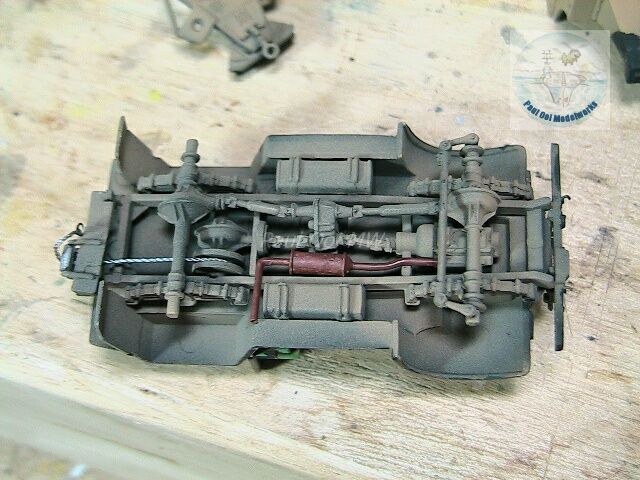
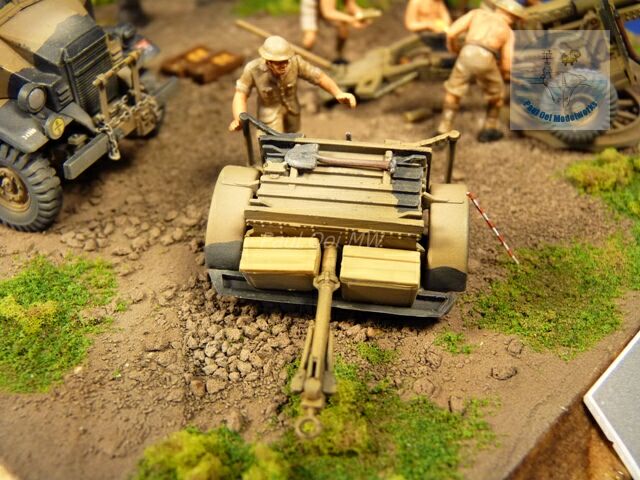
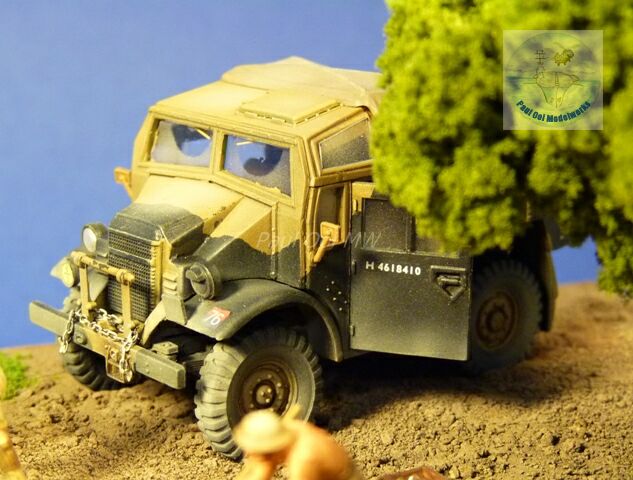
One small but important operation was to wind a metallic colored thread around the tractor winch in the chassis, lead it through the two sets of guide rollers visible at the rear of the tractor and then glue a winch metal clasp (I hunted for a similar-looking object from my box of spare photoetched parts). This last bit is actually visible once you have finished building the tractor and is well worth the effort. Once I mounted the rust-painted exhaust pipe and muffler to the chassis, we are ready to hit the road.

The wheels are finally attached to the assemblies and the decals added. After sealing them with clear varnish, a turpentine mix of Burnt Umber and Payne’s Grey oils was applied as a wash over the assemblies.
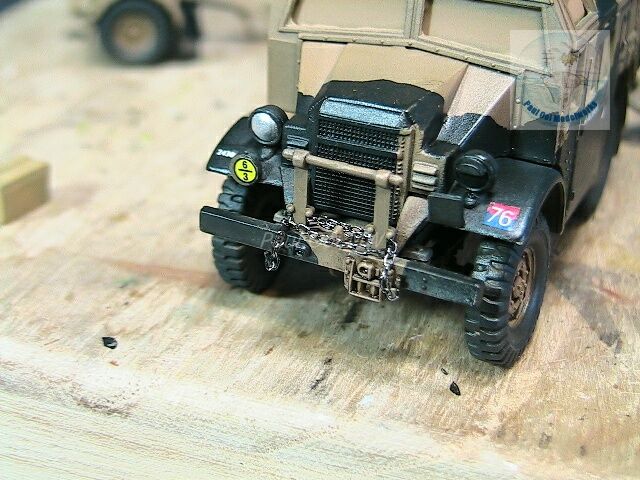
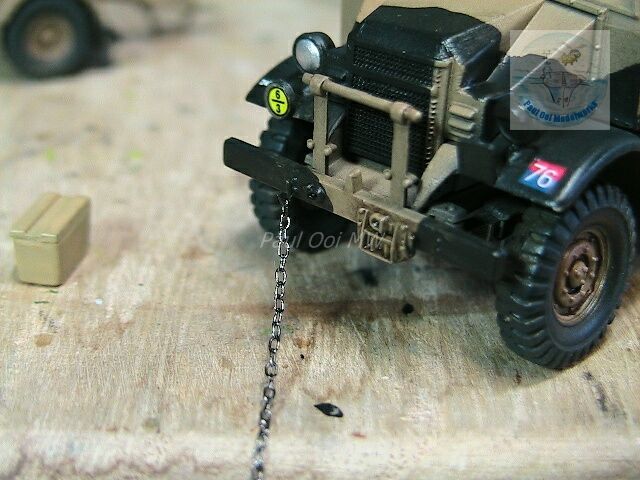
Another small but important detail for the Quad was the utility chain wrapped around the grill guard. Using a spare costume jewelry chain obtained from a craft shop, I carefully attach one end to the left fender hook, wrap around the guard, making two loops and then terminating in the right fender hook.
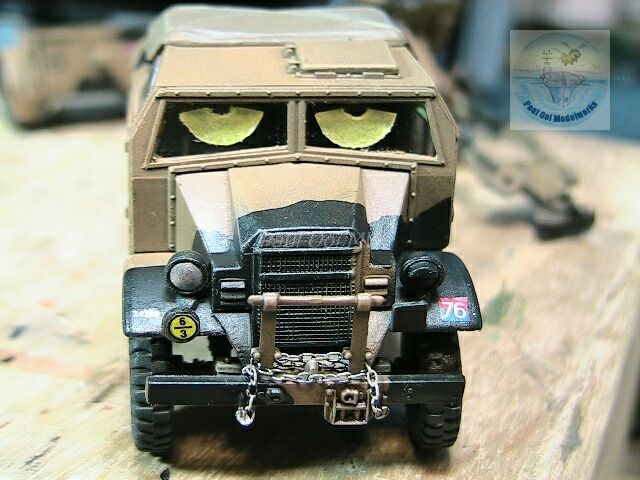
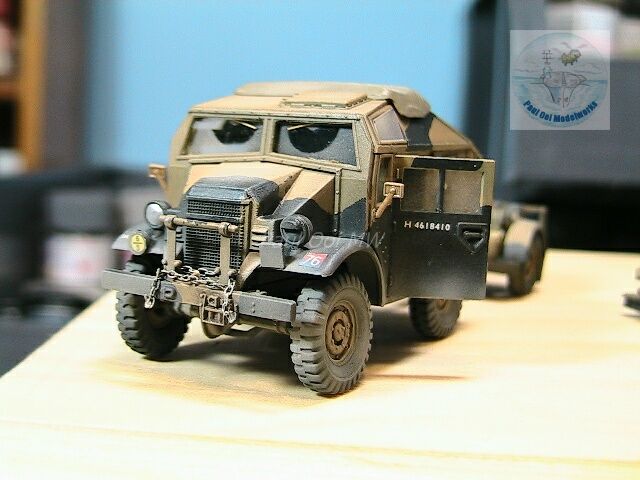
Then, to create the effect of dust over the windshield with the wipers removing a arc of dust, I made 2 fan-shaped masks and carefully apply them onto the acetate screens. I then overspray the clear windows with a fine low-pressure airbrush mist of flat varnish. During this time, I also airbrushed a fine layer of diluted Tamiya Deck Tan XF55 around the wheels, wheel guards and lower surfaces to simulate dust build up. Once the mask were removed, the effect is complete.
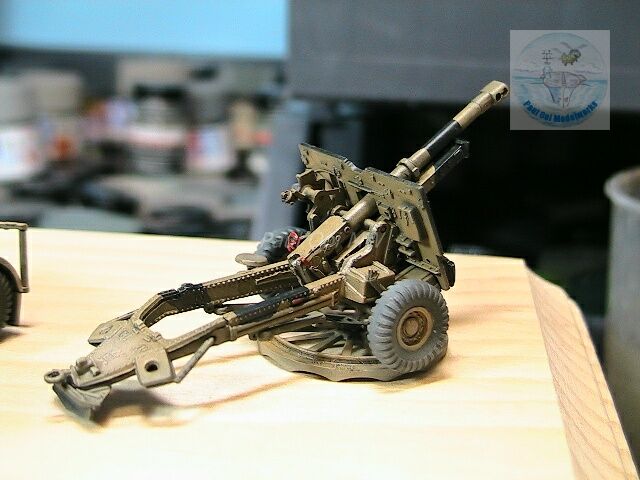
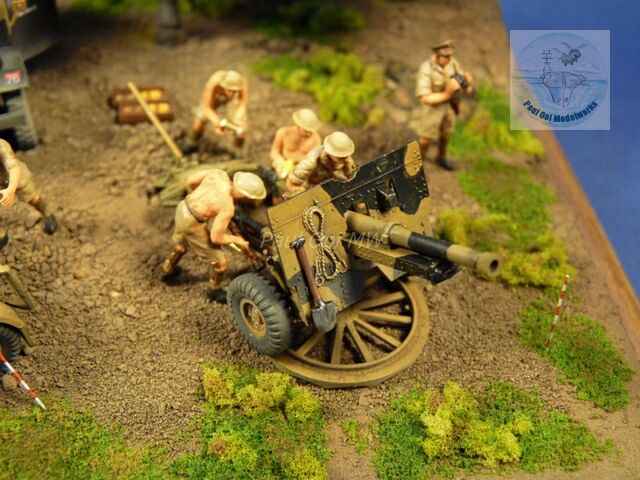
Final detailing of the gun’s levers and elevation wheels (red) and attachment of the gun shield completed that assembly.
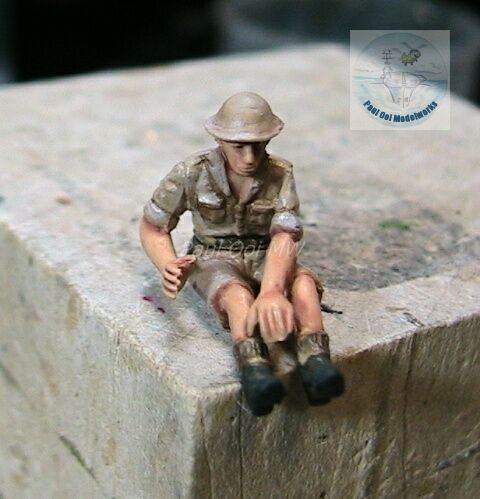
Then it is on to painting the gun crew. I painted them using base coats of acrylic, then apply thinned washes of Burnt Umber oil paint followed by highlights in Zinc White oils and blending those two shades together.
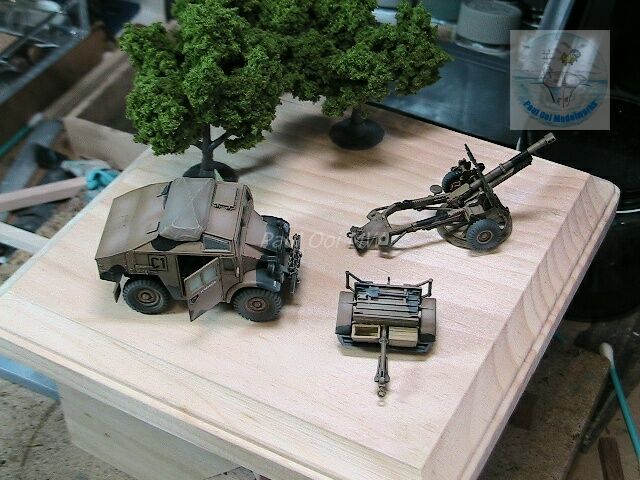
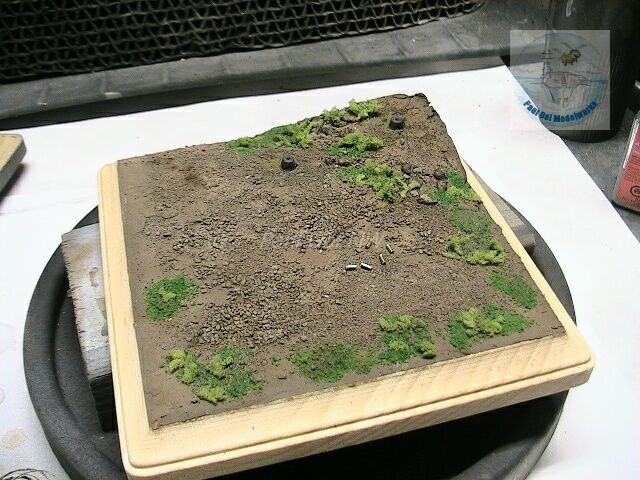
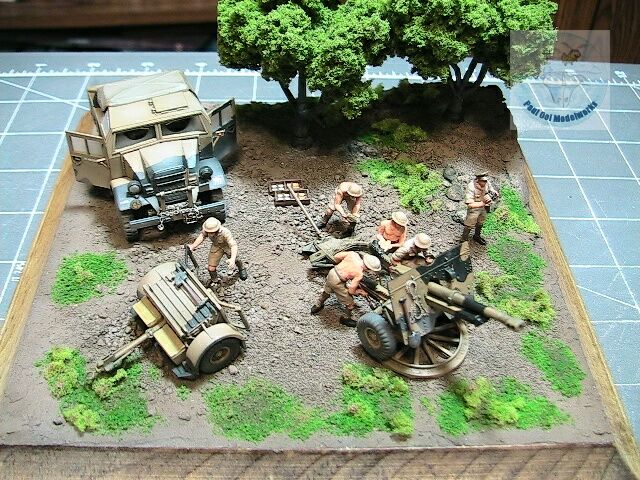
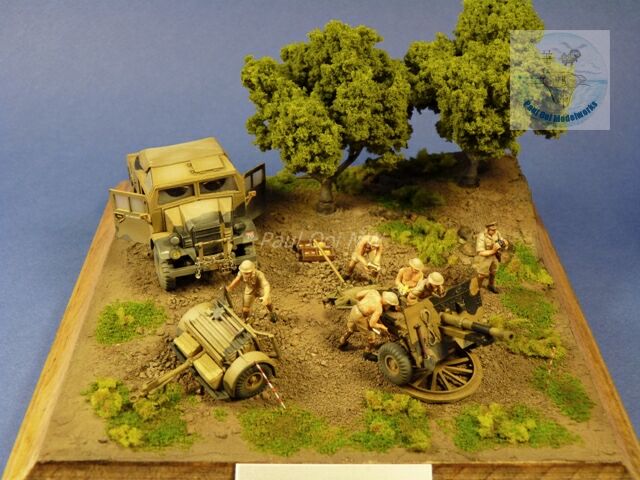
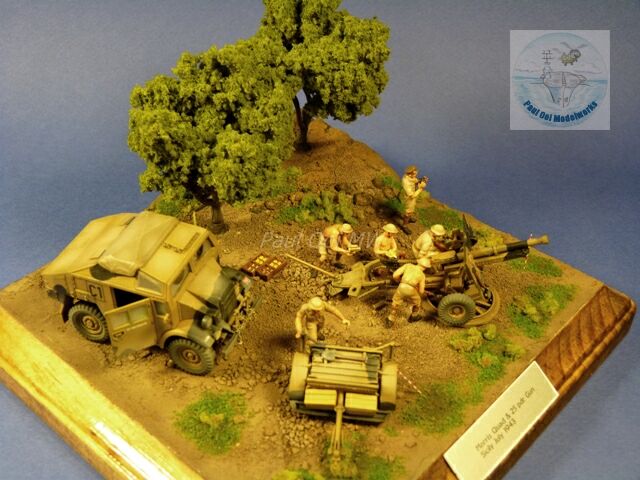
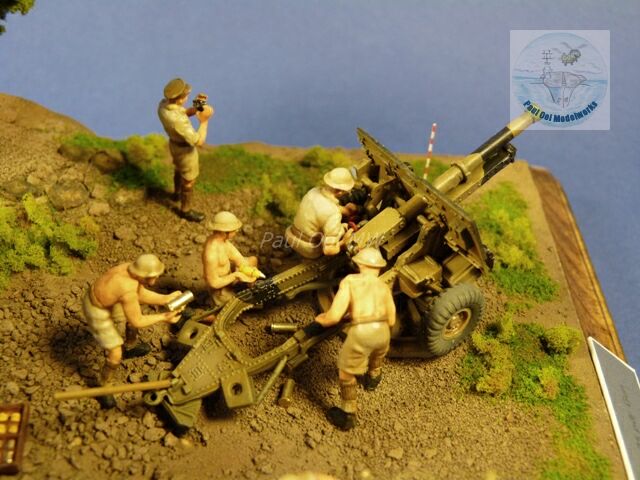
Now comes the fun part of putting the diorama together. I wanted to portray a mobile artillery unit that has set up near a Sicilian olive grove. Checks on the internet show that while Sicily in the summer can be hot and dusty, there are green bushes clustered close to the trees. The color of the soil is a darker shade of terracotta. I arranged the trees and the 3 main artillery assemblies on the wooden base to get my composition right. Then I proceed to build the diorama base, the topic of a future tutorial. Once dried, the base is airbrushed in several shades of brown and sand to get the right appearance. Then the assemblies and figures are permanently glued to base using super glue. And now we have our 1943 Royal Artillery unit doing their hot and furious work of bombarding the enemy with HE shells from the slopes of an olive grove.
Last note: Shortly after the last paragraph, I found out that during the invasion of Sicily, most of the 25 pounder guns used were from North Africa stocks and did not have the new brake muzzle. Brake muzzle-equipped 25 pounders were only introduced in Europe in the course of 1944. As such, I had to perform a delicate operation to remove the brake muzzle and replace with the ring muzzle. You will see some of the gallery pictures with the corrected muzzle.
Hi, im looking to get my grandad something for his bday. During the war he was a member of a crew for the 25pound field gun. I have been looking to see if I can get my hands on a model with all the details as the one you have completed. Would you sell this item as a whole.
Regards
Hi Adam,
I have written a separate email to you from [email protected].
Paul
I’m curious what color you would recommend in the Vallejo acrylic line to match that tan base color. I specifically model 15mm scale WWII British units for Flames of War and currently trying convert some of my models to Italian campaign colors. I don’t 100% trust Battlefronts color suggestions and I’ve found it difficult finding color lists for British camo in Vallejo colors for anything other than the late war drab SCC 15.
Right about the muzzle brake – but also the counterweight slab in front of the breech block needs to be removed! No Muzzle brake = No counterweight!
(I’m an RA Veteran who served on 25 pdrs post war)
Hi Stuart,
Thanks for your comment. I hope all our readers planning to build this period will take note of this detail. As for me, maybe too difficult to remove stuff from that breech block.
Thanks so much for this site, dad was in RA in France the North Malaya then POW. He painted to keep sane cartoons for 25 pounders and I’ve just bought a model, your hints are most helpful.
Cheers,
Keith
Hi ,
The top speed for a Quad dragging a 25 pdr & limber was 25 mph , there is no brakes on a 25 pdr bar the hand brake, with the gun coming in at 65 cwt & the artillery trailer(limber)at 28 cwt that’s a lot of weight to be on a towing hook of your Quad Gun Tractor. I for one would not try for 50 mph with that amount of weight driving a Quad .
Hi Paul,
It’s a very nice diorama, well done.
There is one thing wrong with the model, it’s not a Morris Quad, it’s a Chevrolet Quad.
Even Tamiya in 1/35 made the same mistake.
Hi Dennis,
Thanks for writing. The model in the kit is definitely a Morris (I checked when I built) based on the reference here: https://en.wikipedia.org/wiki/CMP_FAT. Morris, Chevrolet, and Ford Canada all made quads but you can tell the difference by the front top corners of the truck based on this explanation: CMP FAT, a similar vehicle by Chevrolet. Early models had very similar bodywork, but can be identified by a four-sided windscreen glass, compared to the five-sided Morris Quad screen, with the upper corner cut away. It is a common confusion but the quad portrayed in the diorama is a Morris. BTW, Tamiya’s kit portrays a Canadian Ford, not Morris.
Paul
Me parece estupendo. Que finura para 1/72 !!.
No se si intentarlo hacer ? Primero comprarlo.