• Skip to primary navigation
  • Skip to main content
  • Skip to primary sidebar
  • Skip to footer
  • Home
  • Blog
  • About
  • The Fine Print
    • Disclaimer
    • Copyright
  • Privacy Policy
  • Contact
  • Paul Ooi Modelworks
  • Nav Social Menu

    • Email
    • Instagram
Paul Ooi Modelworks

Paul Ooi Modelworks

Building a better world, one scale model at a time

  • Index
    • Aircraft
      • WW1 Aircraft
      • Inter-War Aircraft
      • WW2 Allied Aircraft
      • WW2 Axis Aircraft
      • Modern Aircraft
    • Armored Fighting Vehicles
      • WW1 AFVs
      • WW2 AFVs
      • Tractors and Buldozers
      • Cold War AFVs
    • Ships
      • WW1 Ships
      • Inter-War Ships
      • WW2 Allied Ships
      • WW2 Axis Ships
      • Modern Ships
    • NordicCon Show
    • Figures
    • Buildings
    • Sci-Fi
    • Miscellaneous
  • Tutorials
    • Tutorial 1: Making a Wooden Platform Helipad
    • Tutorial 2: Wooden Hard Stand for Aircraft
    • Tutorial 3: Filling Large Plastic Seams
    • Tutorial 4: Diorama, Sicily 1943
    • Tutorial 5: Making a Gun Emplacement with Earthworks
    • Tutorial 6: Basic figure painting (1/35 scale or 54mm)
    • Tutorial 7: Filling Large Mouse Bite Gouges
    • Tutorial 8: Frames for Vacuum Formed Clear Canopies
    • Tutorial 9: Prepared Tank Position Diorama
    • Tutorial 10: Installing Multi-Piece Track System
    • Tutorial 11: Masking and Painting “Bird-Cage” Clear Canopies
    • Tutorial 12 – Aircraft Wing Tip Navigation Lights with Colored Bulbs
    • Tutorial 13 – Installing Wood Laminate Deck for Model Warships
    • Tutorial 14 – Painting a Rusted Muffler and Exhaust Pipe System

Tutorial 7: Filling Large Mouse Bite Gouges

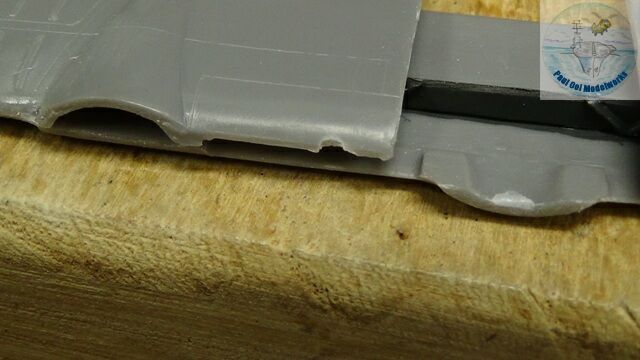
Sometimes either through my own mistake or parts shaking loose on their own, I end up with a large gouge along the edge of a part that looks like a mouse bite. This problem is more acute in older kits that do not have a rigid sprue frame (think old Airfix, Frog, short run kits ). If the resulting “bite” is a semi-circle about 2-3mm in diameter, there is a way to repair the damage. First, clean the gouge area and use either a small round or convex file to remove any jagged edges.


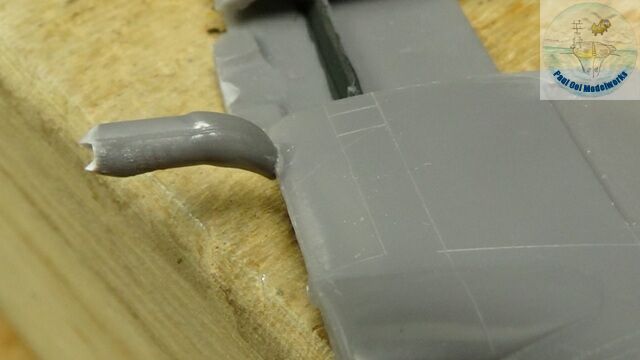
Select a sprue (you can cut them from the sprue tree) that is closest in size and fit to the diameter of the gouged circle. If not, you can also stretch a sprue, and use the ends with the taper to get the matching diameter. Bond the sprue to the gouged area with a strong liquid glue for polystyrene like Testors or Tamiya. Some plastic buildup around the joint is alright because you can always file it down later.

If the sprue is too thick, you can also pre-cut it down into a semi-circle sector before bonding onto the gouge area. Leave it to cure for at least 3-6 hours.


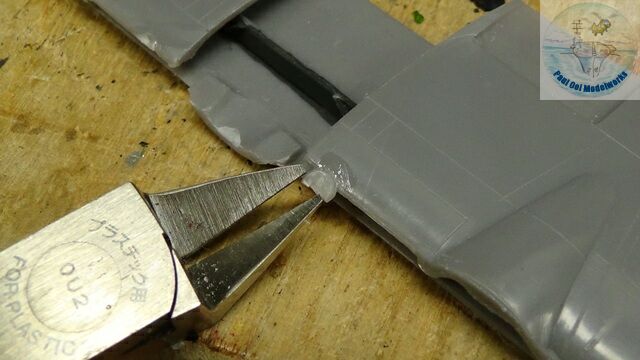
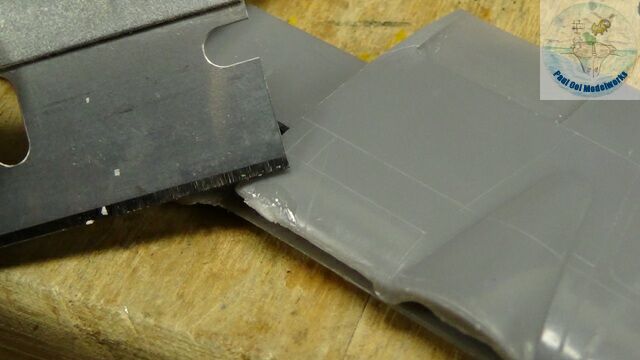
Once the sprue or filler section is secure and rigid, you can cut it down in size. I use a flush cutter to nip away at the filler until it approximates the size of the gouge. It is better to cut away small sections than to overdo it and cut too deep.


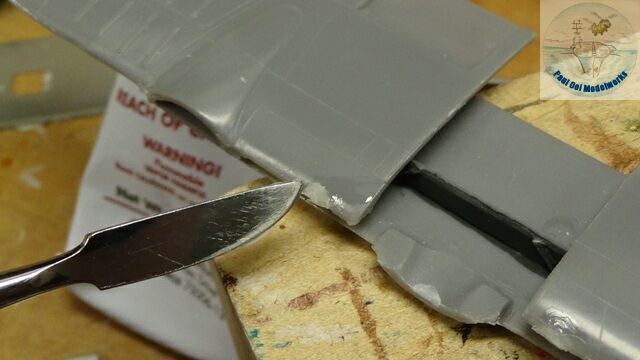
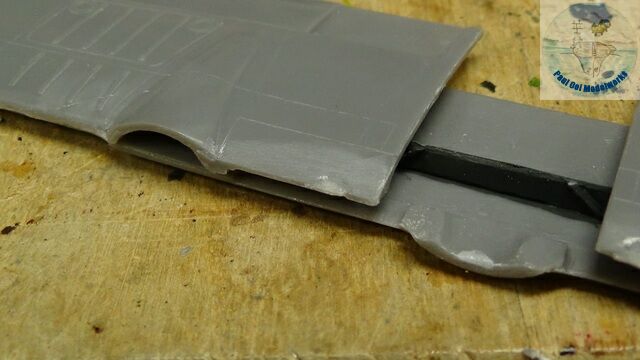
Using a razor, carefully slice the remaining filler until it is almost flush with the original surface.


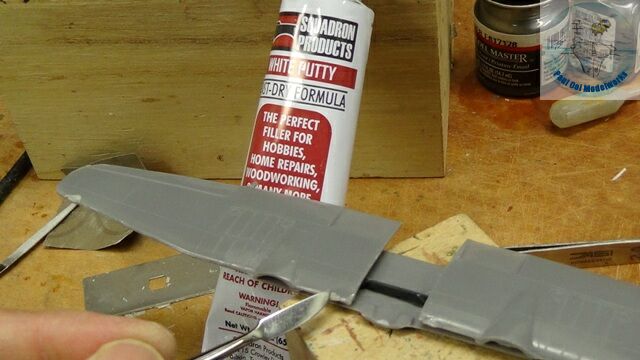
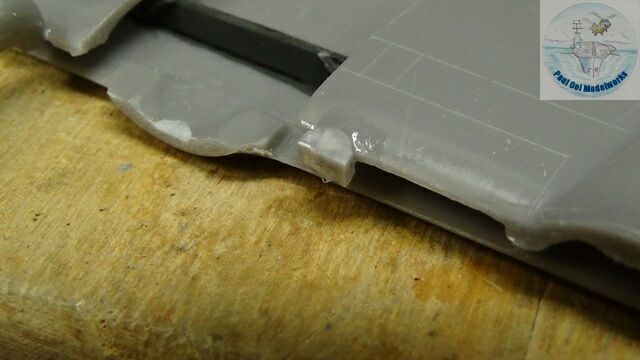
Apply some fine white plastic putty to fill any small gaps that may be found and also as a surfacing agent for the filled area. Let it cure for 12-24 hours.


File down the filled area with fine sandpaper from Grade 500 to 1000.


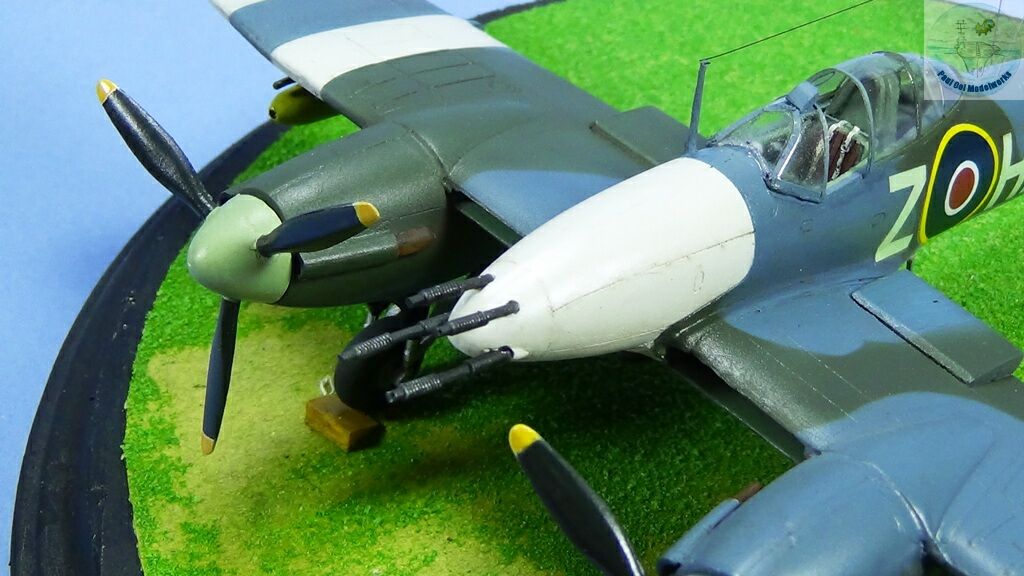
You can see how the gouges are totally gone after the treatment and painting.

Primary Sidebar

Hey! It is nice to meet you!

Paul Ooi Modelworks welcomes casual visitors browsing, and enjoying the pictures as well as more serious fellow modelers looking for tips and references on the art of making miniatures and relishing in the challenge. I will be more than happy to answer any questions you may have about the models.

Please feel free to leave a comment or a question.

  • Email
  • Instagram

NEVER MISS A POST

Member of International List of Scale Model Related Web Sites

International List of Scale Model Related Web Sites

Paul Ooi Modelworks

NEVER MISS A POST

Sign up for notification on new posts.

Footer

  • Email
  • Instagram

Categories

  • Privacy Policy
  • Disclaimer
  • Copyright

© 2011–2025 · Paul Ooi Modelworks · All Rights Reserved