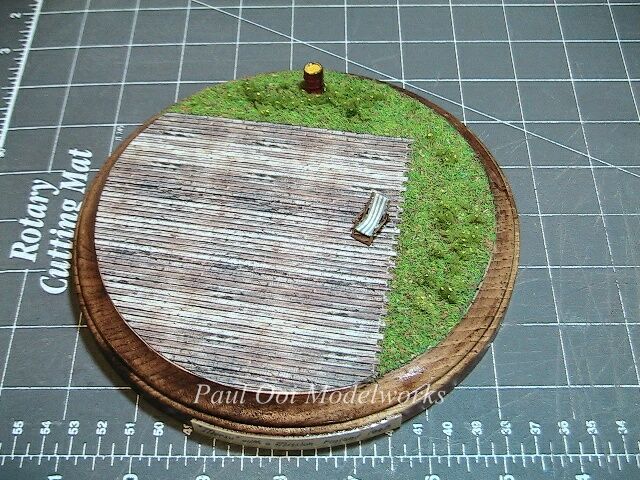
If you want to add some interest to you aircraft model, it is fun to tie it to some local terrain and conditions of the actual airfield. This way, you can avoid having all your displays looking like they were sitting at some airshow (unless that is what you want to portray! More of that next time).
In the Eastern Front, many German and Russian hard stands were made by simply laying planks or even rough-hewn timber onto flat meadows. Later in the war, the Soviets received large quantities of PSP metal plates to make instant runways.
Let’s get started.

I selected a circular 7 inch diameter bass wood base. For the plank platform, I obtained pre-printed card made by Busch for HO trains entitled “wooden boards, weathered”. For the grass field, I got a grass sheet by Busch “Terrain mat”.
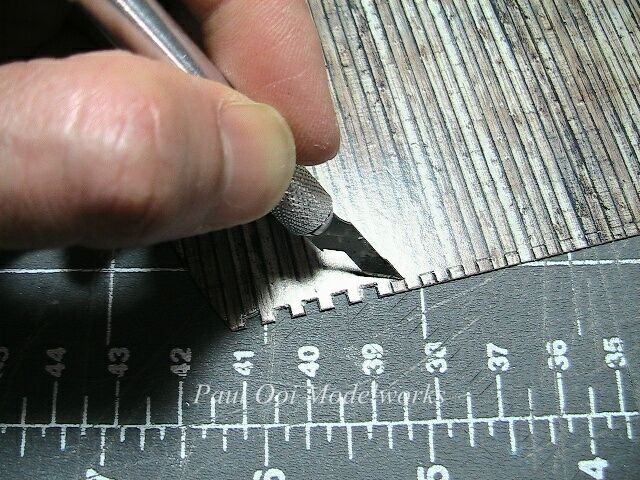
After deciding the layout of the wooden platform, I trace out the shape on the reverse side of the cardboard, and carefully cut out the shape. It is alright to cut a slightly larger area for the board as you can always trim off the excess with a sharp X-Acto knife later on. I did not want the plank edges to look totally flushed so I cut out the edges in a slightly staggered pattern to create interest. Notice how glossy the printed card is? That will be dealt with later.
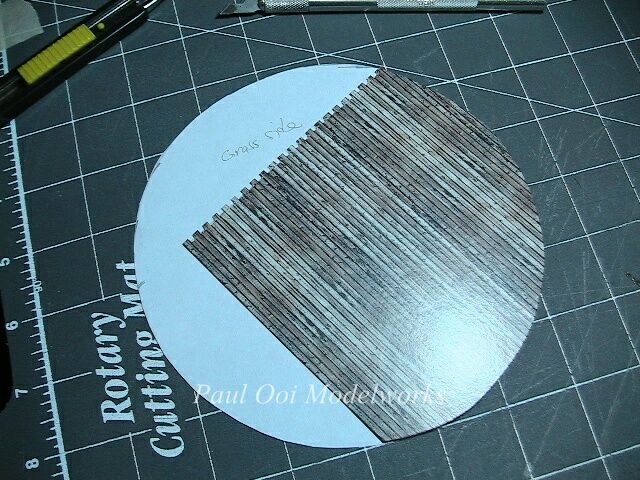
Next, I cut out a paper template for the grass mat by tracing it against the base edge and the wooden platform edge. Allow an overlap between the grass area and the wooden platform edge of about 1/8″ (2-3 mm) to prevent any “bald spots” that will be hard to fill.
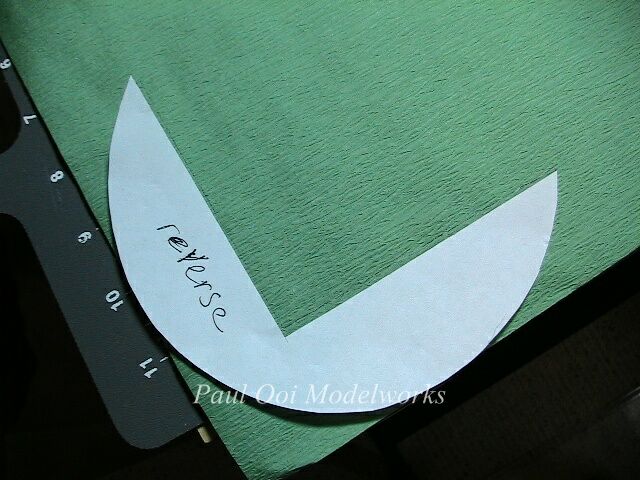
Make sure to mark the template “grass” on the top side, referring to where the grass is going to be, and “reverse” for other side. Flip the template over to “reverse” and place it on the back of the grass mat. Trace out the shape of the template on the reverse side of the grass mat.
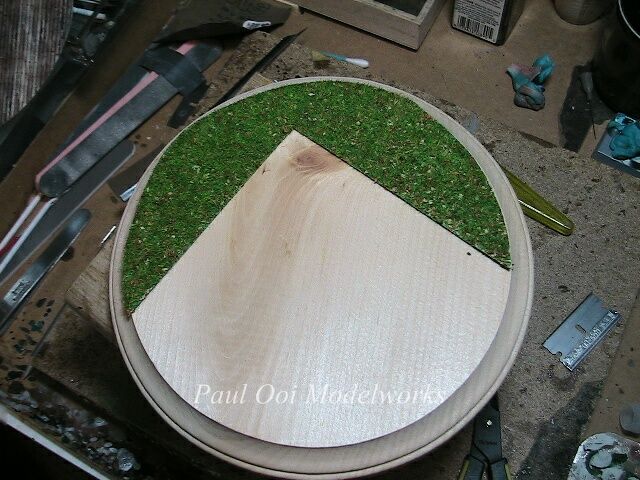
Using a sharp pair of scissors or craft knife, cut out the shape of the grass mat. Then lay it on the base to check the fit. Allow a little bit of over lap over the edge of the base that you can trim off later.

Glue the grass piece onto the base using white glue (like Elmers, or wood glue). Make sure that the glue is spread out evenly over the surface and along the edge of the piece. Then do the same for the wooden platform cardboard piece and allow the latter to sit over the grass at the overlap. This will create the correct look of the plank over grass, not grass growing over the plank! Press down the whole assembly with a large flat heavy object, like your obsolete volume of encyclopedia Britannica. To prevent glue from the damaging your heavy object, place a piece of paper between the assembly and the object.
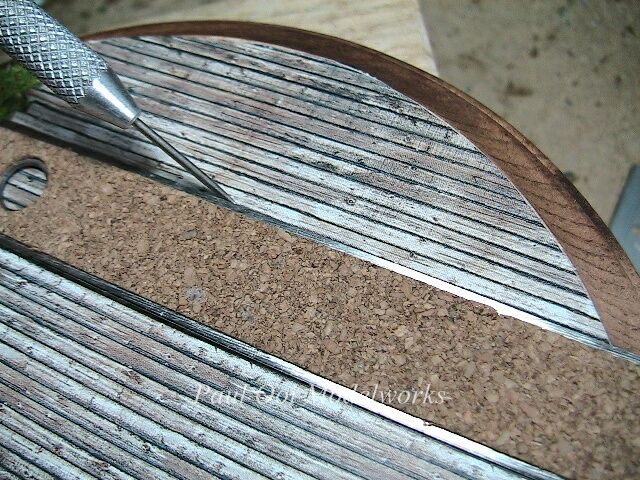
Once your base is dry (about 2-4 hours), score the wooden platform section with a tool along the joints of the planks. This will give textural effect and make it look less “printed”. After that, airbrush a layer of Dullcote or flat varnish on the wooden platform to remove the printed cardboard sheen. Trim off the excess grass mat and cardboard along the edge using a sharp knife. The wooden base itself can be stained and varnished after this.

You can add scrub bushes and weeds to the grass by adding “extra coarse turf” by Woodland Scenics. Be sure to match the color with the grass mat.
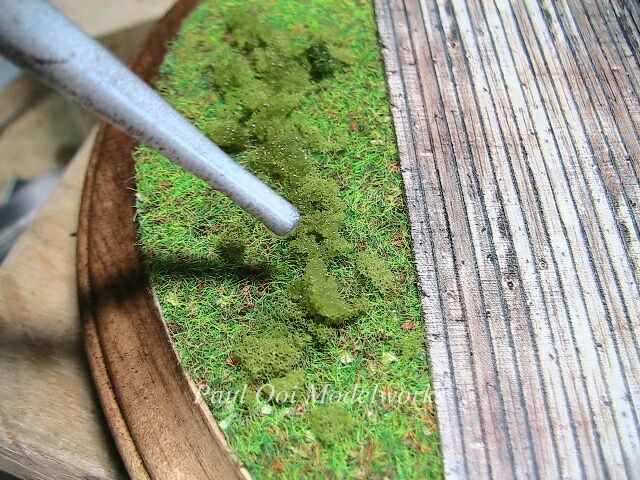
I attach the extra coarse turf by applying diluted white glue (2 parts water: 1 part glue) using a pipette or an eye drop dispenser.
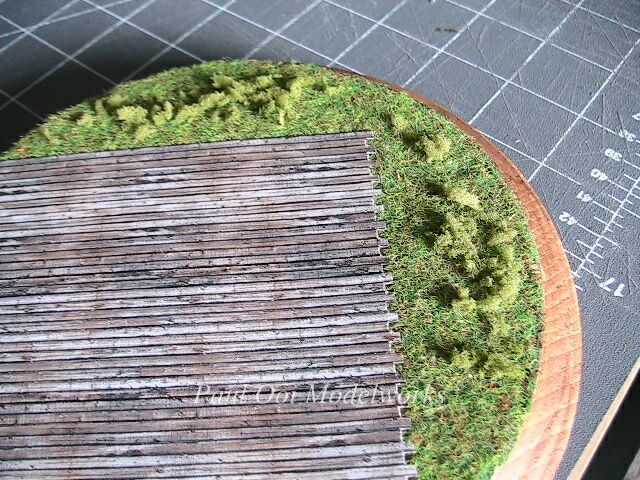
You can see the difference the coarse turf makes for the grass, unless you want an immaculate lawn at the officers’ club. Too busy maintaining aircraft here, no time for grass-cutting!
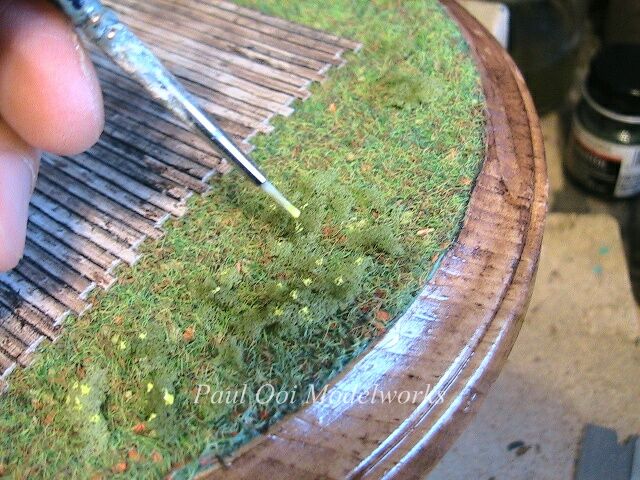
This being spring in Finland, I added some yellow wild flowers to the scrub (dandelions, really). I use my size 00 brush and bright cadmium yellow paint.
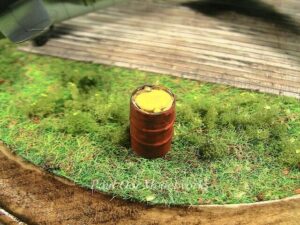
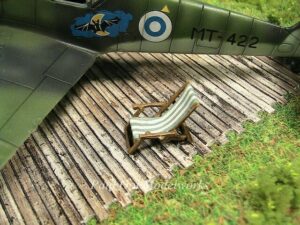
Finally I add some objects to give the landscape some interest, in this case an oil drum of lubricant oil, suitably rusted and an old-fashioned deck chair for the pilot. By taking time to properly detail these little objects, the quality of the composition is greatly enhanced and makes for a visual reward for the observer who takes the effort to look closely.
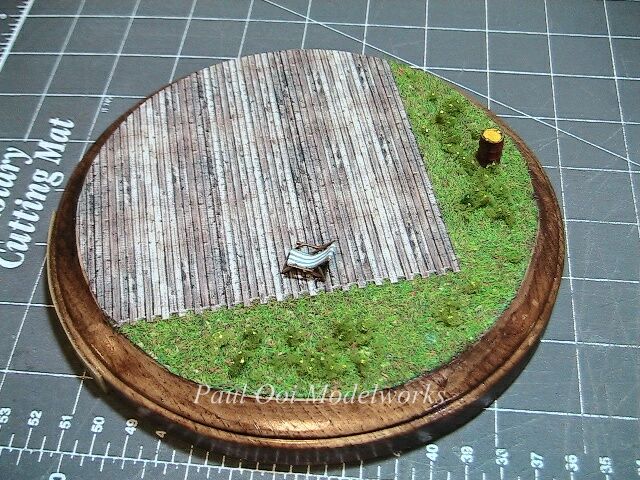
All that it needs now is for the aircraft to park on it.

