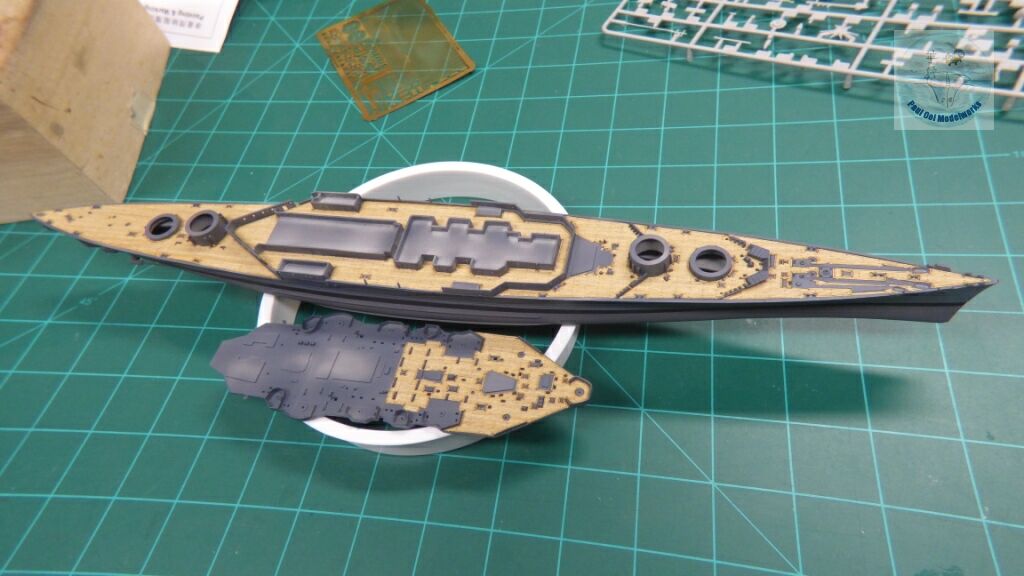
Laser-cut precision decking for specific kits have revolutionized the appearance of wooden decks on model ships. Once you have the right tools and method, it is a quick transformation and the effect is close to breath-taking. Let’s get started.
Step 1: 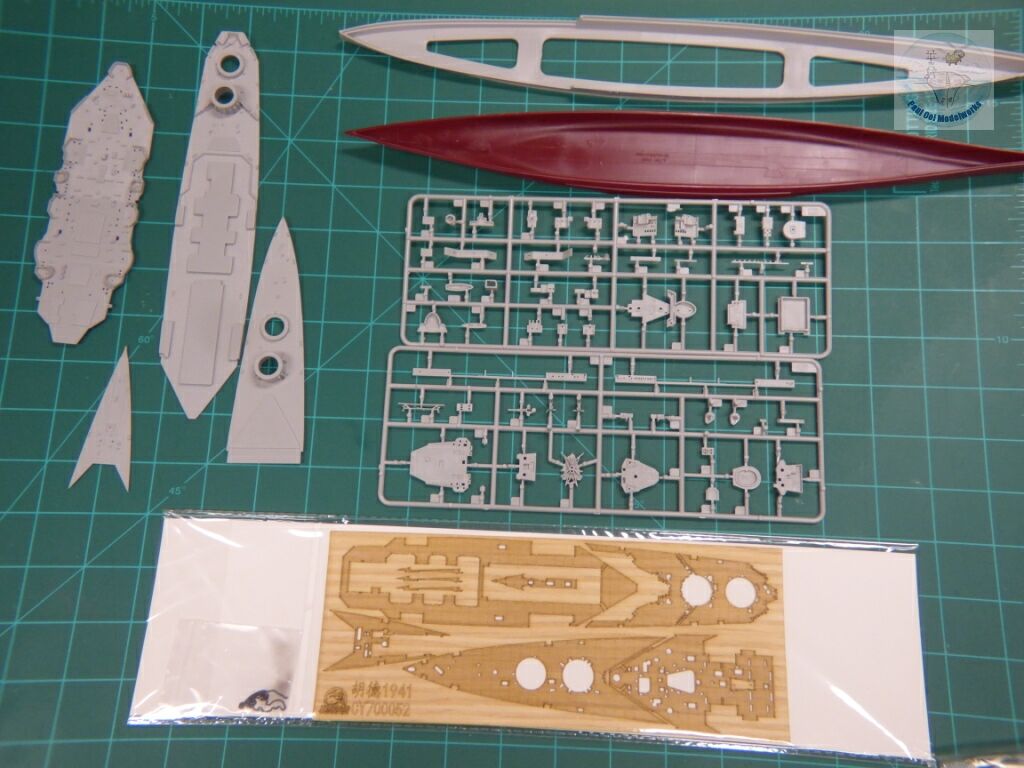
Make sure that you have the right set of laminate decking for the specific kit, as these are laser-cut customized for an exact fit and to register with the openings and hatches. Check the laminate pattern closely against your deck layout BEFORE opening and cutting.
Step 2: 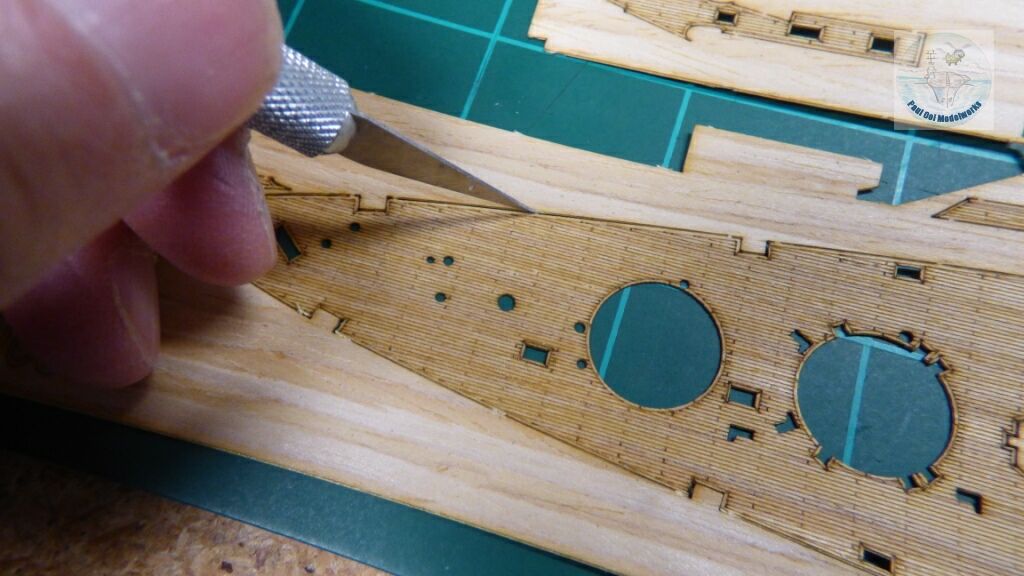
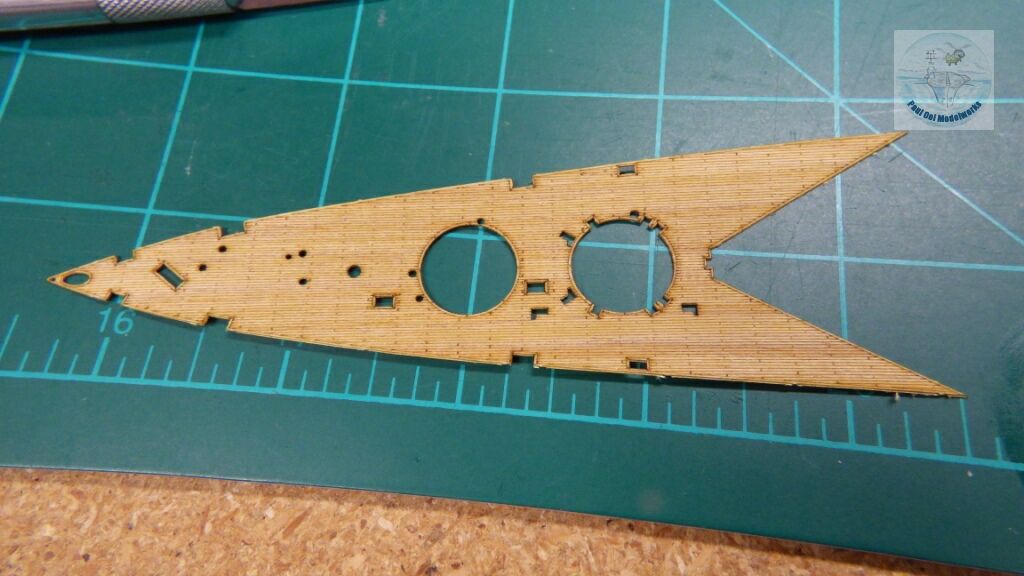
Use a sharp X-cto knife to cut out the laminate that you wish to install. Check the layout vs your kit part so that you do not mistakenly cut off the narrow part or section. Do this systematically (running clock-wise or counter-clockwise consistently will help eliminate uncut joints. Cutting all joints is important so that you don’t stretch a part when removing the laminate from the rest of the sheet.
Step 3:
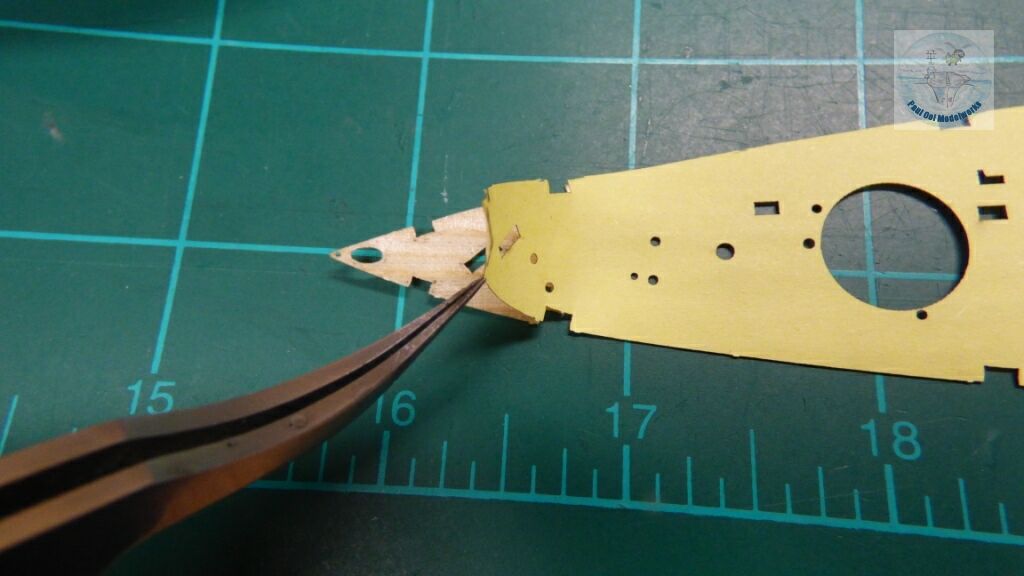
Flip the laminate onto its back, and carefully peel off the backing sheet. If this deck section is large or fragile/complex, only peel one small section at a time.
Step 4:
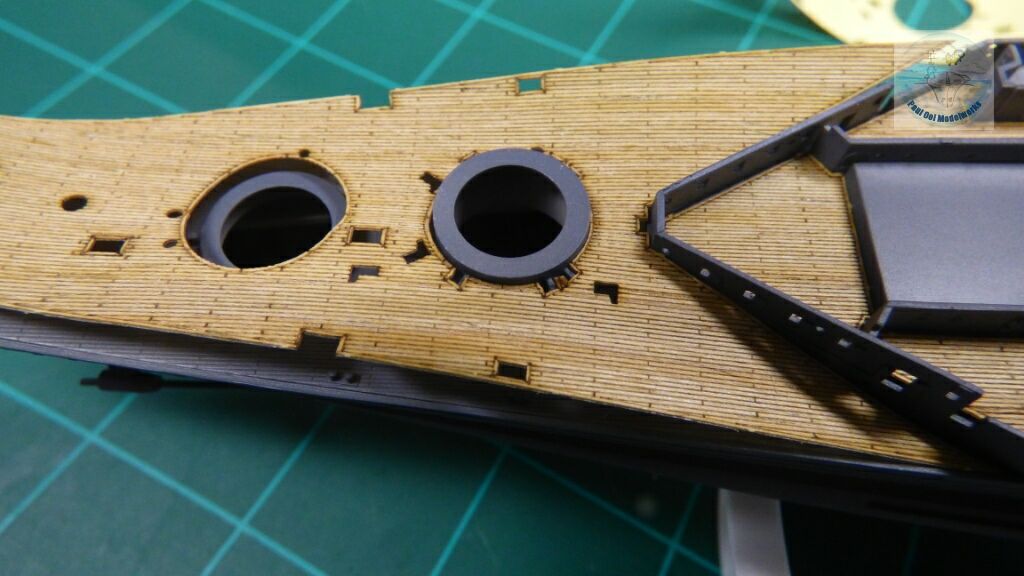
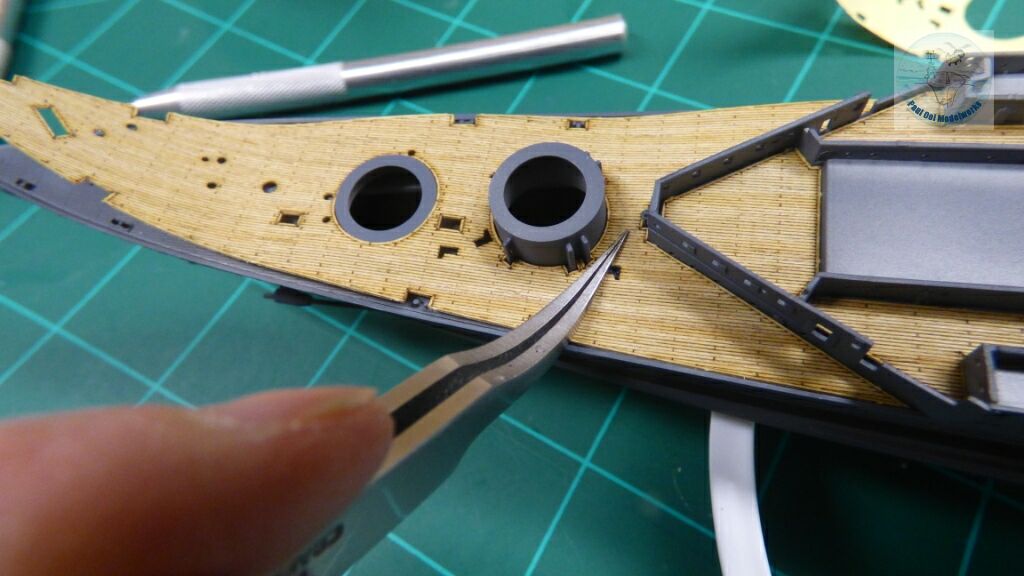
Fit over the highest protruding structure in that deck region first. In this case, the barbette of Turret B is the highest structure. Carefully fit the laser-cut hole corresponding to that feature and slowly work the deck laminate down to its base, using the dull side of the tweezers to press the laminate adhesive to contact the deck below. As you expose more of the deck surface, do remember to continuosly peel away the backing sheet.
Step 5:
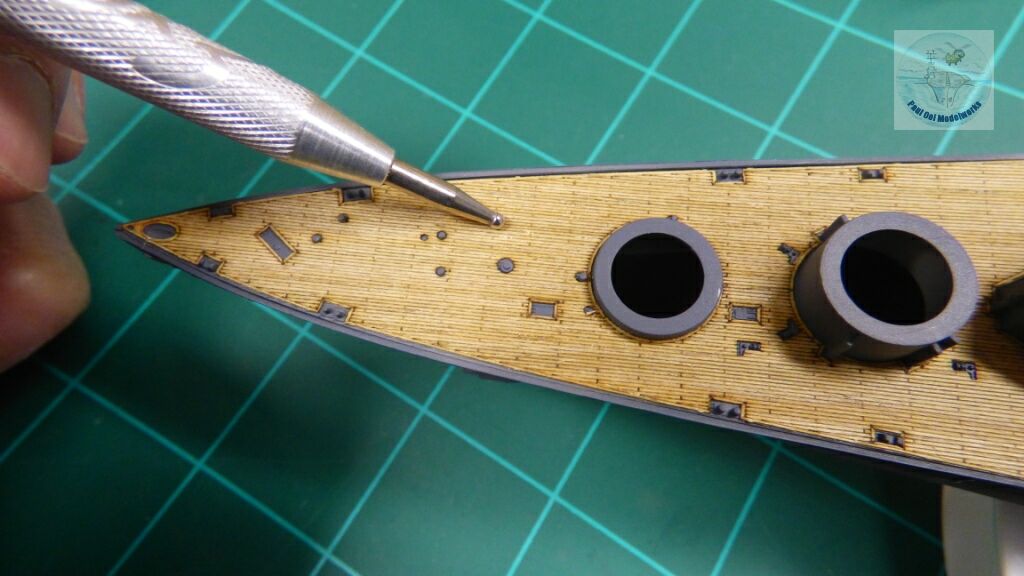
Use a round-nibbed stylus to press down the whole laminate securely onto the plastic kit deck. The pressure adhesive works instantly, so do make sure that you have the correct part and fit.
If you repeat these steps across all the decks, your ship will look great!

