When building WW2 and early Cold War era aircraft, you may encounter wingtip navigation lights that in real life comprise of a colored red or green bulb housed in a clear glass or plexiglass covering. If you are a stickler for detail (as I can be), you may want to re-create that look rather than painting that light quadrant entirely in green or red. Here’s a step-by-step tutorial on how to do this.

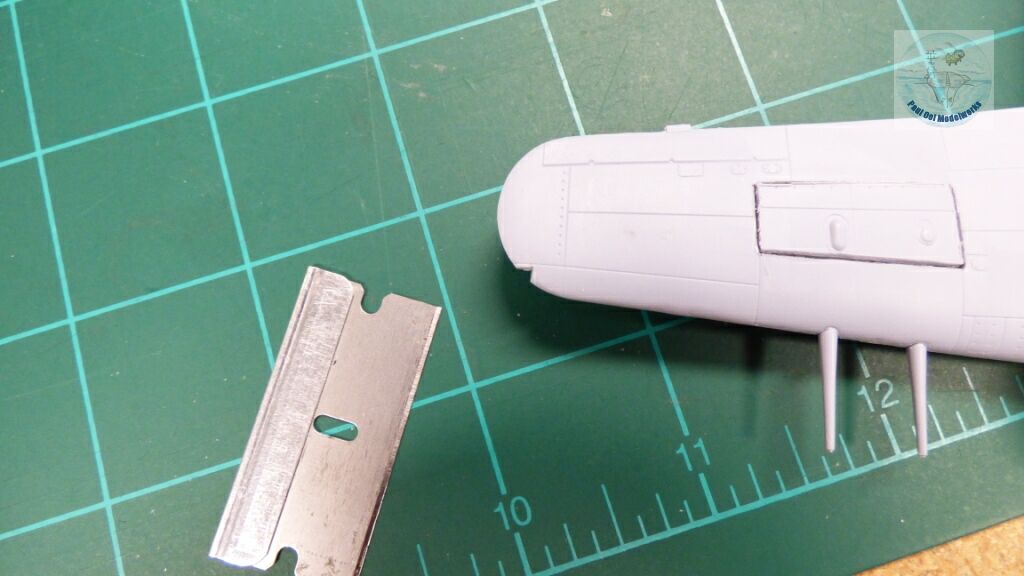
Step 1: Surgically cut away the navigation light quadrant away from the wing tip. I normally use a straight edged razor blade to do this.
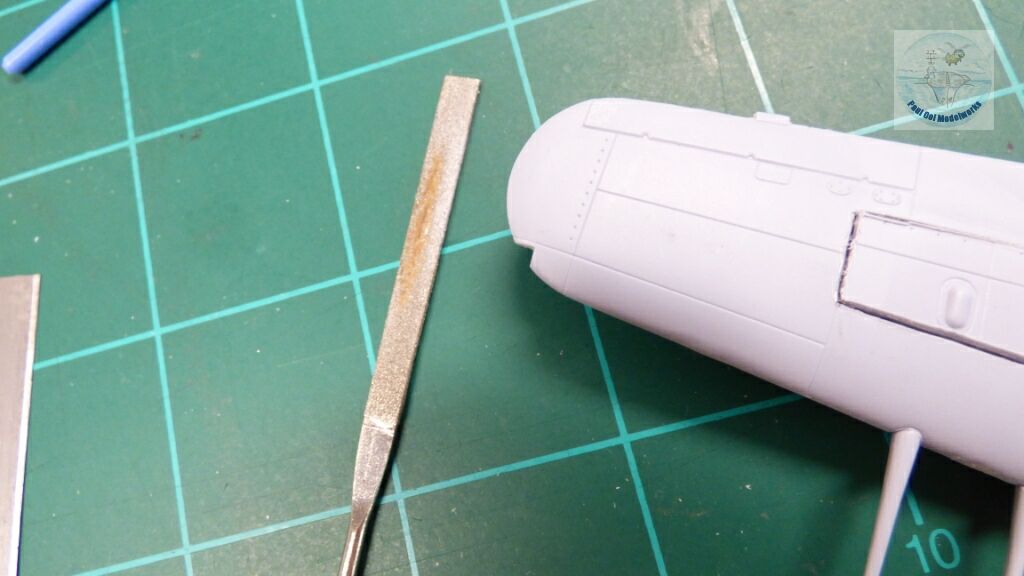
Step 2: After cutting away, clear the cut edges with a flat diamond file. This will help you to adjust the angle of the cuts to be truly perpendicular to each other.
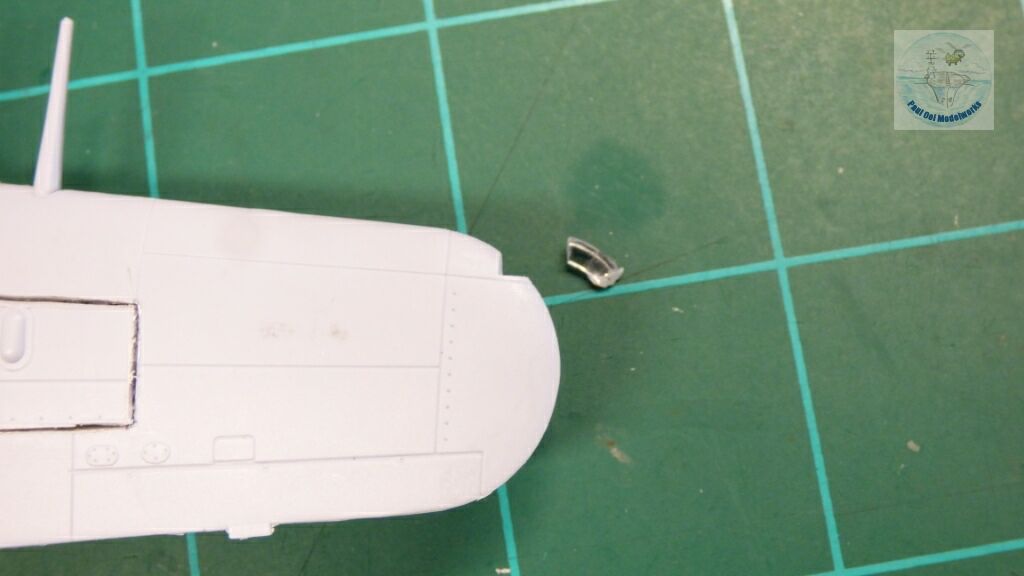
Step 3: Select a piece of clear sprue section that is closest in shape to the quadrant. Most of the time, you will need to carefully cut the section so that you are close enough in shape, and minimize cutting down of the piece later.
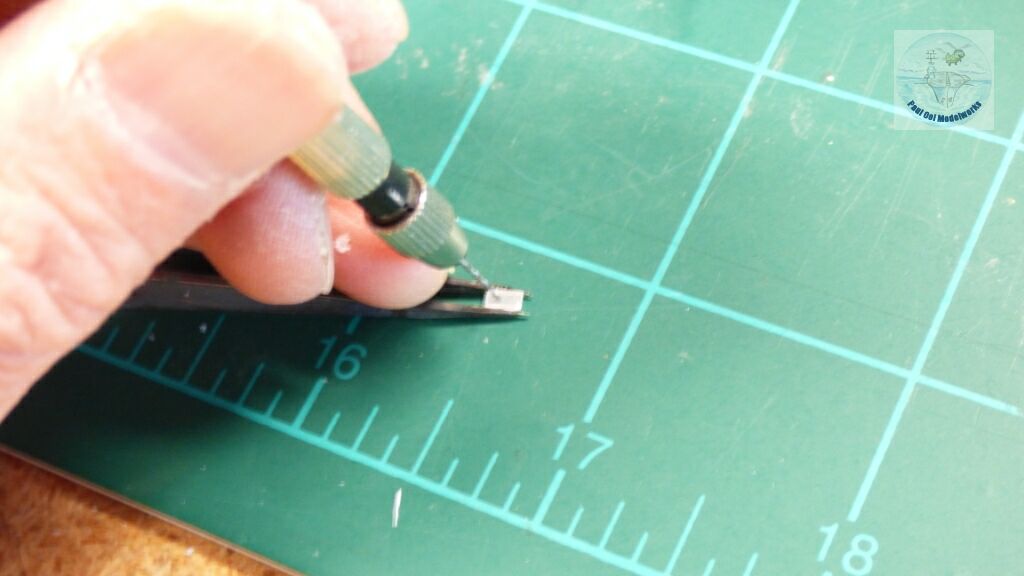
Step 4: Diamond cutting skills helpful here: Cut the sprue piece down to the correct shape and size. Always maintain the 90 degree corner needed to fit with the apex of the quadrant. Normally I start with cutting the sprue into the necessary wedged-shape to match the quadrant. Then I reduce the thickness to a close approximation. Then I file the peripheral outline to a rough approximation of the wing tip profile.
Step 5: Drill a small dead hole along the straight edge where the colored light bulb would be. I normally use a tiny pin drill about 0.5 to 0.8mm in diameter. The drill hole will become the “light builb” when seen through the clear block later. The depth of the drill bore will be the length of the bulb.
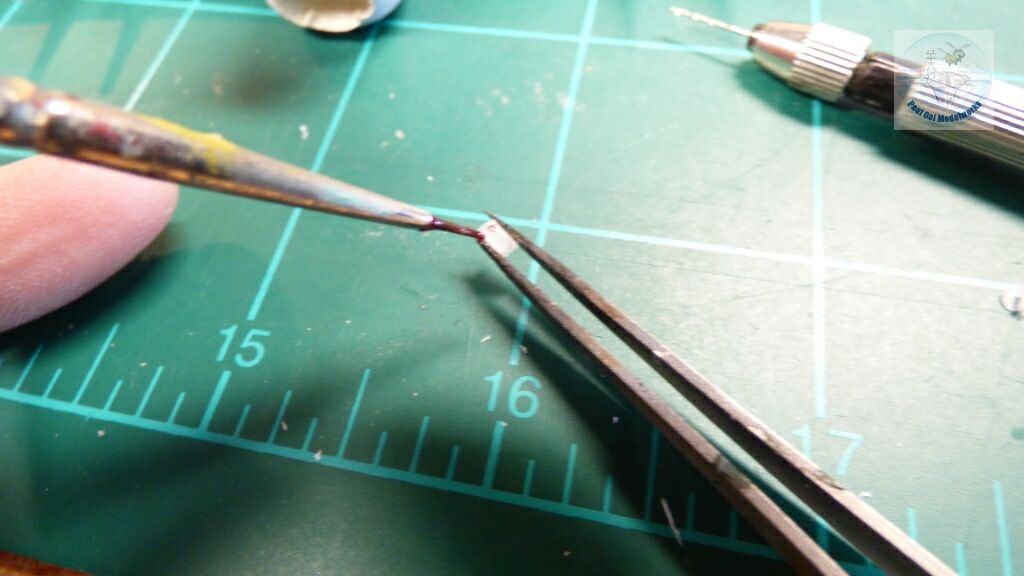
Step 6: I fill the drill bore with the desired bulb color, usually Tamiya Clear Red or Clear Green. Wipe off excess paint.
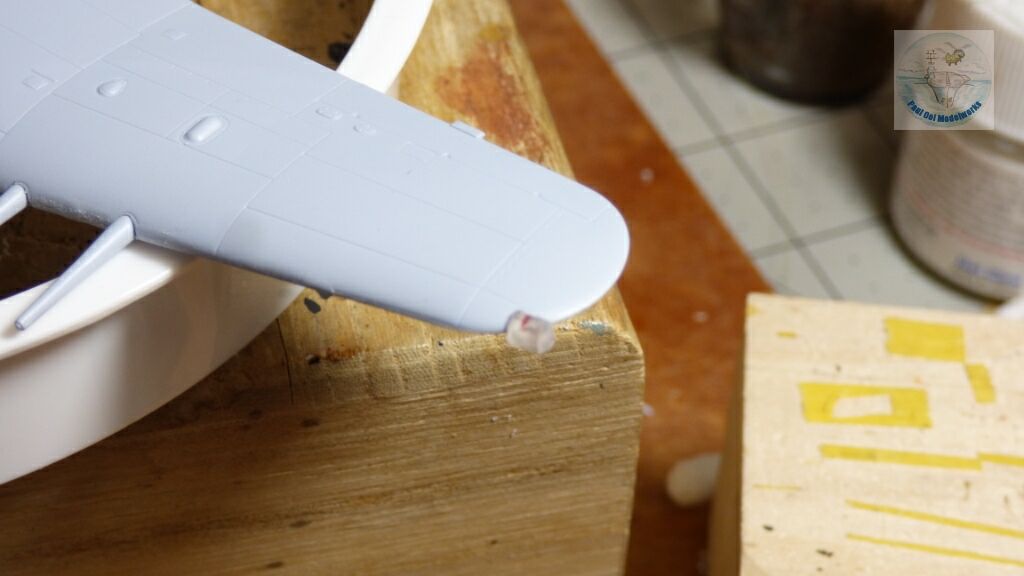
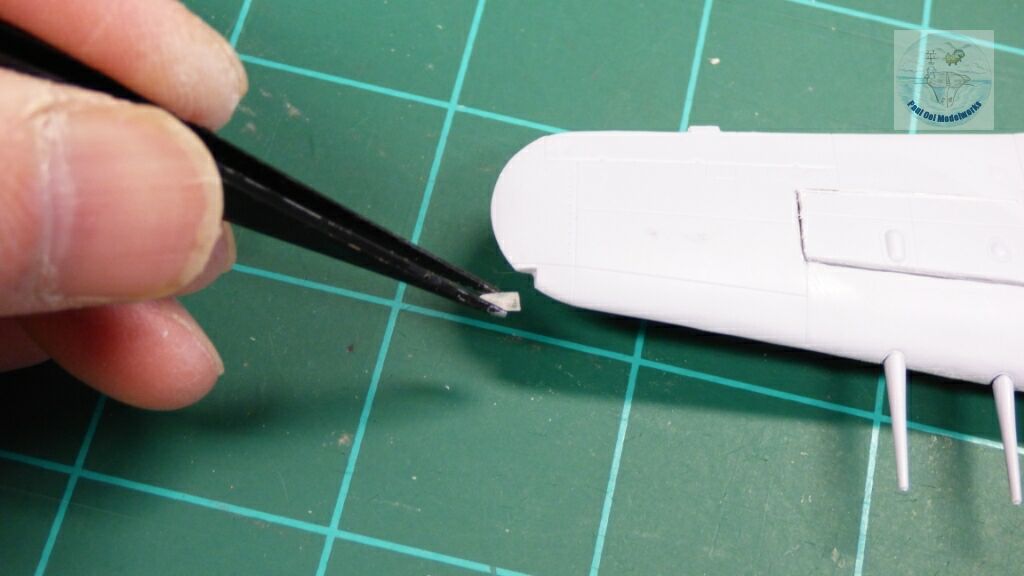
Step 7: Bond the light block onto the wingtip, being careful to orientate the direction of the light bulb. I normally use a liquid polystyrene glue for best results. Do let this block set properly into the wing tip.
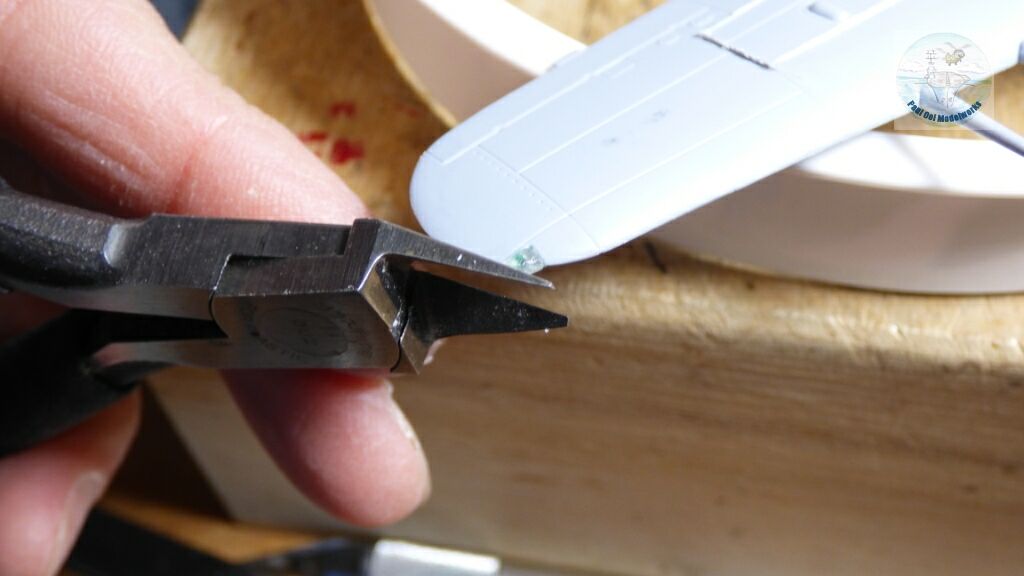
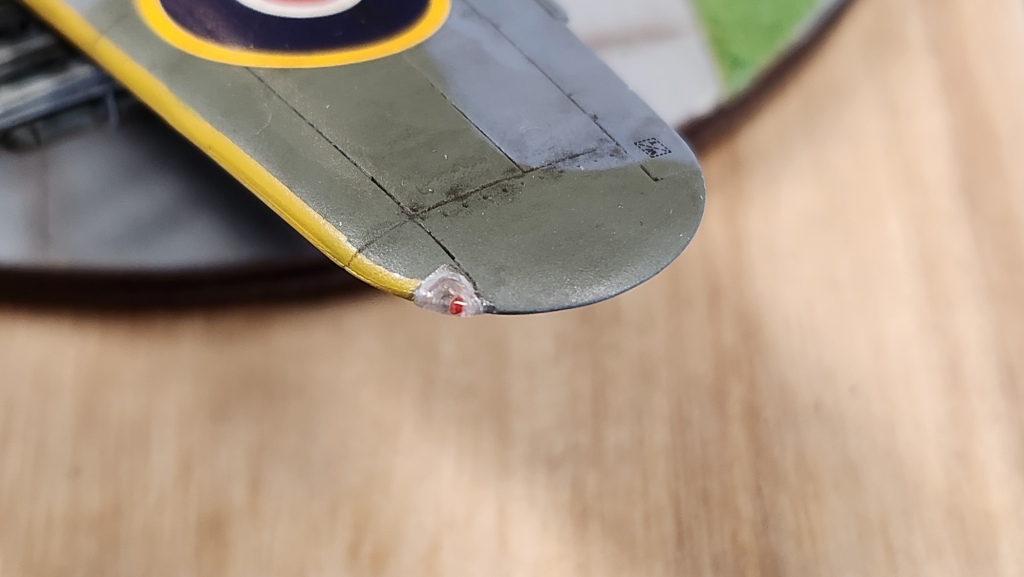
Step 8a: Carefully trim off the excess clear plastic off the light block.
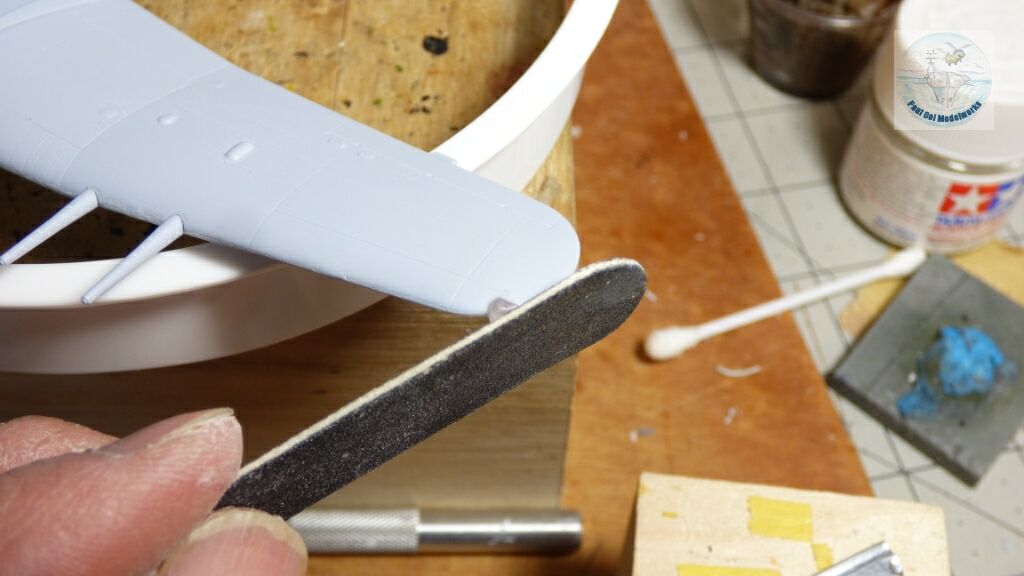
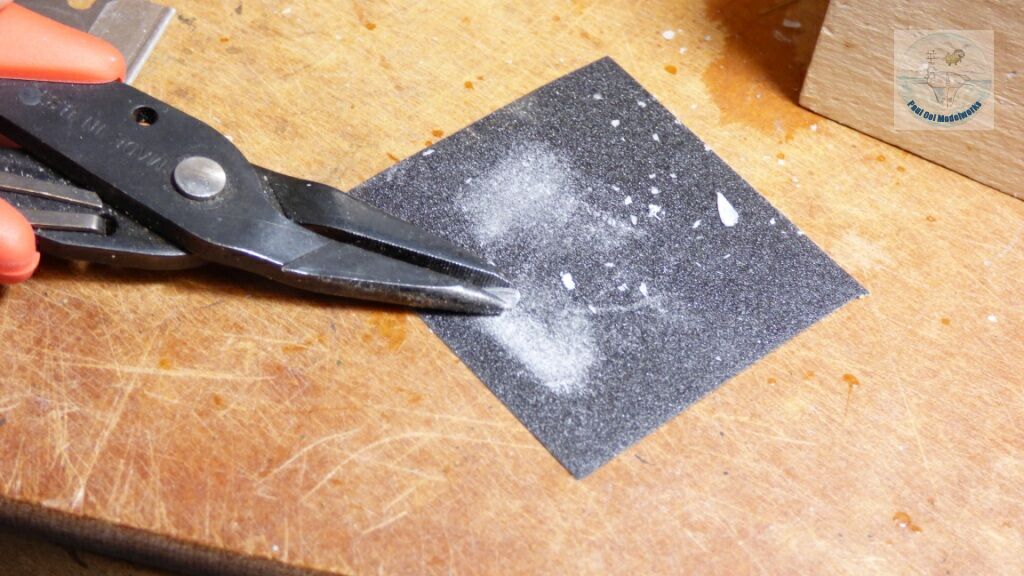
Step 8b: File down the outer edges to be flushed and faired to the shape of the wingtip. Similar file down the top and bottom surfaces to match the surrounding aerofoil shape. Progress from rough sanding grade up to the finest, finishing with the polishing grade for the sanding stick. Do not use a hard metal file as this may accidentally take off the surrounding solid plastic material.
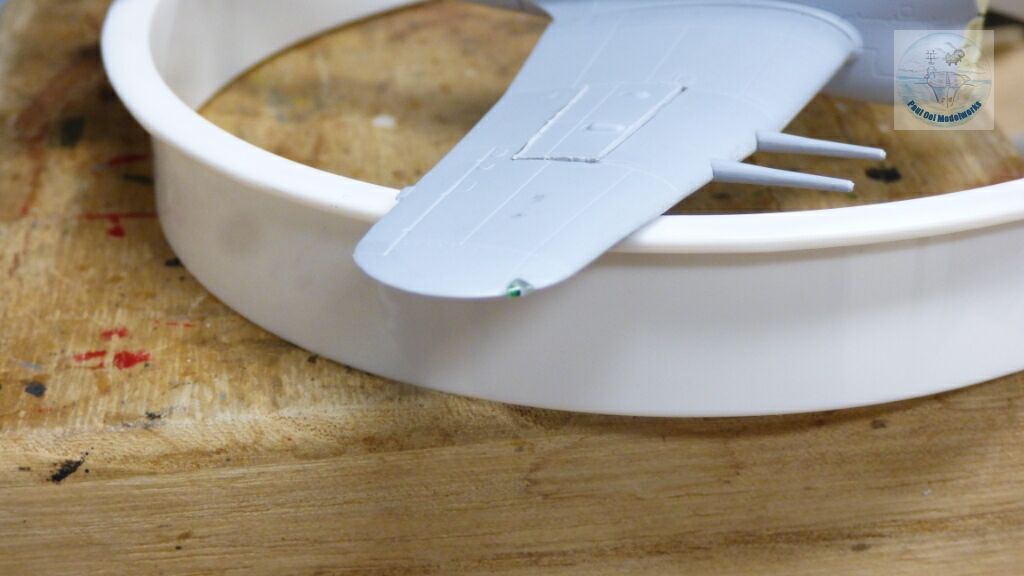
Step 9: Once you are satisfied with the overall shape and clarity of the navigation light housing, apply a coating of gloss varnish or Pledge floor polish to make the lamp “shine”.