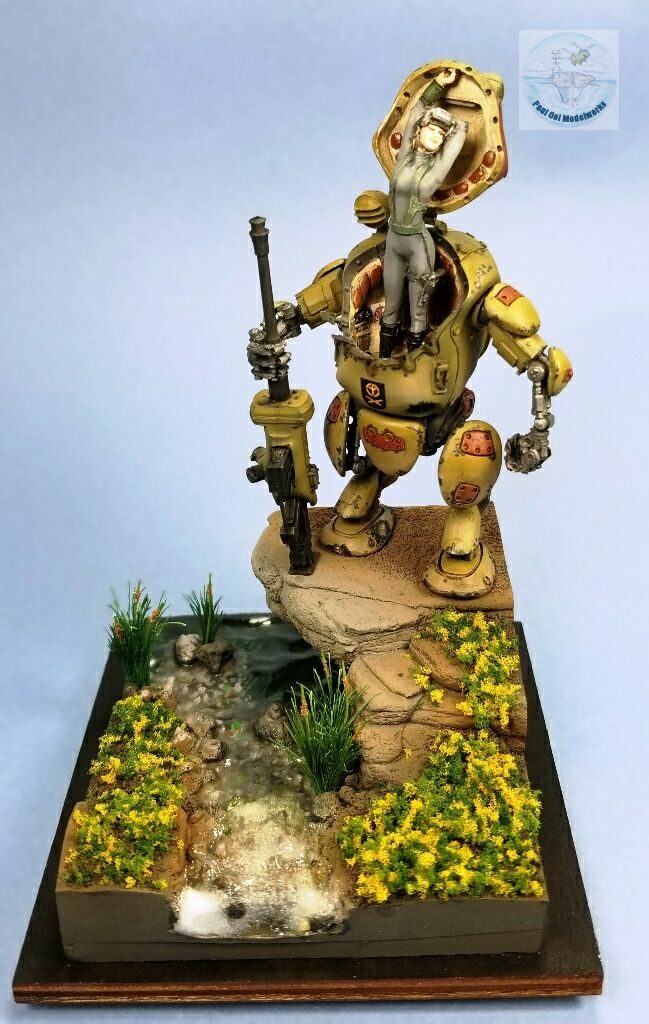
High Plains Con 2019 Gold Medal Sci-Fi
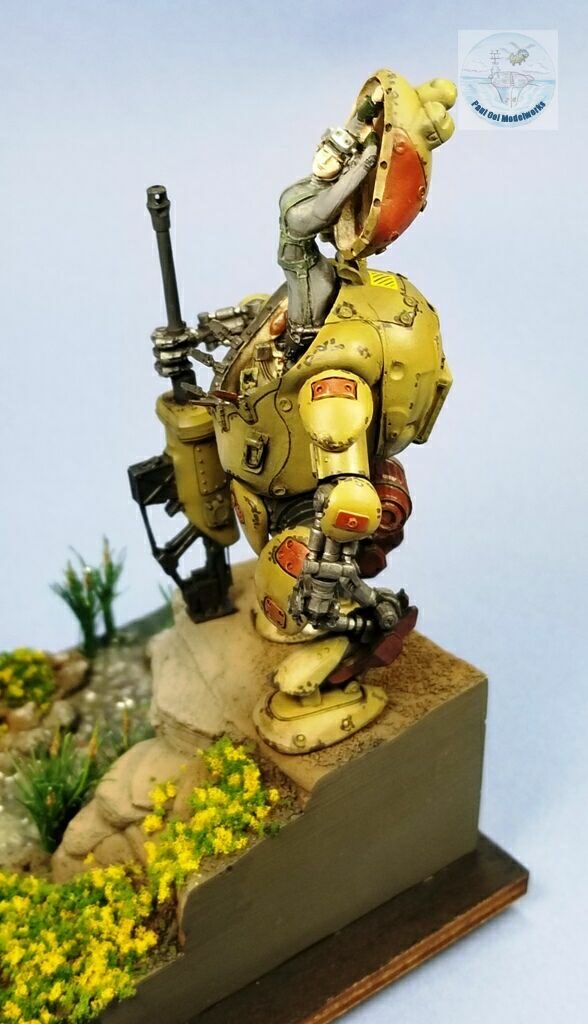
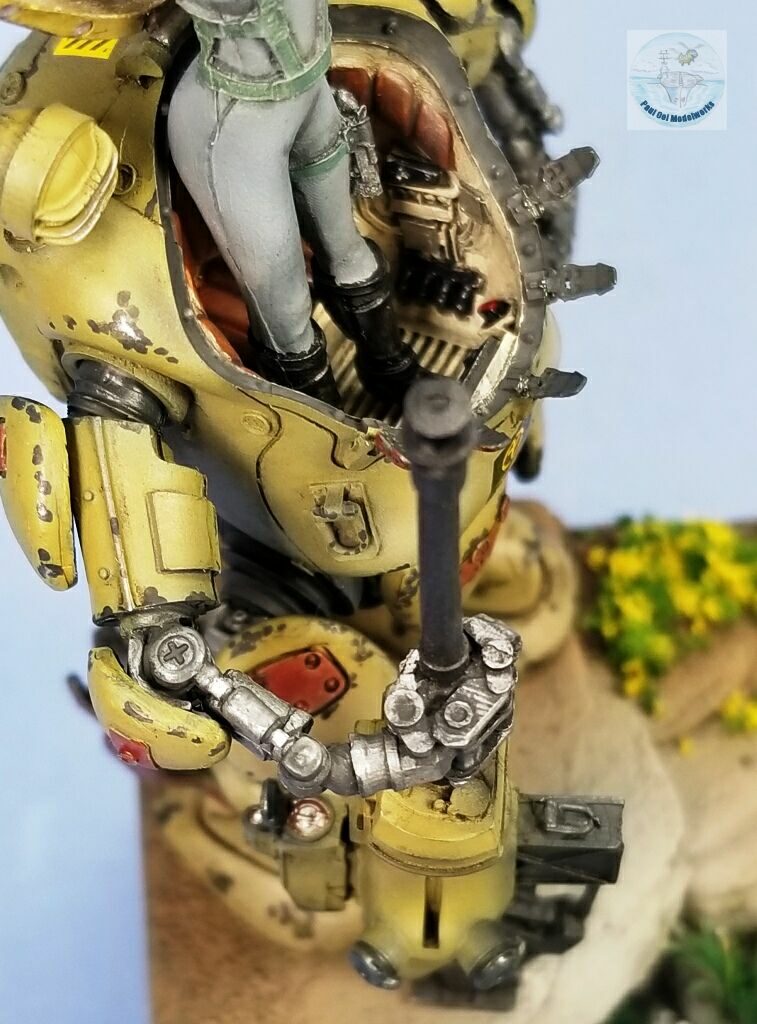
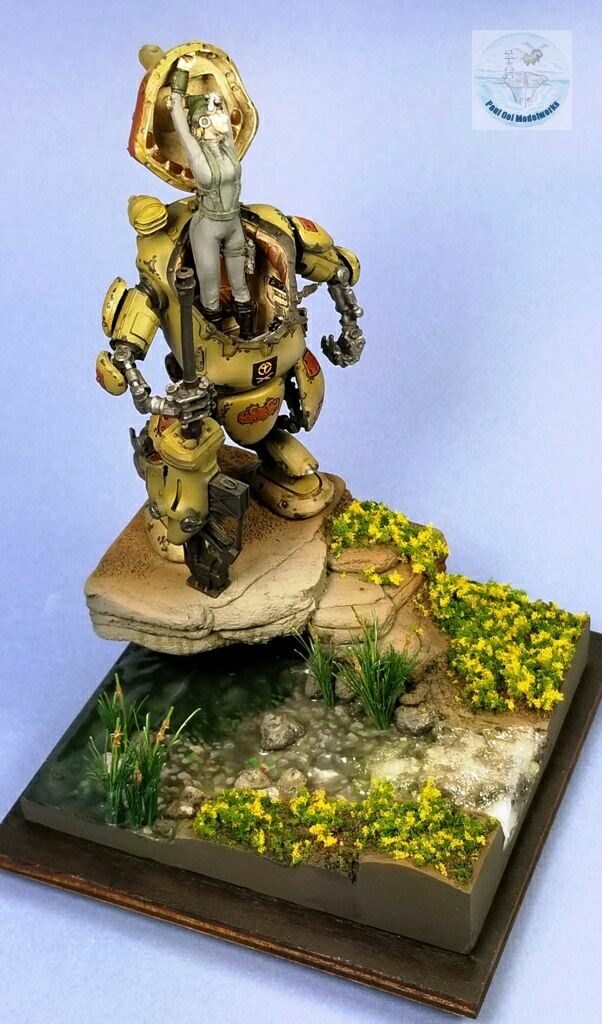
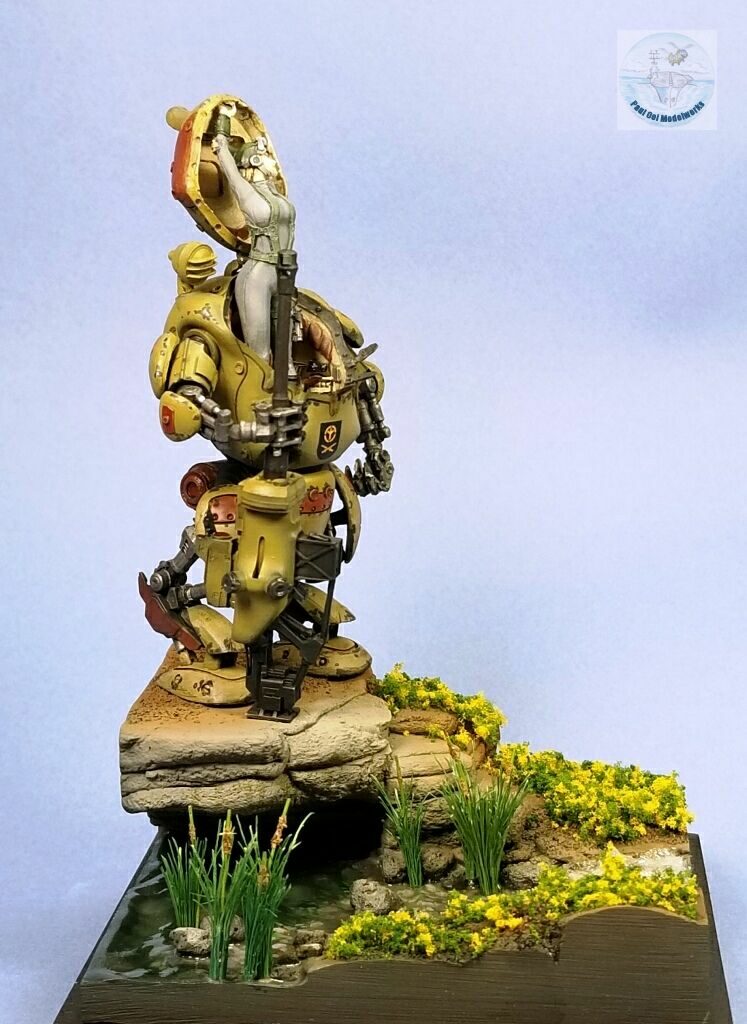
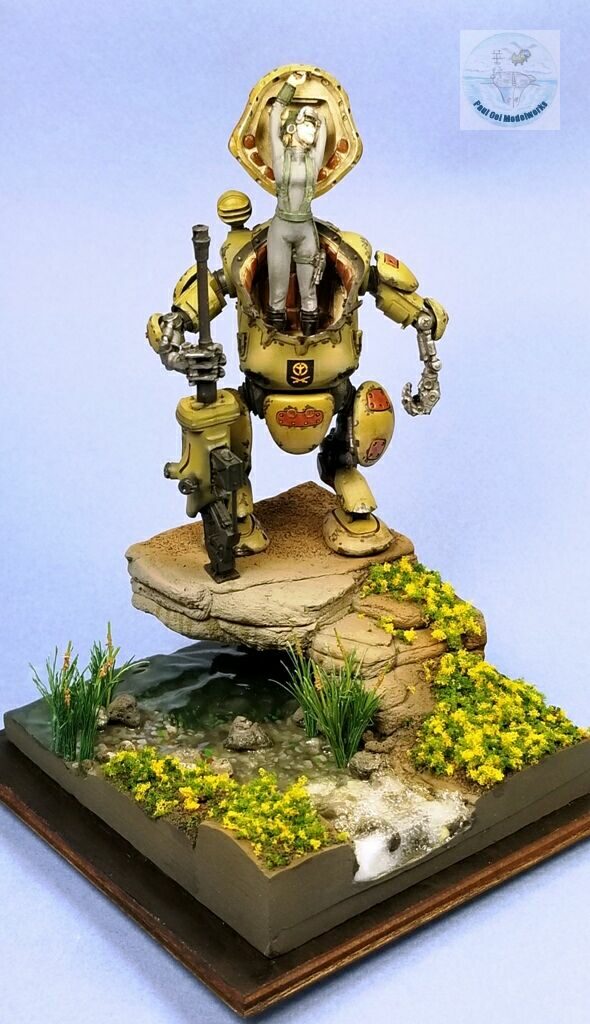
In the scale modeling world, there is a sub-culture dedicated to combining WW2 themes, mainly German with futuristic robot themes. Hasegawa came out with the popular Machinen Krieger series in 1/35th and 1/20th scale. There are many other spin-offs feeding from or into the parallel video game genre like “Wolfenstein”. I came upon this which is a series of 1/35th scale MaIM Front 46 Schwabenland Army resin models of robots and walkers. This one is a type of battle robot called the “Hammerschlag” (Hammer Blow) armed with what looks like a 75mm KwK cannon.
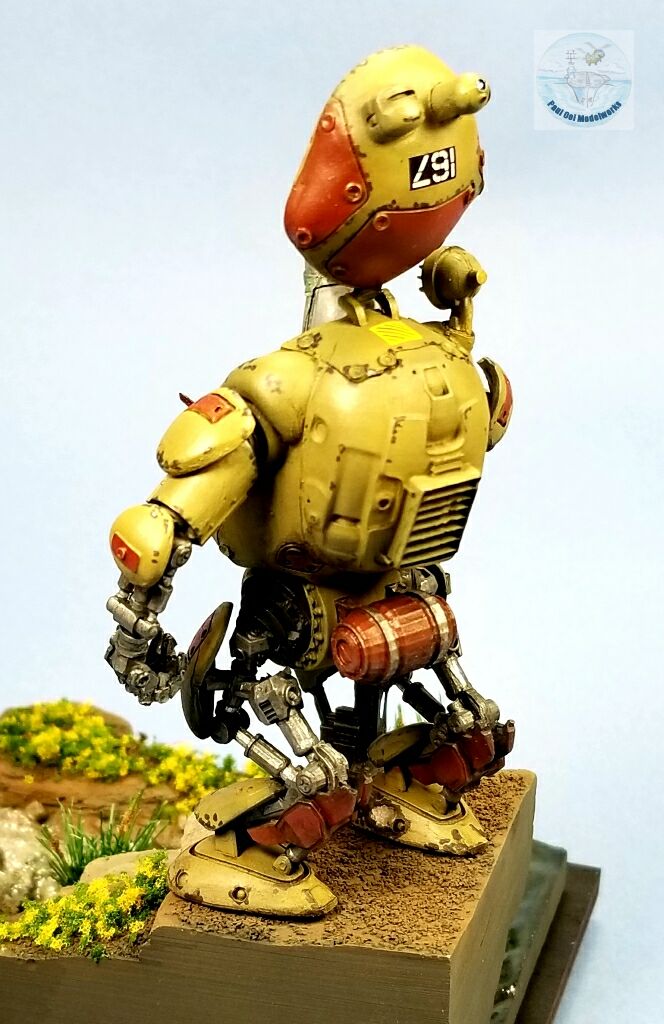
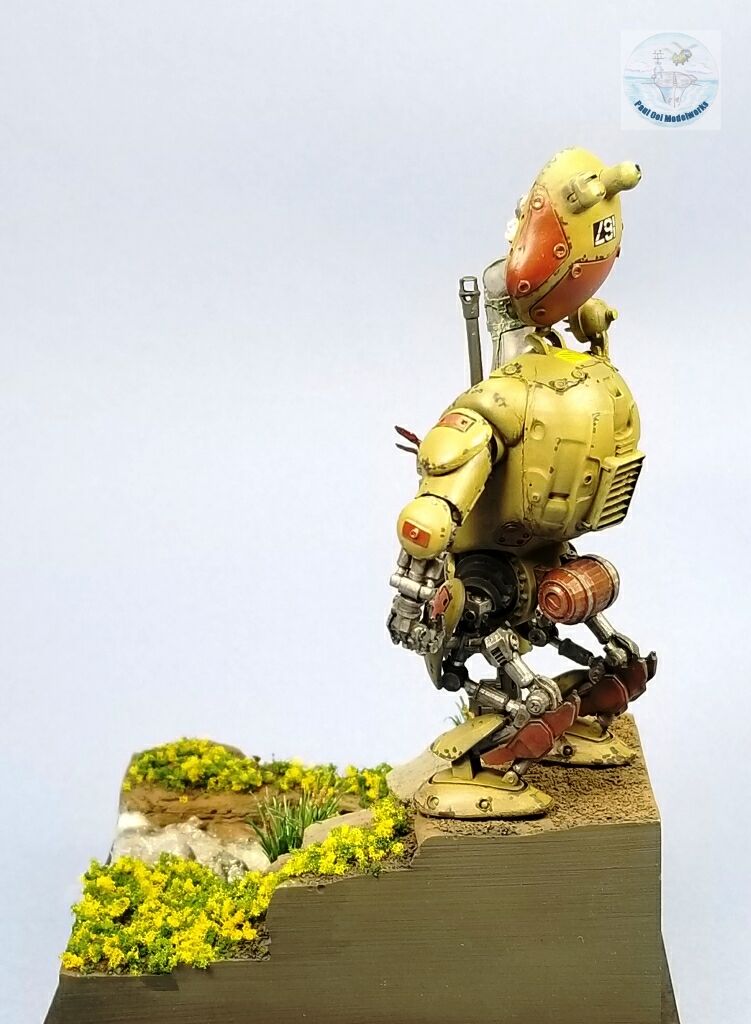
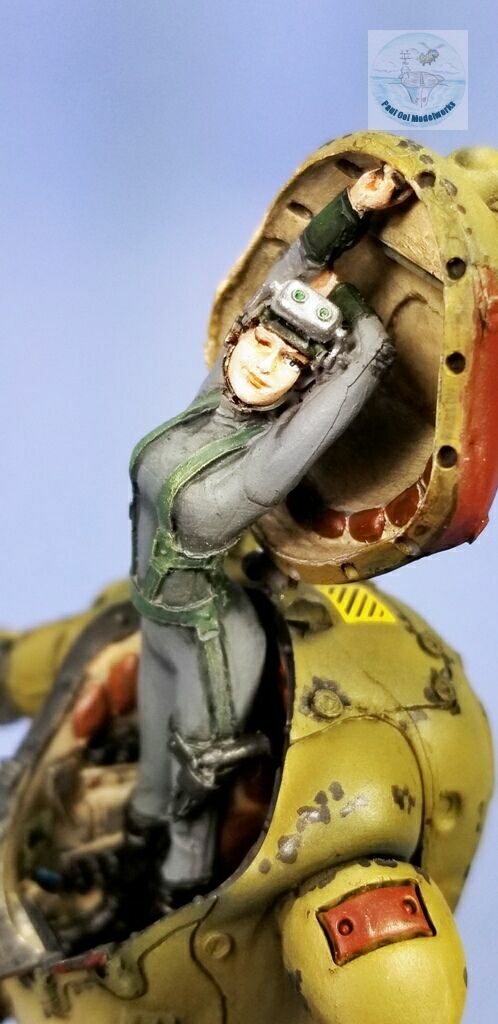
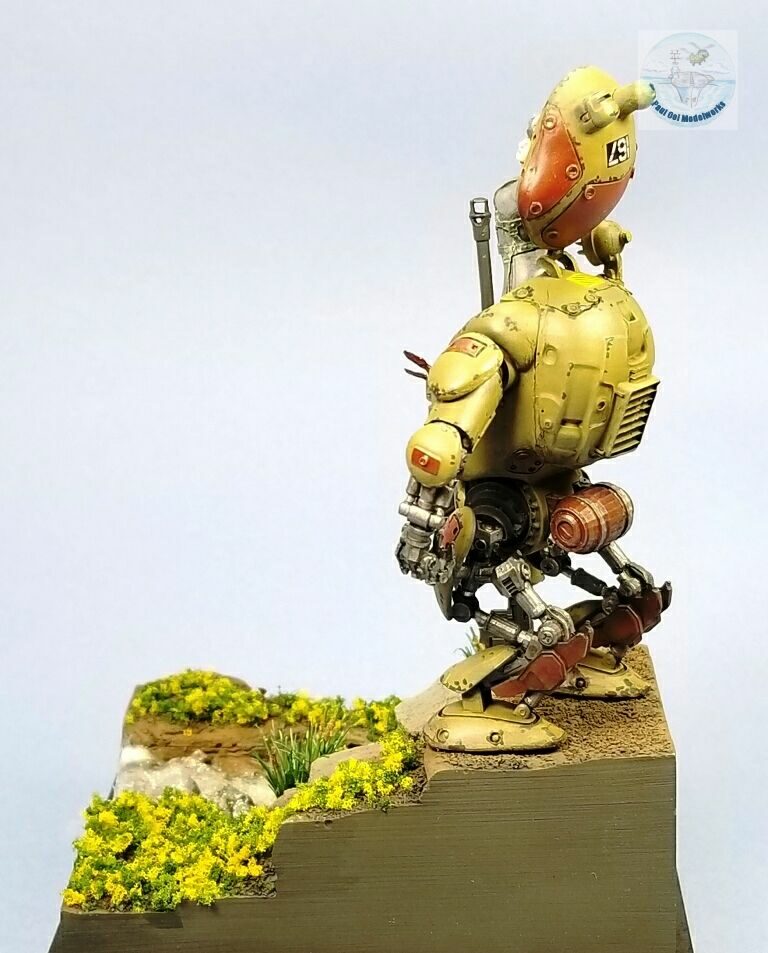
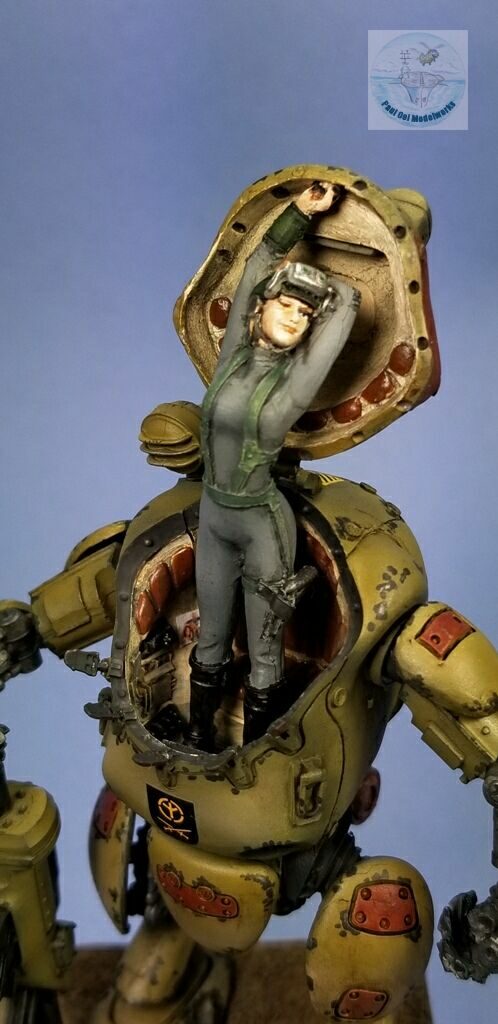
In keeping with the “Wermacht ’46” theme , I purposely finished the battle robot (actually it is a mecha-suit since it has a human operator within, not AI) in Wermacht tank colors of Dunkelgelb (Dark Yellow) and Schokoladenbraun while Ute wore a suit of German field grey with Olivgrun webbing and black boots. The front shield marking was from the from the historical 4th Armored Division. Do note that these fantasy portrayals of a quasi-Wermacht robot army has no definite time period except to say that the Wermacht continued into some period beyond 1945 using futuristic weapons and equipment.
Gallery
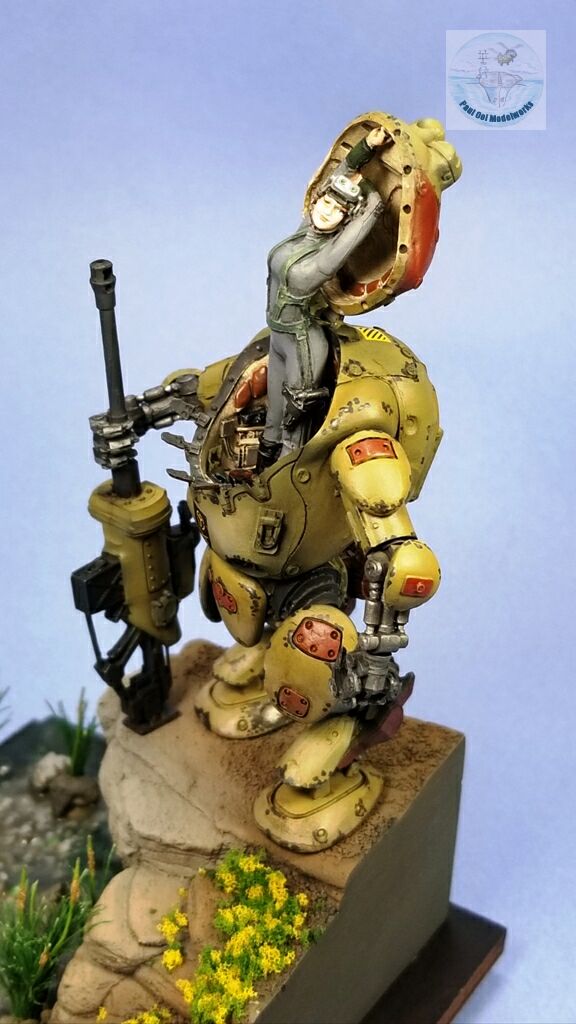
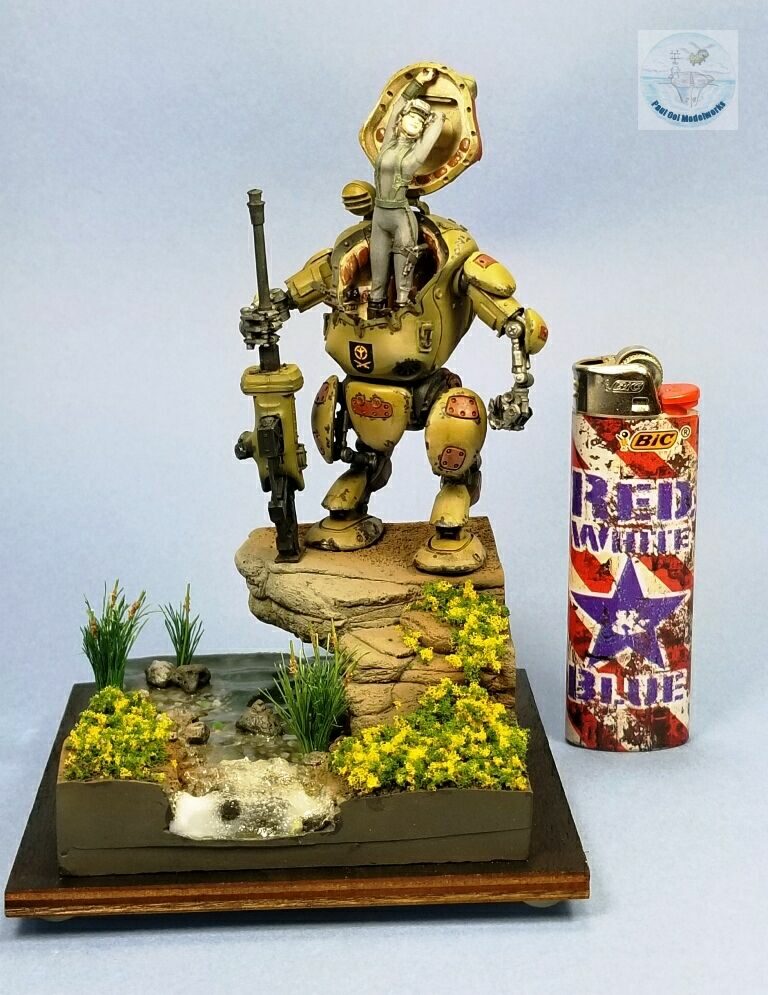
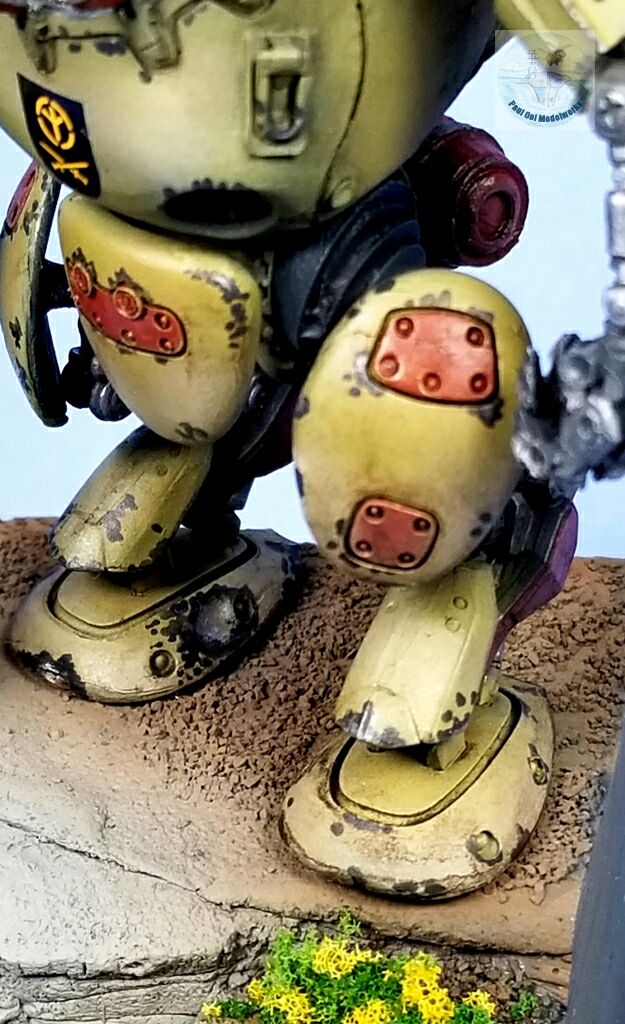
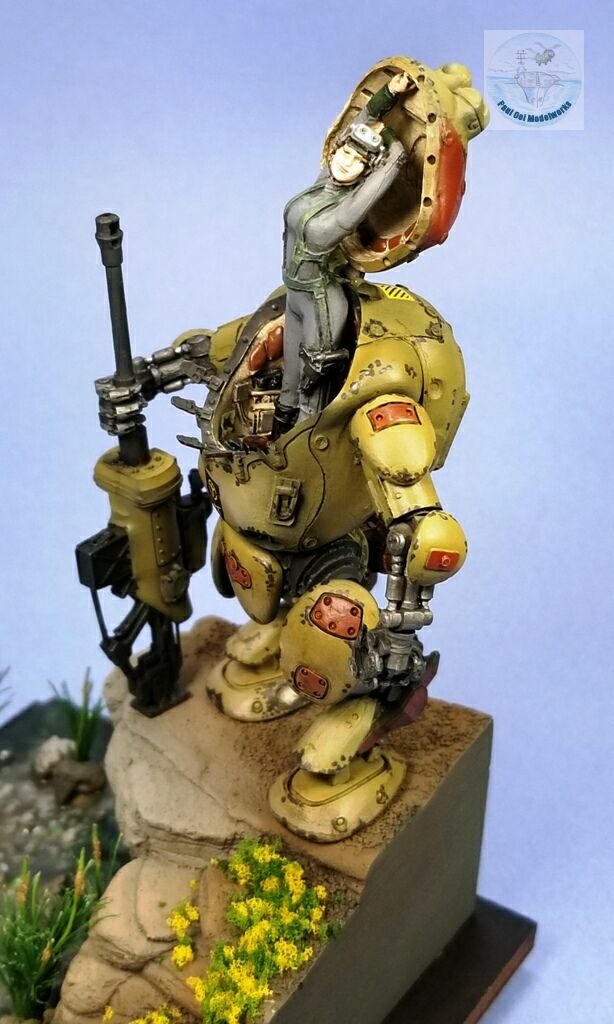
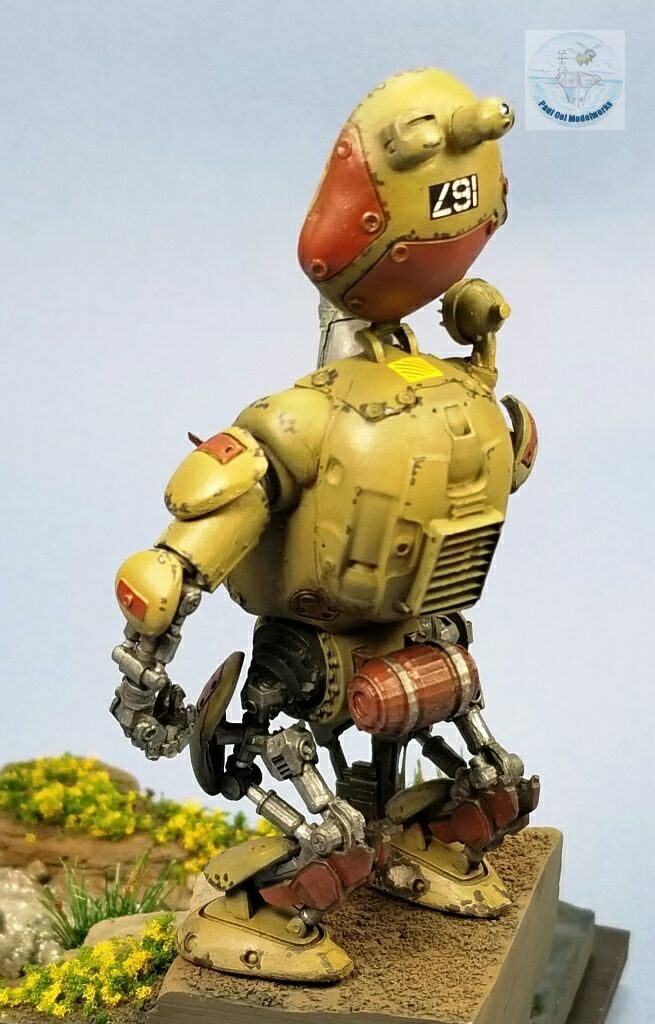
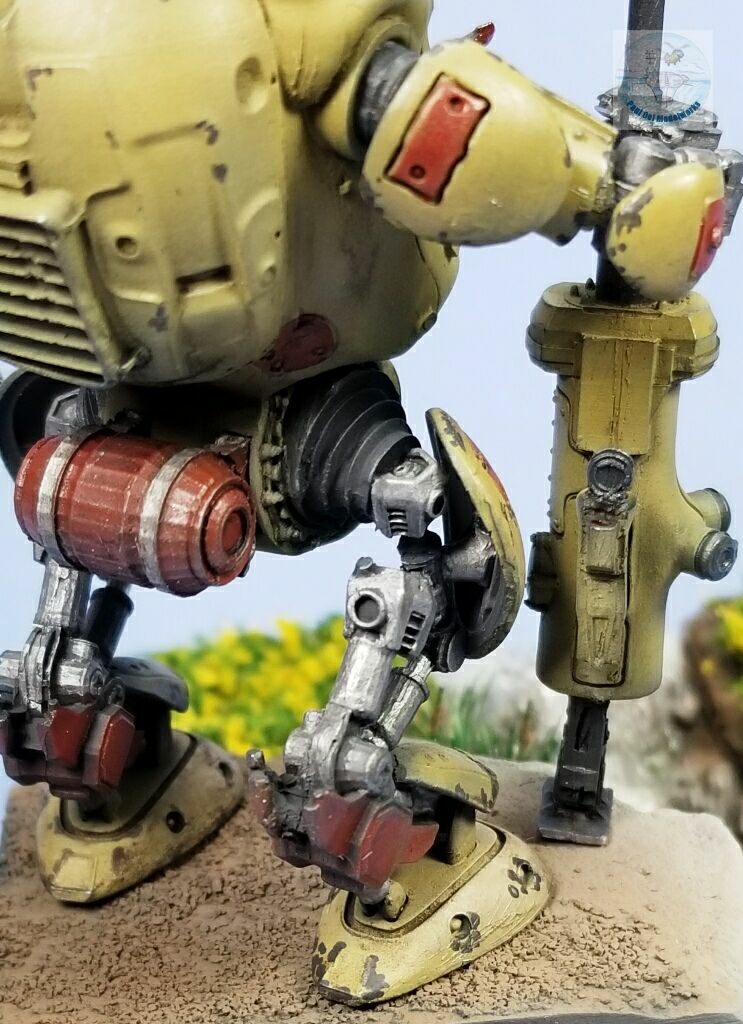
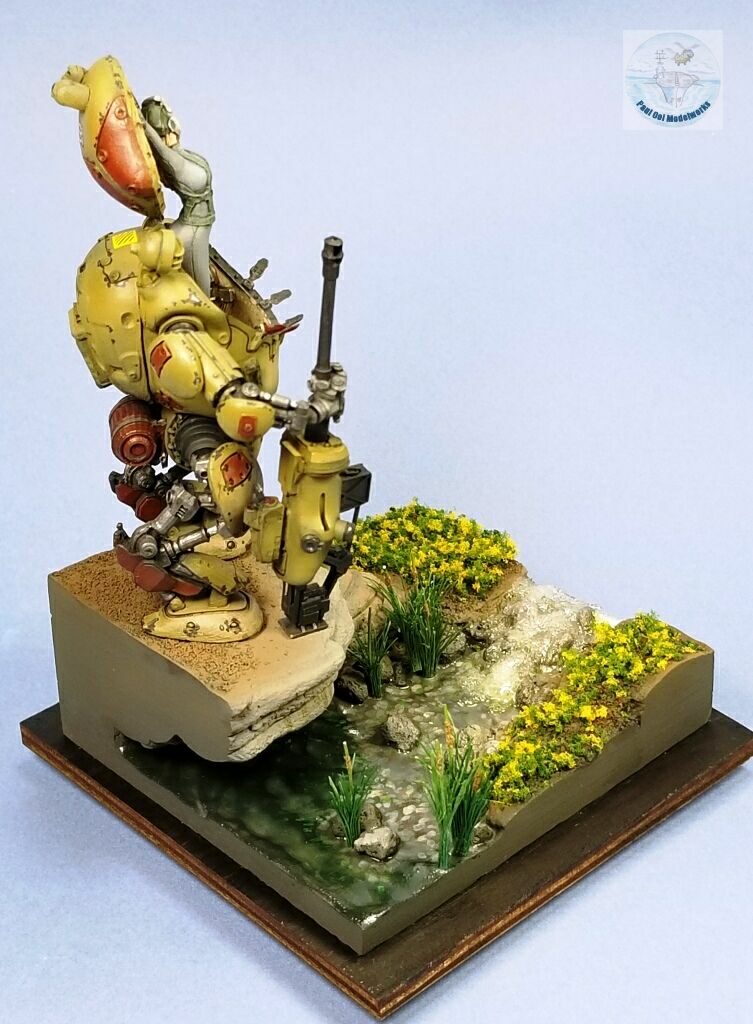
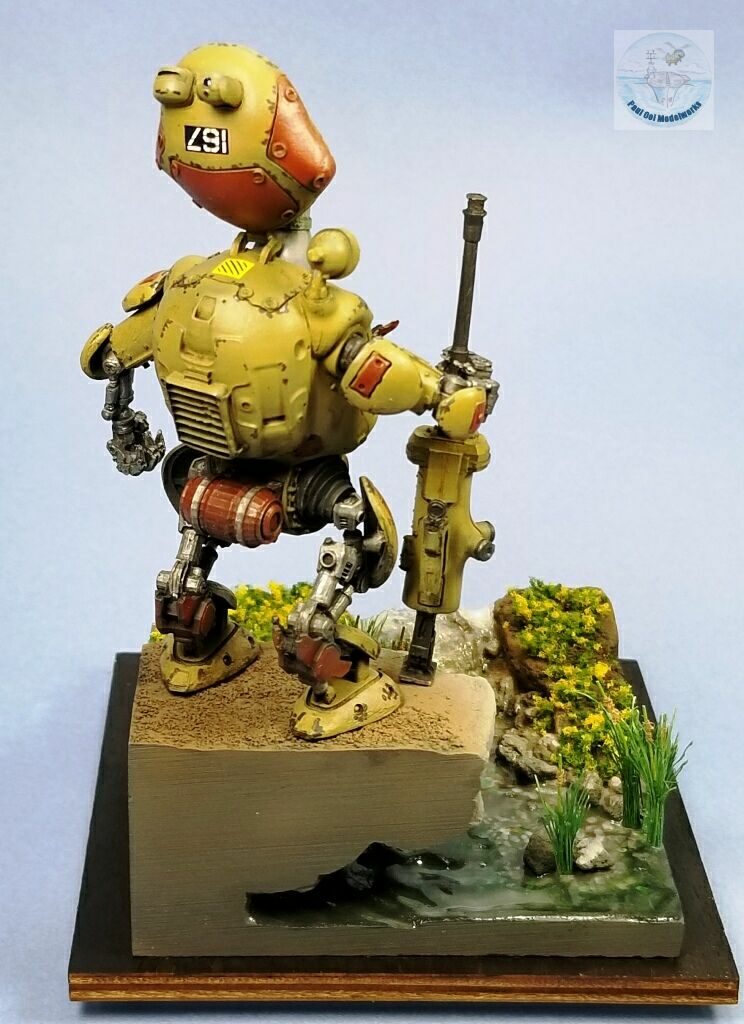
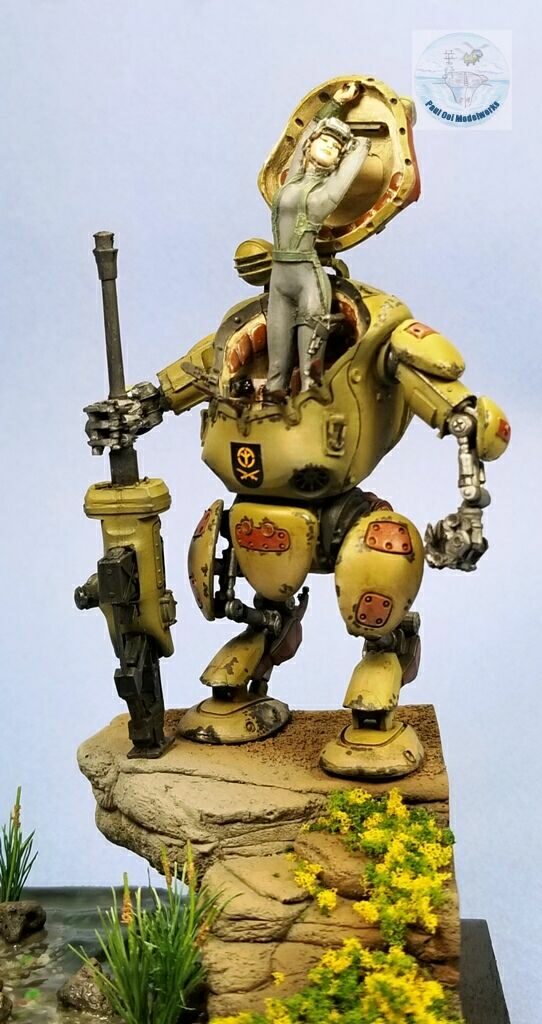
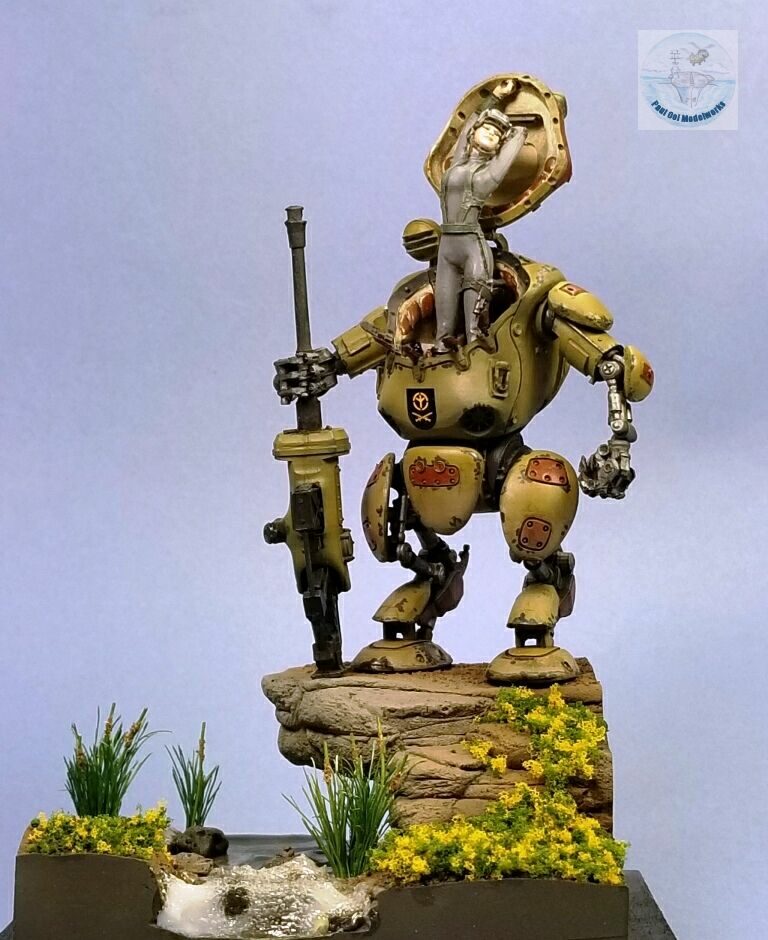
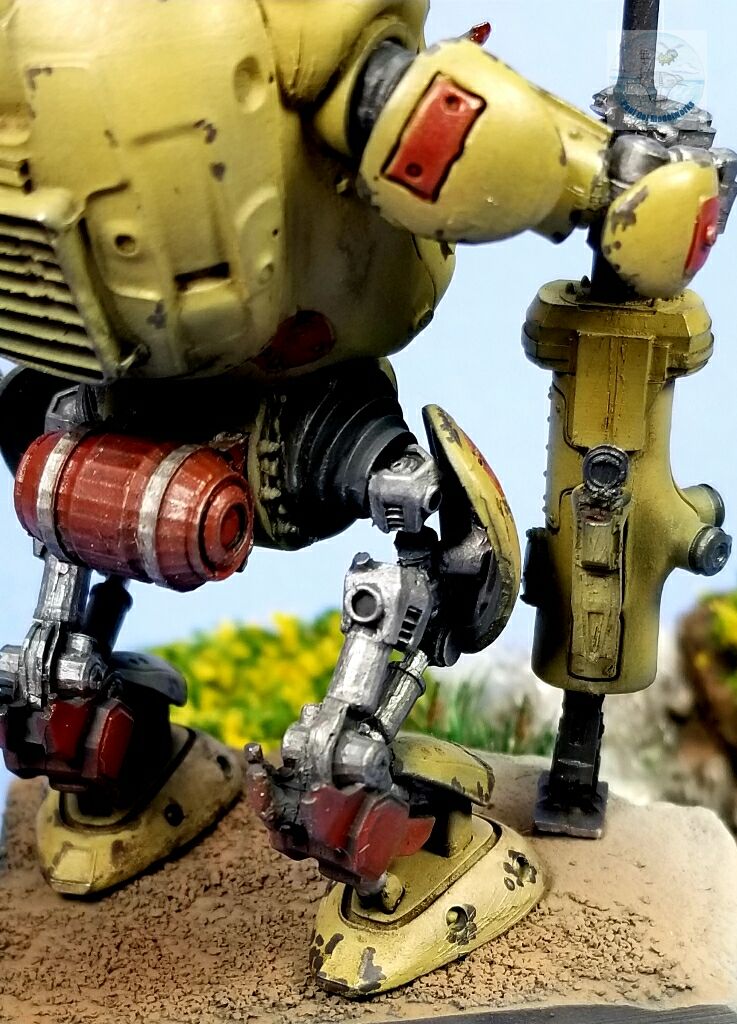
Construction Notes
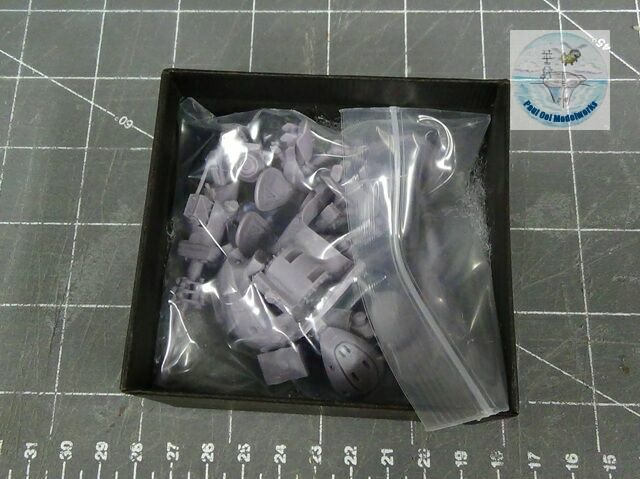
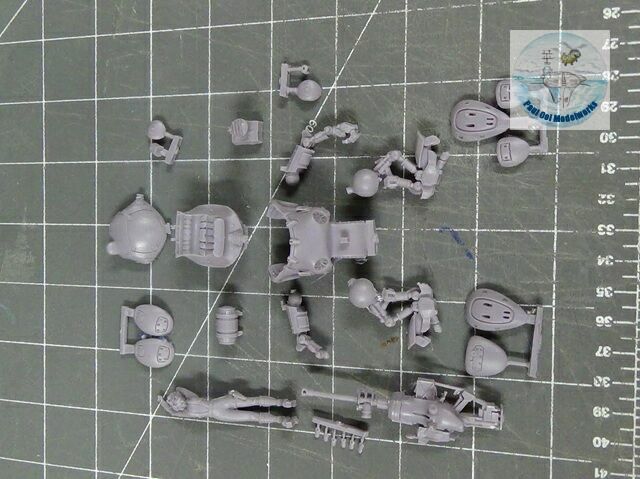
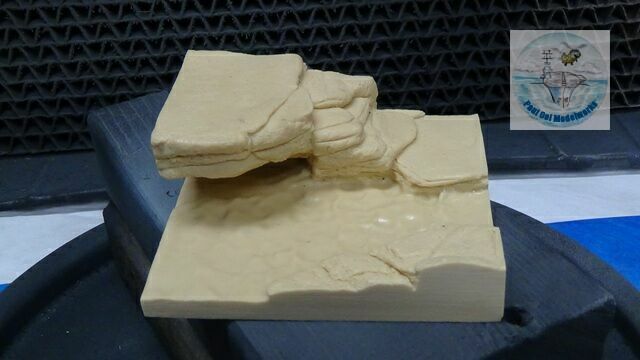
This 1/35th scale resin kit is available in E-Bay and comes on a ziplock bag of resin-casted parts within a small square box. The resin parts have very crisp details with some resin flashes among the more slender parts. I check these to make sure that all the necessary parts are there. It is important to clean the resin parts in soapy water and use a small toothbrush to get rid of residual resin oil for better paint adhesion. I also happen to have this resin-cast landscape that I purchased a long while back without a clear idea of what to do with it. I thought I would use it to create some interest for the display by contrasting the warlike mecha-suit with an almost idyllic country stream.
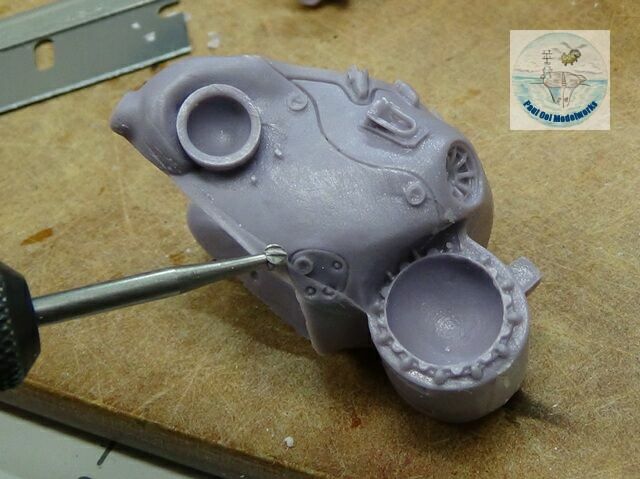
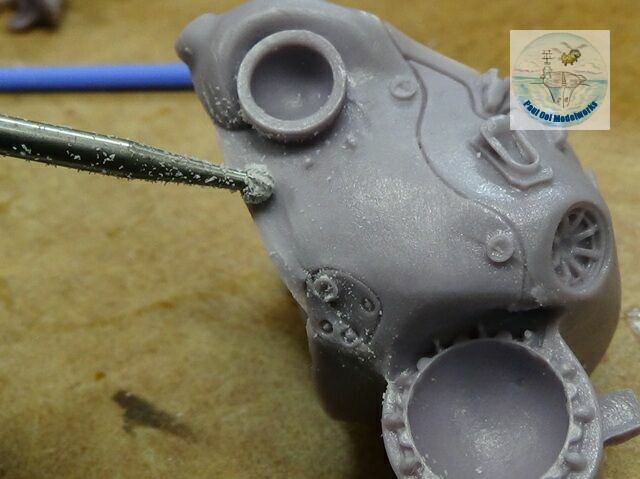
First of all, I had to sand file and in some cases, grind away the cast seam lines found among the resin parts.
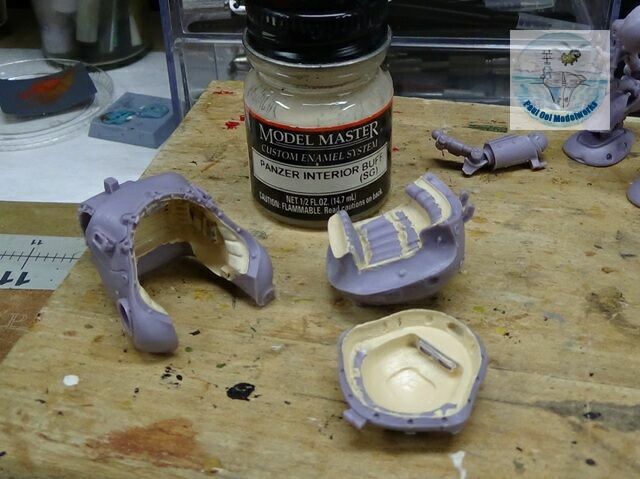
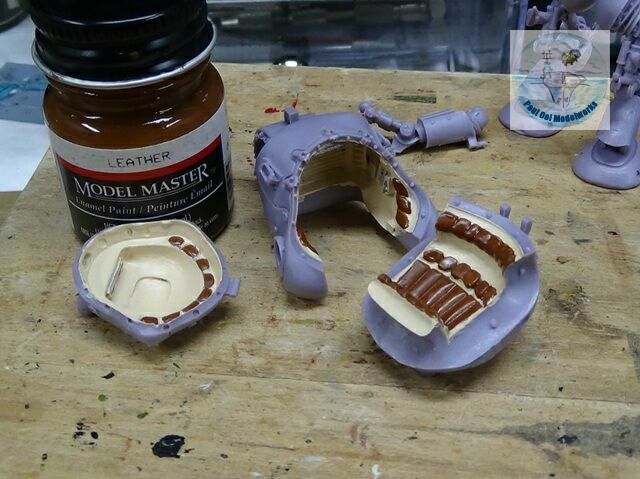
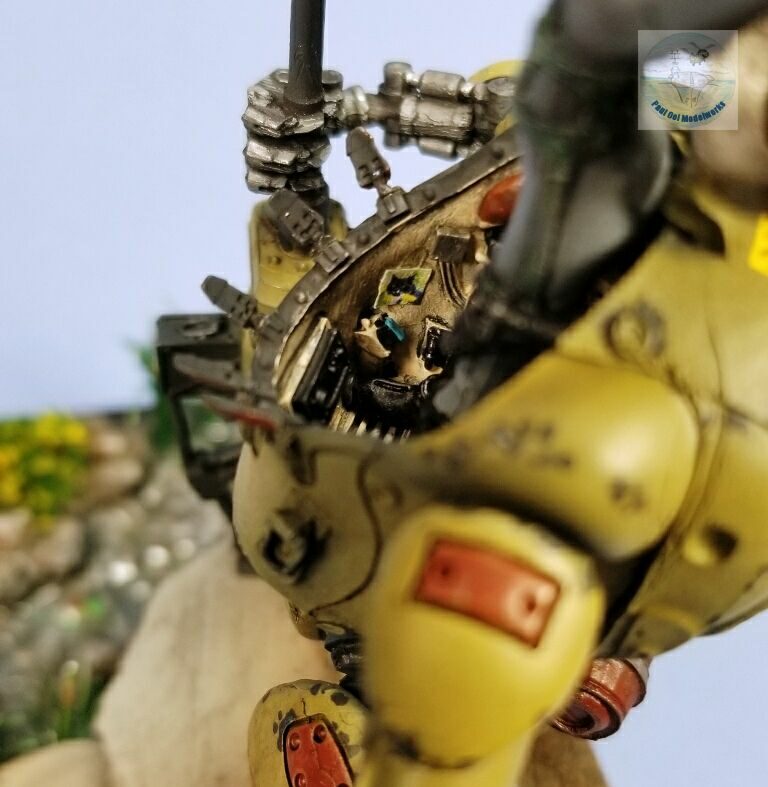
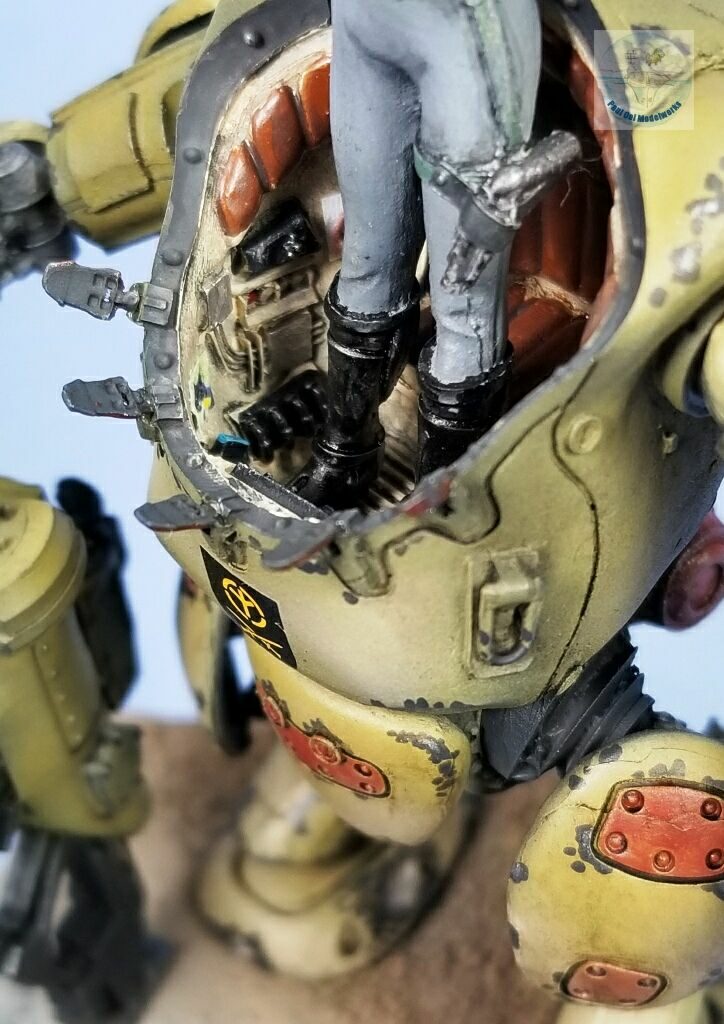
In keeping with the retro-Panzer theme, I paint the interior of the cockpit Model Master’s Panzer Interior Buff. This then followed by large sections of leather cushions (Model Master Leather) lining the mecha-suit interior.
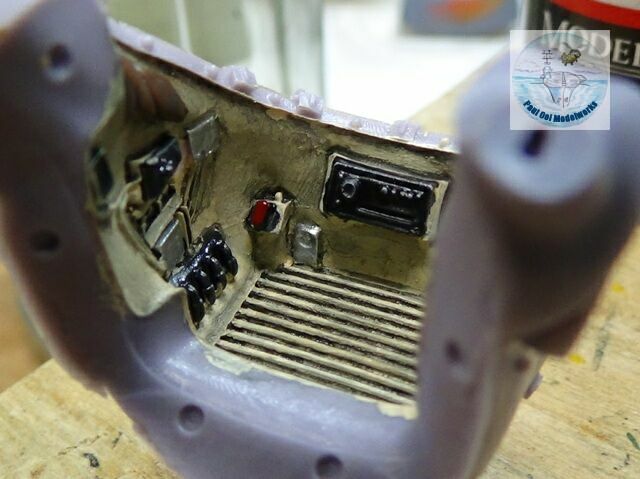
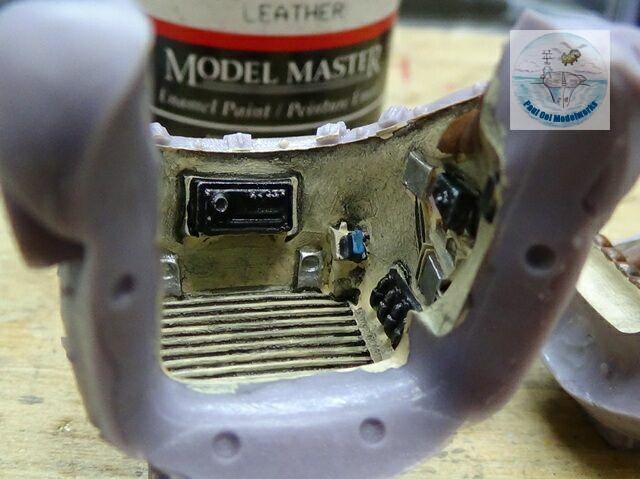
More interior details are added (these are already part of the resin cast) by painting several switch boxes and the main (radio?) console Model Master Interior Black, highlights in Prismacolor pencil Silver, Model Master Silver for some console boxes. After detailing, we give the interior a wash of 4 parts Tamiya thinner: 1 part Tamiya XF69 NATO Black. This really helps to highlight tight interior details of the mecha-suit.
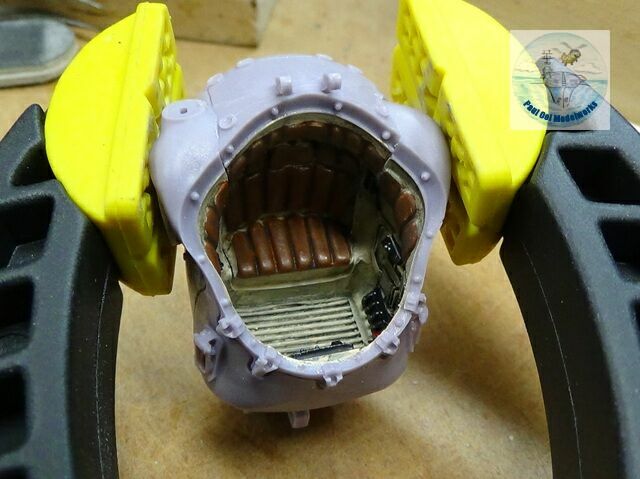
The two halves of the main cabin fit snugly together and need a pair of clamps to pressure the outer cabin roof to close the gap.
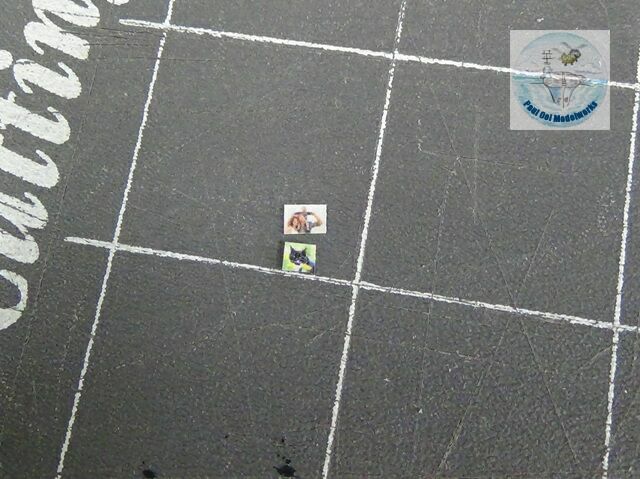
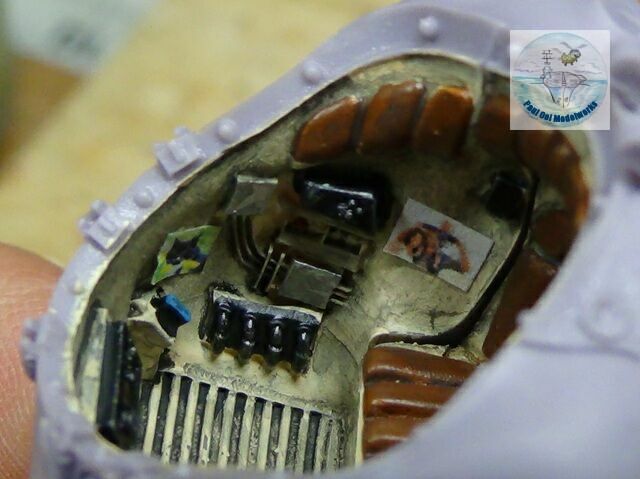
I added some favorite personal pictures that Ute may have of her cat and family inside her cabin. These were shrunk down in print to only about 1/16″.
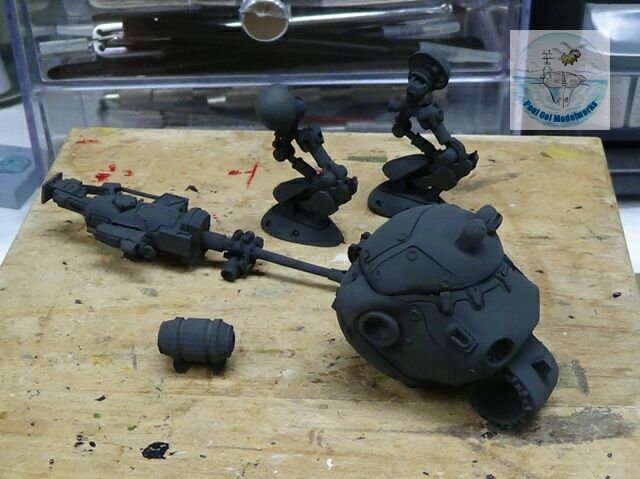
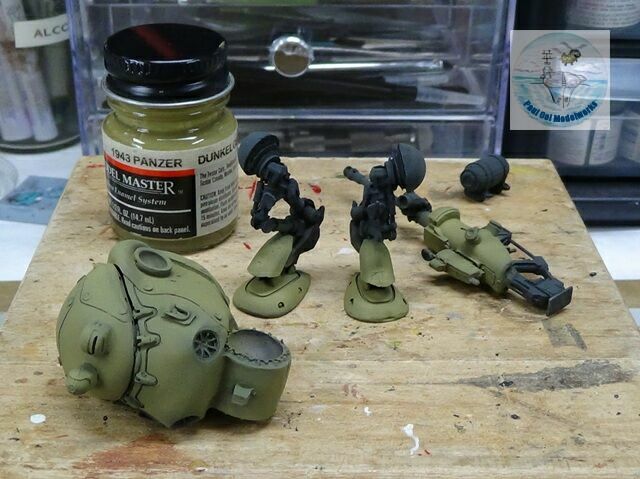
I primed the mecha-suit with Tamiya NATO Black XF69. Then I painted main sections with Panzer Dunkelgelb (Dark Yellow) from Model Masters.
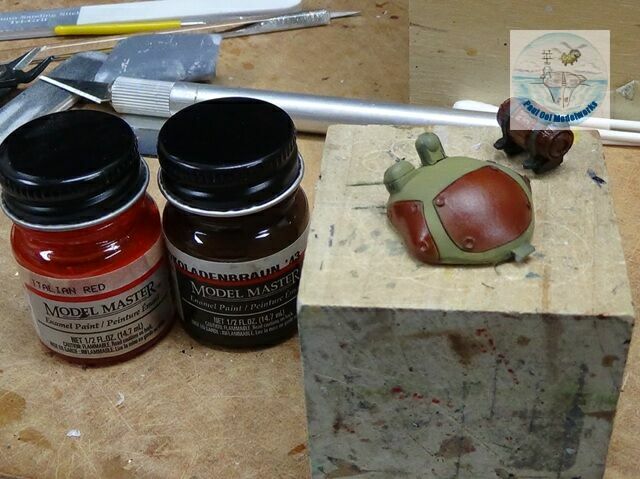
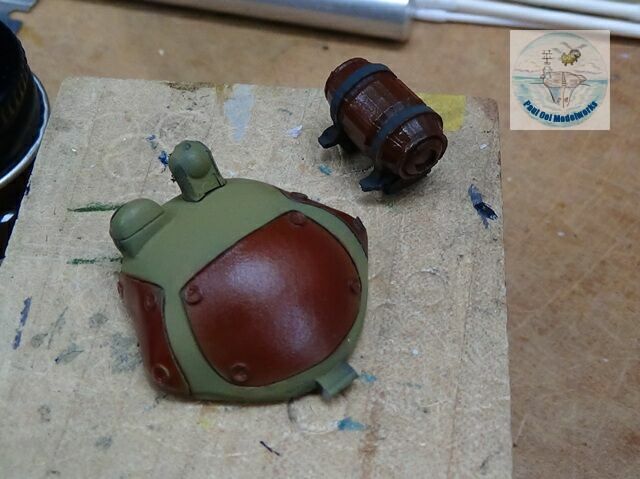
Accent panels were painted with a mix of 3 parts Panzer Schokoladen Braun: 1 part Italian Red.
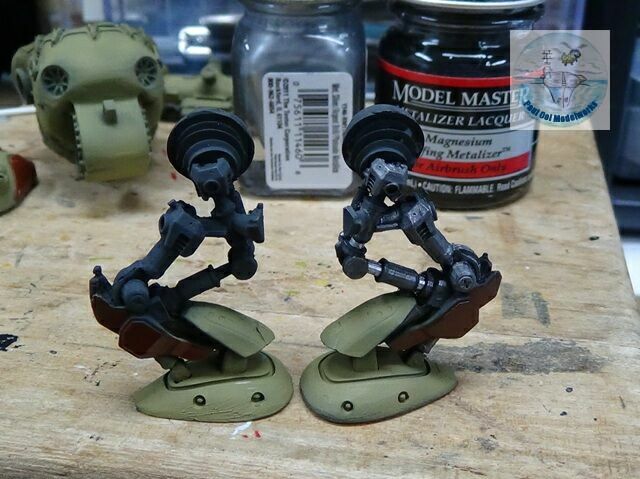
The mecha-suit limbs were painted with Model Master Metallizer Magnesium (although meant for airbrush, it can also be applied by brush). The hydraulic cylinders get a bright Testors Enamel Silver highlights. You can see the difference between the unpainted specimen (left), with the painted part (right).
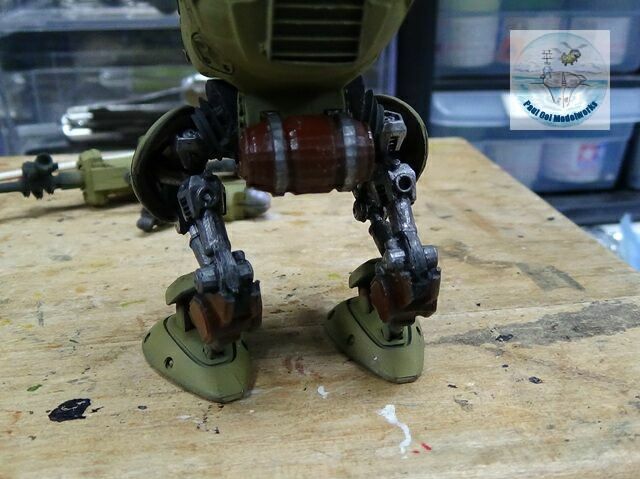
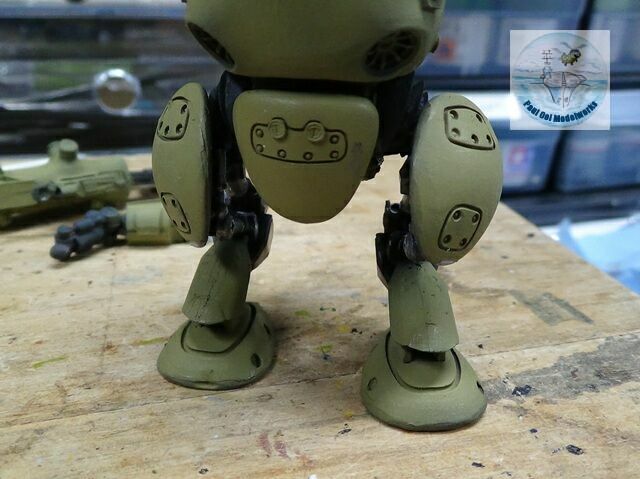
The mecha-suit legs are glued onto the cabin fuselage, making sure that the leg pads are level and flat.
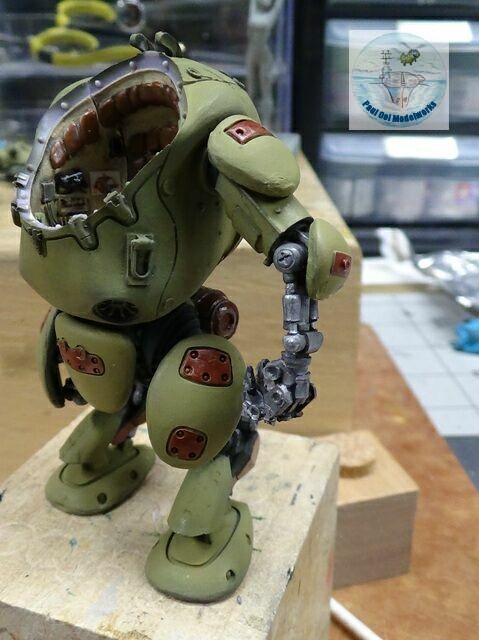
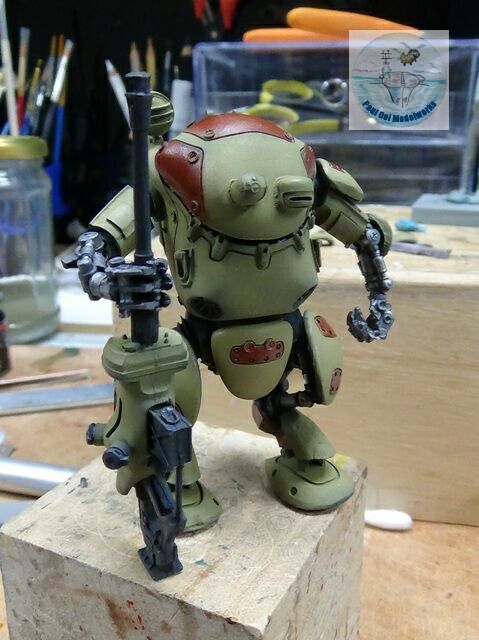
The arm sections are installed. Note that the right forearm molded to the gun is only posed and not yet glued to the rest of the right arm.
This helps with the painting and prevents any damage to the arm. The assembly is coated with Pledge Polish varnish to protect the paintwork.
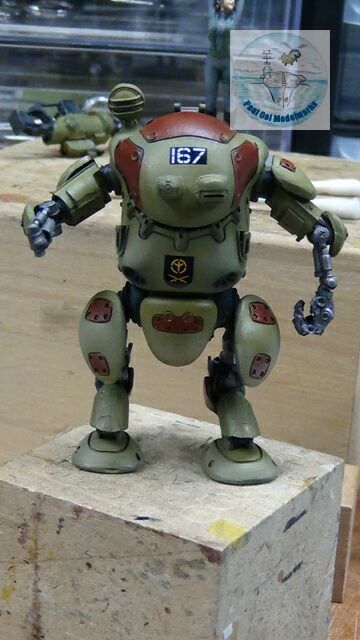
The decals came from my spare decals box. I chose the shield of the Panzer 4th Armored Div. and the numbering came from some other kit that I cannot remember now. Decals are then sealed under another layer of satin varnish.
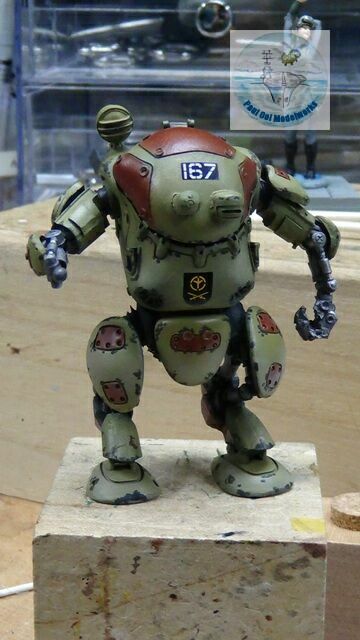
The dents, paint chips and shiny wear points are painted one using a fine brush. The chip marks are Tamiya NATO Black XF69, while shiny wear points are done using a Prismacolor silver pencil.
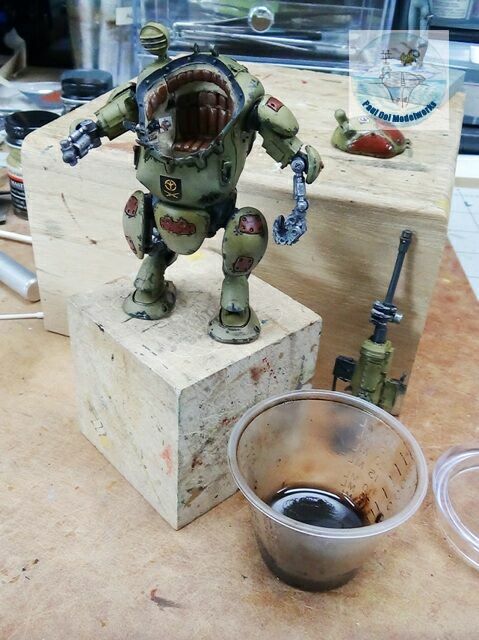
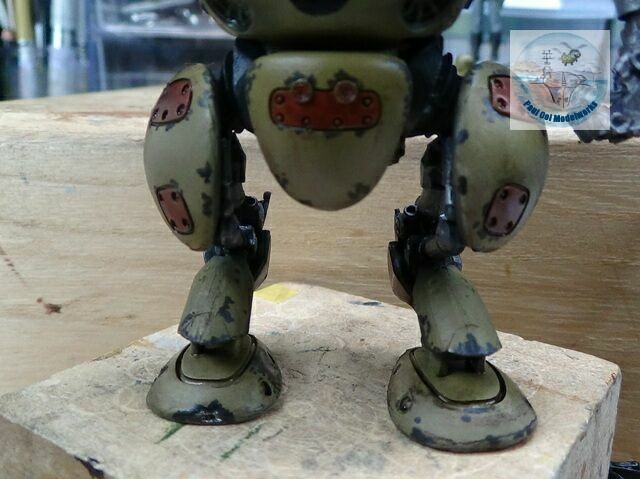
An turpenoid wash of 1:1 Lamp Black: Burnt Umber is applied over all the non-metallic surfaces, and then the metallic portions get a acrylic wash of Tamiya NATO Black.
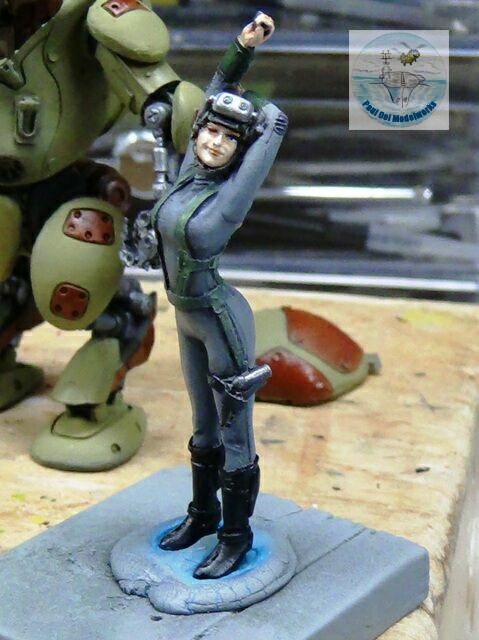
While all that work was going on with the mecha-suit, I also painted this 1/35 scale figure of Ute, the mecha-pilot. Her uniform is German uniform field grey, webbing of German Olive Green, Black-Green helmet and black boots. Painting 1/35 scale figure in detail with be the subject of a separate tutorial.
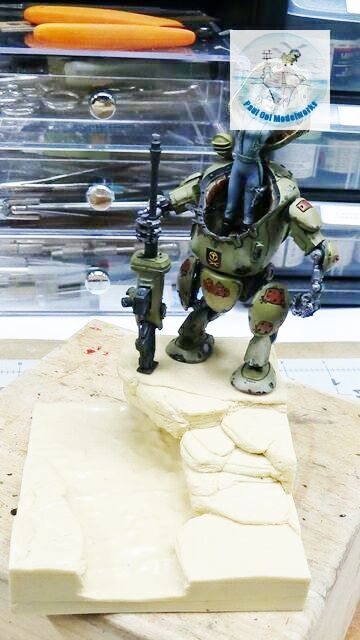
Ute is mounted into the mecha-suit cockpit with her right hand fitting into a pocket in the upper hatch. After this, I also glued on the right arm section holding the cannon.
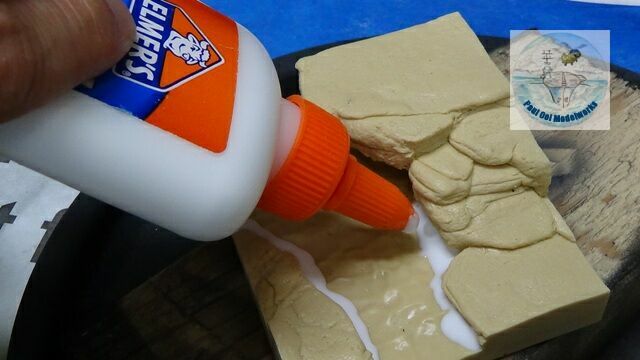
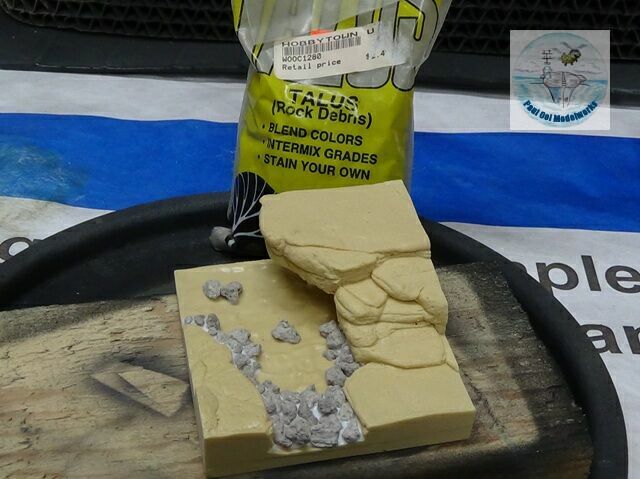
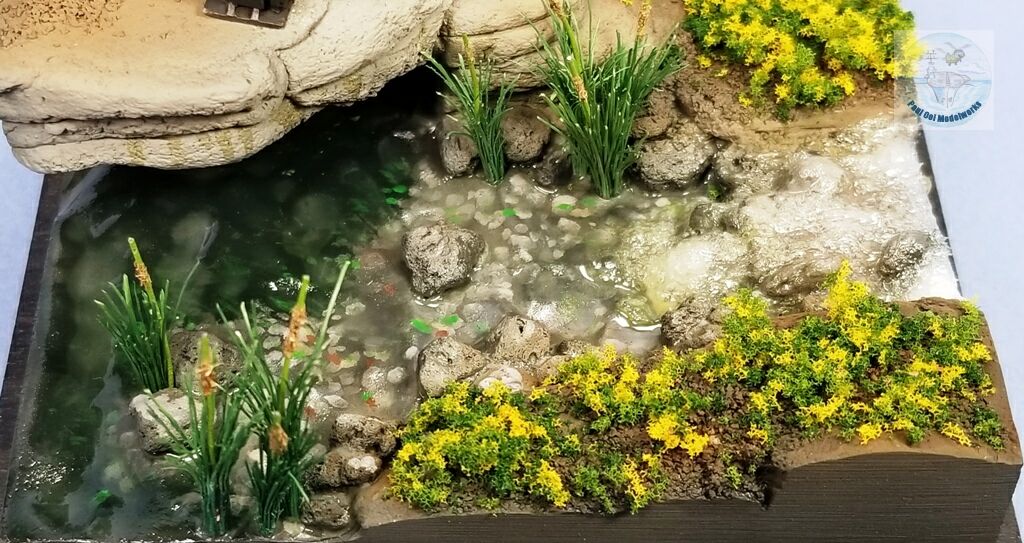
To landcape the bare resin base, I start with the river rocks. Using Elmer’s multi-purpose glue, I attach railway rough talus to line the stream bank.
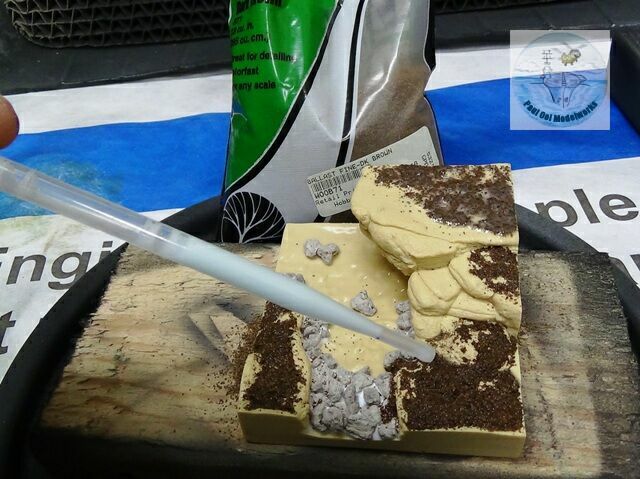
Next I sprinkled fine railway ballast around the base to provide texture for the ground. This is fixed with diluted Elmer’s multi-purpose glue using a pipette.
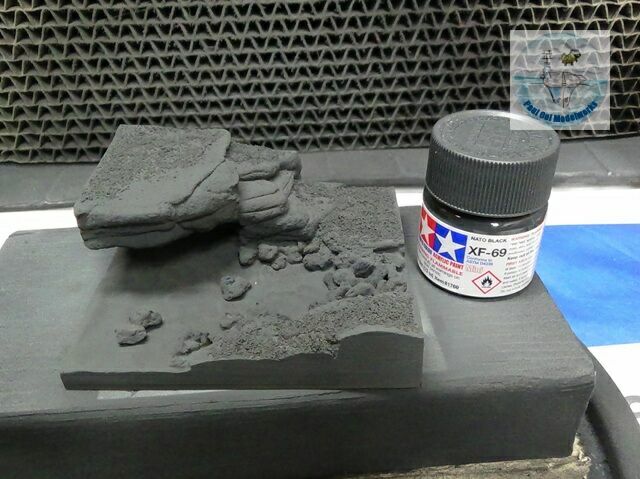
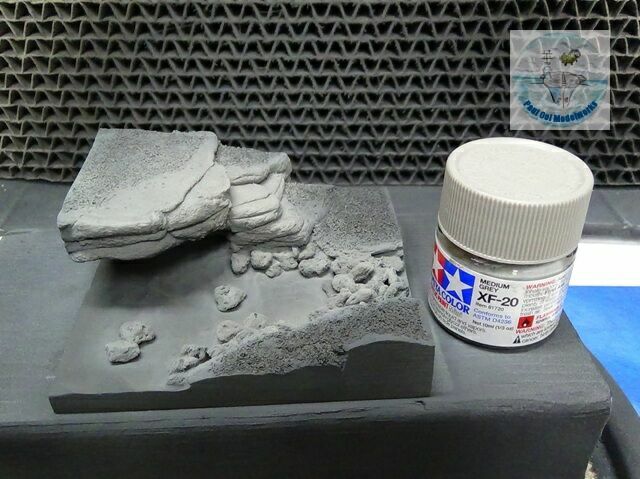
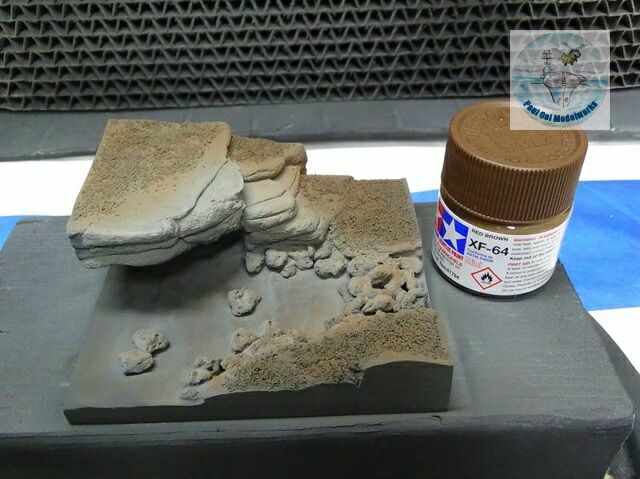
The base is then sprayed first with a primer layer of Tamiya NATO Black XF-69, followed by rock highlights using Tamiya Medium Grey XF-20, and finally the ground effect using Red Brown XF-64.
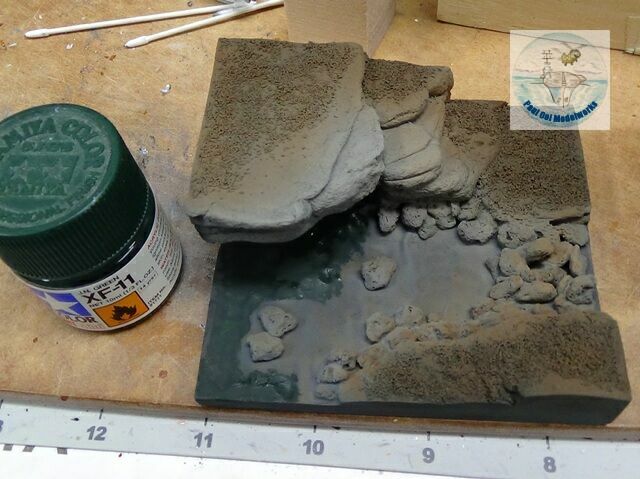
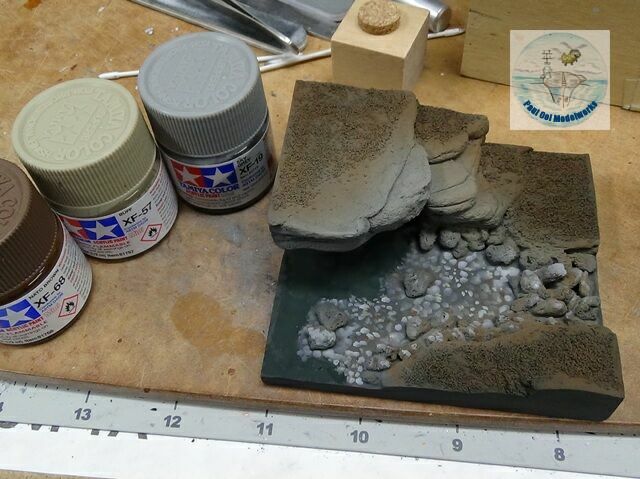
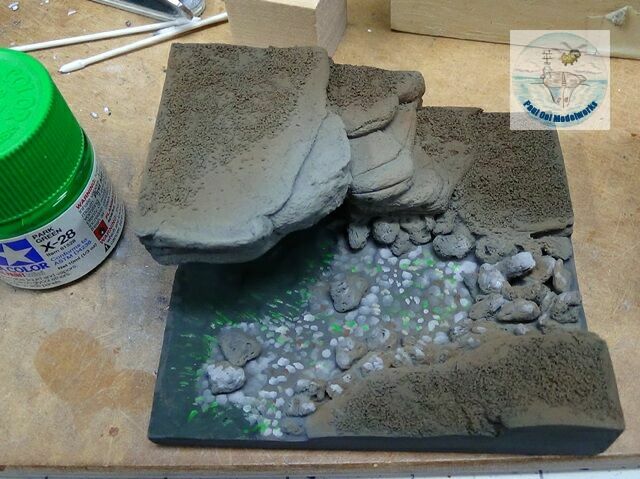
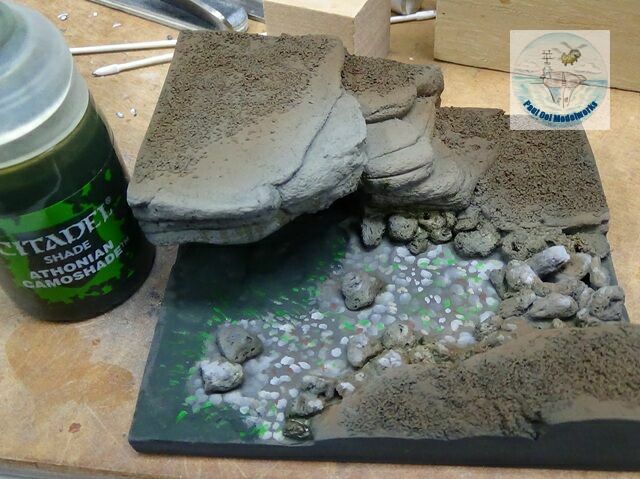
The beginning of the water effect: I start with defining the deeper parts of the stream using IJN Dark Green XF11. Then I create the submerged river rocks and pebbles using first Sky Grey XF-19, followed by Buff XF-57, and then a few specks of NATO Brown XF-68. This effect is then followed by specks and streaks of Park Green X-28 to simulate aquatic plants catching the sun. Then I simulate algae and moss on the rocks using a Citadel green wash called Athonian Camoshade.
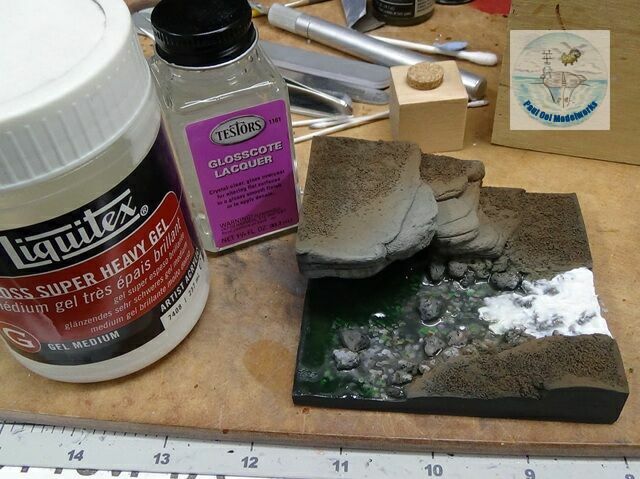
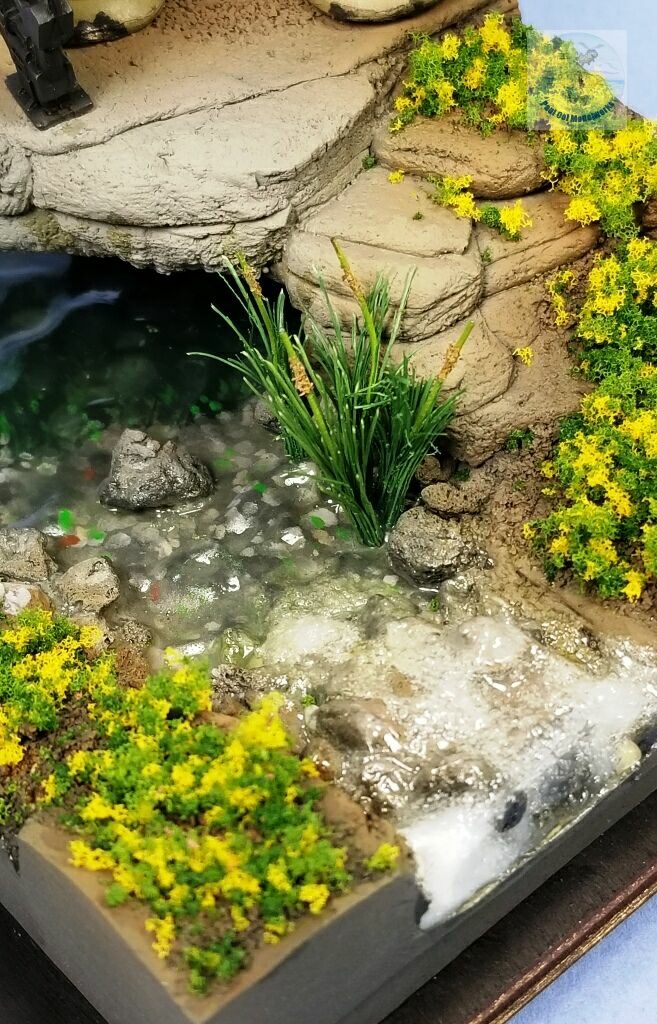
The water surface effect is achieved using multiple coats of Glosscote Lacquer, allowing sufficient time to dry between layers to build up some depth. The rushing stream over the rocks are achieved by applying undiluted Liquitex gloss super heavy gel. It initial comes out looking white. but as it cures it will turn clear.
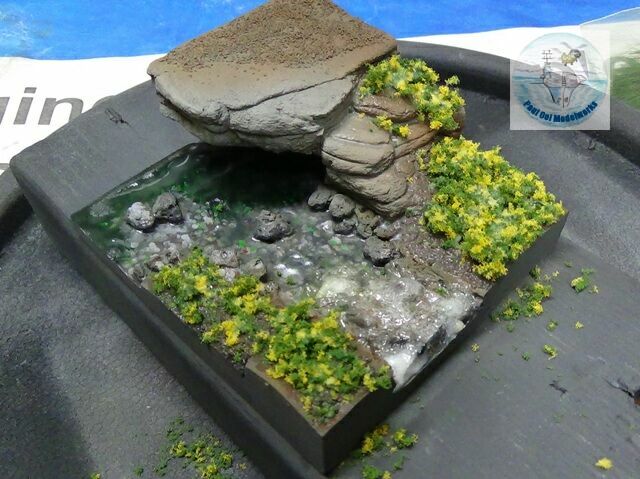
Grass and yellow flowers (from Woodland Scenics) are applied and fixed using more diluted Elmer’s glue.
Make sure to shake off the excess grass.
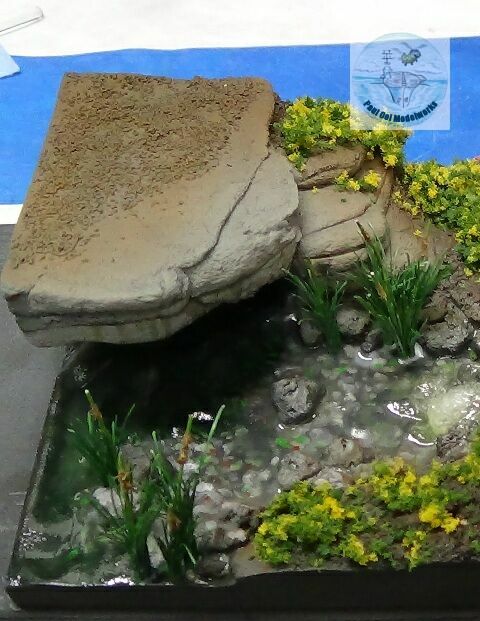
I plant some cattails in the water to complete the stream edge effect. Notice the water streaks on the overhanging rock using some of that same Citadel green wash.
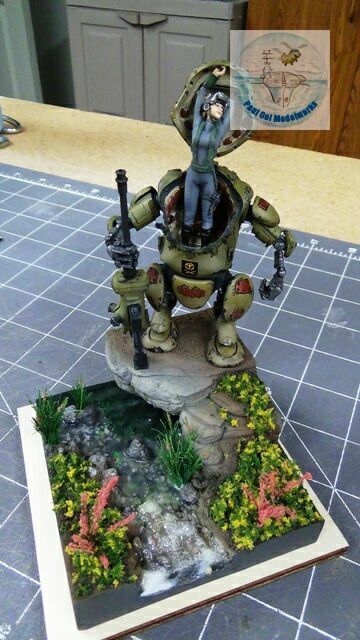
Then I mount the mecha-pilot on the base and Ute gets her break from the war. Notice the pink flower bushes that I later decided to remove as there were too many colors in the diorama.


Paul….u r amazing…. excellent!