• Skip to primary navigation
  • Skip to main content
  • Skip to primary sidebar
  • Skip to footer
  • Home
  • Blog
  • About
  • The Fine Print
    • Disclaimer
    • Copyright
  • Privacy Policy
  • Contact
  • Paul Ooi Modelworks
  • Nav Social Menu

    • Email
    • Instagram
Paul Ooi Modelworks

Paul Ooi Modelworks

Building a better world, one scale model at a time

  • Index
    • Aircraft
      • WW1 Aircraft
      • Inter-War Aircraft
      • WW2 Allied Aircraft
      • WW2 Axis Aircraft
      • Modern Aircraft
    • Armored Fighting Vehicles
      • Artillery
      • WW1 AFVs
      • WW2 AFVs
      • Tractors and Buldozers
      • Cold War AFVs
    • Ships
      • WW1 Ships
      • Inter-War Ships
      • WW2 Allied Ships
      • WW2 Axis Ships
      • Modern Ships
    • NordicCon Show
    • Figures
    • Buildings
    • Sci-Fi
    • Miscellaneous
  • Tutorials
    • Tutorial 1: Making a Wooden Platform Helipad
    • Tutorial 2: Wooden Hard Stand for Aircraft
    • Tutorial 3: Filling Large Plastic Seams
    • Tutorial 4: Diorama, Sicily 1943
    • Tutorial 5: Making a Gun Emplacement with Earthworks
    • Tutorial 6: Basic figure painting (1/35 scale or 54mm)
    • Tutorial 7: Filling Large Mouse Bite Gouges
    • Tutorial 8: Frames for Vacuum Formed Clear Canopies
    • Tutorial 9: Prepared Tank Position Diorama
    • Tutorial 10: Installing Multi-Piece Track System
    • Tutorial 11: Masking and Painting “Bird-Cage” Clear Canopies
    • Tutorial 12 – Aircraft Wing Tip Navigation Lights with Colored Bulbs
    • Tutorial 13 – Installing Wood Laminate Deck for Model Warships
    • Tutorial 14 – Painting a Rusted Muffler and Exhaust Pipe System
    • Tutorial 15 – Painting German Red Oxide Finish for WW2 Tanks
    • Tutorial 16 – Creating a European cobblestone street base
    • Tutorial 17 – Constructing tracks using single track link system
    • Tutorial 18 – Building a small wooden bridge

Tutorial 18 – Building a small wooden bridge

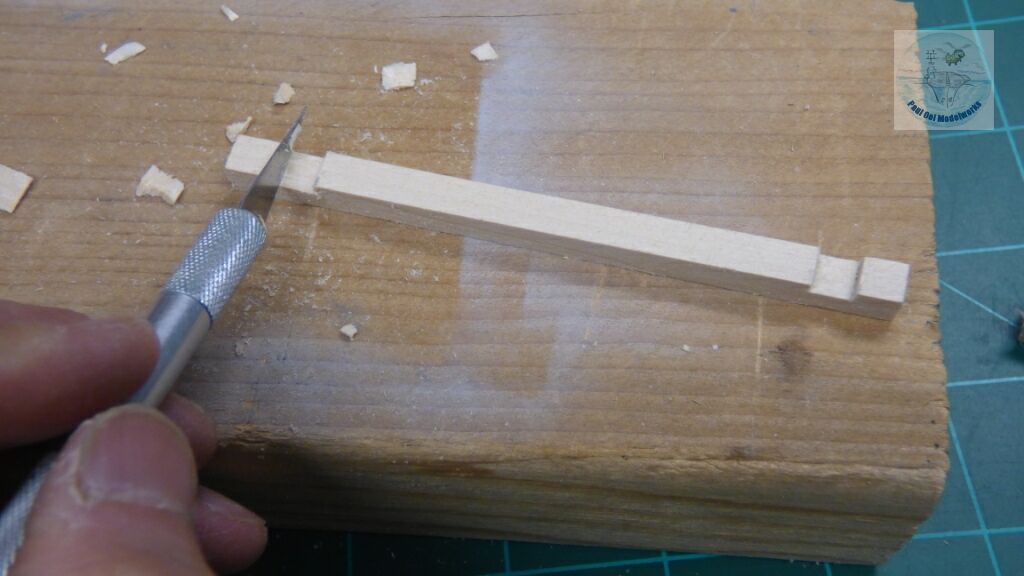
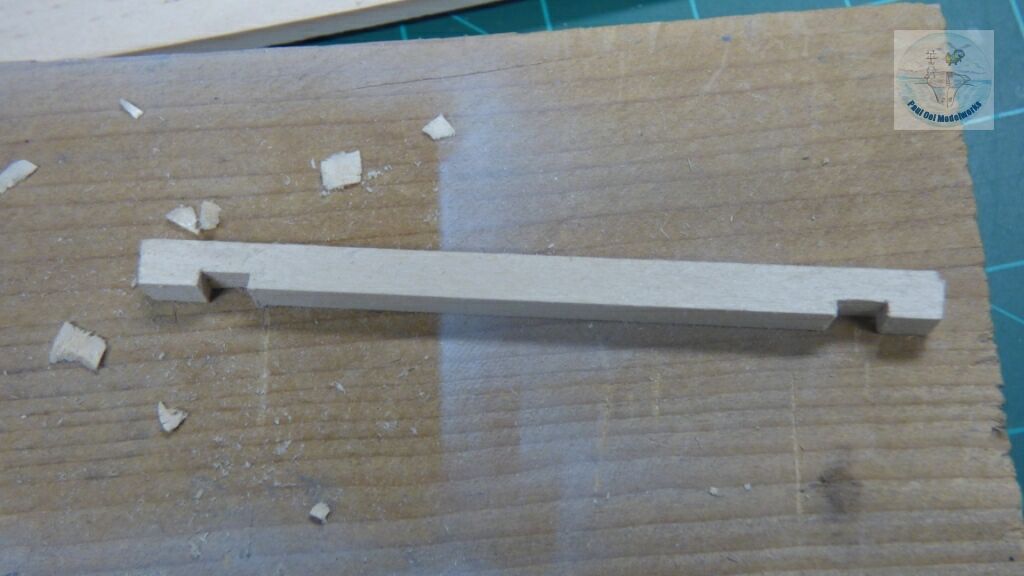
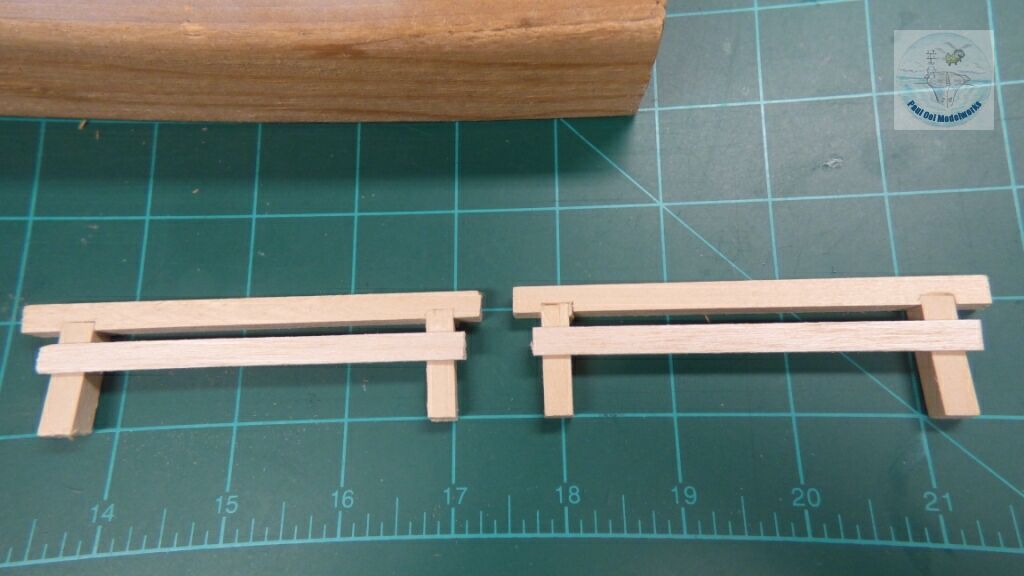
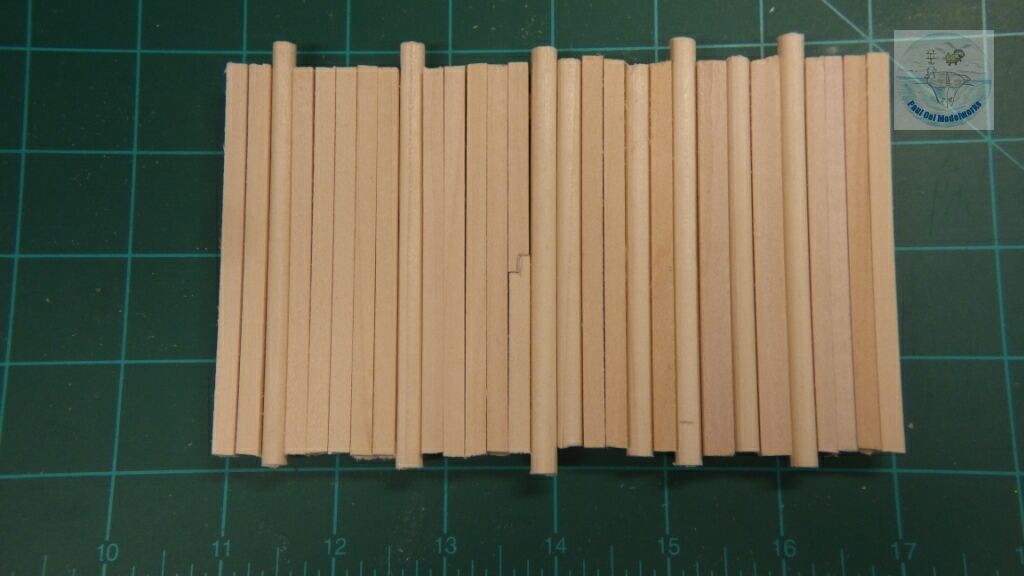
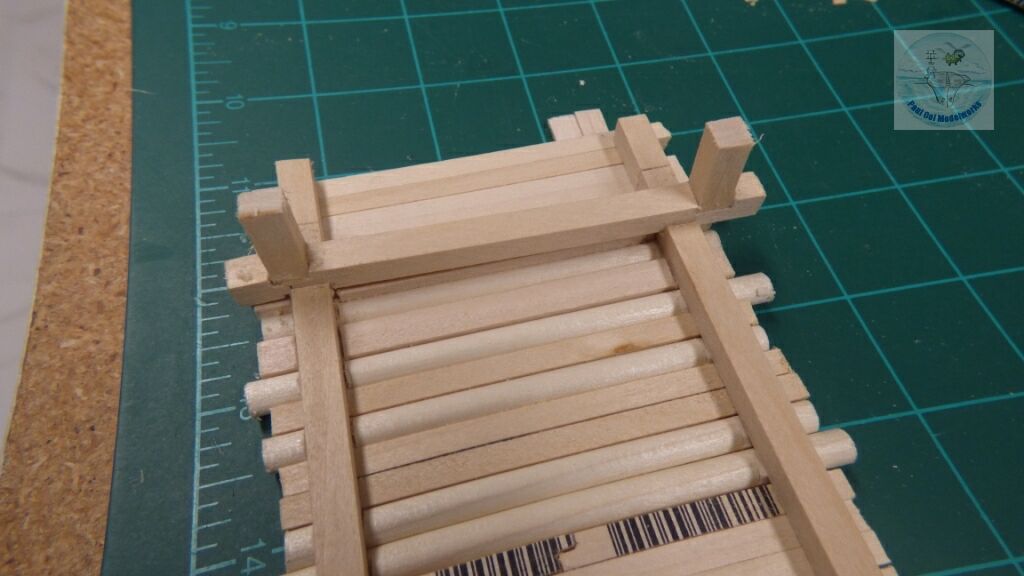
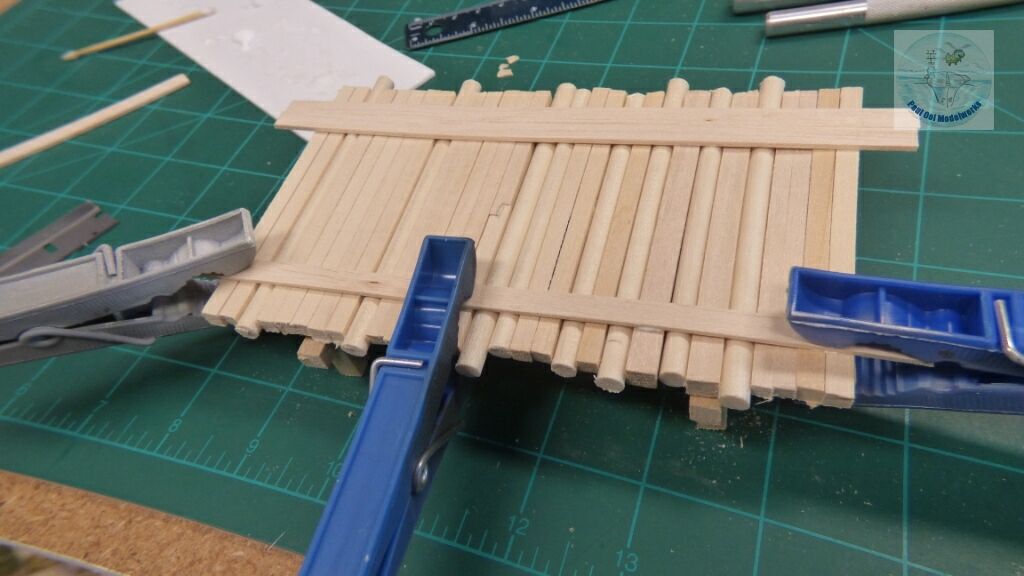
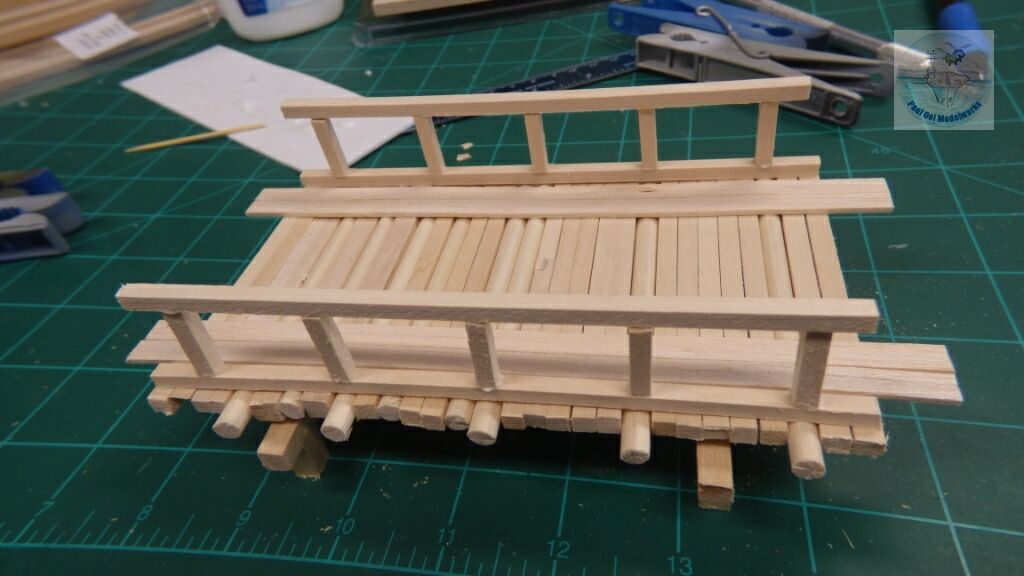
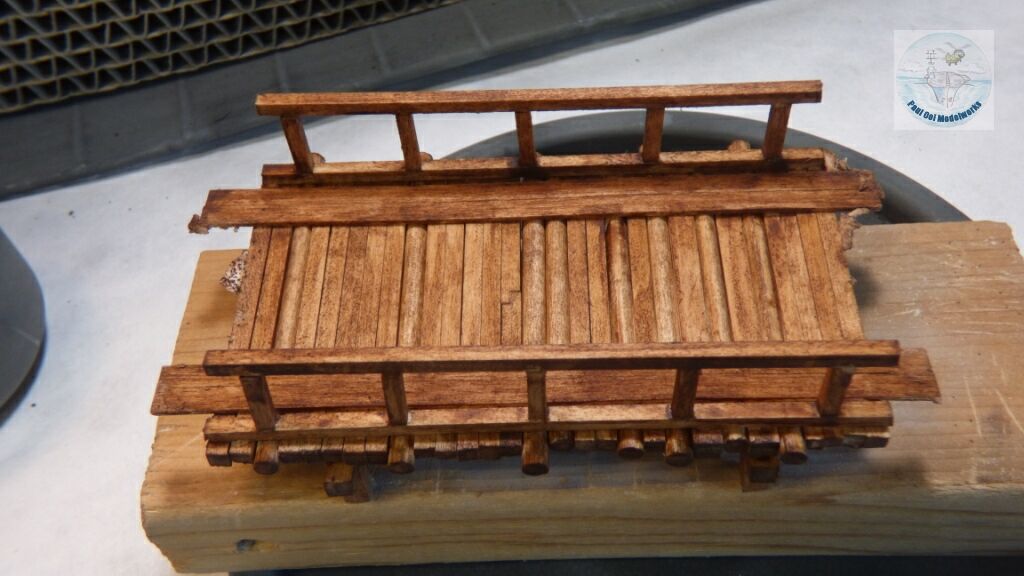
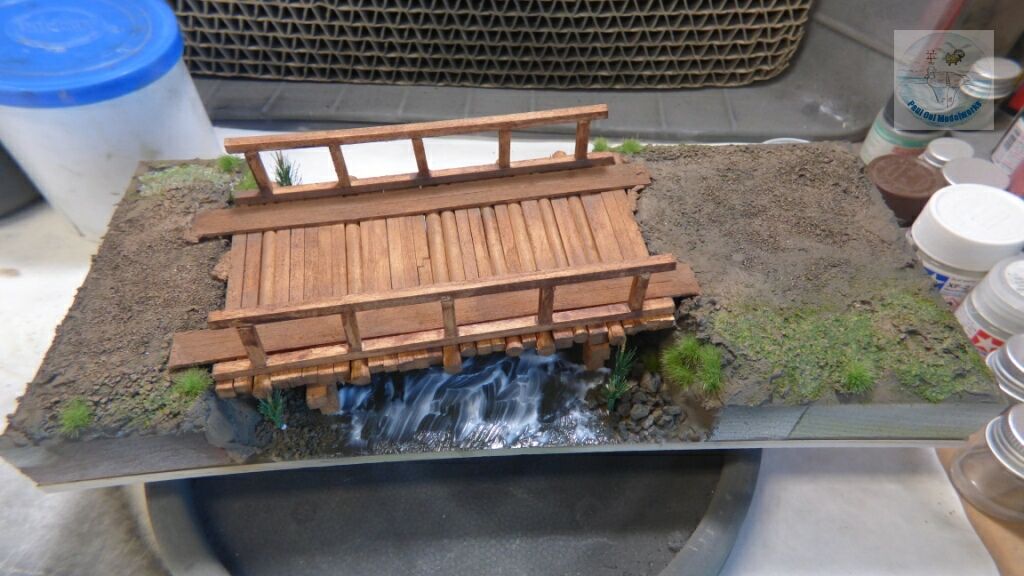
Bridges add focus and create interest in a diorama. In many cases, entire battle scenes can be built around a single bridge. How to build one? Let’s get started! You determine the span of the bridge between the banks (sometimes called the length) and its beam (also called the width). To build this example here with a span of 6″, beam (width) of 4 inches, I used the following:

  1. 1/4′ square strip bass wood – 4 ft
  2. 3/16″ square strip bass wood – 6 ft
  3. 5/32″ square strip bass wood – 4 ft
  4. 1/4: diameter dowel bass wood – 3 ft
  5. 1/16″ x 1/4″ plank strip balsa wood – 3ft
Start by building the main trestle beams that will determine the width of your bridge. The beams are 1/4″ square bass wood strips. I cut out the Dado joint to fit the piers using a micro saw to a depth of 1/8″, and then chiseling out with a sharp Xcto knife.
This is the completed trestle beam with the Dado joint indents. You can make as many as needed depending on how many trestles you intend to have and the span of your bridge. For this one, I needed only two.
Completed trestles with the pier beams attached. I use a super strength Elmers wood glue for the joints. They drive within 2 minutes and can be handled within 5 minutes.
The main span is easily made with two or three main support parallel beams using 6″ long 1/4″ square strips (visible in the next picture), and then the rafters/boards each 3/16″ square or 1/4″ dowel are laid across to form the surface of the bridge. I varied the edges and even types of wood (planks and dowels) to give a rustic finish to the bridge.
Attaching the trestle to the underside of the bridge. Here you can also see the two main parallel span beam pieces that the rafters attach to.
IN this particular bridge, engineers had laid long wooden planks to help vehicles to roll over them without jarring their suspensions (and vibration over the bridge). I use flat 1/4″ balsa strips to simulate these planks. They do needs to be clamped down to stay flat while the glue cures.
The railings are added last, the bottom plate is about 5″ long 3/16″ square strip, a corresponding top rail of similar or slightly shorter length, and support balustrade pieces 3/4″ tall. These are simply butt joined to the rails.
I finished the bridge with an oil stain made from Turpenoid and Burnt Umber oil paint.

Primary Sidebar

Hey! It is nice to meet you!

Paul Ooi Modelworks welcomes casual visitors browsing, and enjoying the pictures as well as more serious fellow modelers looking for tips and references on the art of making miniatures and relishing in the challenge. I will be more than happy to answer any questions you may have about the models.

Please feel free to leave a comment or a question.

  • Email
  • Instagram

NEVER MISS A POST

Member of International List of Scale Model Related Web Sites

International List of Scale Model Related Web Sites

Paul Ooi Modelworks

NEVER MISS A POST

Sign up for notification on new posts.

Footer

  • Email
  • Instagram

Categories

  • Privacy Policy
  • Disclaimer
  • Copyright

© 2011–2026 · Paul Ooi Modelworks · All Rights Reserved