• Skip to primary navigation
  • Skip to main content
  • Skip to primary sidebar
  • Skip to footer
  • Home
  • Blog
  • About
  • The Fine Print
    • Disclaimer
    • Copyright
  • Privacy Policy
  • Contact
  • Paul Ooi Modelworks
  • Nav Social Menu

    • Email
    • Instagram
Paul Ooi Modelworks

Paul Ooi Modelworks

Building a better world, one scale model at a time

  • Index
    • Aircraft
      • WW1 Aircraft
      • Inter-War Aircraft
      • WW2 Allied Aircraft
      • WW2 Axis Aircraft
      • Modern Aircraft
    • Armored Fighting Vehicles
      • Artillery
      • WW1 AFVs
      • WW2 AFVs
      • Tractors and Buldozers
      • Cold War AFVs
    • Ships
      • WW1 Ships
      • Inter-War Ships
      • WW2 Allied Ships
      • WW2 Axis Ships
      • Modern Ships
    • NordicCon Show
    • Figures
    • Buildings
    • Sci-Fi
    • Miscellaneous
  • Tutorials
    • Tutorial 1: Making a Wooden Platform Helipad
    • Tutorial 2: Wooden Hard Stand for Aircraft
    • Tutorial 3: Filling Large Plastic Seams
    • Tutorial 4: Diorama, Sicily 1943
    • Tutorial 5: Making a Gun Emplacement with Earthworks
    • Tutorial 6: Basic figure painting (1/35 scale or 54mm)
    • Tutorial 7: Filling Large Mouse Bite Gouges
    • Tutorial 8: Frames for Vacuum Formed Clear Canopies
    • Tutorial 9: Prepared Tank Position Diorama
    • Tutorial 10: Installing Multi-Piece Track System
    • Tutorial 11: Masking and Painting “Bird-Cage” Clear Canopies
    • Tutorial 12 – Aircraft Wing Tip Navigation Lights with Colored Bulbs
    • Tutorial 13 – Installing Wood Laminate Deck for Model Warships
    • Tutorial 14 – Painting a Rusted Muffler and Exhaust Pipe System
    • Tutorial 15 – Painting German Red Oxide Finish for WW2 Tanks
    • Tutorial 16 – Creating a European cobblestone street base
    • Tutorial 17 – Constructing tracks using single track link system
    • Tutorial 18 – Building a small wooden bridge

Tutorial 17 – Constructing tracks using single track link system

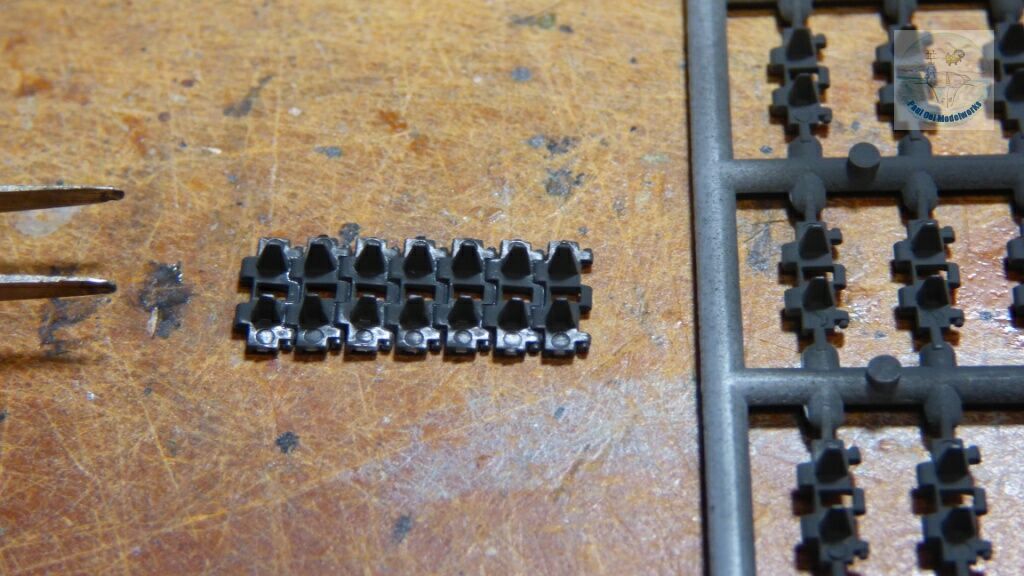
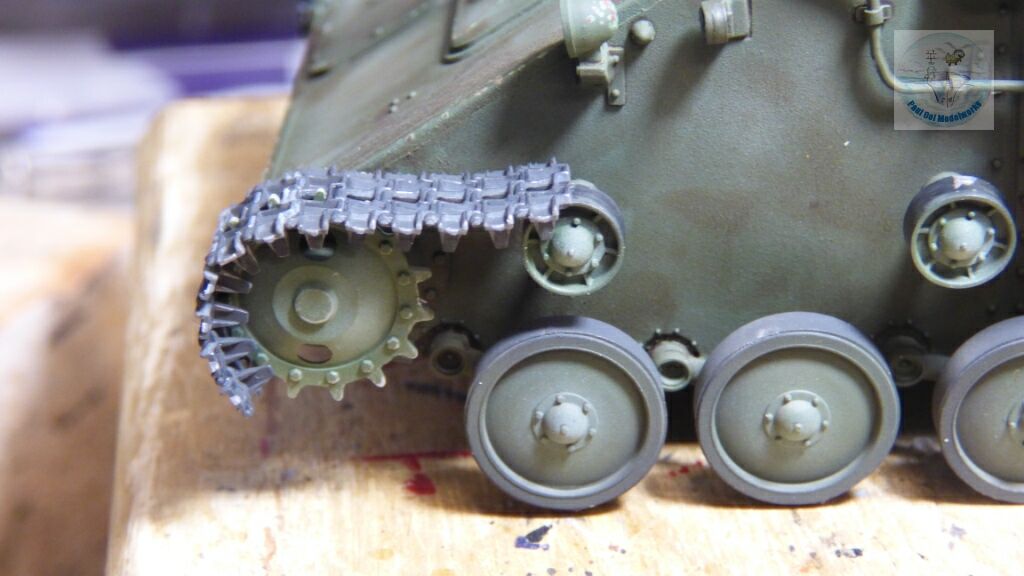
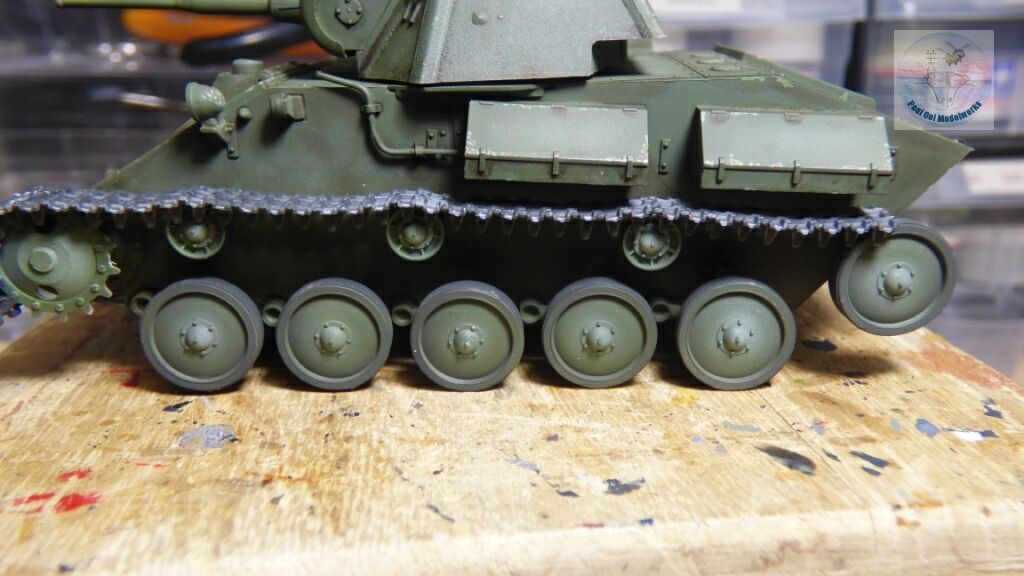
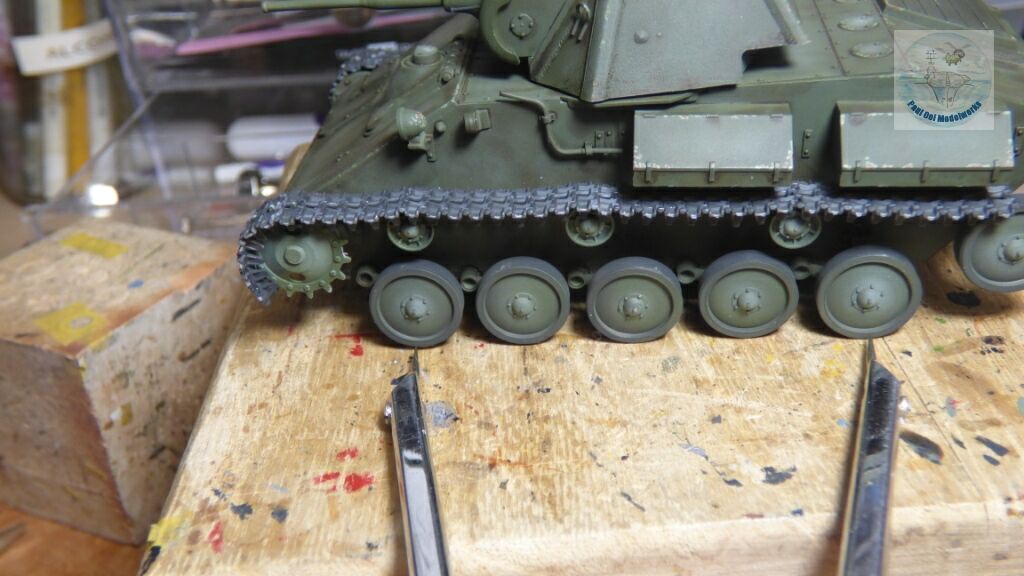
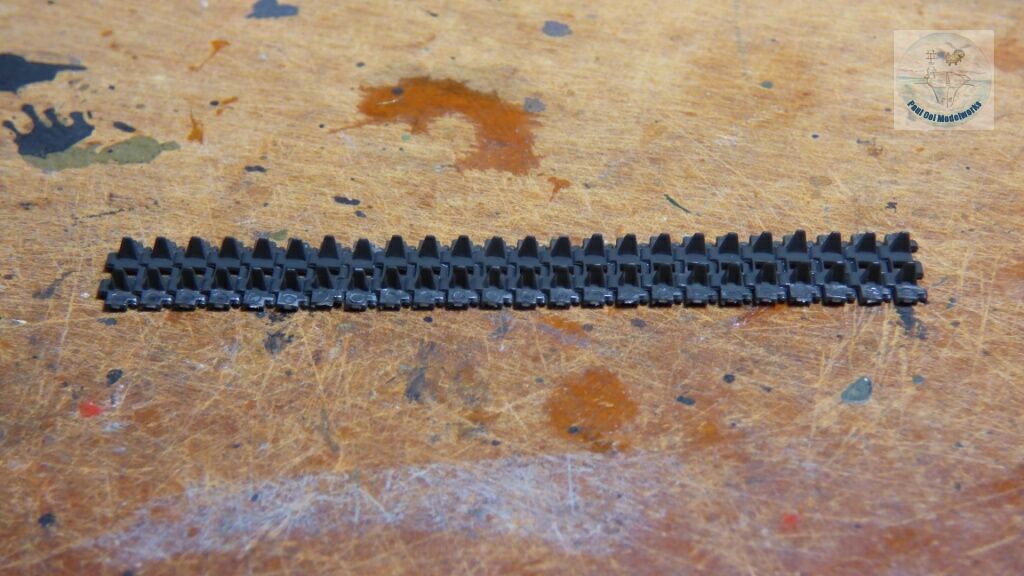
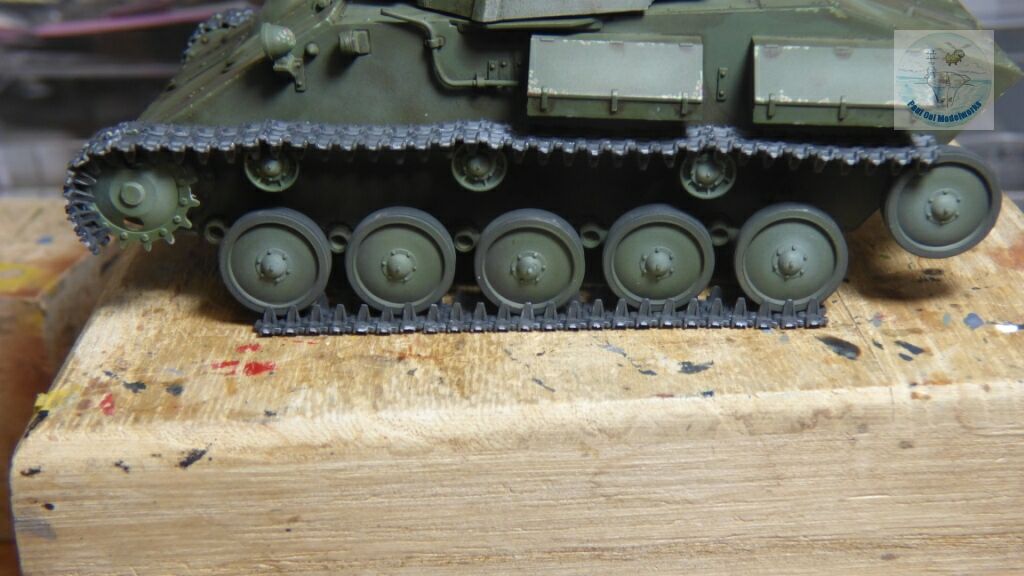
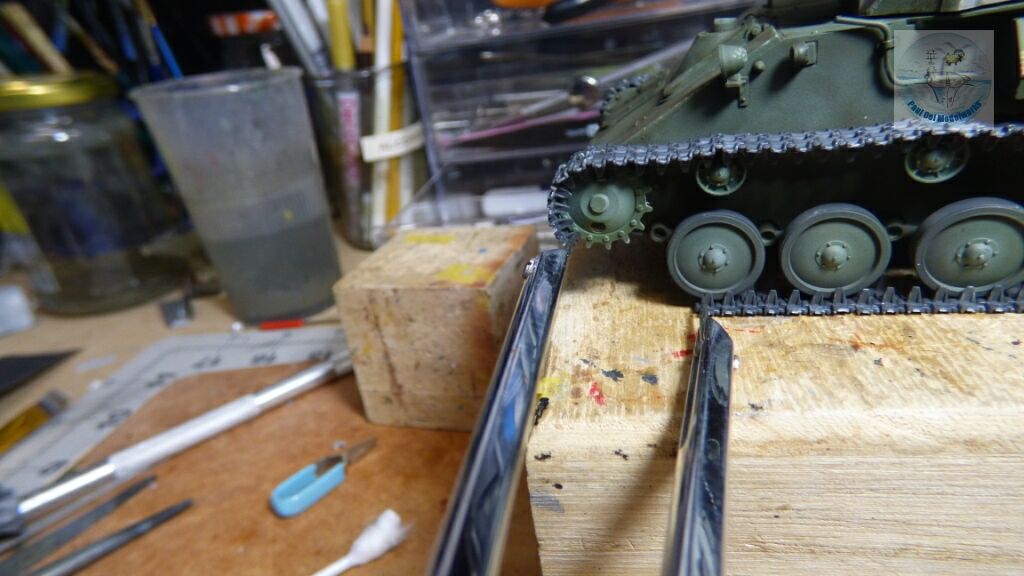
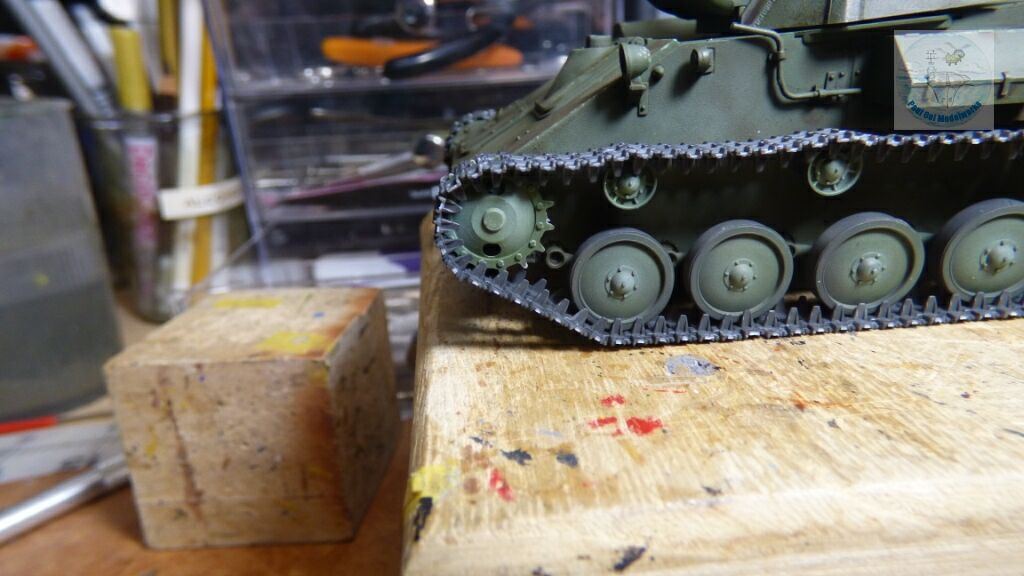
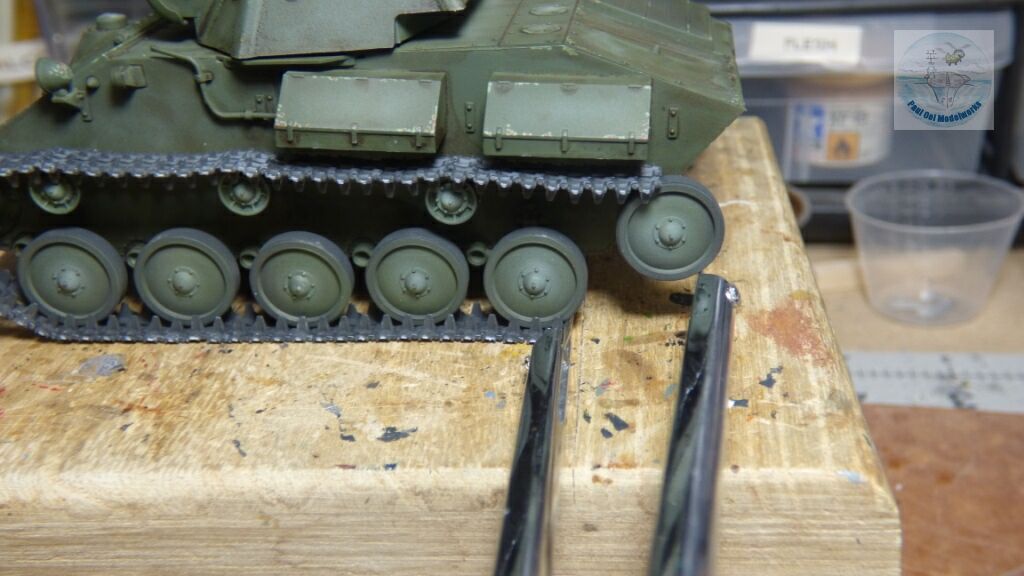
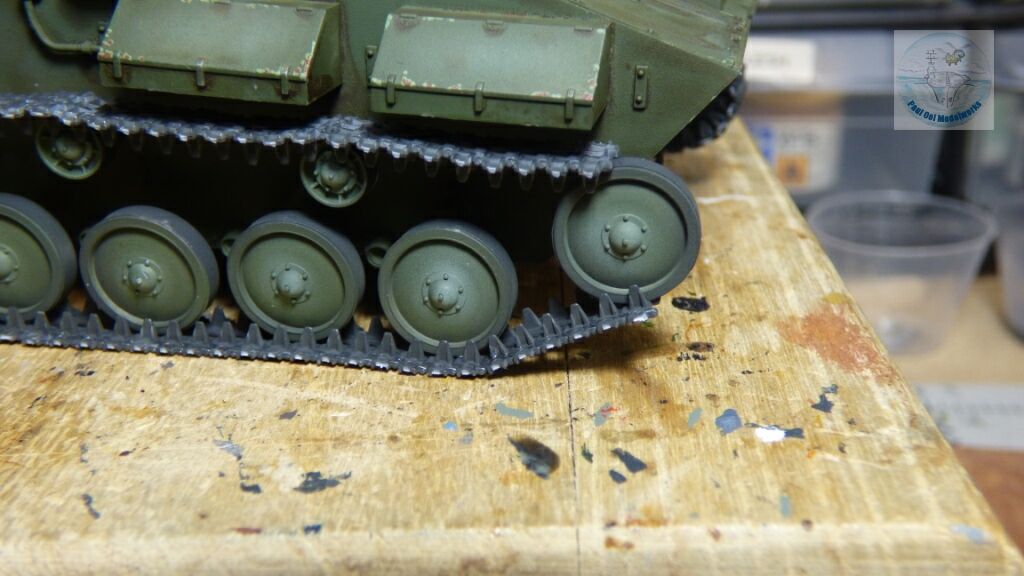
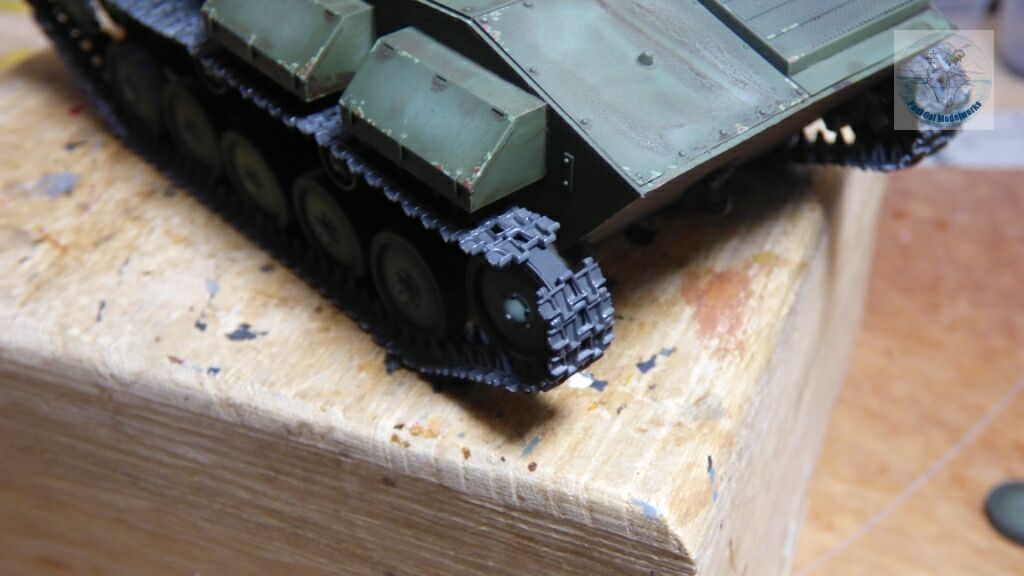
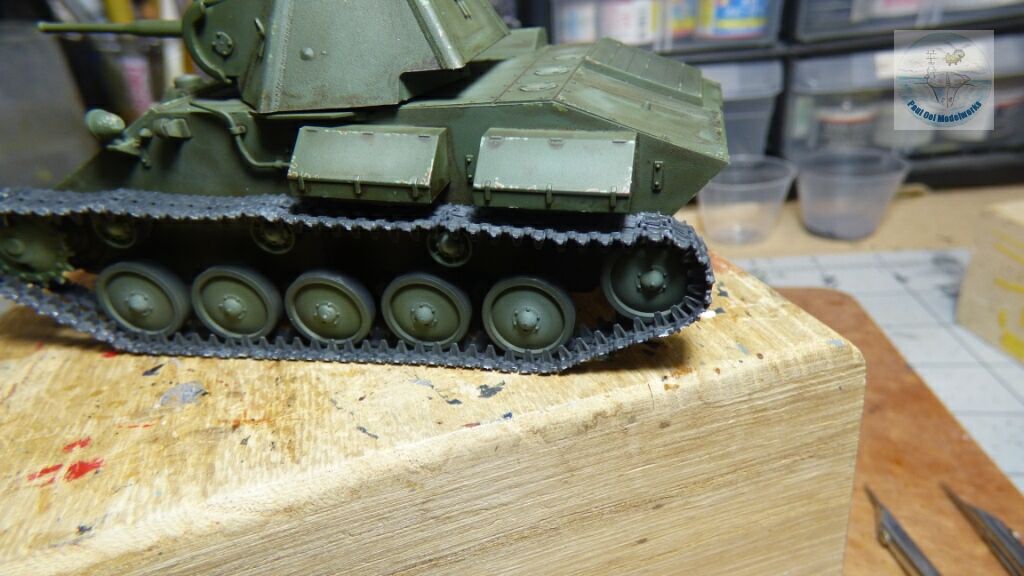
Installing track links is time-consuming and requires much patience. Just realizing that you have 100+ pieces of track link to assemble is one reason some kits are avoided. However, if you are willing to take the time to assemble track-by-track, the results is very close to the real thing. The only thing even more realistic than individual plastic tracks would be the Modelkasten type of metal tracks with real side links and even wire needed to hold together. Also, some of the best available 1/35 scale AFV kits on a given subject may only be with individual tracks. Let’s get started!

Start at the front sprocket. Count the number of teeth along the front 1/3 of the arc. In this example, there are 7 teeth that would be engaging with the tracks. That would correspond to 7 track segments. You might be off by +1 or -1 track. That is OK as you can add or remove when you fit.
Make sure your tracks are already pre-painted. Line up the 7 segments counted from the sprocket. Join them using only liquid glue on a non-plastic surface. Here, I am using an old chopping board.
After about 1 minute, while the track is still flexible but adhering together, drape them onto the sprocket. Check for the alignment and fit, adding or removing segments if needed.
Using a divider or similar tool, measure the distance from the last track segment to the mid point of the first idler wheel.
Assemble the track segments that will correspond to the distance of the divider.
Drape the new segment to bridge the span between the sprocket and the idler wheel, adjusting for the sag effect desired. This is where individual track allow the modeler to make the sag effect.
Repeat this process from idler wheel to idler wheel until you reach the rear main idler. If your AFV has the sprocket driver in the rear, then you reverse this whole sequence from rear to front.
Next, measure the span between the center contact point of the leading roadwheel to the last roadwheel.


Assemble a track chain equal to the length of that measured span, again you can adjust the length when you actually fit to the vehicle.
Fit your segment to the roadwheels, and you can add or remove to fit.
Next, using the divider, measure the span from the lower edge of the sprocket chain to the leading edge of the front roadwheel.
As before, build a section of tracks corresponding to that measured length and bridge the sprocket to the leading road wheel. This section is normally taut without any sag.
Then we repeat the same process of measuring from the rear follower/idler wheel to the last roadwheel.
The last bridge segment between the last roadwheel and the rear follower/idler.
This is where you can make final spacing adjustments to fit. Add track segments until to come to the last space. This will allow you to add to close the gap or to remove if the tracks are overlapping.
After final adjustments, easiest to do on the rear follower (without sprocket teeth), we have the completed track assembly.


Primary Sidebar

Hey! It is nice to meet you!

Paul Ooi Modelworks welcomes casual visitors browsing, and enjoying the pictures as well as more serious fellow modelers looking for tips and references on the art of making miniatures and relishing in the challenge. I will be more than happy to answer any questions you may have about the models.

Please feel free to leave a comment or a question.

  • Email
  • Instagram

NEVER MISS A POST

Member of International List of Scale Model Related Web Sites

International List of Scale Model Related Web Sites

Paul Ooi Modelworks

NEVER MISS A POST

Sign up for notification on new posts.

Footer

  • Email
  • Instagram

Categories

  • Privacy Policy
  • Disclaimer
  • Copyright

© 2011–2026 · Paul Ooi Modelworks · All Rights Reserved