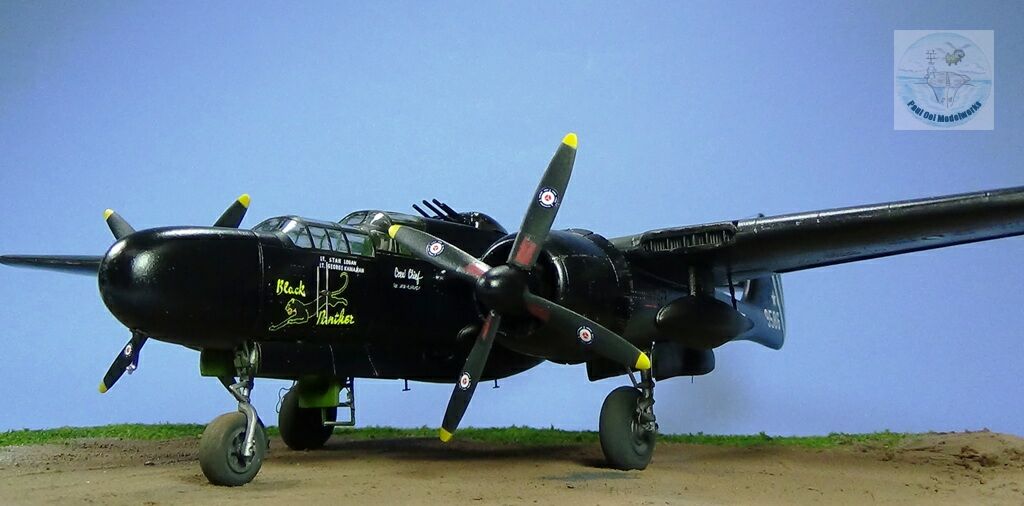
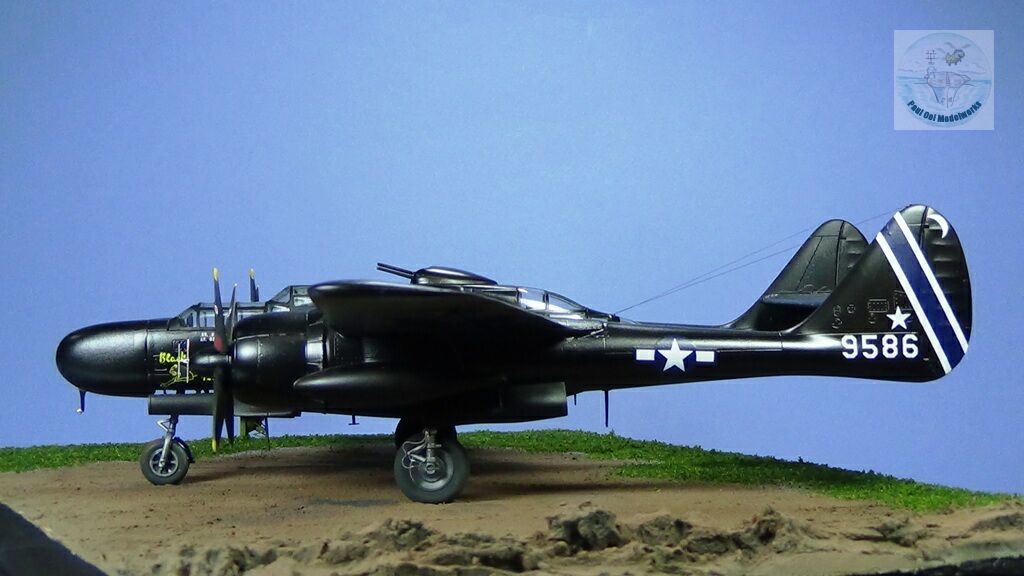
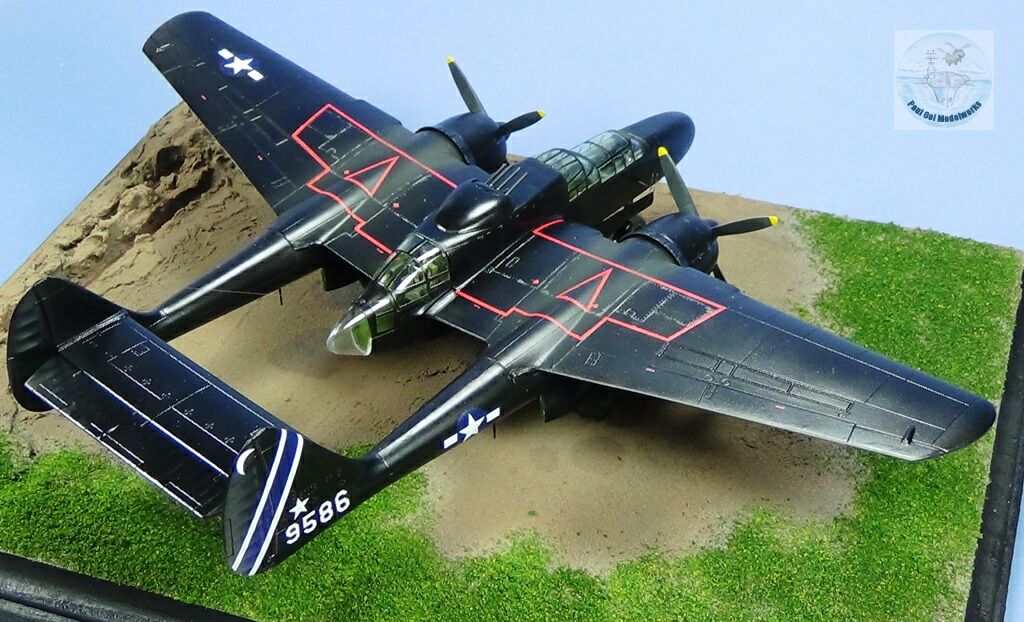
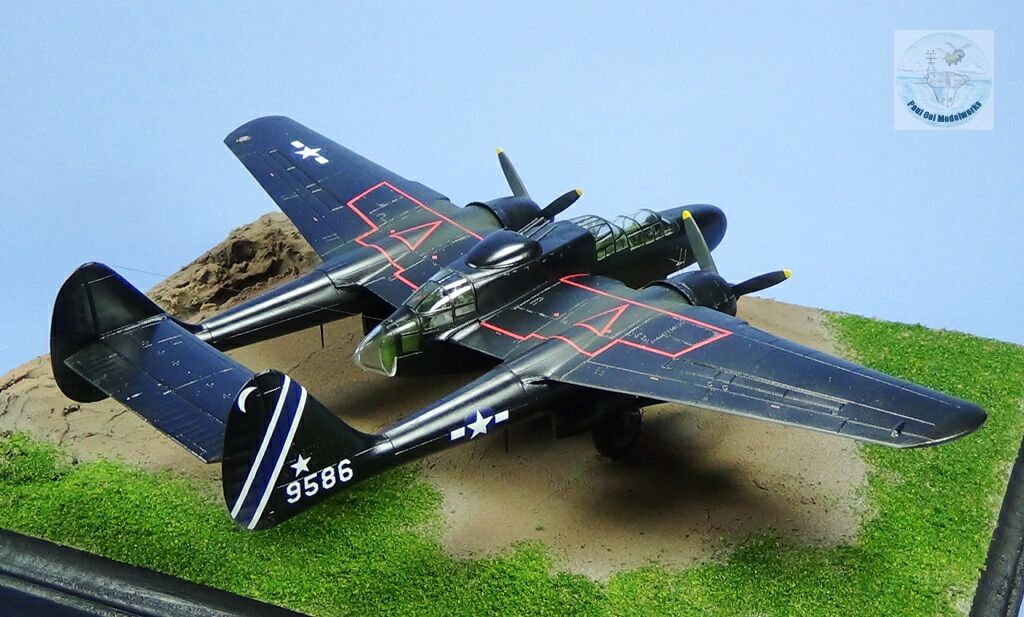
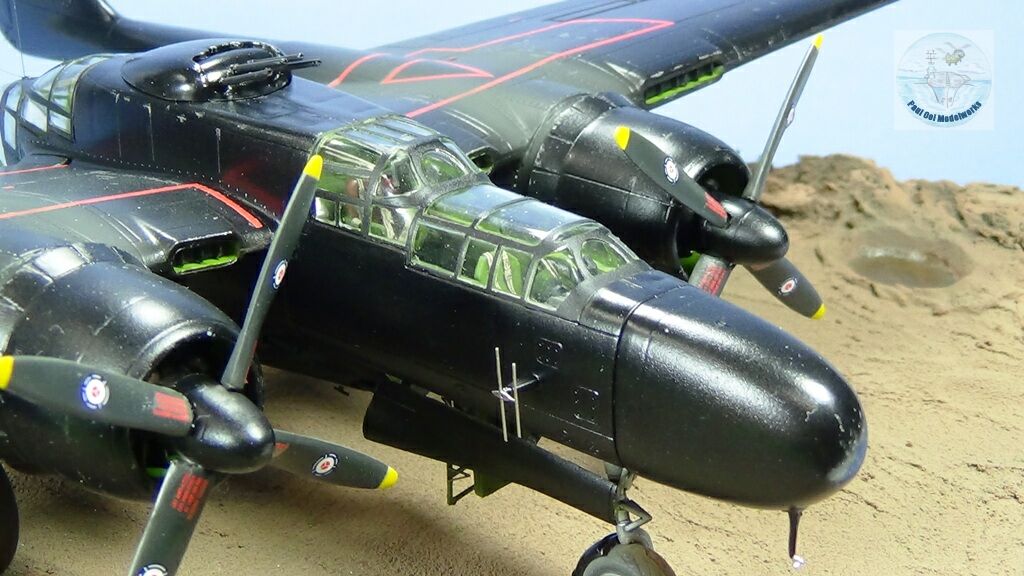
The P61B Black Widow was a purpose-built night fighter first introduced in March 1944 and served in both the European and Pacific theaters. It also had the distinction of being the aircraft that shot down the last enemy aircraft of WW2 near Japan. Unlike other fighters of the USAAF, the P61 was shrouded in mystery as there weren’t as many to start with (about 700 of all variants in total), and its mode of operation meant that very few people from both sides saw it in action. However, this black predator claimed many victims, in both aerial combat as well as surface targets. From late 1944 until the end of the war, Black Widows operating out of island bases near the Philippines and Iwo Jima attacked Japanese shipping trying to make night time forays. The secret to this aircraft’s success was its radar system which was advanced for its time and was able to pinpoint targets in the dark with much greater accuracy.
Gallery
Construction Notes
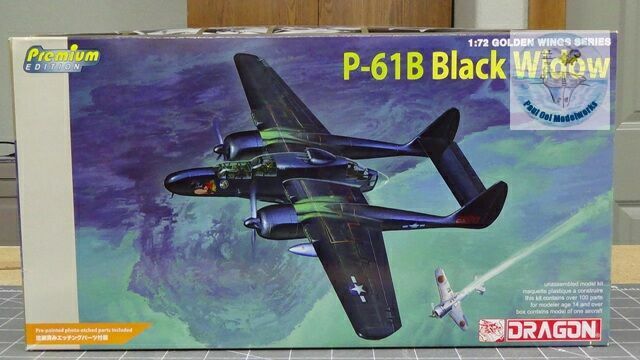
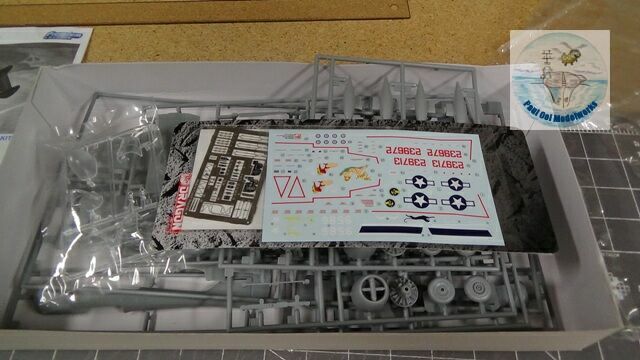
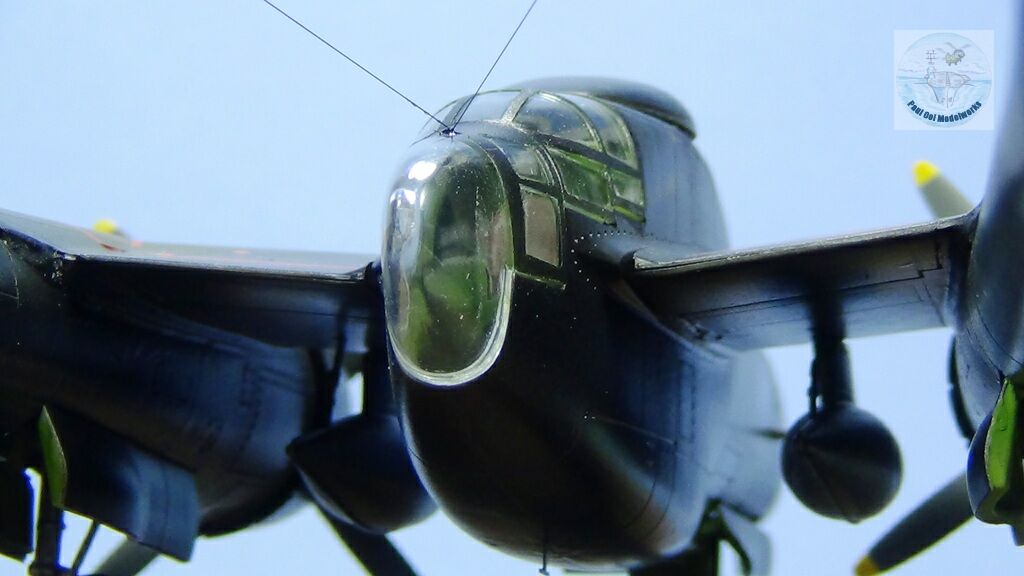
I was excited when this kit was first issued by Dragon DML in 1/72 scale, complete with a photoetch fret back in 2009. Prior to that, Airfix had a venerable and hard-to-find kit, and Revell had a 1/48th scale kit. The plastic parts appeared to be well-detailed and crisp. The clear parts were especially nice, and the decals allowed a choice of three aircraft, one from the ETO and two more were from the PTO. However as my build progressed, I found that the plastic fit was poor especially for the area close to the wing root and resulted in large open seams everywhere.
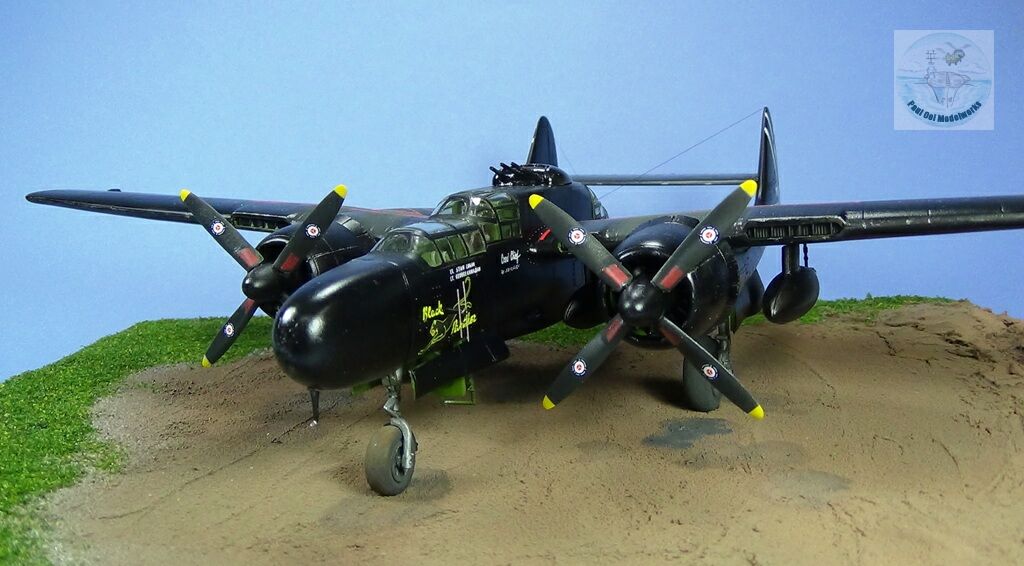
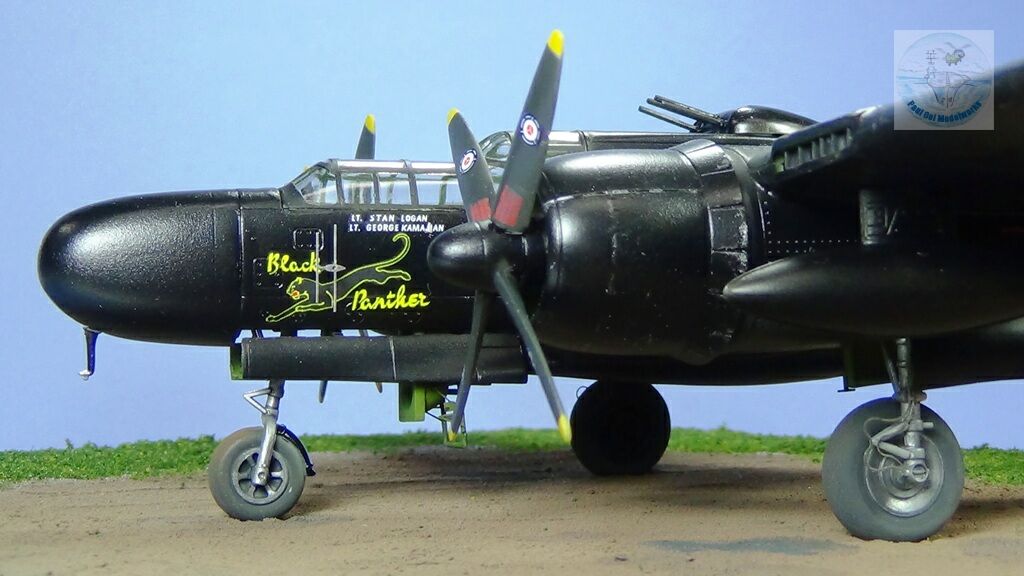
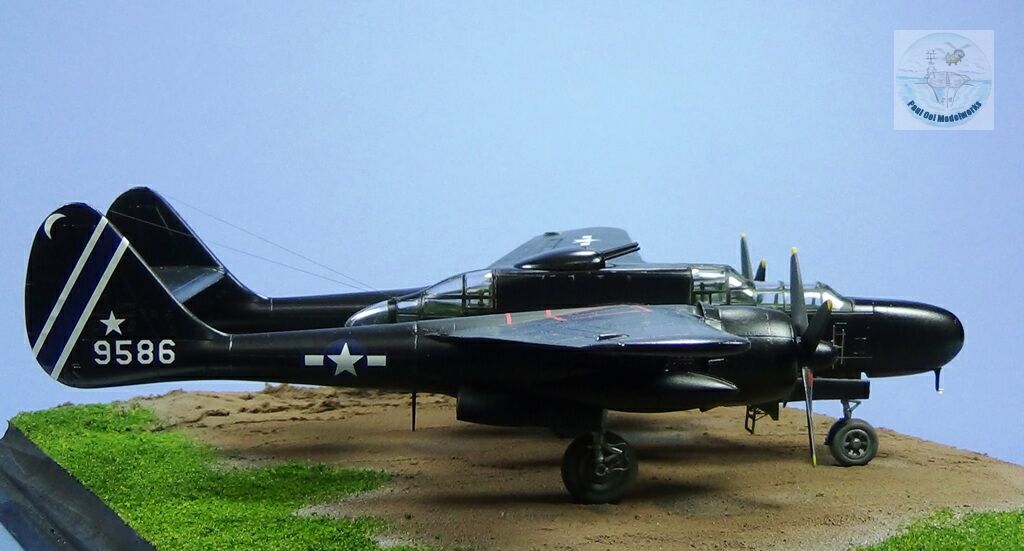
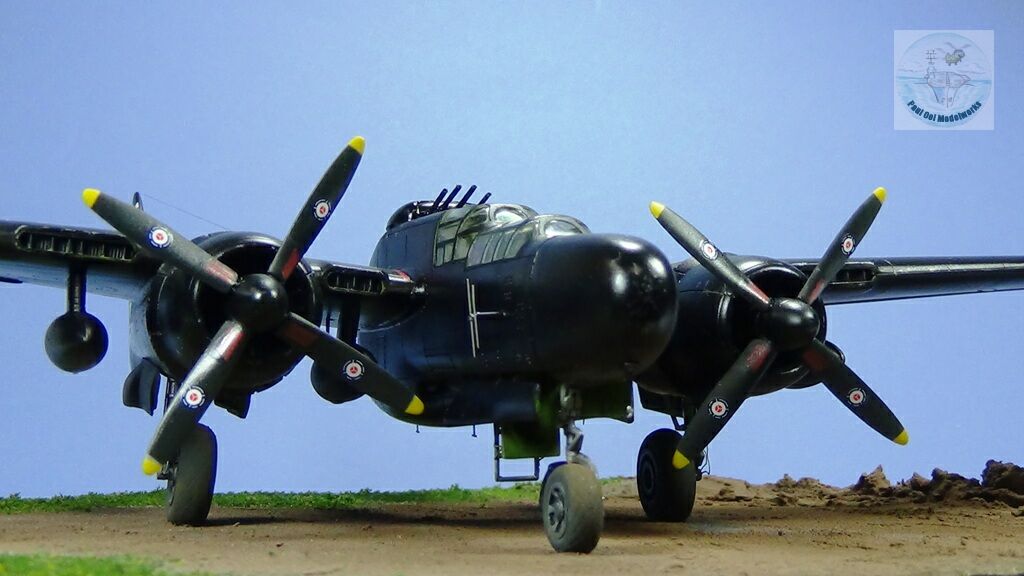
For markings, I chose “Black Panther” of 418 NFS based on the island of Morotai. This aircraft flew night missions off the coast of Mindanao from October 1944 until the unit was transferred to Okinawa just before war’s end.
Instead of taking a step-by-step tour, I decided this time to highlight the good, and the bad aspects of this kit as I assembled it.
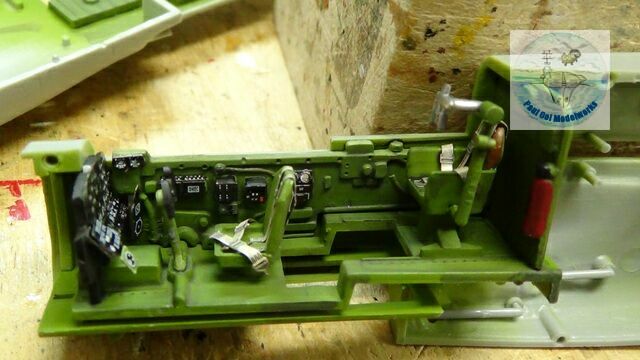
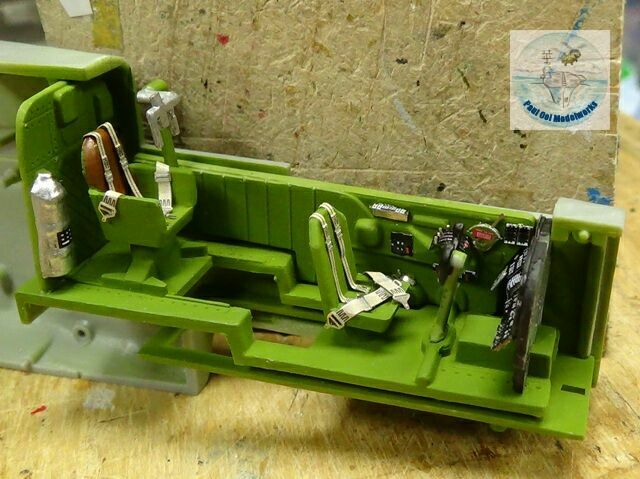
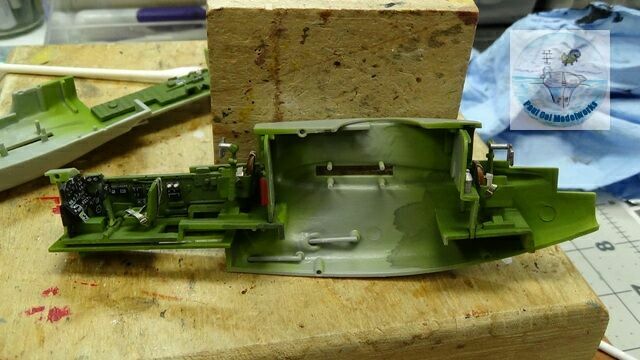
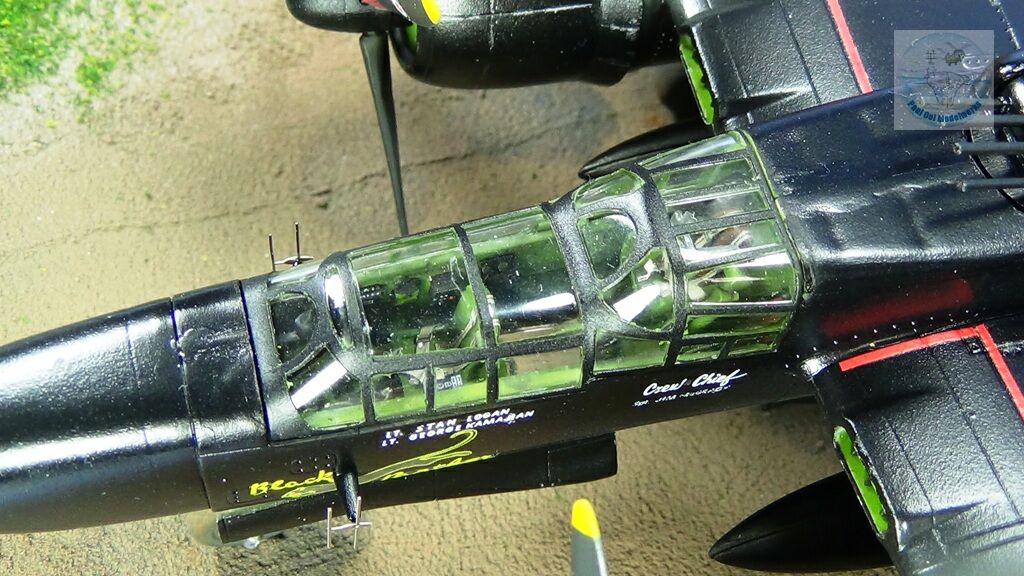
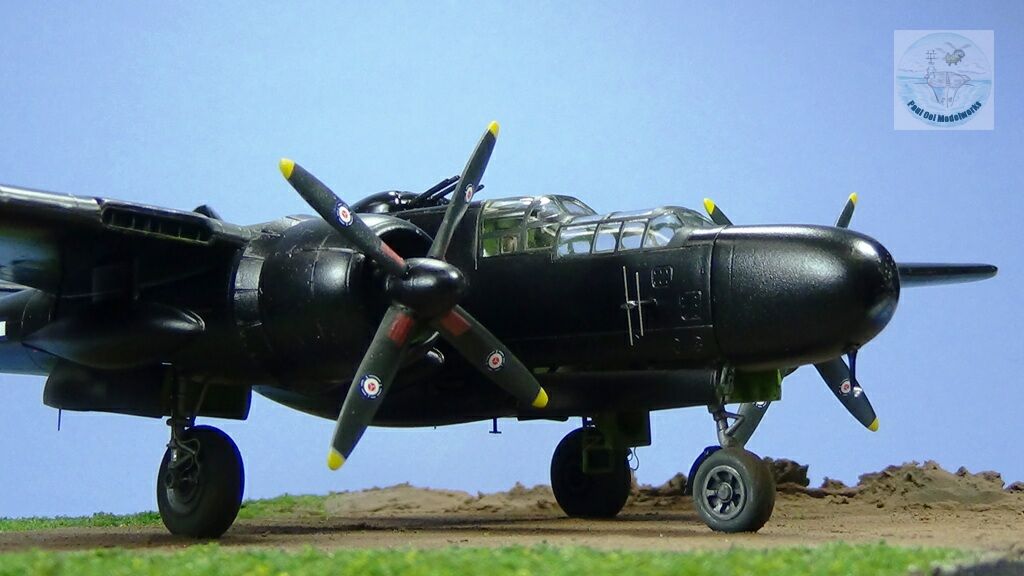
The cockpit interior was well detailed complete with color photo-etch panels. Interior was painted Interior Green FS34151.
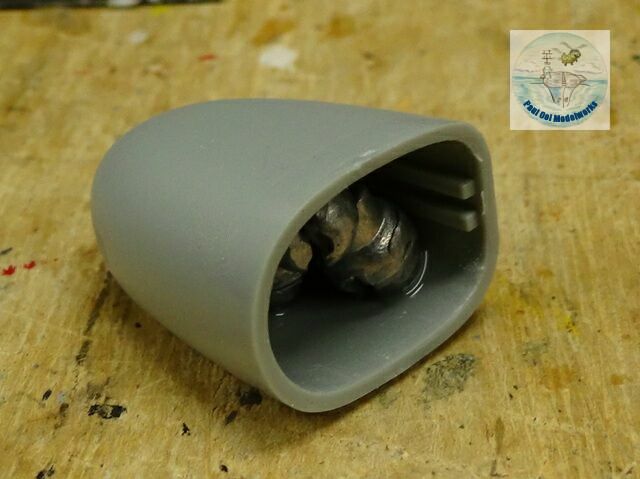
It was important to fill the nose with as much ballast weight as possible, even then it was barely enough to overcome the two huge tails.
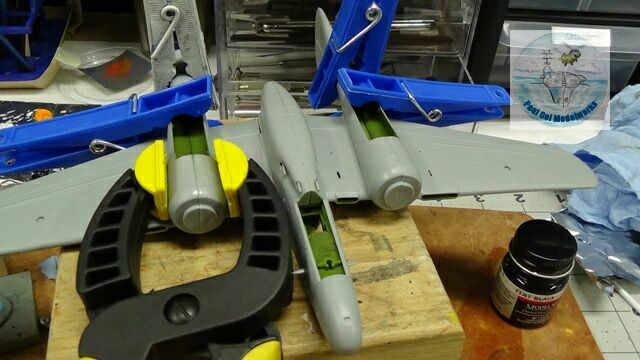
As mentioned earlier, there was bad fit due to the warped sections of the twin tail boom halves. Coupled with this, the plastic from DML did not working so well with Tamiya liquid glue and failed to bond adequately ( I ended up switching to Plastruct Plastic Weld later, but not before disaster struck, and the kit was briefly consigned to the trash bin!).
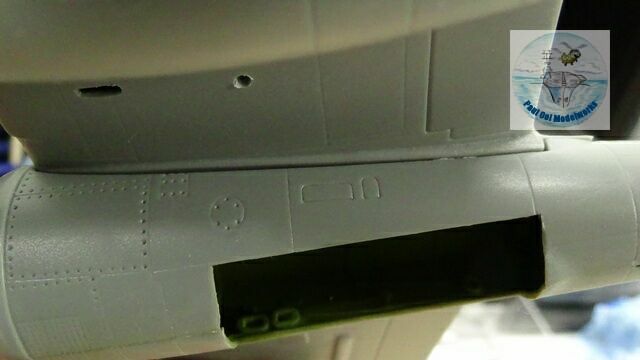
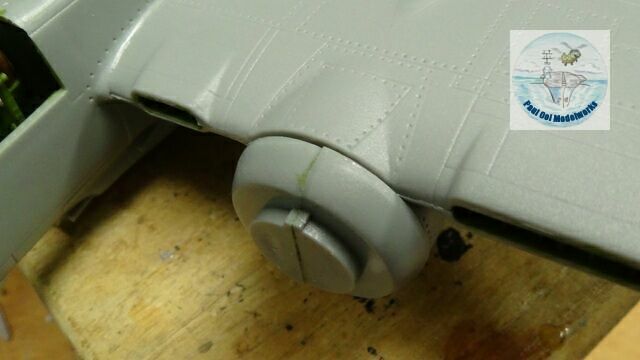
You can see here how badly misaligned the sections were due to warpage of the molded parts, and the huge seams I had to work with.
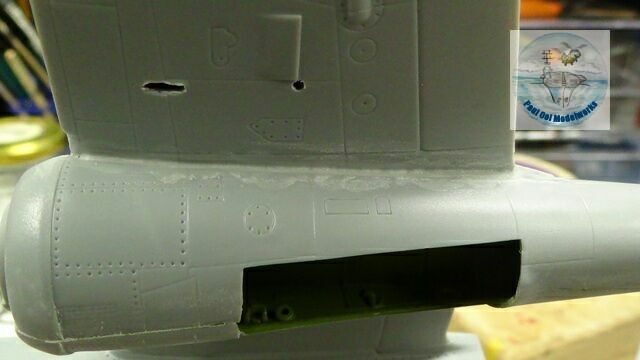
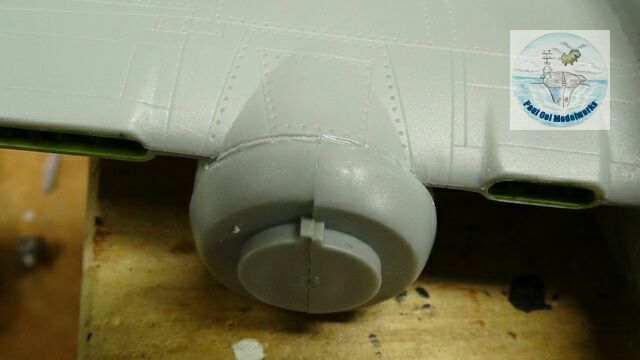
Using the technique to fill large gaps in Tutorial 3: Filling Large Plastic Seams I managed to mitigate some of the worse aspects of the joints.
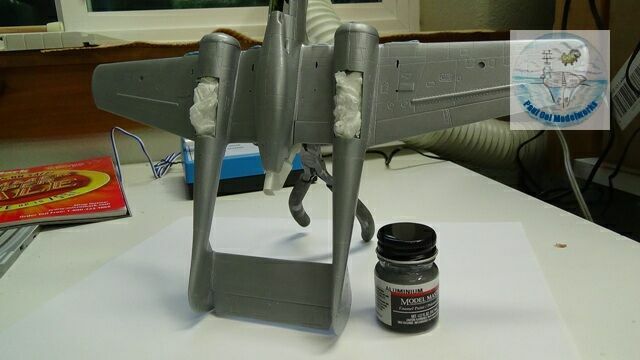
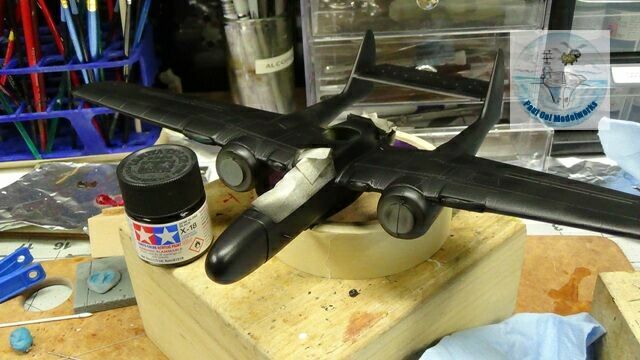
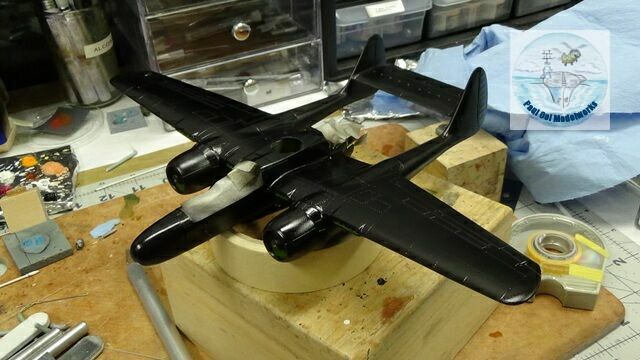
Some important notes on painting an all black aircraft. I undercoat the model with enamel aluminum first. This provides a bright metallic base for the Tamiya X18 Semi Gloss Black that gives some “light” to the surface that looks more like real aircraft skin. It also helps to show off the panel lines using light reflection instead of the unrealistic filling of the panel lines with a grey wash. Over the black finish, I apply two layers of Pledge Floor polish to prep for the decals. Happy to say, the decals settled very nicely on this surface.
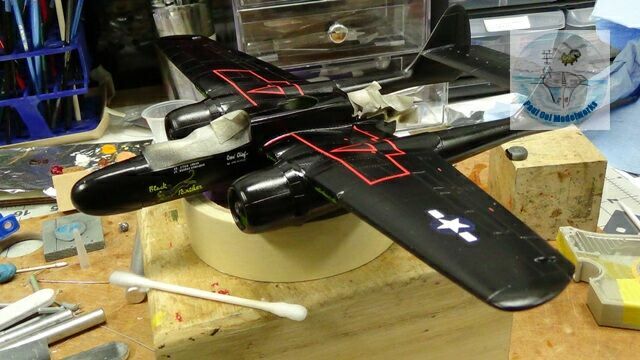
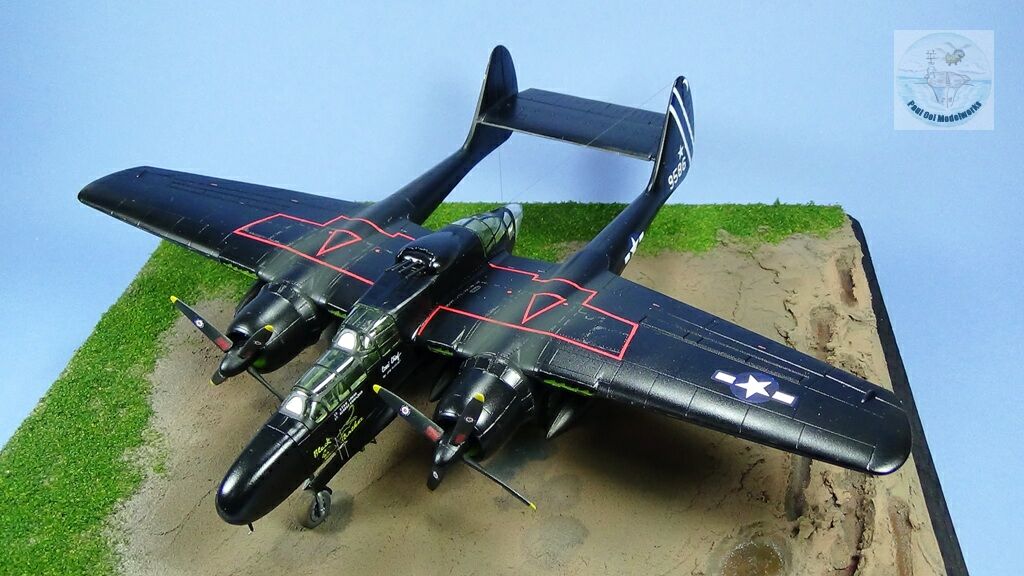
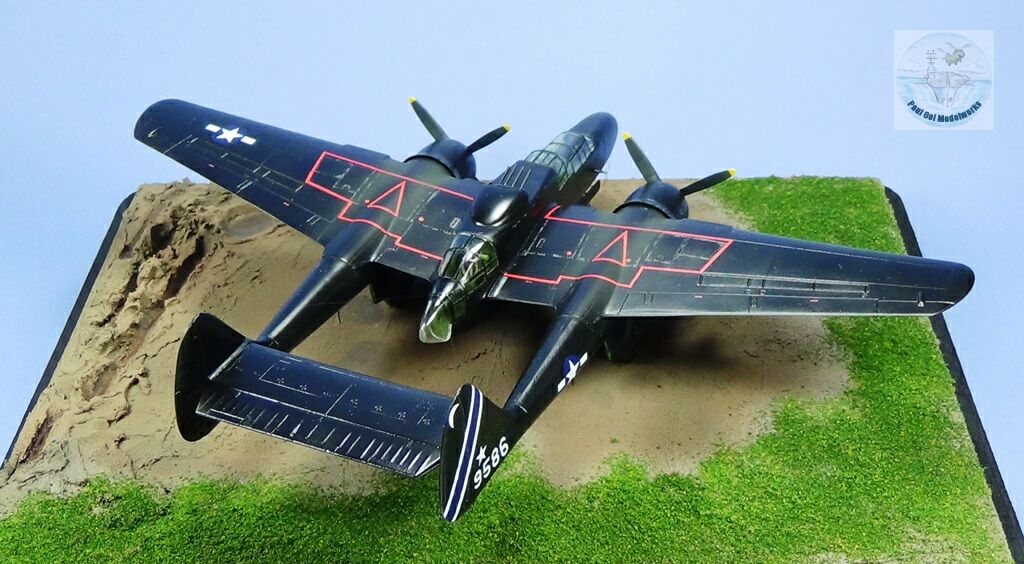
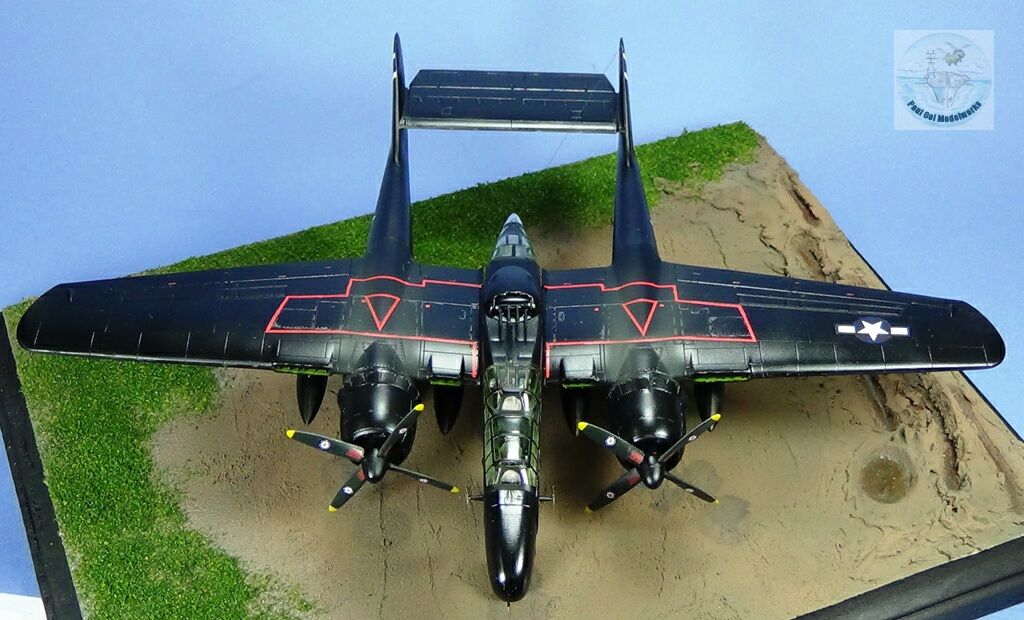
The other tricky part for this kit is the series of red panel demarcation lines on the topside of the paintwork. Instead of trying to apply the entire long sheet at one go, I chose to cut the decal into manageable portions and align each smaller section before overlapping the next piece just slightly while adjusting the alignment. It turned out really well.
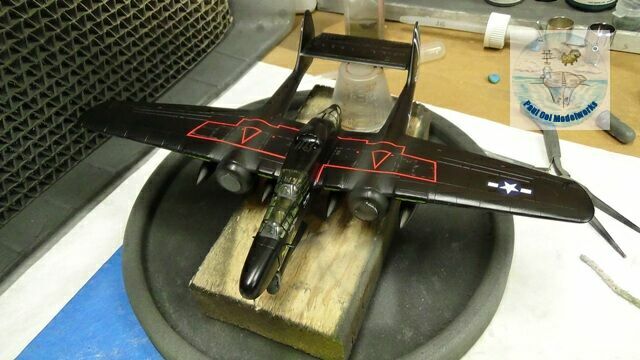
While I did fit the two nacelle units (they fit really tightly, so no danger of dropping off) for overall painting purposes, for the exhaust marks leaving behind the engine flaps it was important to paint that BEFORE fixing the nacelles for good. You can see that lighter grey-brown haze (3 parts Tamiya NATO Black: 1 part Tamiya Red Brown) applied in small increments of the airbrush. Also I did weather the aircraft just slightly by using a silver Prisma color pencil to apply little paint chips along the leading edges of the aircraft, and more along the ammo port openings where paint do get chipped off from the daily traffic loading and unloading.
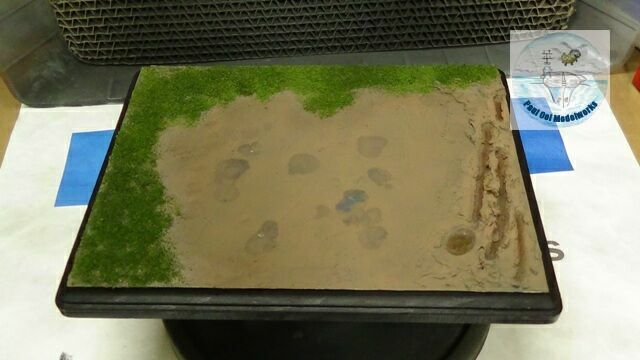
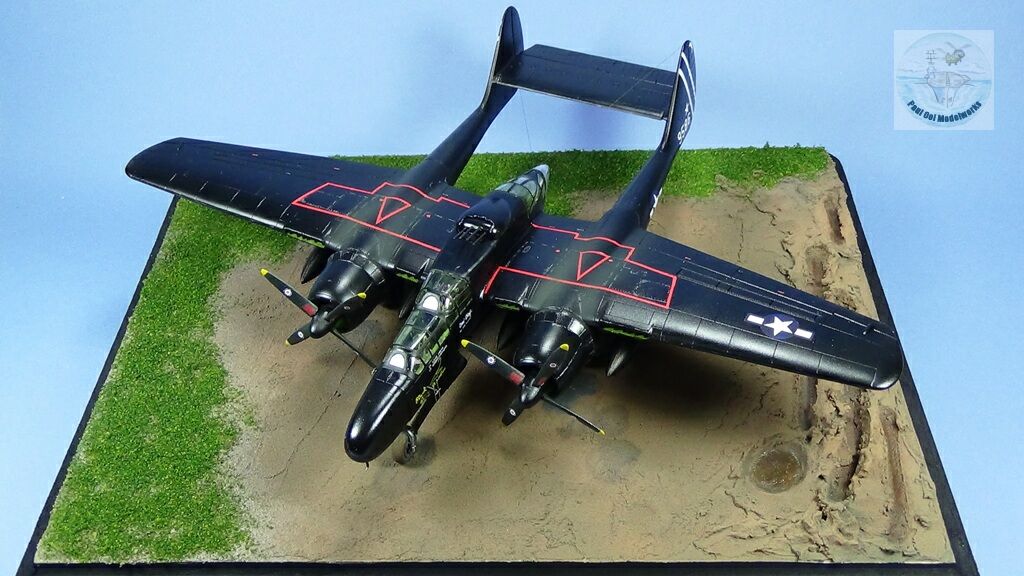
For the display base, I made one that looked like the early days of Pitu Airfield on Morotai Island (The Dutch East Indies, now part of Indonesia). Because in late October ’44 the Allies had just gained Morotai, the Seabees quickly moved in to create many unpaved or un-matted tarmac for the aircraft for immediate operational use. As such many aircraft hardstands in Morotai were just patches of sand and dirt. I also left some flooded deep tractor furrows to show the nature of that airfield back in 1944.

You can see how well the aircraft and the base got together.


Leave a Reply