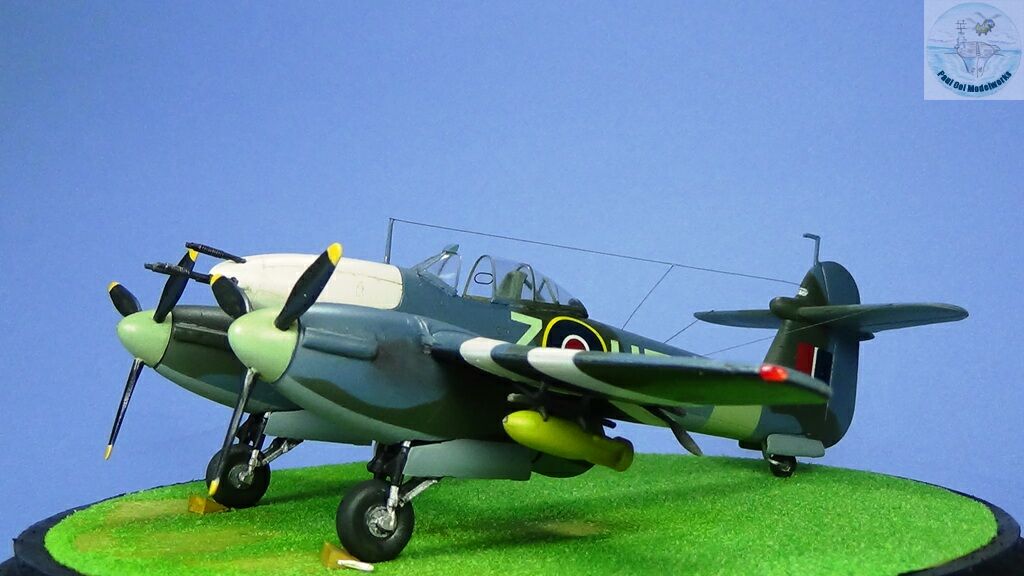
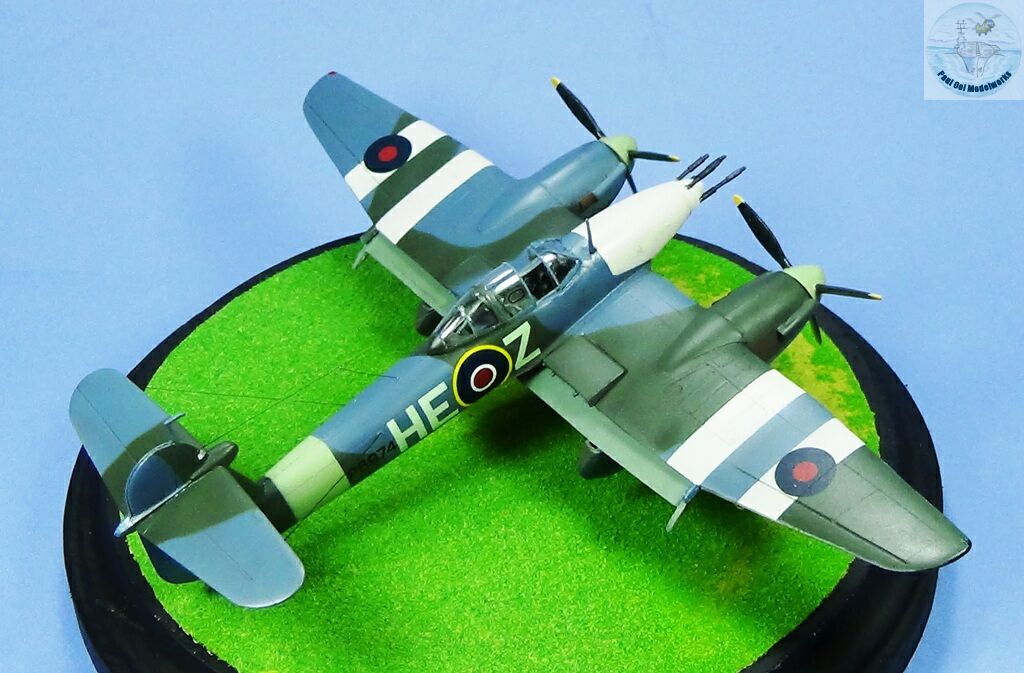
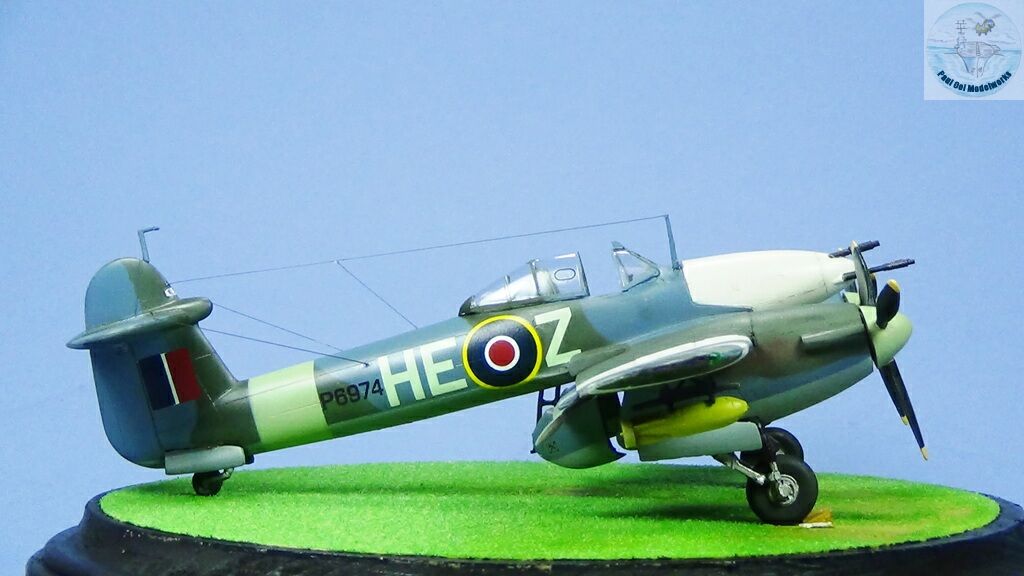
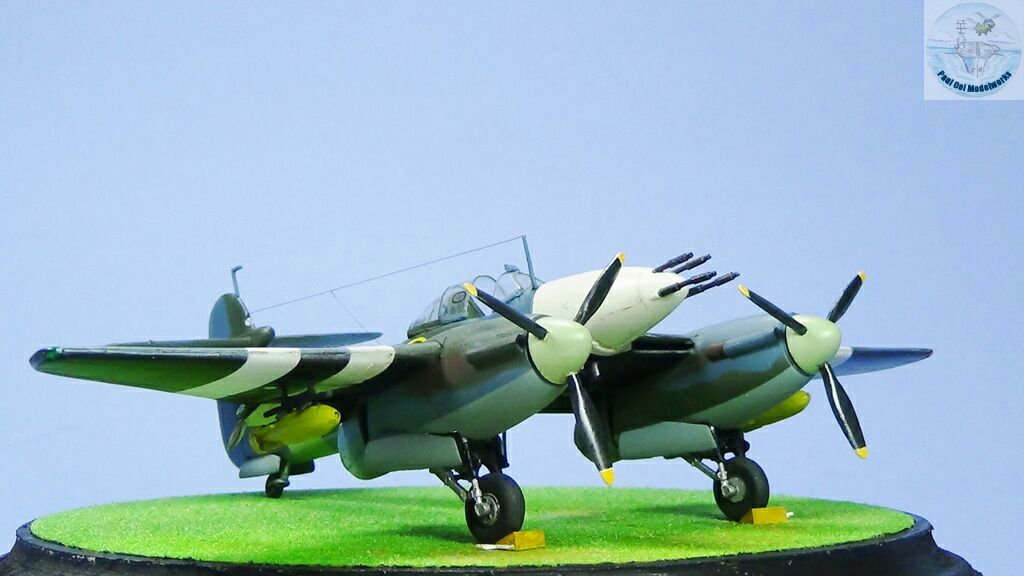
The Westland Whirlwind Mk. 1 (not to be confused with the post-war helicopter of the exact same name) was one of the early twin-engined fighters employed by the RAF in 1940. Until the introduction of the Beaufighter, the Whirlwind was the most heavily armed fighter deployed by the RAF with its distinctive nose mounted quad 20mm Hispano-Suiza cannons. The main drawback of the design was the troublesome Rolls Royce Peregrine which delayed the delivery of the Whirlwinds. The aircraft handled well and could hold its own against German fighters below 10,000m. By mid-1942, Whirlwinds were used more for fighter bomber roles and the under wing bomb racks were added. It was in this configuration that Whirlwinds were assigned to the support role during the Dieppe raid for strafing ground targets. The pilots who operated the Whirlwind actually liked it because the bubble canopy (first introduced here) gave them great visibility and the twin engine configuration improved survivability. It could take down German bombers and ground targets easily because of the heavy cannon armament. I think that the aircraft was very graceful for its time and has a passing resemblance to the Me 262 jet (did the Germans borrow the cannon arrangement?).
Gallery
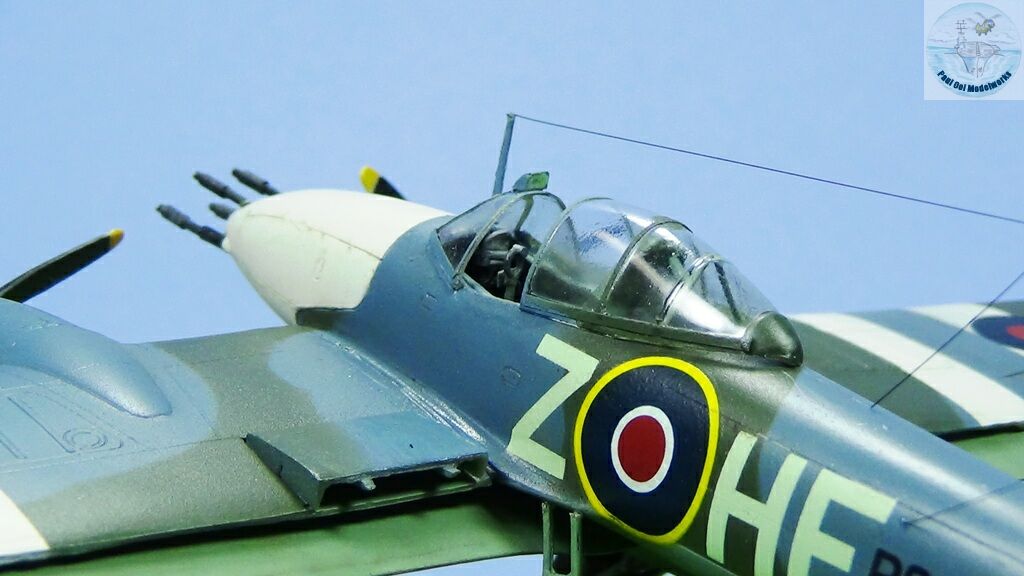
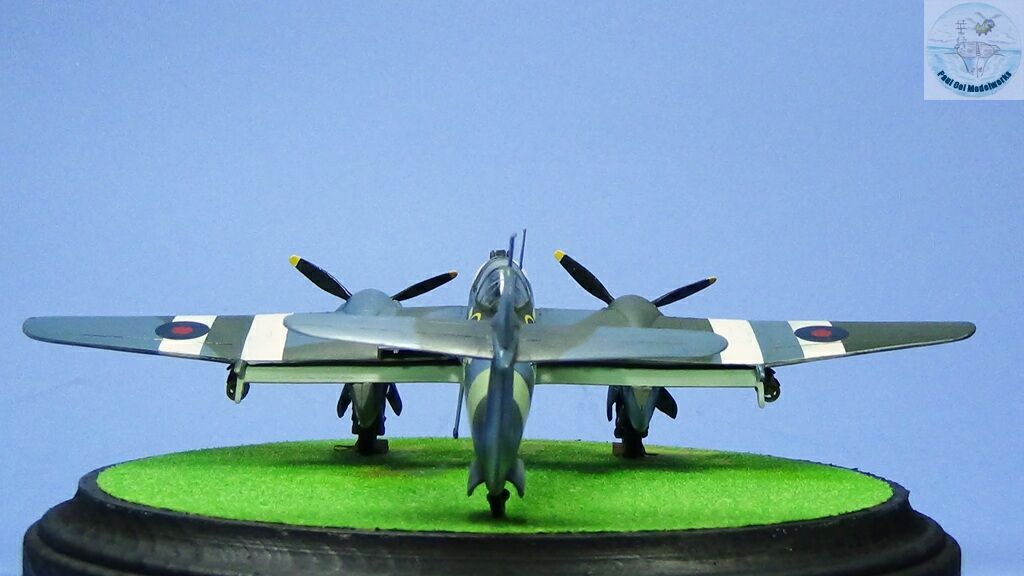
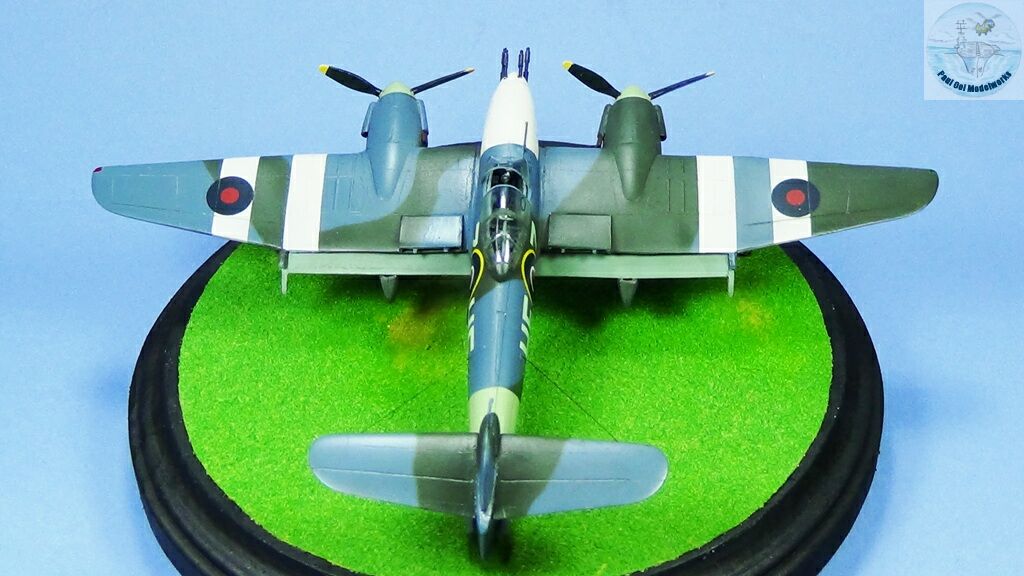
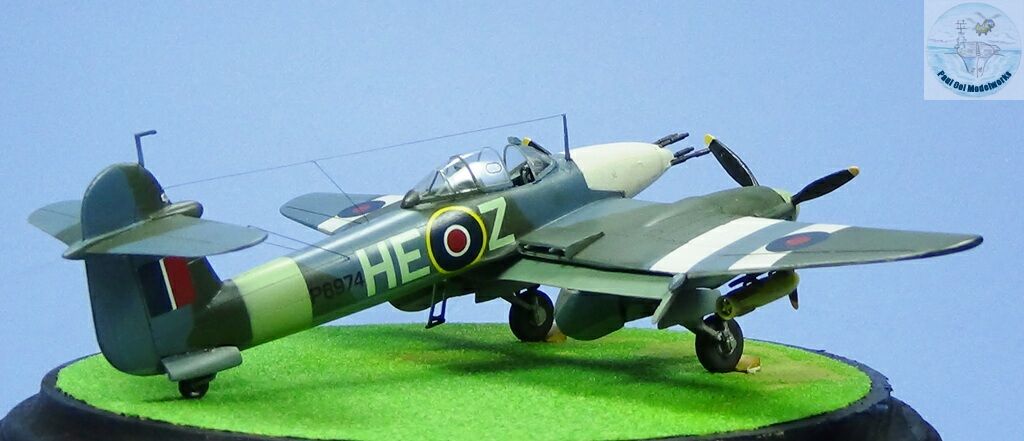
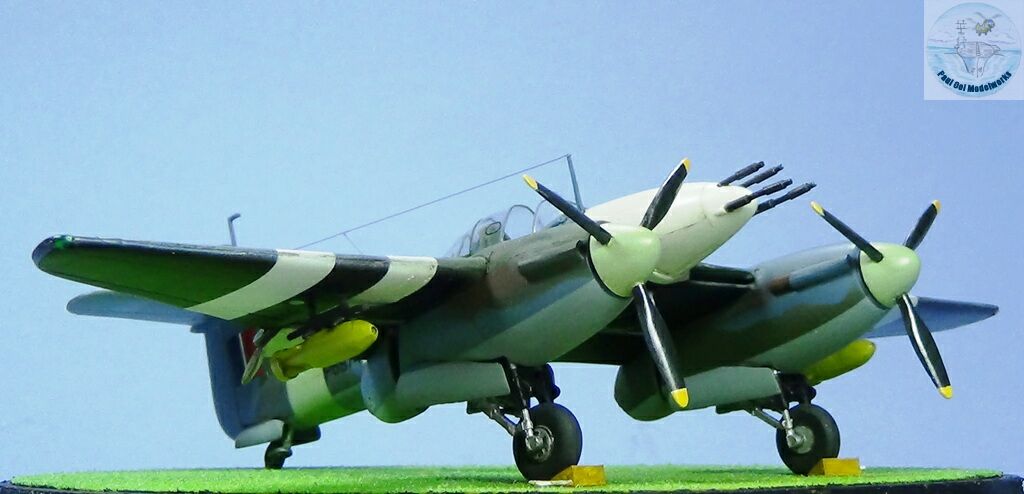
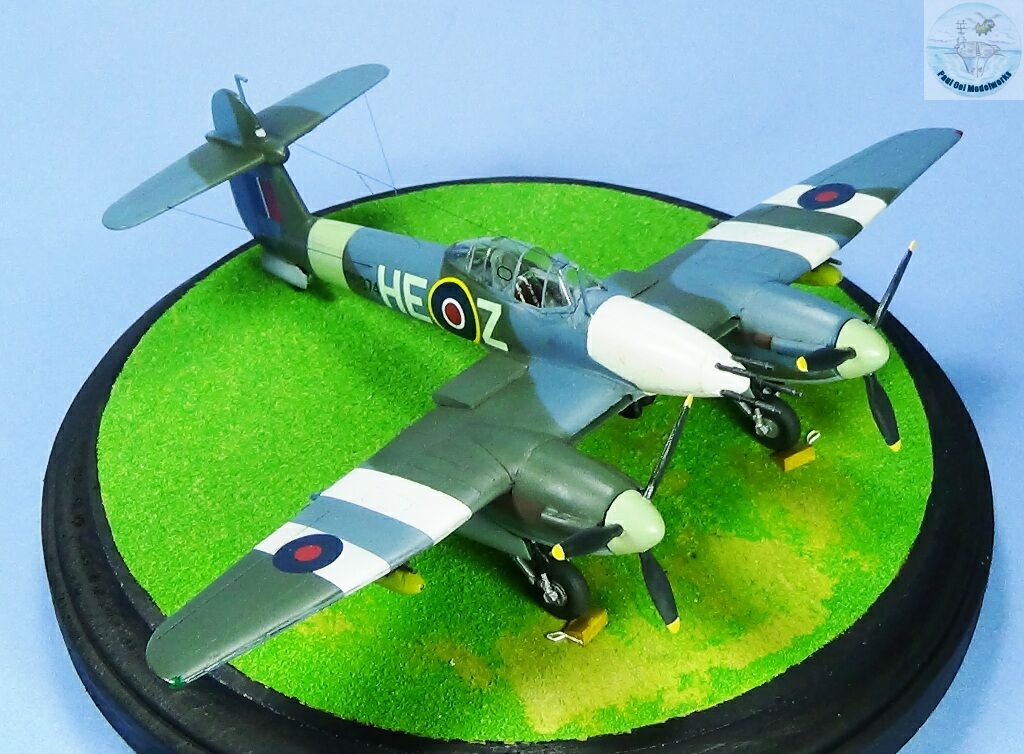
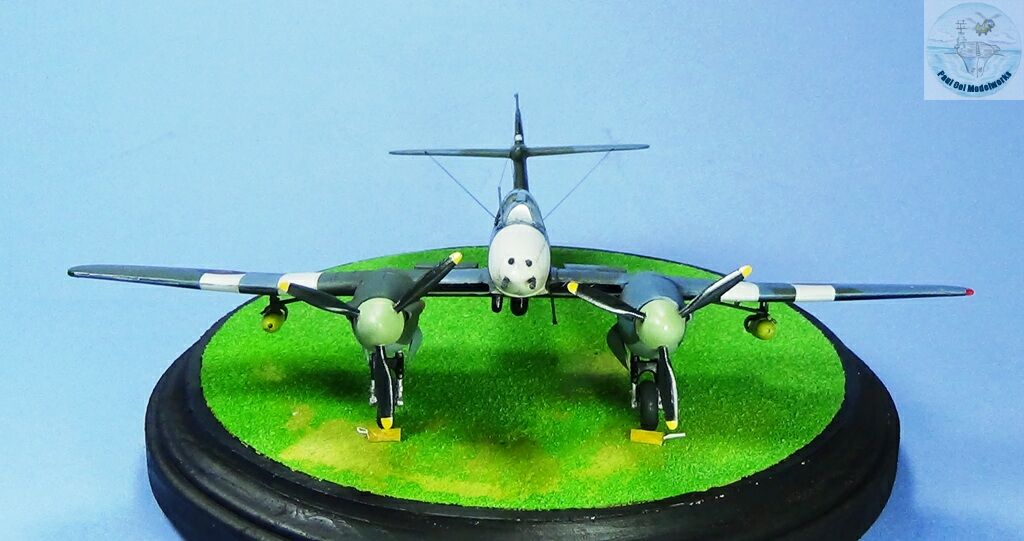
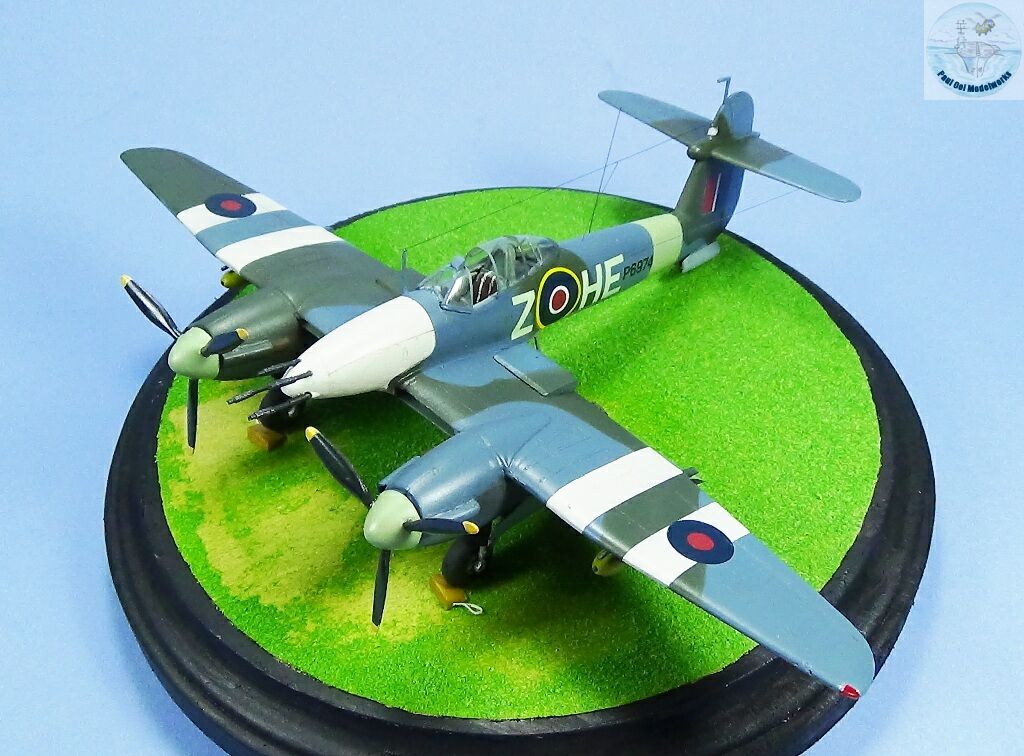
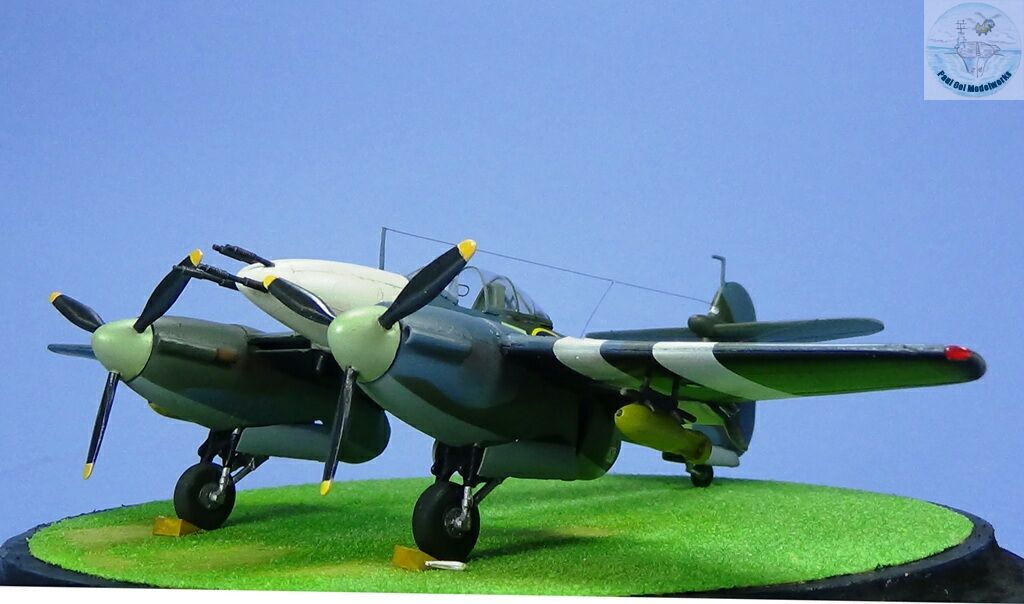
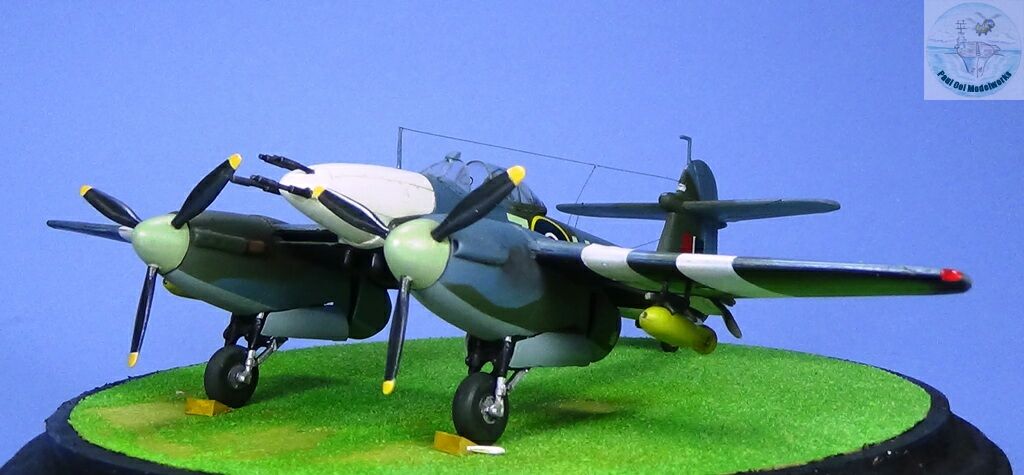
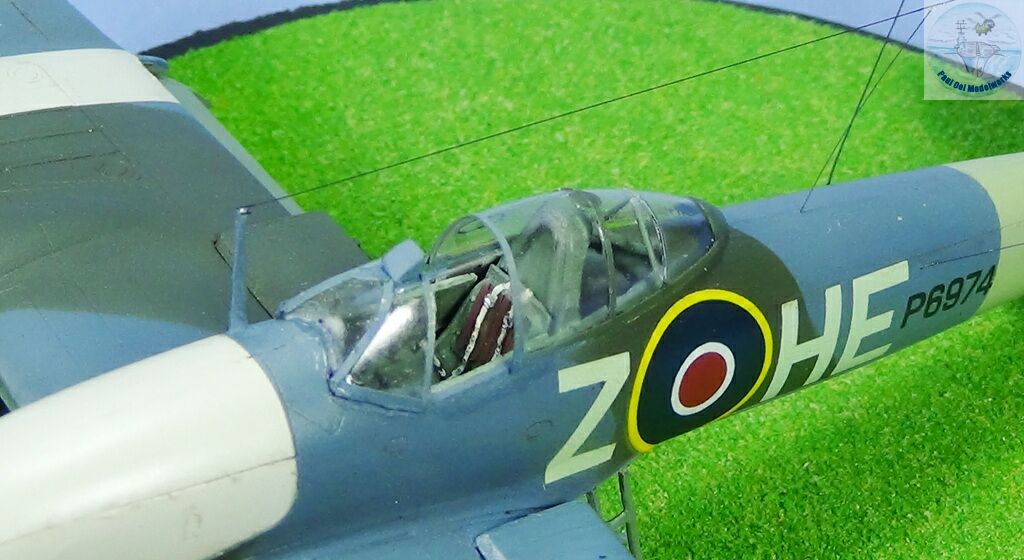
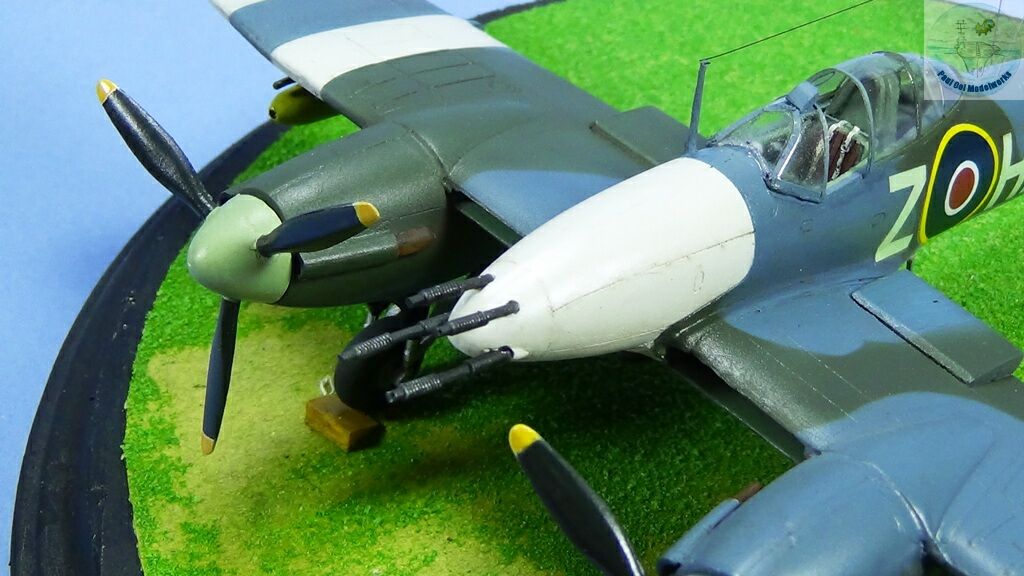
Construction Notes
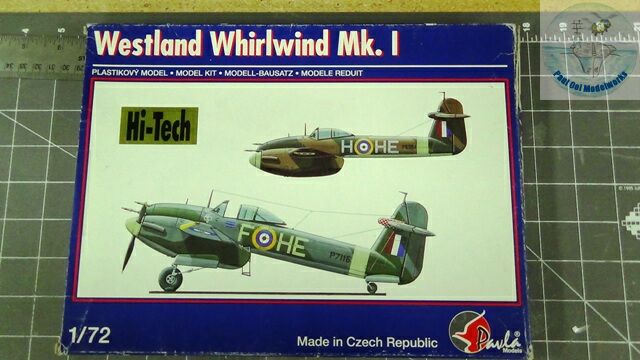
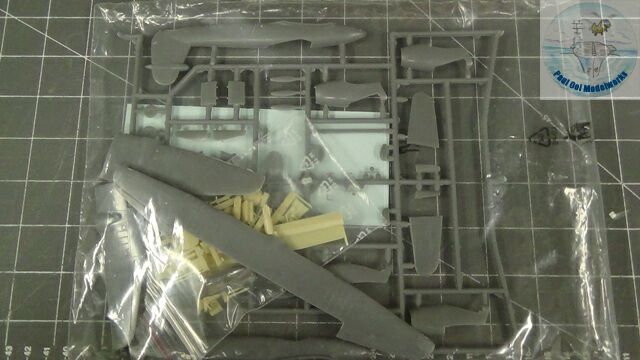
There aren’t many kit choices in 1/72 scale for the Westland Whirlwind. The Airfix kit (1978 edition) has been the main choice in 1/72 for most modelers. I came across this short run Pavla kit during a model show and picked it up for the princely sum of $8. The kit is a combination of plastic and resin parts and a nice decal sheet. The resin parts seemed to have been intended for the more common Airfix kit by virtue of them being slightly oversized for the Pavla plastic parts. The same can be said of the vacuum formed canopies (2 were given, spare?), which made for some tricky fit later on. The fit was awful, especially the mismatch between the resin parts and the fuselage. Even by short run standards, this kit was a fairly difficult build. More of that later. I did like the choices of markings available including the one that I chose to use for the Dieppe Raid of 1942.
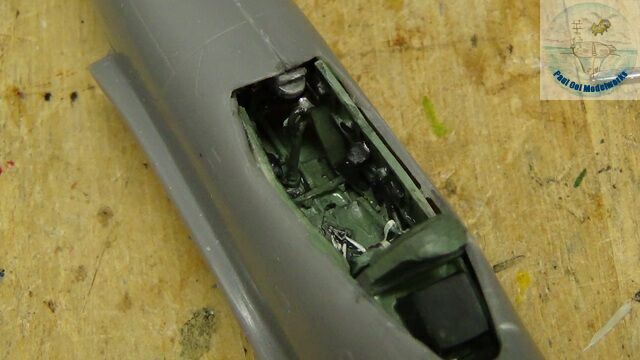
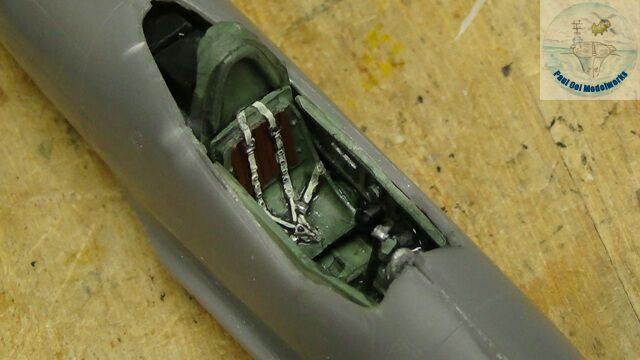
The resin cockpit sections were clearly for a larger cavity than the one that came in the kit fuselage. Even thinning the walls of the fuselage could not get them in so I had to make some significant cuts in order to make them fit together. I was glad that somehow I could make all the parts work together. Most of the interior surface and later on, the insides of wheel wells and flaps are painted with Model Masters RAF Interior Green.
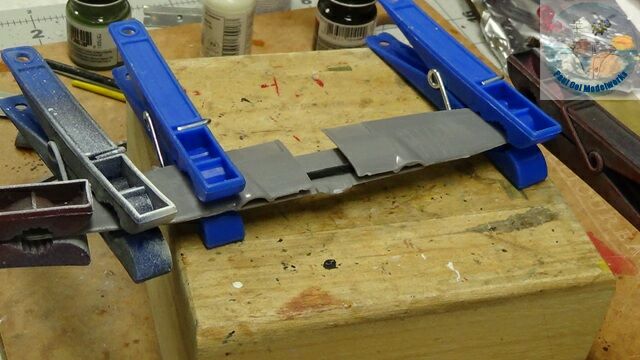
The wing halves were pretty thick and the edges were rough from poor molding and they had detached from the sprue tree in the box, causing the parts to have “mouse bites” at the edges. The wing section needed some serious clamping before we could get them to fit together.
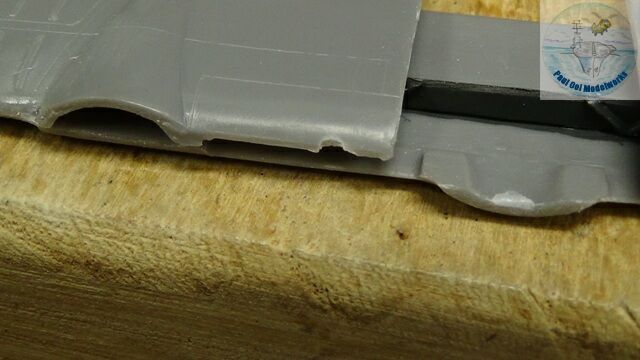
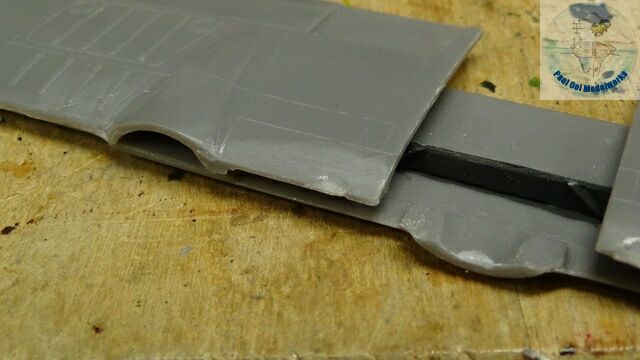
“Mouse bites” are large gouges left behind if a part had separated from the sprue tree without proper cutting. This was a common problem with the old bag kits from the 1960’s but I saw it in this kit as well. They are harder to repair than gaps in the seams but it can be done. I will show how to do repair it in Tutorial 7: Filling in Mouse Bite Gouges.
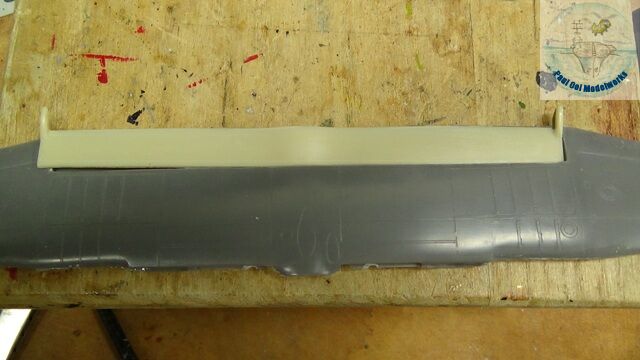
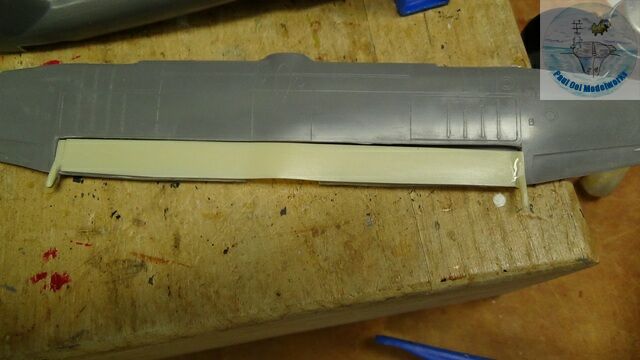
The kit provided a resin flap section that spans the underside of the aircraft. When measured against the actual flap opening, the resin part was 2mm longer fueling my suspicion that the resin parts were meant for the Airfix kit. With a sharp razor blade, I first removed both edges of the flap, carefully cut off 1mm from each side of the flap, and re-attached the edges. This way the symmetry of the flap piece is preserved. There is a slight bulge at the center of the flap which is there by design. Some modelers mistakenly thought that it was a warped section and tried to use hot water treatment to remove it. Please don’t or it will be ruined!
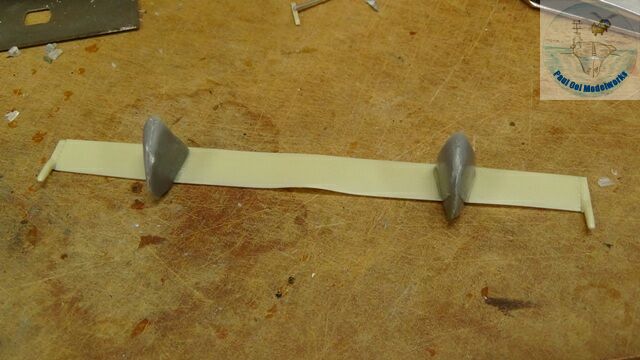
To complete the flap assembly, the two rear sections of the engine housing have to be attached to it. The Whirlwind has a unique flap construction that slides out instead of swinging open. When the flap opens, the rear sections of the engine housing pivots open as well.
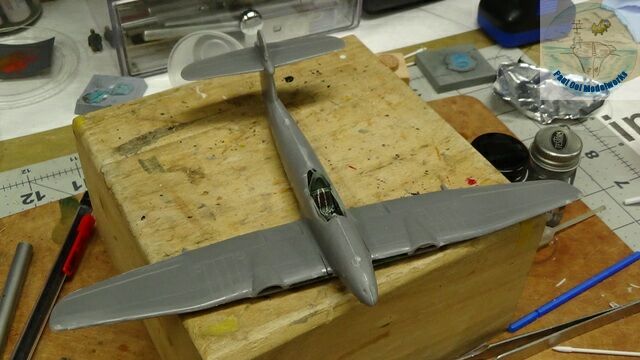
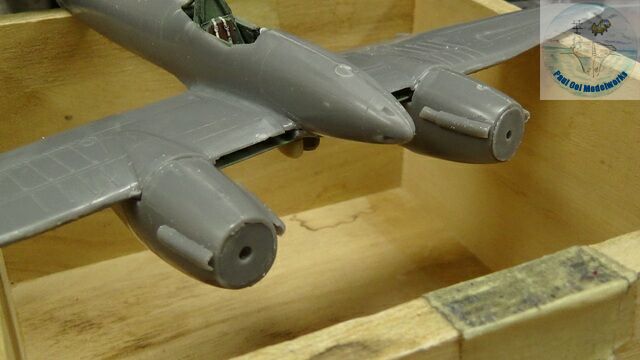
The fuselage and wing sections get fitted together, complete with the two engine nacelles.
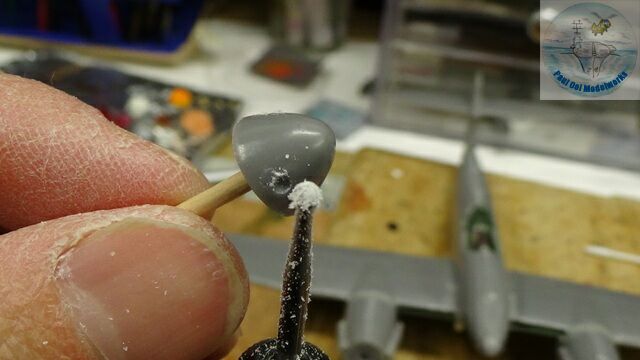
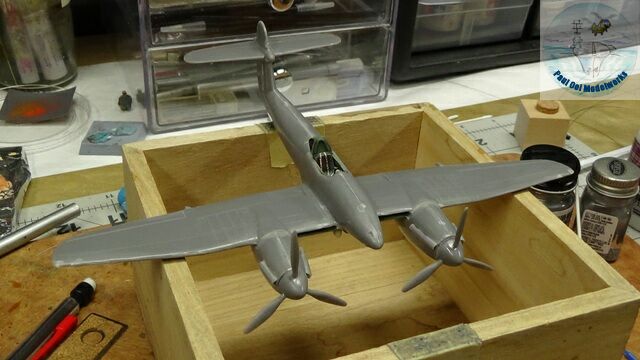
The propeller assembly has three separate blades that need to be butt-joined to the spinner. To get better attachment and also proper orientation, I carefully marked out the positions spaced 120 degrees apart on the spinner and used my Dremel tool to cut indent holes.
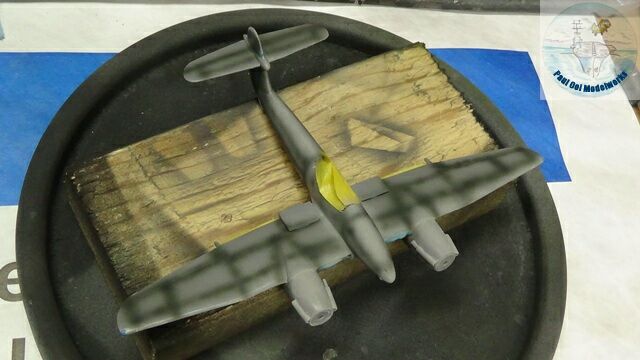
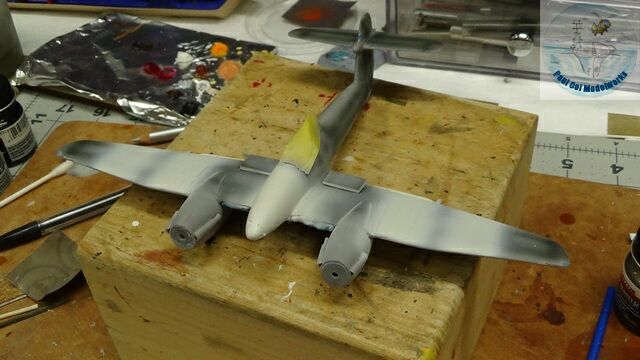
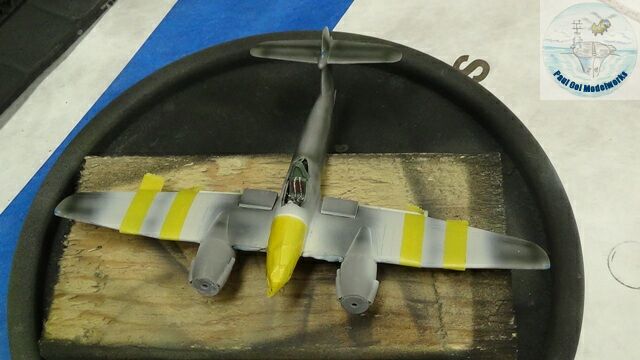
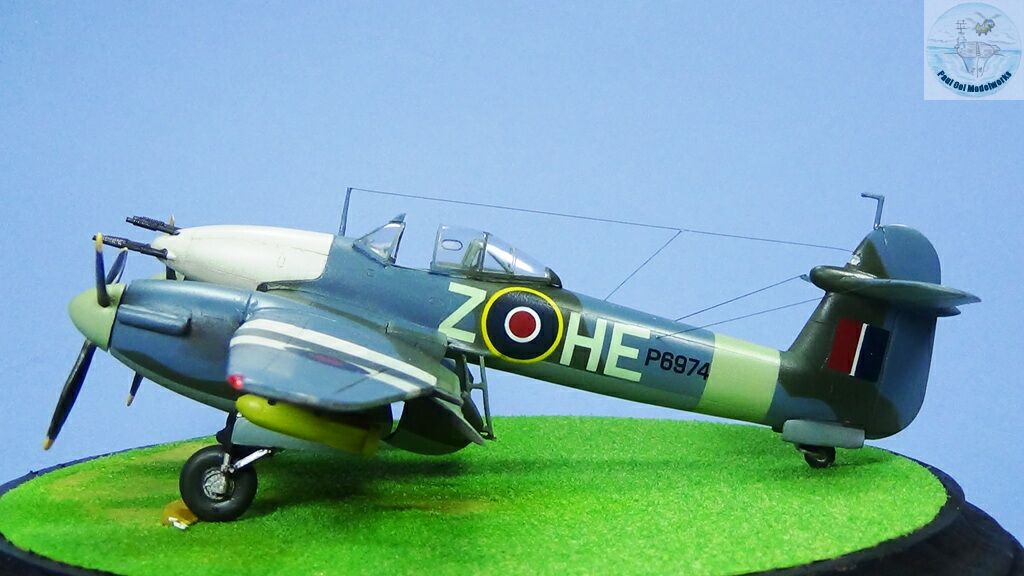
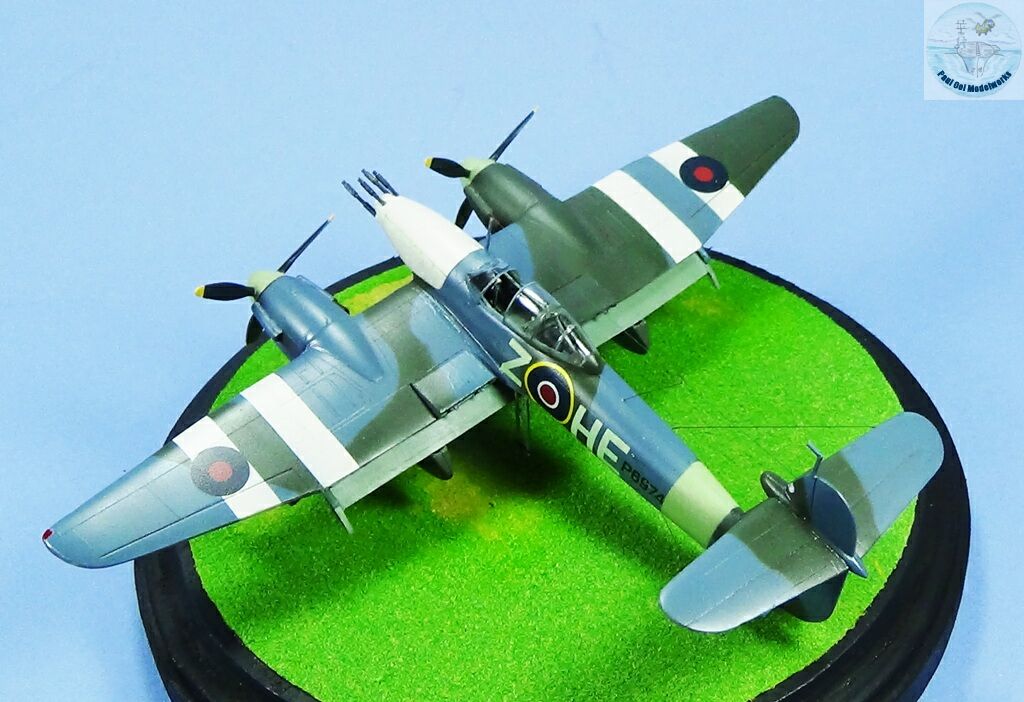
For the paint scheme, I chose the one used for the Dieppe Raid, with underside wings having a black field with white stripes and a white nose. Start with white as this would be easier to mask off, rather than to over-paint the darker colors. I use Model Masters Insignia White FS37875 mixed with 10% Gull Grey FS36440 to tone it down.
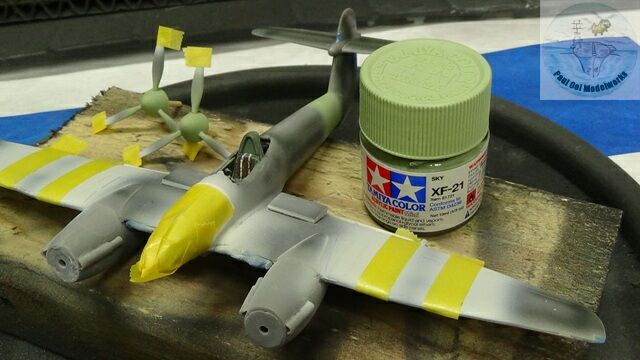
Next I apply Tamiya Sky XF21 for the fuselage band and spinners. These are also masked over.
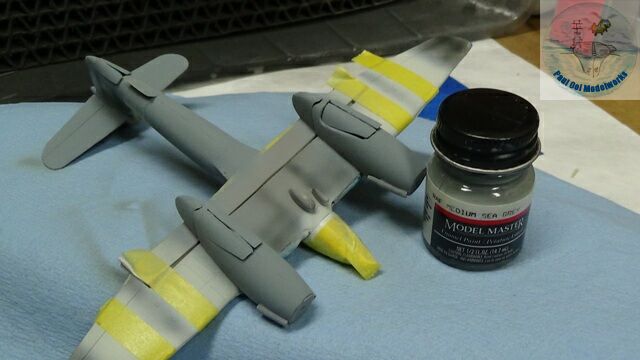
The undersides of the aircraft (except that wing underside portion) are painted Model Masters RAF Medium Sea Grey.
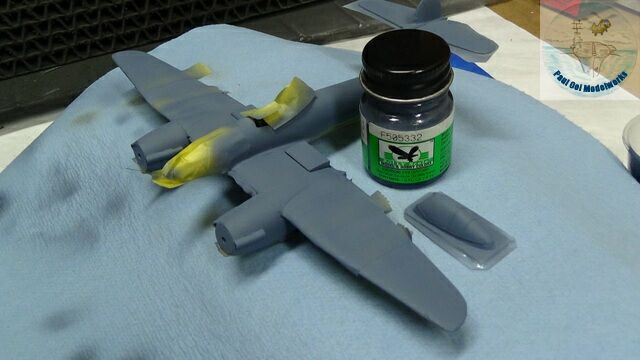
The overall topside is painted RAF Ocean Grey. I had some leftover Polly S paint of the correct color.
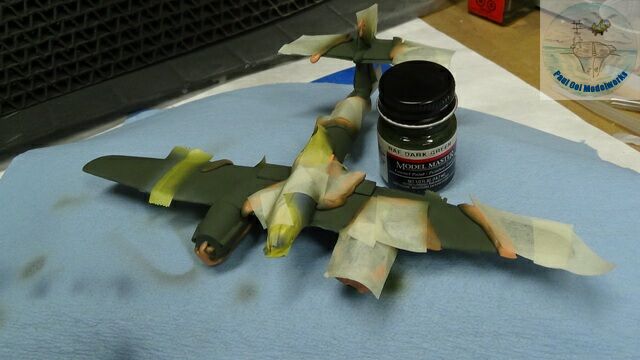
The camouflage pattern is formed using the silly-putty and masking tape method to get a soft demarcation line. I painted the pattern with Model Masters RAF Dark Green.
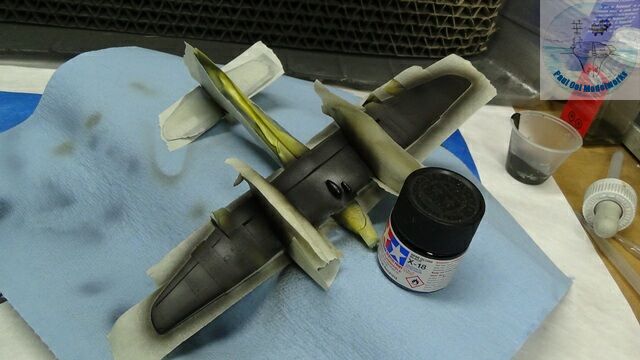
And then finally, the black special operation markings was painted on the under side of the wings with Tamiya Semi Gloss Black X-18.
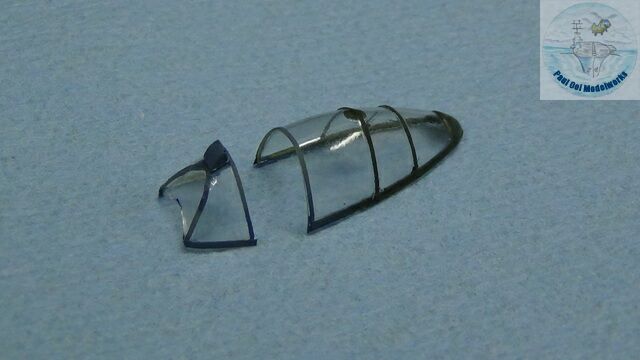
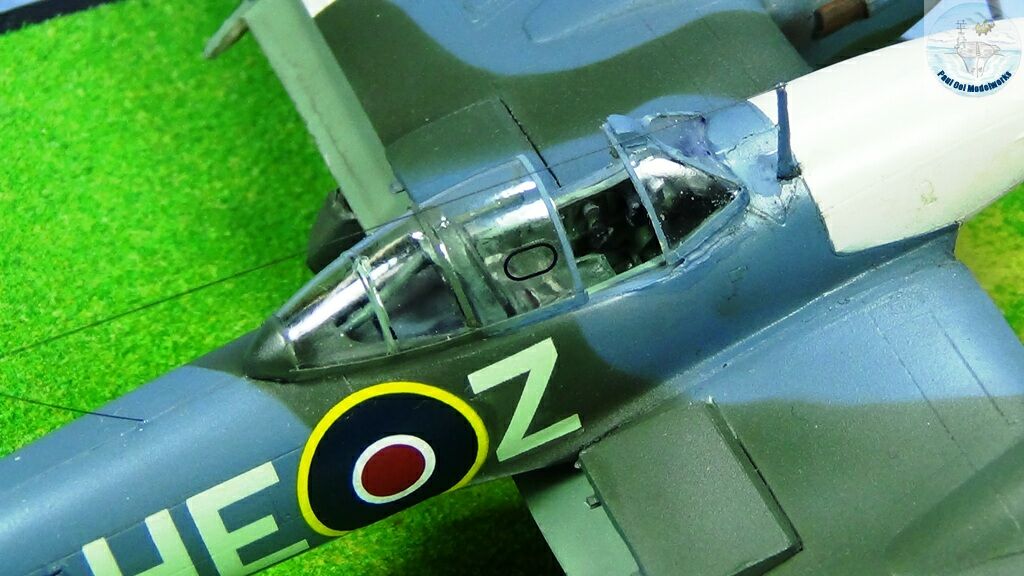
For the vacuum formed canopy, after carefully cutting off the excess portions, I applied painted tape strips for the frames. The technique for working with vacuum formed canopy is the subject of Tutorial 8: Frames for Vacuum Formed Canopies.
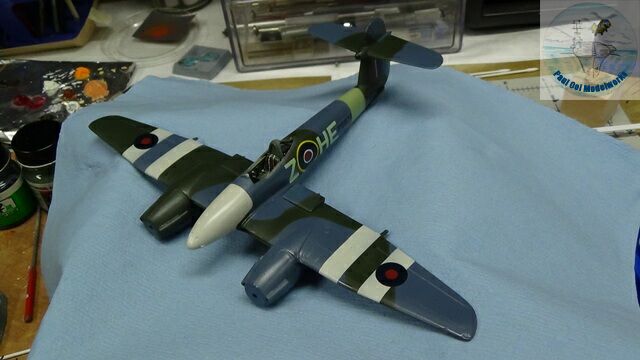
Decals are applied after the paint job had been sealed with Pledge Floor Polish.
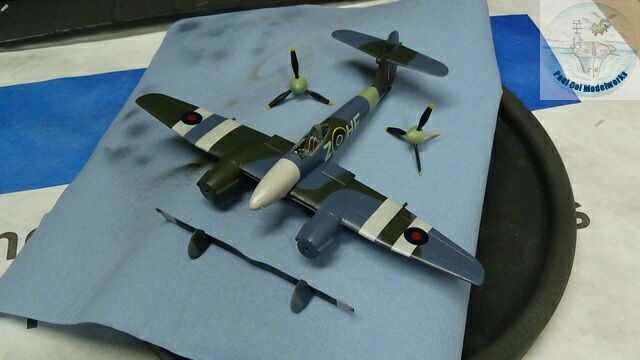
Then, it is another layer of satin varnish to seal the decals and paintwork.
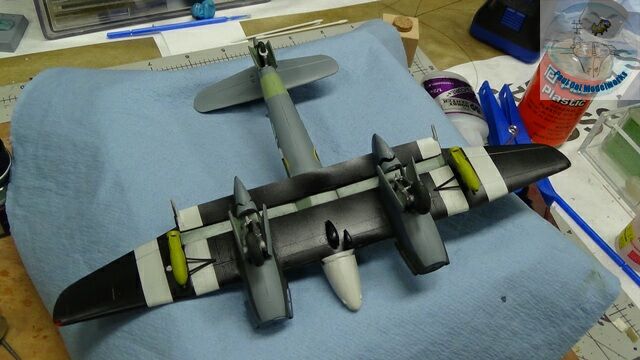
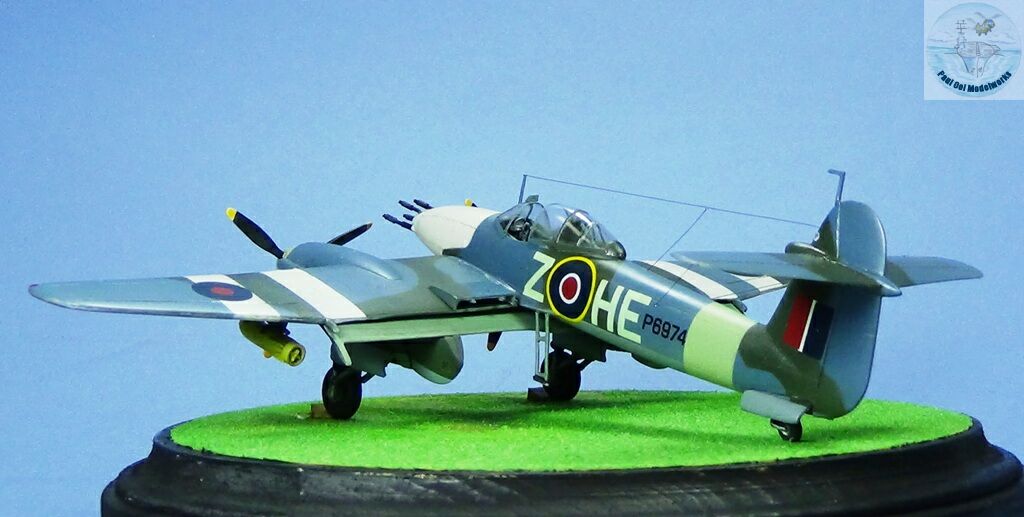
Final installation of undercarriage parts, wheel well doors, bombs and underside details. Note the position of the flaps.
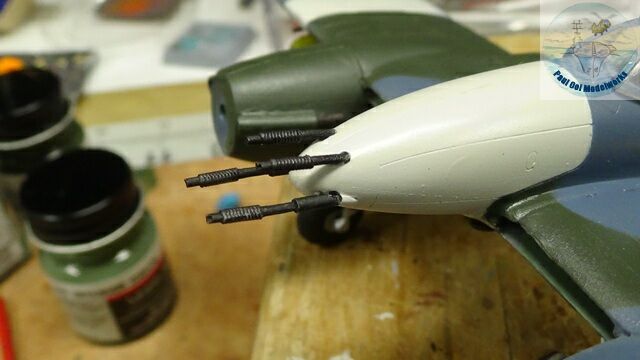
I leave the gun installation close to the end. I cut the ends of the gun tubes at a slant to fit on the nose.
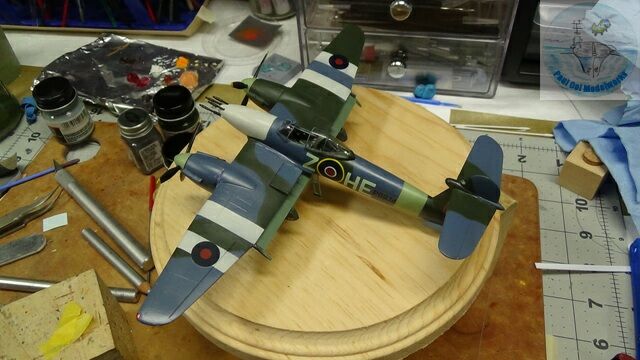
Canopy and windshield installation using Evergreen Canopy Clear Glue, and then aerial wires using stretched sprue.
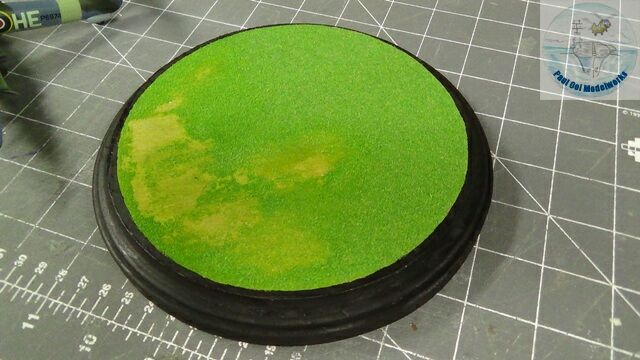
The 6″ diameter wooden base is pasted with scenic grass paper, and then portion scrubbed off to simulate bare patches from constant wear.
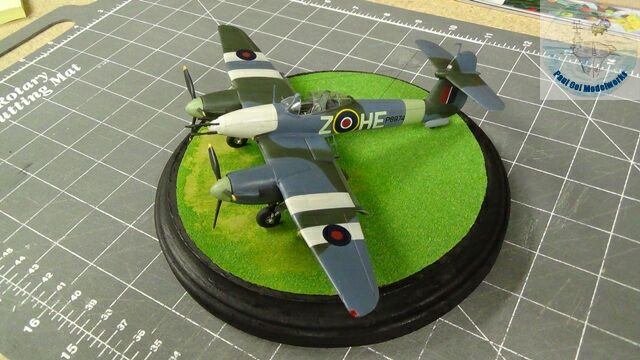
Now the Whirlwind is ready for Operation Jubilee.


Brilliant! At first I thought you were working the 1/32nd scale model.
Hello Lloyd,
Glad that you enjoyed the build. A good model build should look good in any scale, as they say!
Paul