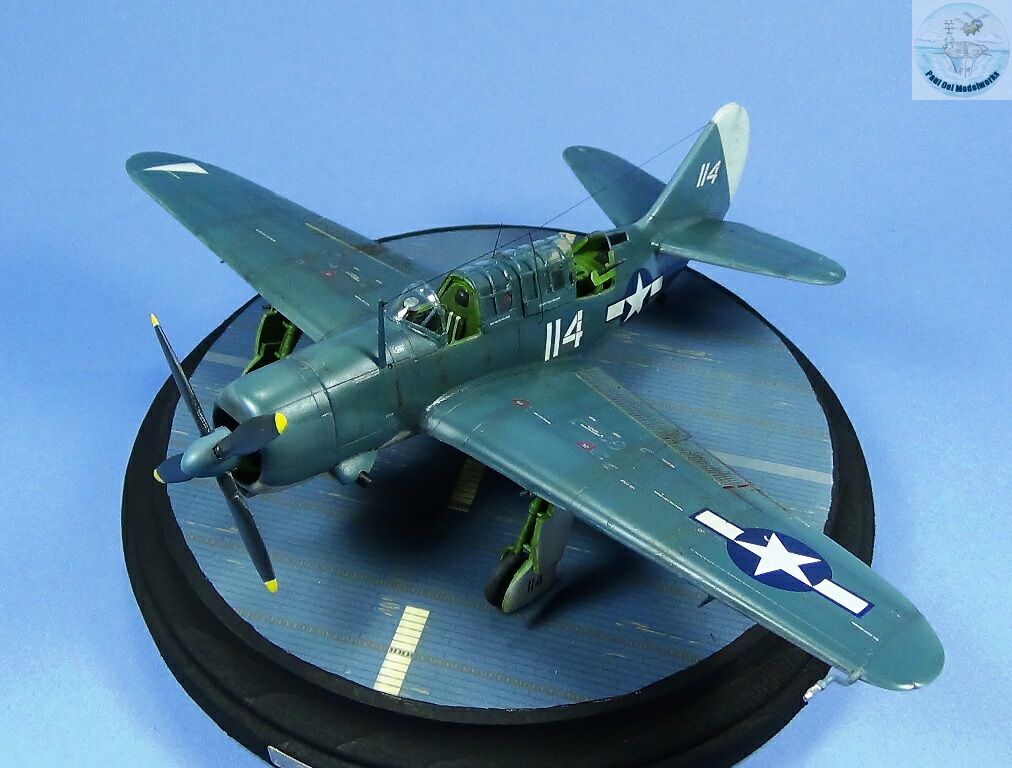
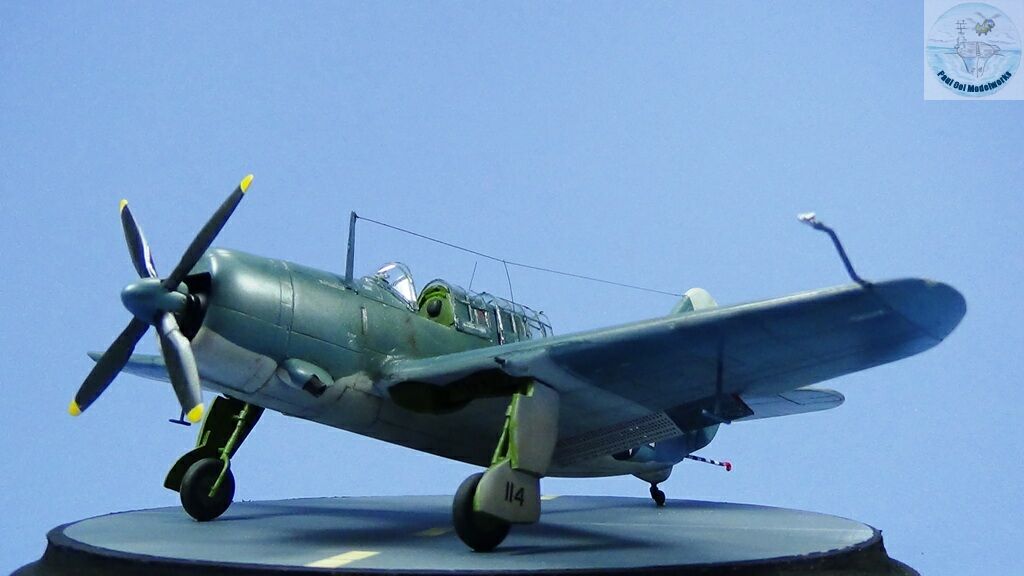
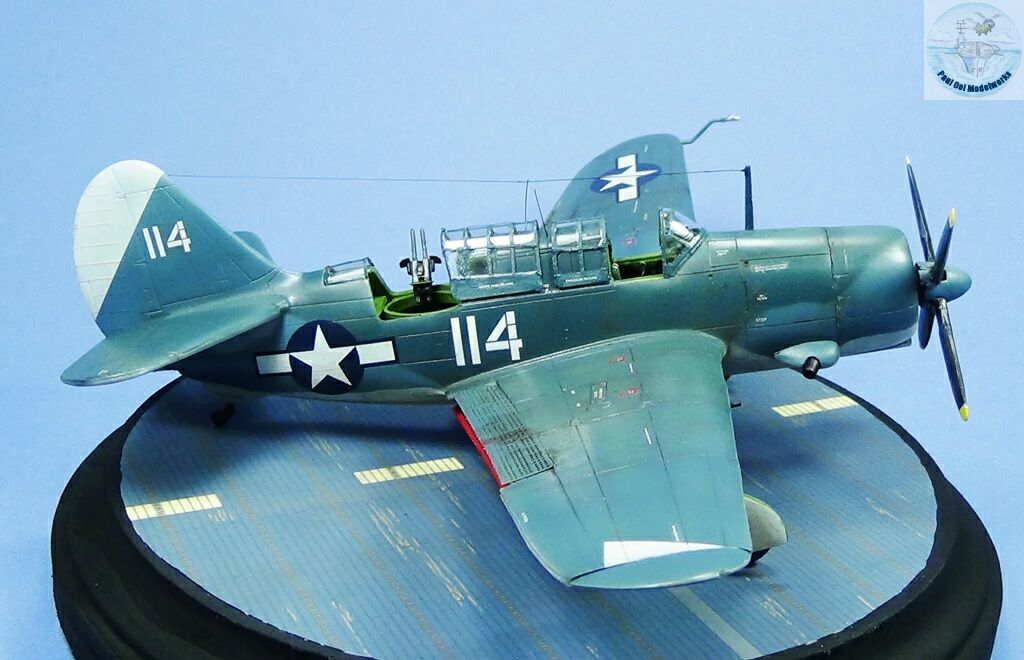
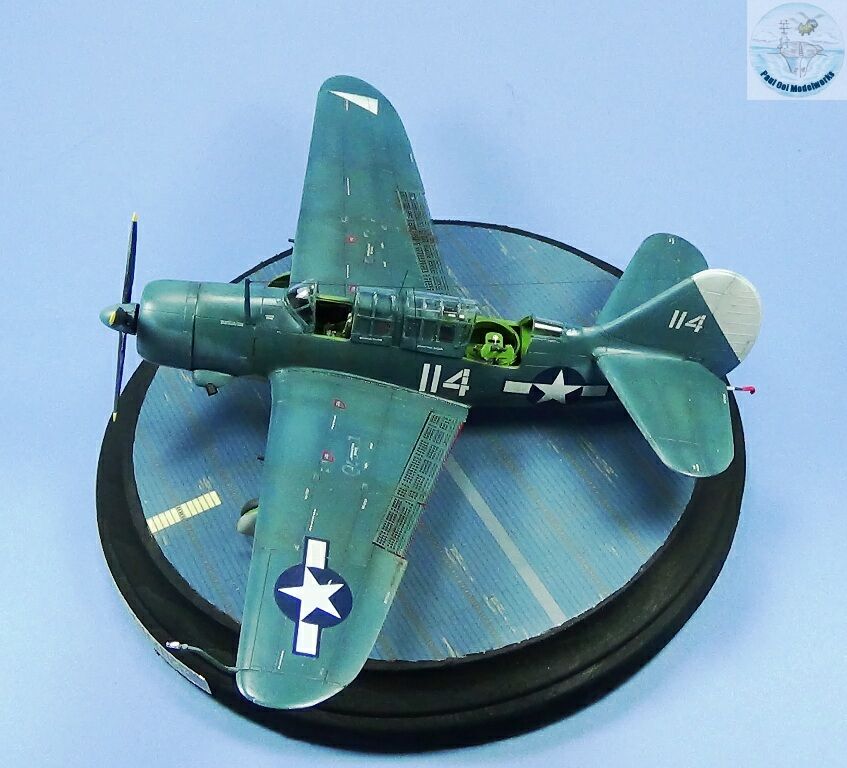
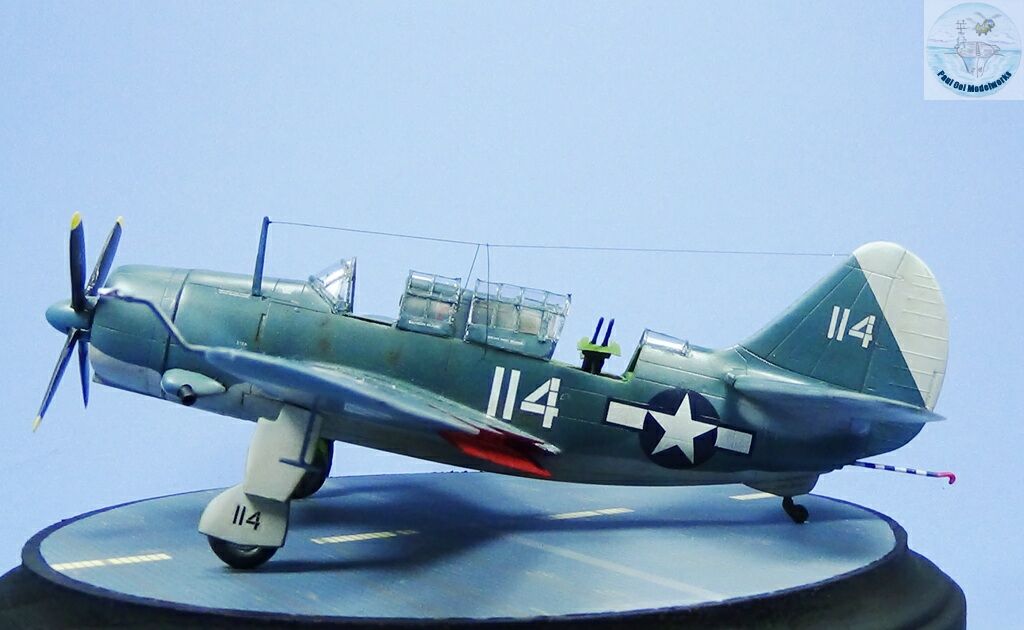
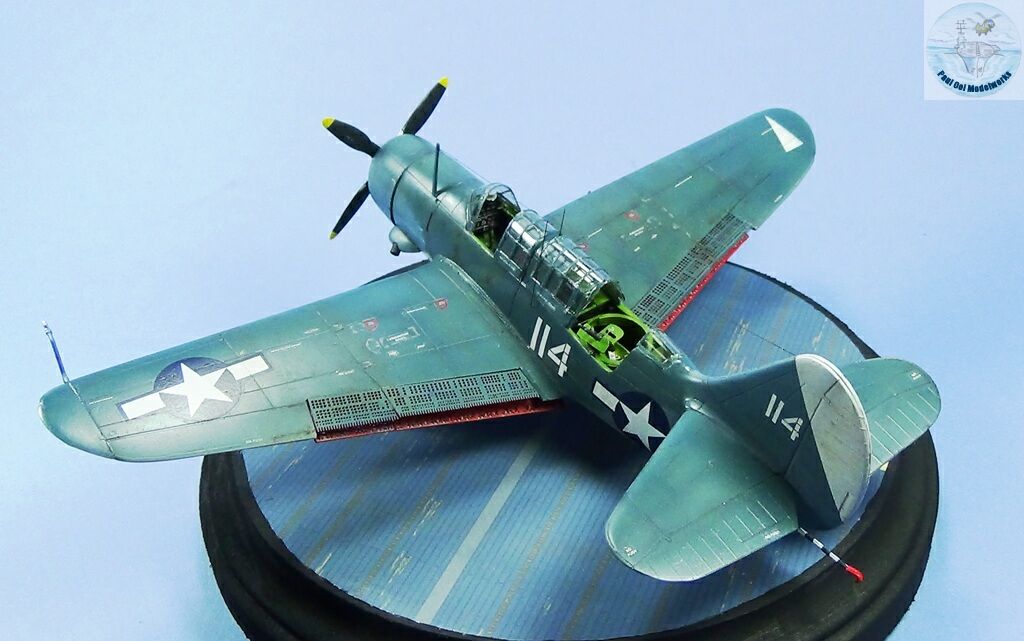
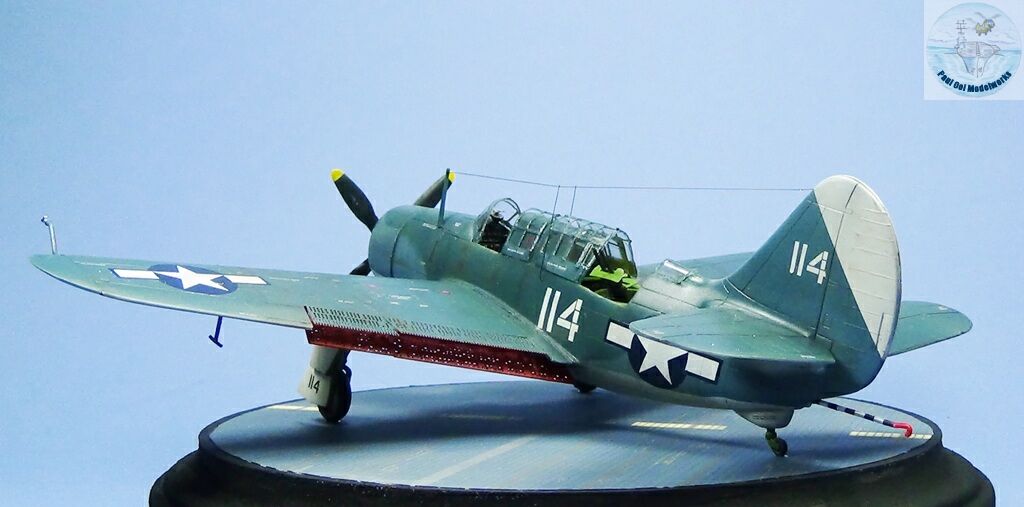
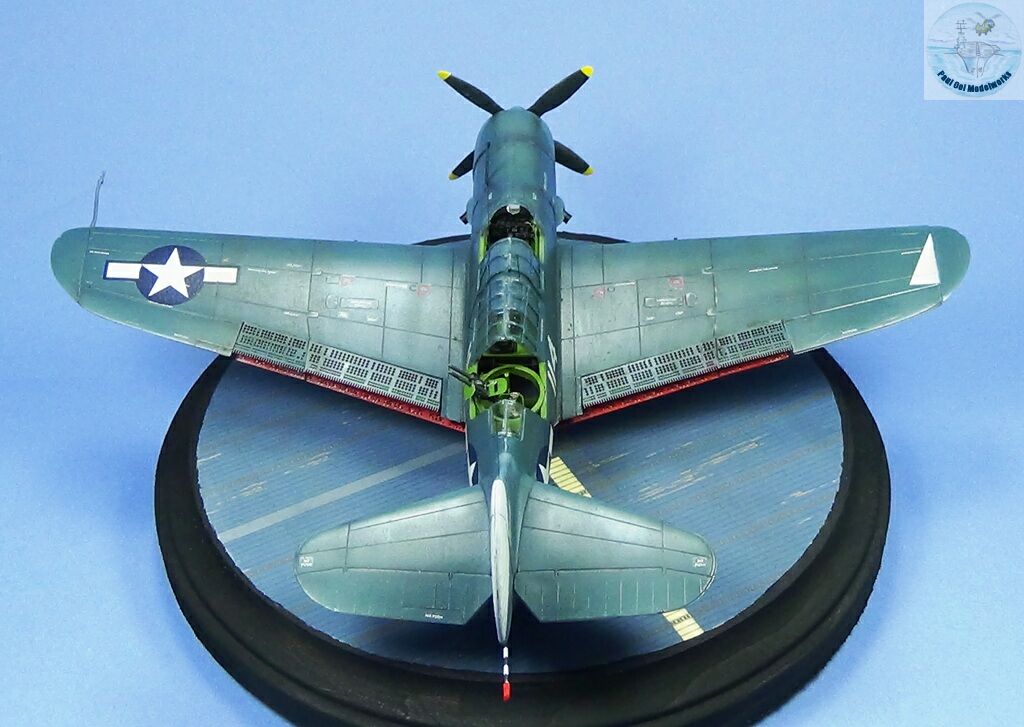
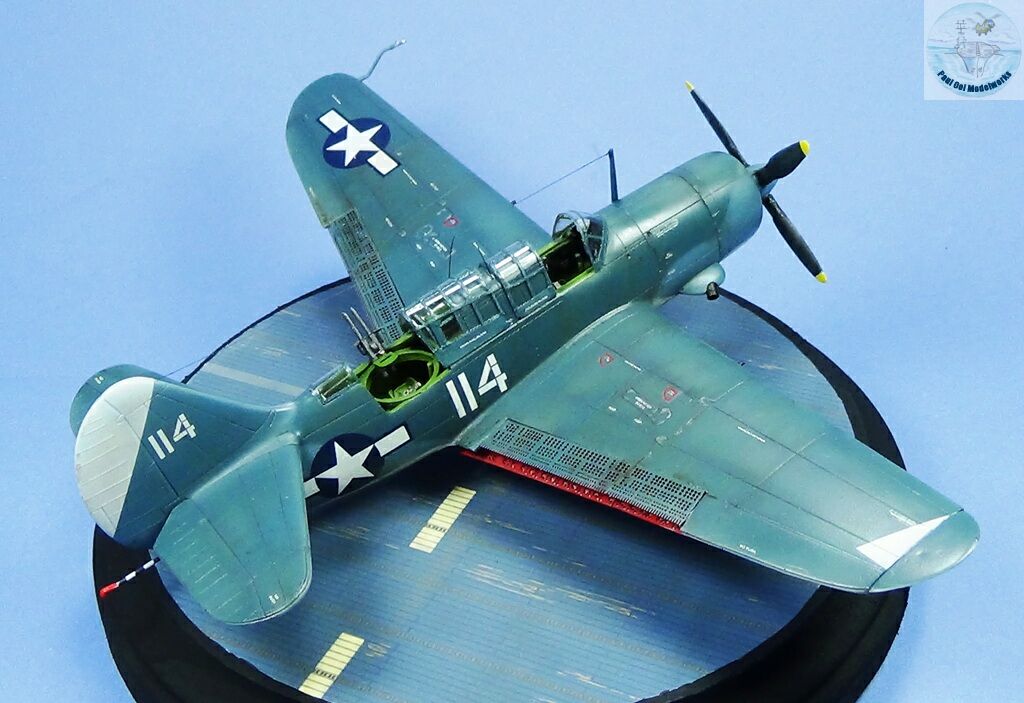
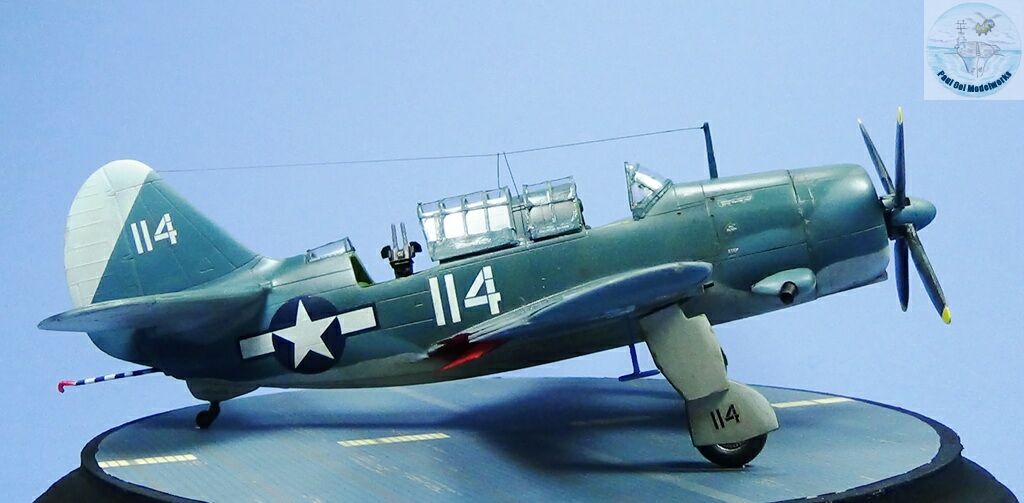
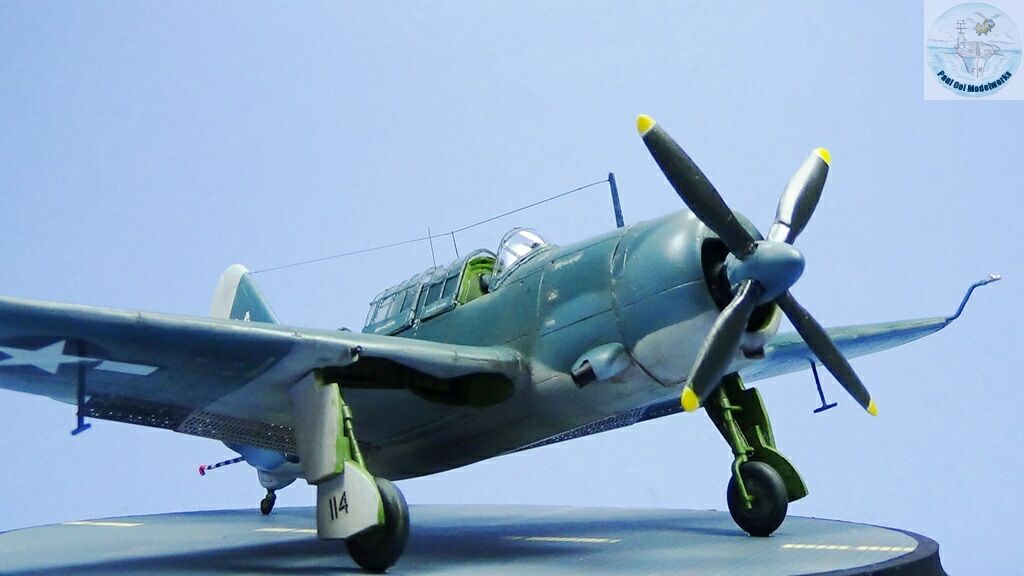
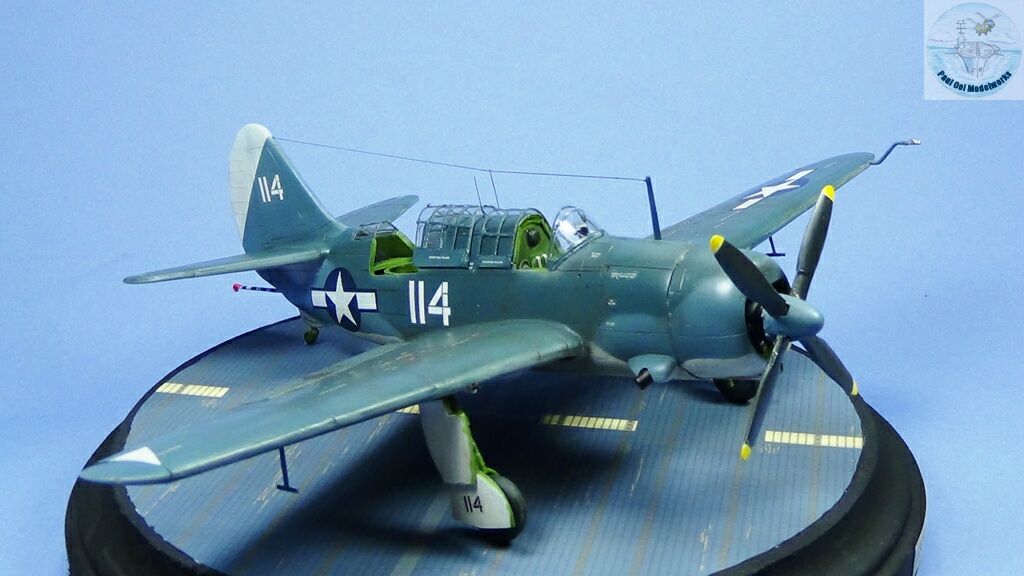
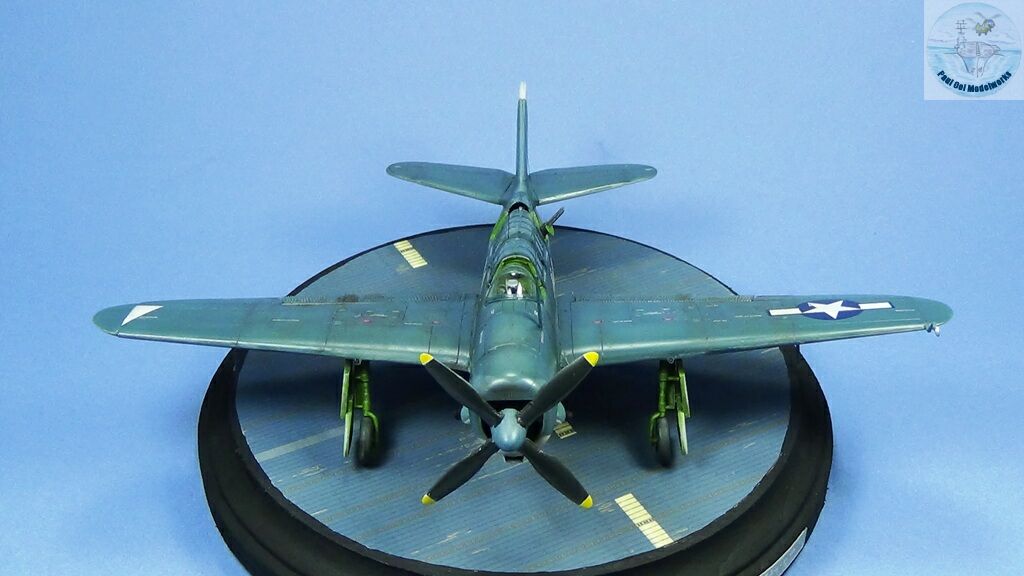
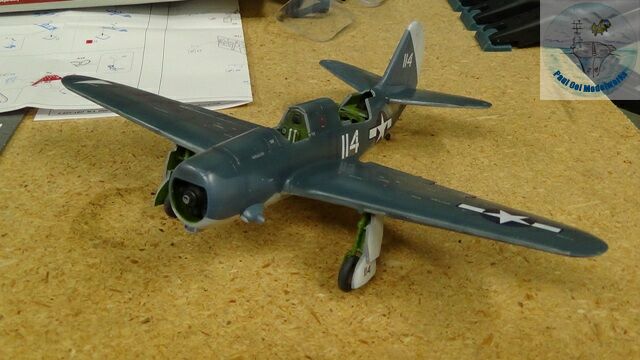
The Curtiss SB2C-4 “Helldiver” was the Navy’s replacement for the Douglas Dauntless dive bomber (of Midway fame). Introduced in 1943, the crews and ship captains were far less enthusiastic about the Helldiver. The aircraft had a huge tail in proportion to the rest of the fuselage, and it was called “Big Tailed Beast” and “SOB, 2nd Class”. The initial batches had many teething issues, and while it was faster than the Dauntless, it came at the price of reduced range of operation. After Curtiss had to implement 880 changes to the aircraft, the Helldiver finally made its career in the Pacific Theater taking out many of the Japanese capital ships in the Battle of Leyte Gulf and the Okinawa campaigns. The Helldiver could deliver bomb loads under punishing conditions and had a high survivability rate. I built this late 1944 Helldiver stationed on USS Yorktown (CV10) with the three-toned Navy camouflage of that period.
Gallery
Construction Notes

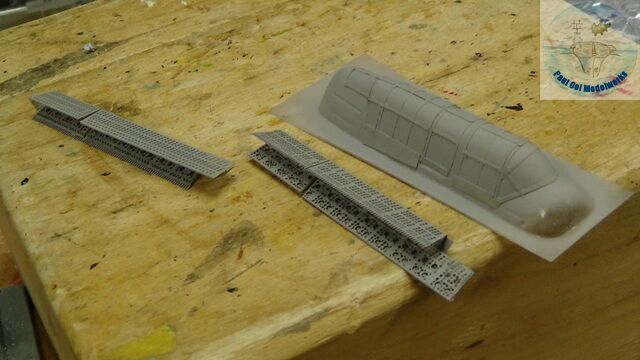
I had gotten this Sword 1/72 Helldiver some years back and it came with several resin parts to improve the level of detail. This kit pales in comparison to the more recent Dragon and Academy Helldivers in terms of details and availability of photo-etch parts. However, I was determined to make a model that comes close to current standards so away we go. The plus point was that the decal sheet had a lot of stenciling detail and the canopy pieces were vacuum formed. I did purchase the replacement Eduard photoetch parts suited for Academy, namely the perforated airbrakes and the interior cockpit panel details.
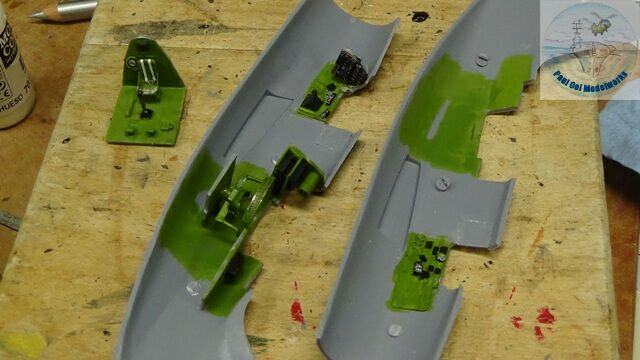
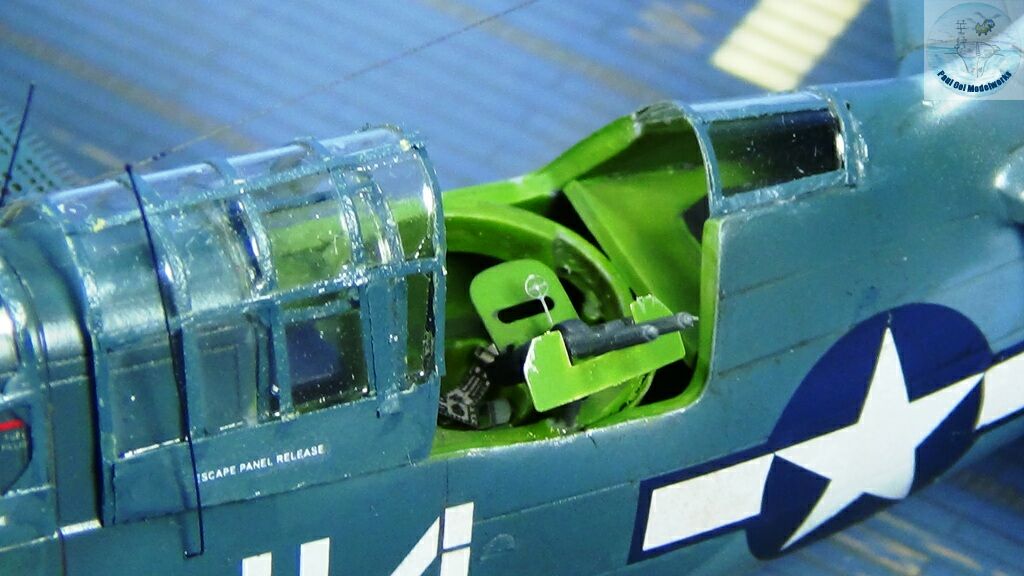
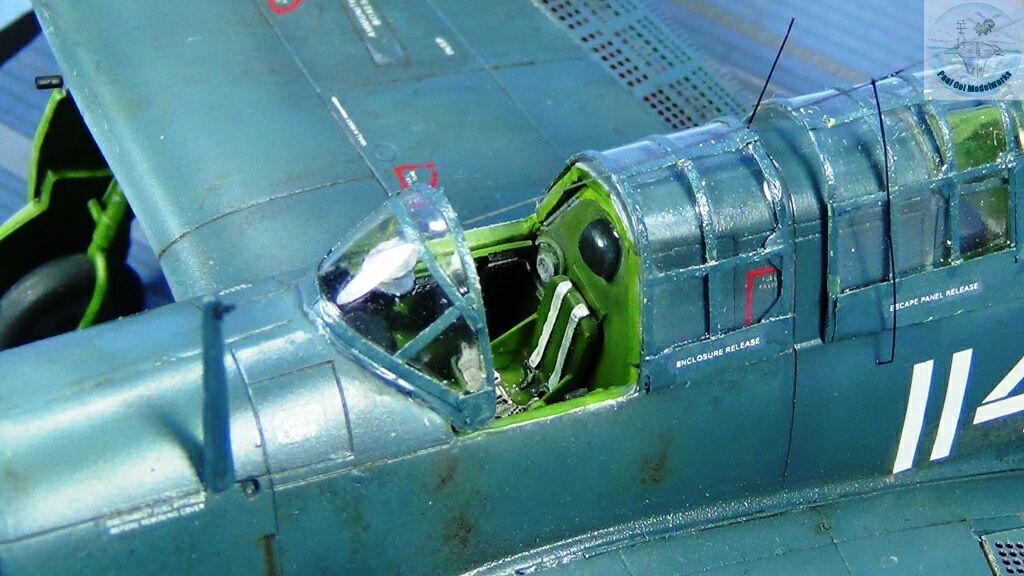
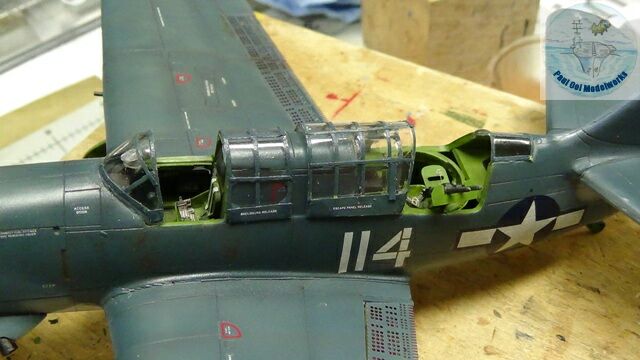
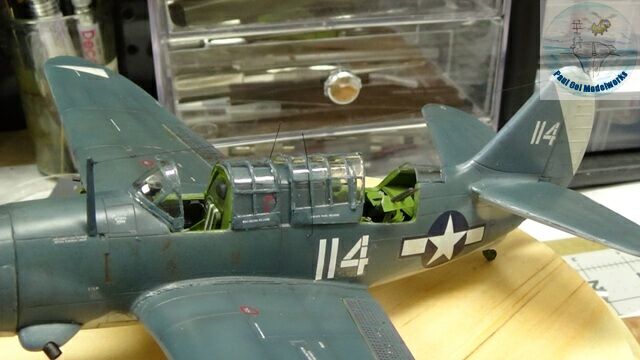
The cockpit and radioman’s rear compartment sections were fairly simple, and enhanced with photoetched details. The rear gunner cage was actually too large compared with the real thing. The compartments were painted US Interior Green FS34151.
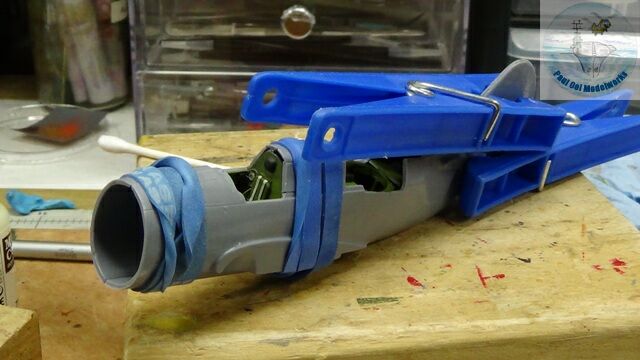
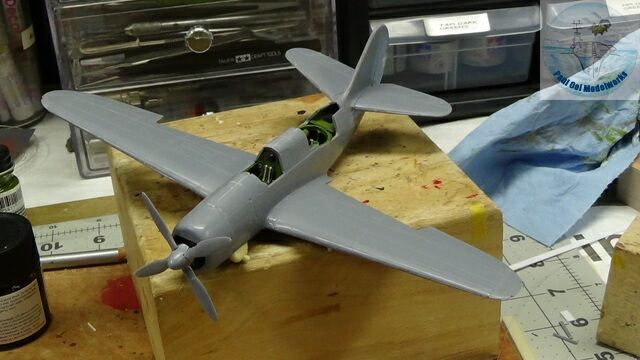
The fuselage needed some firm clamping but the fit was alright.
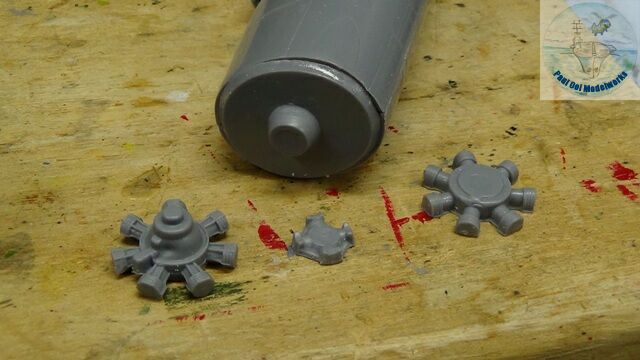
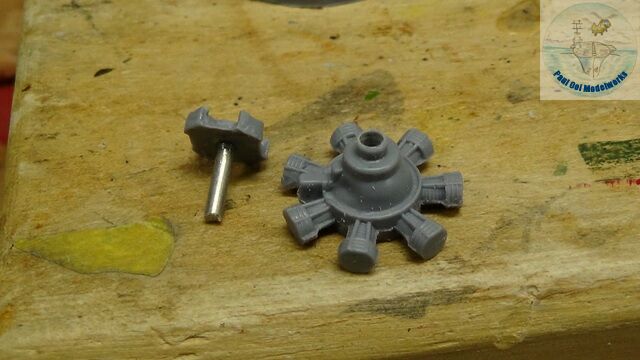
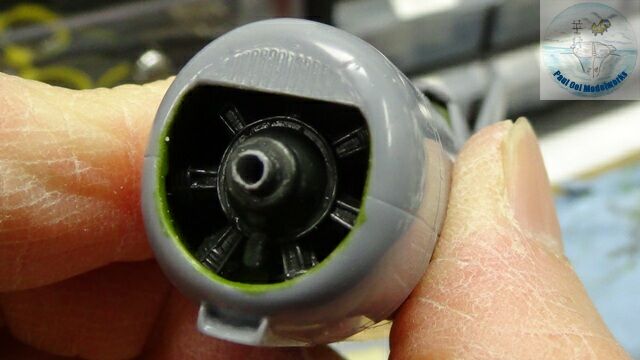
The radial engine sections were very basic and my biggest complaint was that the way the kit had it, the spinner would not be able to turn. I remedied this by drilling out the center of the engine assembly enough to fit a steel shaft attached to the spinner.
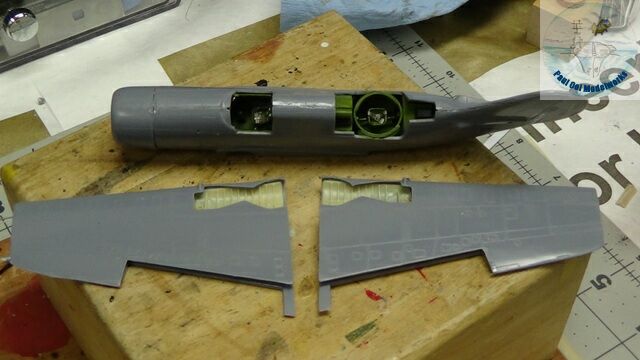
There are resin inserts for the wheel wells that need to be fitted to the wing halves before assembly. These are contoured to fit the exact inside surface of the wing halves. I also cleaned up the fit of the engine cowling to the rest of the fuselage.
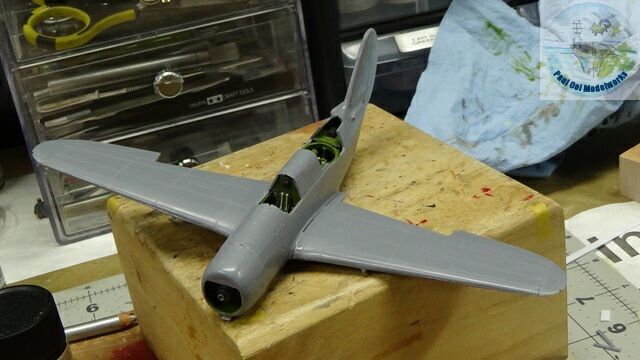
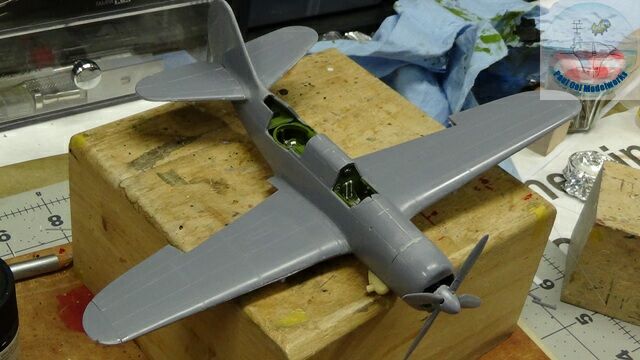
The two sets of wings were butt-joined to the fuselage. There was no easy way to clamp or fix them so I just pressed them with my hands until the seams were set. There were large gaps between the wing root and the fuselage that needed to be filled using techniques from Tutorial 3.
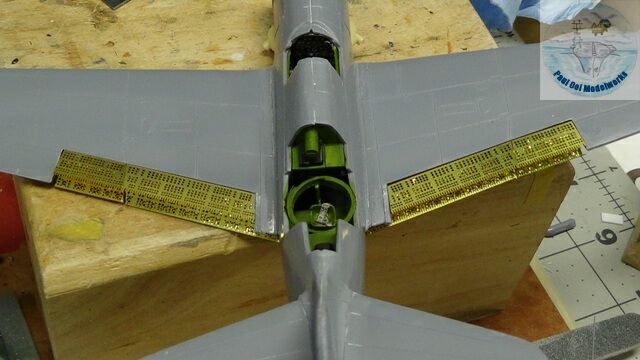
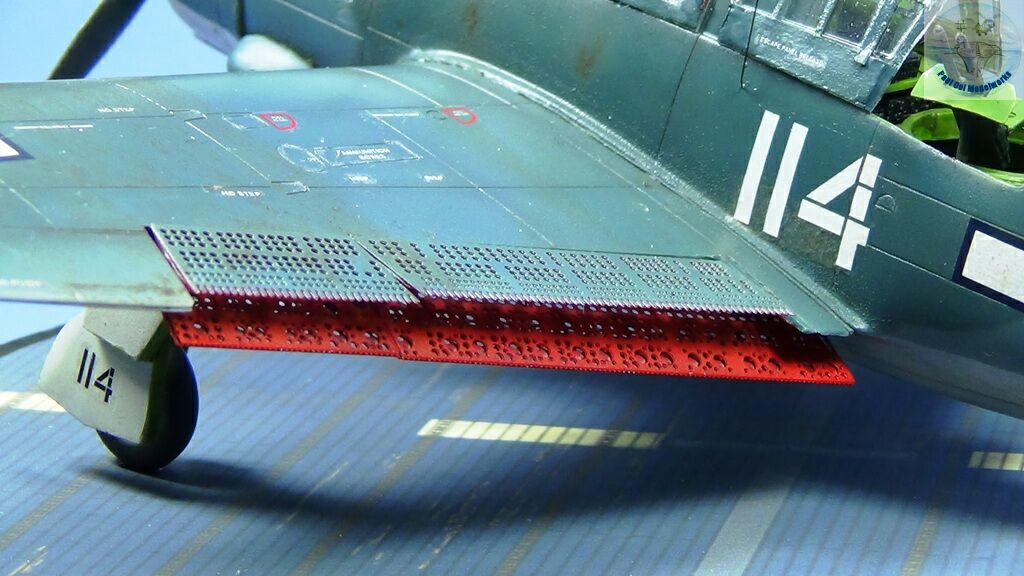
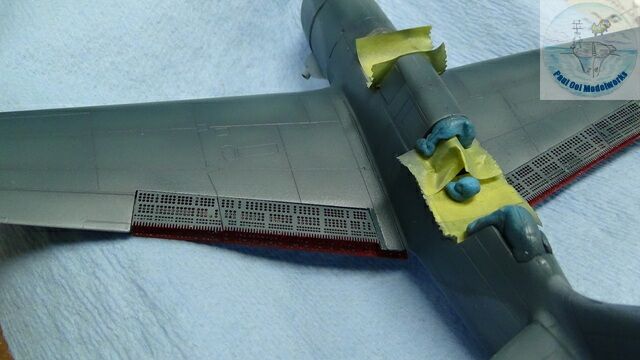
I fitted the rest of the major parts (exhaust openings), rear stabilizers, and filled up the seams. I also formed the port and starboard perforated airbrakes and here I was dry-fitting the parts to make sure they fitted properly. These being assemblies suited for the Academy kit, I had to fill in some gaps with Evergreen plastic card stock.
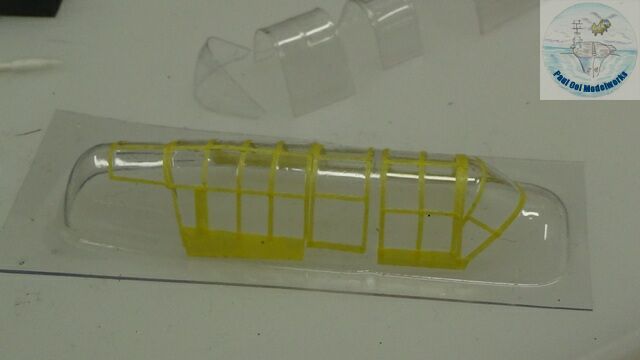
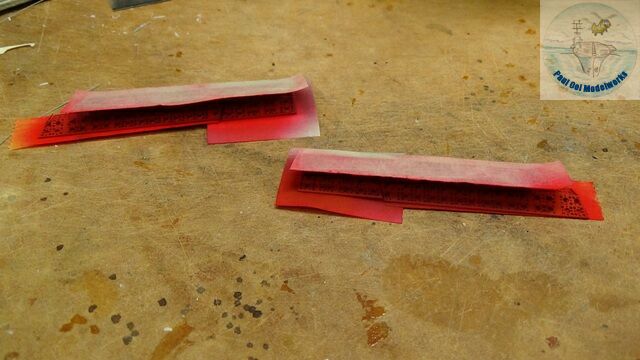
The framing tape for the vacuum-formed canopy was also prepared for painting. The technique for framing such canopies are covered in Tutorial 8.
Then I primed the canopy frame and airbrake assemblies with Tamiya Sky Grey XF19.
Painting sequence:
1. Undercoat of NATO Black XF69 along panel lines and all black parts (propeller blades, tires, etc)
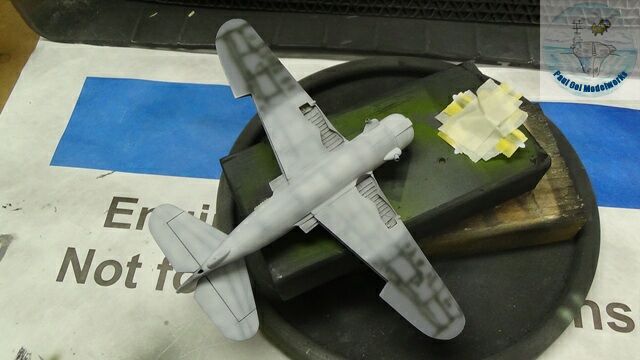
2. Undersides and tail rudder flashes painted with Flat Insignia White FS37875 toned down with 10% Flat Gull Grey FS36440 – mask over with putty and masking tape
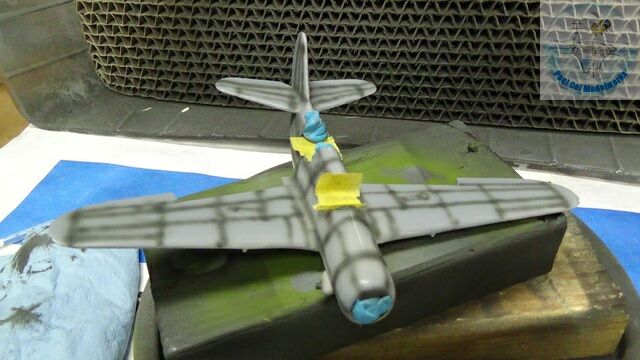
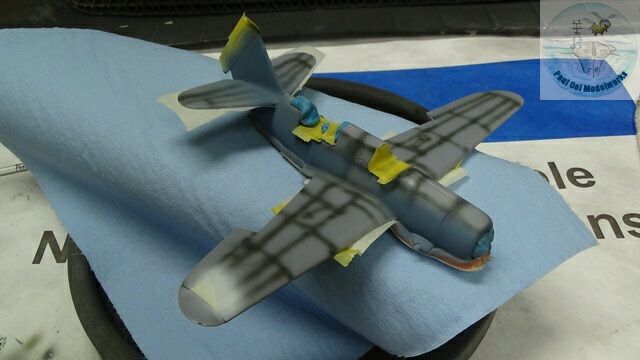
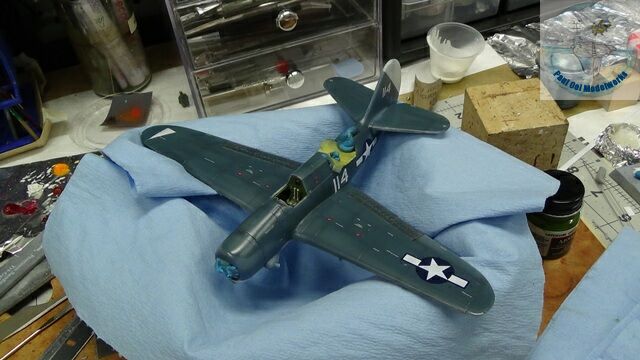
3. Main fuselage sides, tail rudder and outboards sections of wing underside coinciding with wing-fold regions painted with Flat Intermediate Blue FS35164 – mask over with putty and masking tape
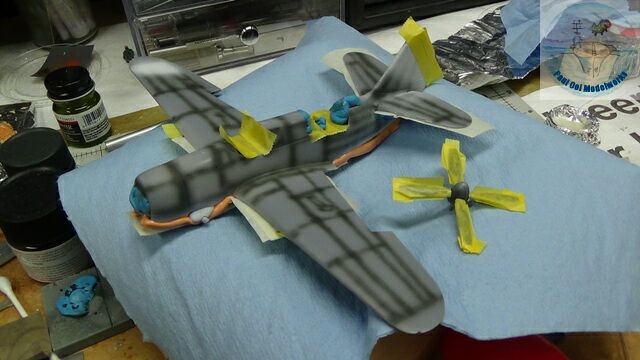
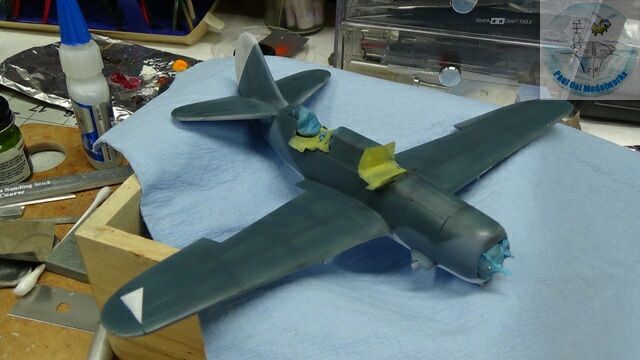
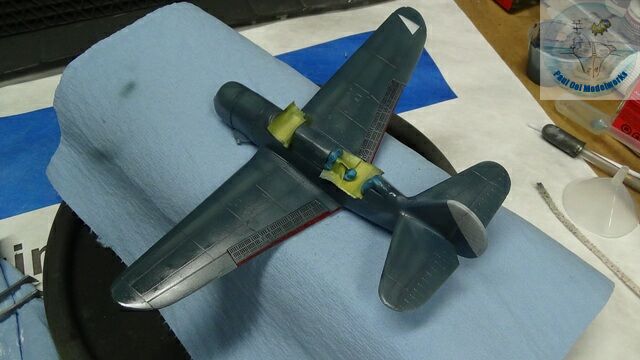
4. Upper surfaces and canopy frame in Non-Specular Dark Sea Blue FS15042 toned down with 20% Flat Intermediate Blue FS35164
The airbrake assemblies need to be masked off for the insides to be painted Flat Insignia Red FS31136.
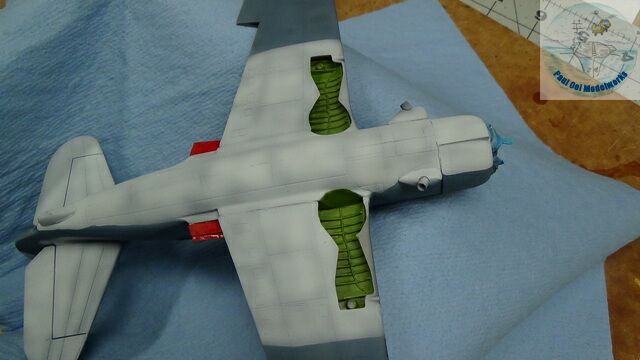
The insides of the wheel wells were painted US Interior Green FS34151, while he undersides of the wings close to the flaps were also painted Flat Insignia Red FS31136.
The port and starboard air brakes were installed onto the model.
Pledge Floor Polish was sprayed on to prepare the aircraft for decal work.
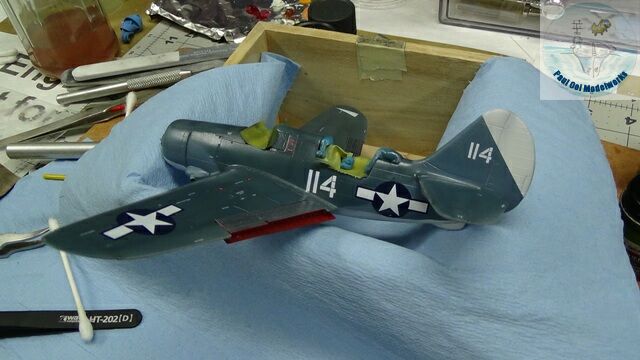
Decals were applied once the floor polish varnish had cured 24 hours later.
Decals and entire aircraft were sealed with a satin varnish.
The undercarriage parts were installed so that the aircraft could now stand by itself.
Canopy parts (5 pieces total) with their frames installed were glued on with canopy adhesive.
Finally the radio lines using stretched sprue were installed.
WOWWWWWWWWWWWWWWWWWWWWWWWWWWWWWWWWWWWWWWWW!!!!!!!!!!! Paul your new stuff is as excellent as ever! Merry Christmas and Happy New Year to you and the family !
Merry Christmas and Happy New Year to you too, Harry!