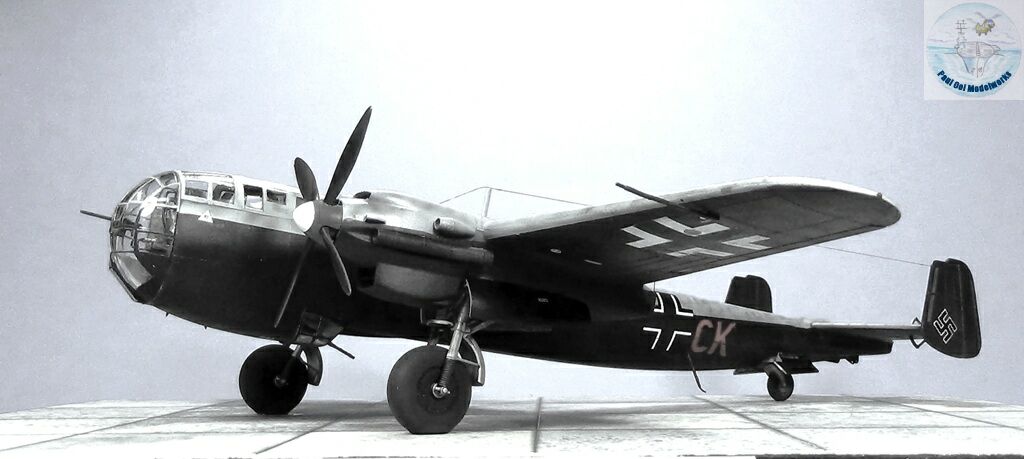
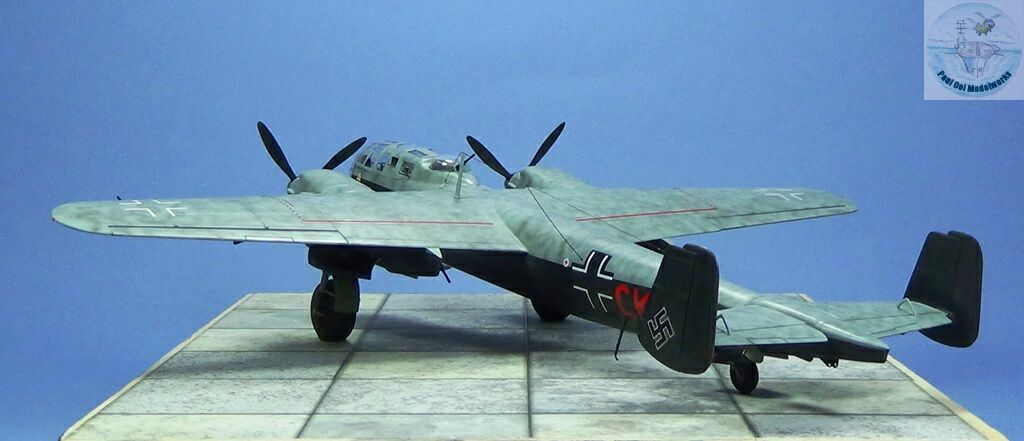
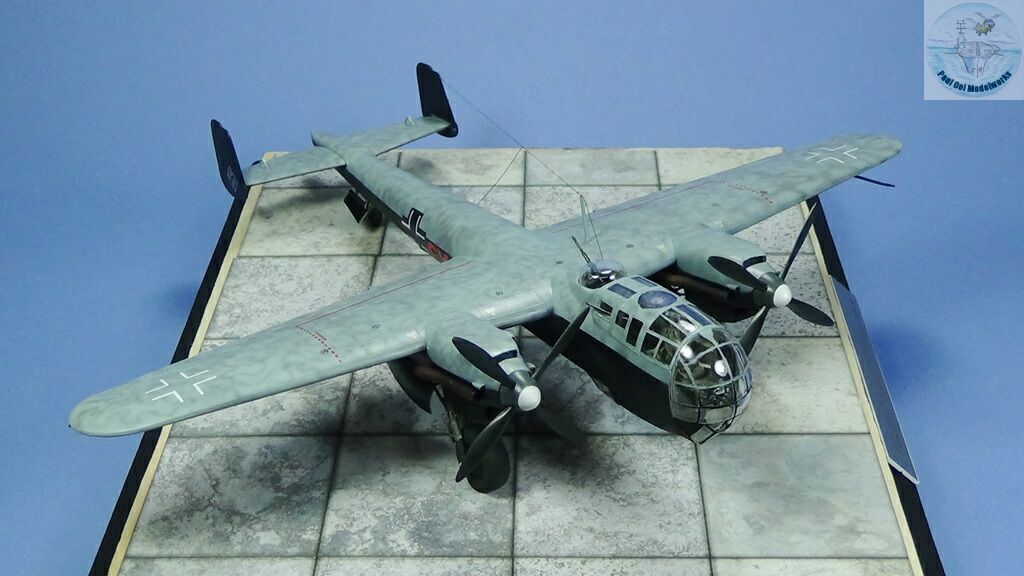
The Dornier Do 217 descended from the venerable Do 17 “Flying Pencil” of Spanish Civil War fame. The Do 217 has a bulkier frame for a heavier bomb load and various versions used either the BMW801 or the Daimler Benz DB603. The K and M variants had the unstepped bomber cockpit (egg-shaped) and this M type uses the more powerful Daimler Benz liquid cooled engine for better altitude performance. This M version was used mainly as a fast night bomber and also in the maritime attack role in the North Sea. The Do 217 suffered heavy casualties during the German night raids on England in early 1944 codenamed Unternehmen Steinbock, also called the “Baby Blitz” by the British. Their absence was keenly felt by the Germans during the D-Day invasions when they lacked the bombers to interdict Allied landings and the subsequent breakthrough in Northern France.
Gallery
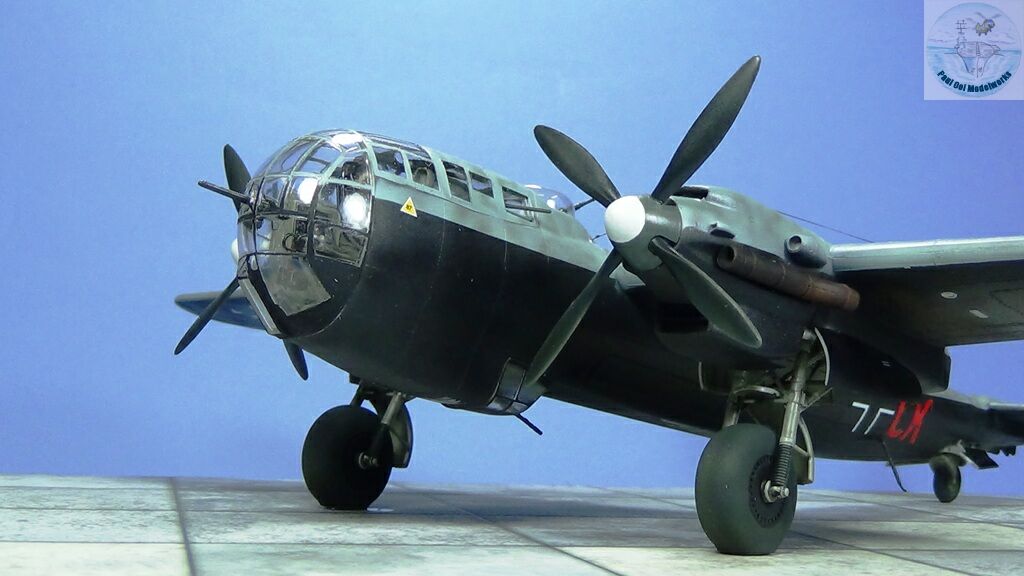
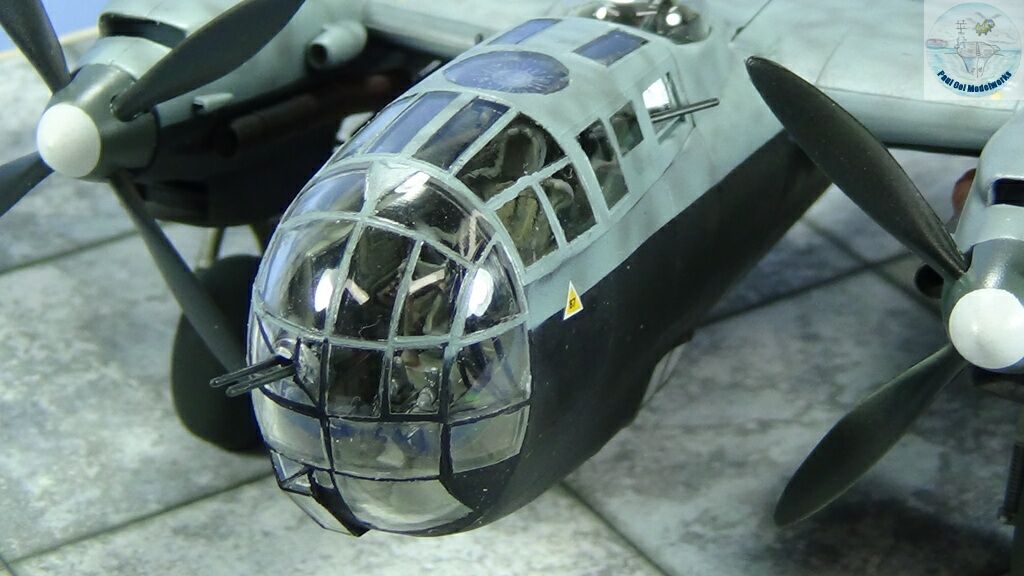
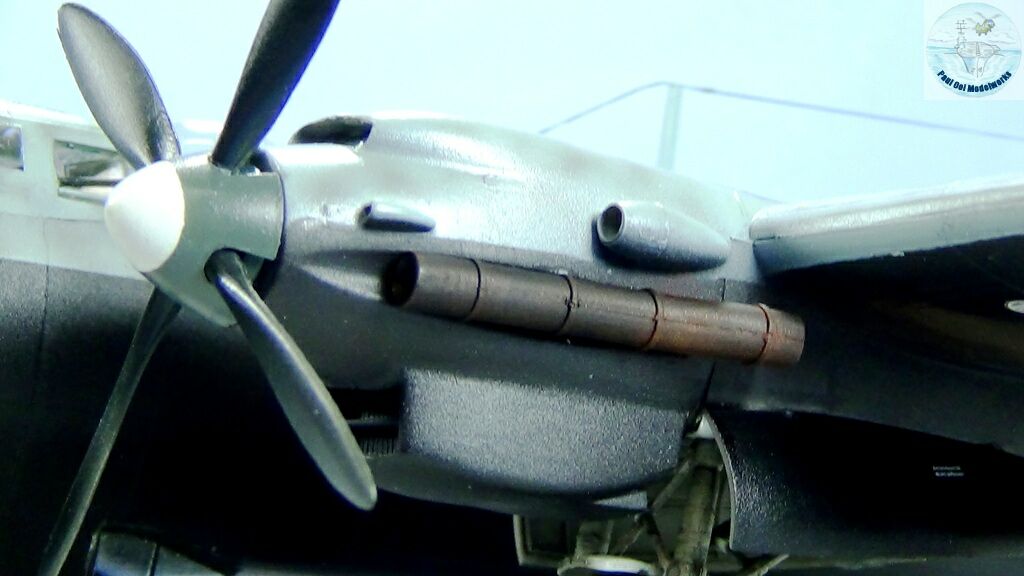
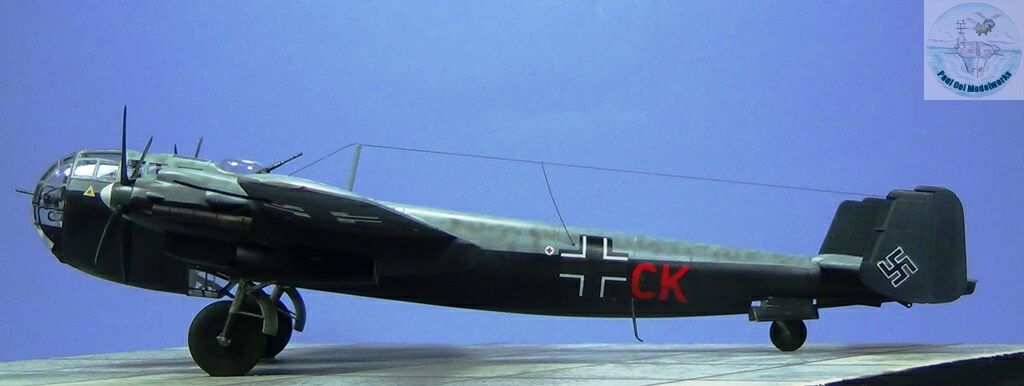
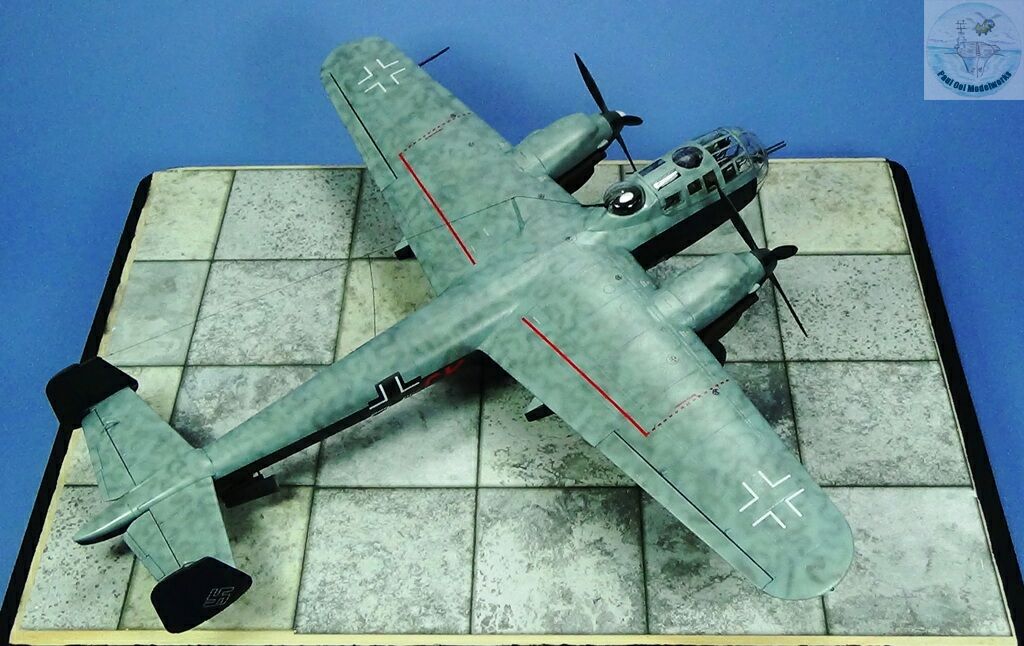
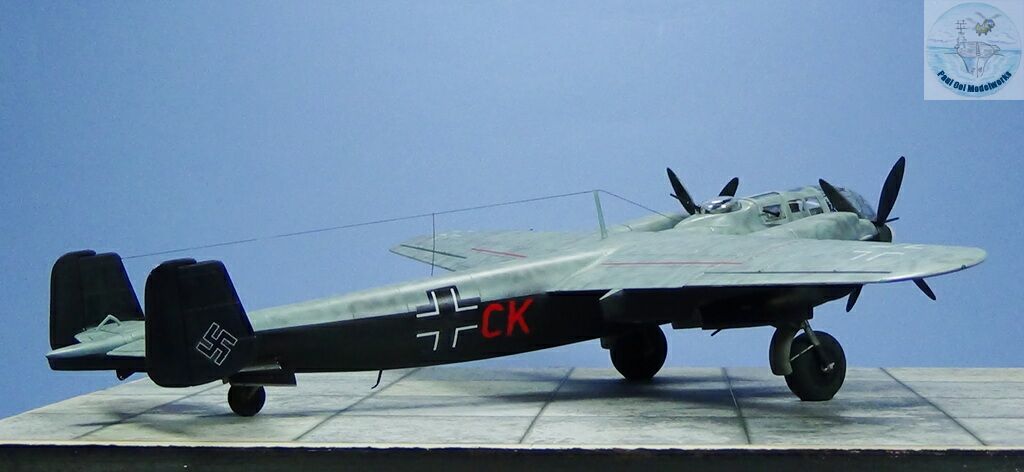
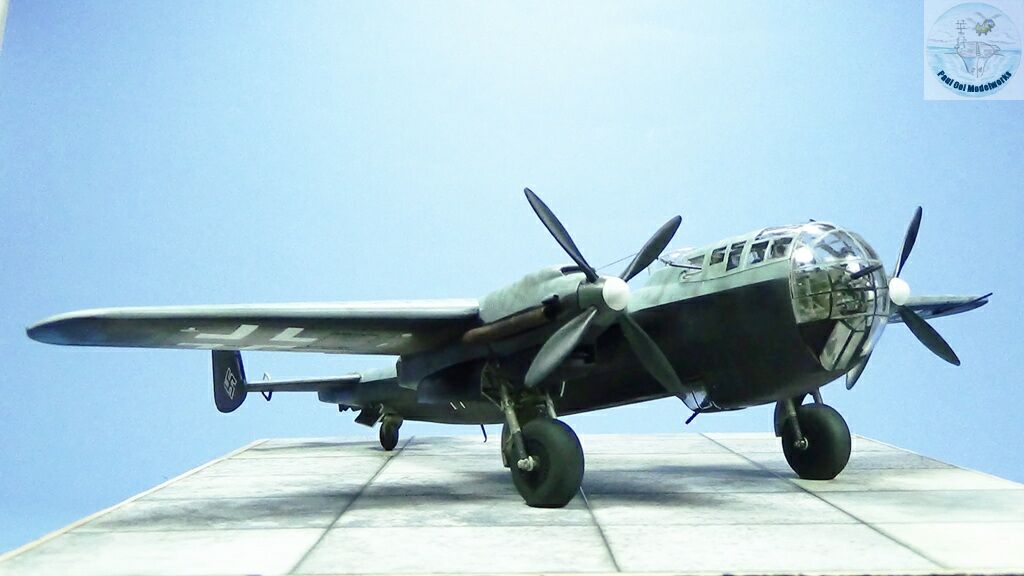
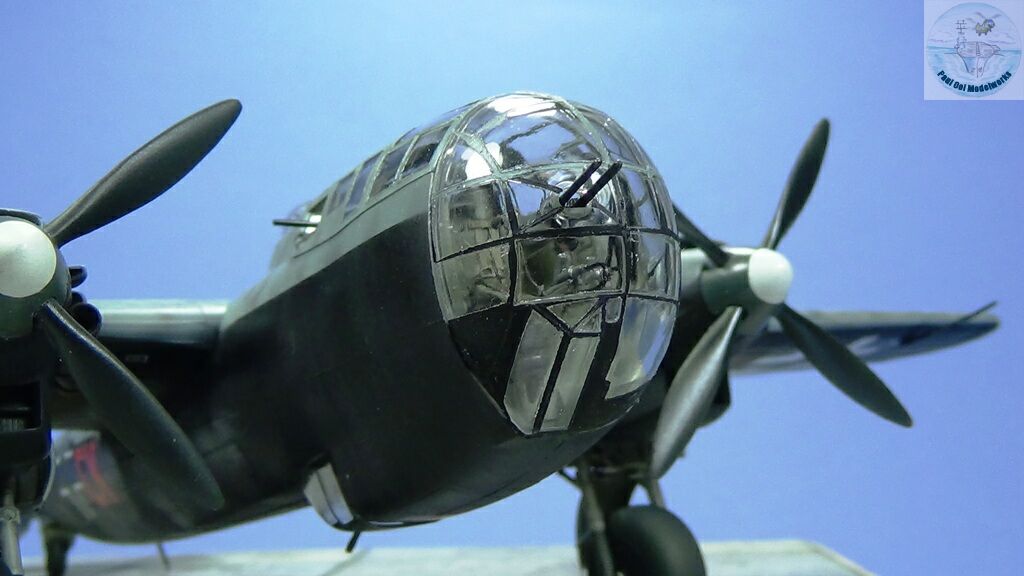
Construction Notes
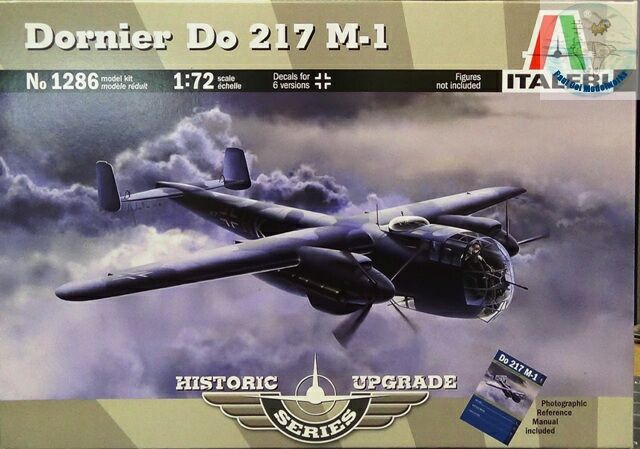
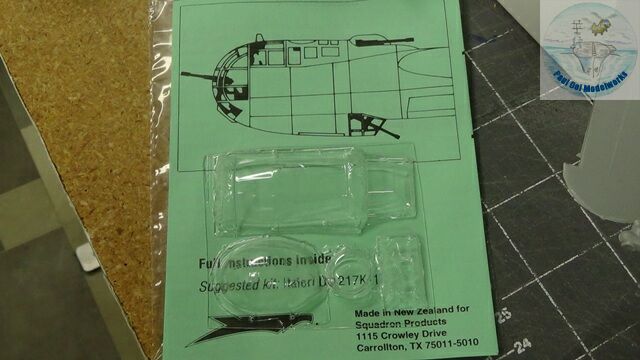
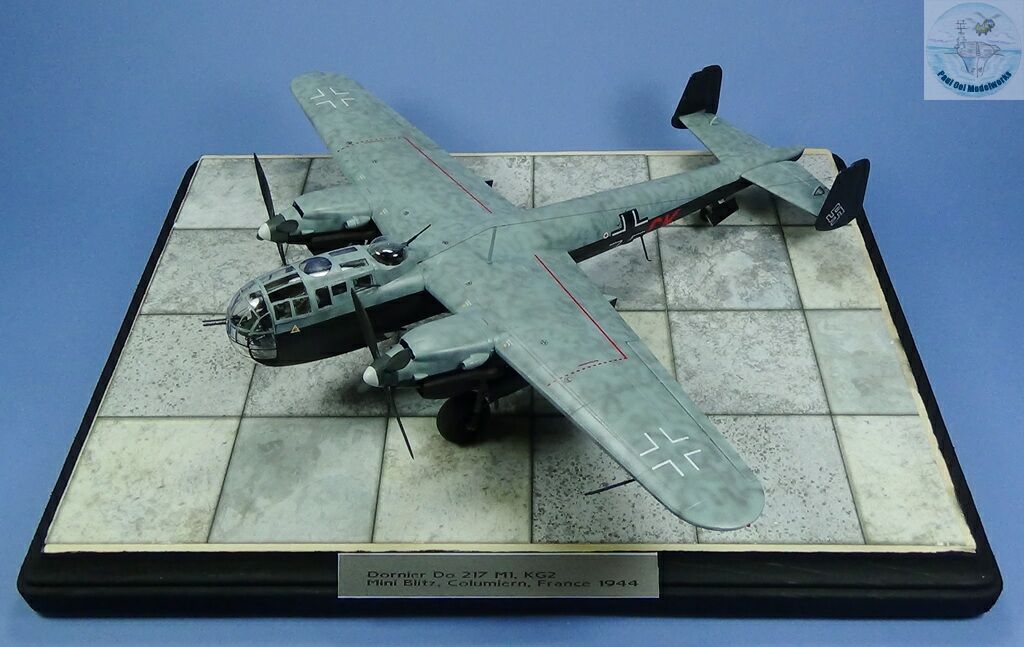
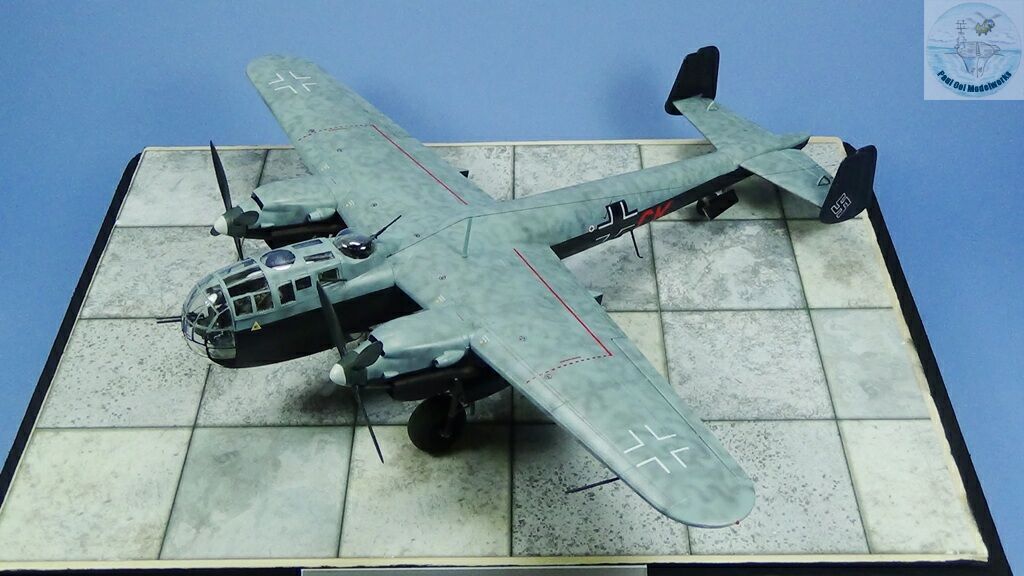
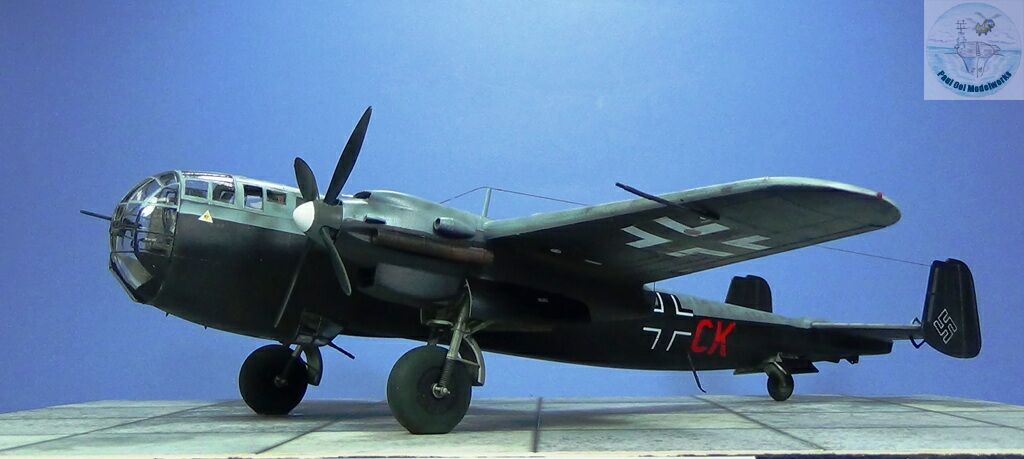
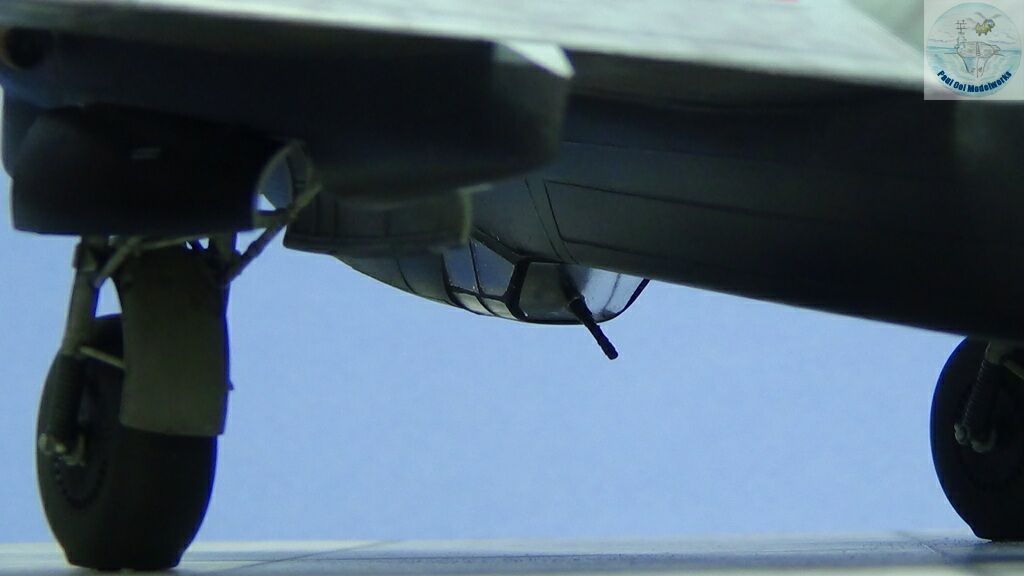
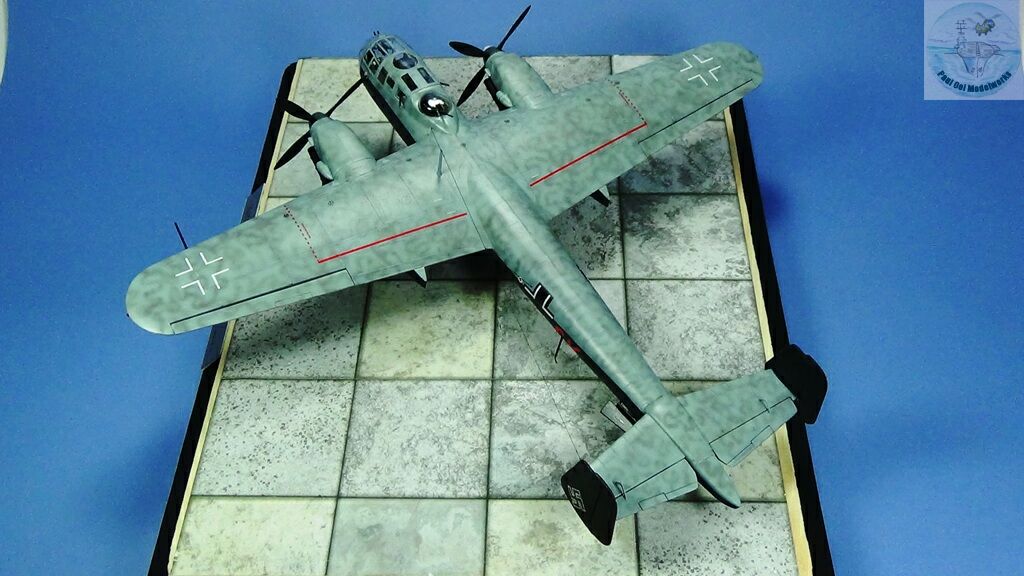
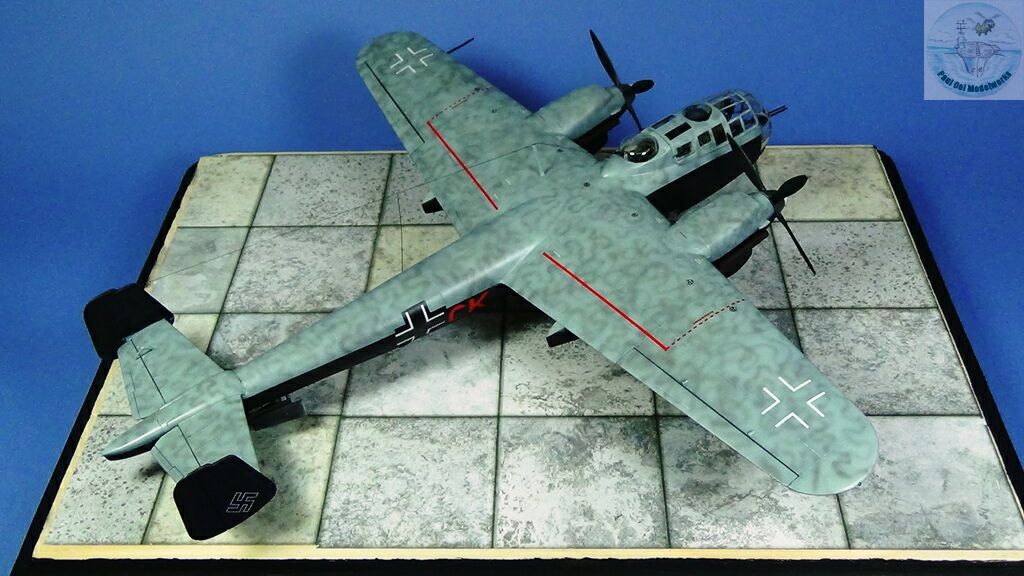
Italeri’s 1/72 model of this fabulous aircraft is pretty much the only game in town. It is a re-boxed old kit form the 1970’s with upgraded interior parts issued in 2011. The newer cockpit parts really improved the kit and allowed a pretty good results for the visible “glasshouse” cockpit. The available choices for markings are very good but the Italeri decals are pretty thick and tend to silver. I did get Squadron vacformed canopy parts to replace the bubble turret and ventral gun positions as these look too thick with the kit molded parts. As it turned out, the clarity of the main cabin canopy sections were better with the kit parts so I stayed with those. The fit of the fuselage and wings were excellent and highly recommended. Although the kit has raised details, I am not a panel line purist, and as you can see from the gallery pictures the finishing was also excellent. I do not believe in plowing trenches into the kit part that does not look like what real aircraft panel line are like at all. I finished this model with the markings for an aircraft belonging to Kampfgeschwader 2, Staffeln 2, Gruppe 1 stationed in Columiern, France in the spring of 1944. This aircraft participated in Operation Steinbock, flying night bombing missions over Great Britain.
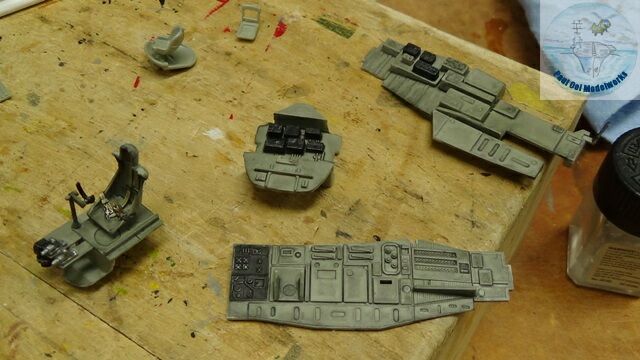
As mentioned, the newer interior parts are very good and detailed. I painted the interior Model Masters RLM02 Grey with black instruments. The only addition that I made were the Luftwaffe bomber seatbelts PE kit from Eduard.
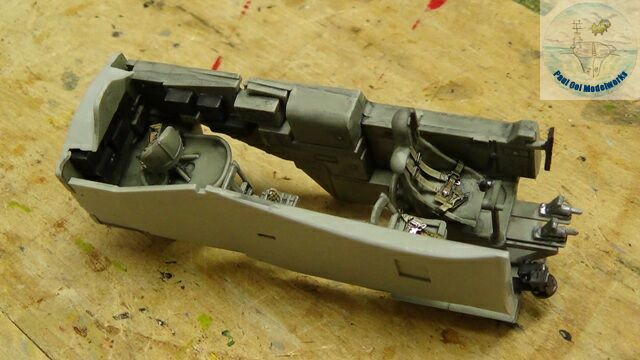
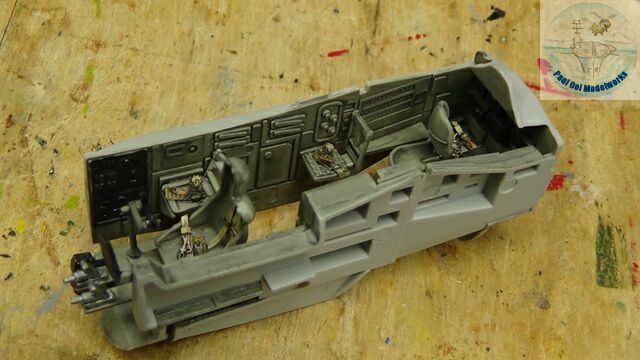
Once the interior cabin parts get together, you can see here how good the details are. They do fit snugly into the fuselage cockpit cavity, so fit checks are absolutely essential.
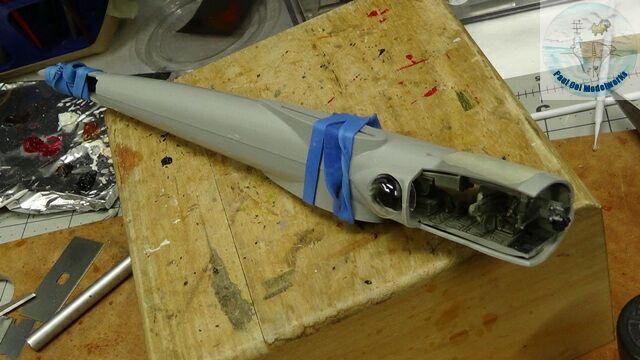
The cockpit cabin tub fits into the fuselage, as does the bubble gun turret (this one is the vacformed one from Squadron) that has to be installed at this point as it cannot be popped in from the outside. Fit was very good.
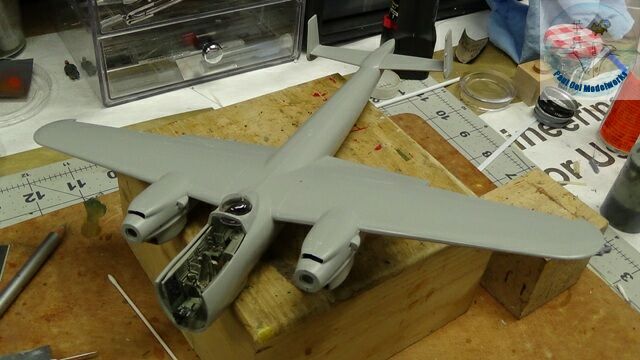
The wings, rear twin rudder assembly, and the engine nacelles fit easily and made this build such a pleasure after the last two short-run kits that I had build recently. Hardly any seams that needed filling. Not bad at all considering some parts have been around since 1977!
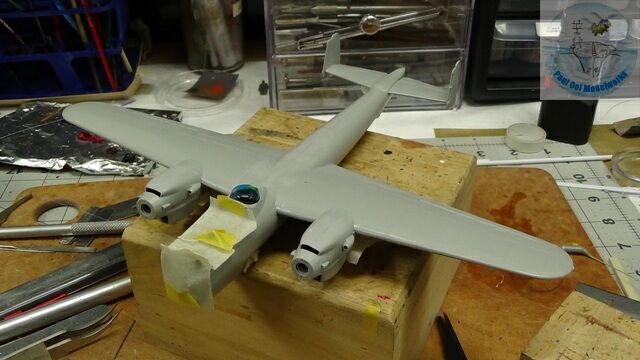
Once I had cleaned the seam lines, I masked the cockpit area, wheel wells, and used blue Micro Mask liquid for the bubble turret (notice blue coloration behind the masked cockpit.
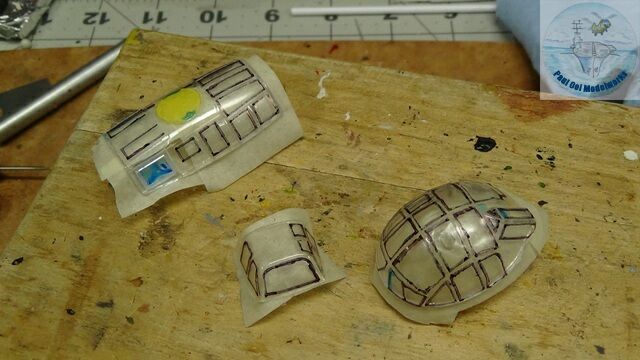
I had hoped to find a pre-cut masking kit for the “egg-shaped” cockpit but no luck. Looks like Eduard no longer made them, so I use the time-honored way of making my own out of cellophane. Took all of two evenings.
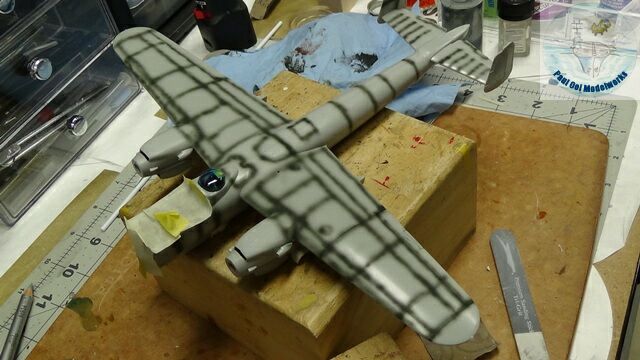
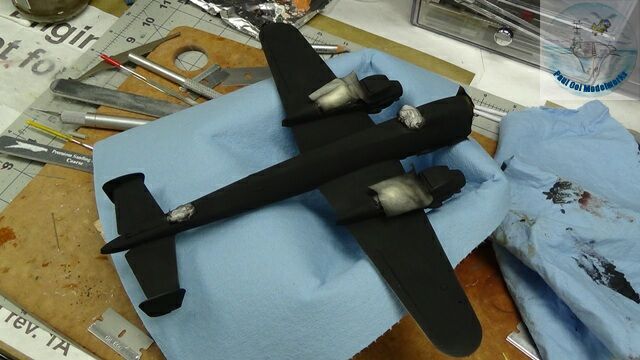
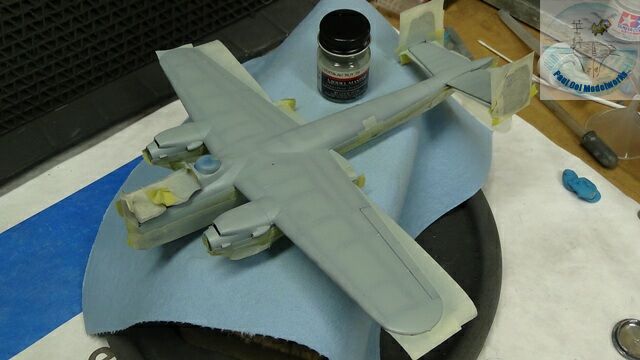
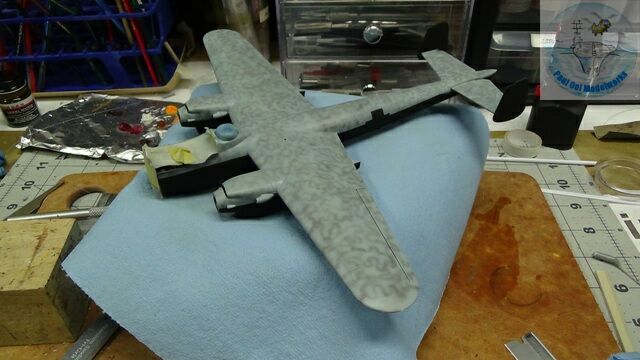
As usual I start with panel undershading with Tamiya XF-69 NATO Black. Normally I go with the lighter colors first, but Matt Black dominated this aircraft camouflage so I painted the Model Masters Matt Black first. Then I masked the underside and sprayed Model Master RLM76 Licht Blau. The came the camouflage pattern that I have been avoiding for more than a decade, the “Wave” pattern. This is very thinned RLM75 Grauviolett (50% to 70% depending on paint), airbrushed in a squiggle pattern at 20 psi with the spray cone removed from my Iwata Eclipse gravity feed pen. I practiced like crazy on sheets of paper to adjust my distance and action before doing this and I am pleased with how it turned out. Whatever it is, keep moving the airbrush at a steady pace working small areas at one time and DO NOT STOP at a single location or it will give you one big blotch.
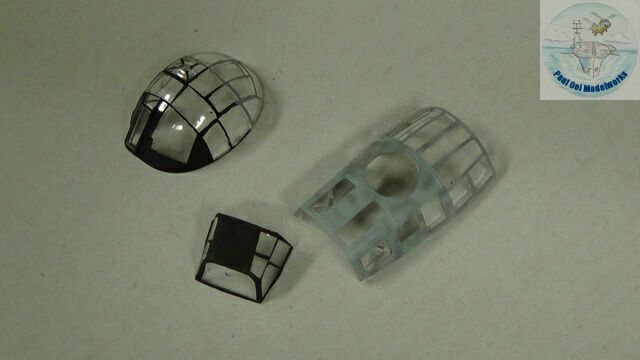
At the same time as the fuselage was being painted, I also did the same for the canopy sections. They also turned out pretty well.
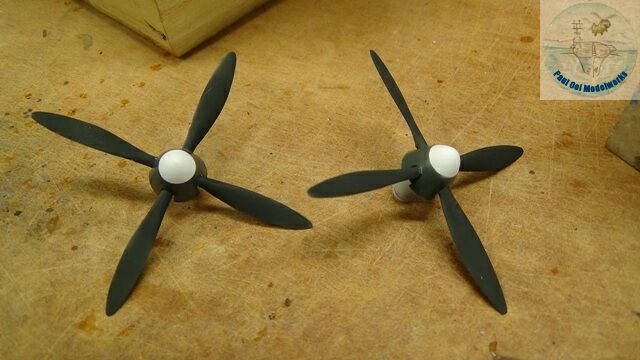
Propeller-and-spinner assemblies were pretty routine, with the spinners painted Flat White and Model Master RLM70 Schwarzgrun.
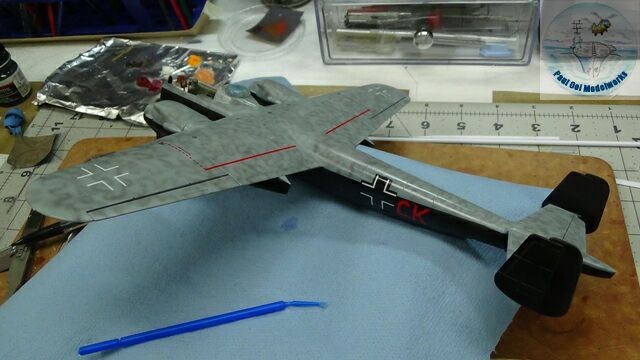
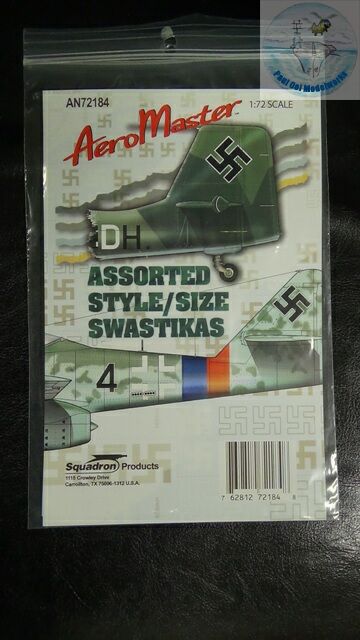
Decaling work was also fairly uneventful except for the silvering effect despite my prepping the fuselage with two layers of Pledge Floor Polish. I ended up hand-painting Flat Black into the spaces between the Balkenkreuz spaces. The kit decal sheet was PC and did not include the Hakenkreuz (swastika), so I added them from the 1/72 Swastika Sheet from Squadron. Once decals were fully dry, I sealed in the aircraft paintwork with satin varnish.
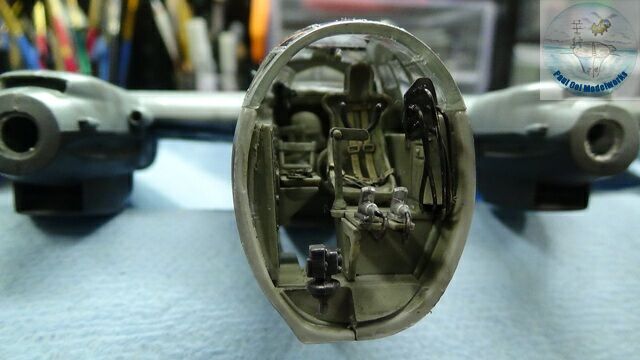
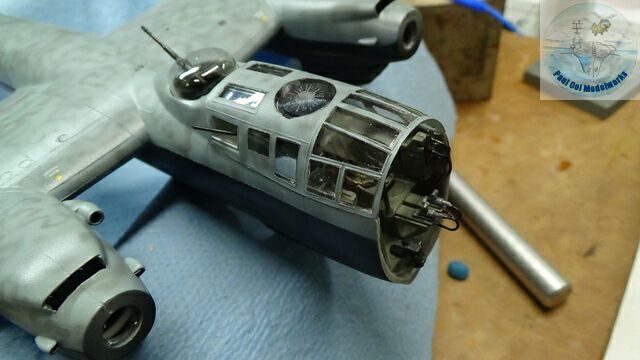
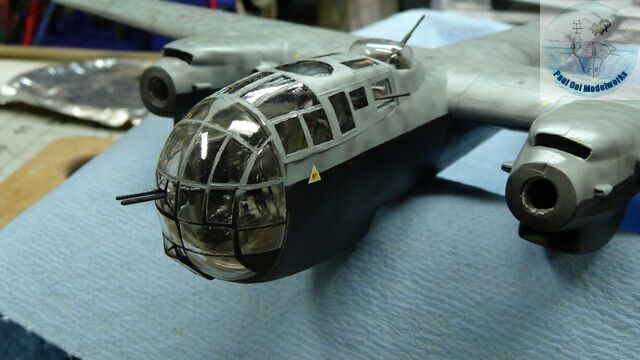
With all the airbrushing done, I now installed the main cabin canopy sections. Before closing the cabin, I added solder wires to the instrument panel and the pedals. Looks fabulous!
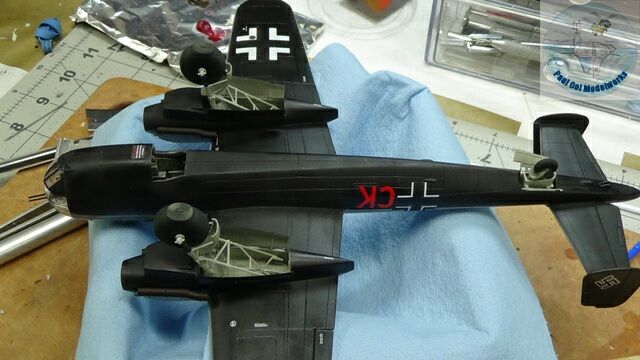
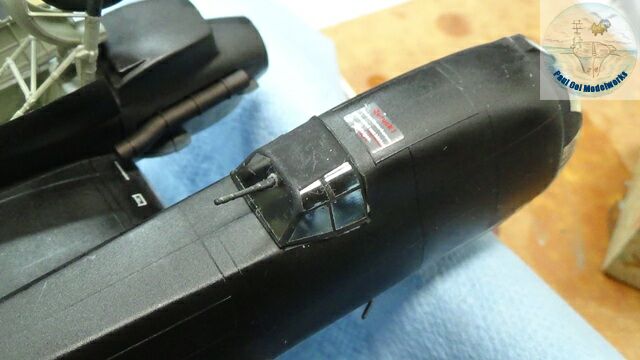
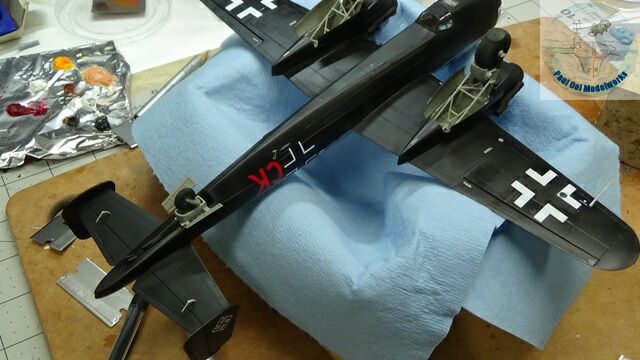
The undercarriage parts were installed, followed by the ventral gun position, and fiddly antenna and pitot tube bits.
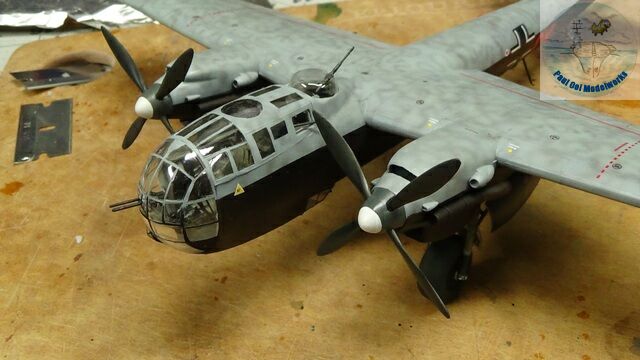
I gave the entire aircraft a oil paint wash of middle grey. This helps to tone down the starkness between the top light blue camo with the black undersides.
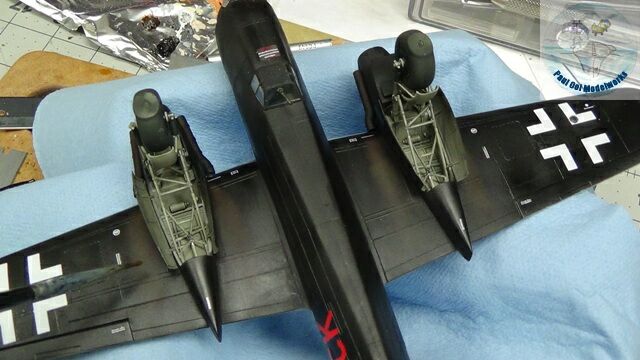
Another finishing touch is to apply pastel chalk stains (mixture of dark brown and some orange powder!) for where the exhaust runs along the underside wings. Now the Dornier can be mounted to its display base. Nach London bei nacht!


Leave a Reply