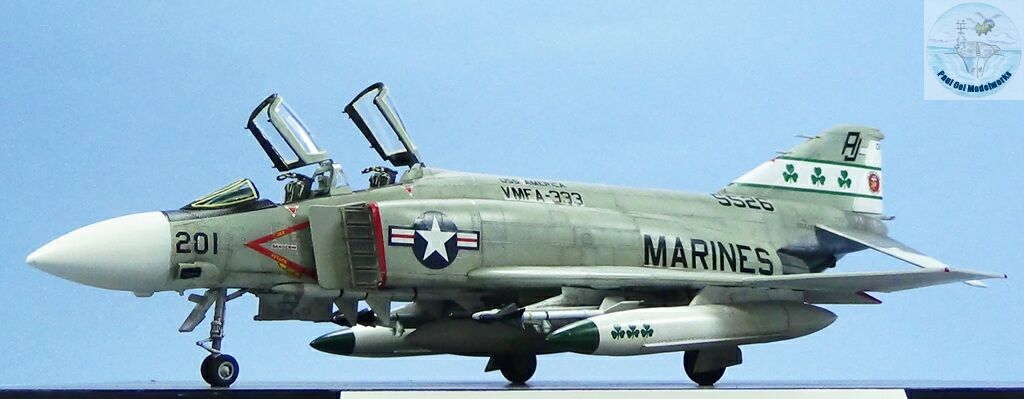
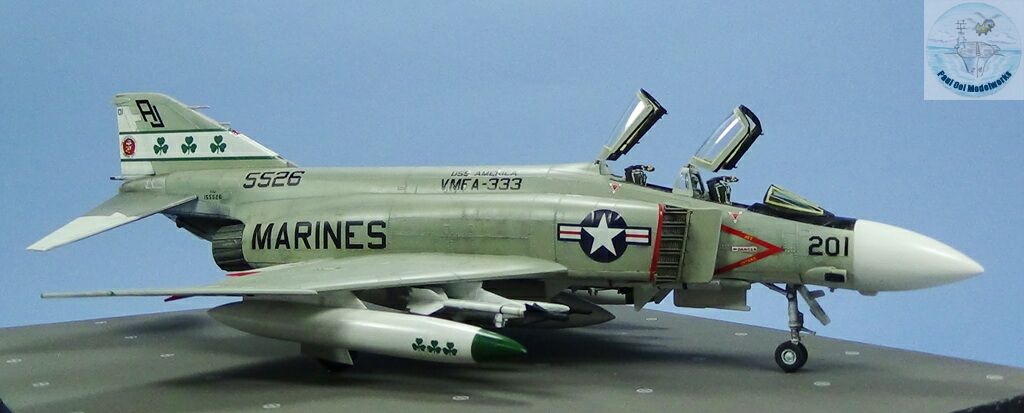
The Phantom II was an iconic US fighter jet at the height of the Cold War. The Phantom contested for control of the air against the MiG-17 and MiG-21 over North Vietnam in the early 1970’s, as well as staring at the Soviets across the Iron Curtain. The aircraft had a distinctive silhouette with the down turned rear stabilizers and upturned outboard wing sections. As designed, the Phantom was also not equipped with any guns mounted on the fuselage, the result of an inaccurate prediction that with the advent of air-to-air missiles, guns will become obsolete (it did not). As a result, the Phantom had to struggle with avoiding close-in combat situations that favored the gun and made radar target locking difficult. Eventually, Phantoms were fitted with gun pods and its ability to carry lots of missiles and do ground attack duty served well in the USAF, USMC and Navy. Overall the Phantom was a tough and versatile fighter jet that earned its nickname, the “MiG Killer”.
Gallery

Construction Notes
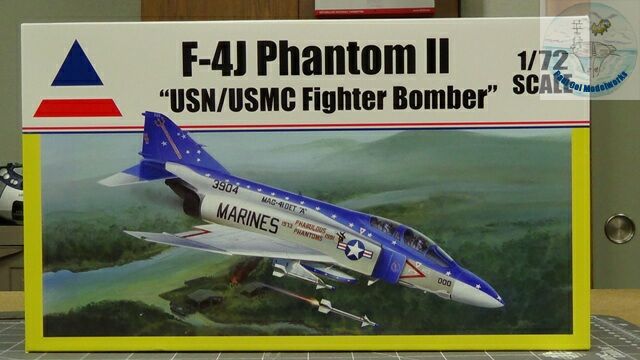
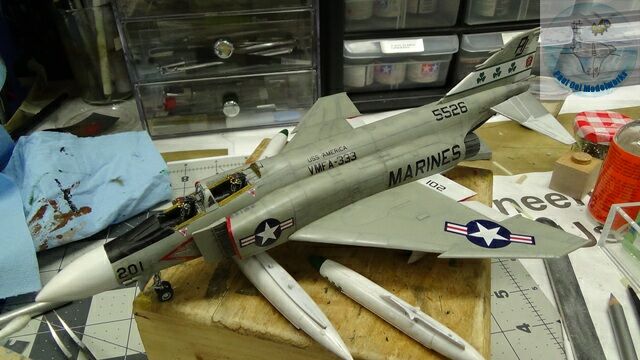
I suddenly developed this interest to build a carrier-based Phantom following the end of the previous Navy aircraft Curtiss Helldiver. In 1/72 scale there were several choices from Hasegawa, Academy and Italeri but I had read that the most accurate profile still came from a venerable mid-1980s Monogram kit. The Accurate Miniatures version that I ended getting was that Monogram kit re-packaged with Cartograf decals. Actually the parts fitted very nicely and the details were crisp despite this being a raised panel line kit. There was some flash, which is understandable given the age of the molds, and they had bad instructions for the placement of the markings and the painting guide. The kit also has nice cockpit details for that vintage and actually does not need any PE enhancements at all.
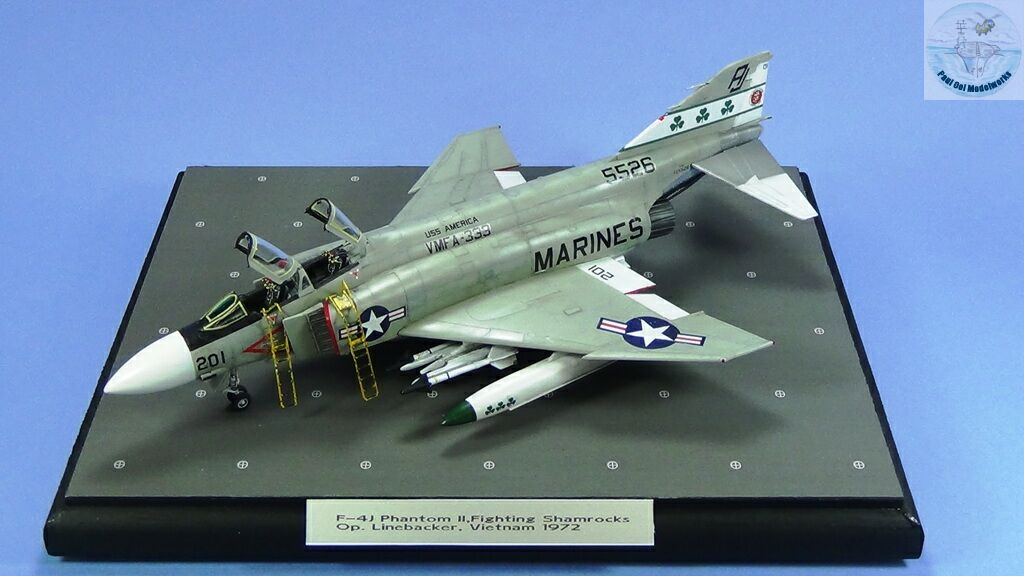
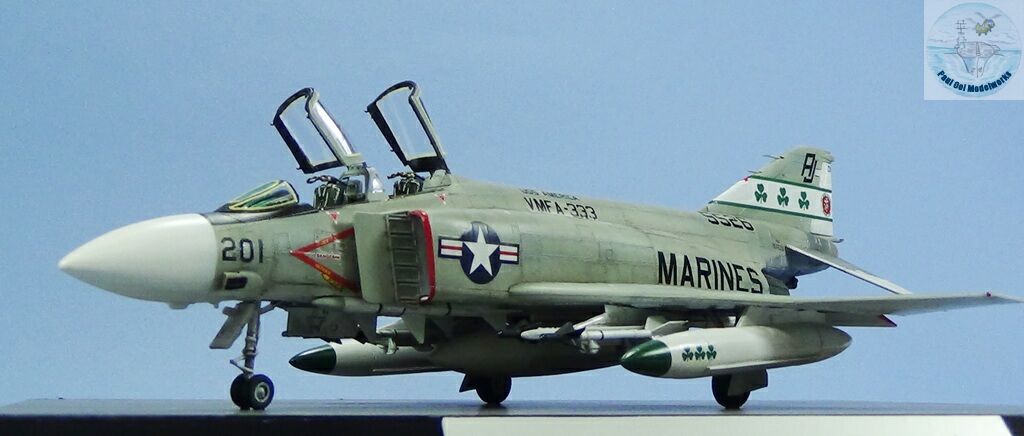
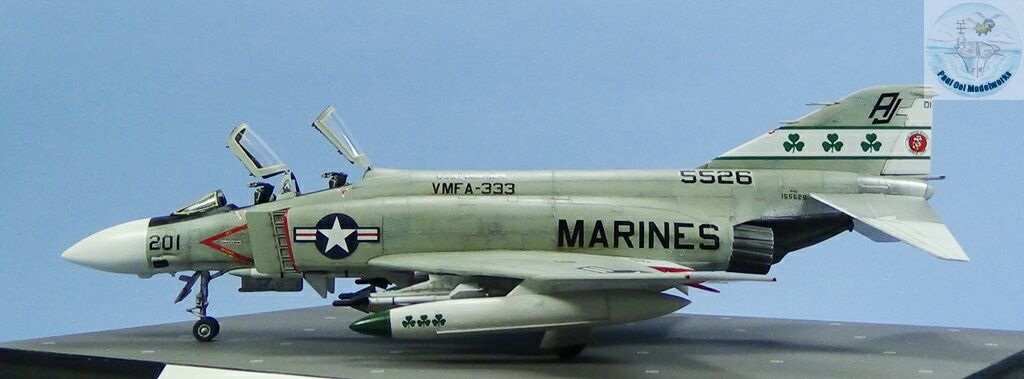
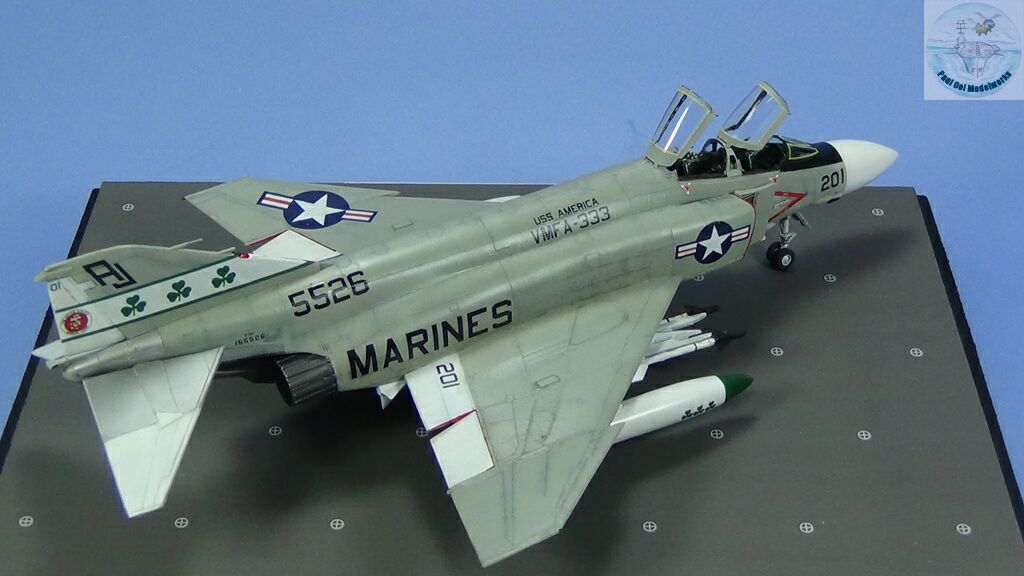
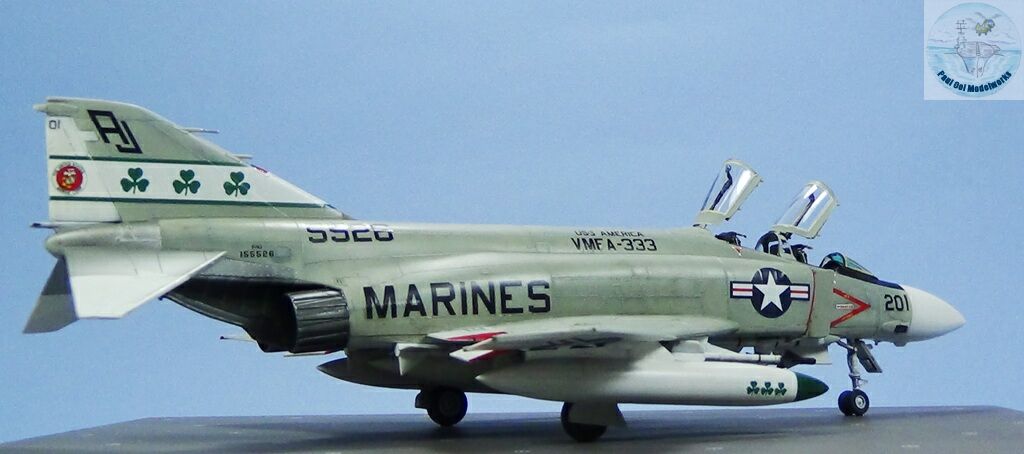
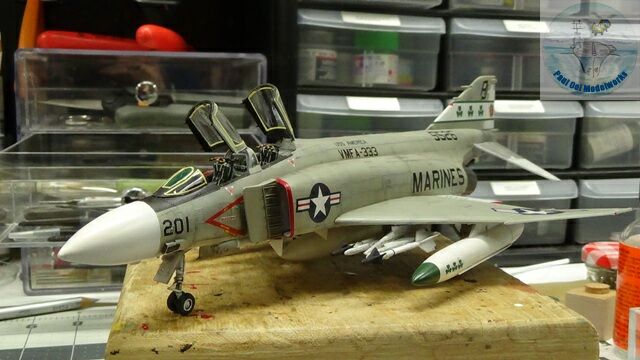
The markings options were pretty good, with the box art showing the flashy USMC Reserve specimen from Maryland. However i wanted to show an aircraft that actually did some fighting and so I decide to go with the USMC VMFA-333 “Fighting Shamrocks” specimen that actually shot down a MiG over Haiphong in September 1972. My main complaint in hindsight was that the painting guide omitted the Dark Gull Grey patches over the the “shoulder” areas of the fuselage. By the time I noticed those patches, my decals have all been applied already and it was too late to go back and add that paint scheme. My apologies to the authenticity hawks out there!
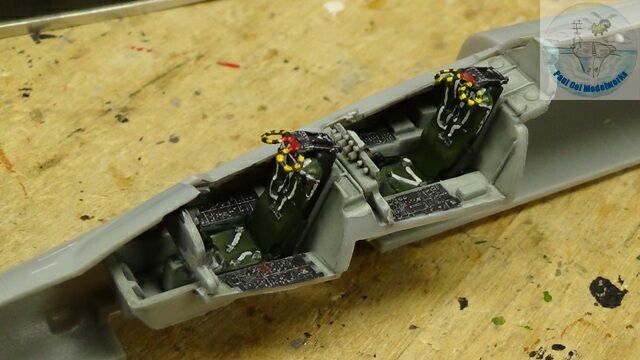
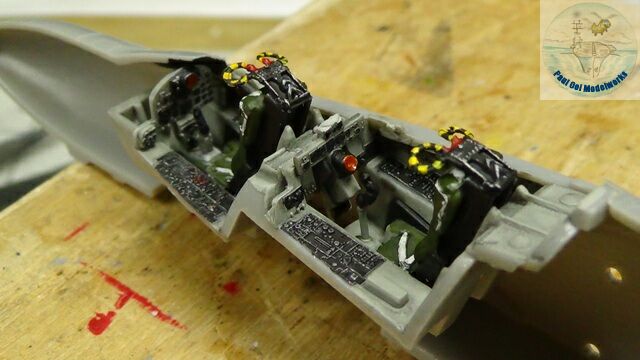
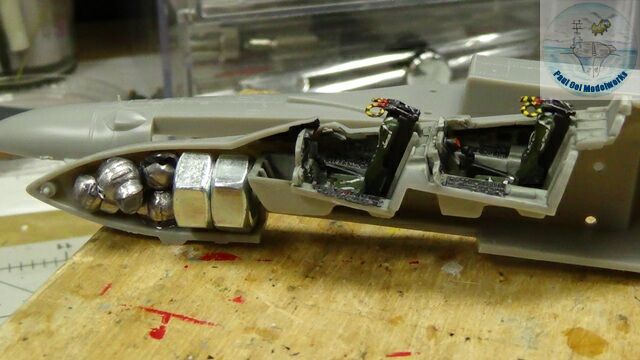
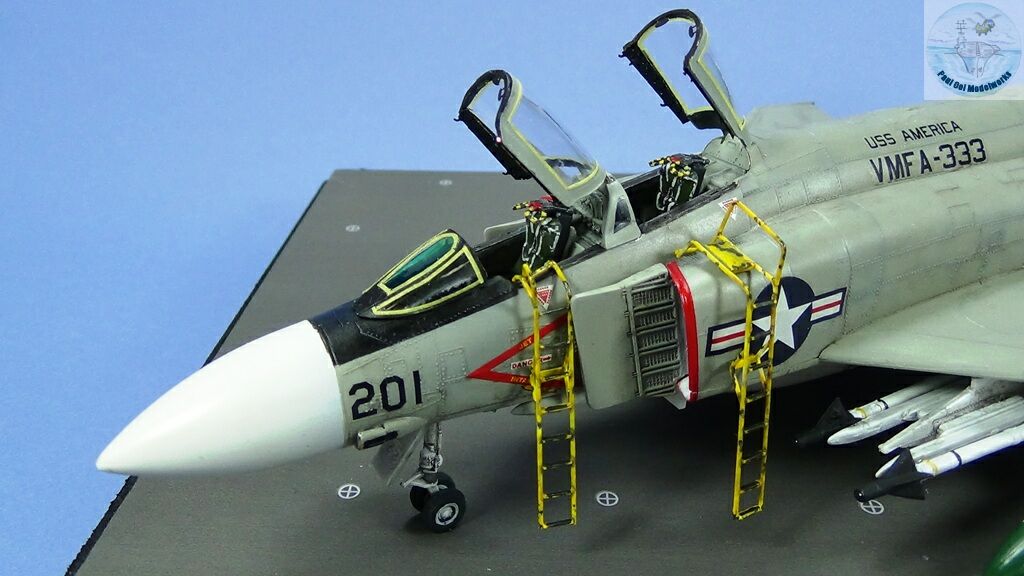
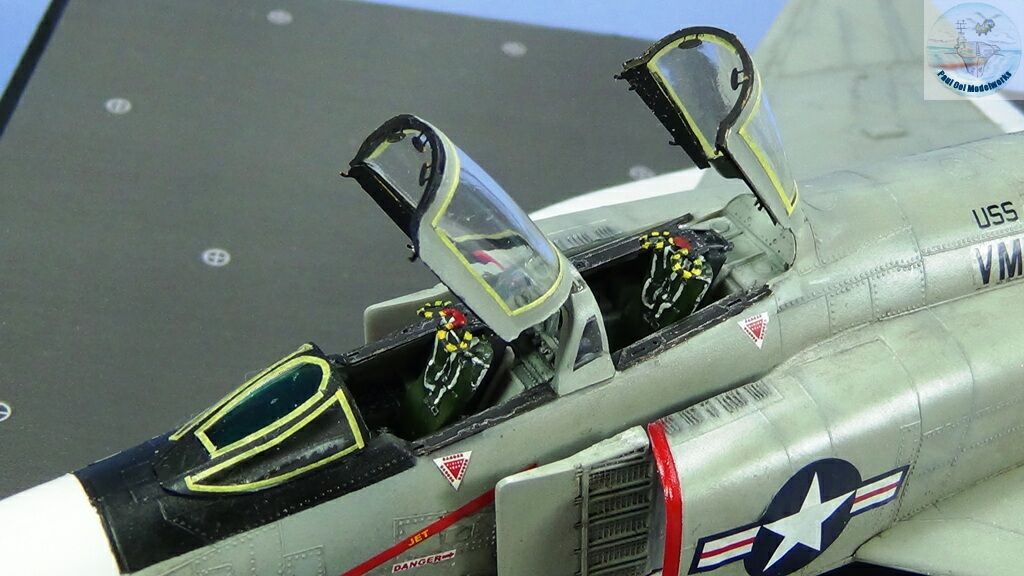
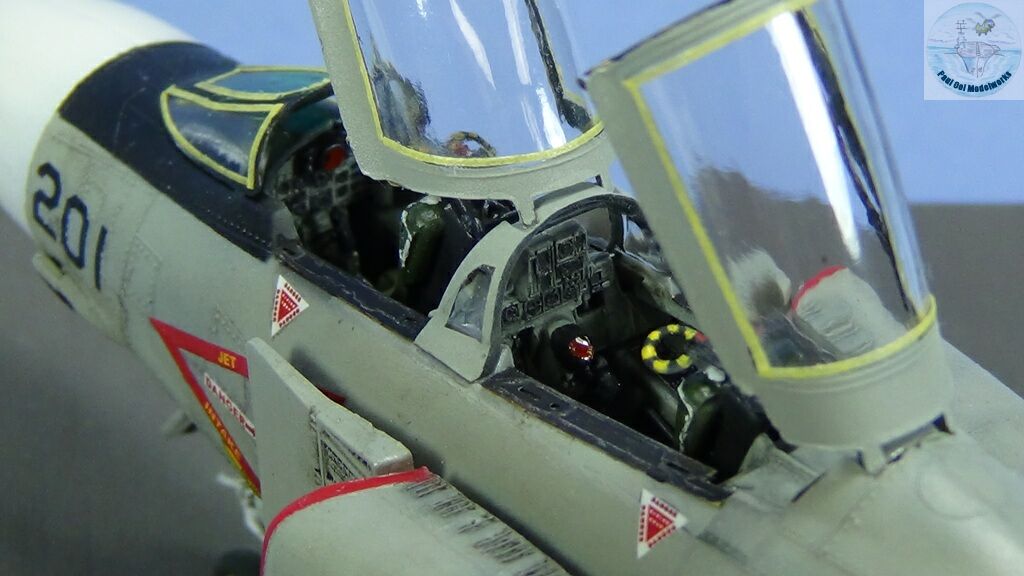
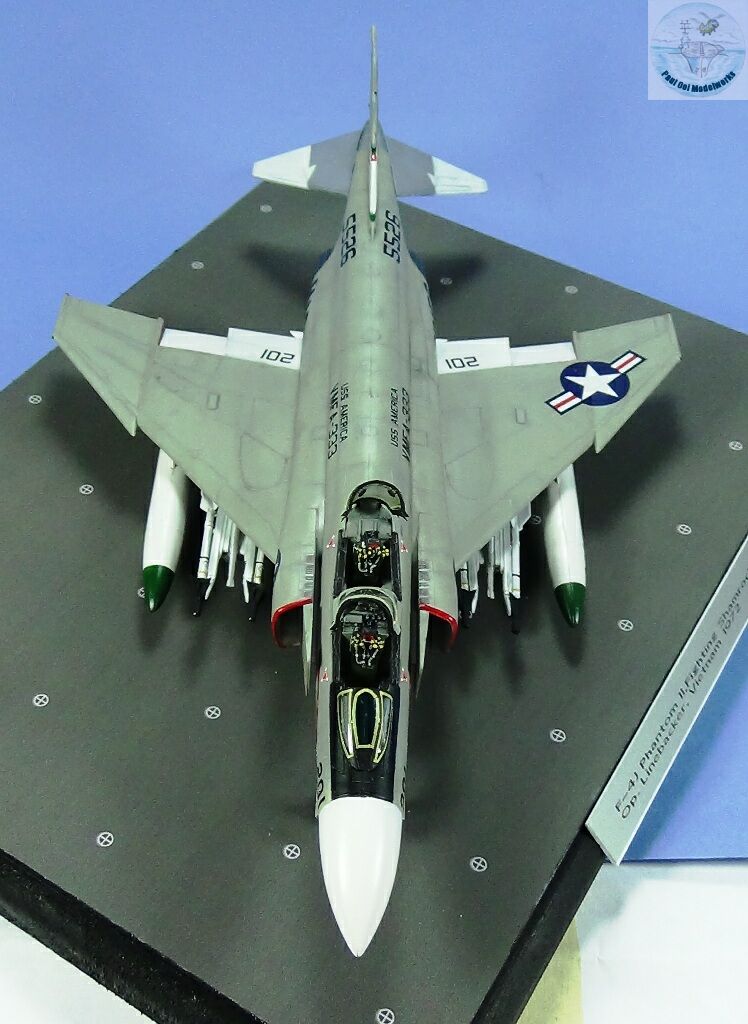
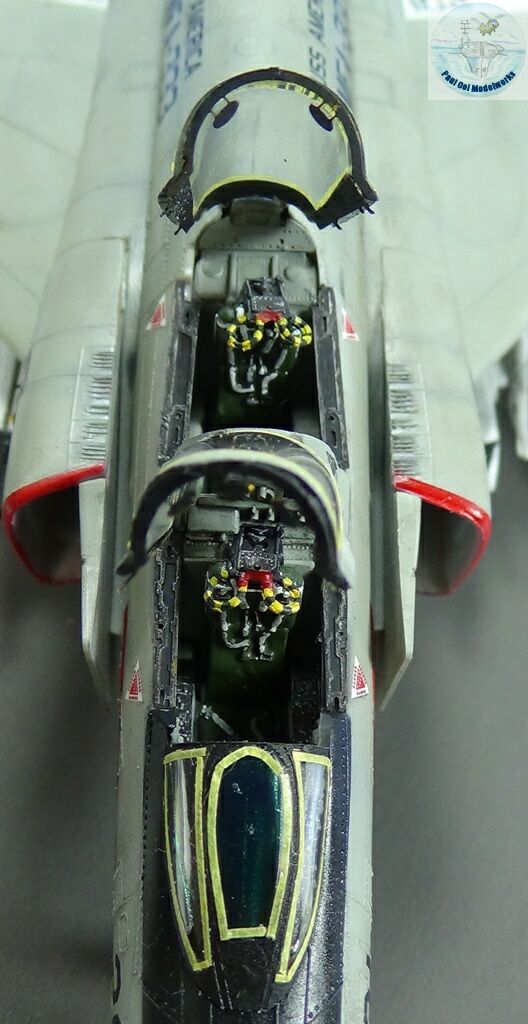
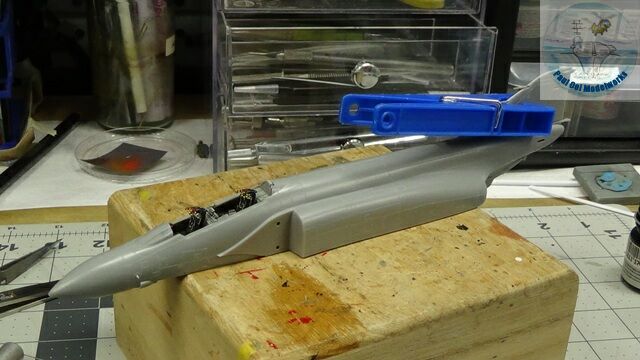
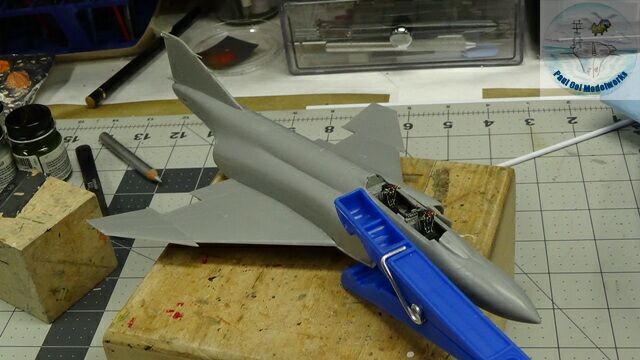
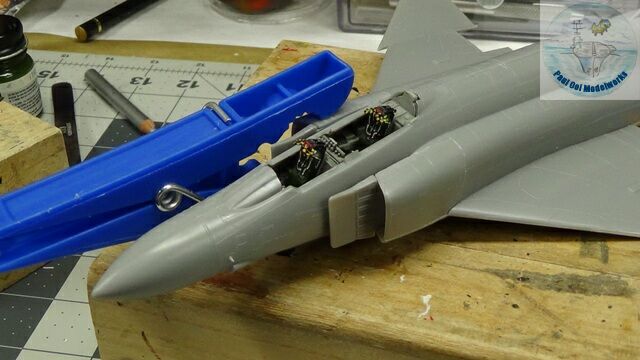
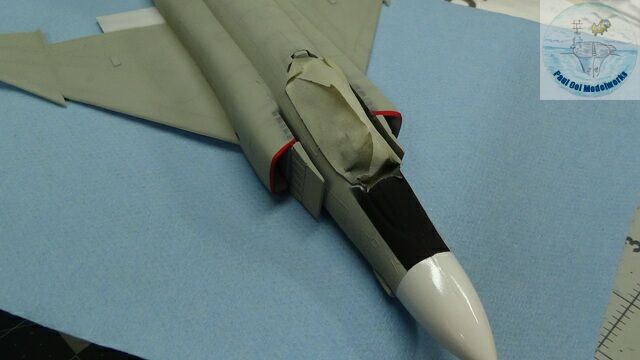
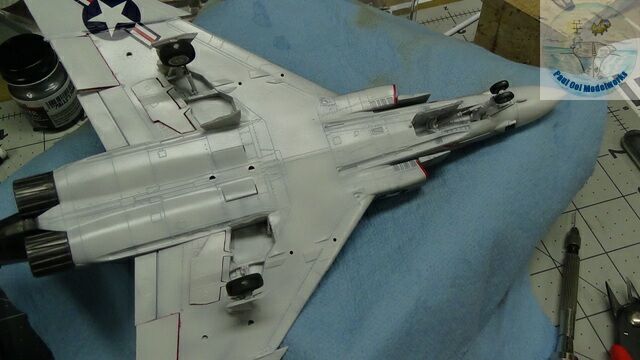
As I had mentioned earlier, cockpit details from the kit itself were excellent and with some careful painting, could rival anything in resin or photoetch today. As you can see, I also crammed the radome area with steel nuts and lead sinkers. No tail sitting here!
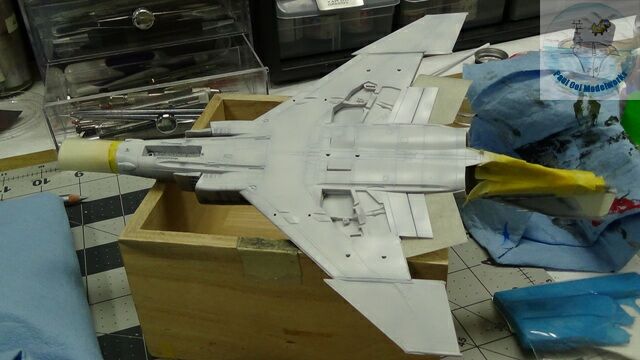
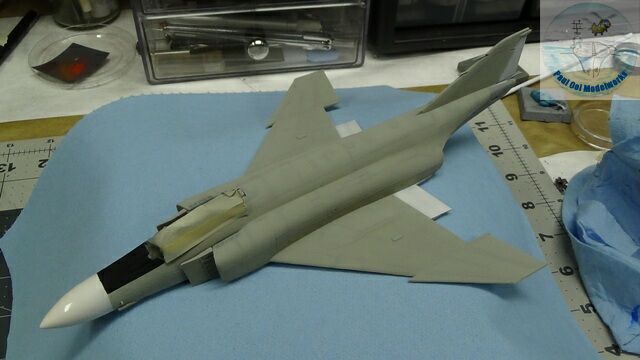
Fuselage halves fitted almost perfectly, much better than some modern kits. Apart from the clamp applied to the rudder, there was no need to force the halves together as they lined up very well.
Before building the engine intake scoops, I painted the insides (and other inside surfaces like wheel well doors) with gloss Insignia White FS17875.
The wings and intakes came together easily and with very good fit as well. Only one of the air intakes needed some persuasion to stay in shape. Assembly was easy overall.
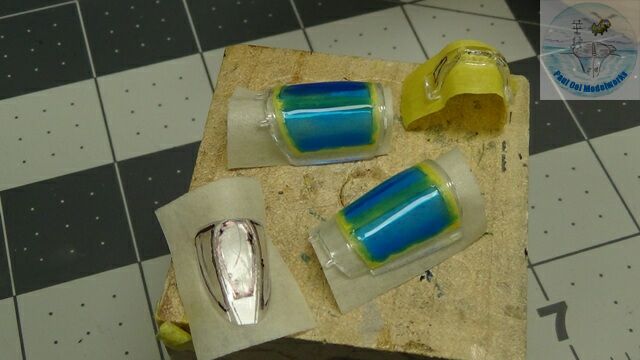
In preparation for spray painting, I masked the canopy parts. The bluish hue was from applying liquid mask over the middle section of the canopy.
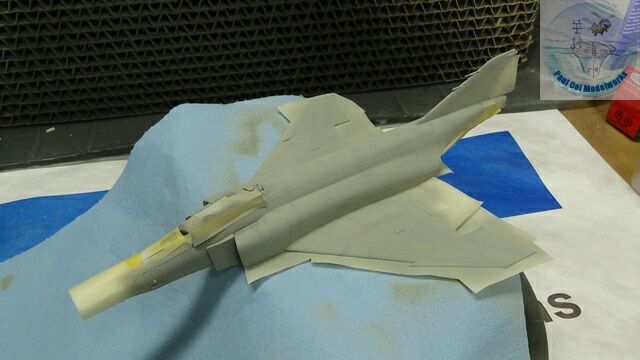
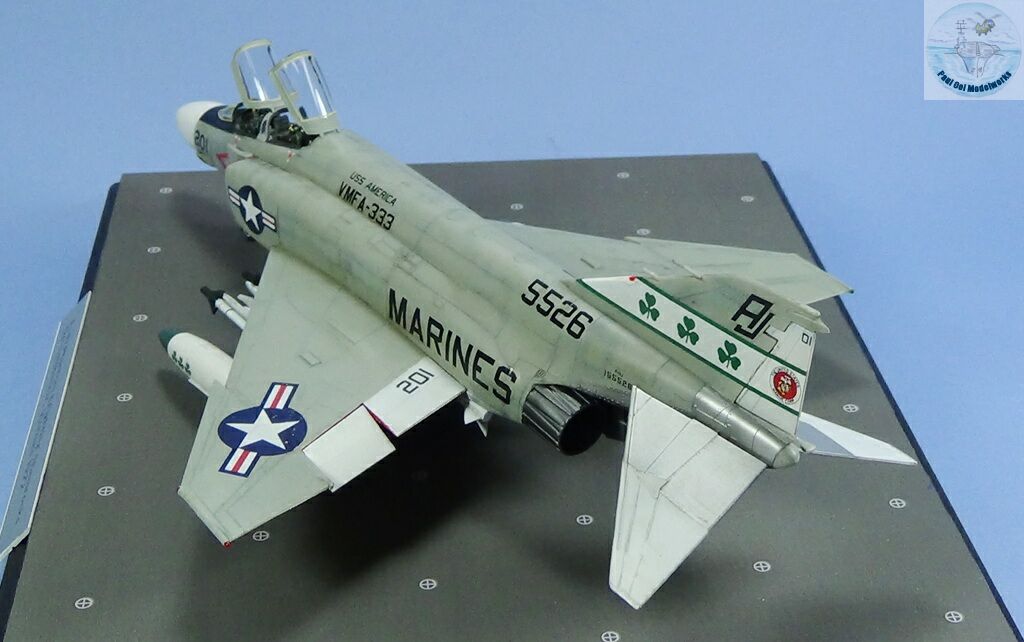
The USMC paint scheme was relatively simple. After the Tamiya XF-69 NATO Black undercoat lines, then the underside and radom were painted Gloss White FS17875, thinned down to allow the undertone lines to be visible. And then Gull Grey FS36440 was painted on the top side. If I had seen the historical photographs at this point, I would have masked off some of that “shoulder” areas and painted Dark Gull Grey FS36231.
Then I carefully masked off the two air intake openings to apply Insignia Red FS31136. I had to make sure the rest of the aircraft was adequately protected (cling film wrap) because the smallest hint of red over spray will show up and require extensive re-paint.
The basic paintwork was sealed under two applications of Pledge Floor Polish.
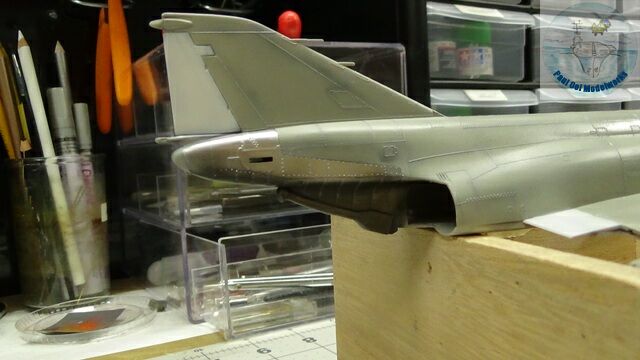
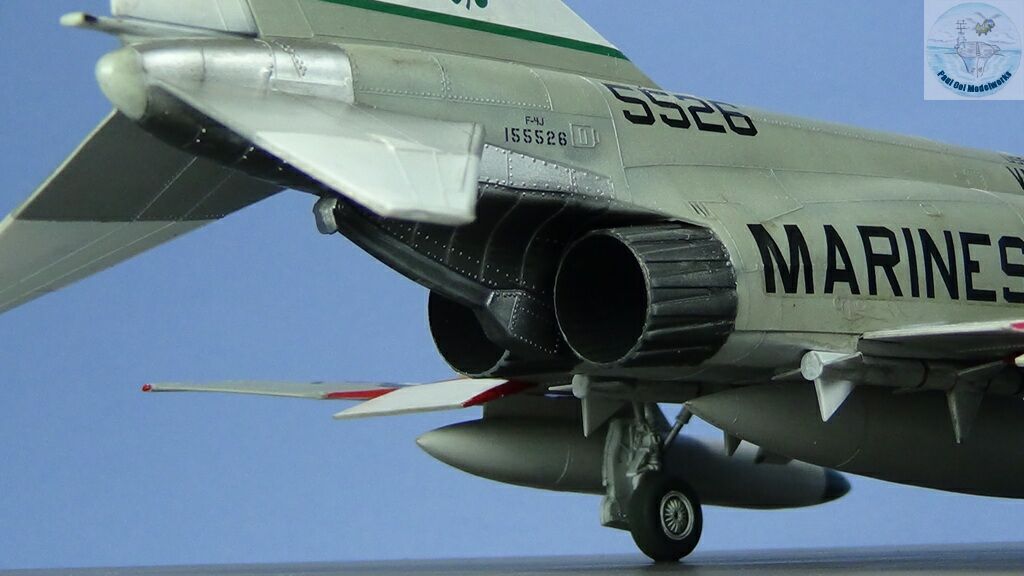
The last sections of the fuselage to be painted was the jet blast area. The lower section was painted in Buff Metalizer Gun Metal, and the upper section was Aluminum Plate.
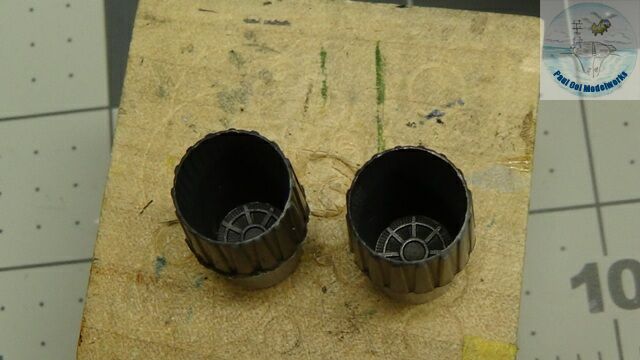
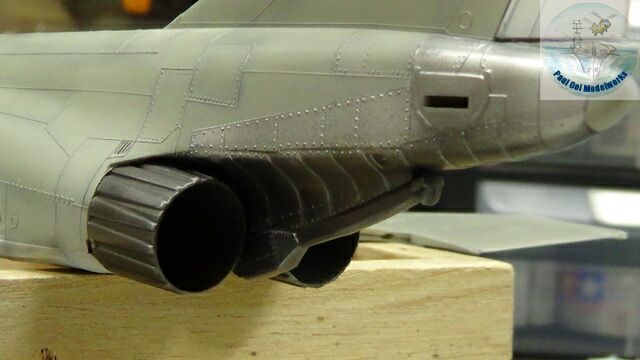
The engine cans were painted the same Metalizer Gun Metal, given a good buff to show the wear and burn areas. Again I encountered conflicting instructions on which set of cans to use (there is another shallower one for the A-D versions). I decided to check wartime photographs and used the taller cans.
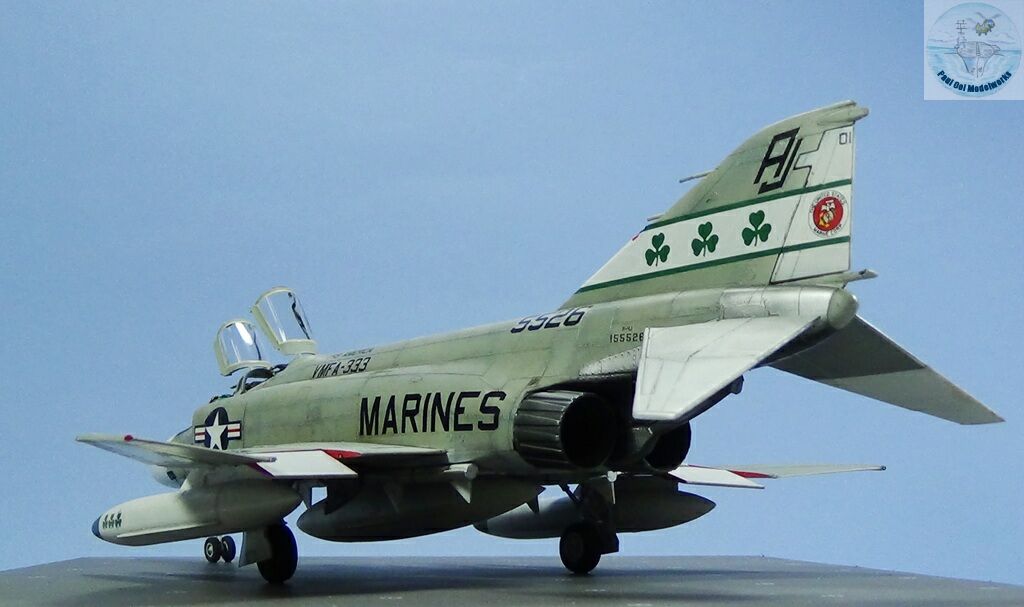
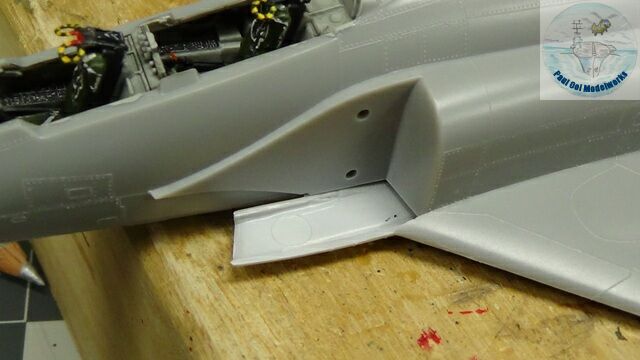
The characteristics downward rear stabilizers were fitted on as seen here.
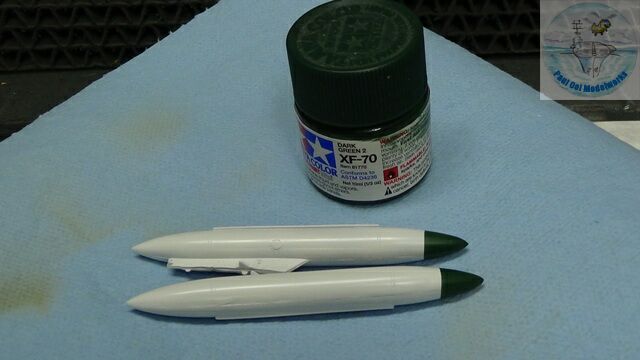
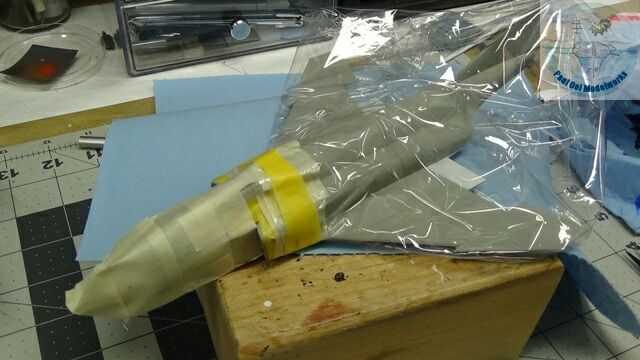
The drop tanks had front sections painted in green to match the shamrocks. The best match I found was Tamiya Dark Green 2 XF-70.

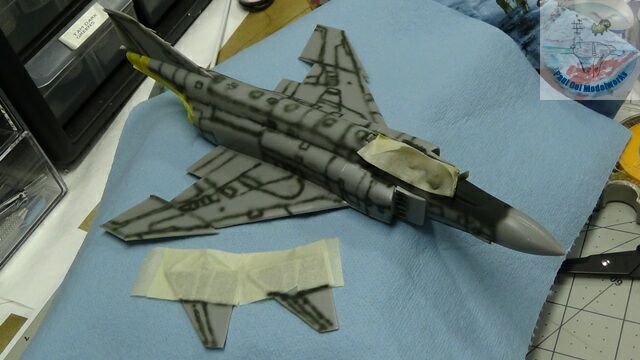
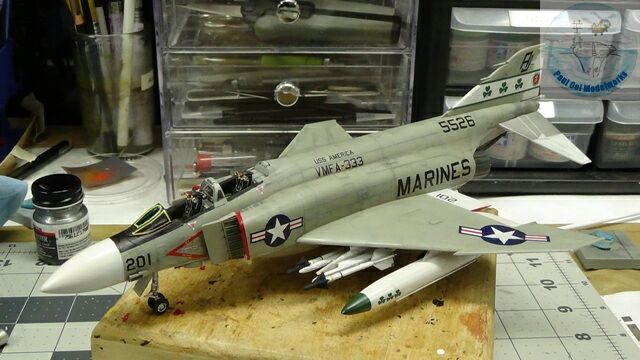
The interesting part of the project – putting on the decals. The Cartograph decals sat well without silvering.
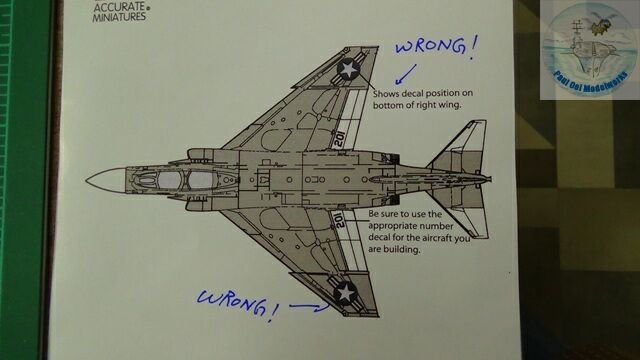
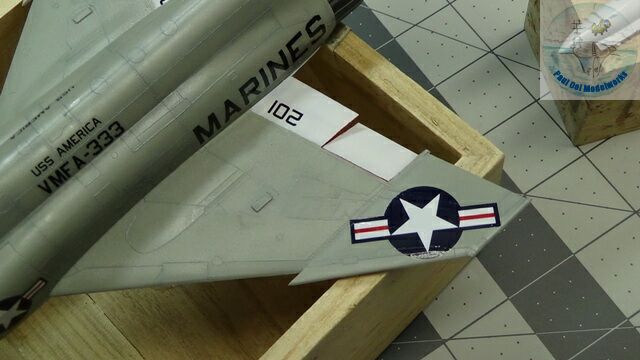

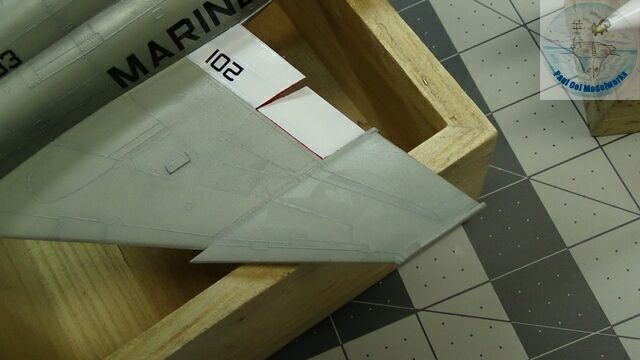
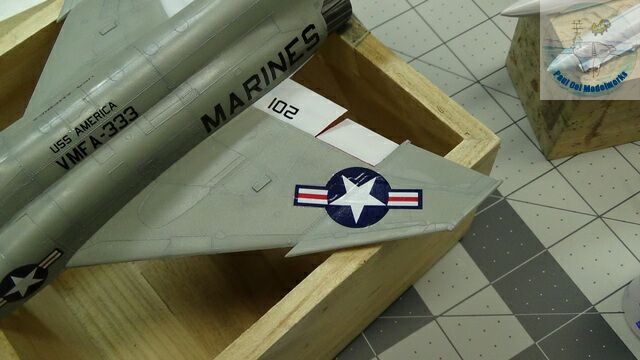
Too well as it turned out. The position of the national insignia on the wings upper and lower turned out to be wrong. Looking at pictures of actual aircraft, the insignia needed to be further inboard over the wing fold region.
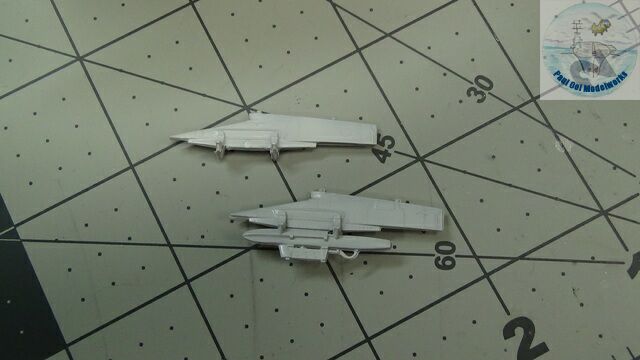
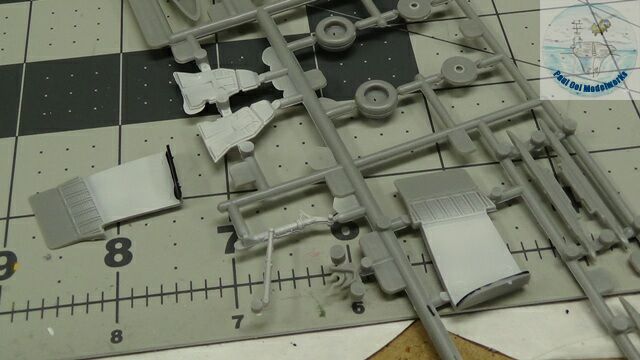
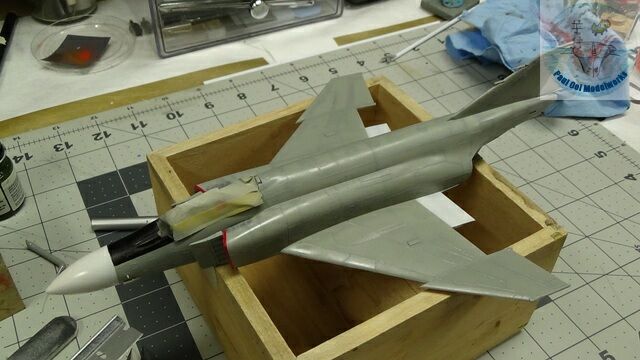
I was planning on air interceptor mission for this aircraft so I decided to remove the bomb racks from the missile pylons. I carefully cut away the lower bomb rack unit.
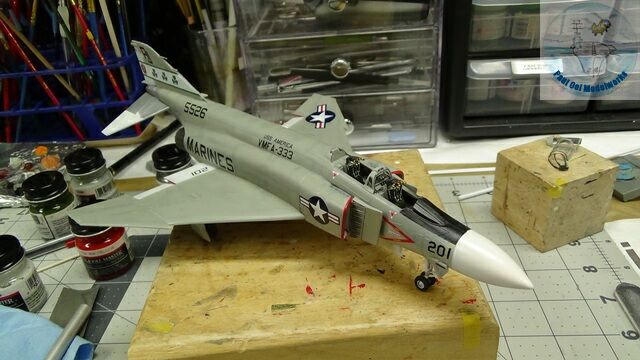
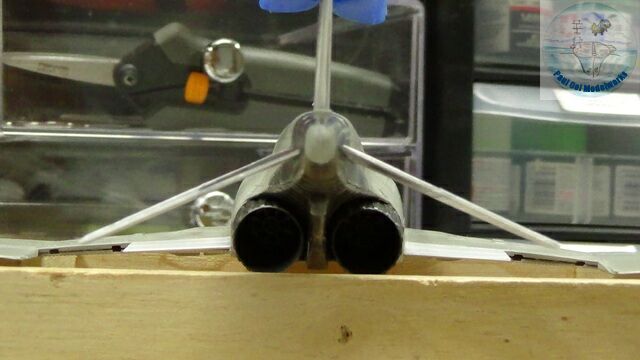
It is always good to get all the wheels on, and this aircraft can finally sit on its own. Nose weight balance was perfect. No tail-sitting!
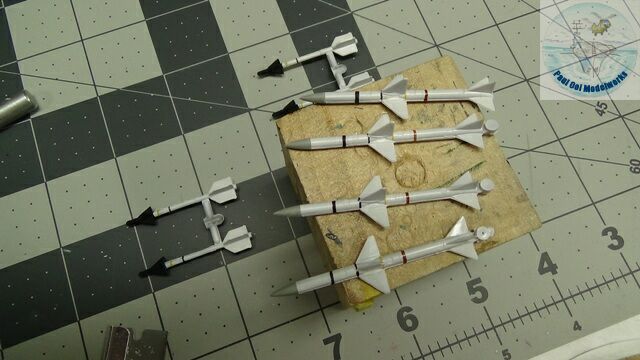
Some time to paint and detail the Sparrow and Sidewinder missiles.
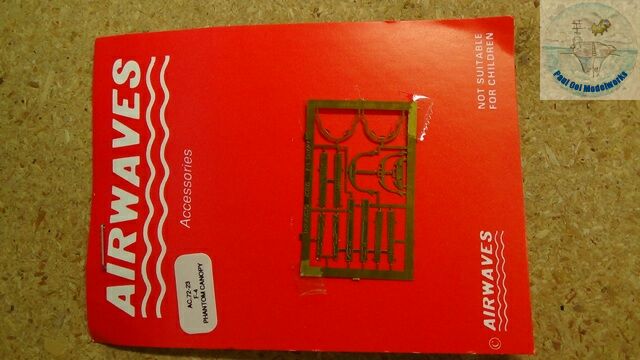
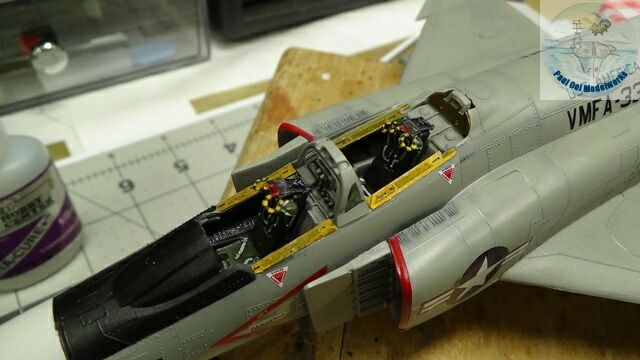
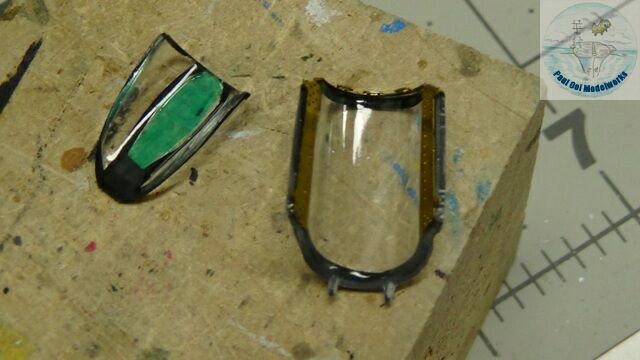
While the cockpit interior was well-detailed, the cockpit edge area was relatively bare. Since I planned to display with open canopies, this space was detailed with Airwaves canopy detail photo etch. Similarly the inside edges of the canopies were lined with photo-etch details.
The paint and decal work was sealed with satin varnish. Then a wash of Black+Burnt Umber was applied to the whole aircraft.
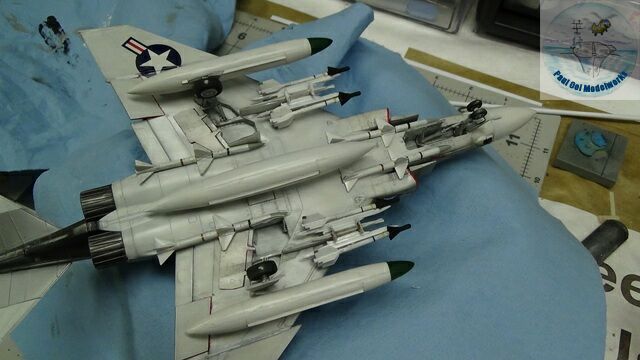
All the underside ordnance and drop tanks were fitted to the underside.
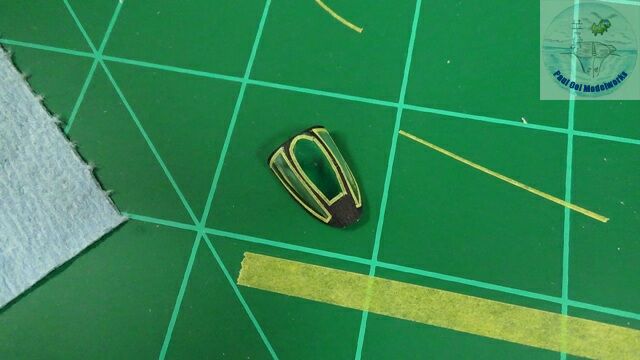
I used some very thin strips of Tamiya yellow masking tape to line the canopy frames as insulation strips (visible on 60s and 70s US jets).
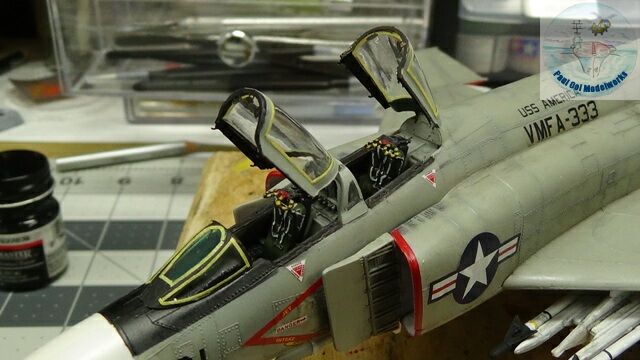
The final assembly step is the installation of the two opened canopies. For the two optional boarding ladders, please refer to Tutorial 9 – Making Jet Boarding Ladders.
Hi Paul very nice work although you seldom see them so clean unless they just came back from a repaint at NARF.
…i was a young kid in the Avionics Shop on the America when the Major got the Mig…
I started after Avionics A school in Millington arrived In Beaufort assigned to VMA 513 with the first Operational Harrier Squadron then transferred over H&MS 31 to learn DataLink /ASW25 on the F4. i also did the RT793 UHF and C6684 Radio Control Box. What a crazy fun time….
Hi Walt,
Thanks for your service. And to think I was worried about dirtying it up TOO MUCH. LOL!!!
Paul