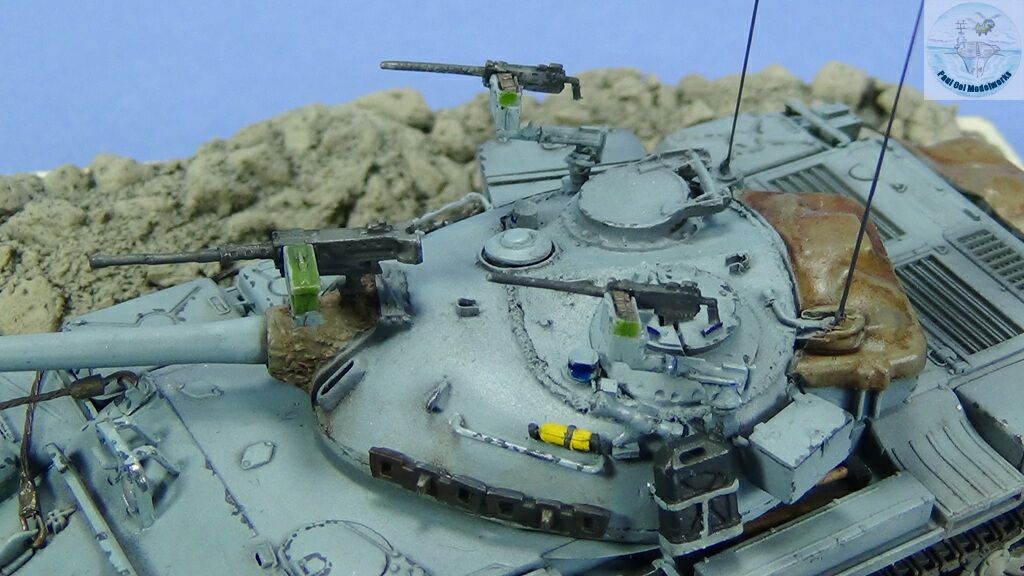
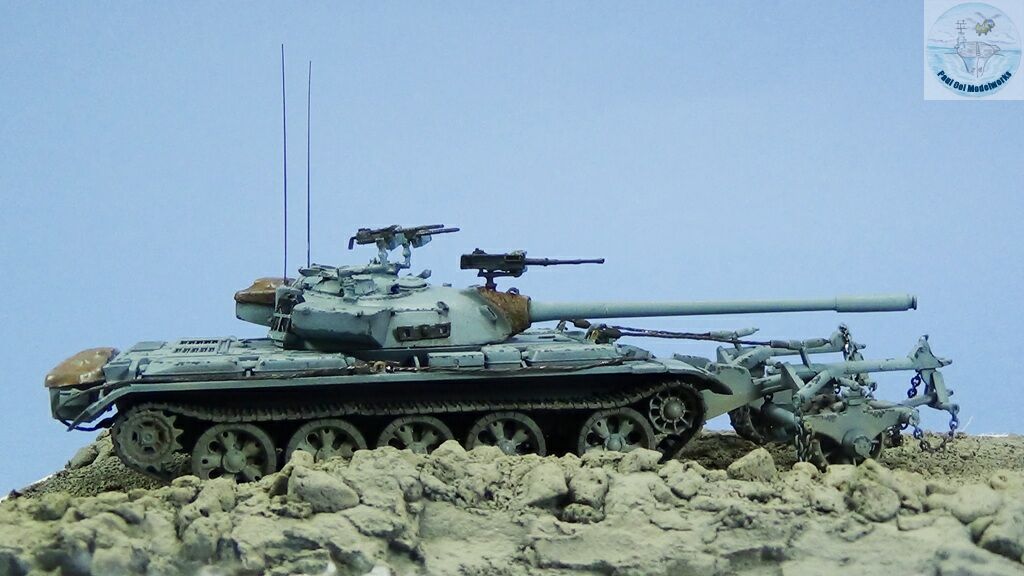
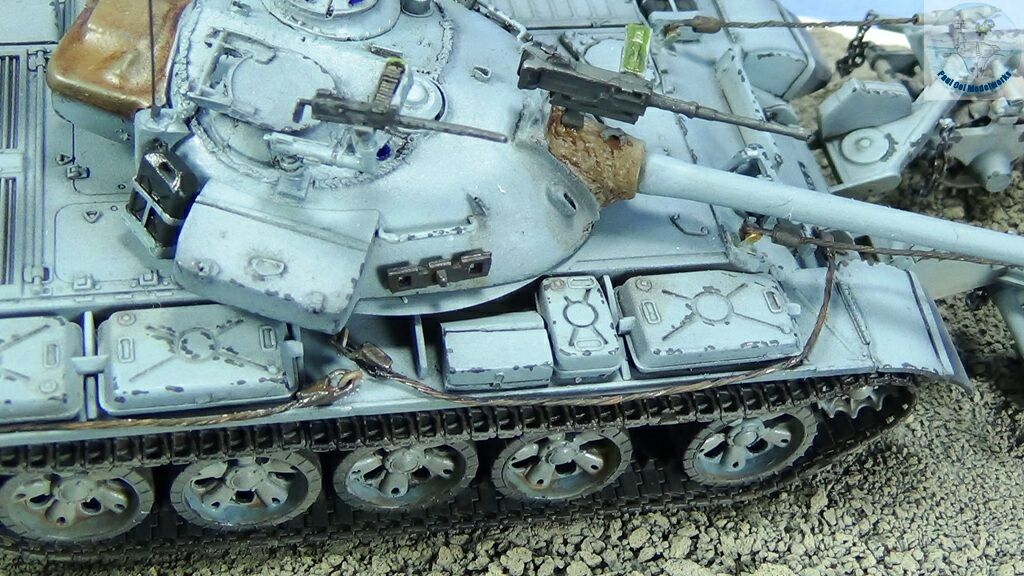
The Israelis captured a bonanza of hardly-used Soviet tanks from the Egyptians and Syrians in the 6-Day War in 1967. Among the most numerous were T-55 MBT’s, then the state-of-the-art tank for the Eastern Bloc. Over time, the IDF adapted these captured tanks with standardized Israeli fittings and out of these upgrades came the Tiran TI-67 battle tank. The most obvious changes were the ones made to the turret, where the cupola arrangement was totally re-done, and storage bins were added to the turret sides for stowage and also as added protection from RPG’s.
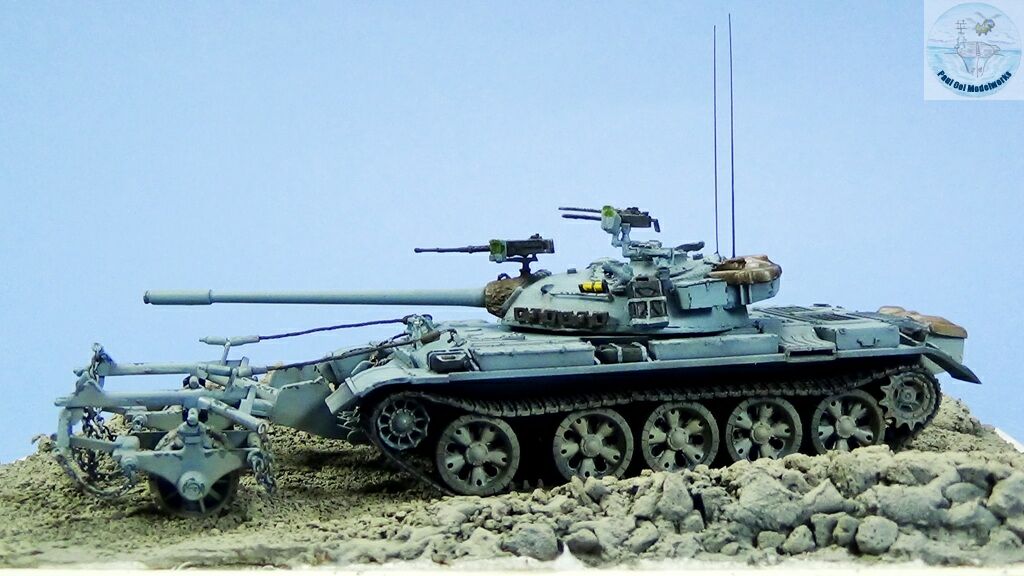
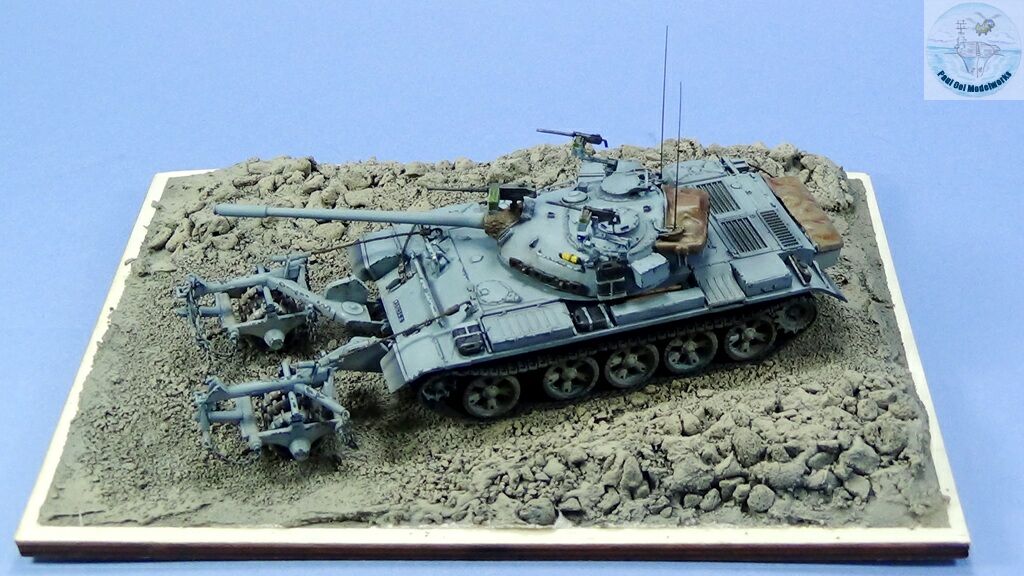
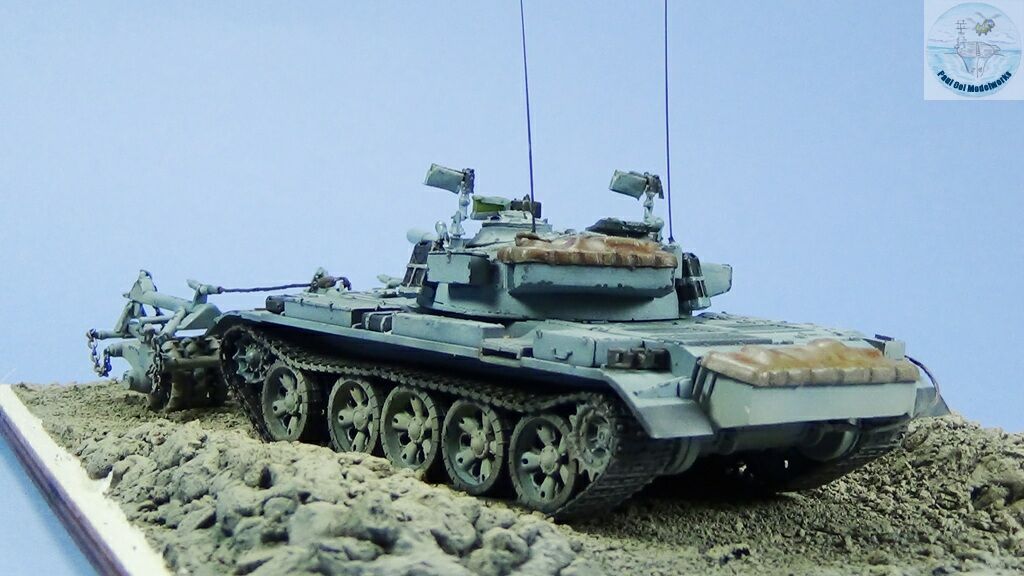
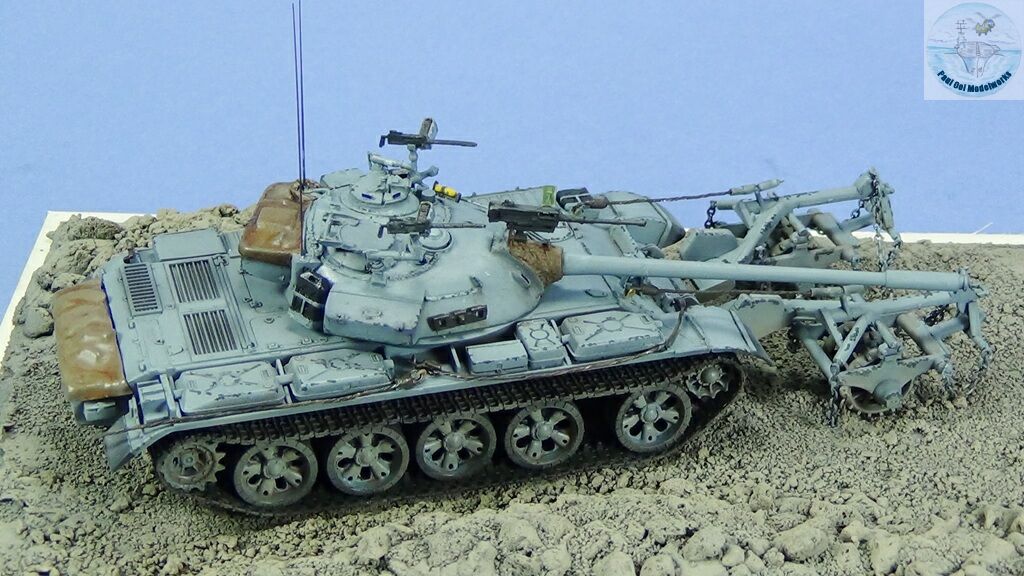
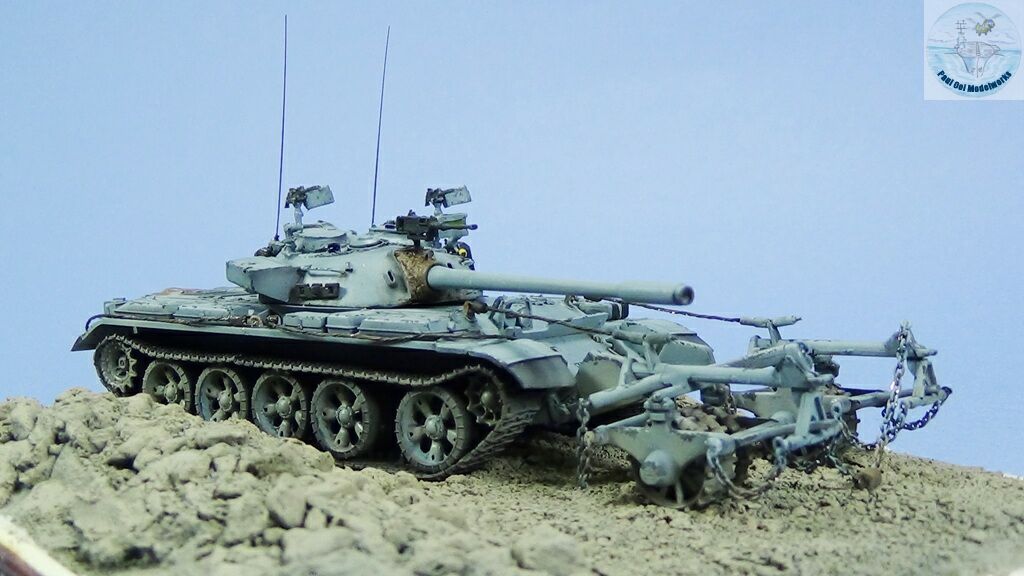
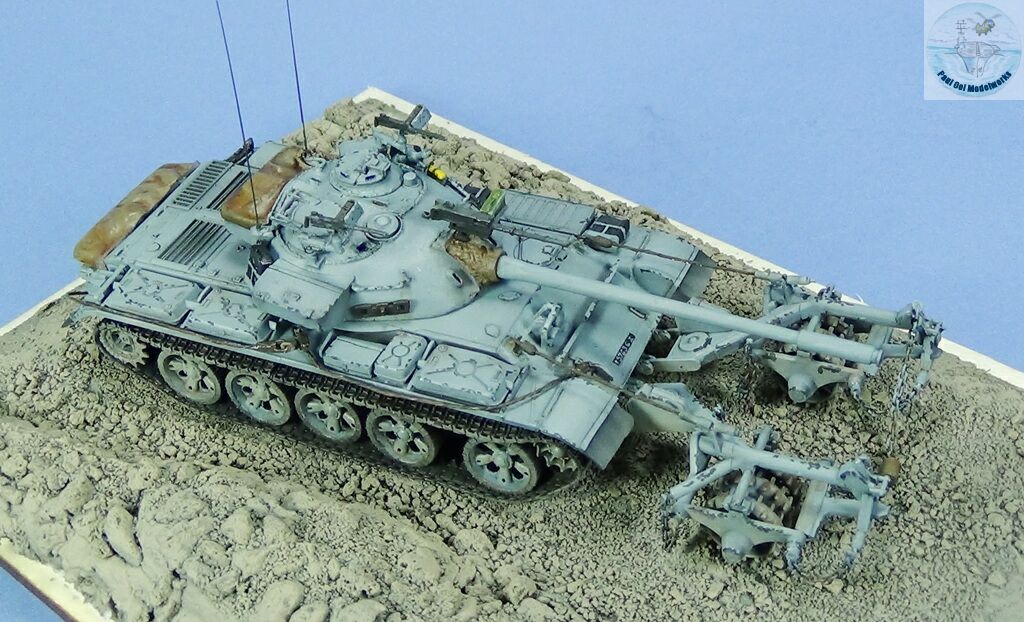
In the early 1980’s Israel transferred some of their Tiran 4 and 5 to the South Lebanese Army, their allies in Lebanon. The first significant deployment of Tirans by the SLA was in Operation Peace in Galilee in 1982. At that time, the SLA adopted a light blue and dark navy blue camouflage for their Tirans. By the mid-1980’s this scheme has been simplified to a uniform light grey-blue seen here. This bluish camouflage for MBTs is unique to the SLA. Together with the Tiran tanks, the SLA also used KMT5 mine-rollers, called Nochri in the Israeli Army. These mine-rollers prove to be valuable in foiling road mines (the precursor to roadside bombs later) used by Hezbollah and PLO during the Lebanese Civil War.
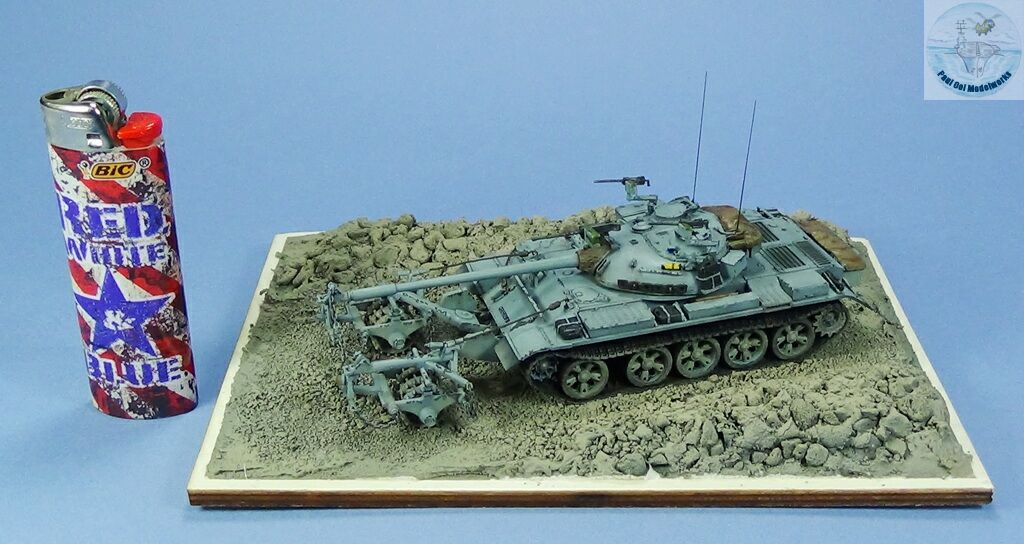
Gallery
Construction Notes
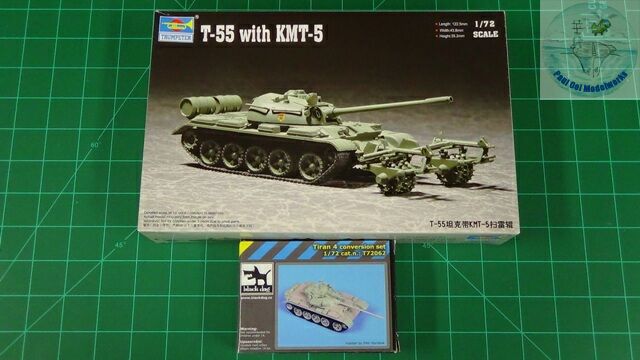
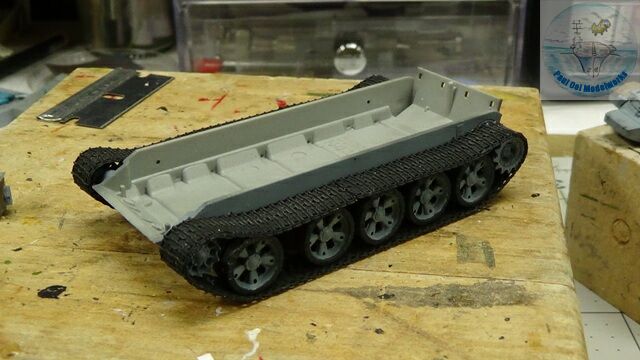
I had previously built the Esci TI-67 in 1/35 scale back in 1990. That model got damaged badly in one of my house moves and was a total loss. So when I spotted Blackdog having a resin conversion set in 1/72, I was intrigued to try the Tiran in this scale. The base for the conversion is a Trumpeter T-55 and I spotted this one in a plastic model show with the KMT-5, which was quite a bonus. Initially I thought of just using the main tank and leaving out the mine roller until I found out about the Nochri variant which is essentially this same KMT-5. My challenge is to add in the chains and tethering cables which Trumpeter had left out from their basic kit. The Trumpeter kit itself was refreshing crisp and simple to build. Details are very good and the fit was excellent.
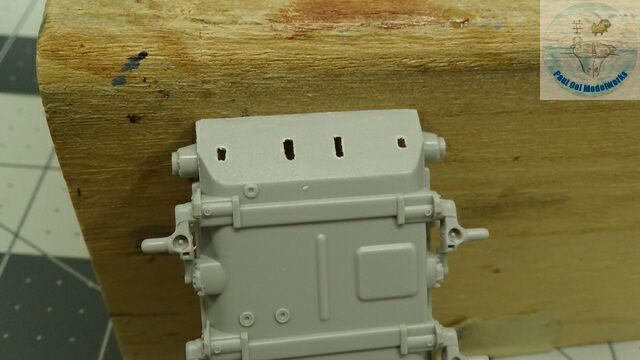
The Trumpeter lower hull was a single piece tub with the suspension struts already molded to it. Simple construction! In order to attach the Nochri assembly, four rectangular holes have to be punched out from the pre-formed blind holes.
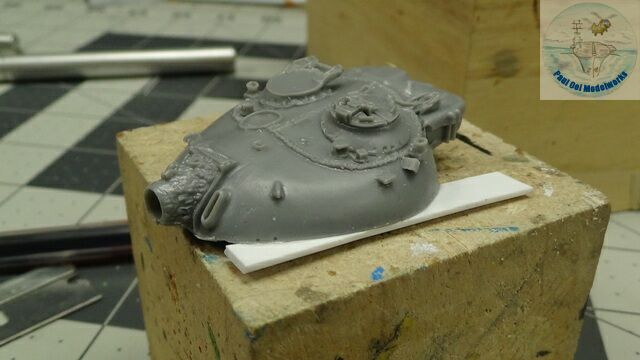
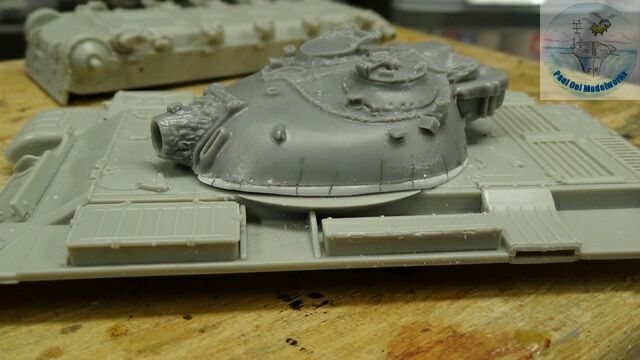
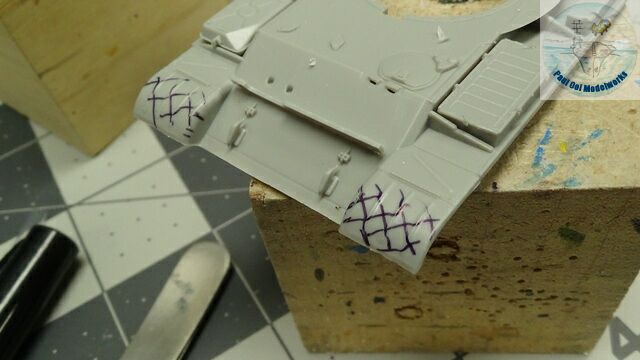
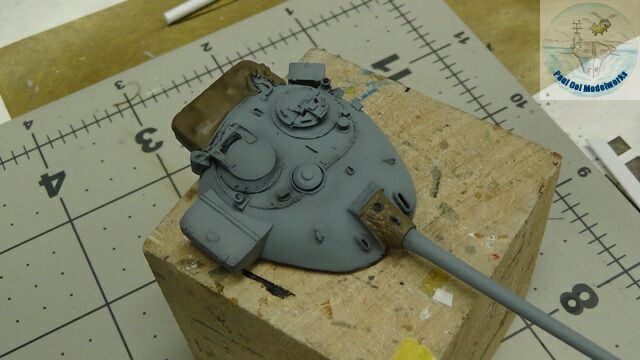
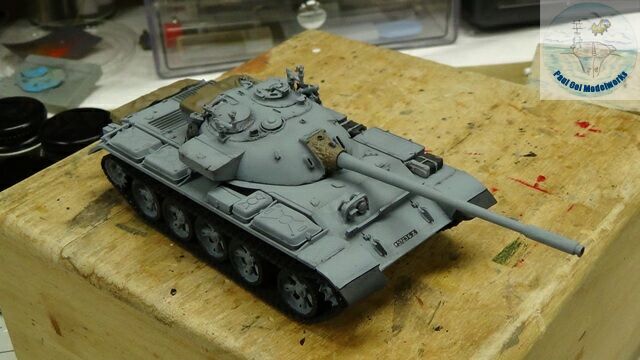
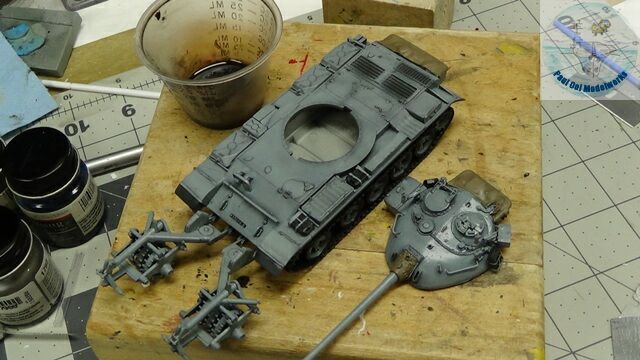
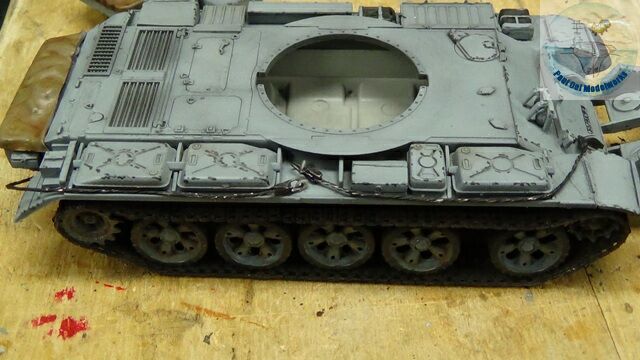
Now we encounter the first serious challenge of the project. The Blackdog resin turret had a lower turret plane problem with the port side running shallower and lifted than the starboard side. Using 1.5mm thick Evergreen card stock, I filled the lifted section. Then the excess had to be carefully filed away and blended to the sloped hull exterior. I used pencil marks to check the alignment of the grafted section.
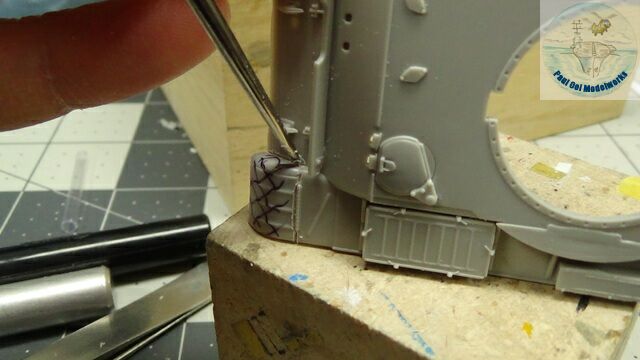
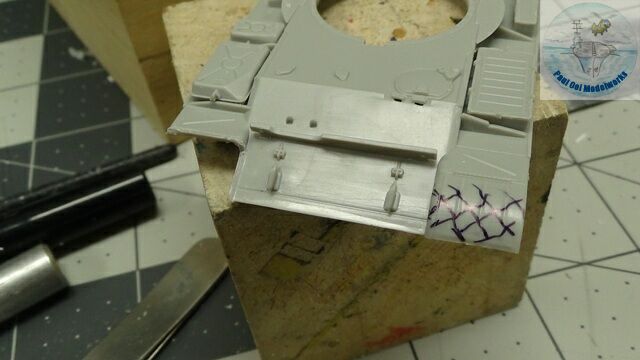
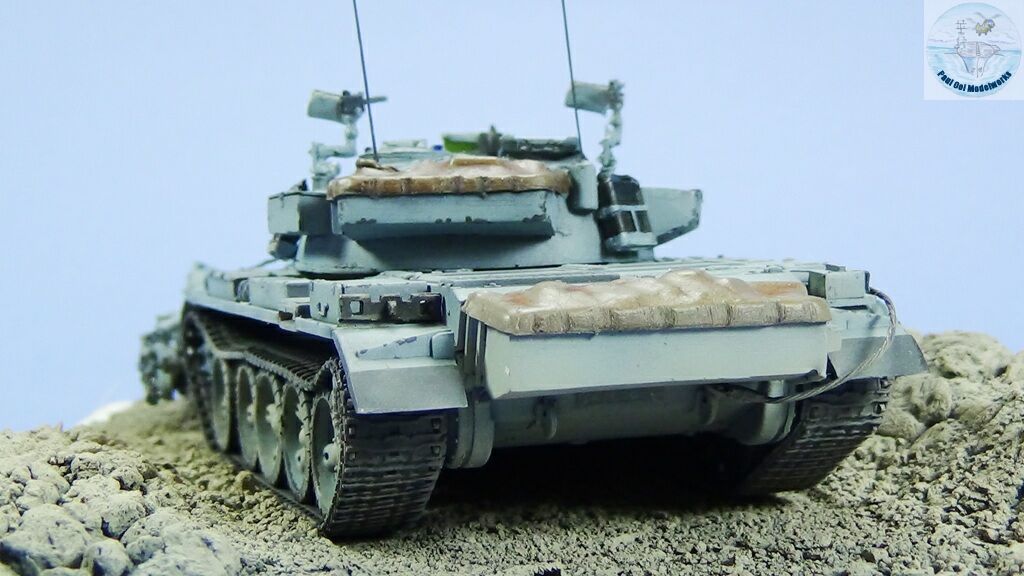
The next surgical procedure is to replace the front Soviet ribbed fenders with the Israeli half-rubber ones provided by Blackdog. The kit fenders have to be carefully scribed away from the hull. and then resin ones grafted on. Delicate operation!
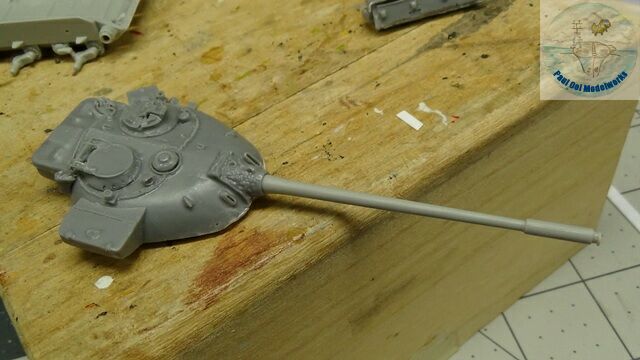
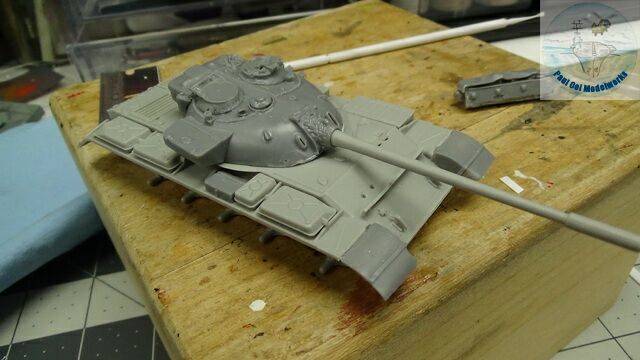
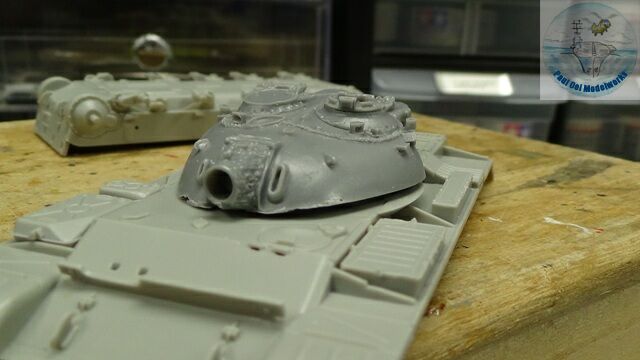
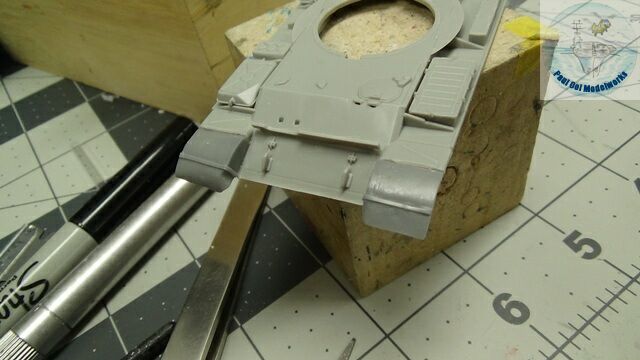
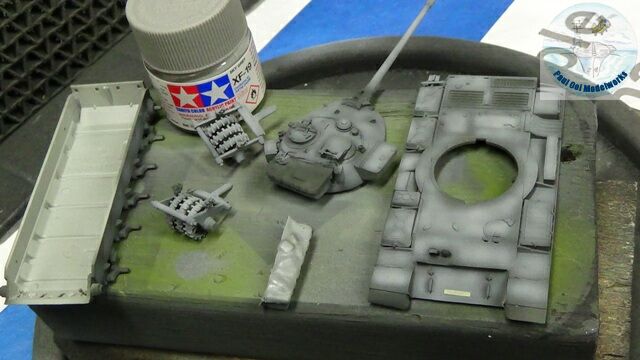
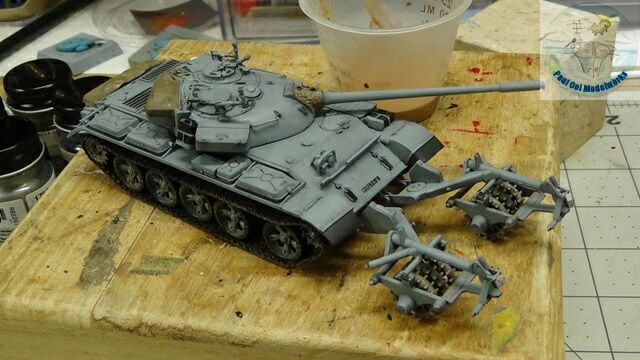
The turret gun (original kit part) was added to the resin turret, and other Israeli tool boxes added to the main hull.
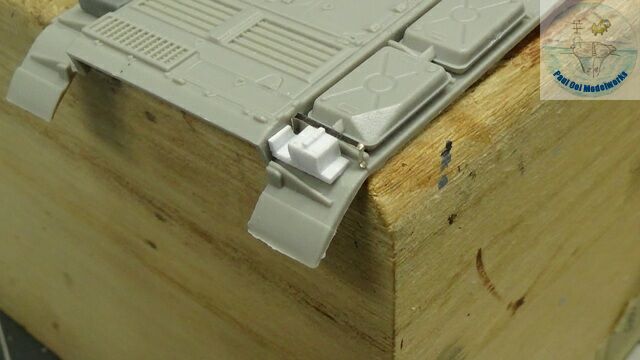
Next I tackled a missing item from my Blackdog kit. All references from Blackdog show a toolbox on the starboard rear fender area. Using some assembly pictures available online from the Takom 1/35 kit, I built this replacement feature out of Evergreen card stock and spare photoetch fret material.
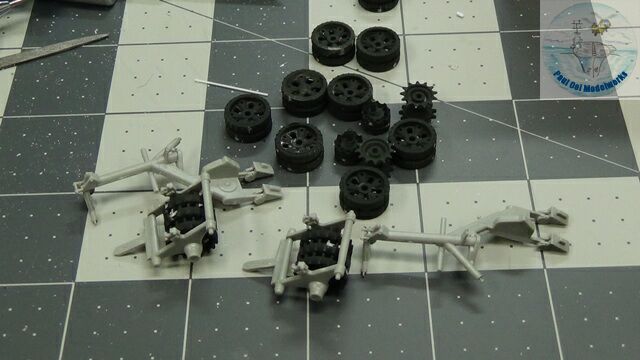
I started my painting campaign by spray painting the road wheels, sprockets and mine roller wheels with Tamiya XF-69 NATO Black.
My two-step under shade (a refinement from my previous approach of only black primer) consist of first an overall primer of NATO Black, and then a highlighting shade using Tamiya Sky Grey XF-19. This helps to lighten the final color, and reduce the effect of the black undercoat except in areas where shadows and panel lines are desired.
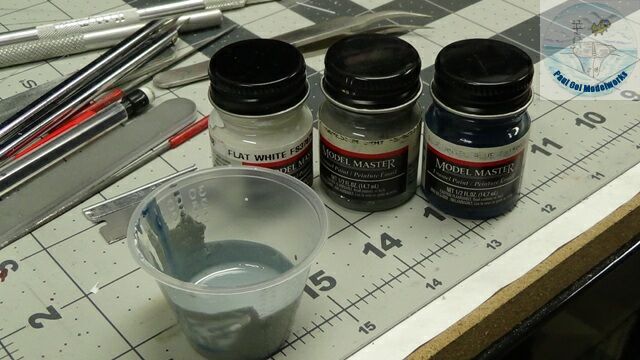

The SLA light grey blue color is an interesting mix. I saw a Takom reference calling for 90% Grey Shine+ 5% Marine Blue + 5% Flat White using MIG paint. Since I use Model Masters enamel ( I still prefer the superior airbrushing and coverage of enamels), I experimented and found the best combination to be 70% Aggressor Grey FS36251 + 10% Angel Blue FS15050 + 20% Flat White.
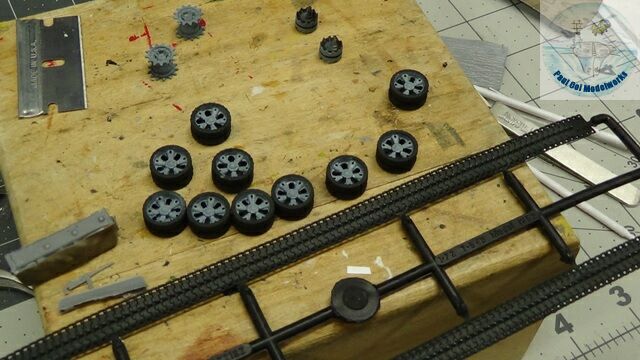
Wheel treatment time. I hand painted the hubs of the road wheels with the same grey blue mix. The tracks are painted with Tamiya NATO Black and then applied highlight with regular pencil lead, super highlights with Prisma Color silver.
Tarp sheet covers for the rear stowage and gun bag are painted in Tamiya Khaki XF-49.
I never use any enamels or oil based paints on the flexible tracks. The tracks are glued together with a treatment of Loctite 770 primer, then cynoacrylate adhesive. Then I install the road wheels, sprockets and leave off the rear followers until I stretch the tracks like a rubber band over the assembly, then insert the rear follower in to lock. The fit was good!
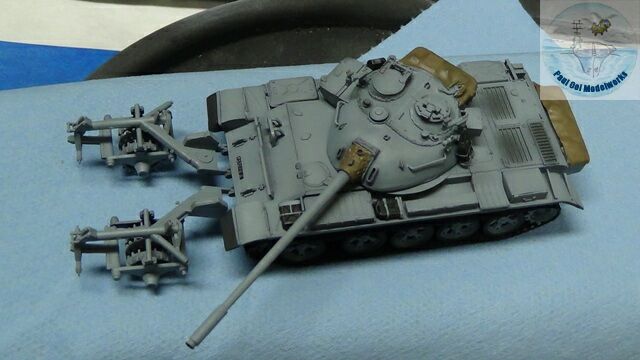
Next the port and starboard mine roller brackets and trucks are installed to the main hull. After this I protect the entire assembly in satin varnish. There are no SLA markings that can be seen in their mid-1980’s tanks except for an Israeli vehicle number front and rear. These are actually masked sections of NATO Black during the priming stage that get removed, and then white letters added using Prismacolor white pencil.
I give the entire tank an oil wash of 70% Lamp Black + 15% Burnt Umber + 15% French Ultramarine.
Next I muddy things up just a little bit (not too much, a little goes a long way) with an acrylic wash of diluted Tamiya Flat Earth around the mine roller wheels, tracks, and road wheels.
Paint scuffs and chips of NATO Black are painted on with a fine brush. Note the tow cables. These are scratch-built using lamp wiring grafted onto some spare plastic clamps, painted gun metal and red brown rust.
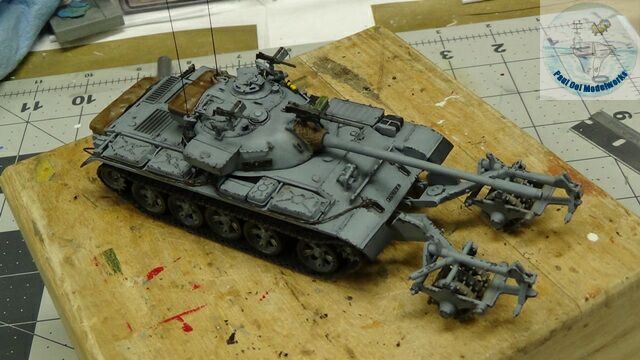
Finer details like the 60mm mortar, turret-mounted guns, and antennae are added at this time. it would also be a good time to install the mine roller chains and tethers at this time except that I do not have them! Patience. Patience.
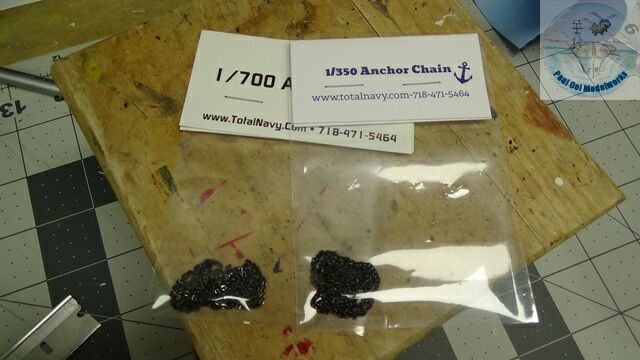
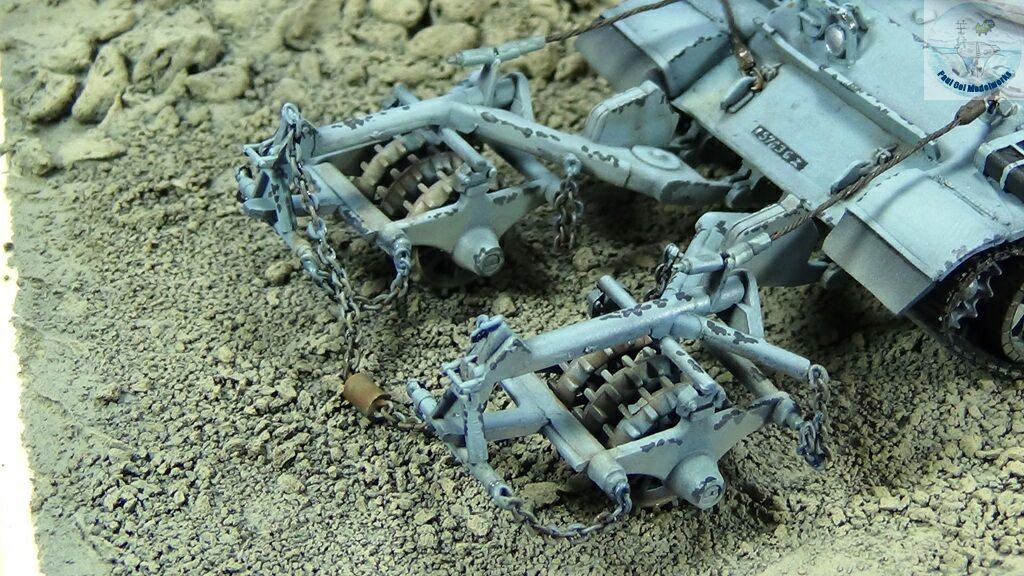
About a week later, these anchor chains for 1/700 and 1/350 scale ship models (dual use, yay!) arrive. I bought two scales to see which size scaled better with the mine rollers. I can always keep the extras for my ship models.
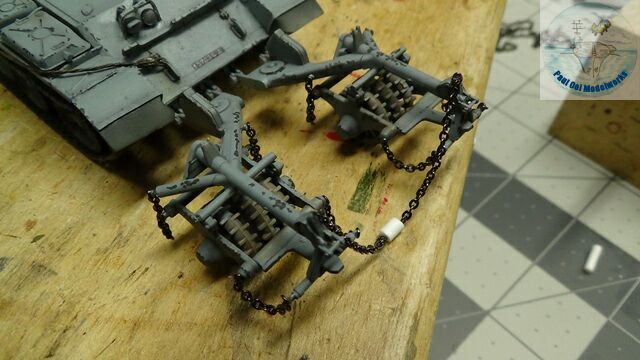
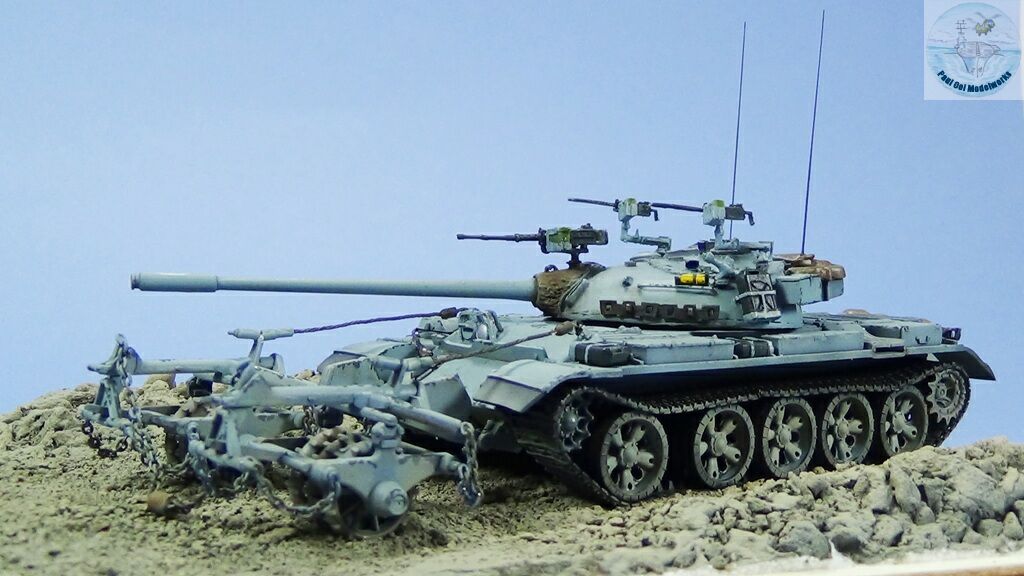
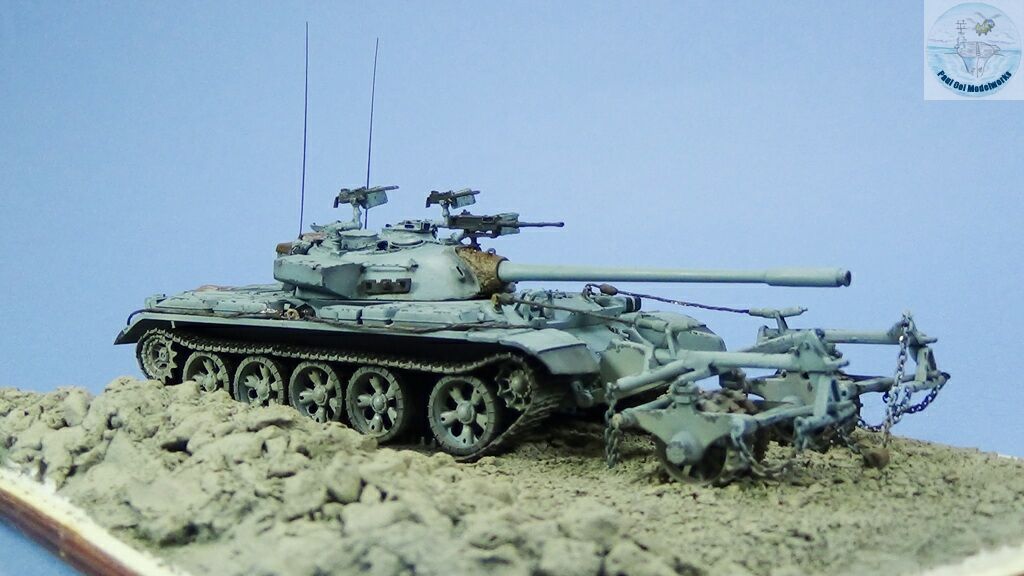
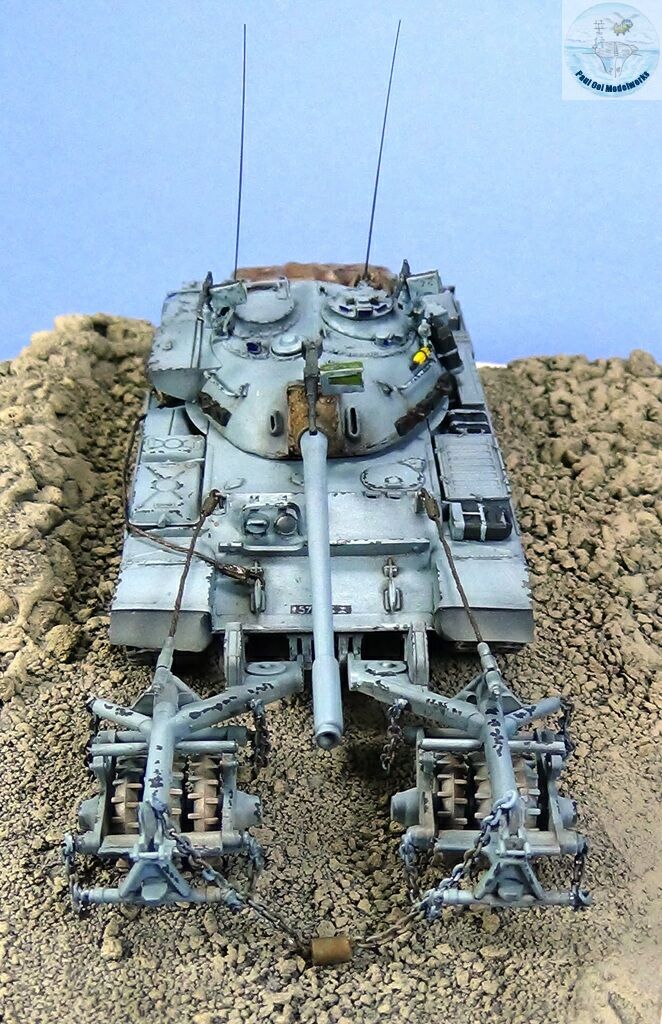
Chains installed, including the roller in the middle between the two roller trucks to foil any mines buried to be detonated under the tank. The roller is made from Evegreen 2mm tube stock.
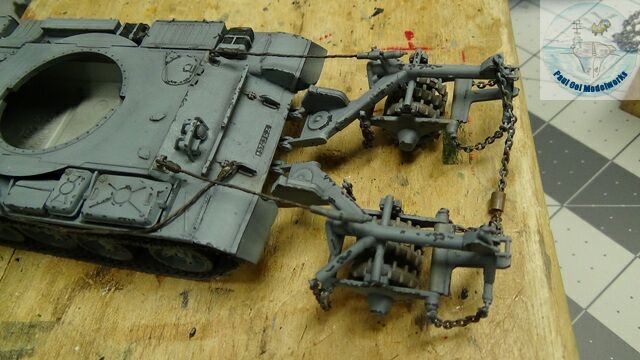
The tether cable assembly is scratch built from lamp wiring and leftover resin oxygen bottles from an aircraft kit. Any cylindrical object of the correct diameter will do actually. Then I paint the chains in the same grey-blue hull color, leaving patches of exposed black chain because we know that chains knock like crazy and lose paint easily. Then I apply a rust wash of thinned Tamiya Red Brown XF-64. We are all done! The Tiran Nochri is ready to rock and roll!
the chain and the steel cables are unbelievable BEAUTIFUL!!!!!SUPERB!