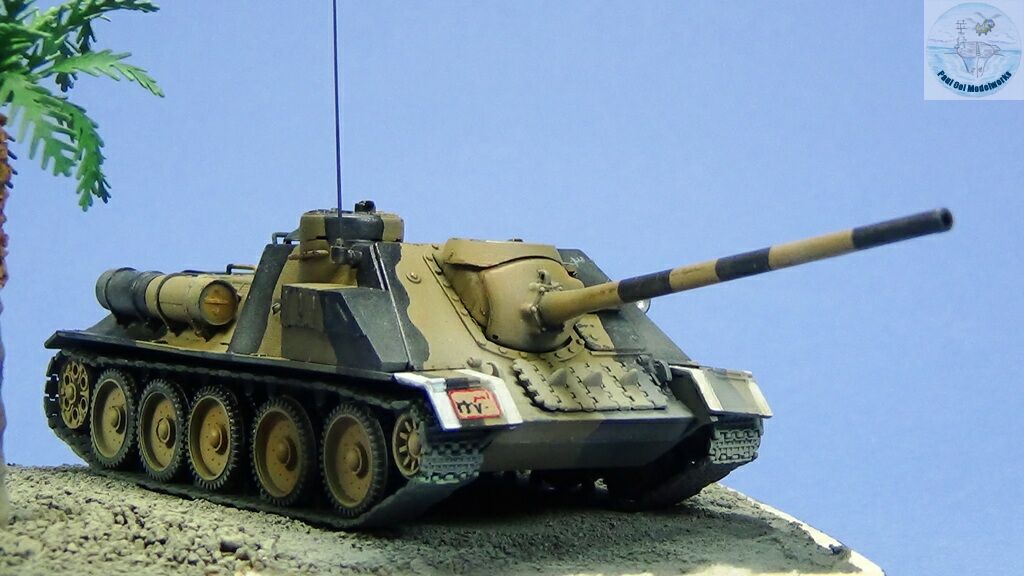
By the time of the Yom Kippur War or the Ramadan War (as it is known in Egypt) of 1973, the Su-100 was already at the end of its service life. A survivor of the Soviet tank designs derived from the T-34 chassis, the Egyptian and Syrian armies still had a few hundred of these self-propelled guns that soldiered on in the war against Israel. While the Su-100 did not have the more modern fire-control systems of the T-55 and T-62, it was easy to operate and the 100mm gun still packed a punch. The low silhouette of the tank destroyer was also good for closed-in defensive and ambush action. In the 1950’s the Su-100s delivered to the Middle East were built in Czechoslovakia to very high quality standards. The Egyptian version was designate Su-100M for the specific items like the additional stowage locker on the starboard side, lengthened exhaust pipes in the rear, and improved air filters to withstand the sand.
The Su-100Ms attached to the Egyptian Third Army were involved in the bloody fight at the Battle of the Chinese Farm. The Egyptians held an agricultural complex just north of a key intersection that led to the Suez Canal and Ismailia to the north. On October 15th 1973, Israeli units attempting to cross the canal attacked the farm complex but were pinned down by well entrenched Egyptian infantry and some armor units including the Su-100Ms. The Egyptian troops were skillful and determined in their defense, using the buildings and irrigation ditches to destroy Israeli armor. In the ensuing three-day struggle, all the Su-100’s were either destroyed or abandoned after running out of ammo. This was the last time that Su-100s were used in large numbers although stragglers have been seen in action even in Yemen as late as 2016.
Gallery

Construction Notes
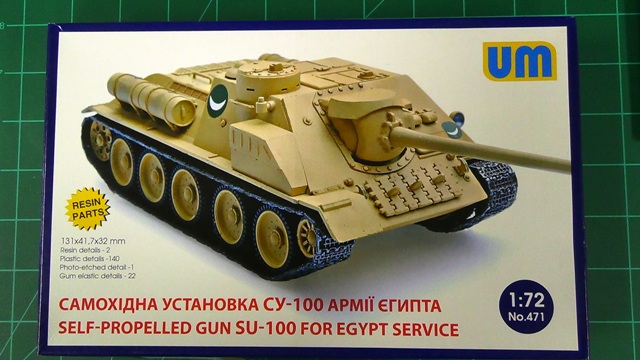
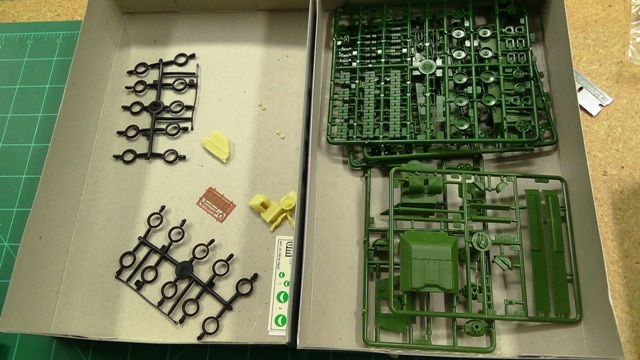
I picked up this rare UM kit from Ukraine when I was on a business trip in Asia. At that time I was intrigued by the Egyptian version of the Su-100 but I did not have any specific idea of what I was going to really do with it. Later on as I read more about the Yom Kippur War, I started to have an idea of showing the tank as it appeared either in the defense of Suez City or at the Battle of the Chinese Farm. The 1/72 scale kit came with some resin parts to make the Su-100M and markings for the Suez Crisis of 1956. I wanted to paint the tank in the later 1973 color scheme and did some research on the Desert Yellow-and-Black scheme used by some units in the 3rd Army. During the time of the Suez crossing, Egyptian armor units used white identification flashes on the mudguards and sometimes on the flanks as well. I was able to find some pictures showing Su-100M’s with those markings which helped a lot in making the paint scheme, as well as the markings on the vehicle.
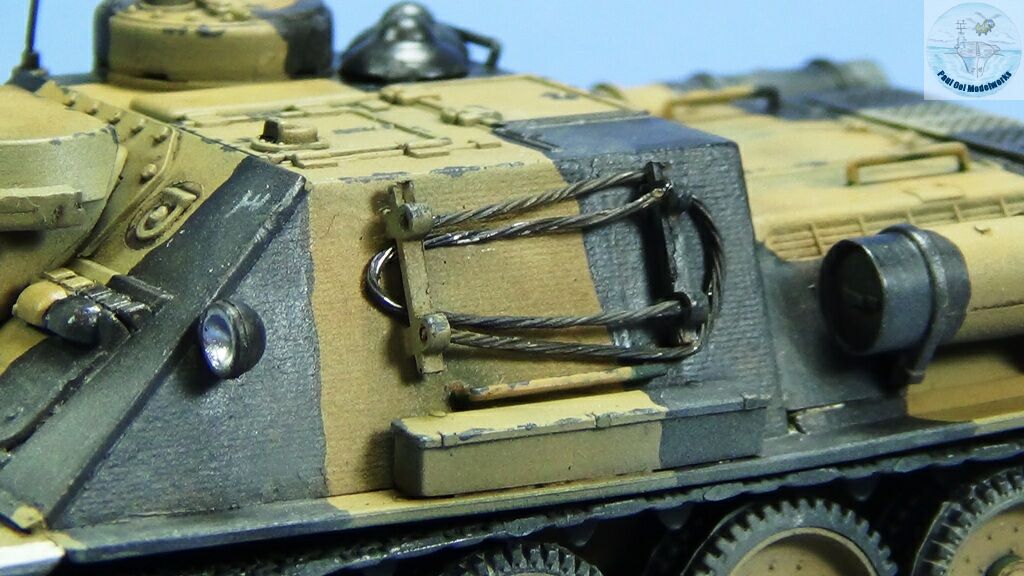
The molded details are surprisingly good and crisp. The fit was also excellent and after some initial misgivings about the soft plastic road “tires”, they actually fitted well. I was less enthusiastic about the polystyrene molded tracks but those were minor drawbacks to make this Egyptian sphinx. I did not use the soft plastic cables and made my own out of twined wiring. For those people looking to make this unique vehicle from the Arab-Israeli Wars, this is a kit you might want to consider.
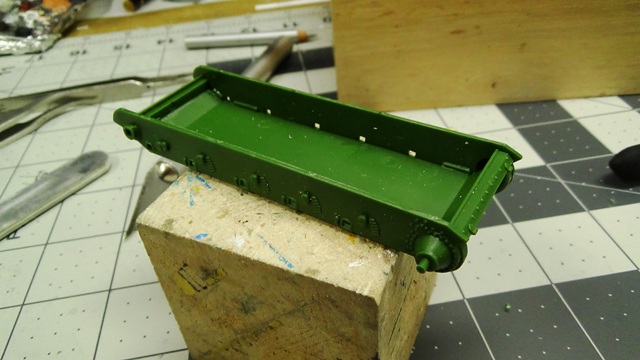
The lower hull construction starts with building the “box”. Check to make sure the two parallel chassis sides are properly seated against the bottom plate.
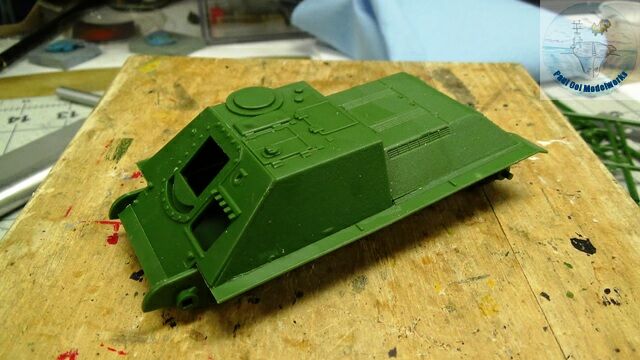
The upper hull pieces come together quickly and the fit is good.
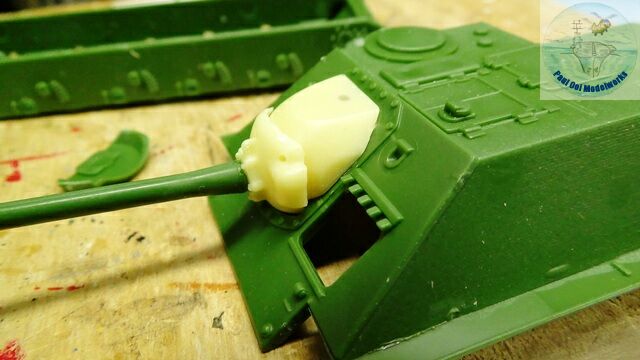
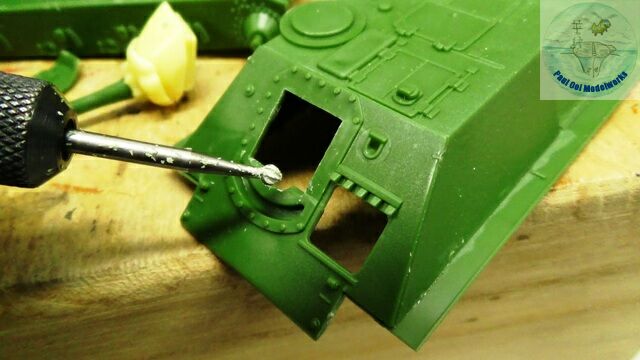
The trickiest part of the upper hull assembly is getting the big resin gun mounting to fit properly. Because of the fit of the inner breech, a small clearing of the gun opening needed to be machined off so that the movable gun elevation can be properly seated. Otherwise, the elevation of the gun will be permanently pointing upward in an awkward angle.
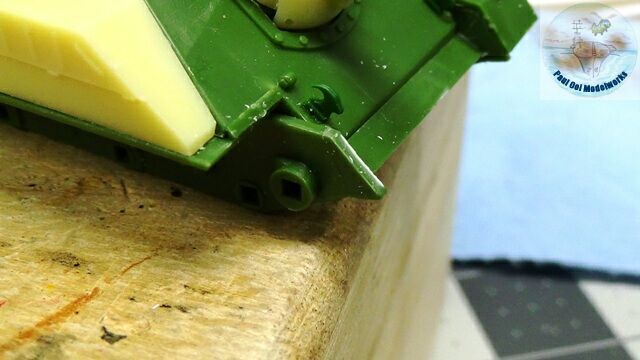
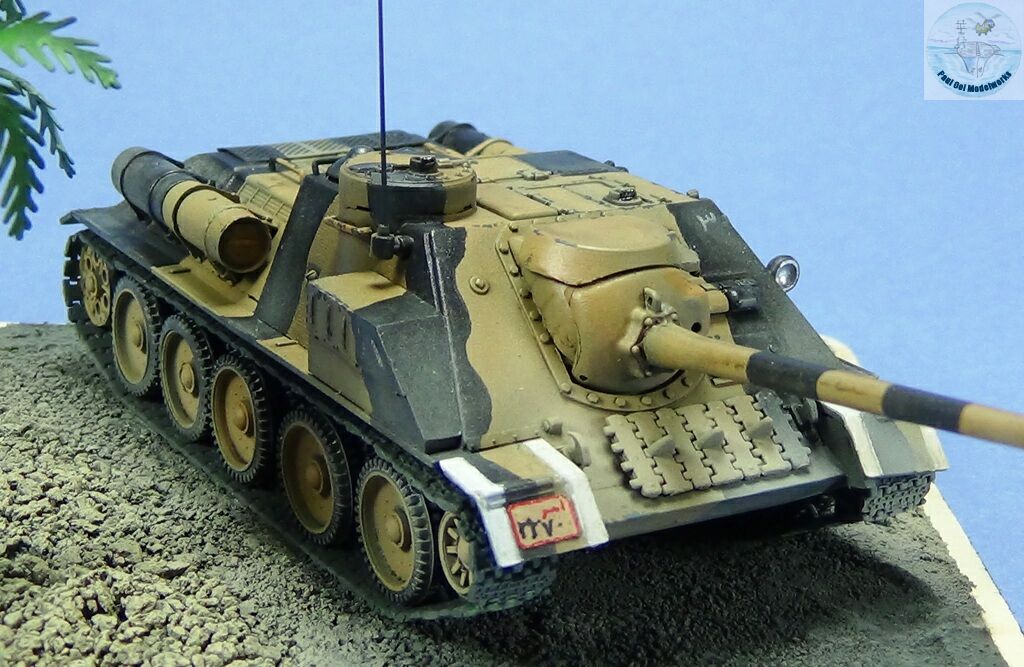
Another important detail was that the instructions called for the standard Soviet curved front mudguards to be used. That is incorrect. Pictures of Egyptian Su-100M showed angular mudguards that did come with the kit but did not fit properly with the chassis plates. I measured the angular mudguards and cut off just enough of the curve so that the pieces will fit later.
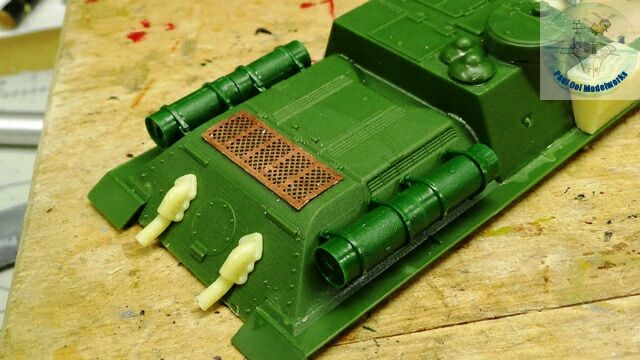
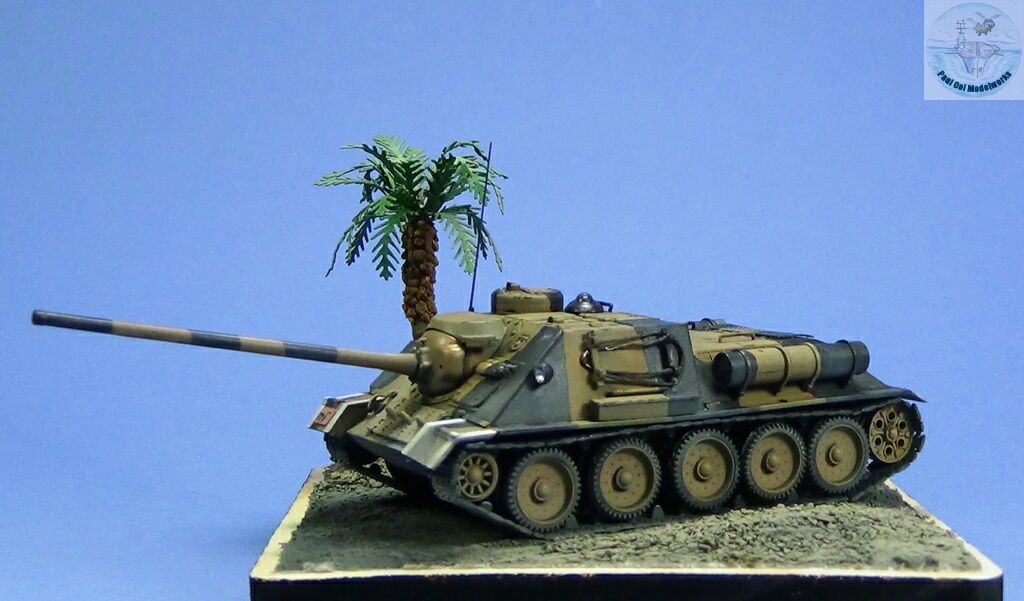
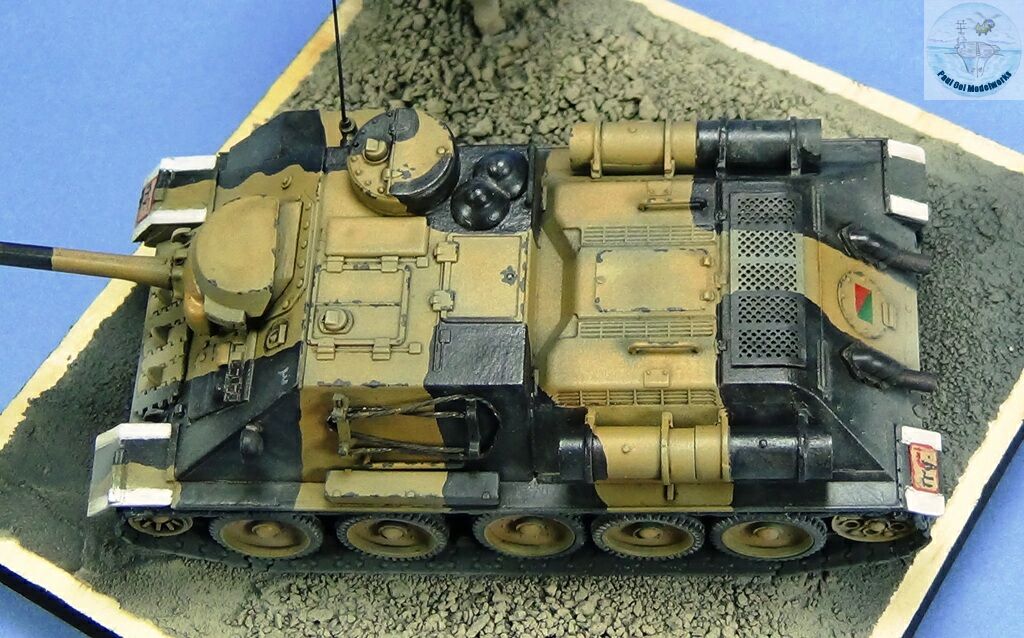
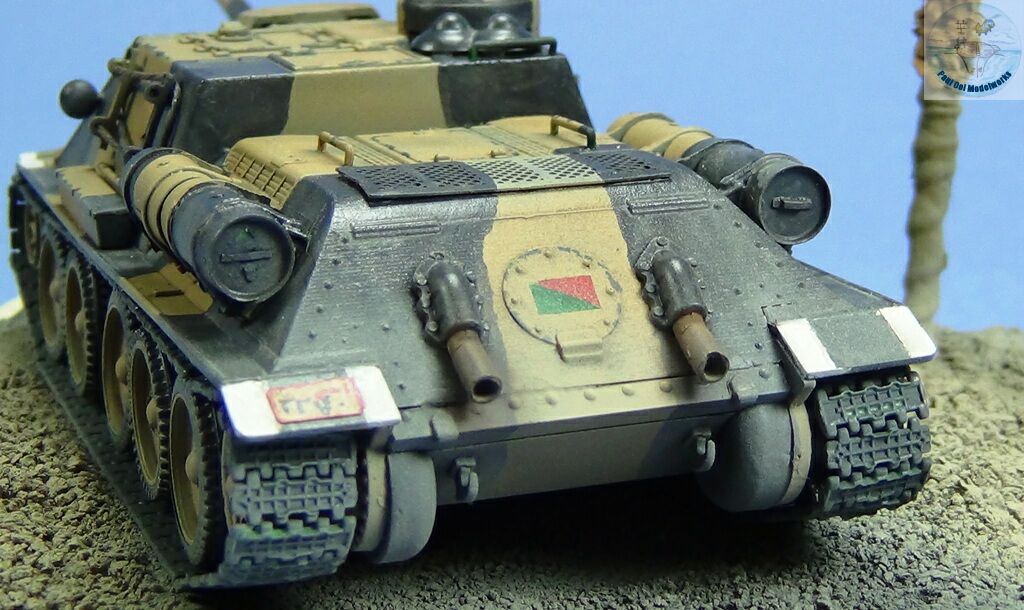
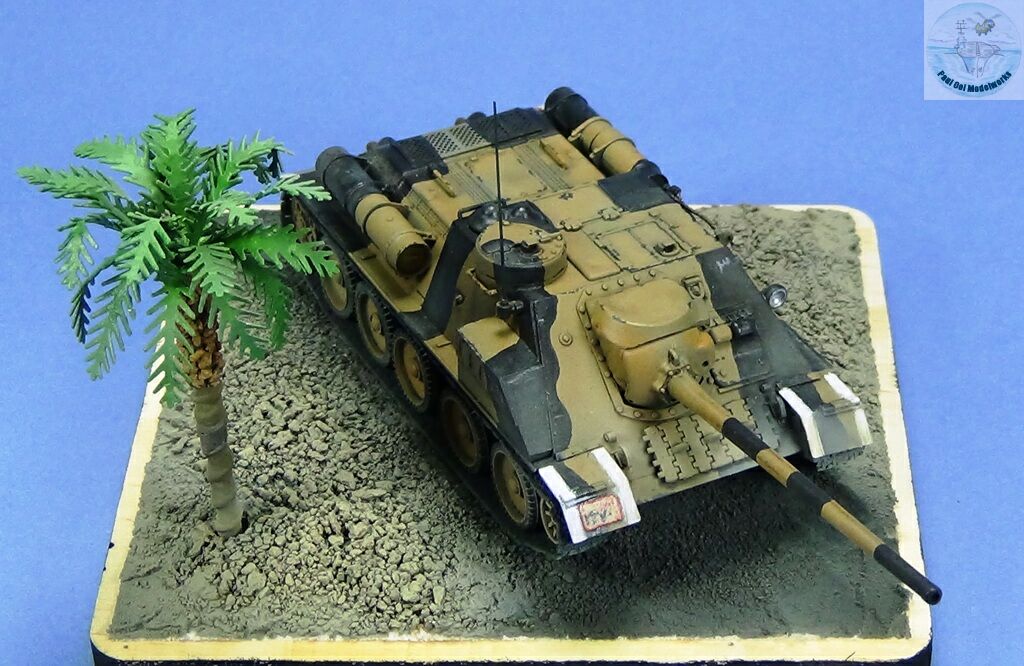
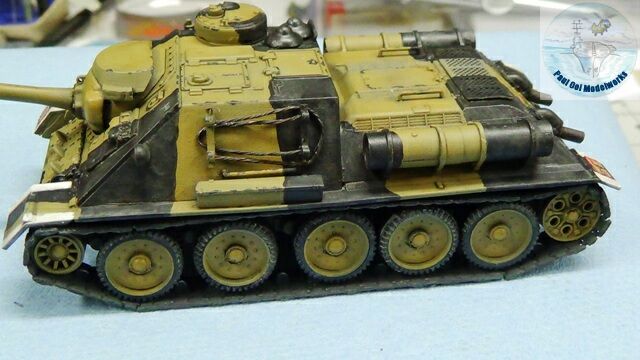
Rear hull details include the special resin elongated exhaust pipes, additional ventilation gratings, and the external fuel tanks. The elongated exhaust pipe vent outward away from the ground, unlike the original pipes pointed downwards that kicked up a large sand dust cloud when moving through the desert. Then I joined the upper hull onto the lower hull.
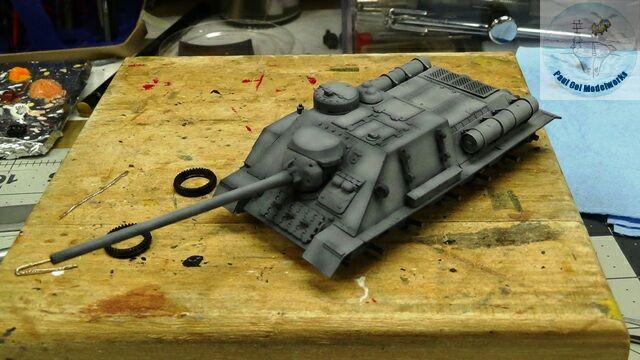
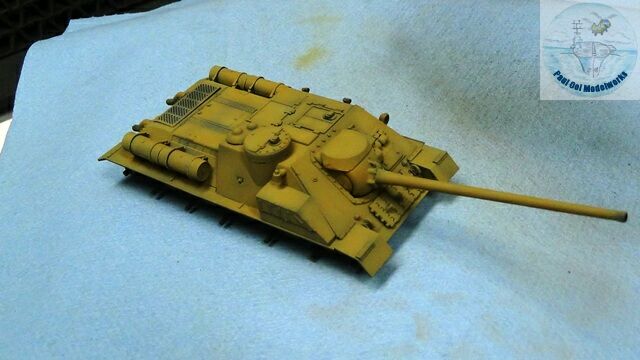
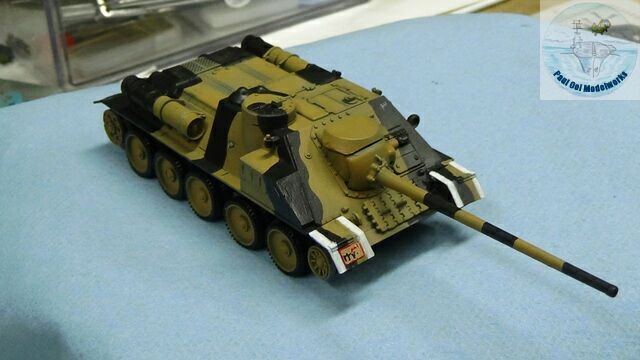
The initial painting is very simple. After my under-shading preparation of Tamiya NATO Black XF-69 and Sky Grey XF19, the entire hull is sprayed with Tamiya Desert Yellow XF59.
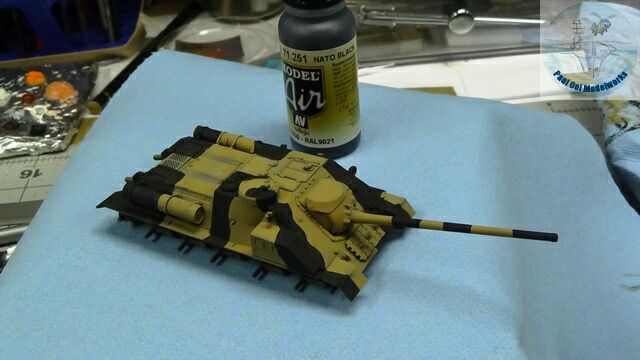
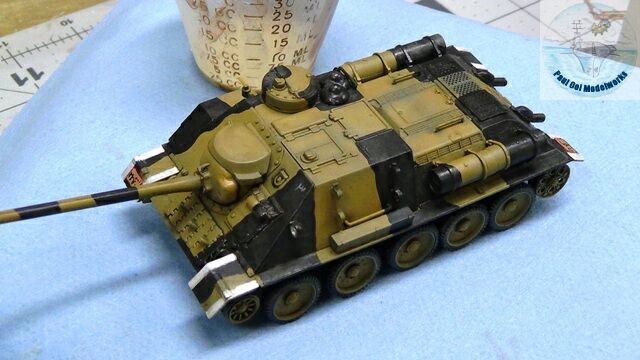
I hand-painted the black camouflage pattern using Vallejo NATO Black. For some reason, Vallejo’s color is slightly brown-black as compared to Tamiya’s NATO Black which is slightly bluish. The Vallejo color looked right when I compared to color photographs of captured Egyptian Su-100’s from 1973.
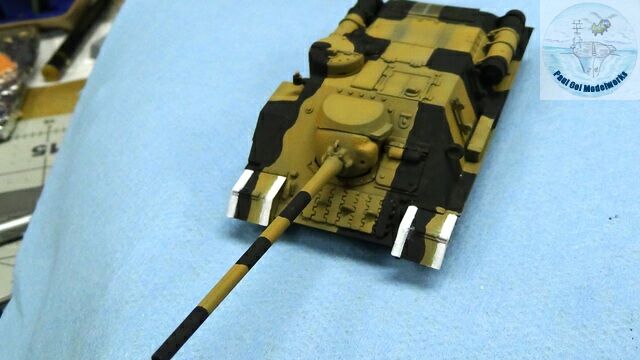

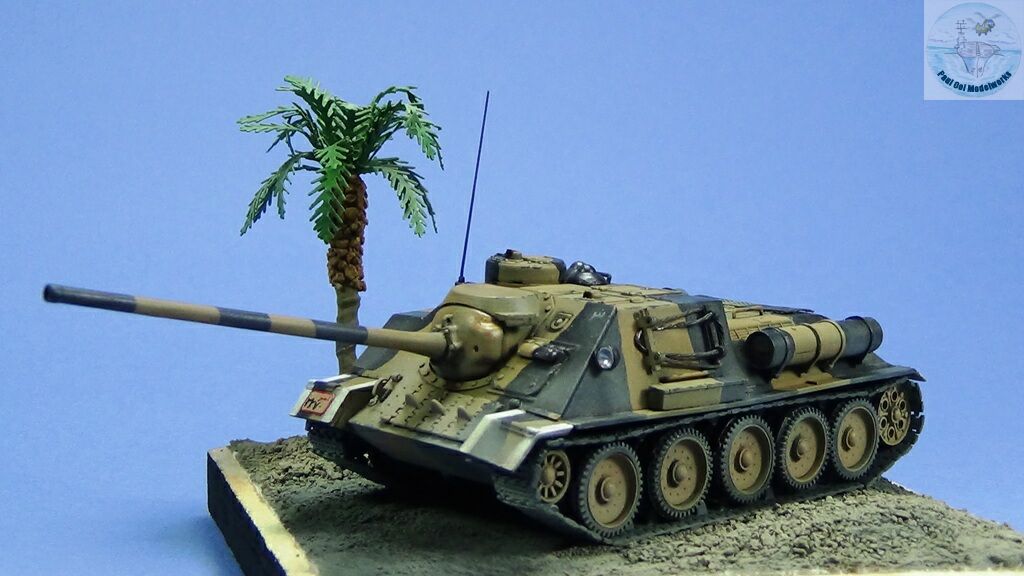
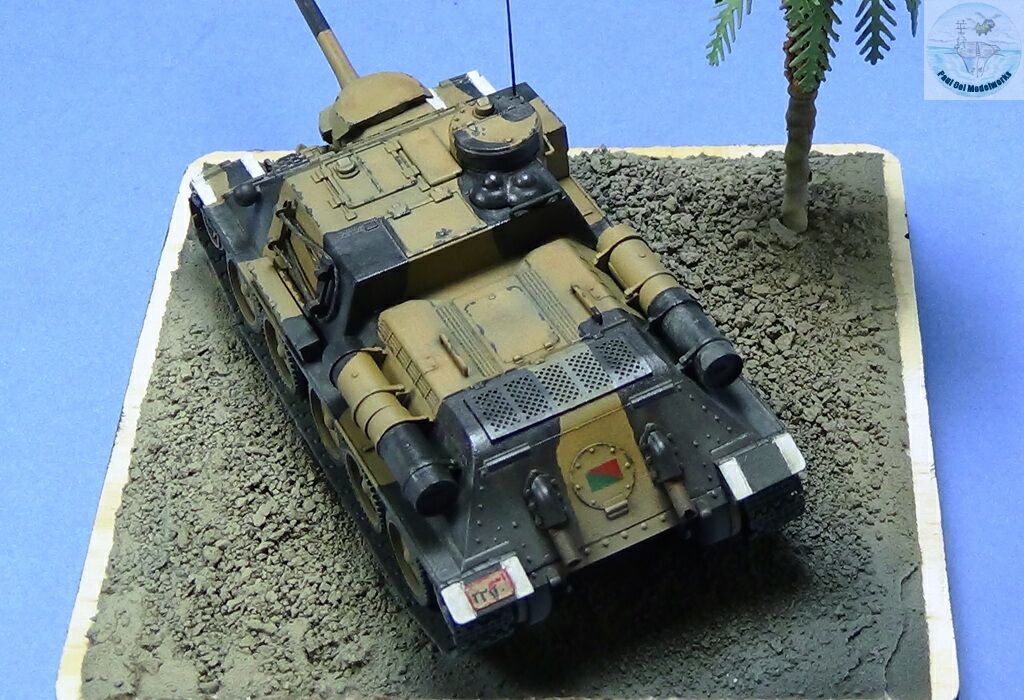
The bright white mudguard flashes that the Egyptians used during the canal crossing are also hand-painted (flat white) with tapemasks to provide the straight lines. The unit markings are also painted onto the rear engine port hole cover.
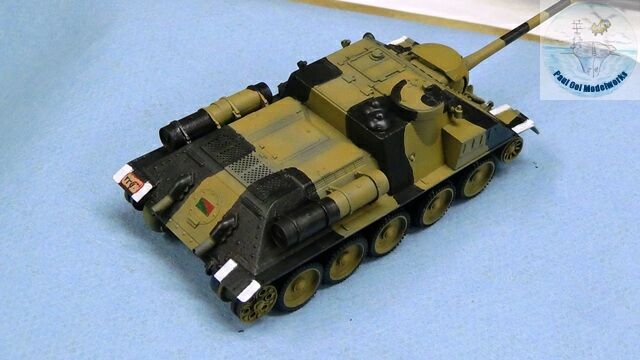
Wheels are fitted onto the lower hull and number plates applied. To make the number plates, I used Tamiya masking tape strips painted and lettered by hand.
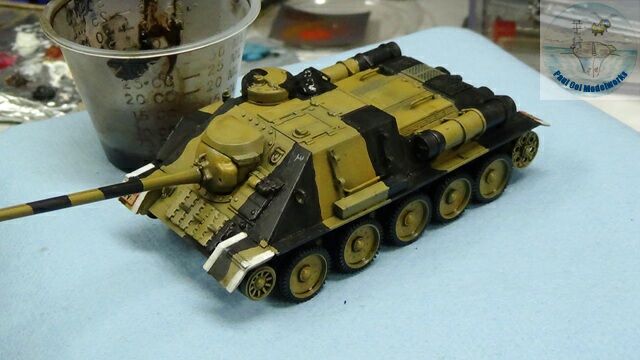
Next came a oil wash of 50-50 Lamp Black/Burnt Umber mix. This wash helps to tone down the stark flat white strips and blend them into the overall color of the tank hull.
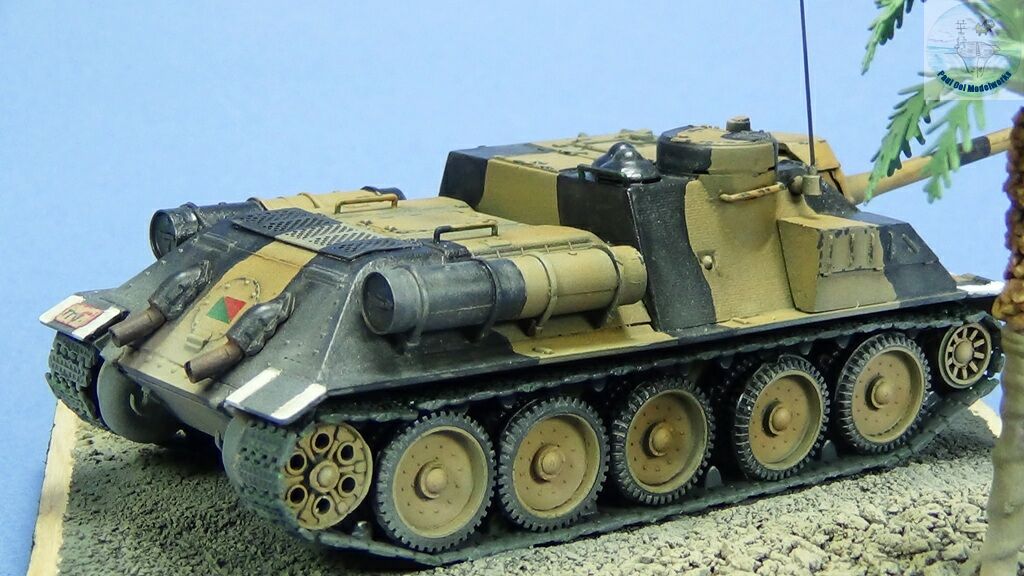
Then I applied another wash of Tamiya Buff XF-57 only on the dark portions of the camouflage to bring out surface detail and tone down the stark black color, and also onto the road wheels. Do not use oil-based washes on the soft plastic road wheel “tires” as these have solvents that will attack the material and cause it to disintegrate!
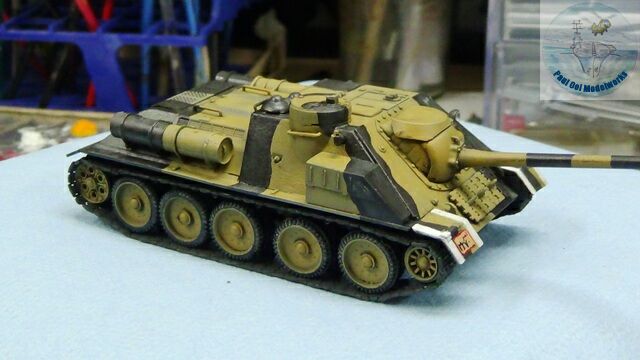
The track sections have to be carefully applied so that they appear to link together and maintain the curves around the sprocket and follower wheels. Prior to this the track pieces were first painted with Tamiya NATO Black, highlighted with pencil lead and Prismacolor Silver.
The track tensioner cables are added last. The kit soft plastic cables are unrealistic, so I replace them with twisted lamp wire that look a lot more like real steel cables.
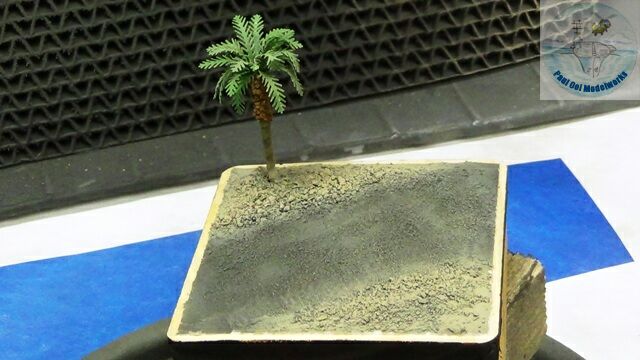
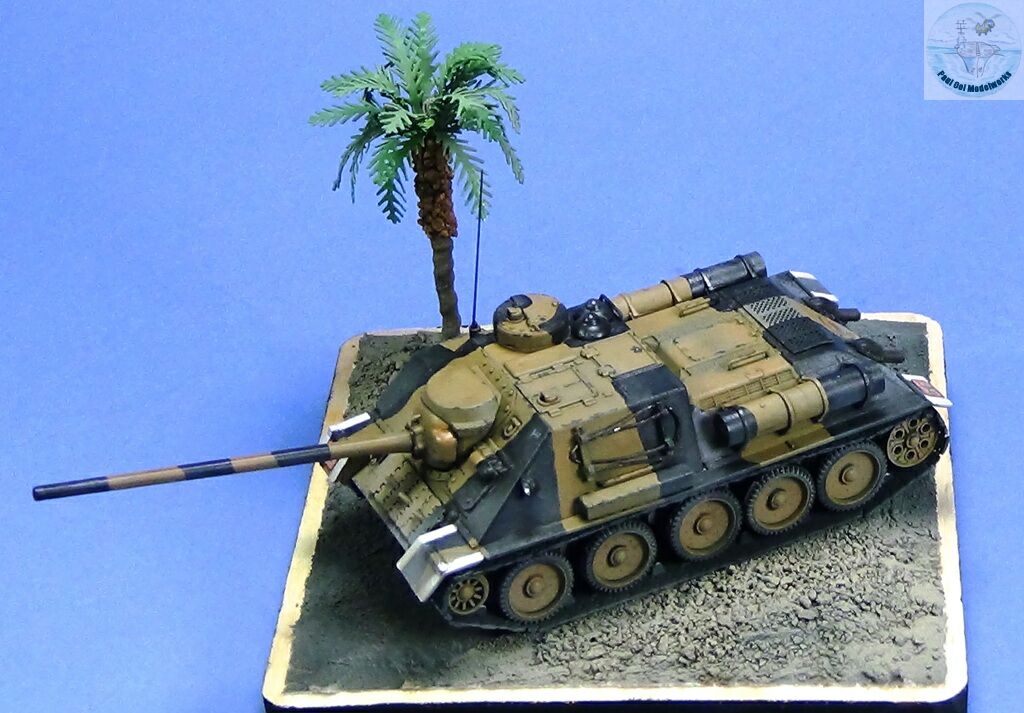
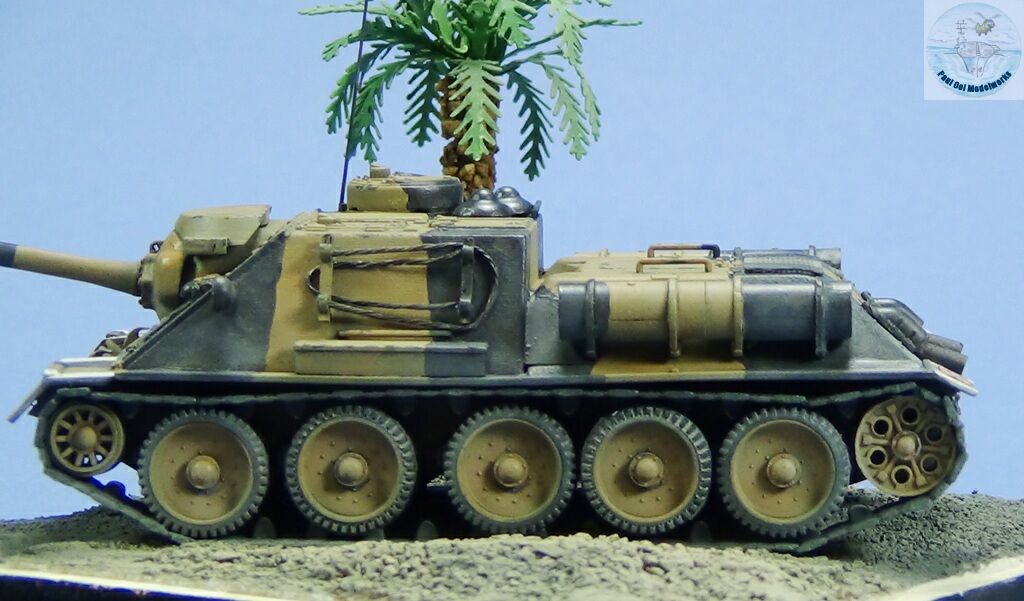
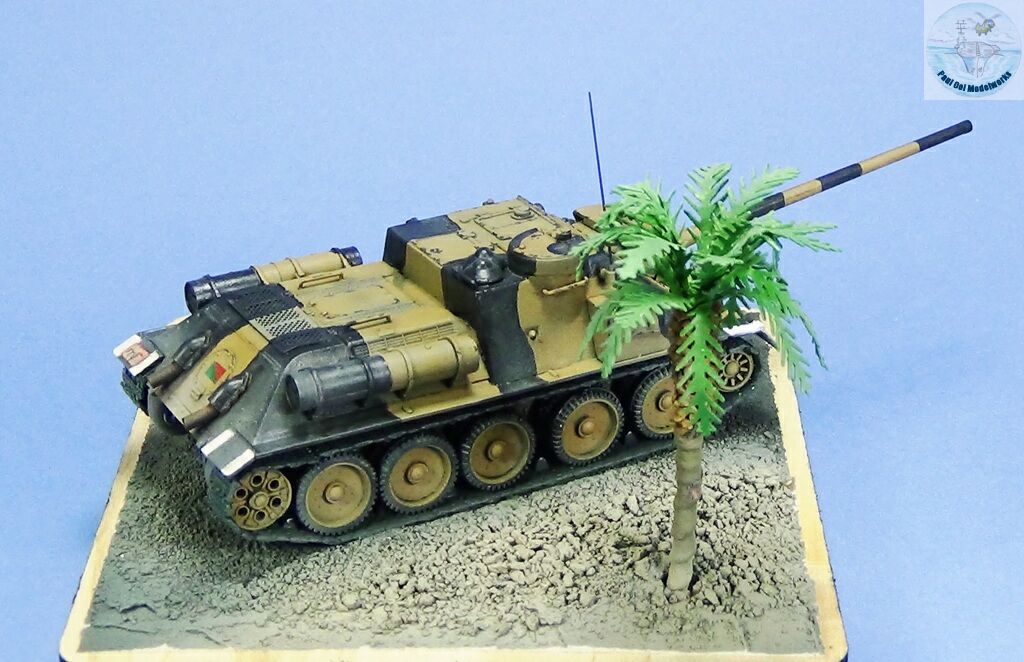
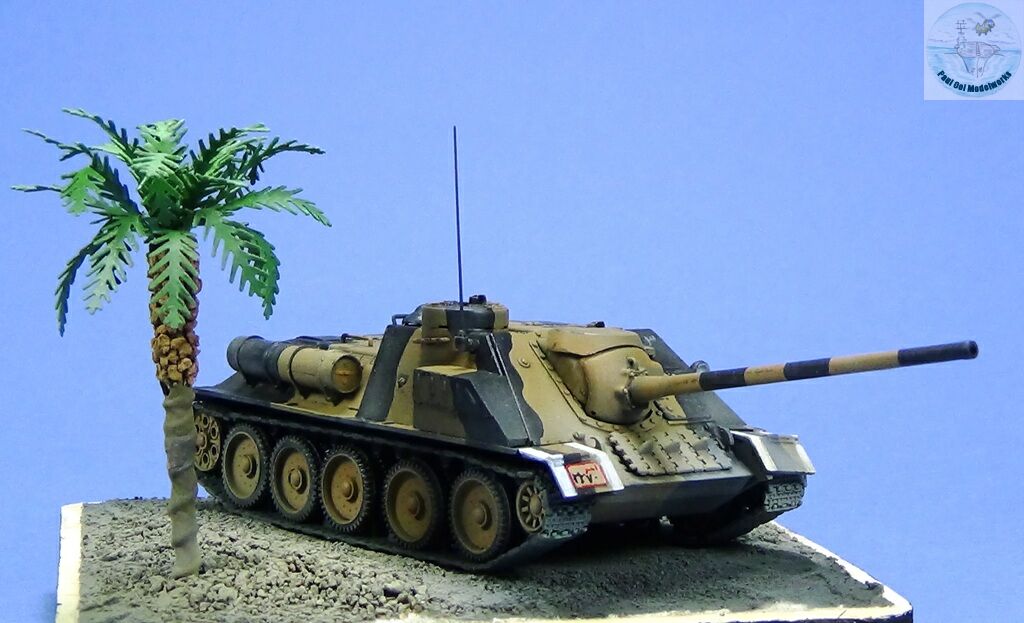
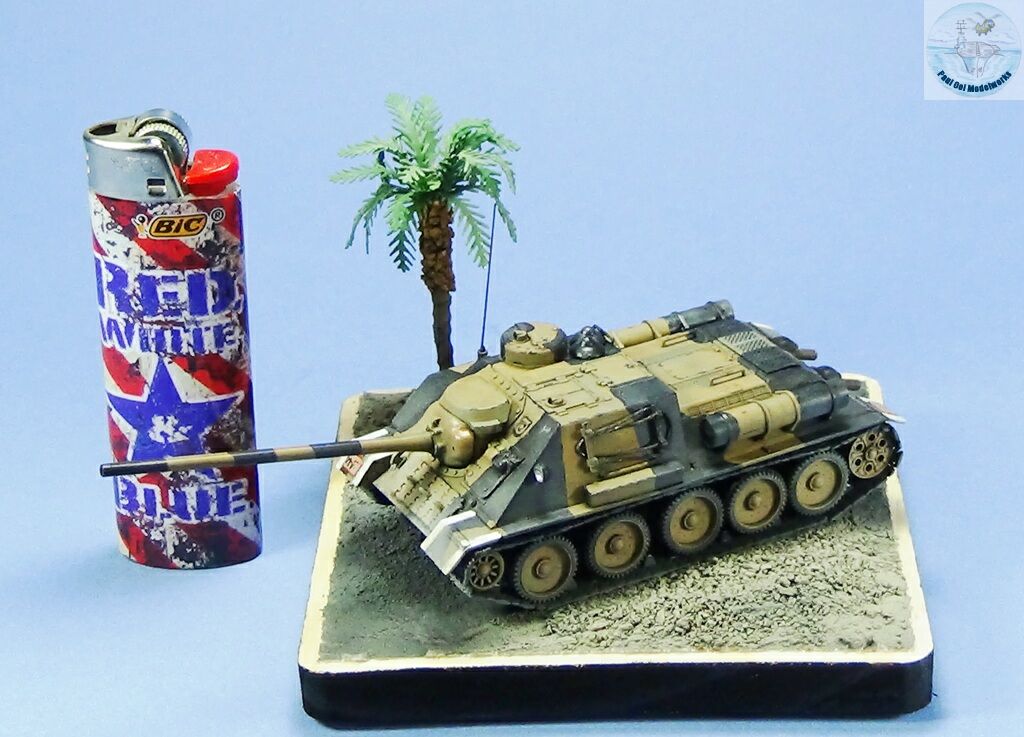
The display base is made to simulate a small farm road cutting through the Sinai with a date palm (a nice one for JTT Scenery Products).
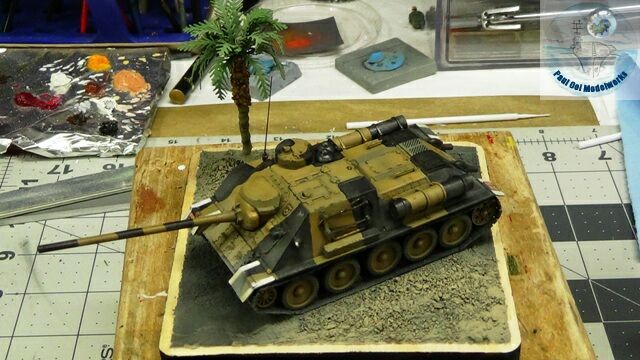
I spray-painted diluted Tamiya XF-57 Buff onto the undersides, track sections, road wheels and even a slight dusting on the hull sides of the tank. This helps to tie the tank and its dusty surroundings together.
WOOOOOW!!!!!there`s even coconuts in the palm tree!? haha Paul you are the BEST!!!!!
Hi Harry, not coconuts, that is a date palm. That’s where people go for blind “dates”!