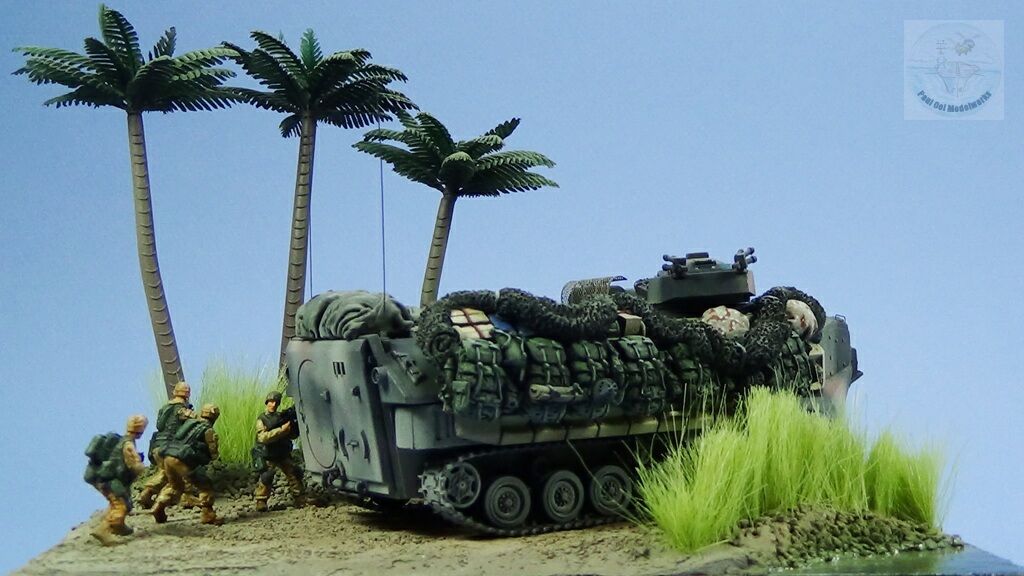
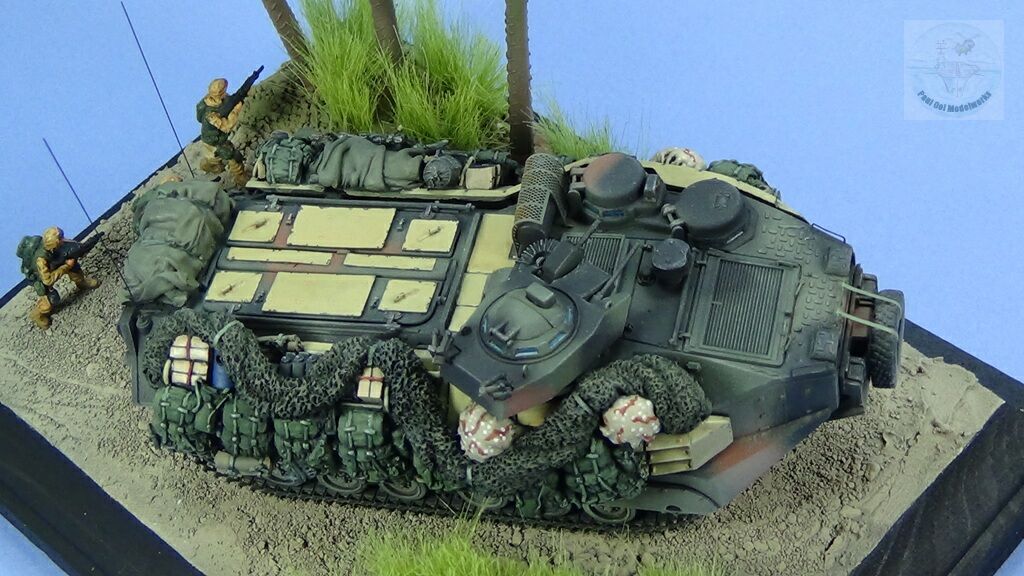
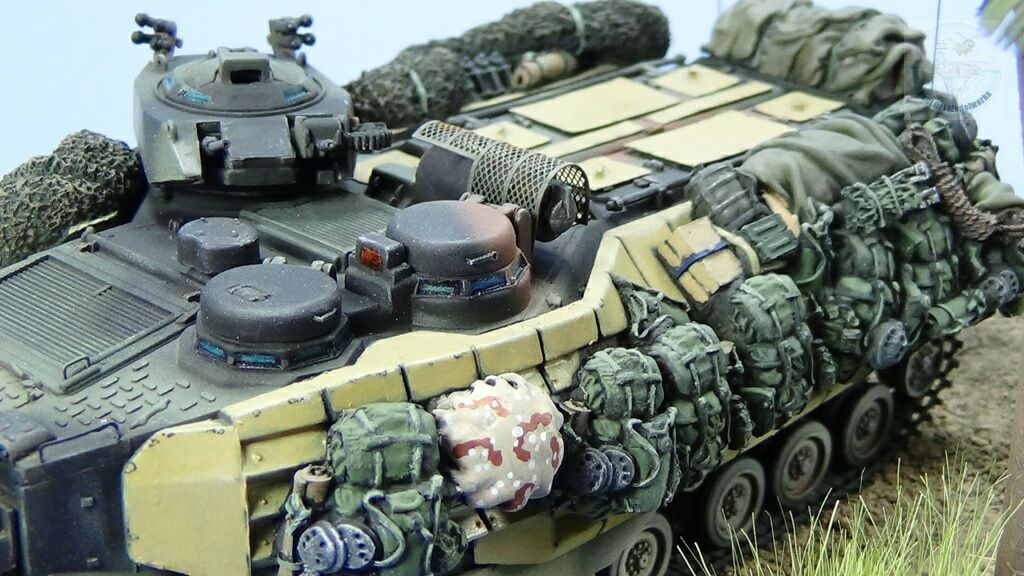
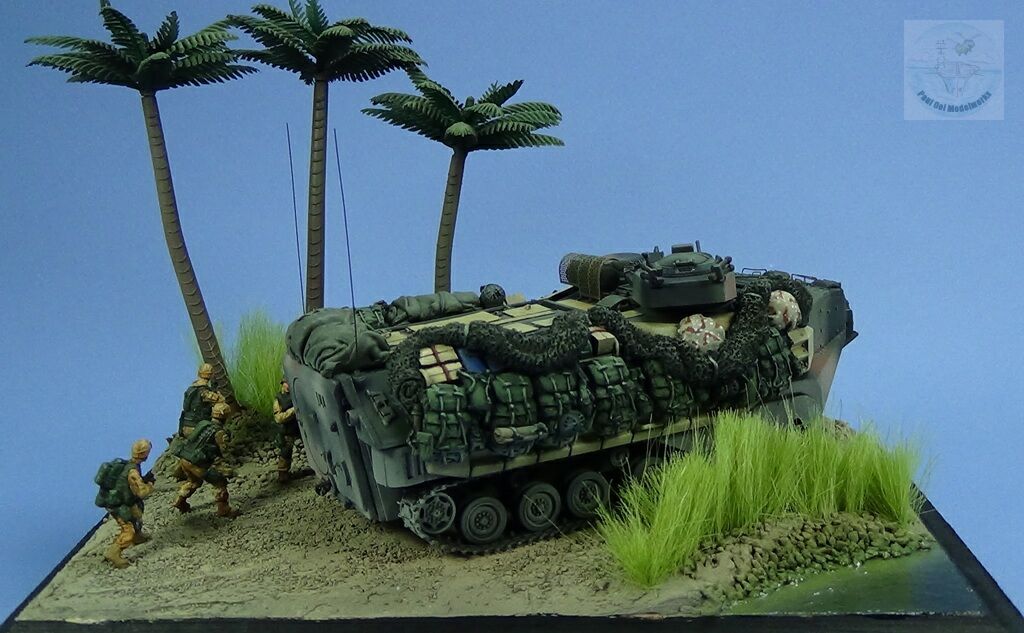
The AAVP7A1 RAM/RS W/EAAK is a large impressive vehicle unique to the USMC’s role of assaulting from the sea and landing under fire on a hostile shore. A direct descendant from the Buffaloes and Alligators of WW2 Pacific Theater, it is often simply called “Amtrack”by the Marines and used far inland from the beaches. The AAV (Assault Amphibious Vehicle) were seen in fairly large numbers during the Marine Corp’s push across Mesopotamia towards Baghdad in 2003. From the photographs of the AAV’s during the invasion of Iraq, they were still carrying the 3-color camouflage (Green-Black-Brown) on the main hull with the EAAK (Enhanced Applique Armor Kit) sections in Desert Sand, giving it that distinctive green-and-desert look. Fully loaded, the AAV carries up to 21 Marines and 3 crew members.
Gallery
Construction Notes:
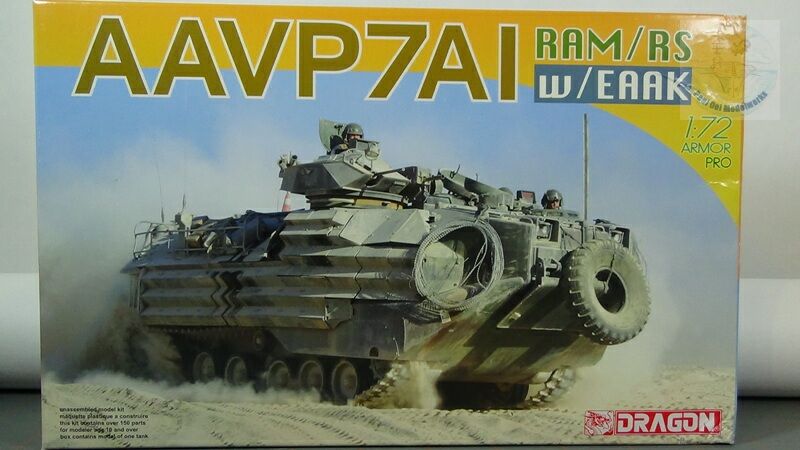
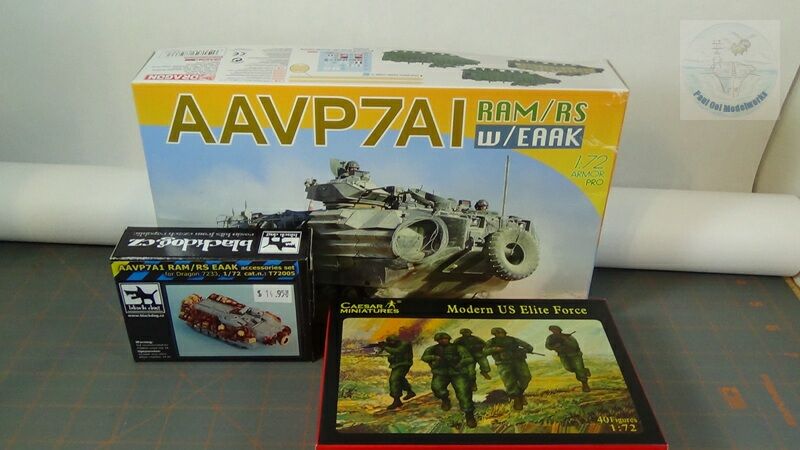
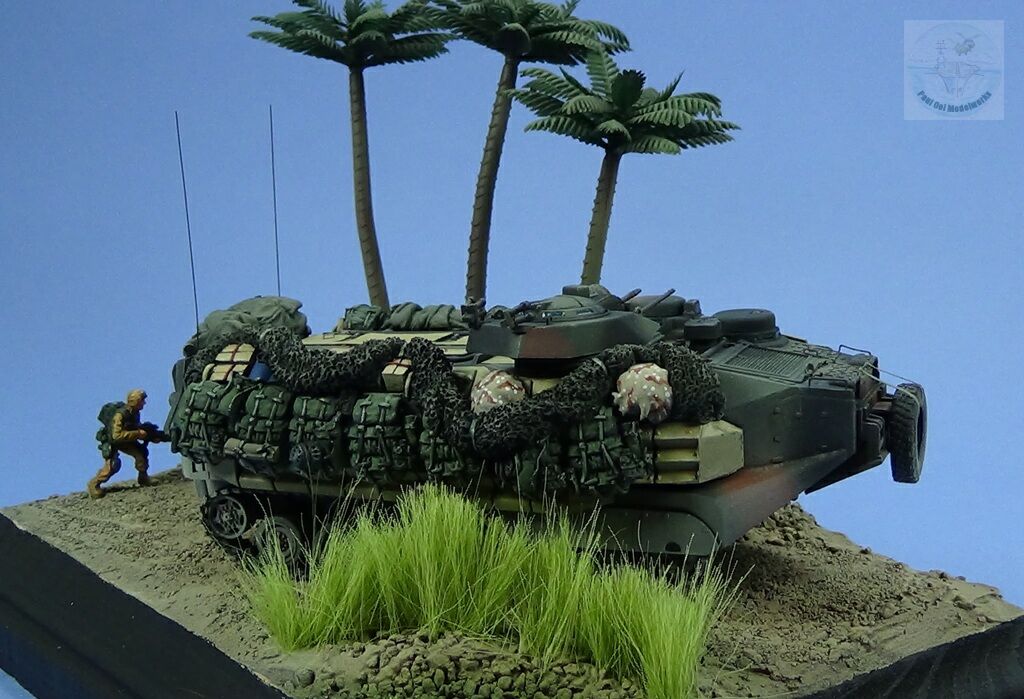
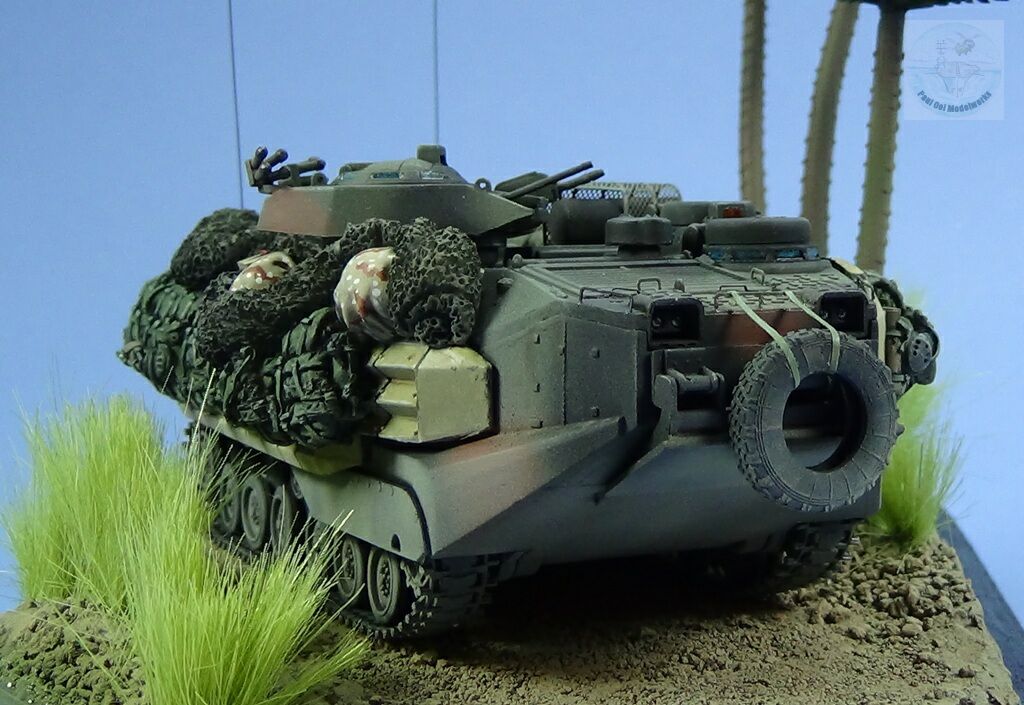
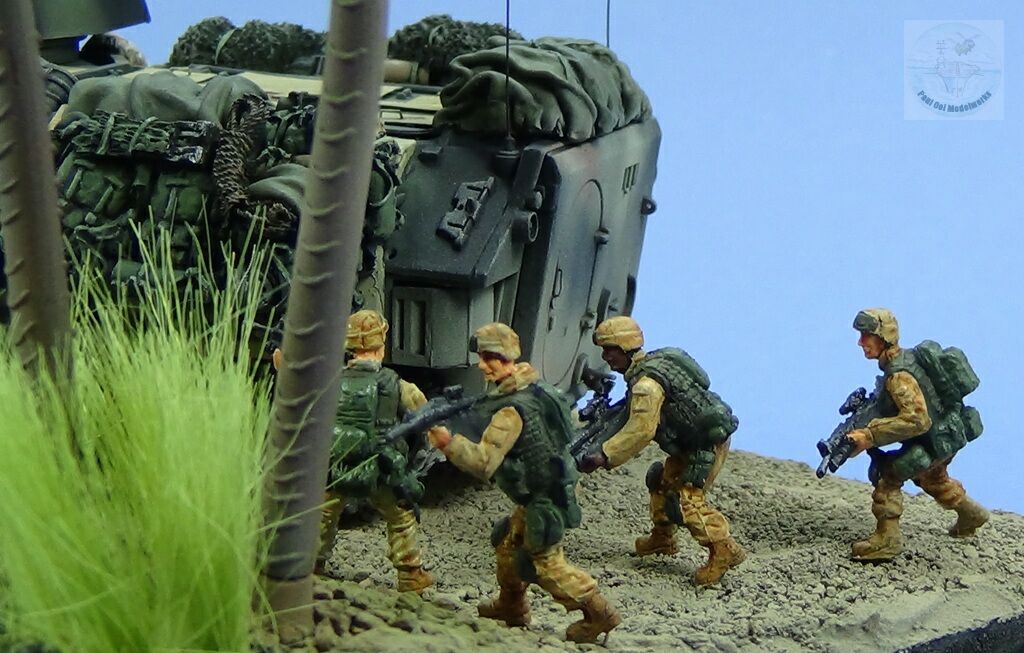
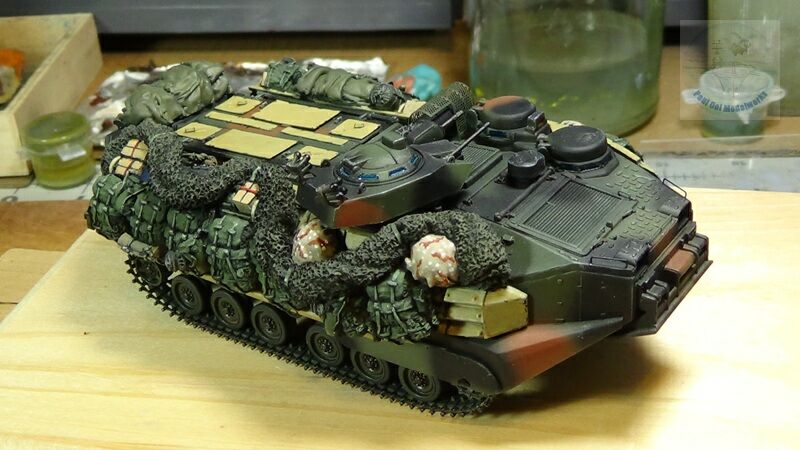
The Dragon 1/72 scale kit of the AAVP7A1 with EAAK armor is just full of details, including a photoetch fret and alternative parts for other versions. I added resin parts from Blackdog for additional “luggage” carried by the vehicle when fully laden during the initial drive towards Baghdad. as part of the diorama vignette, I also added USMC figures from Caesar Miniatures “Modern US Elite Force” set. Generally the fit was pretty good with only minor seams to fill.
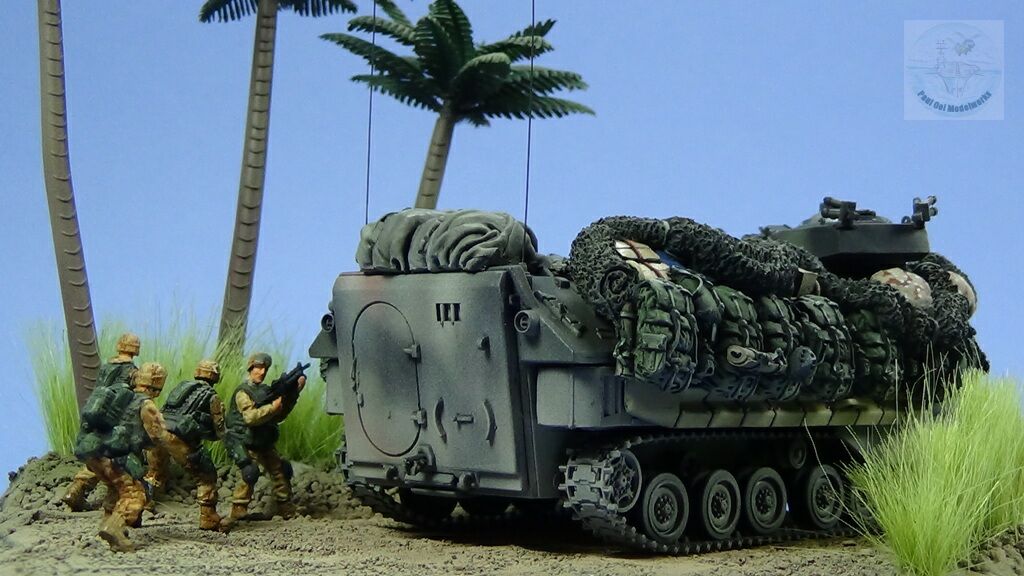
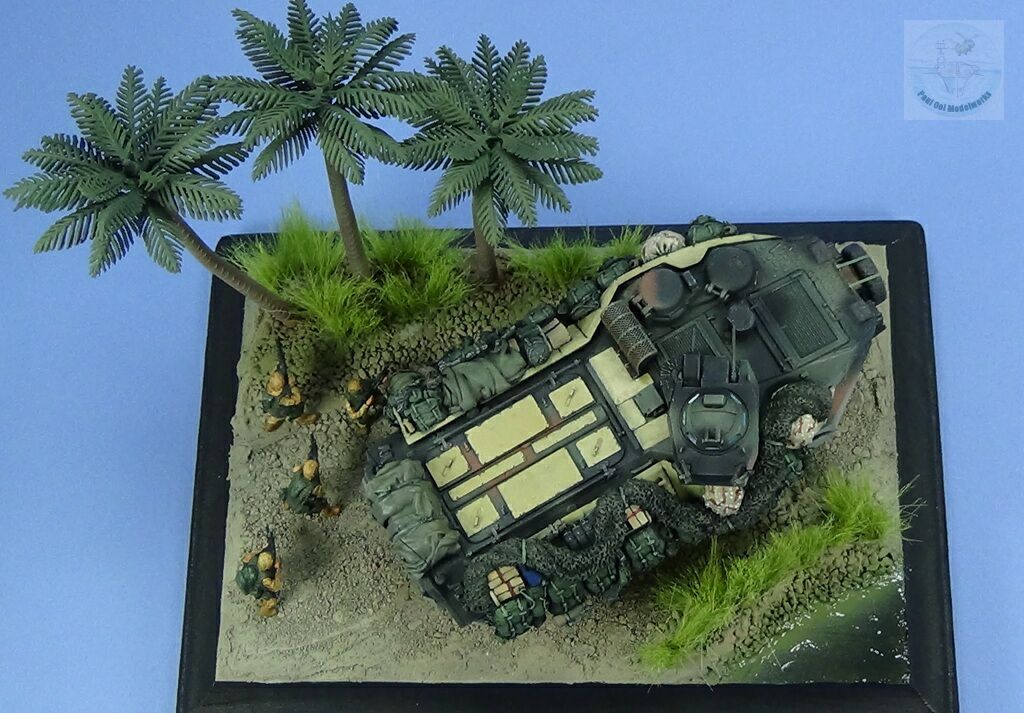
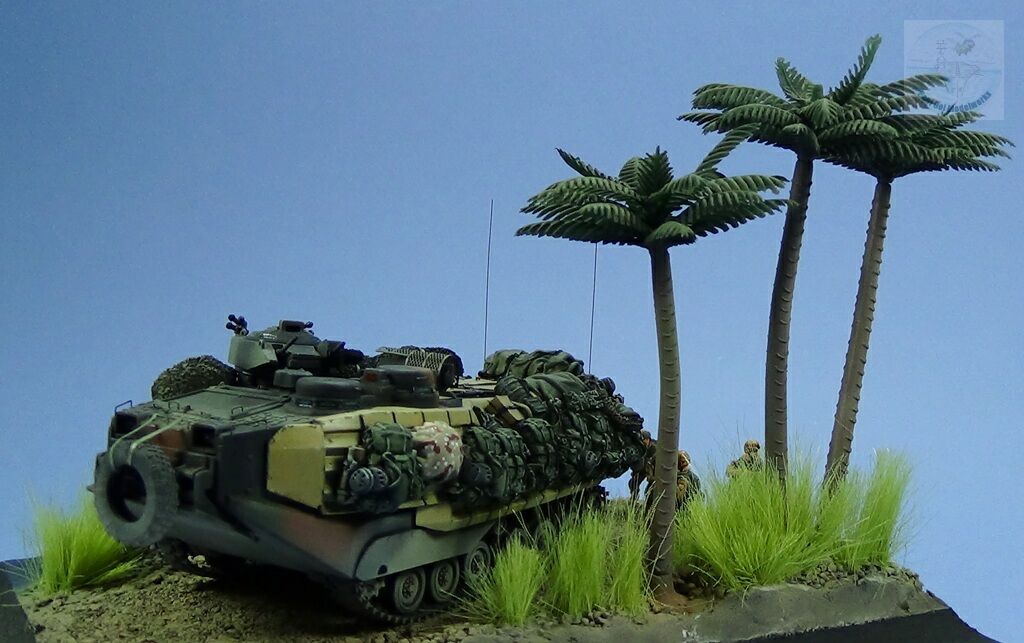
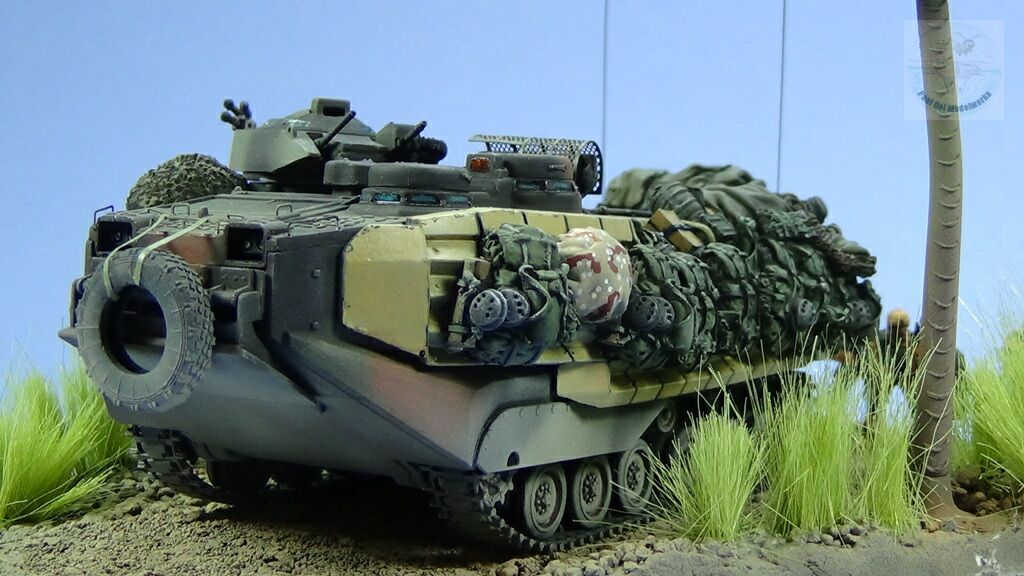
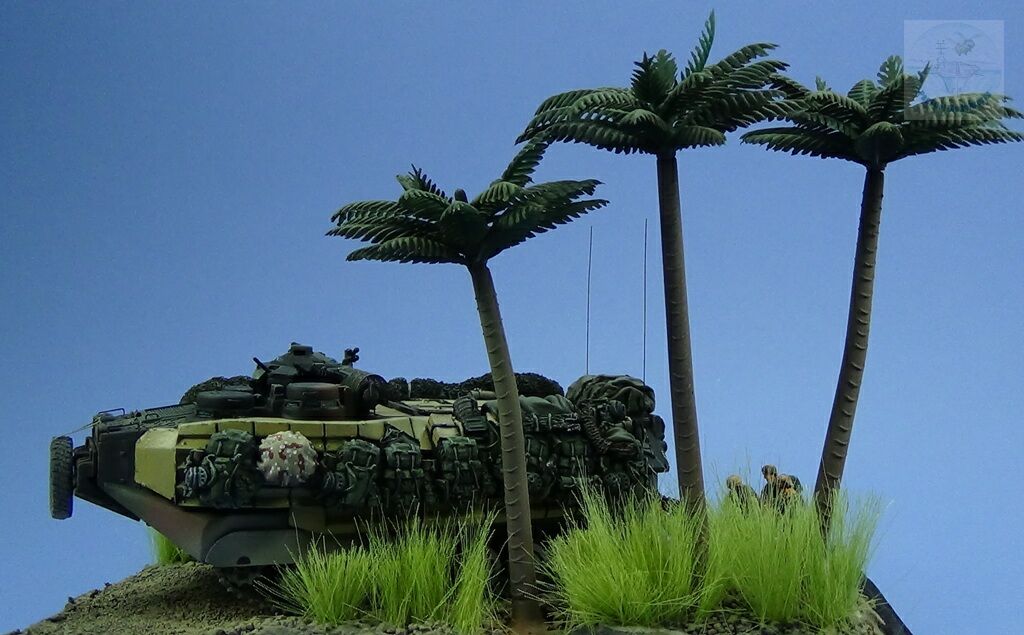
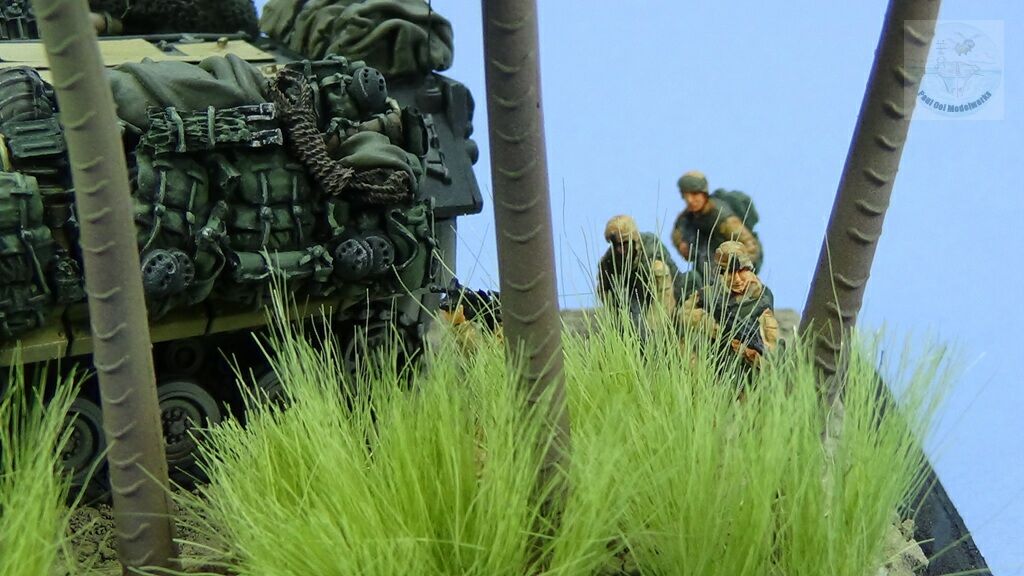
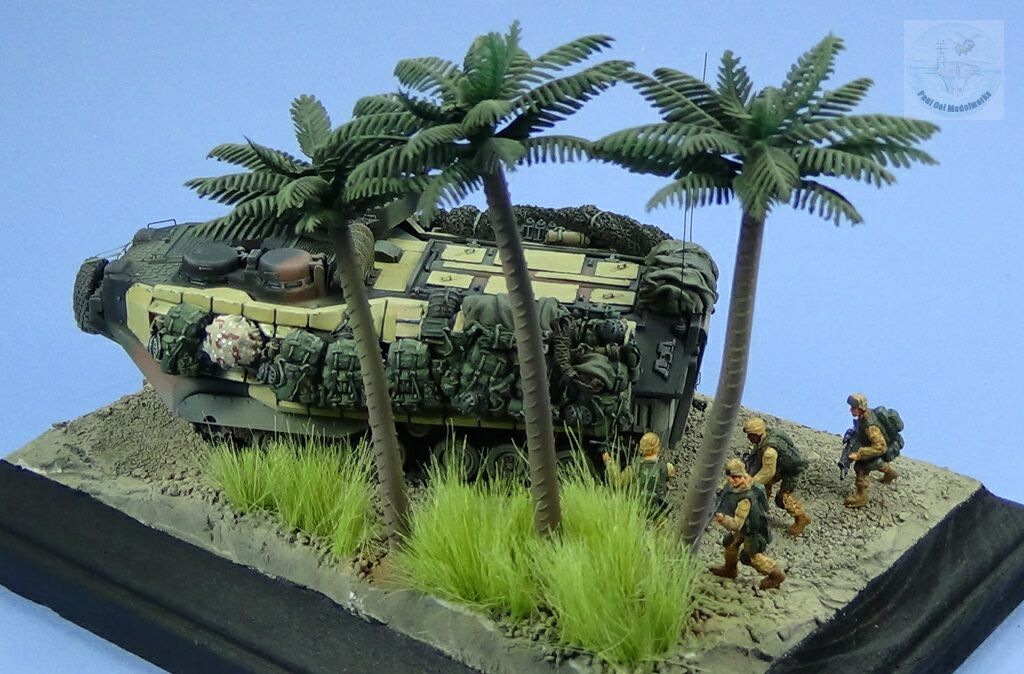
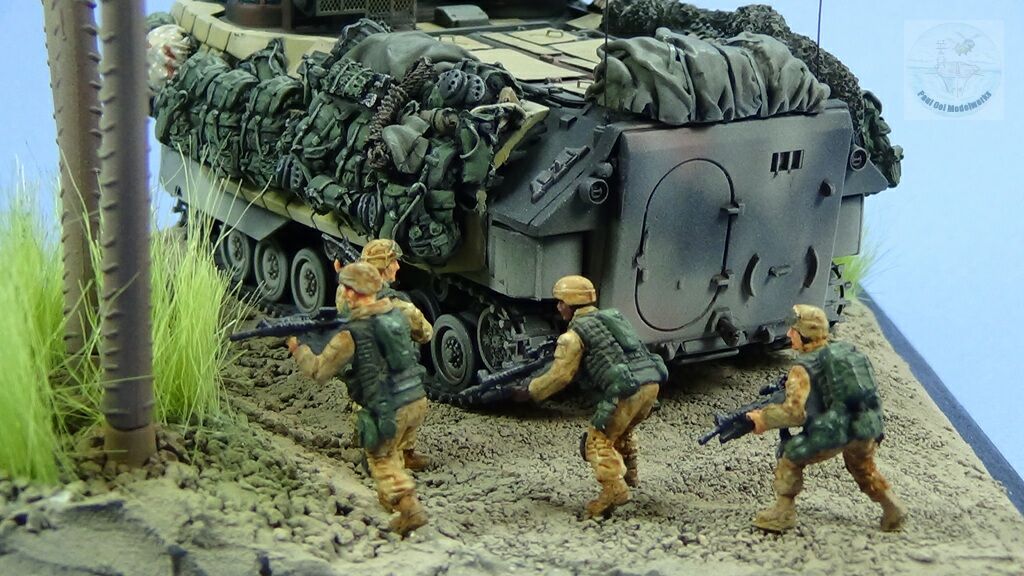
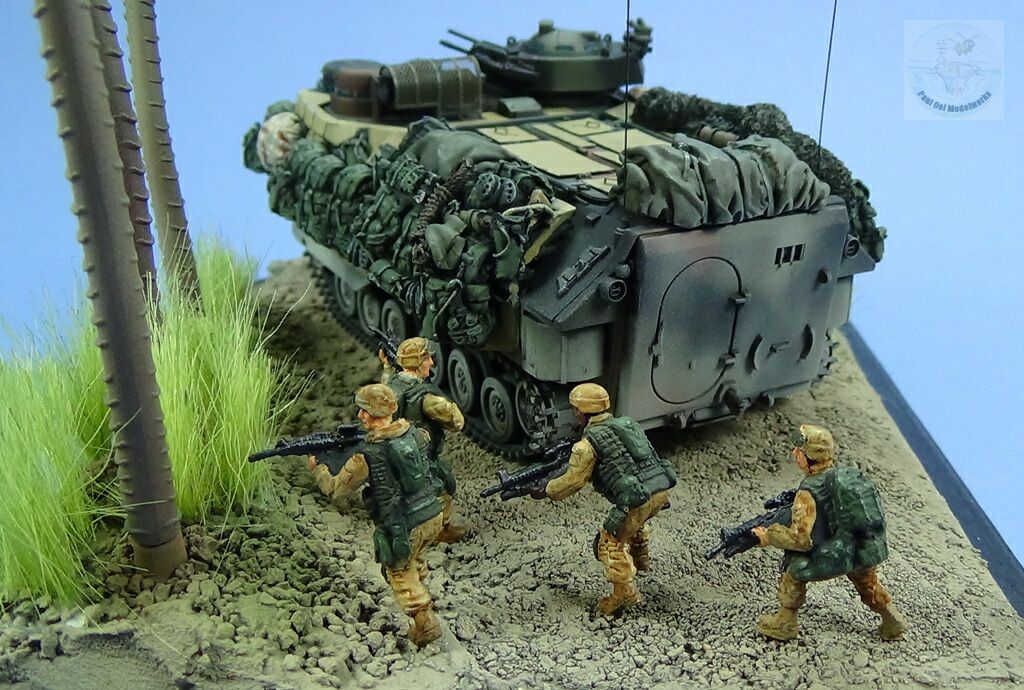
As explained earlier, the early invasion vehicle was a mixture of desert and woodlands color scheme, and the USMC personnel also wore a mixture of woodlands vests with their desert uniforms. This hodgepodge turned out to be pretty effective when moving along the farm country along the Tigris and Euphrates rivers, with its mixture of sandy stretches and oases. The resin parts filled the side hulls with ALICE packs, camouflage netting, ration boxes, water cans and other supplies. I wanted to build the vignette of a leading unit making its way along a river lined with tall grass and palms leading toward an Iraqi village. As the road narrows, the danger of an ambush increases so the marines come down to fan across the tall grass as they approach the village perimeter with the AAV’s turret aimed ready to lend support with the 50 cal and grenade launcher.
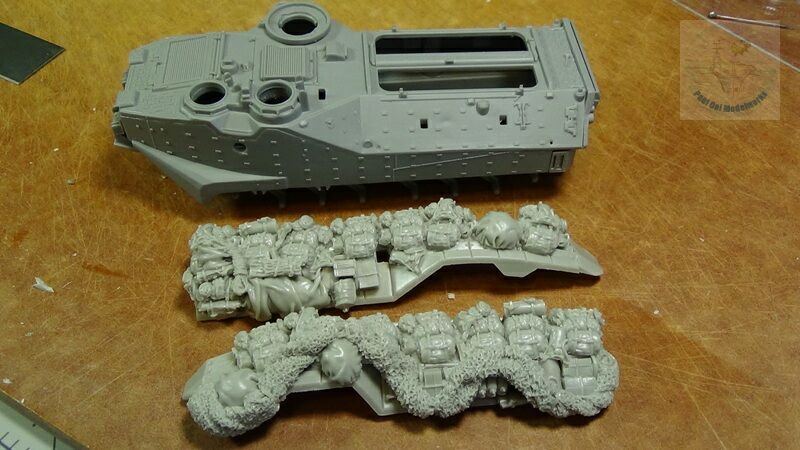
The main hull of the AAV fitted very well together and required very little cleaning of the joints. Removing the resin EAAK sections takes quite a bit more care and effort as the details can easily break off and a careless cut could break off more than just the molding gates. Careful cleaning of the resin sections will ensure that it fits well against the kit hull.
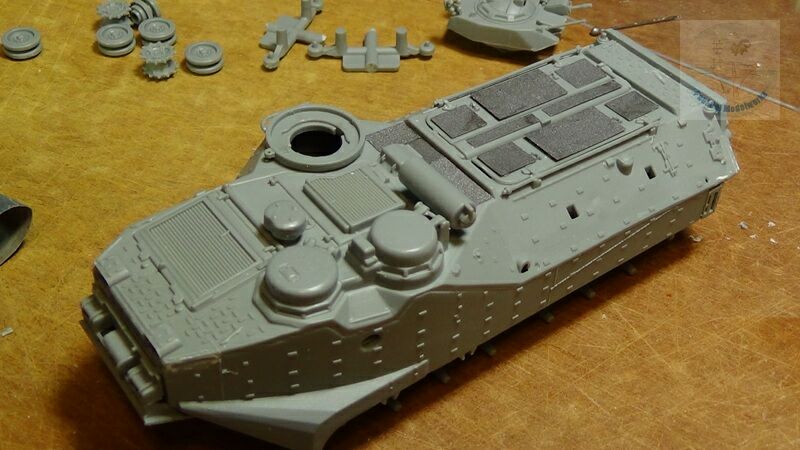
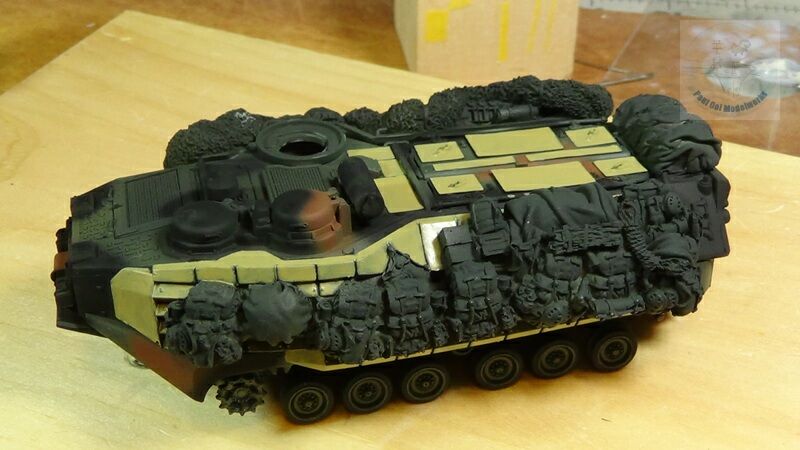
More details are added to the main hull. It was important for me to continuously check the fit of the resin EAAK panels against the hull even as I fixed more parts.I also added the flat photoetched EAAK topside panels at this time.I left off the wheels for the moment.
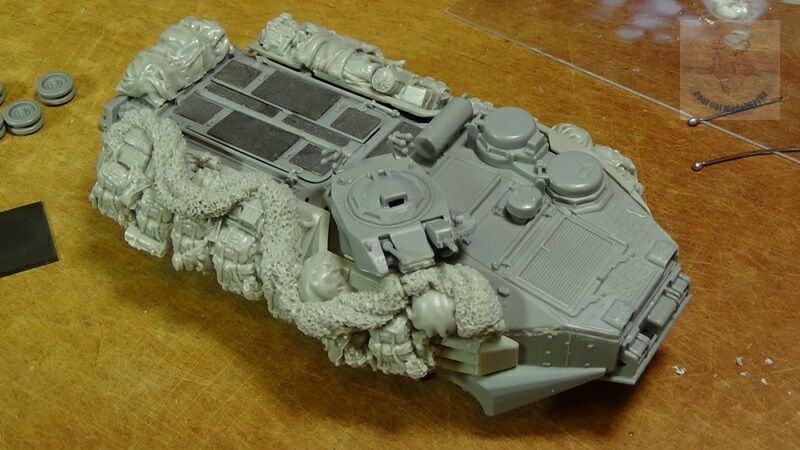
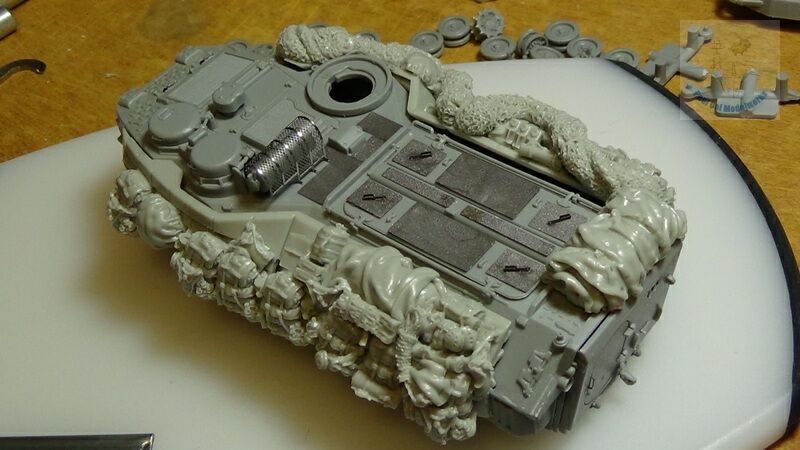
The resin panels are carefully applied to the main hull. This is a tricky process as there is a certain gap between the actual EAAK and the original hull, but not too much. there are several features on the hull and the inside of the resin sections that help to guide the placement of the panels. A bit of shaving and grinding needed to get that close-in fit.

The painting sequence runs as follows:
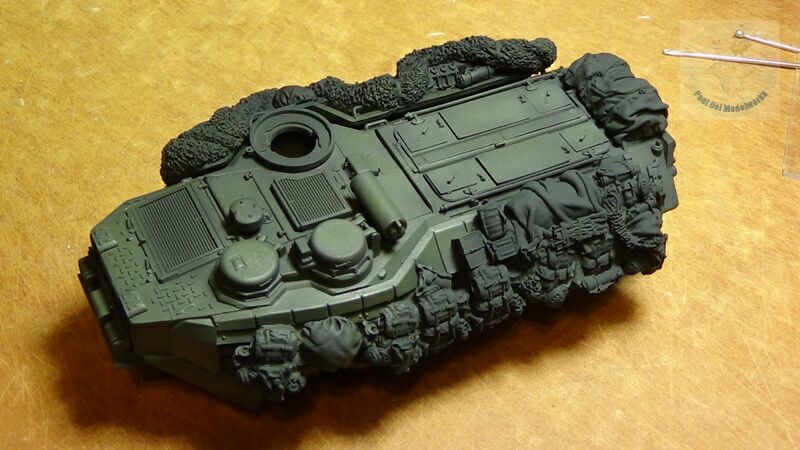
1. Apply a primer layer of Tamiya NATO Black XF-69 on the hull, turret and road wheels
2. Apply an overall of Model Master Acrylic 4724 Marine Corp Green lightened with 20% 4762 Light Ghost Grey
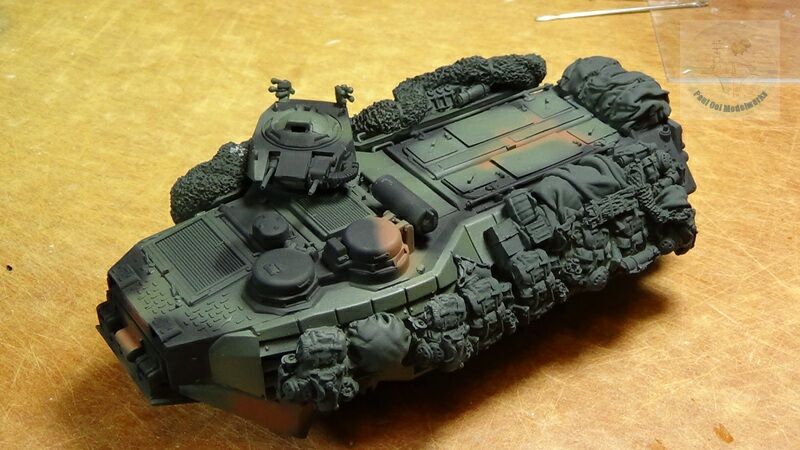
3. Free hand airbrush application of Tamiya Flat Black and Tamiya NATO Brown
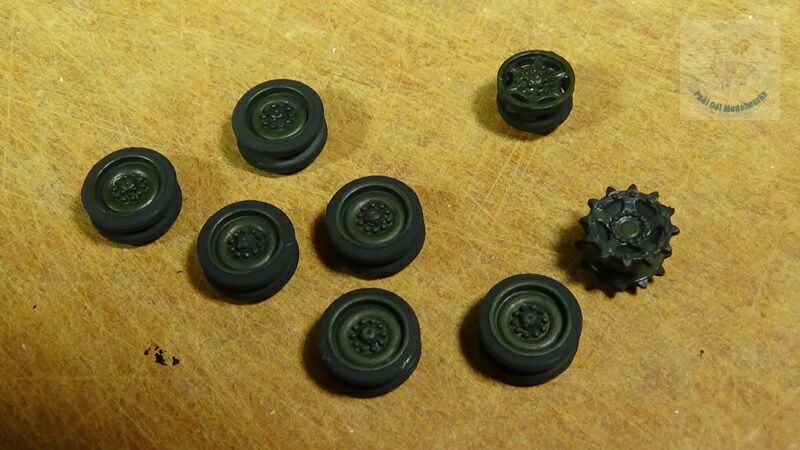
Road wheels and sprockets are hand painted with Marine Corp Green with NATO Black rims.
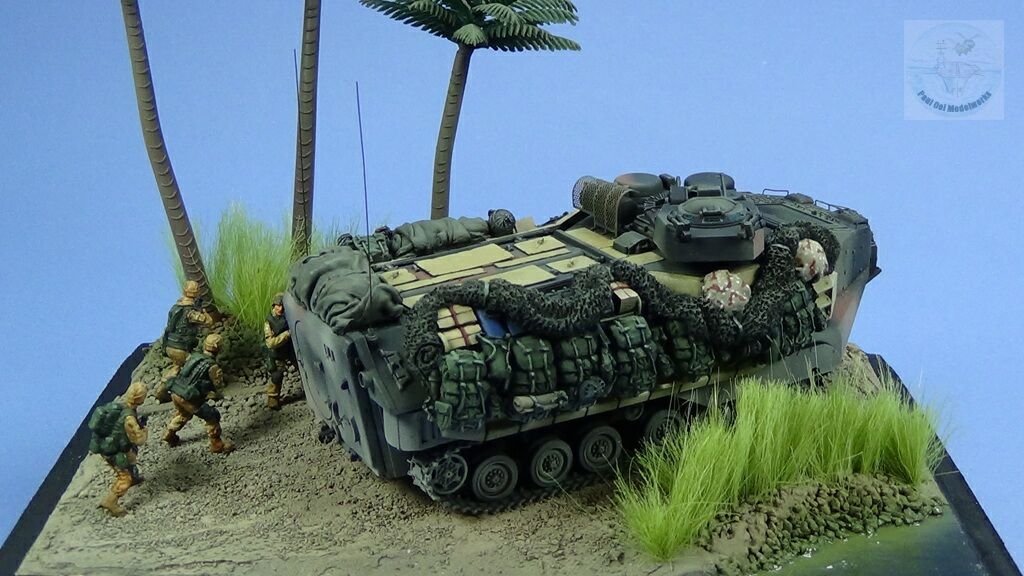
The EAAK armor sections are then carefully hand painted with Model Master Acrylic 4812 Marines Gulf War Sand.
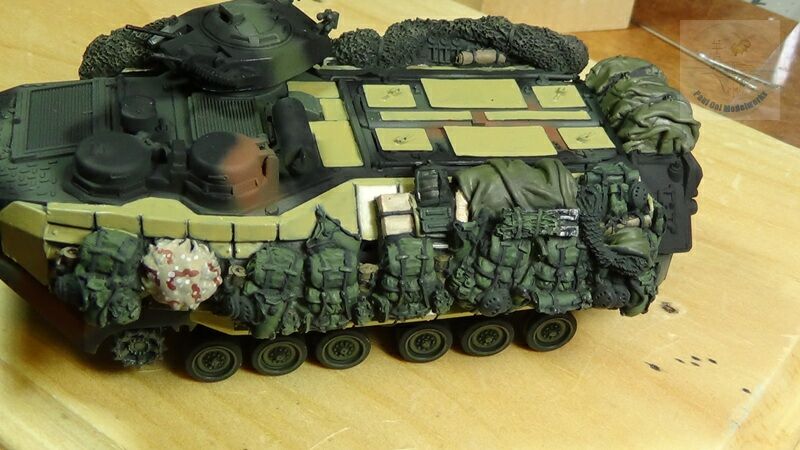
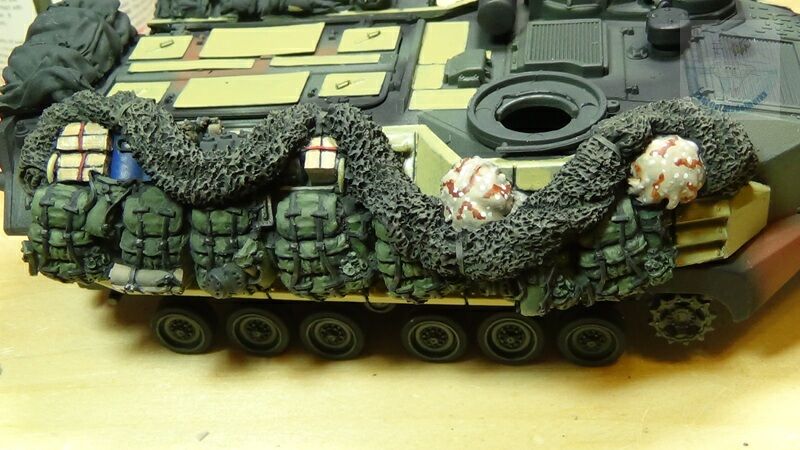
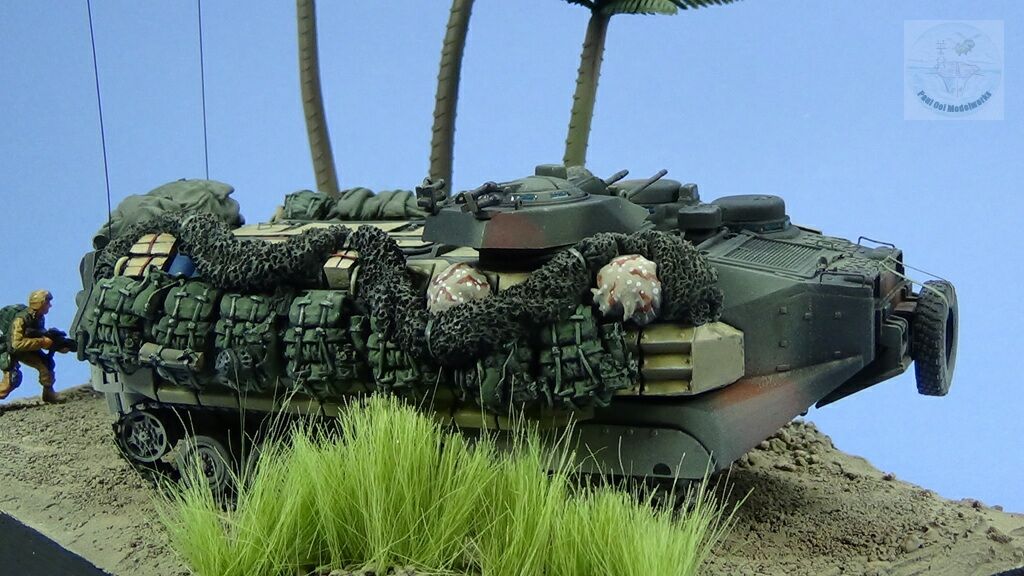
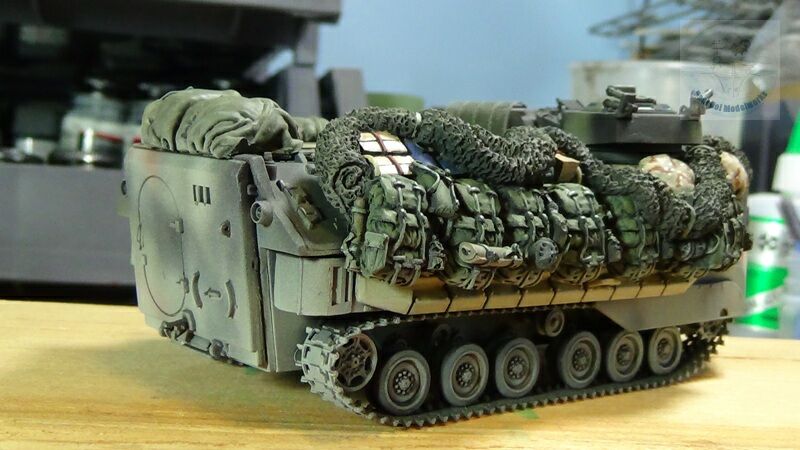
Now comes the fun part of painting in the “luggage section”. ALICE packs are painted with a base of Tamiya NATO Green, straps of SAC Bomber Green FS34159. Tarpaulin covers are painted with Vallejo 70.893 US Dark Green. Ration boxes are painted with Tamiya Wood Deck Tan. Desert camouflage wraps are painted with a base of Tamiya XF57 Buff, XF68 nato Brown, and XF2 White. Camoflage nets are highlighted with Tamiya XF61 Dark Green and Khaki XF49.

The assembly is given turpenoid wash with Burnt Umber + Zinc White, then a pin wash of Burn Umber for some of the machine details.
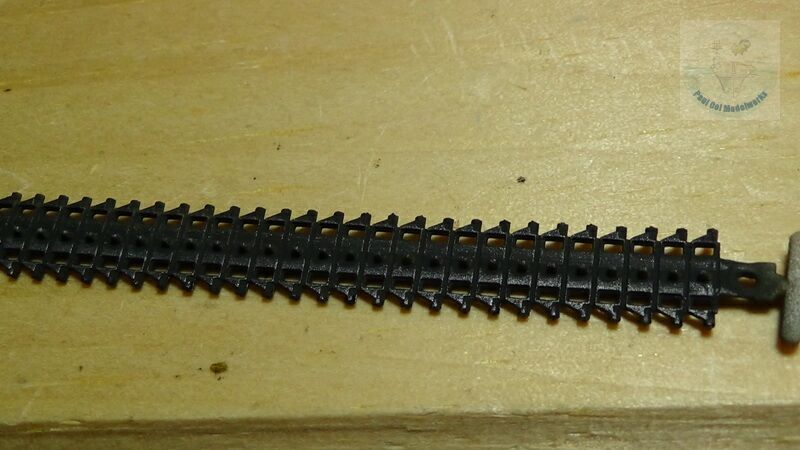
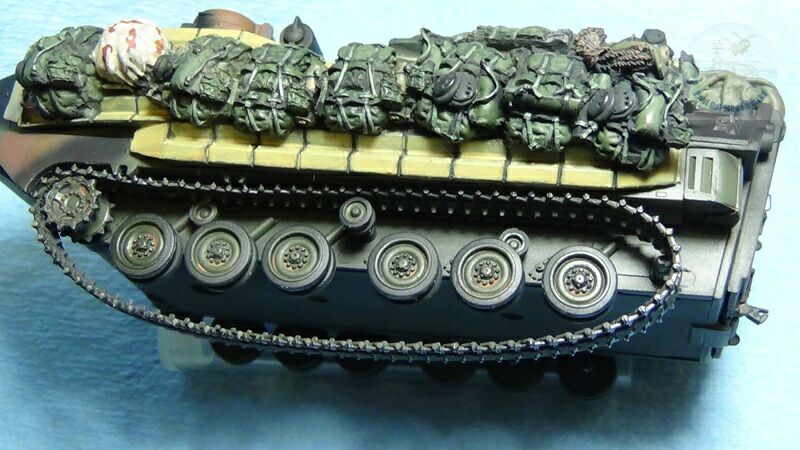
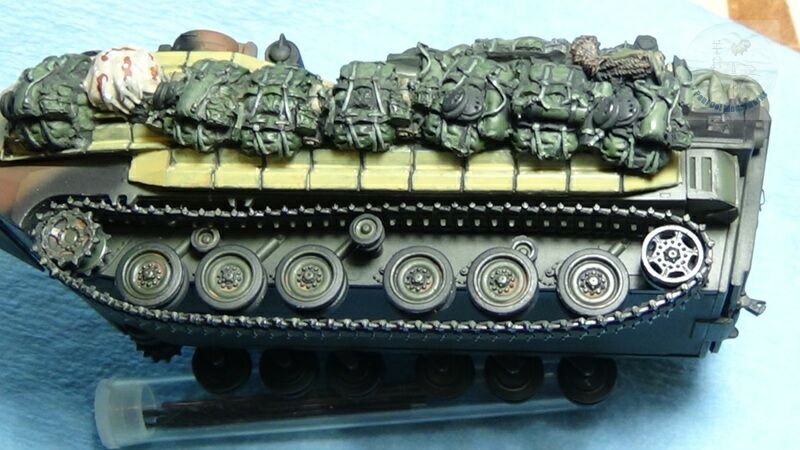
The DS tracks cannot be painted with oil or enamel paints (they will dissolve and disintegrate, see my post on the Chi-Ha Tank). After a coat of NATO Black, metal parts were painted with Tamiya Gun Metal, and highlighted with Prismacolor Silver PC949. Fitting the tracks takes special care. First install the road wheels, except for the front sprocket and the rear idler. Fit the track onto the front sprocket, then insert the former into its post. Then carefully stretch the track over and insert the rear idler onto its post.
Final details like small photoetch rails and the front tire attachment are fitted to the model. The view ports are painted with color pencil silver PC949, then Tamiya Clear Blue.

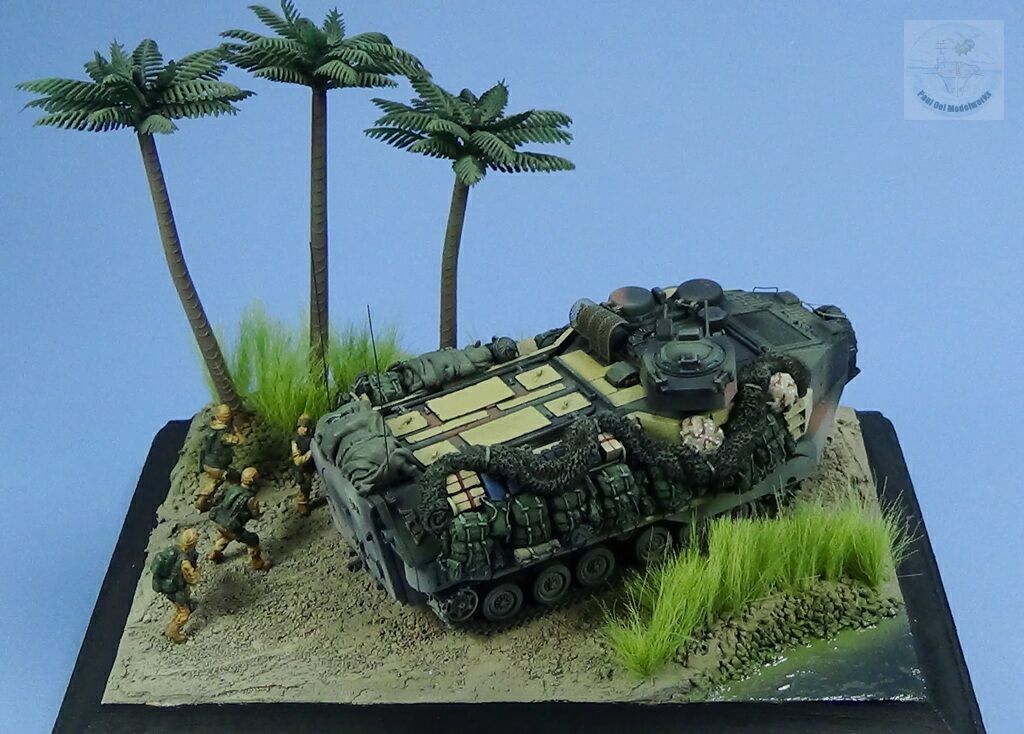
Finally the vehicle is weathered with Tamiya Deck Tan spray to simulate desert dust. The lower portions are more heavily dusted, while a very light spray is applied to the upper surfaces to dull down the finish for the “driven through desert” look.
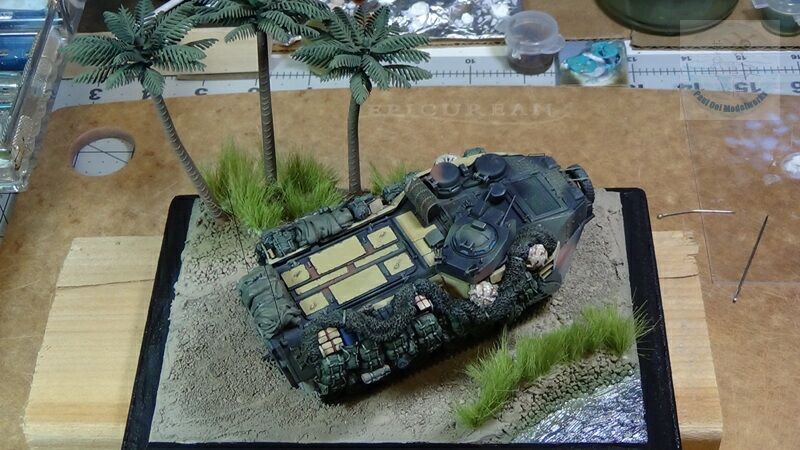
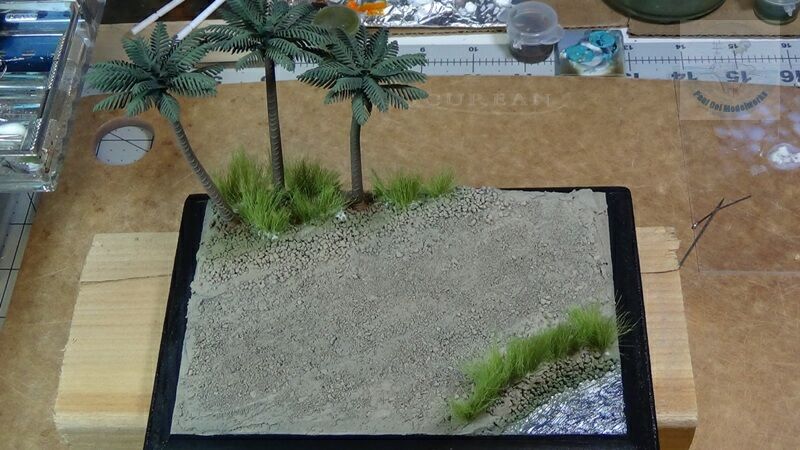
A base made to look like an Iraqi oasis along the Tigris River is prepared for the model. This will be the topic of a future tutorial.
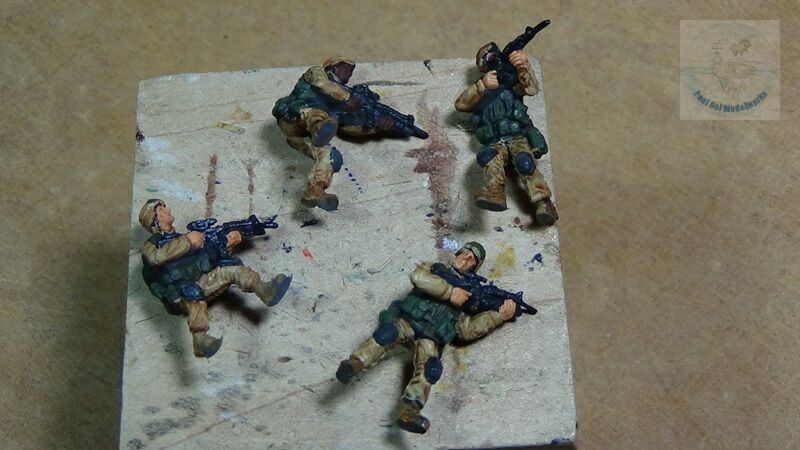
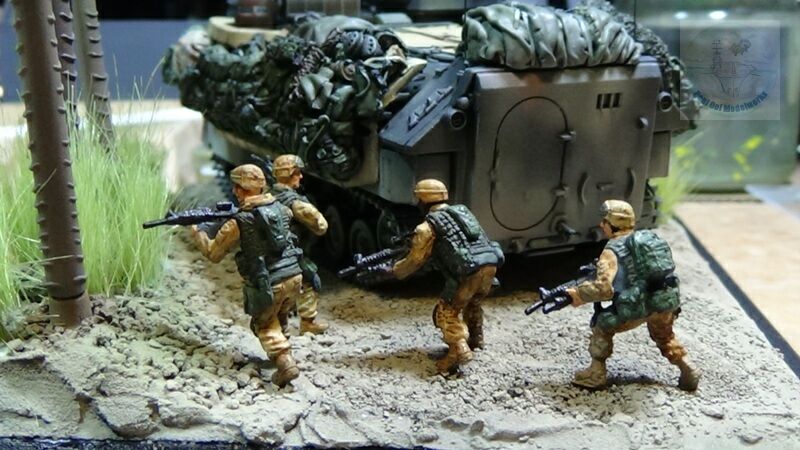
For a final touch of action, a squad of marines are added to the vignette deploying in the tall grass to flank the main road going into the village.
Nice job, as usual. Kudos!!!
I was getting ready to start my own build of this kit and found your build. So well done!!! I’ve got the Black Dog accessory set ordered but I don’t see the camo net in it. Did you make your own?
Black Dog makes a few different sets , some with and some without the camo net. The camo net itself is part of the resin panel, not a separate piece. Good luck with your build.