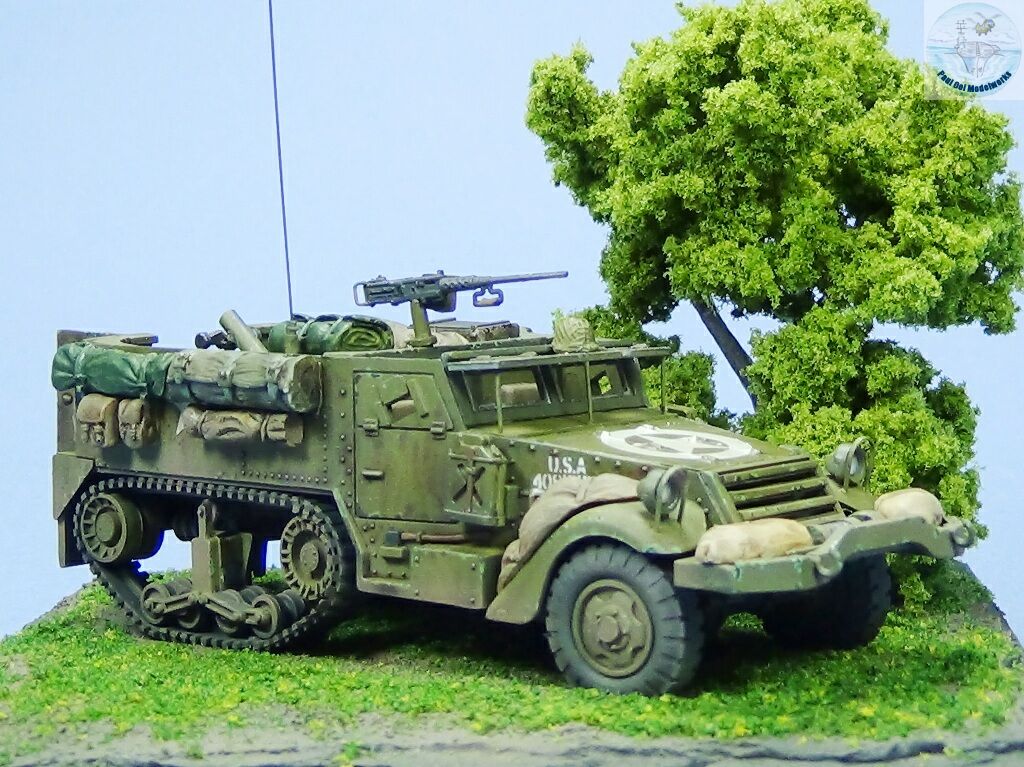
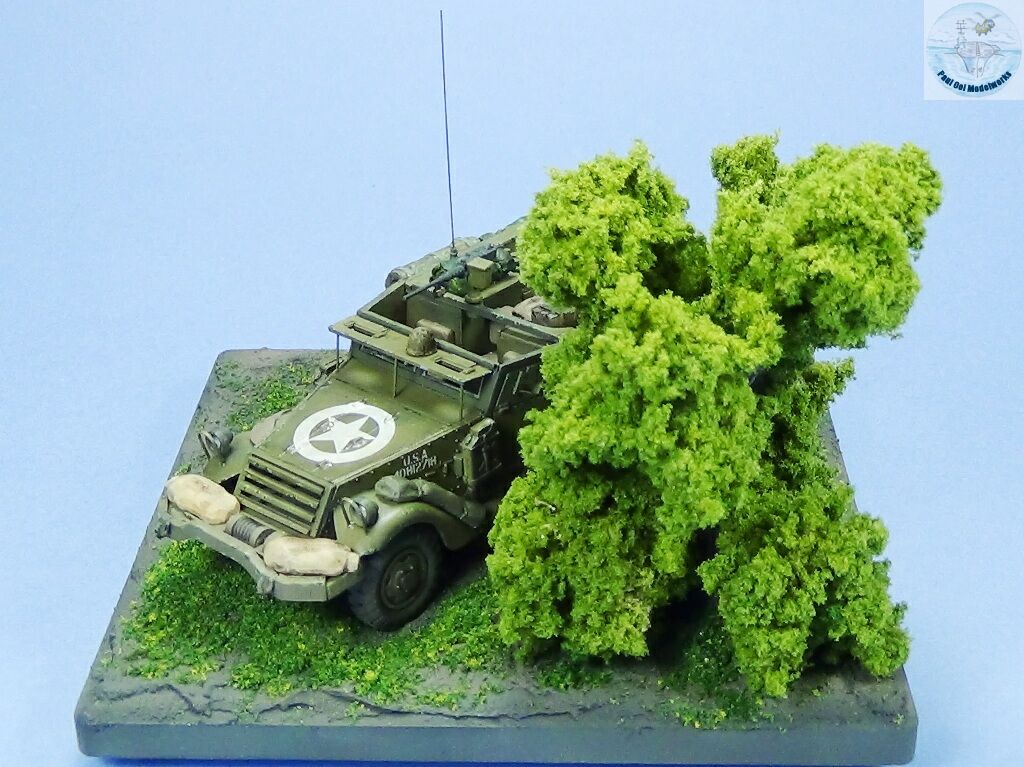
The basic White M2 and M3 half-tracks and their variants were some of the most ubiquitous vehicles of the US Army in WW2. These had very long careers, spanning even into the 1980s in Lebanon and Africa. These trucks were tough and extremely versatile for all kinds of missions, ranging from troop carriers to self-propelled guns. One variant used for close troop support mostly in the ETO was the M4, M4A1 and M21 mortar carriers. I had previously built the variant carrying the AA turret mount, the M16 Half Track and enjoyed the build very much. This time, I wanted to build the 81mm mortar carrier which has a very different layout from the AA-gun version.
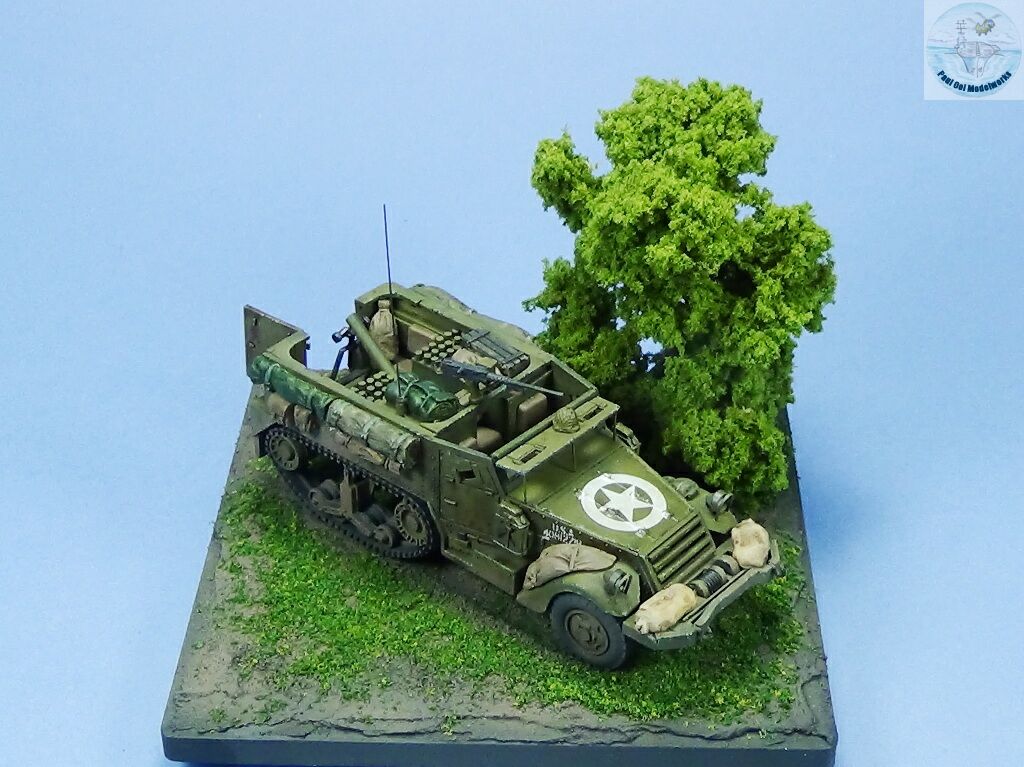
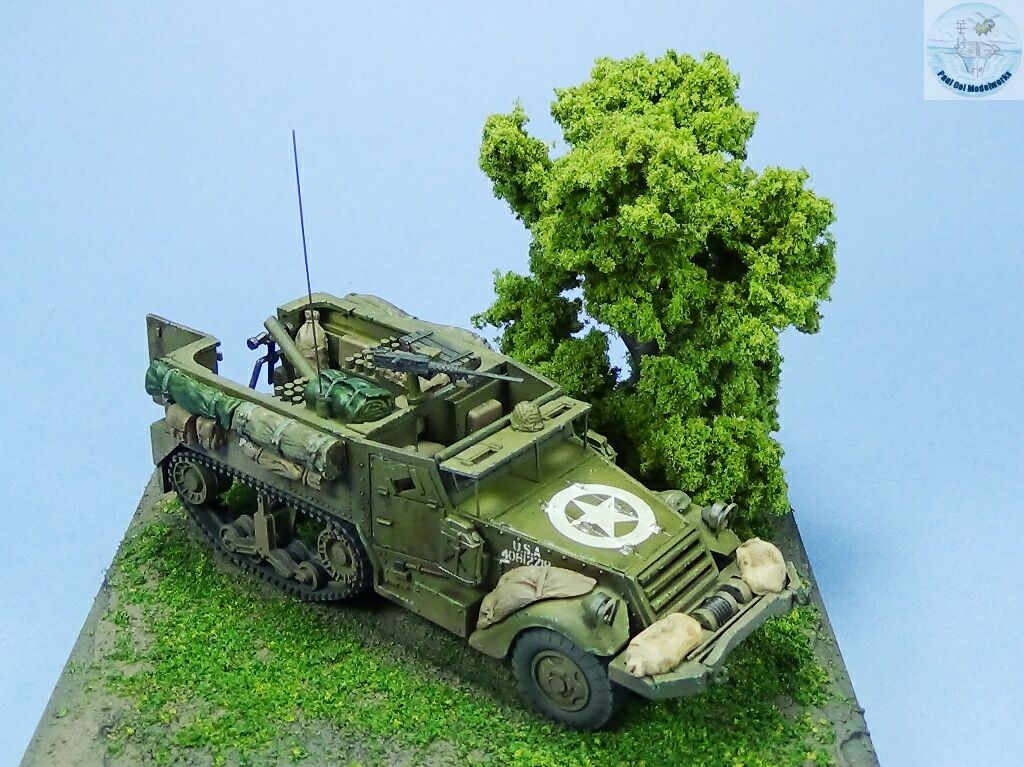
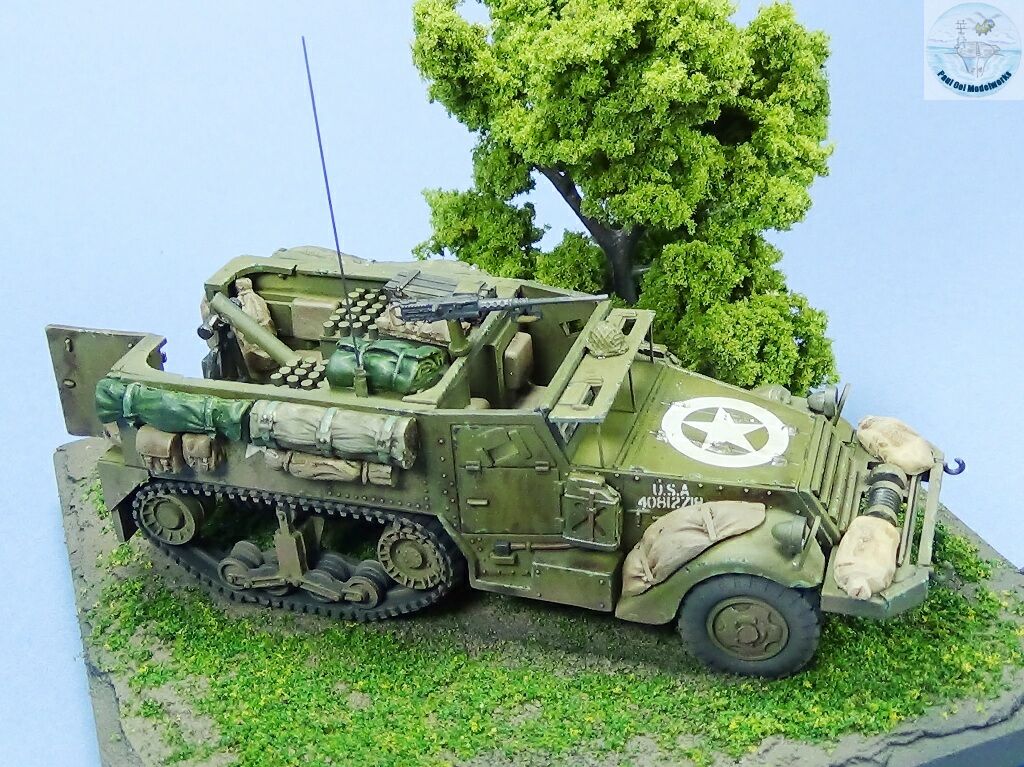
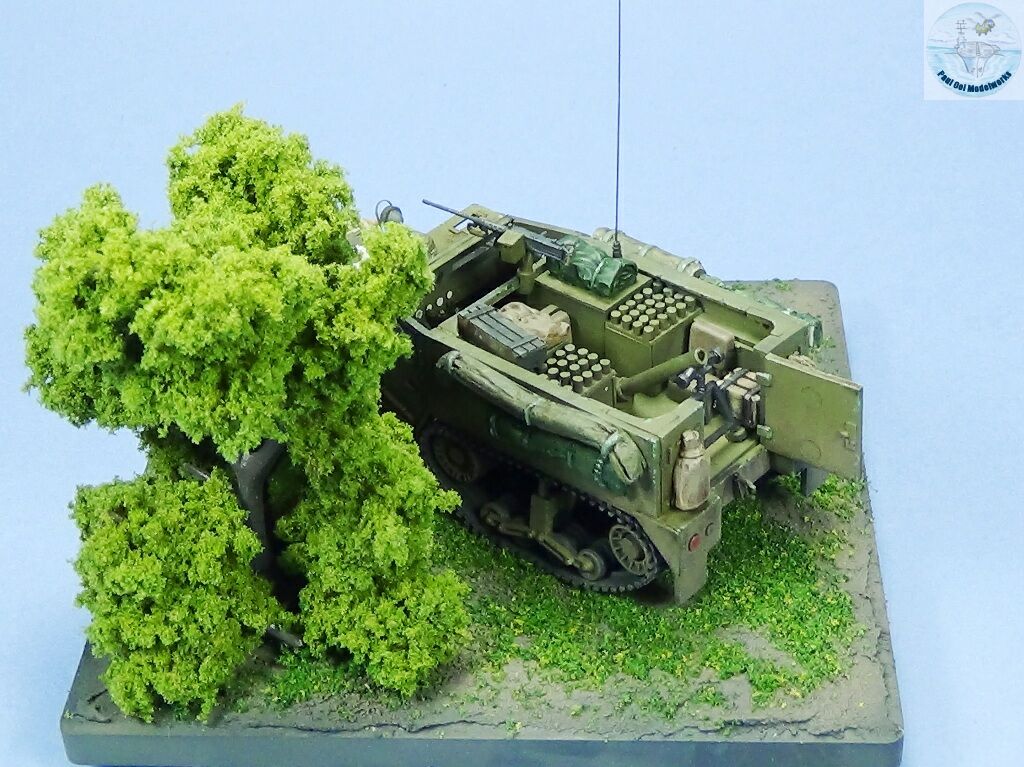
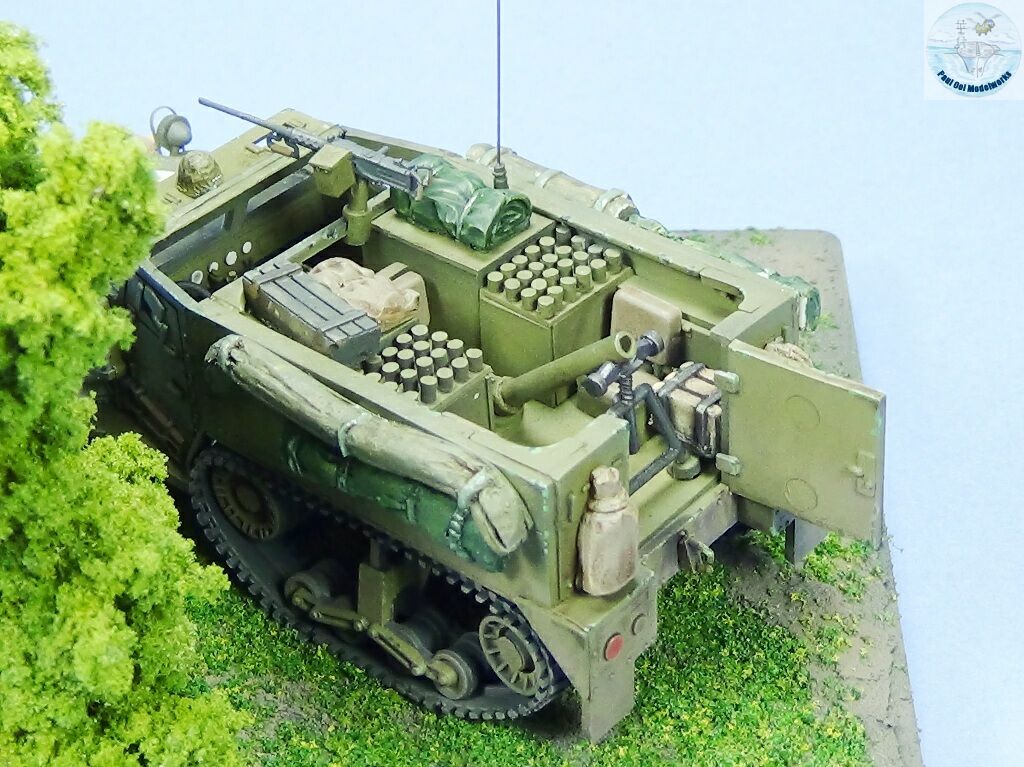
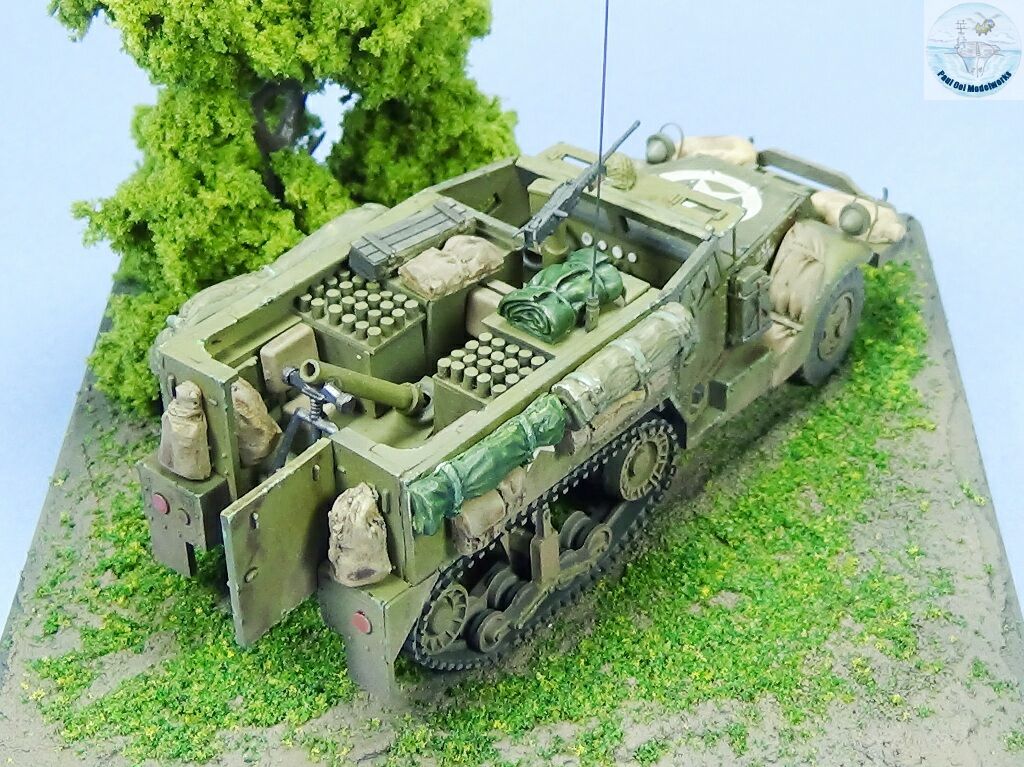
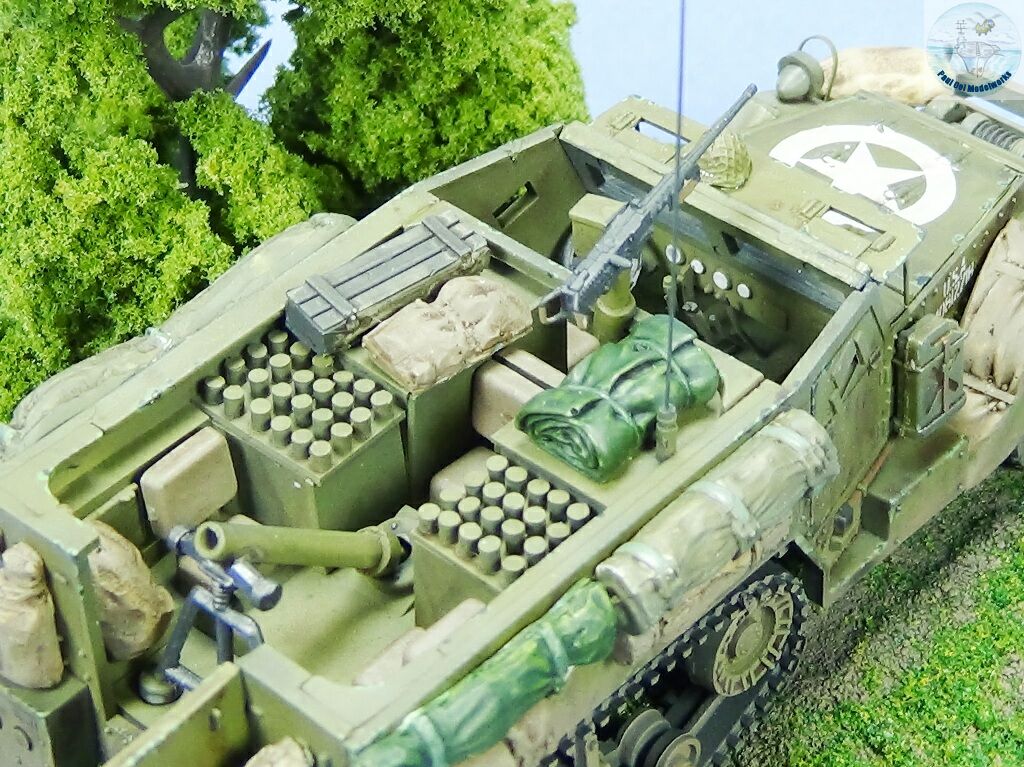
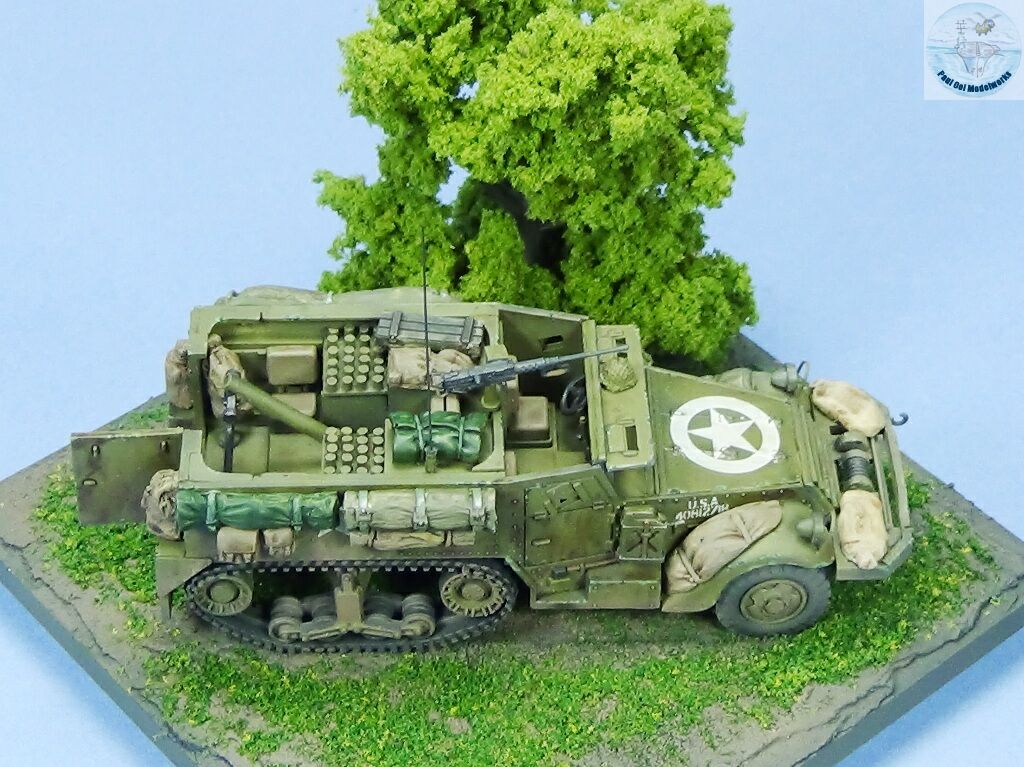
Each M4A1 carried about 120 mortar shells. This gave the truck ample ammunition to provide the necessary field support for front-line infantry in close proximity. The truck is also equipped with a field radio to allow coordination of fire with spotters and other units. In case the enemy got too close, a .50 cal Browning was also mounted on the gun ring. In that sense, the M4A1 also acted as an assault combat vehicle at times.
Gallery
Construction Notes
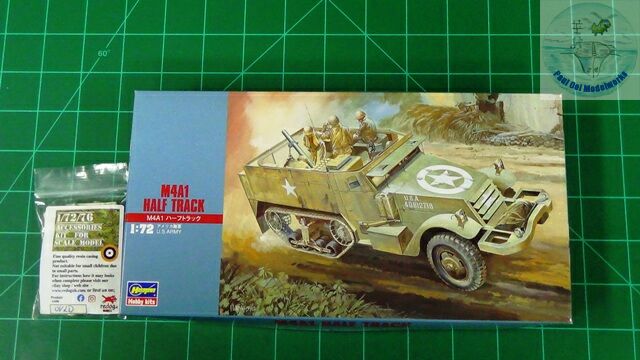
For such a “common” vehicle in the US Army, there are surprisingly few choices available in 1/72 scale. There are plenty to choose from in 1/35 scale, but in 1/72 there are only two real choices, both several decades-old. One was the Matchbox M16 (also issued under Revell) in 1/76 scale, and this Hasegawa issue from the early 1980s. While the details are not too bad, there was plenty of flash in my kit, and the fit was certainly from a time before the super Hasegawa kits that came later. The biggest challenge for this kit was that Hasegawa tried to make this into a mortar carrier without providing the necessary stowage cabinets for the shells by using the basic troop carrier arrangement. Although the box art did show the correct arrangement of the rear compartment, none of that was to be found in the kit. Also, these half-tracks are often seen in photographs packed full with bedrolls, tarp sheets, and supplies hanging from the sides. There were none in this kit, so I got Redog’s Half-Track resin accessories via eBay.
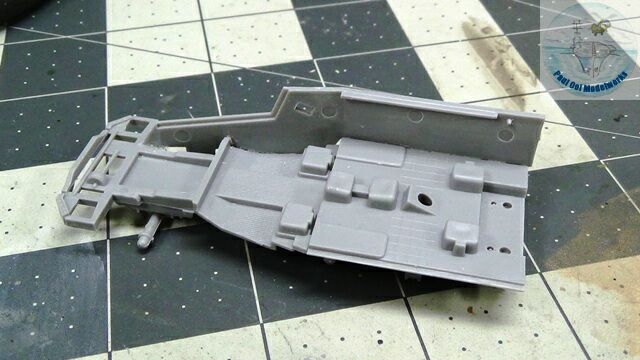 As shown here, the kit as supplied has no real interior cabinets for the mortar. This is pretty much all the interior there was (without mortar and seat backs) which does NOT look like a mortar carrier at all.
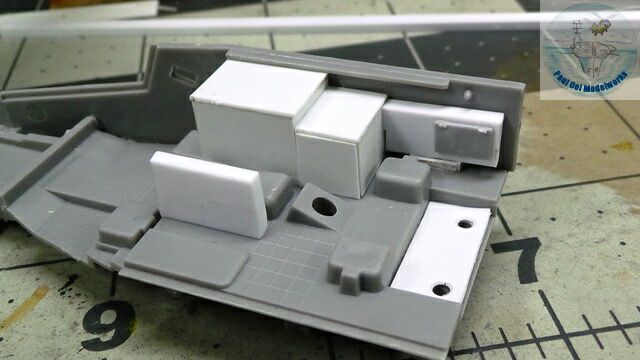 Using Evergreen plastic stock, I proceeded to scratch-build the stowage and shell rack for the M4A1. By measuring off the vertical wall of the vehicle, I can determine the height and depth of the cabinets.
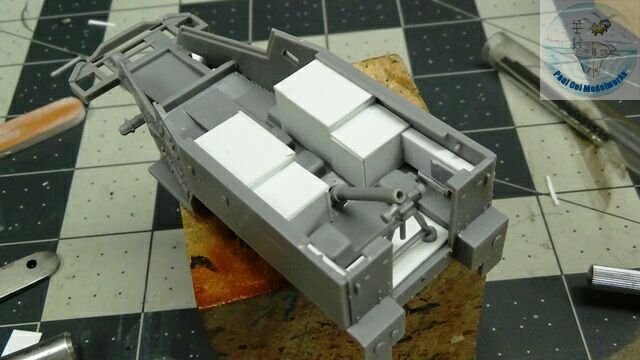 Now you can see the full layout of the cabinets and racks with all the scratch-built components in the rear compartment.
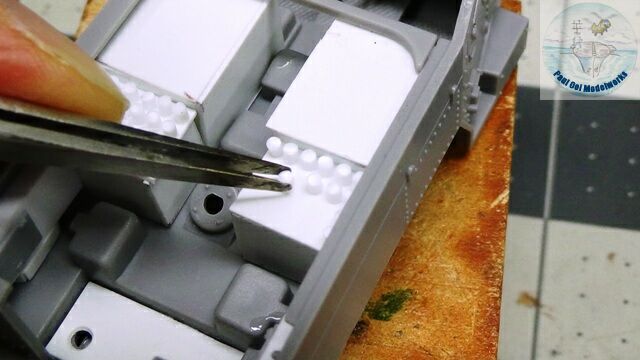 The other missing component that is a key visual item for the mortar carrier is the array of shell tubes arranged in the racks. For these, I used Evergreen 1.2mm diameter rods, carefully cut to more-or-less uniform length and glued onto the rack. This part of the project was the most painstaking but the results are very rewarding, and goes a long way to making this into a true mortar carrier.
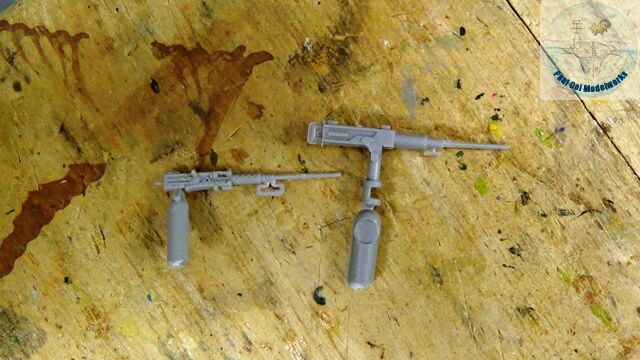
The other item that was pretty prominent was the .50 cal machine gun. The one provided by Hasegawa was very skimpy on details, so I dug into my spare parts stash and found a more accurate-looking one on the left.
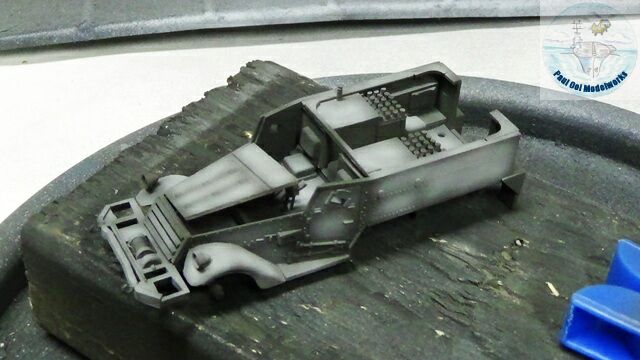
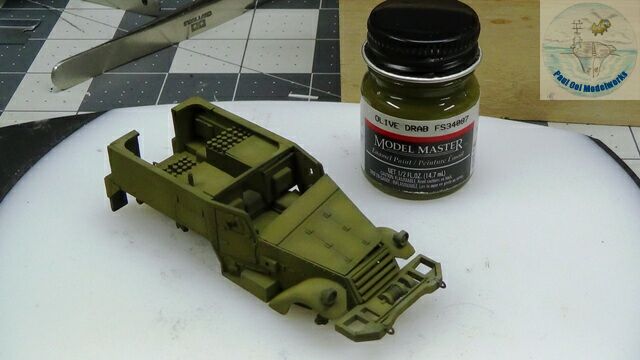
After my usual priming with NATO Black and Sky Grey, I painted the vehicle in Model Master Olive Drab, thinning it enough so that the under-shading show through.
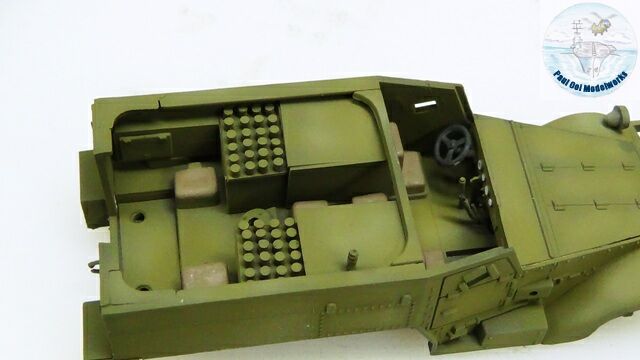 The seats, driver’s instrument panel, and other details are painted in with a fine brush.
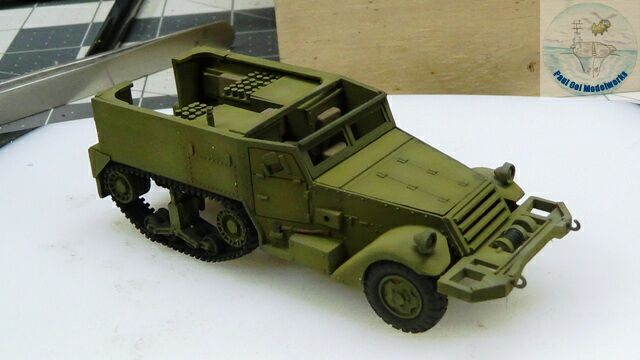 The track assembly and front steering tires are added in before the fiddly details in the rear compartment. The tracks are one-piece flexible tracks, so the same installation technique as in the Matchbox M16 kit are used.
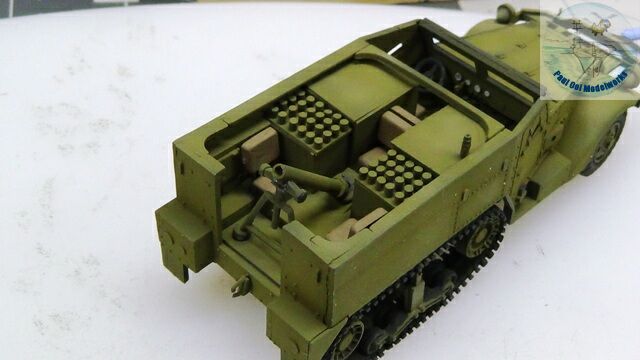
Mortar tube get added to the assembly. I did have to drill out the tube.
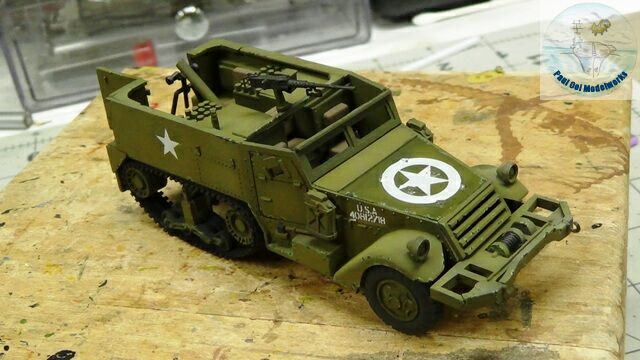 The decals get added after preparing the surface with Micro Gloss. I paint in the chipping of the paintwork with Pale Green FS34227 and NATO Black. Then the entire vehicle gets coated with satin varnish.
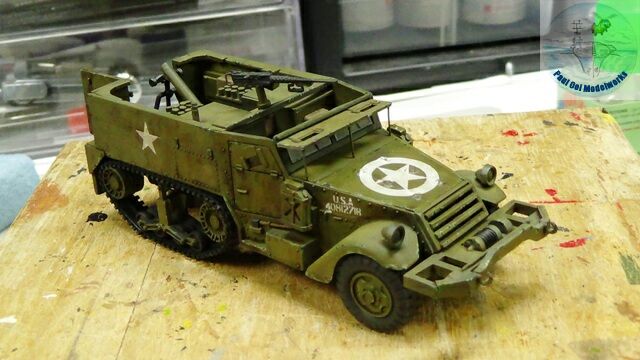 An oil wash of 50:50 Burnt Umber: Lamp Black brings out the details and ruggedness of this truck.
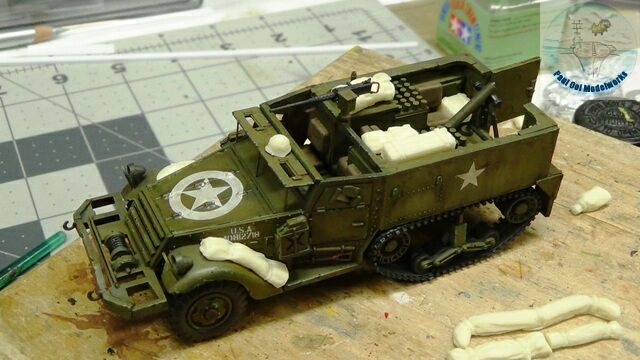
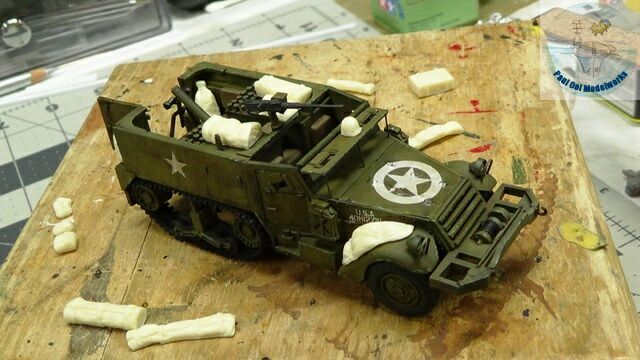 I do a trial-fit of the excellent resin parts from Redog UK. There are more parts than I can fit on this single truck, that will come in useful for future projects of Allied vehicles.
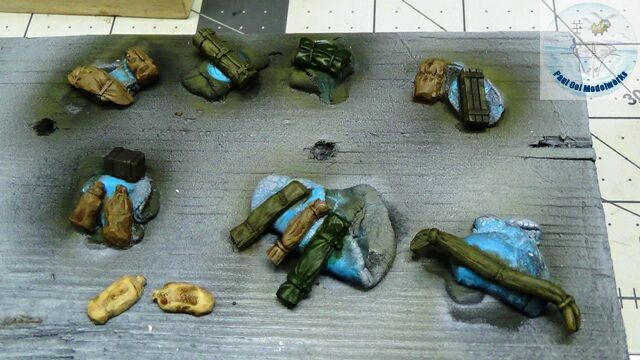 The chosen parts are painted in Vallejo US Dark Green, Tamiya Khaki Drab, Olive Green, and Buff.
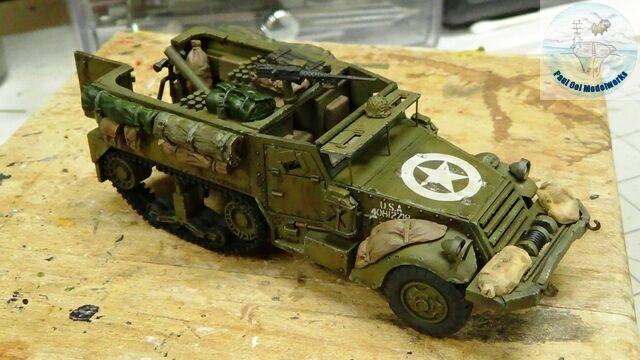
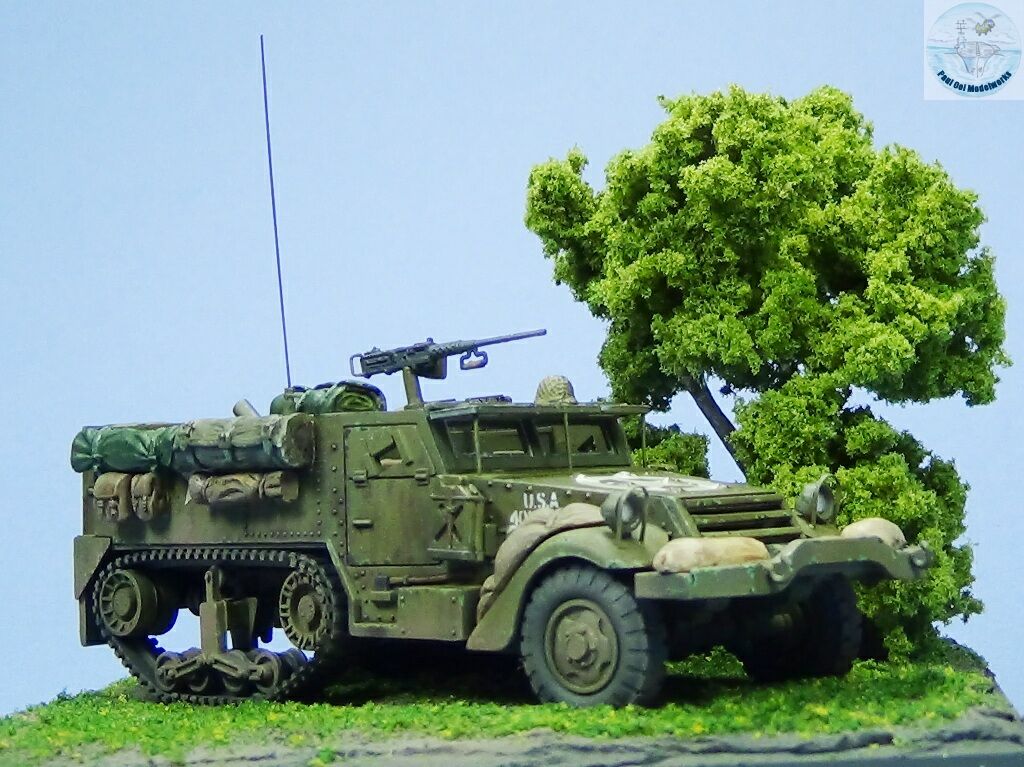
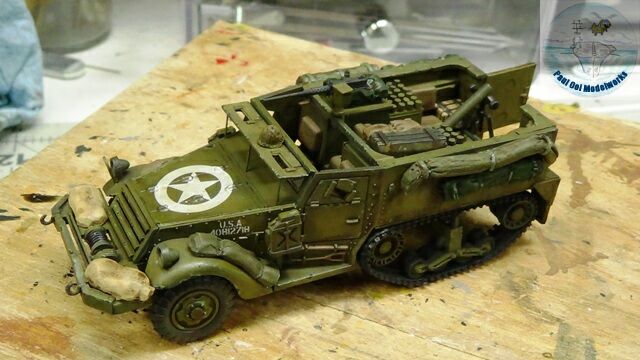 The parts look excellent on the model and the truck is now suitably “piled-up” with all sorts of stuff.
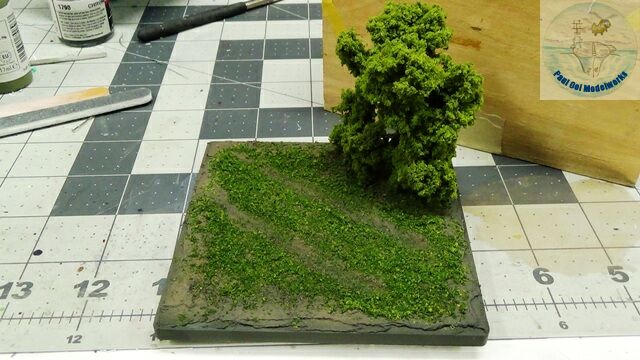
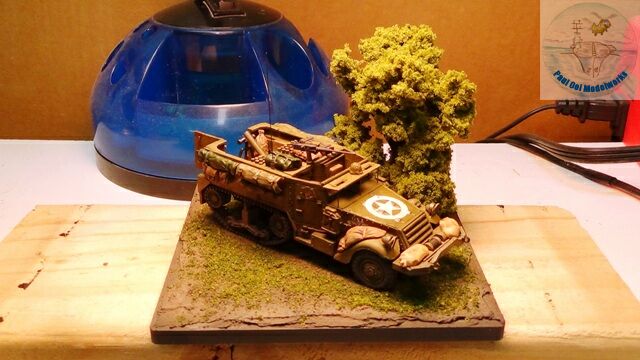
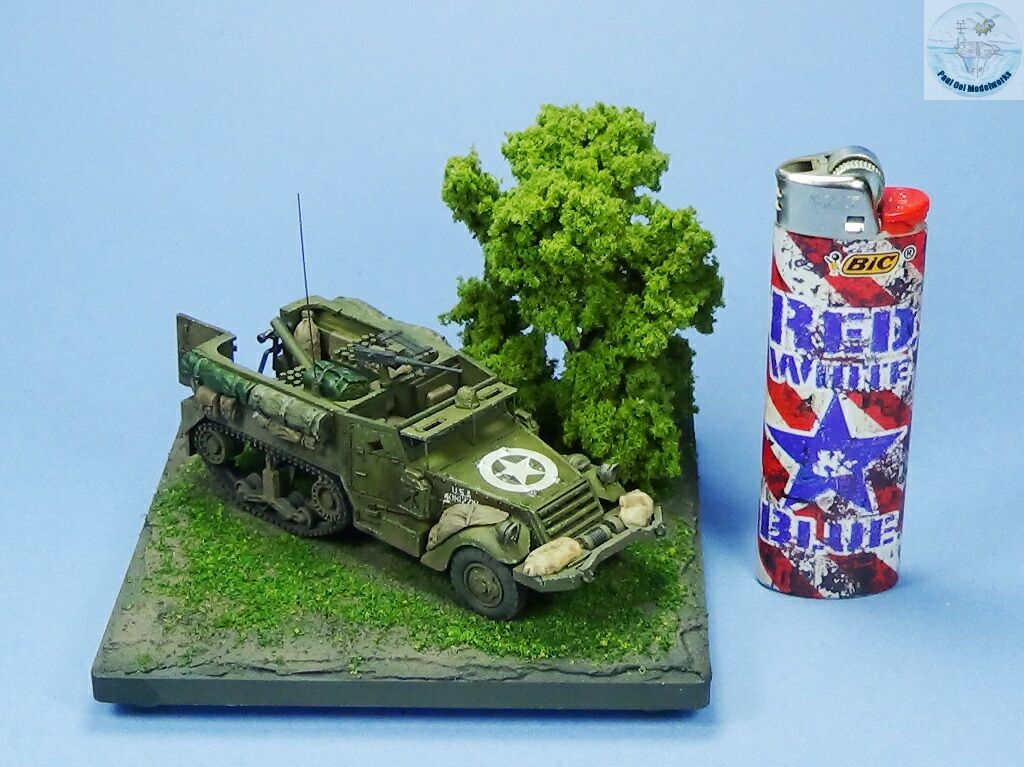
I prepared a small base “Anywhere in Europe” to focus attention on the truck itself. The figures that came with the kit were horribly wooden-looking so I decided not to display any crew with this truck.


Leave a Reply