4th in the series of Light and Mighty Tanks of WW2.
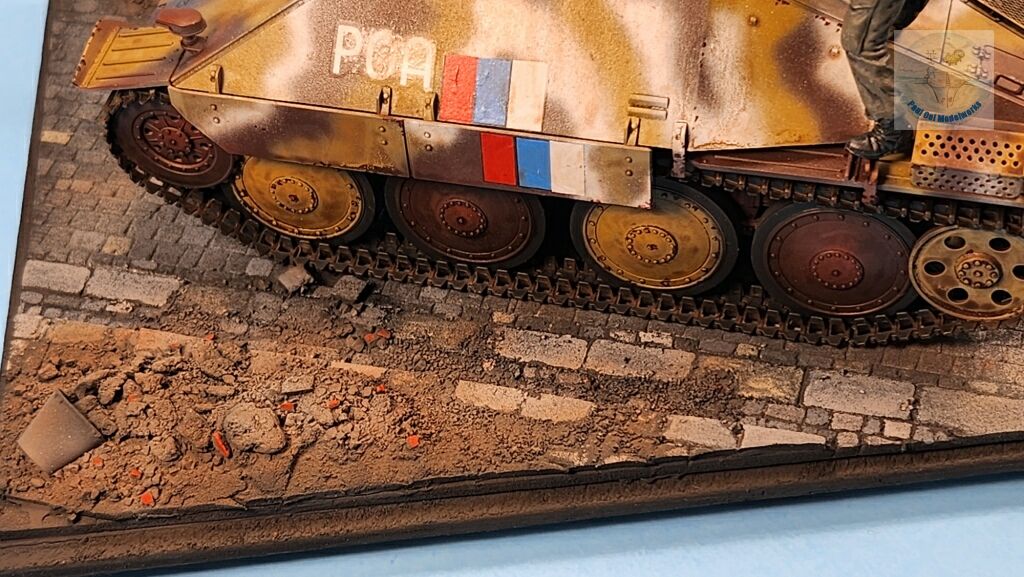
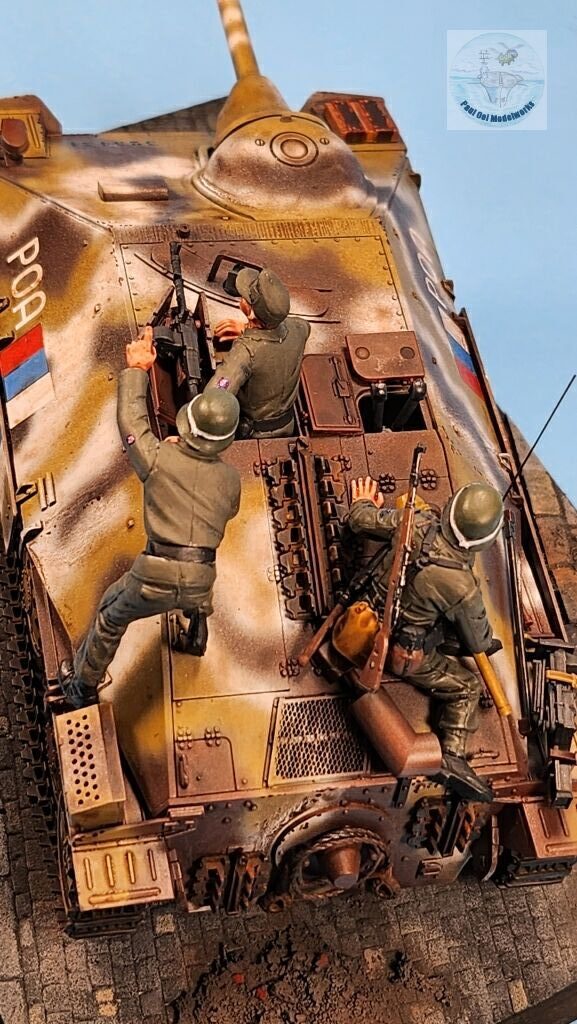
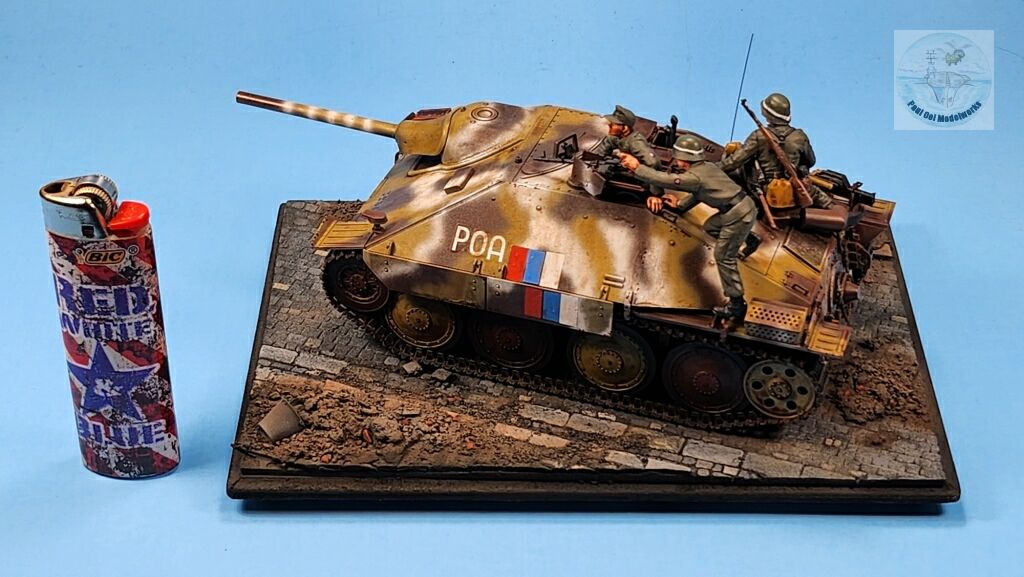
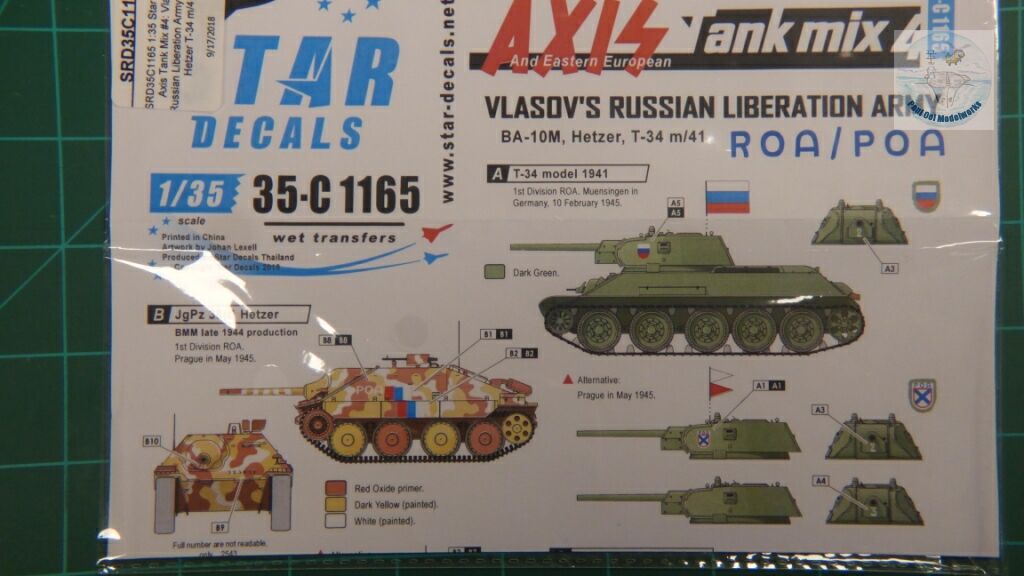
There was a time when a Russian division, not a Soviet one, came to the rescue of the Czechs to save the city of Prague from destruction. As Patton’s army reached Pilsen in Czechoslovakia and the Soviet divisions were closing in from the East, the people of Prague rose up in armed insurrection against the Nazis. However, the Czechs were poorly armed, and even in its death throes, the Third Reich fielded a formidable force called SS-Kampfverband Wallenstein to destroy the uprising and the city of Prague. On May 6th 1945, the Russian Liberation Army (ROA) 1st Division, equipped with German uniforms and heavy equipment arrived near Prague and switched sides to help the Czechs against the SS. The 20,000 men of the anti-Soviet ROA were crucial in preventing the destruction of Prague and the defeat of the SS units. It also proved that with proper equipment, the even the former-POW Russians could beat the elite SS in their own ground.
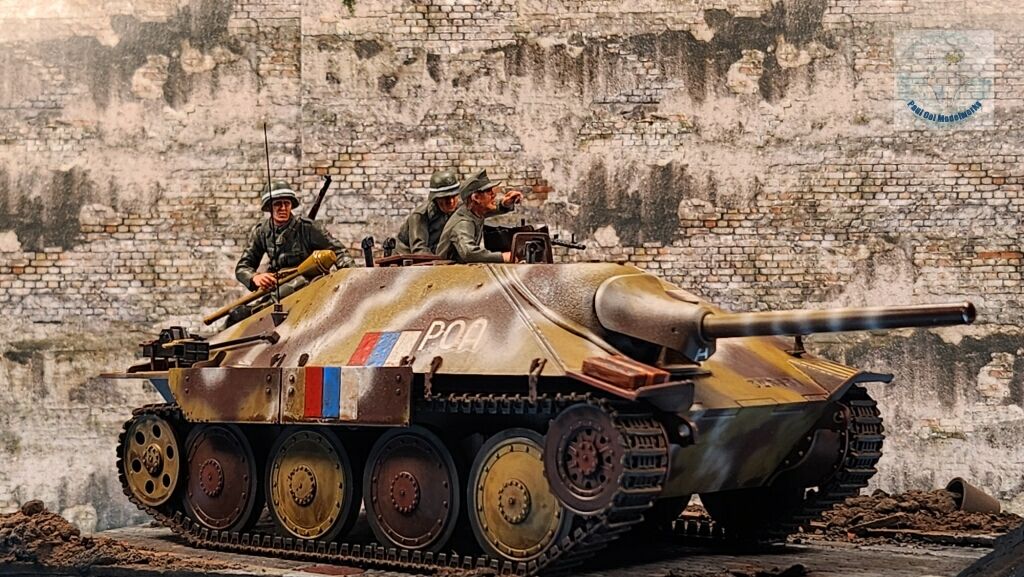
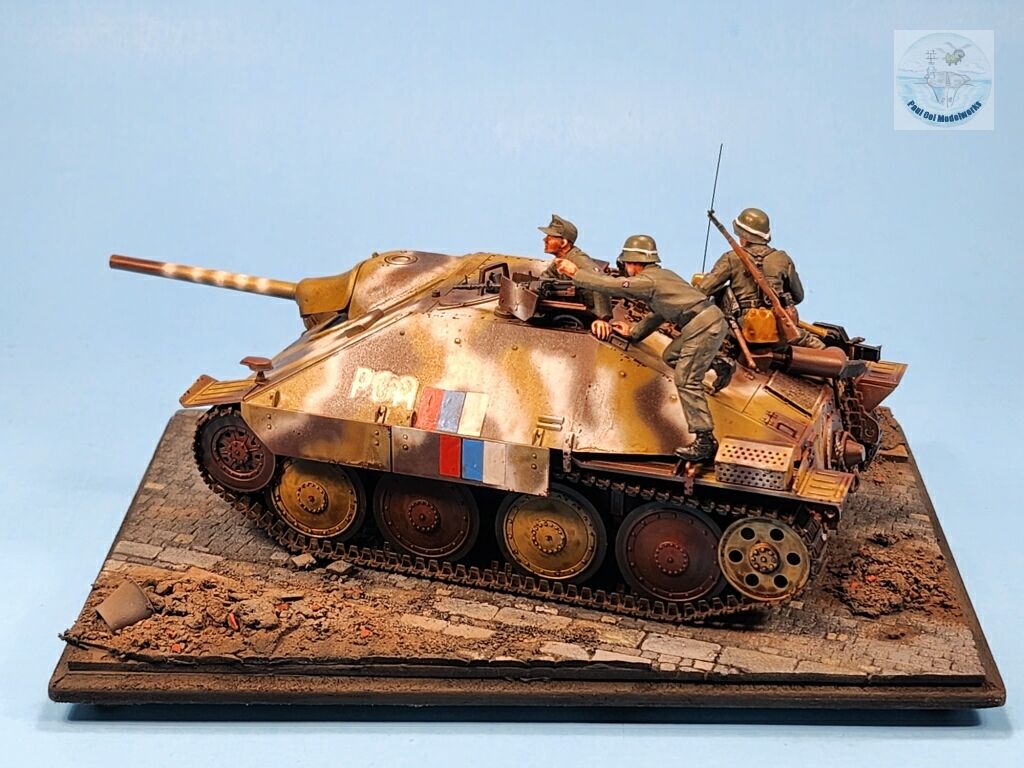
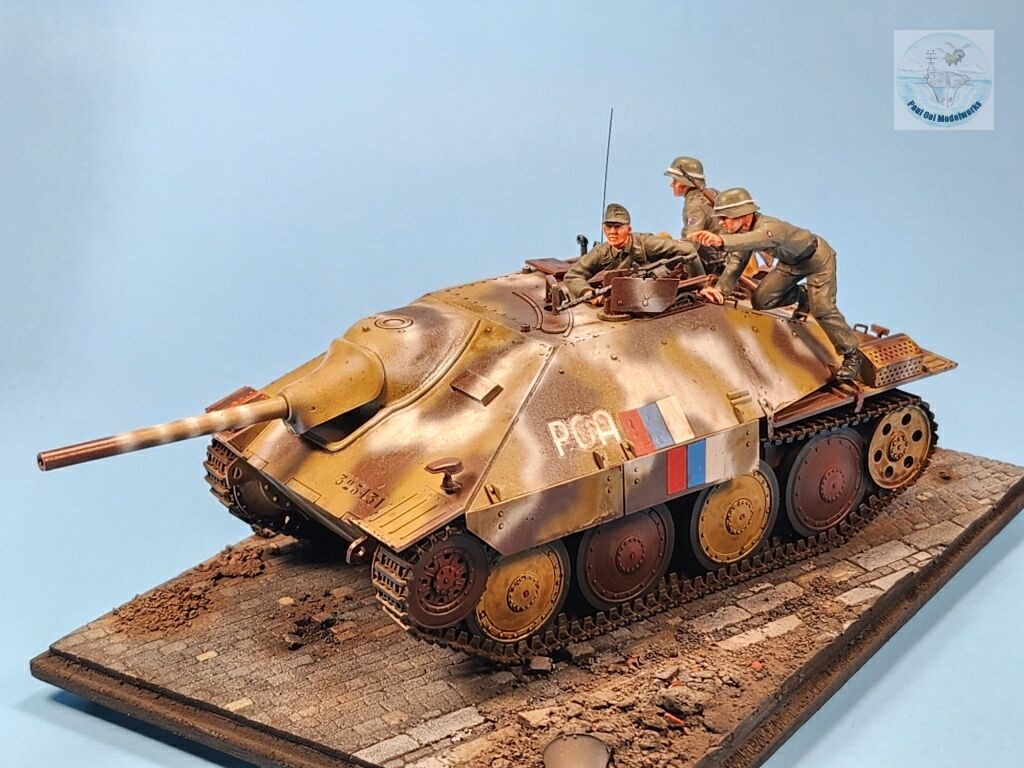
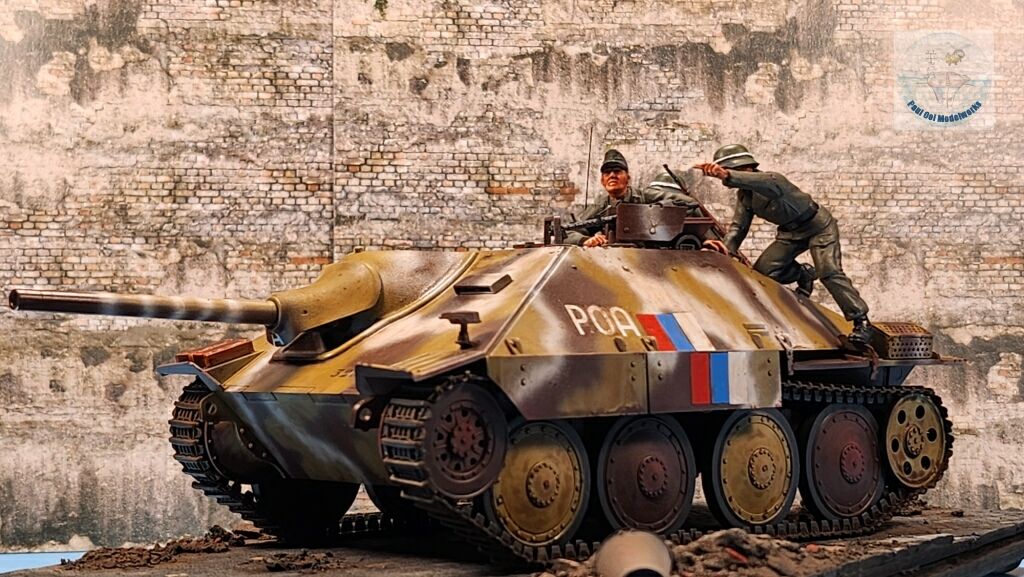
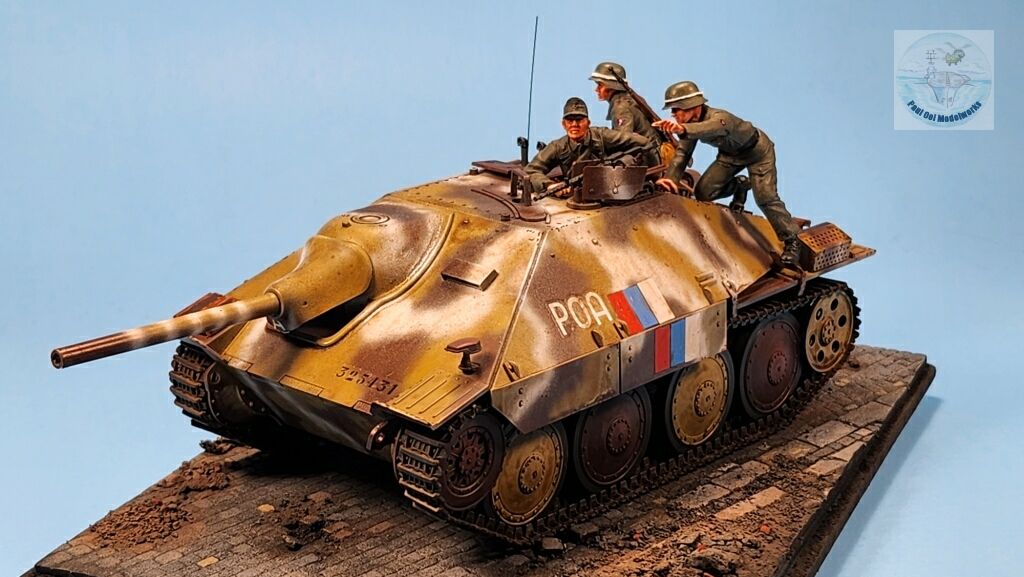
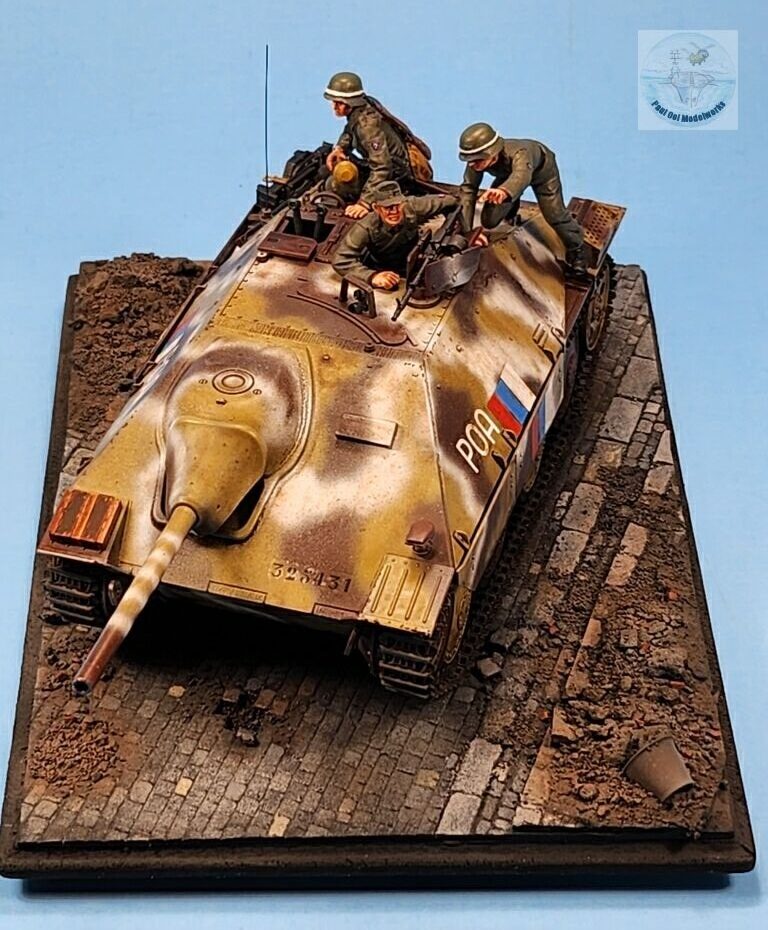
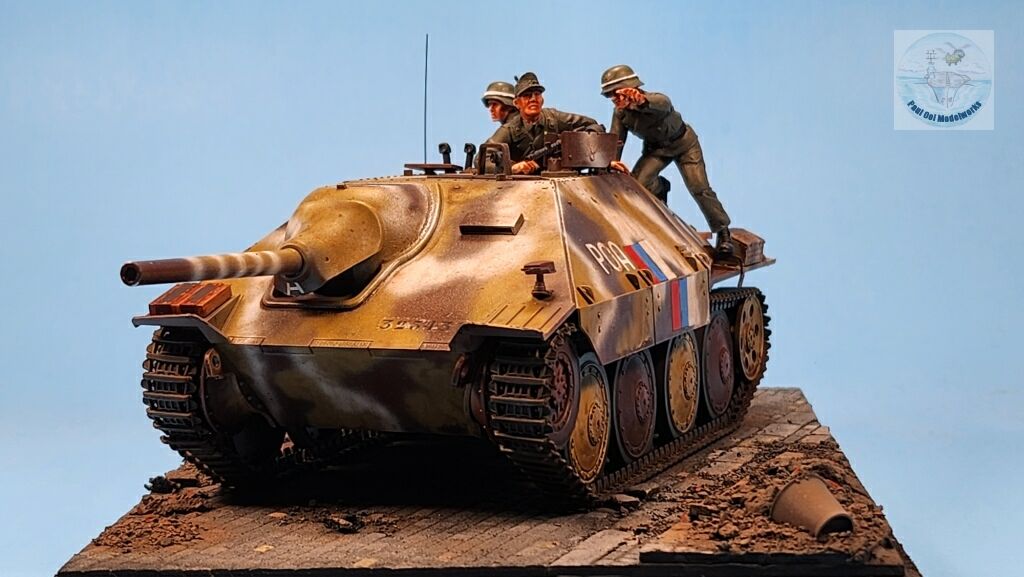
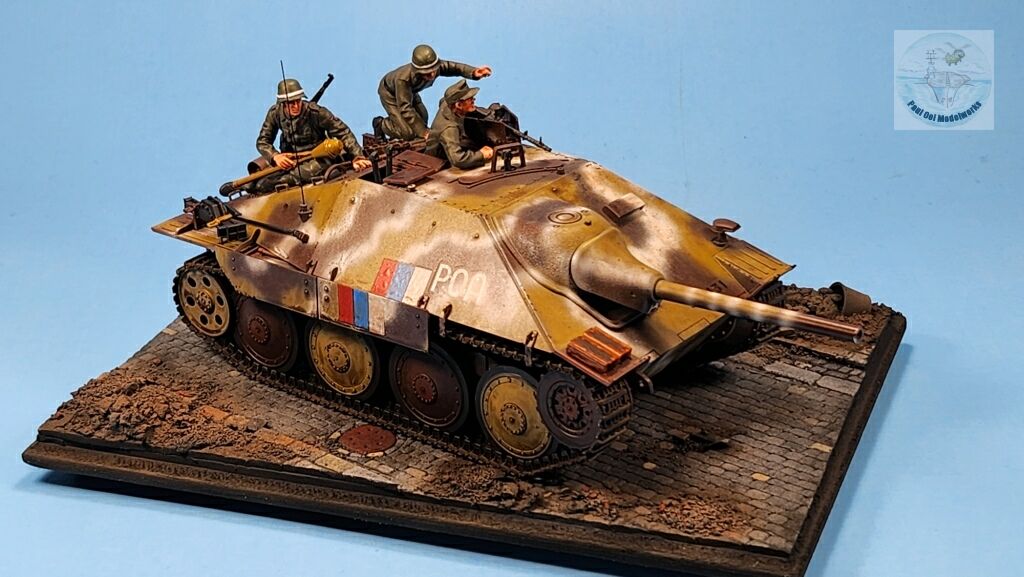
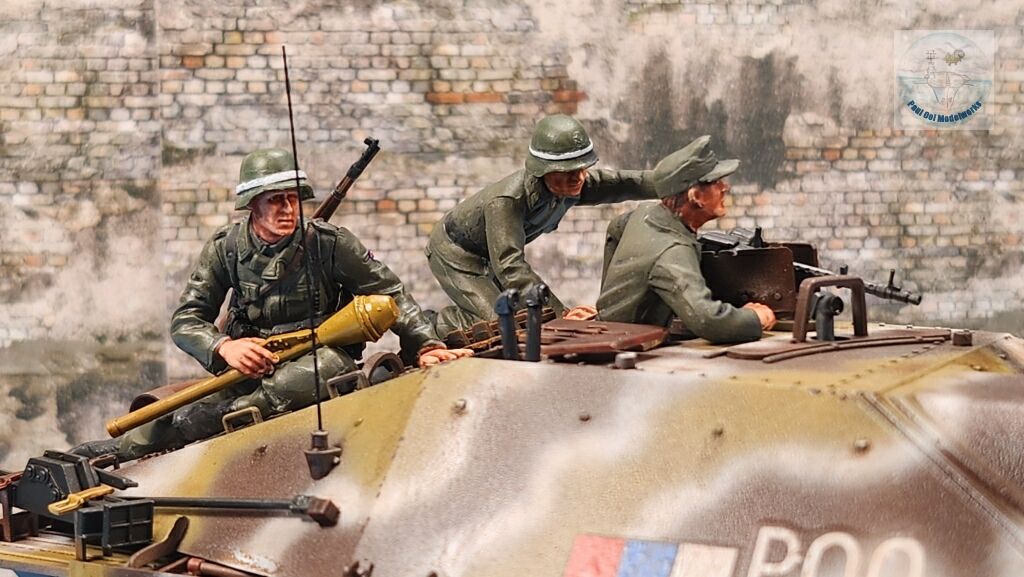
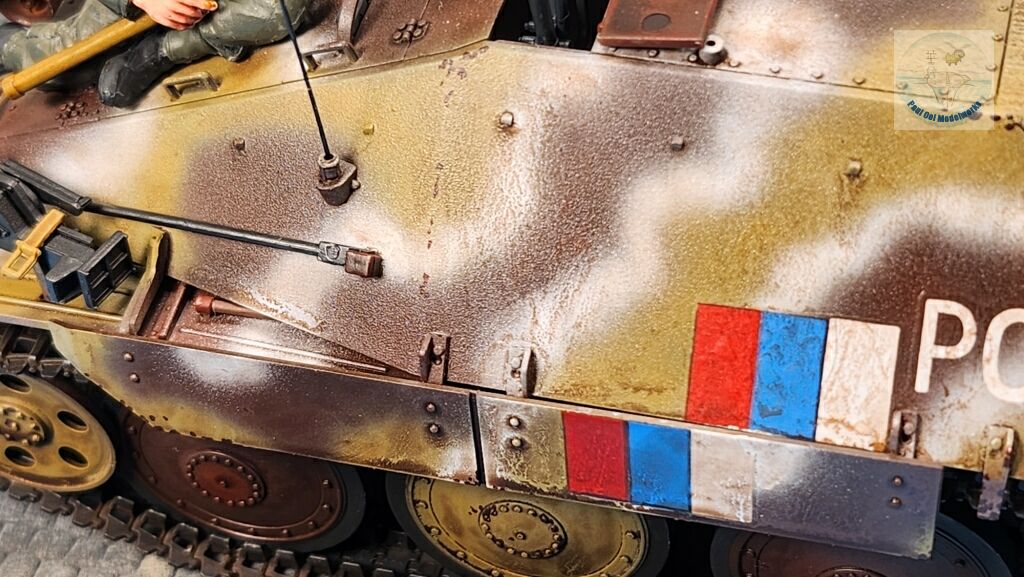
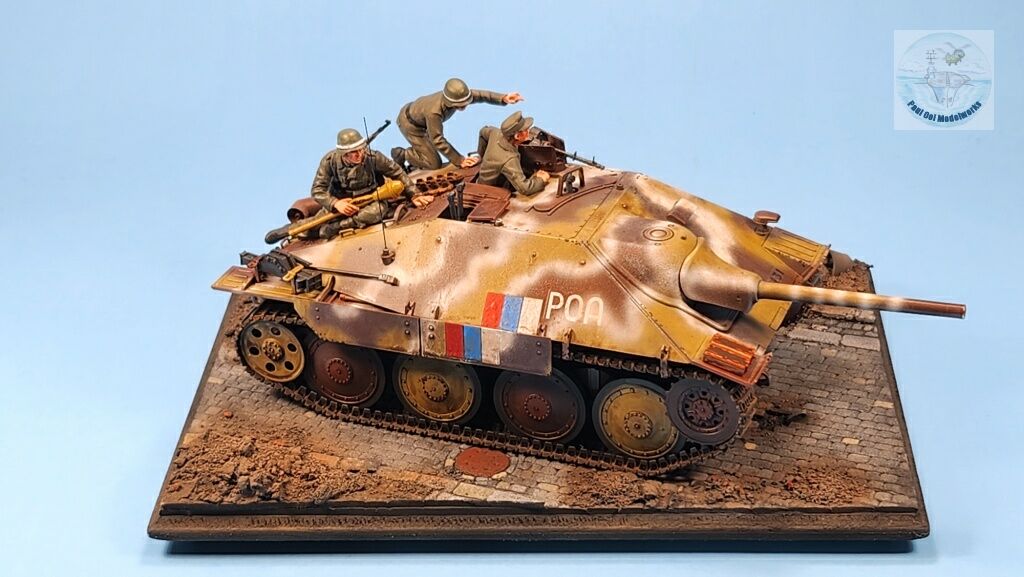
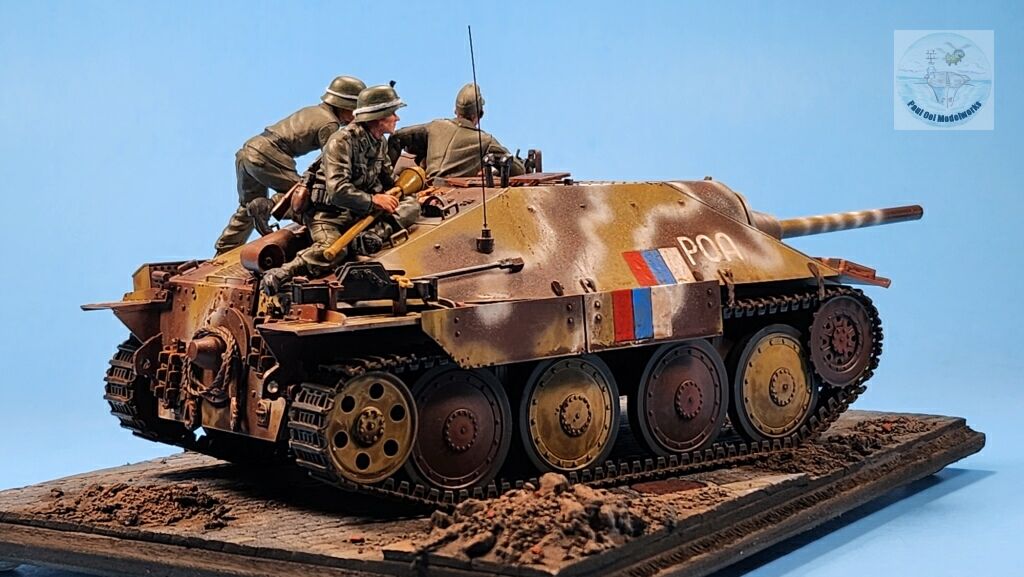
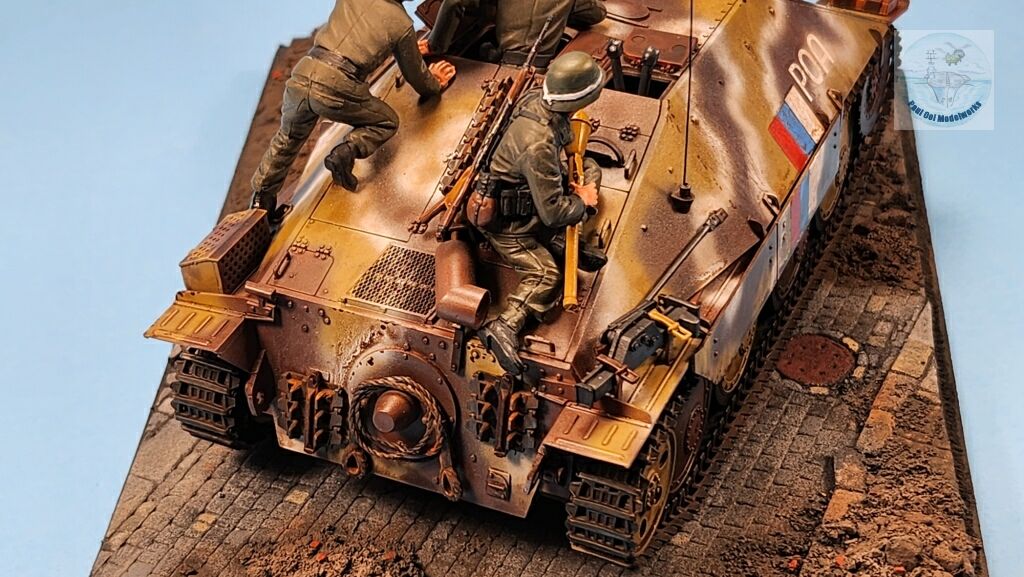
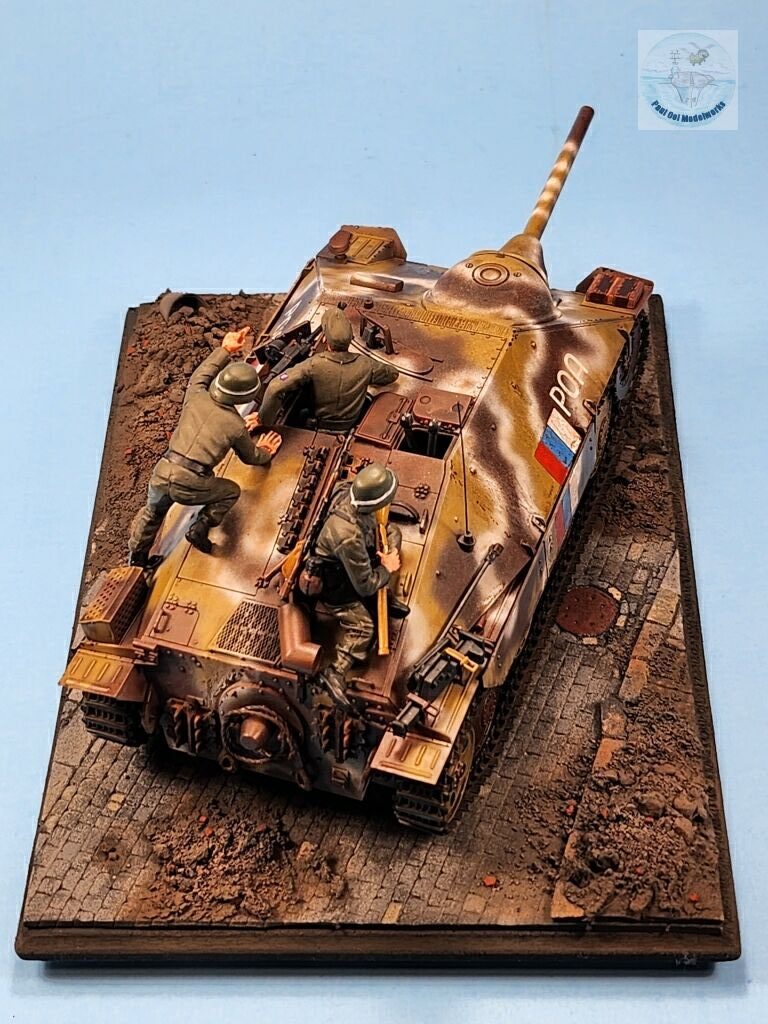
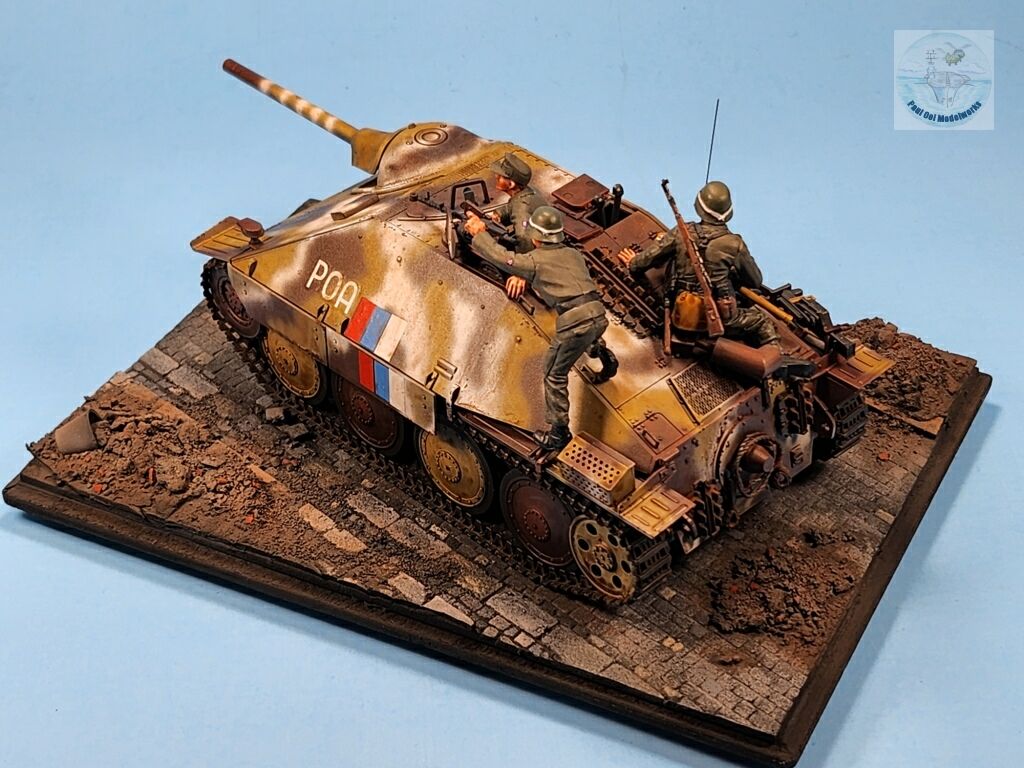
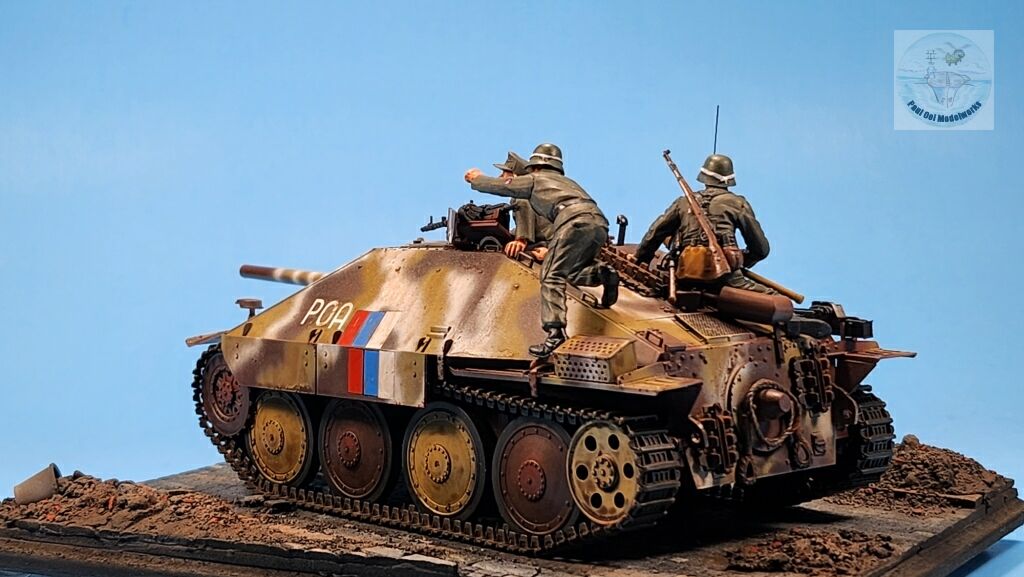
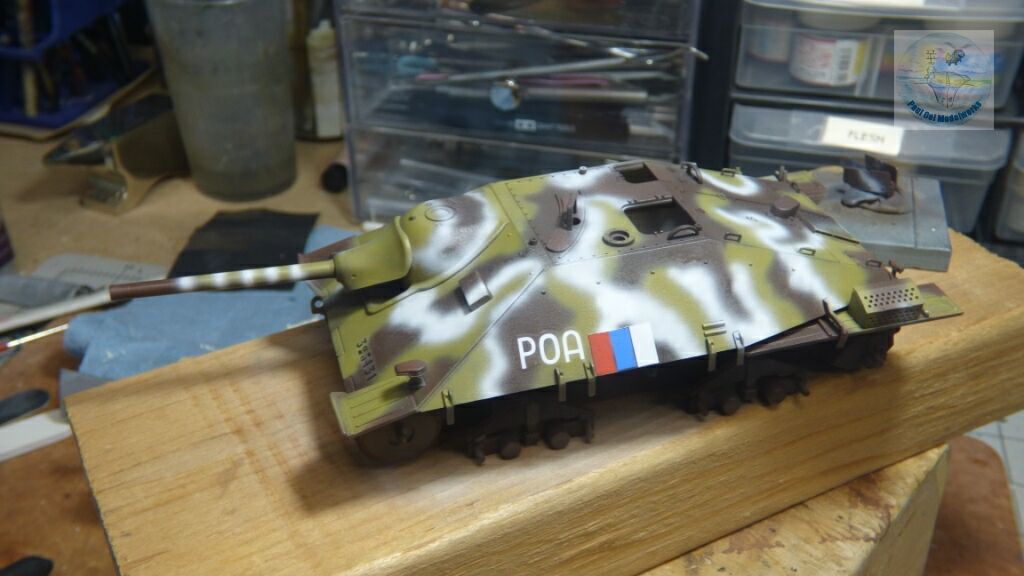
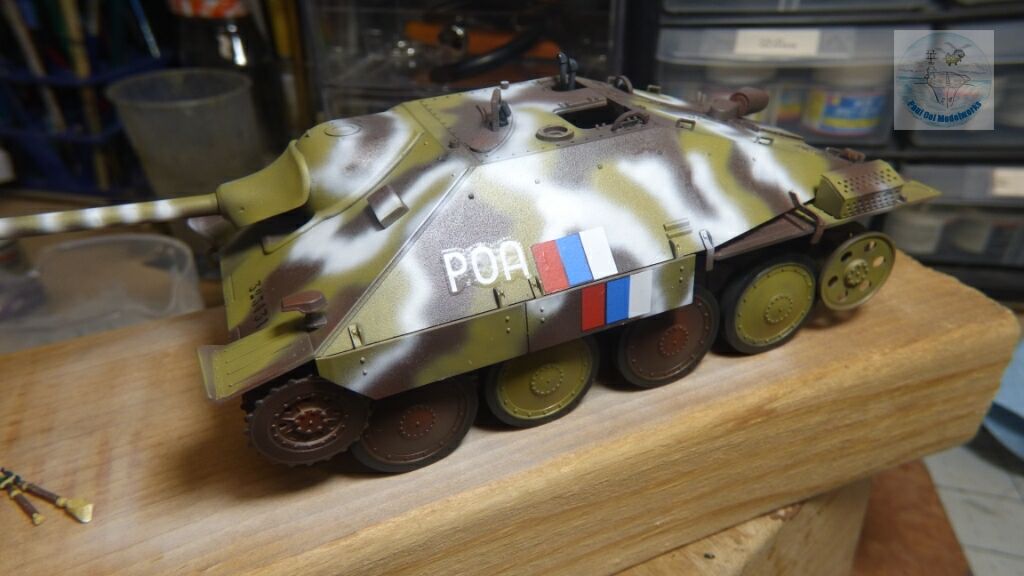
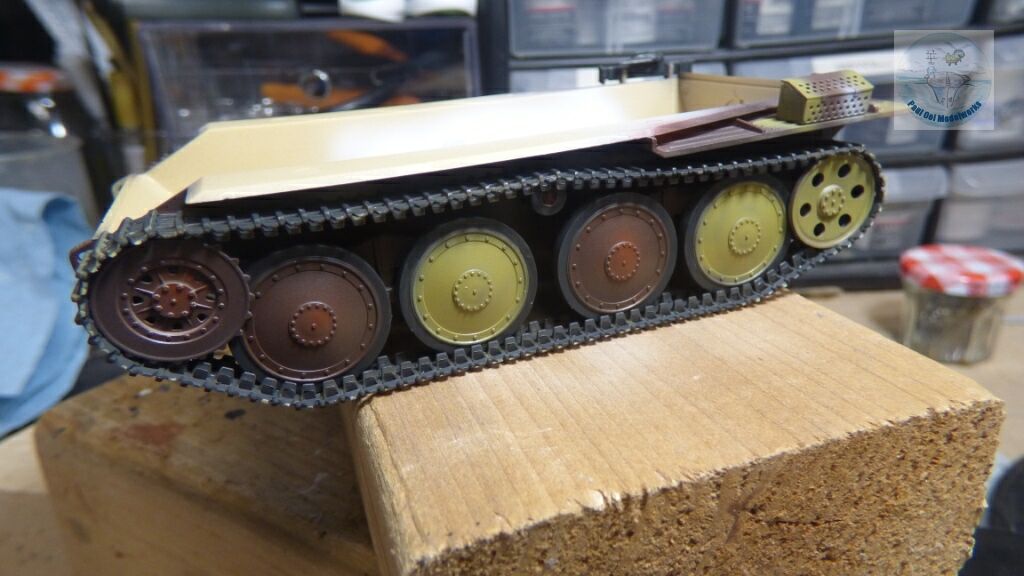
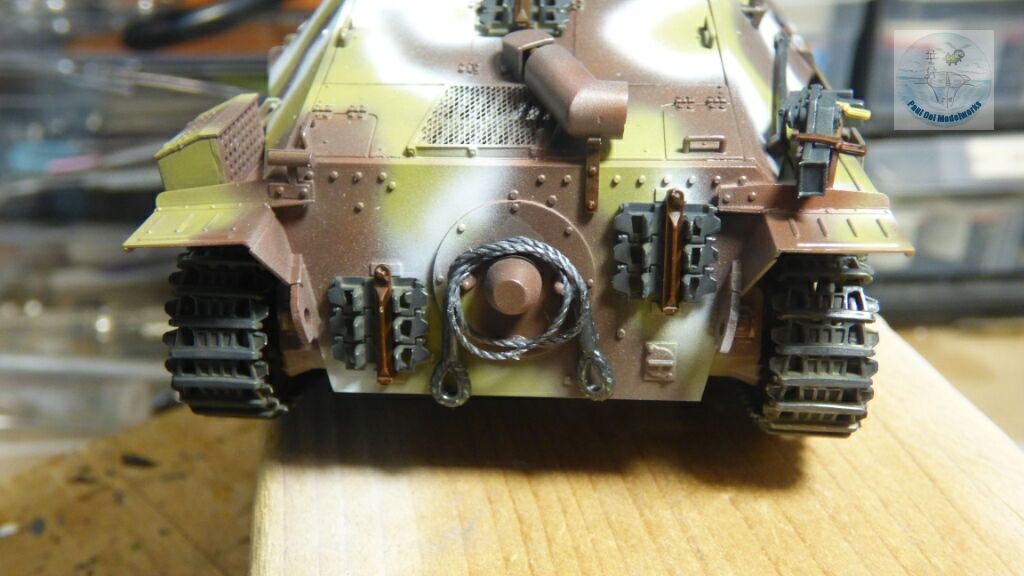
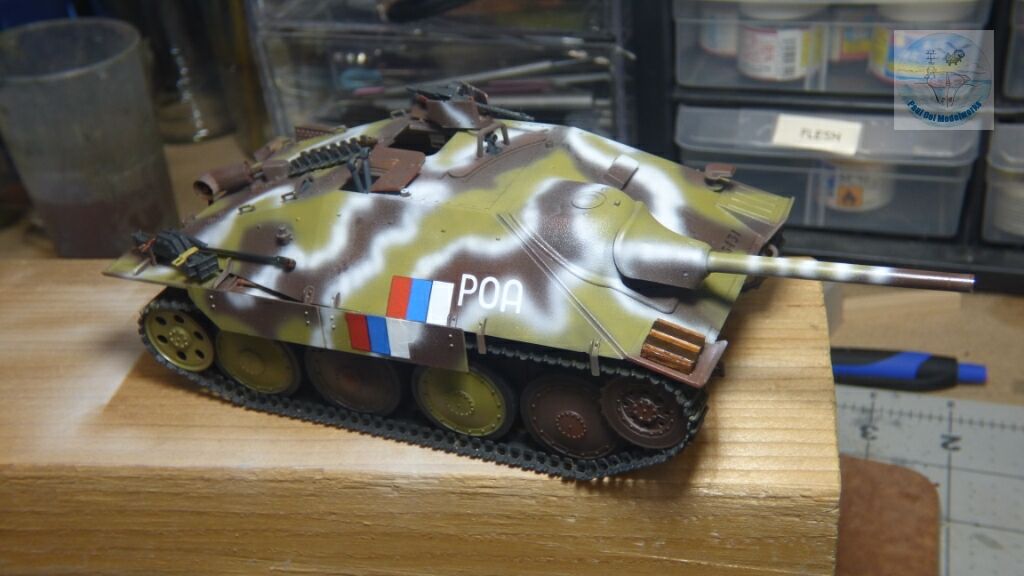
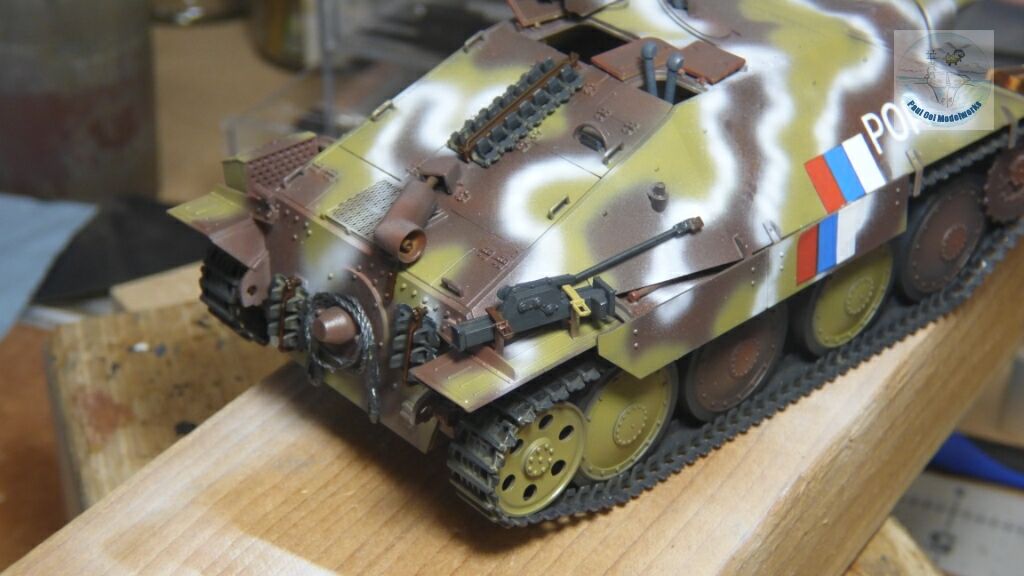
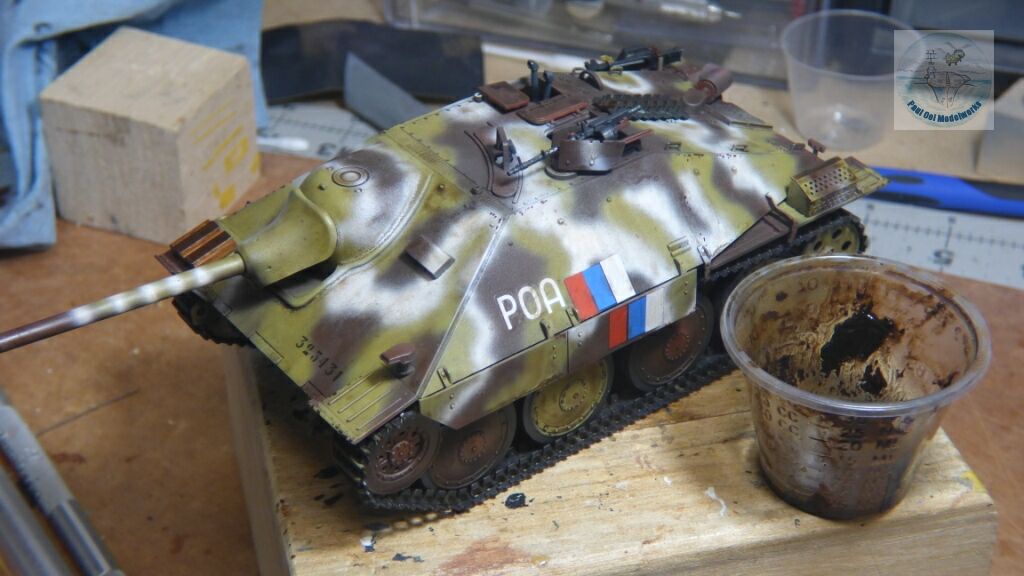
Among the heavy armor that the ROA brought with them were several E-10 Hetzer tank destroyers. These actually faced off against other Hetzers used by the SS, as these were some of the most common tank destroyers that the Germans fielded in the last year of the war. Built on the reliable and tested Skoda 38t chassis (see my post of the Panzer 38t), the low slung but heavily armed Hetzer did very well in ambush kills. While the interior was cramped, the light tank destroyer made up for it with agility, ease of operation, and a low profile that improved its survival in a very dangerous late-war field. Even as the German high command surrendered to the Allies in Germany on the 7th of May 1945, heavy fighting was still going on that day in Prague. Alas, the brave men of the ROA were about to be betrayed by the Czech National Council that was dominated by communists. Once it was known that Patton had been halted to allow the Soviets to occupy Prague, the council turned on their erstwhile rescuers and ordered the ROA to leave Prague.
The division raced west to try and surrender to the Americans near Pilsen. Here they were betrayed a second time. An agreement among the Allies with Stalin at Yalta had sealed the fate of the anti-Stalin men of General Vlasov and the ROA. The ROA were disarmed and sent back as prisoners by the Soviets. The officers and many NCOs were summarily executed. Some small groups of ROA managed to escape through American lines into the west, but the rest were captured by the Soviets and sent to the gulags in Siberia, where about 20% died under harsh conditions. The ROA survivors were allowed back into Soviet society after 1955 but they still faced censure and prejudice until official rehabilitation and given full military honors in the 1990s.
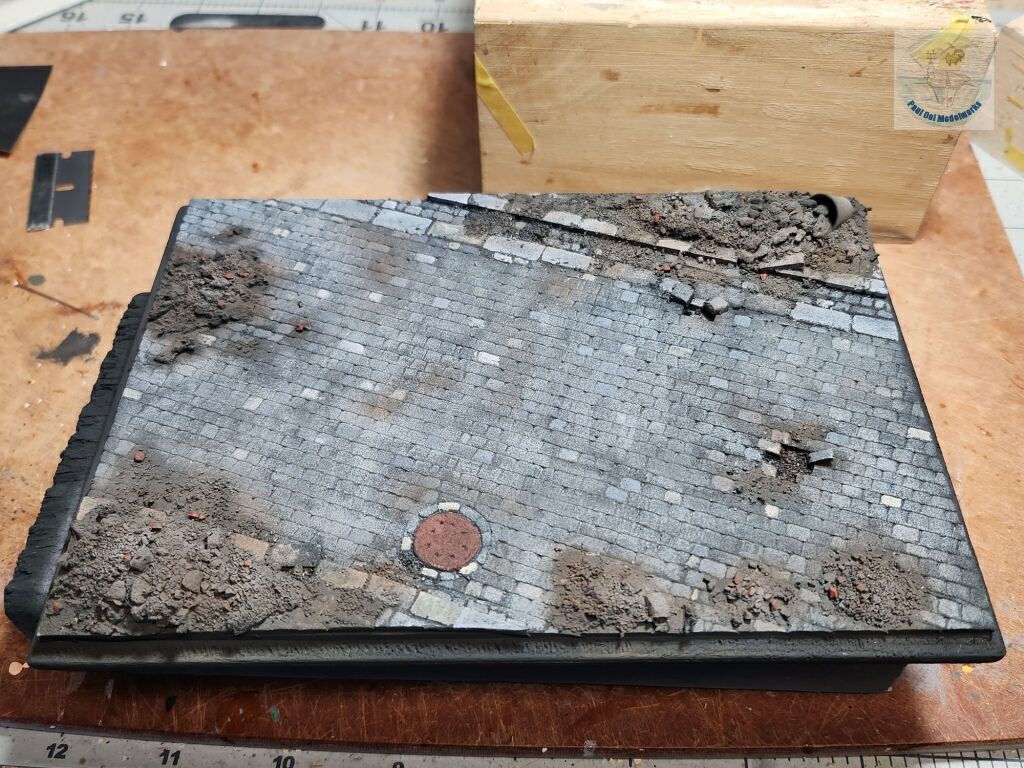
Gallery
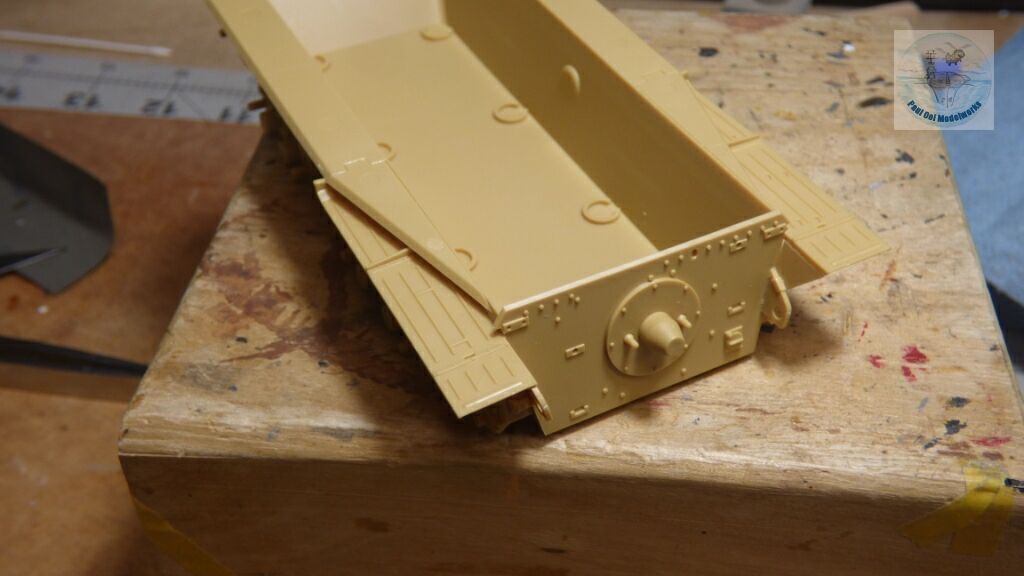
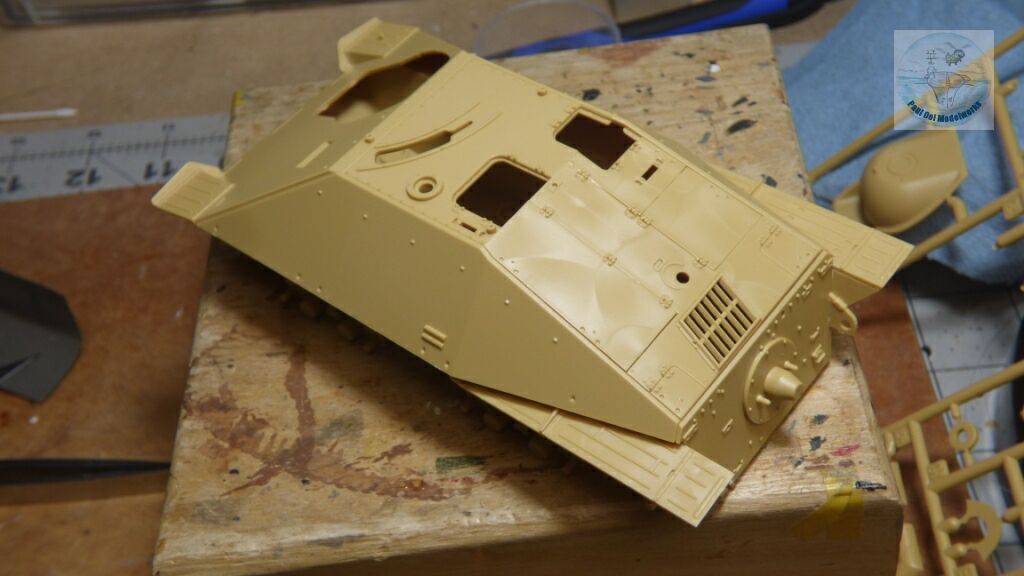
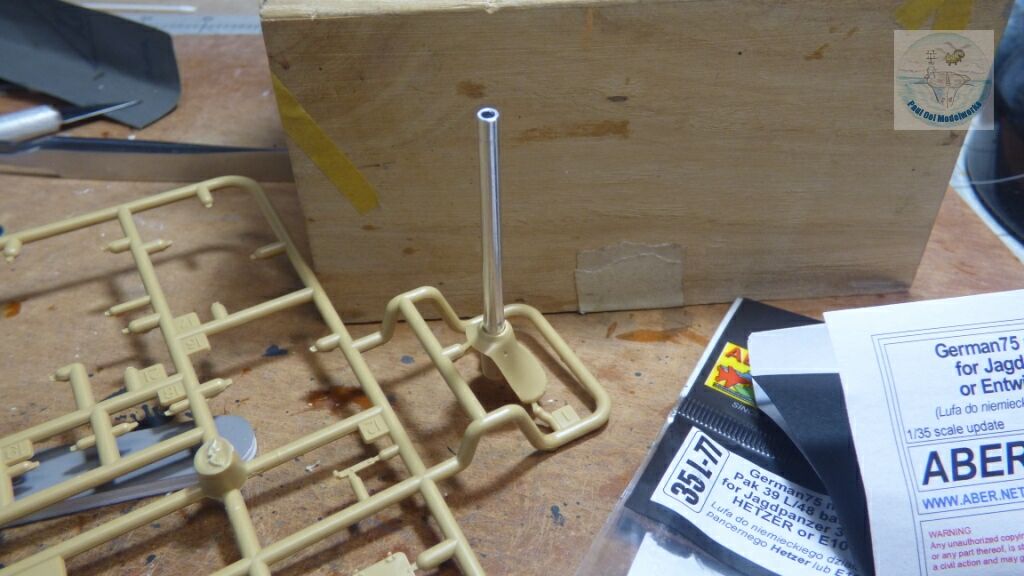
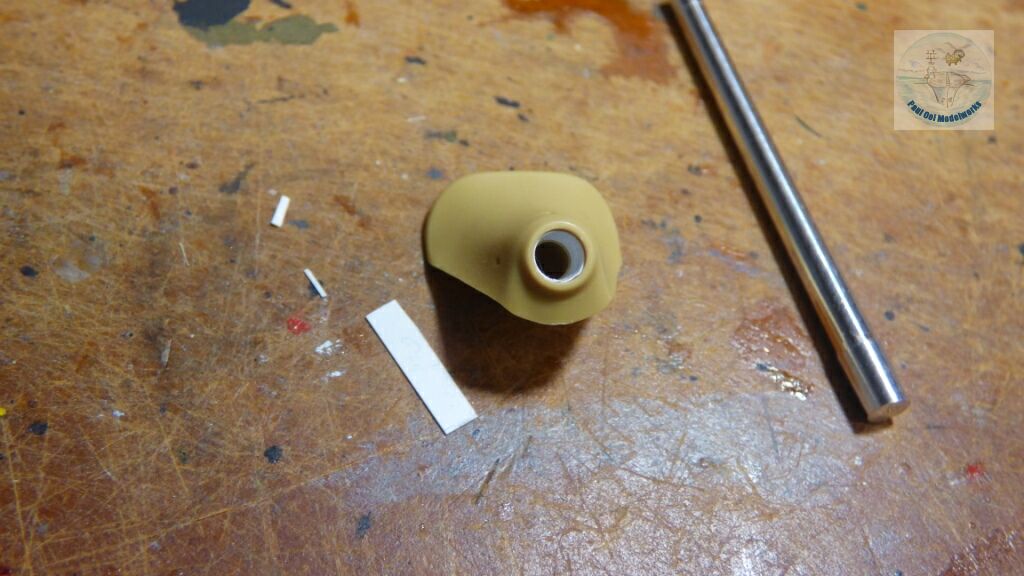
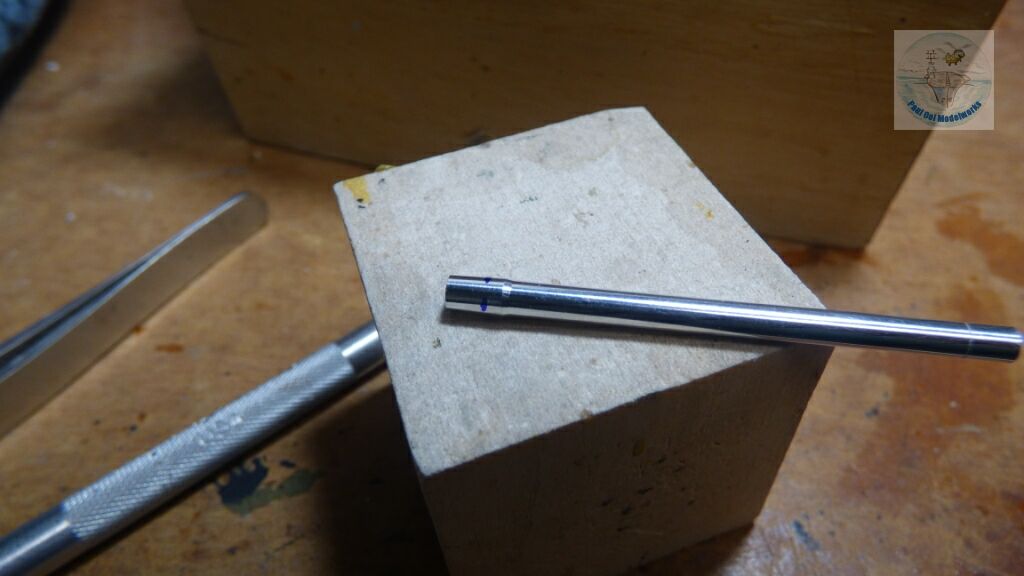
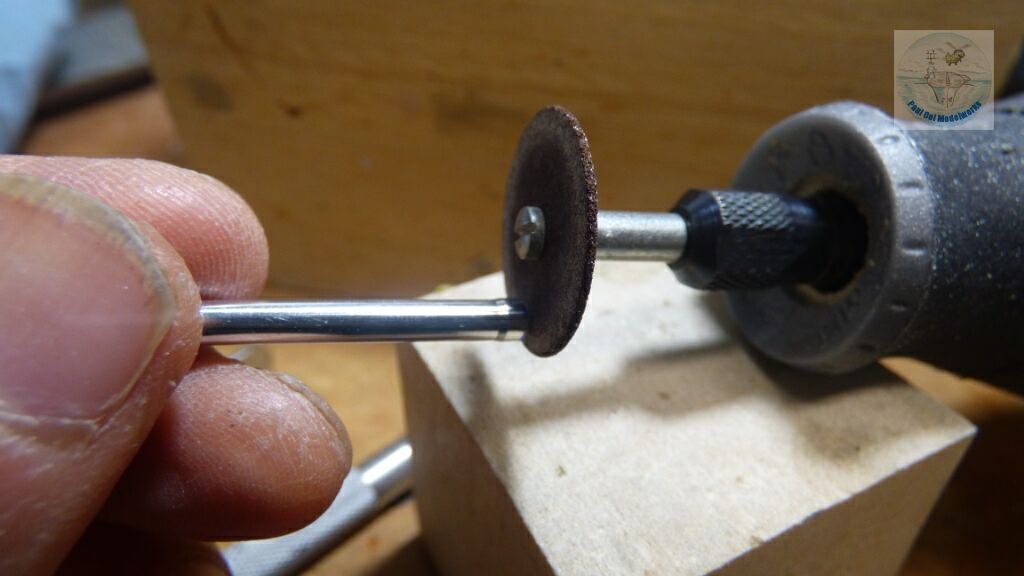
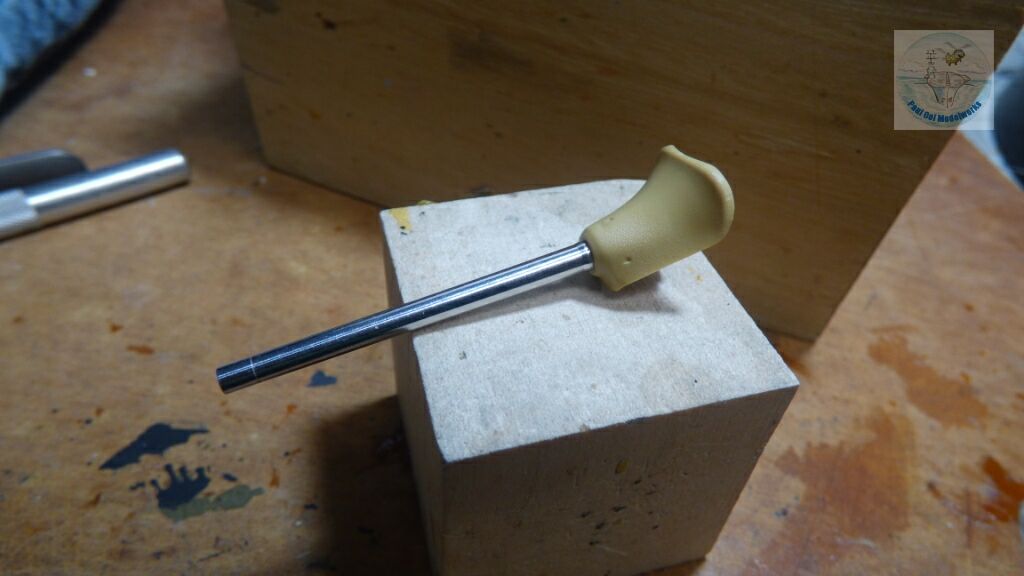
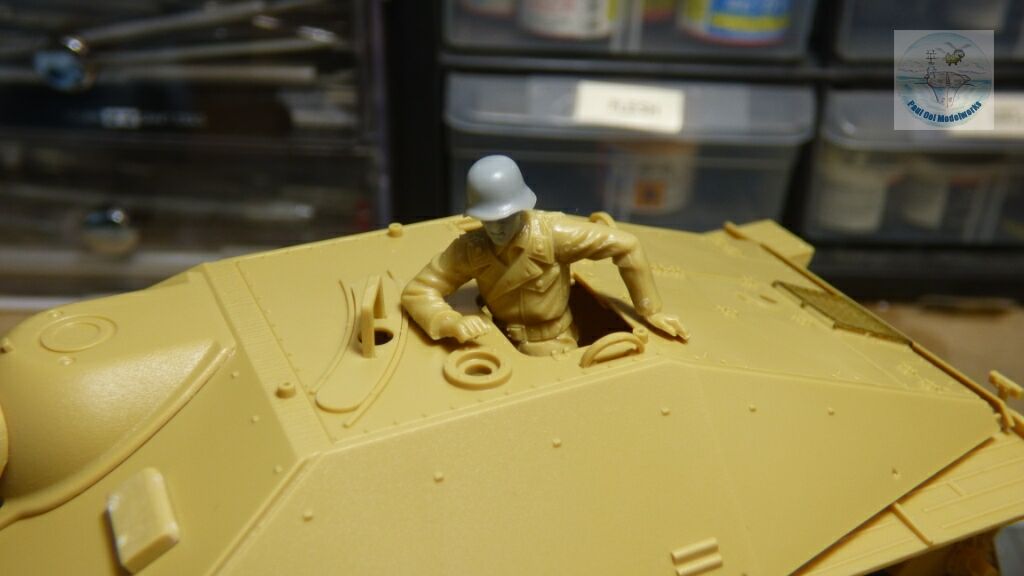
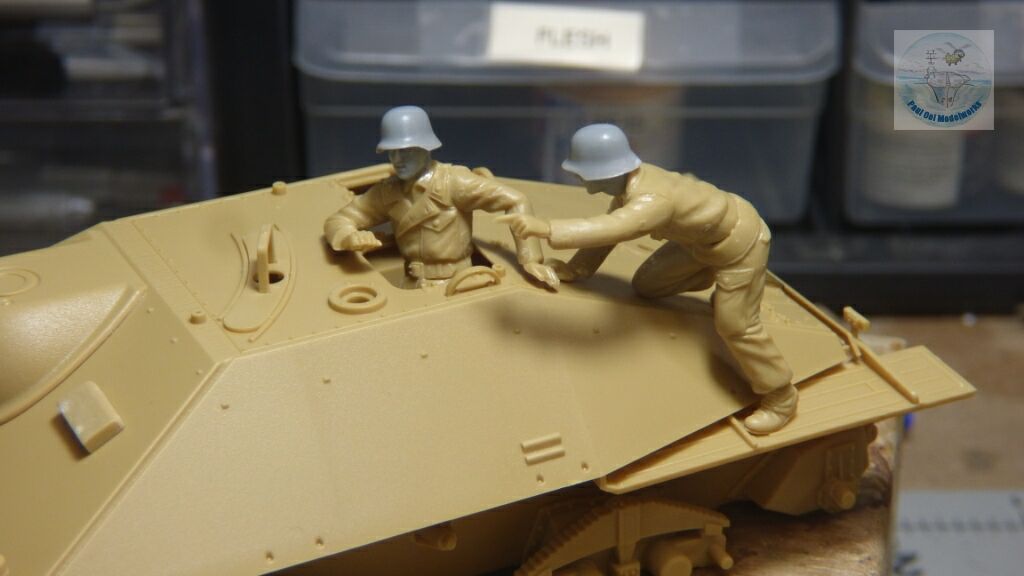
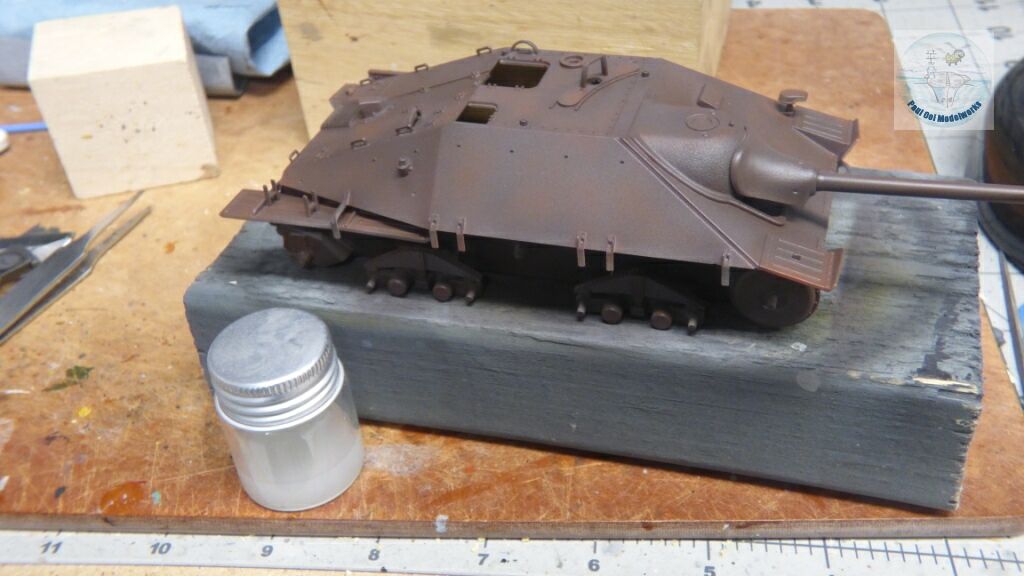
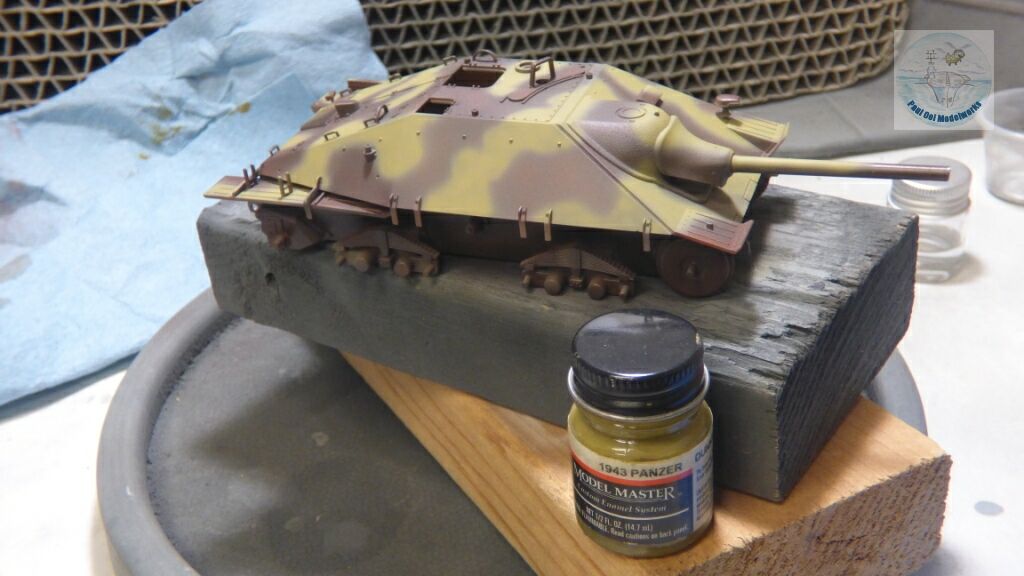
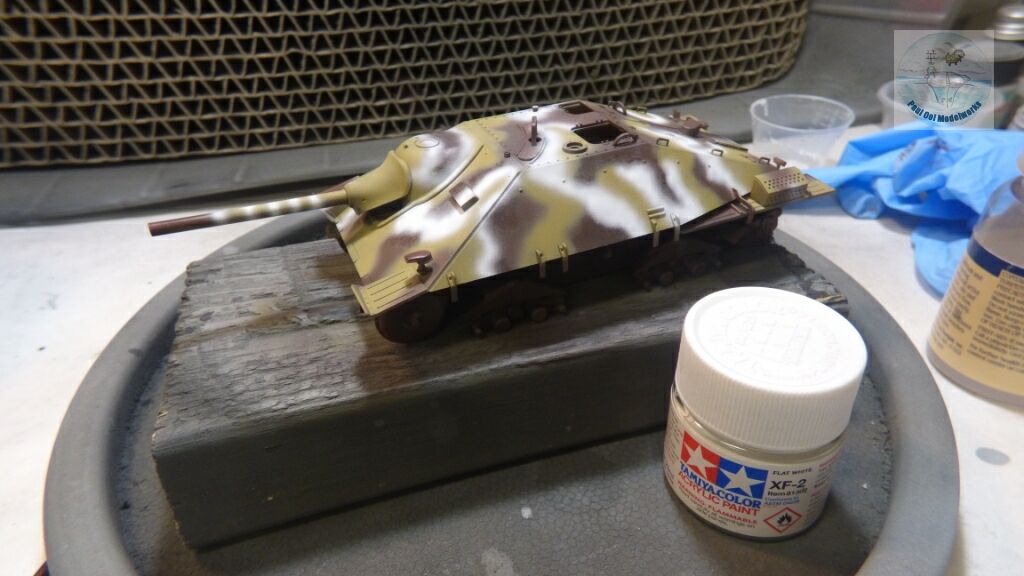
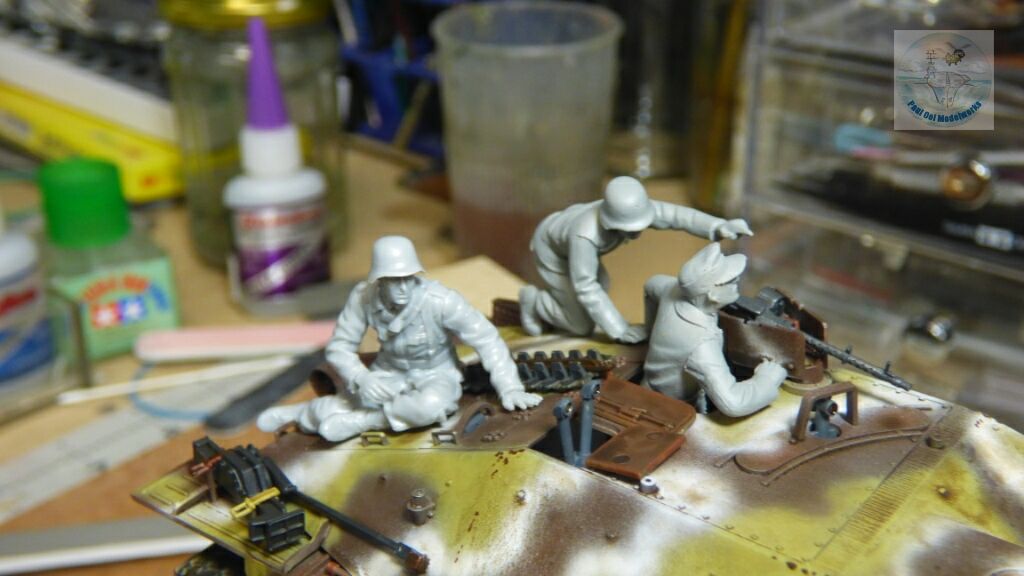
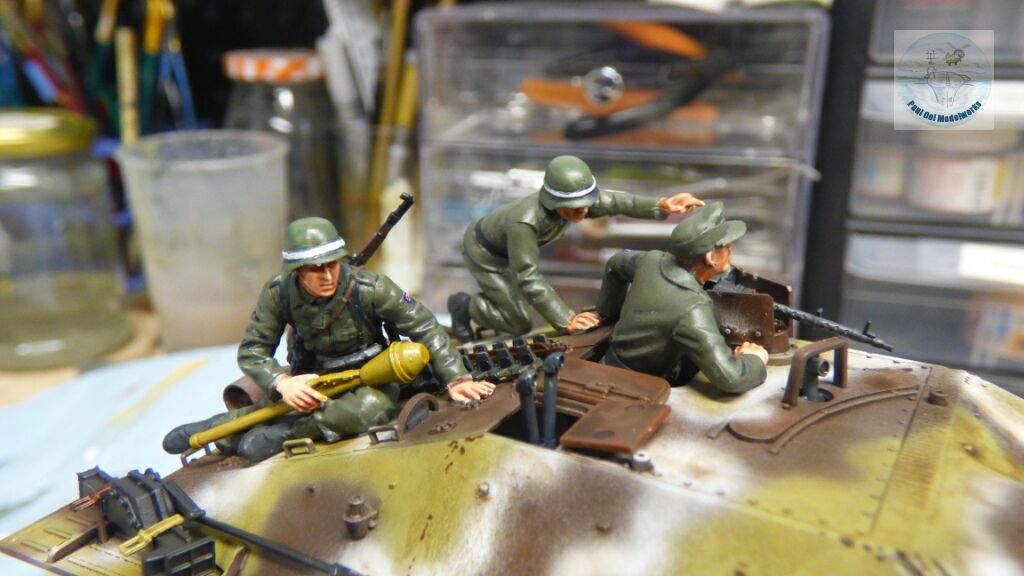
Construction Notes
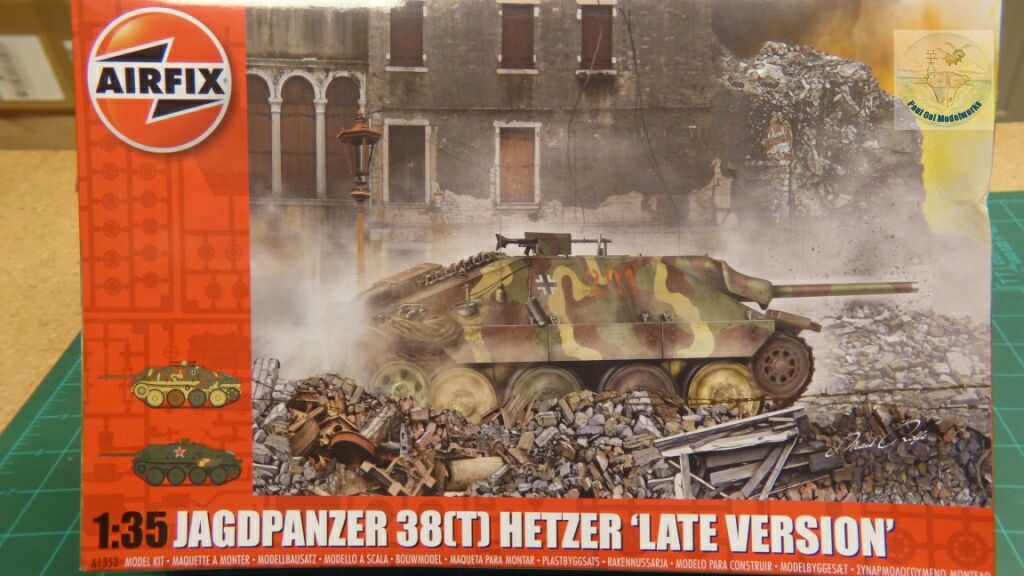
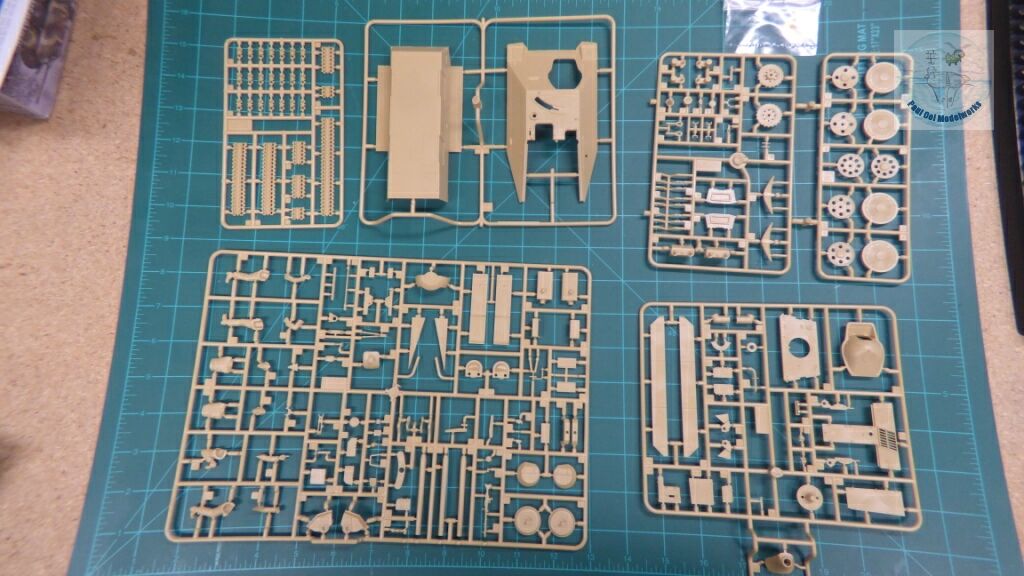
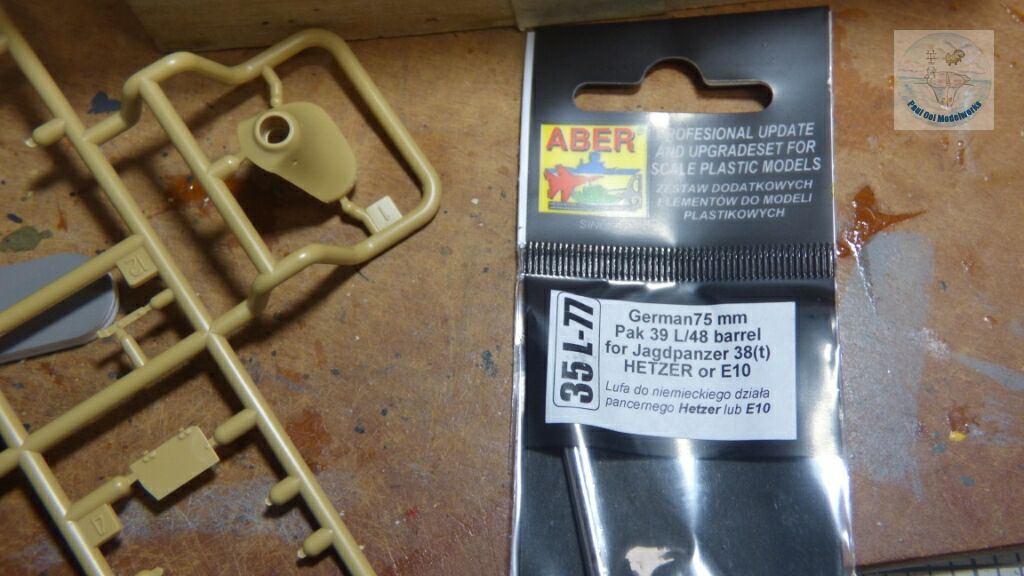
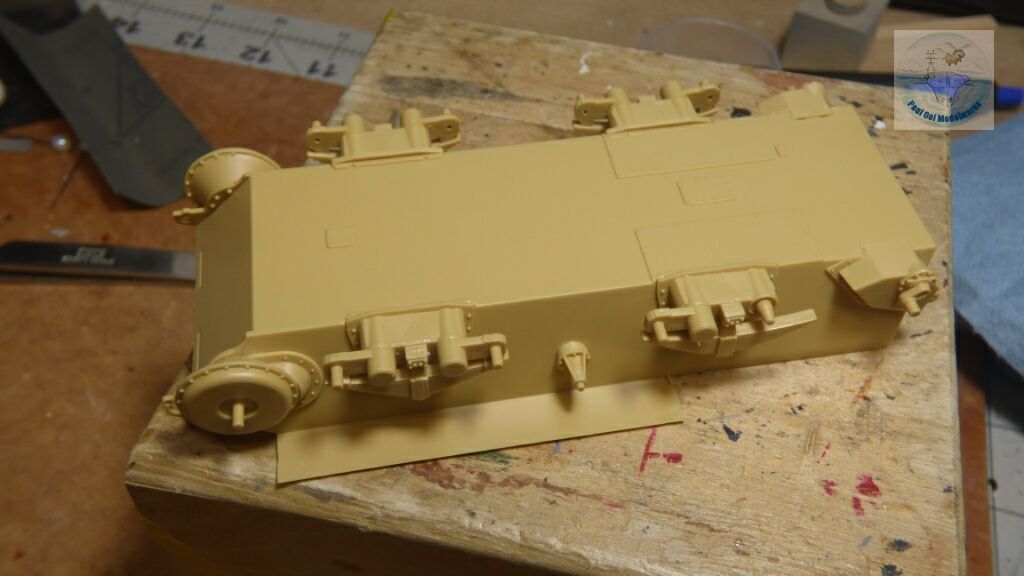
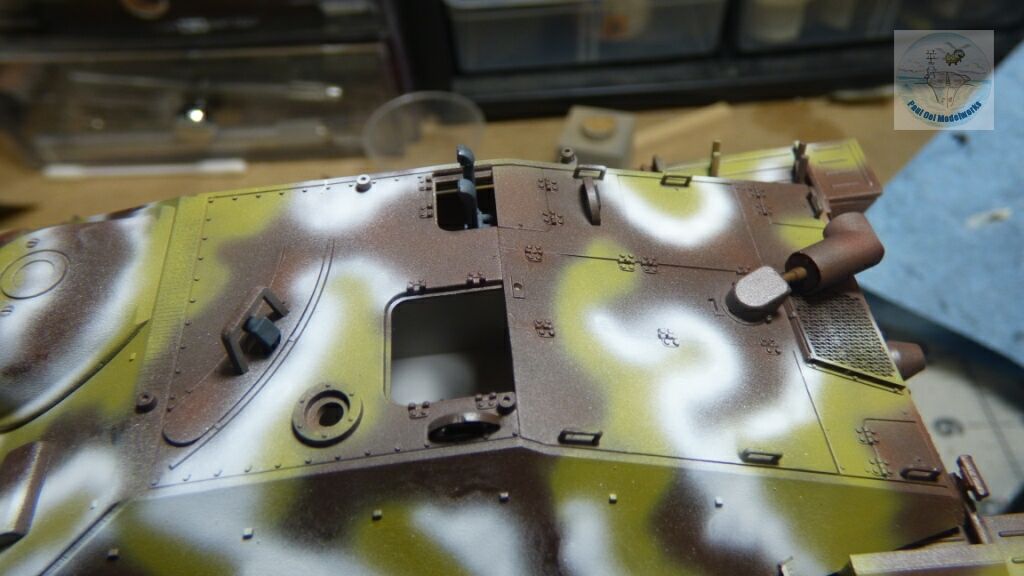
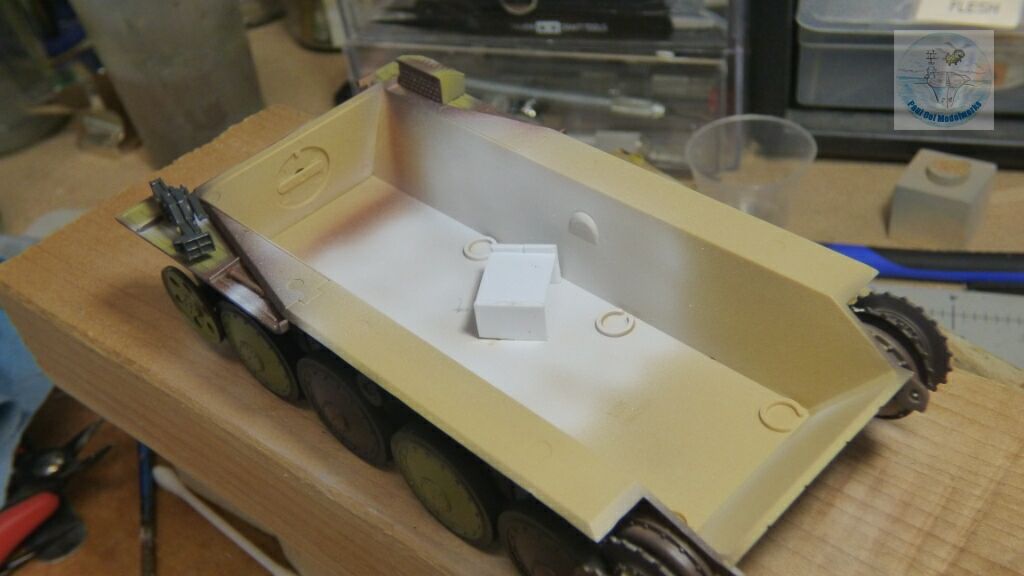
There are at two excellent 1/35 scale kits of the Hetzer. One was made by Tamiya, and the other by Academy, re-released under Airfix with different markings. It is the latter I am building with here. The fit of the kit is excellent, and apart from a few places with ejector marks, the parts are very weld molded with little to no flash at all. I would recommend this kit for intermediate to advanced builders, simply because German camouflage schemes are always challenging. The fit is alright for a beginner (with some care) but I would then choose the single overall green color for the Bulgarian version.


Leave a Reply