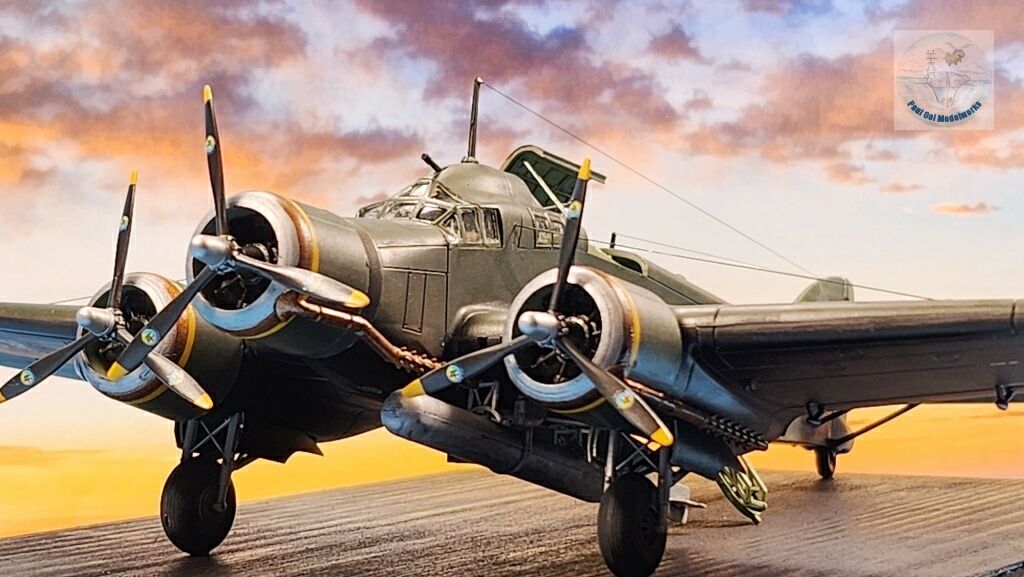
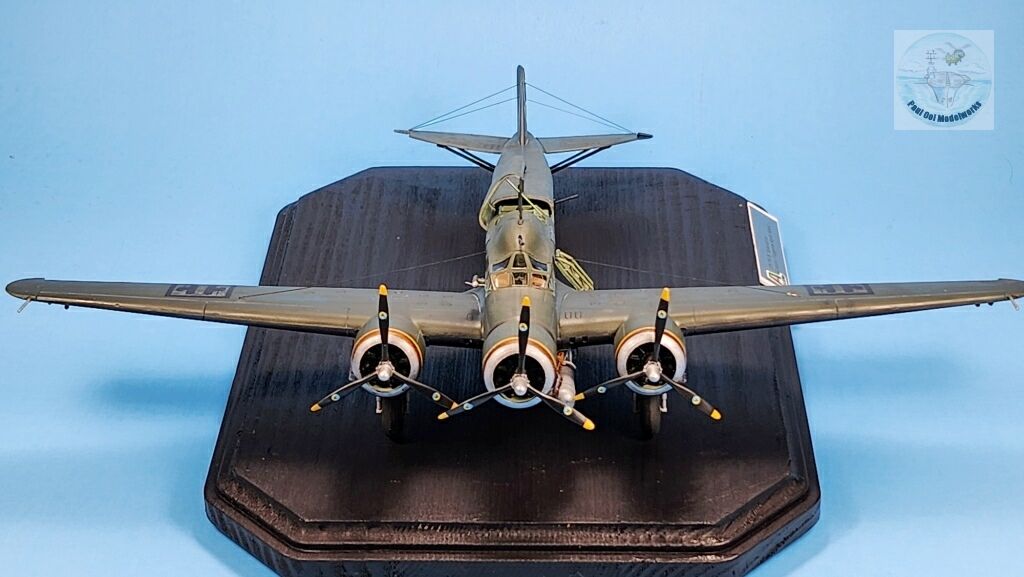
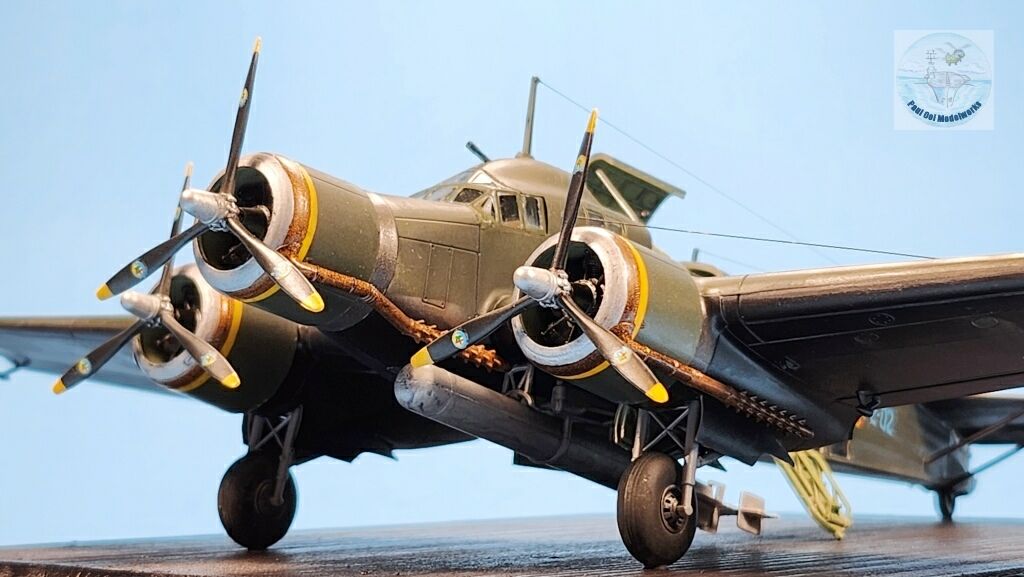
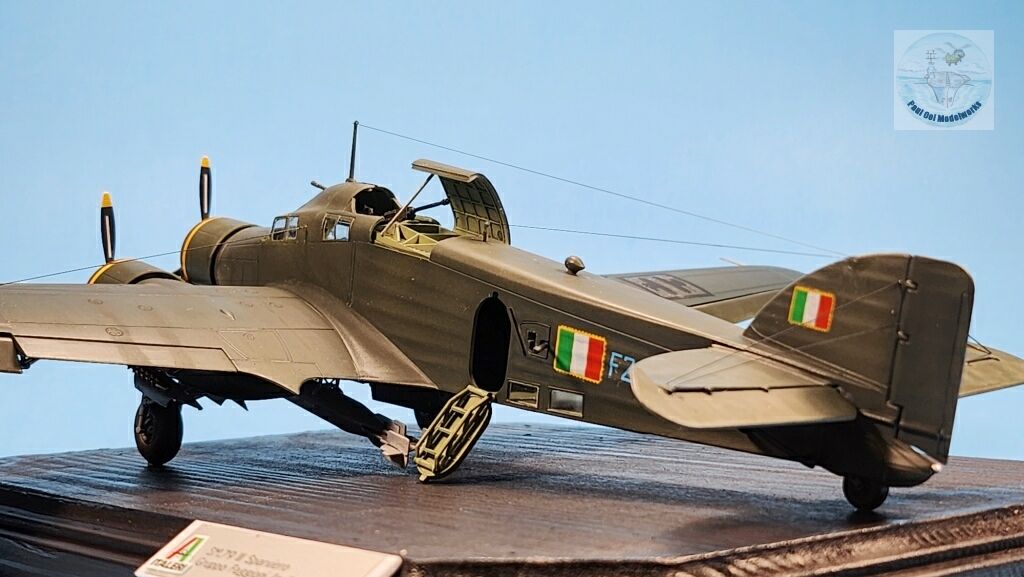
The Savoia-Marchetti SM.79 was a mono-plane design from the early 1930s and in its heyday, broke many speed records. One might not be able to guess this by the ungainly look of the trimotor aircraft, especially the later versions used by the Royal Italian Airforce equipped with the top gunner’s hump. The SM.79 was deployed in the Spanish Civil War and the early Italian campaigns in Greece and North Africa as a bomber. The Italians also used the SM.79 to great effect in the Mediterranean theater as a long range ant-shipping platform. The powerful engines were able to carry huge torpedoes under the aircraft’s belly and was the scourge to Allied supply ships. As the war crept closer to the Italian homeland, the need to survive Allied fighter attacks saw the development of the SM.79 III with larger fuel capacity, increased armor and the addition of waist-gunner positions. This version was the last produced for the Italian war effort, although surviving specimens continued to serve the Italian armed forces until the 1950s.
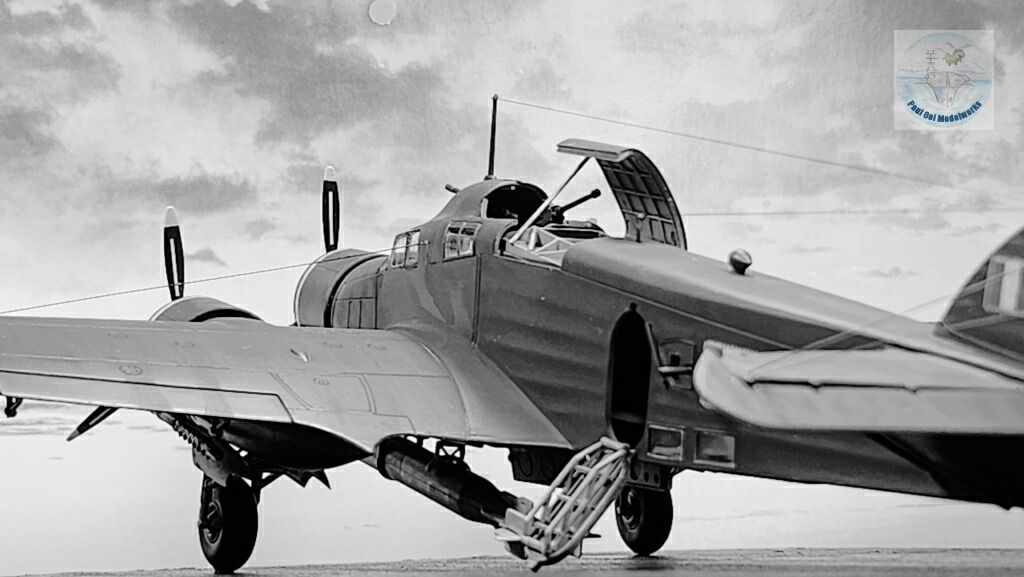
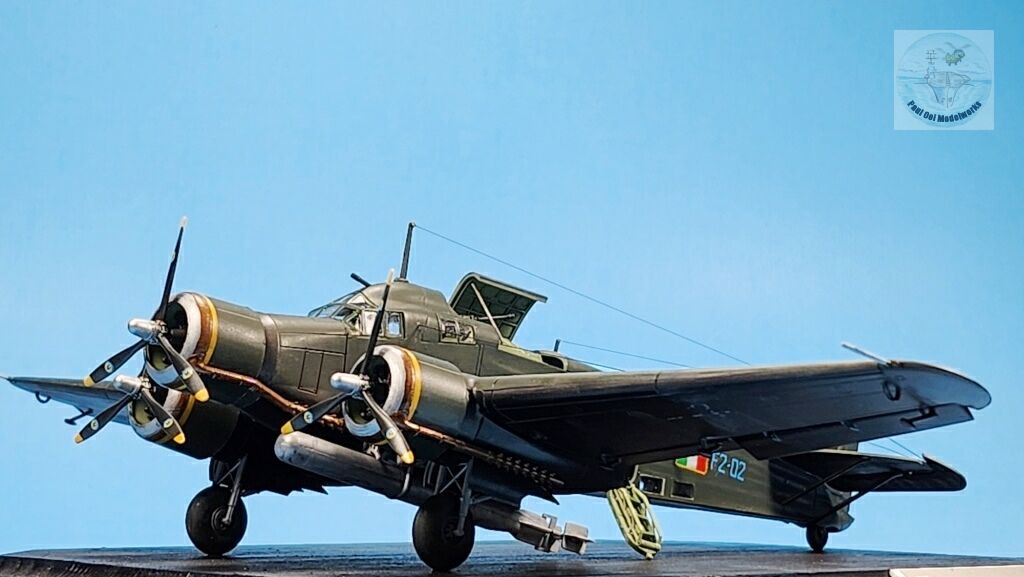
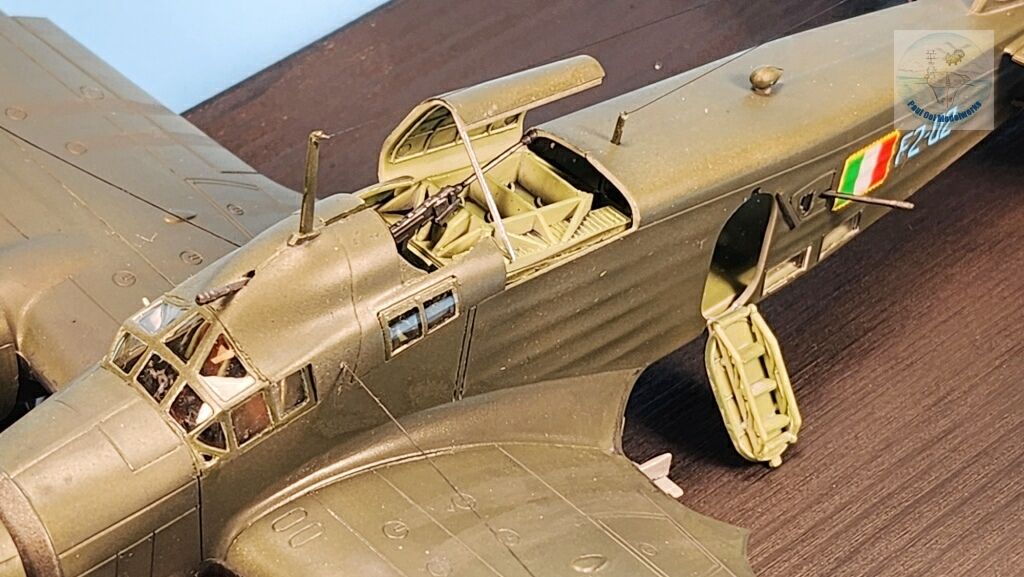
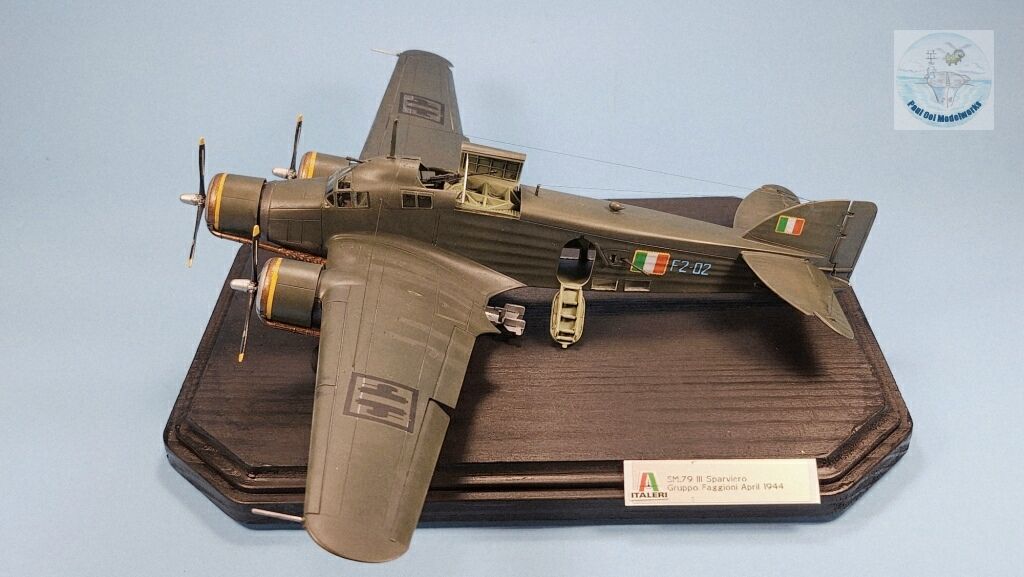
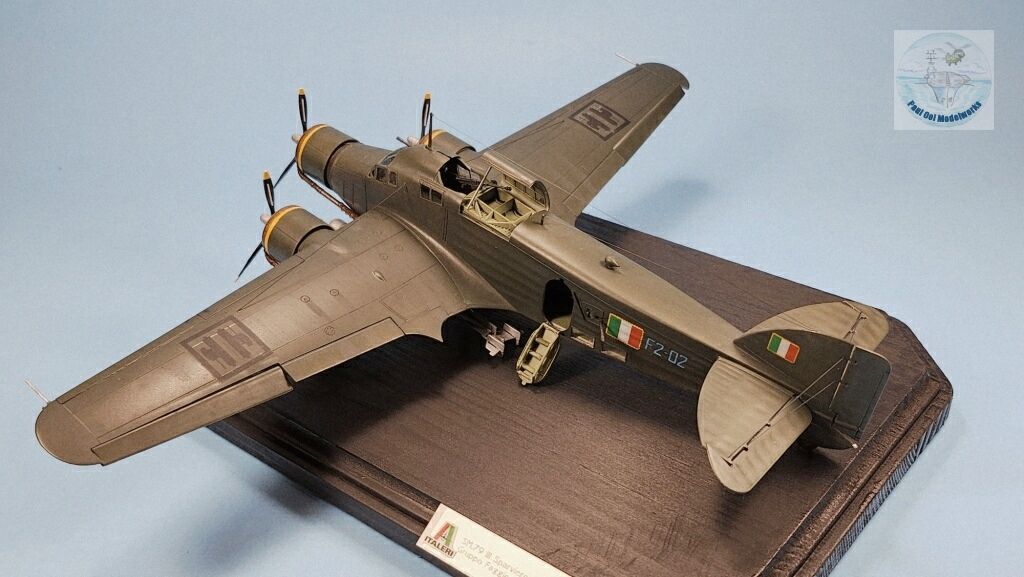
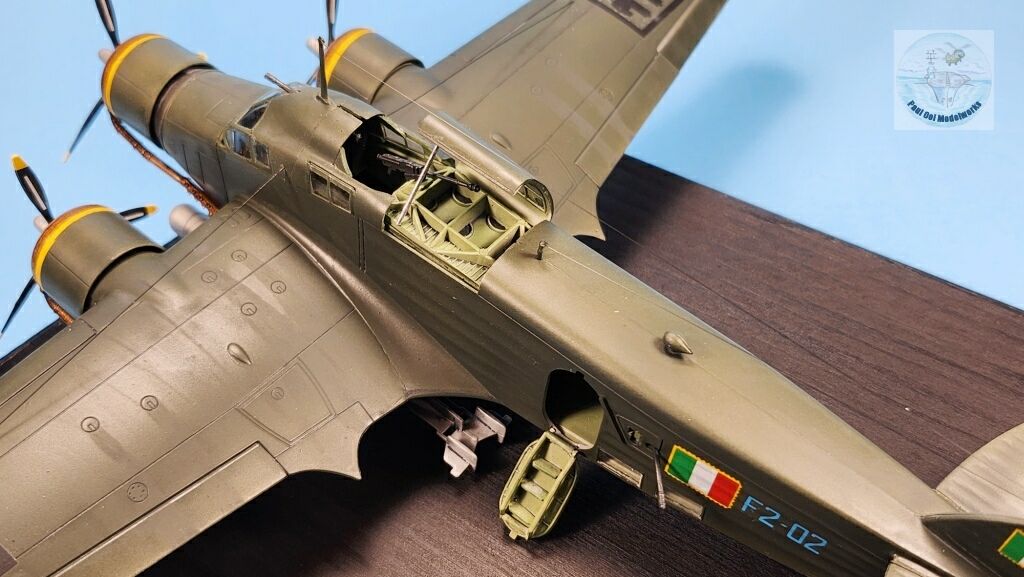
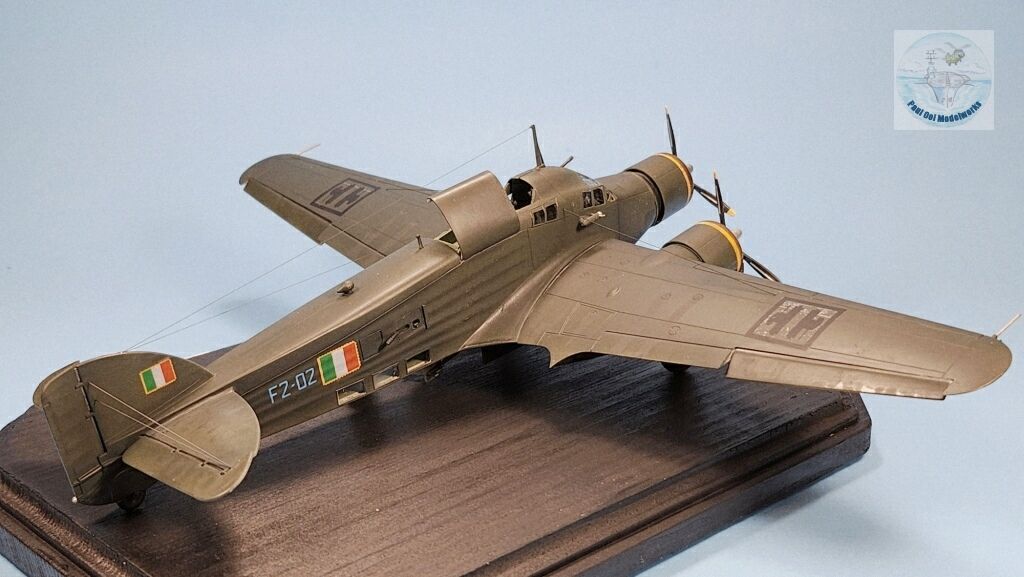
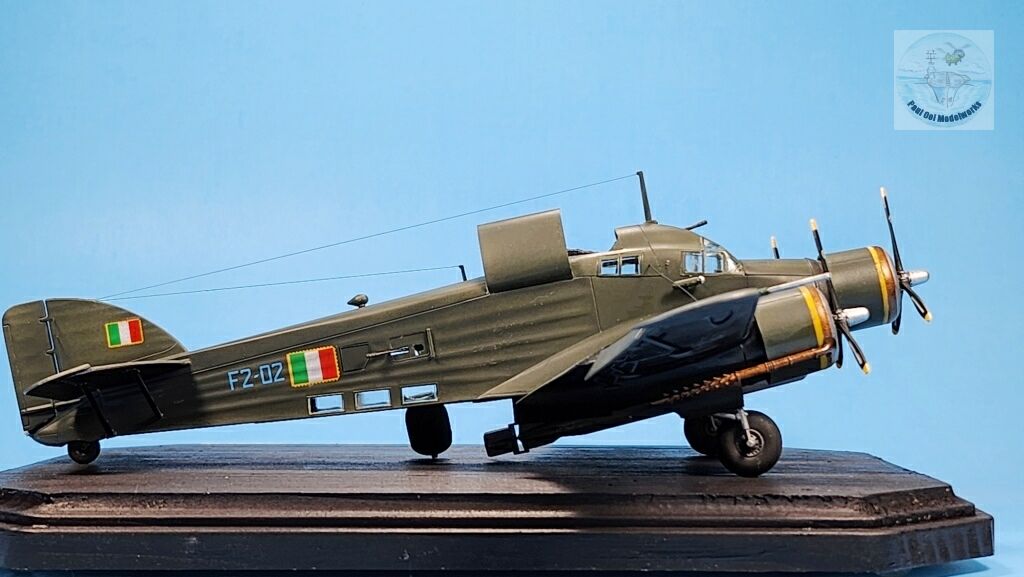
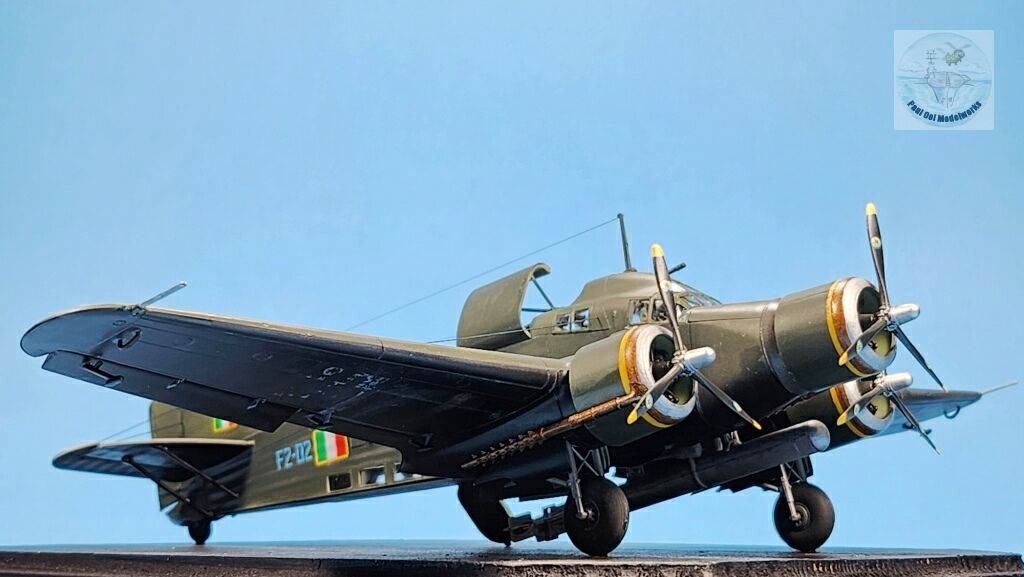
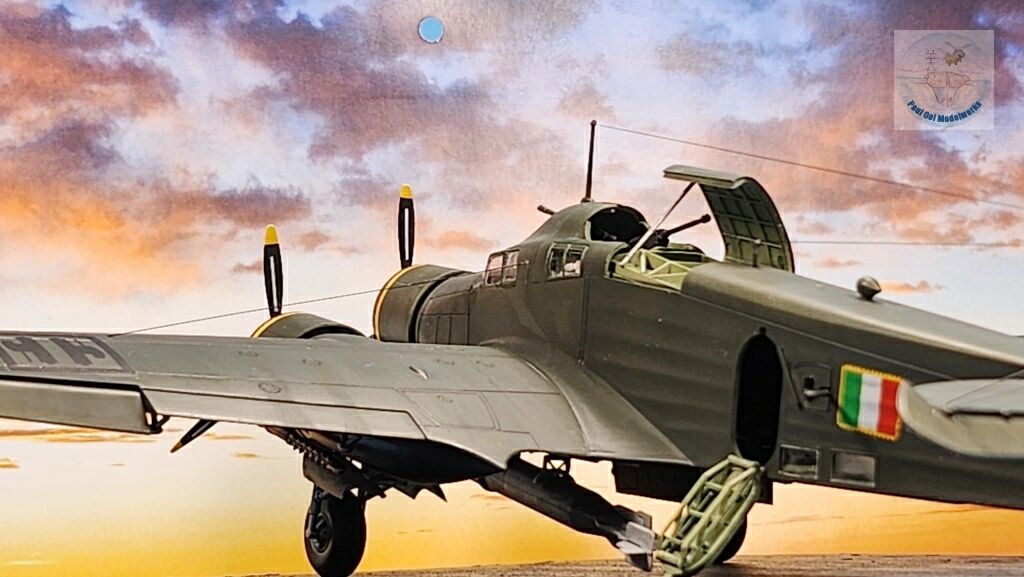
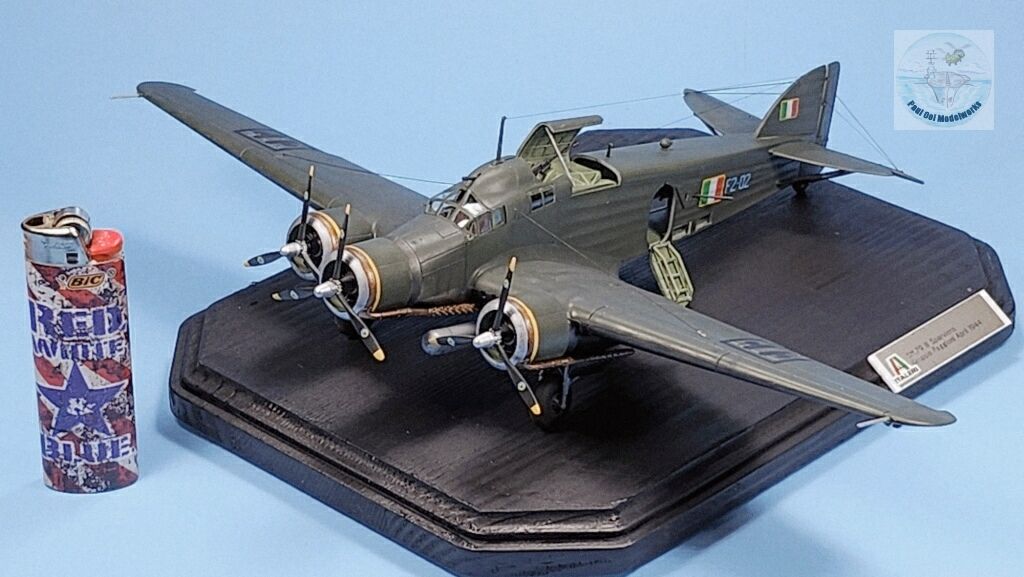
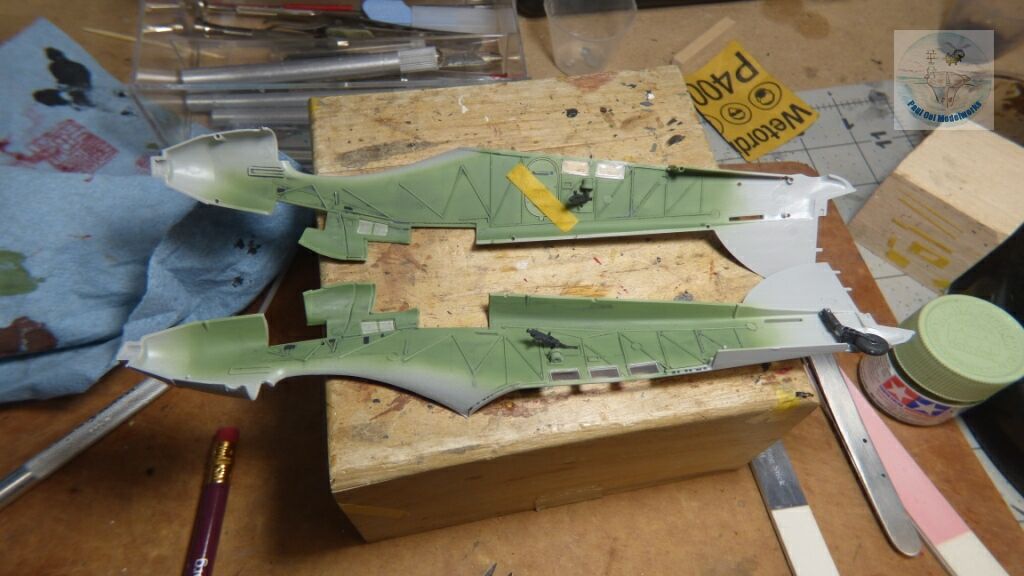
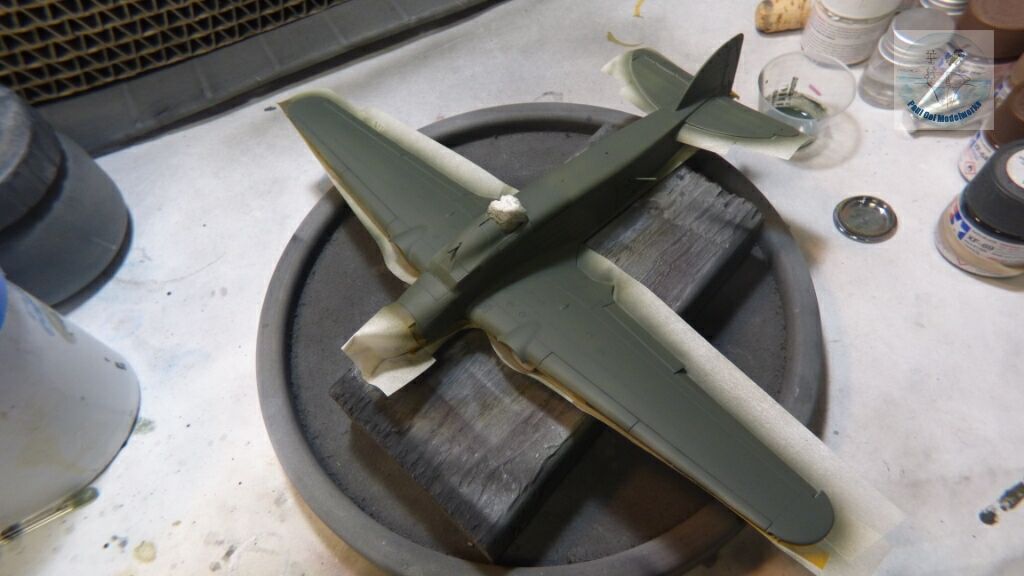
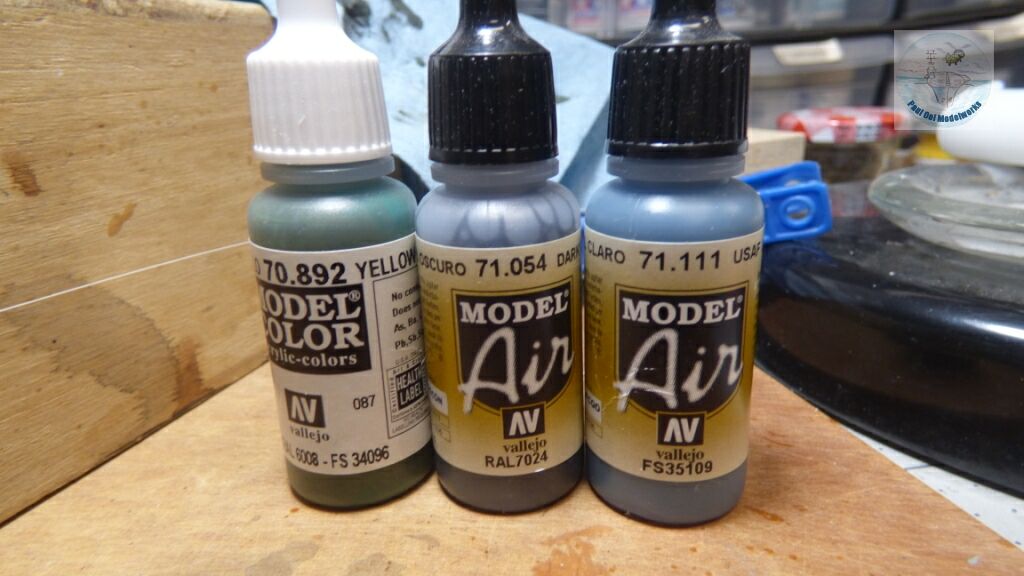
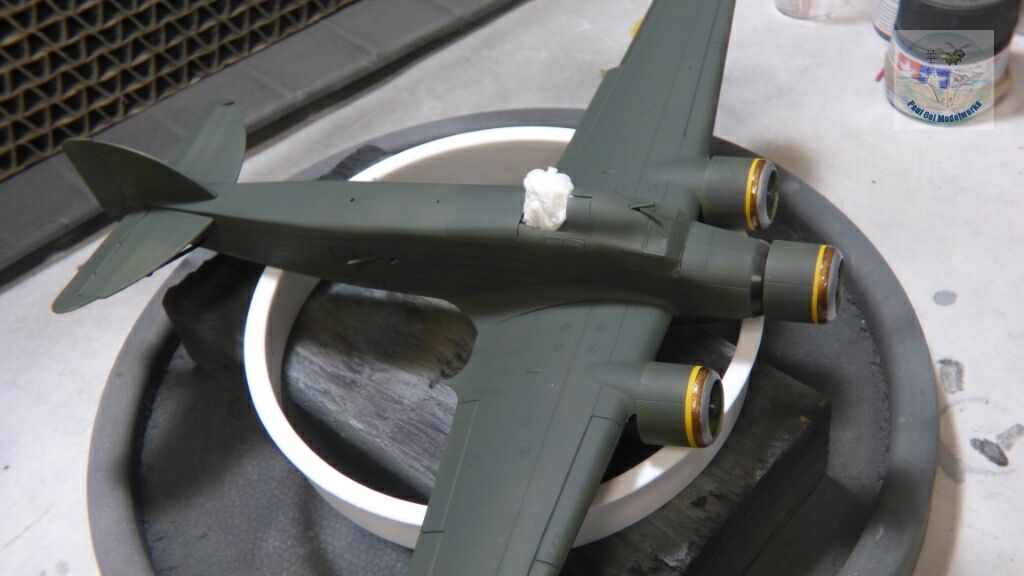
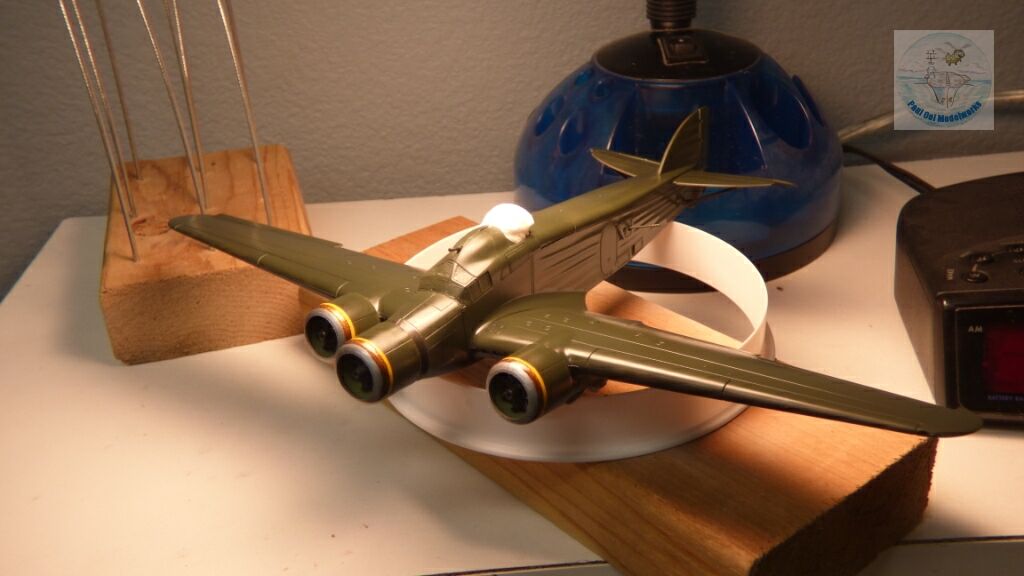
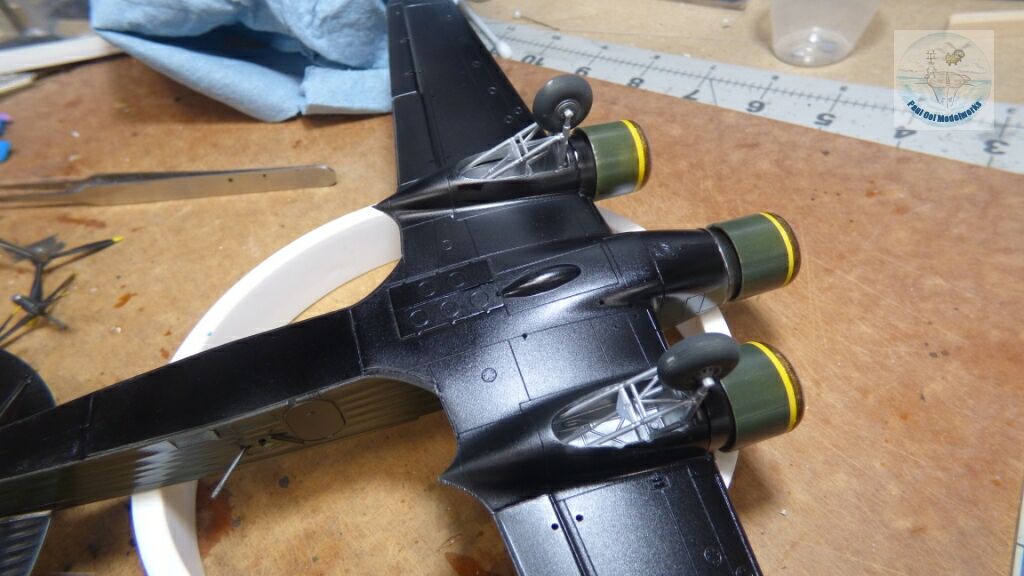
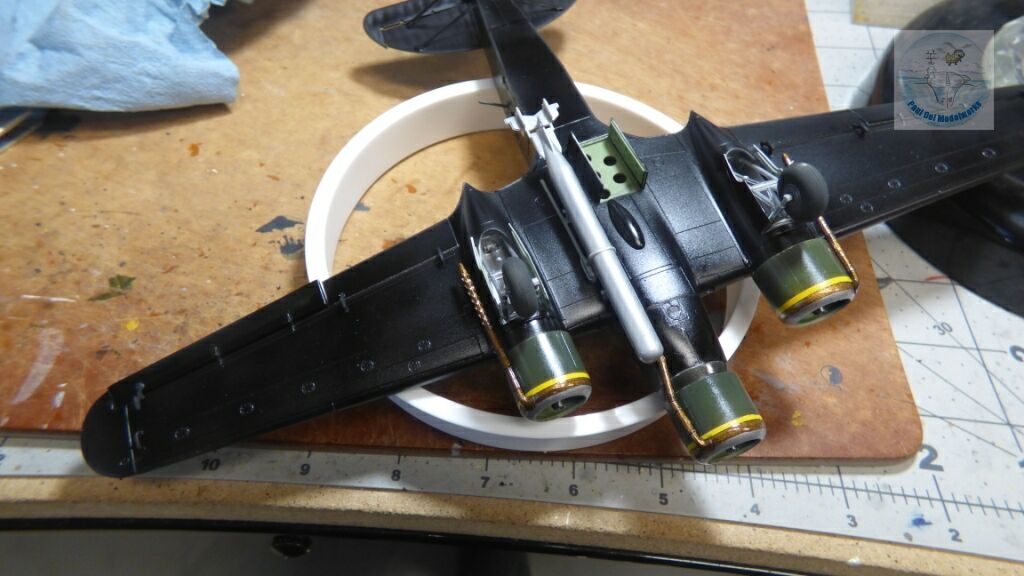
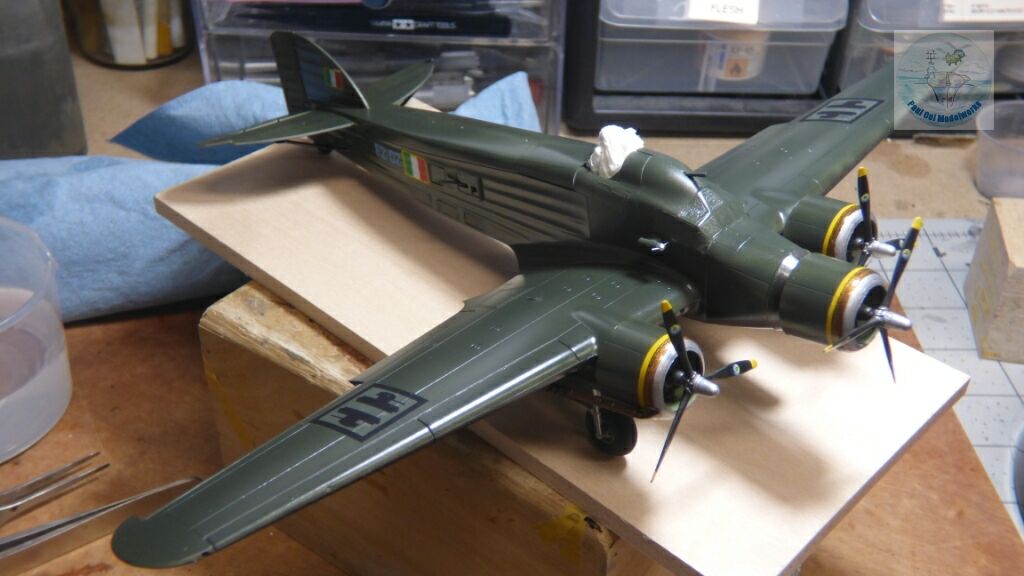
This aircraft that I modelled belonged to the 2nd Squadron of Gruppo Faggioni in the first half of 1944 based out of Lonate Pozzolo. By this time, the aircraft was painted overall Olive Green and the undersides were painted black for night missions against Allied shipping. Despite having to fly by night, the SM.79 did not have radar equipment or any other form of early radio equipment to navigate in the dark. However, the Italian flyers were still able to score hits with their torpedo attacks, a testament to their grit and skill in finding and hitting the enemy. This was particularly hazardous during their campaign to attack the Anzio landings and resulting beachhead between January through April of 1944. It was during this time that this unit lost many aircraft and pilots, including their commander, Captain Faggioni.
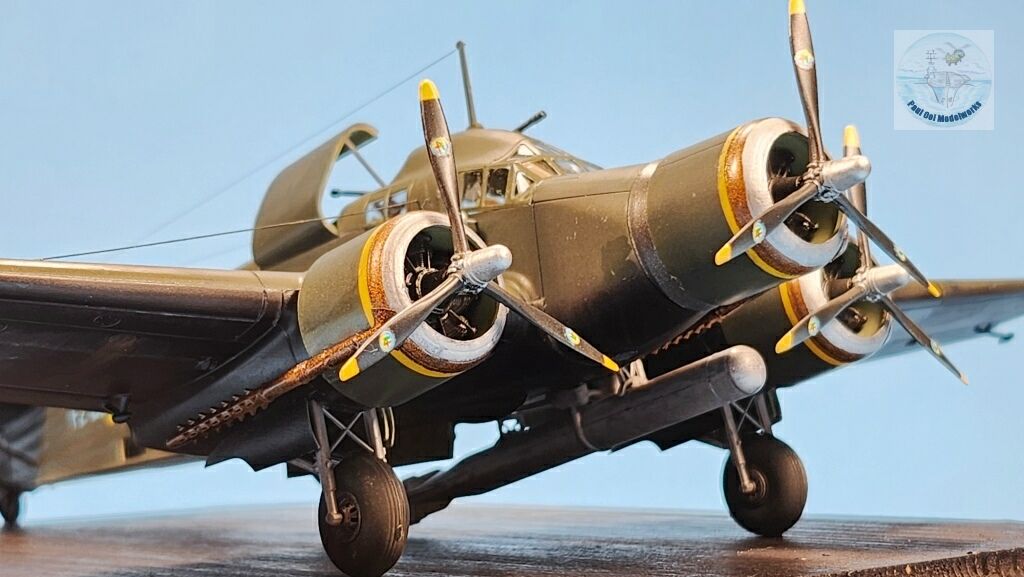
Gallery

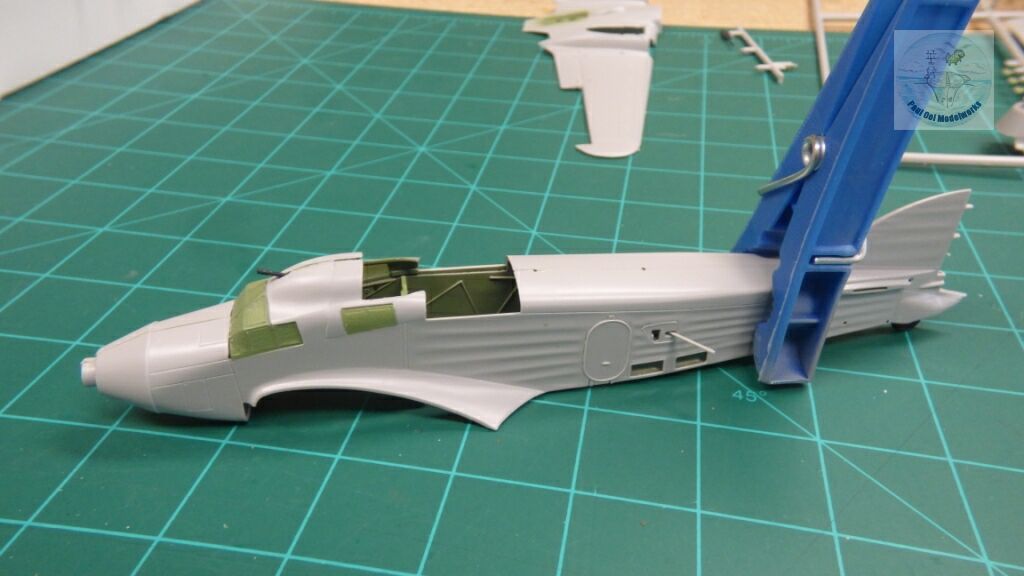
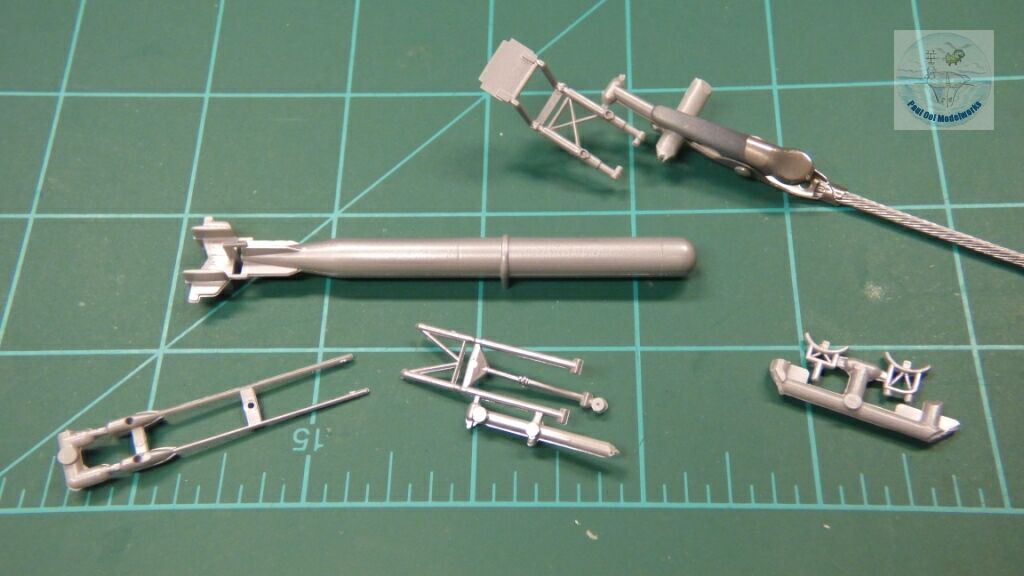
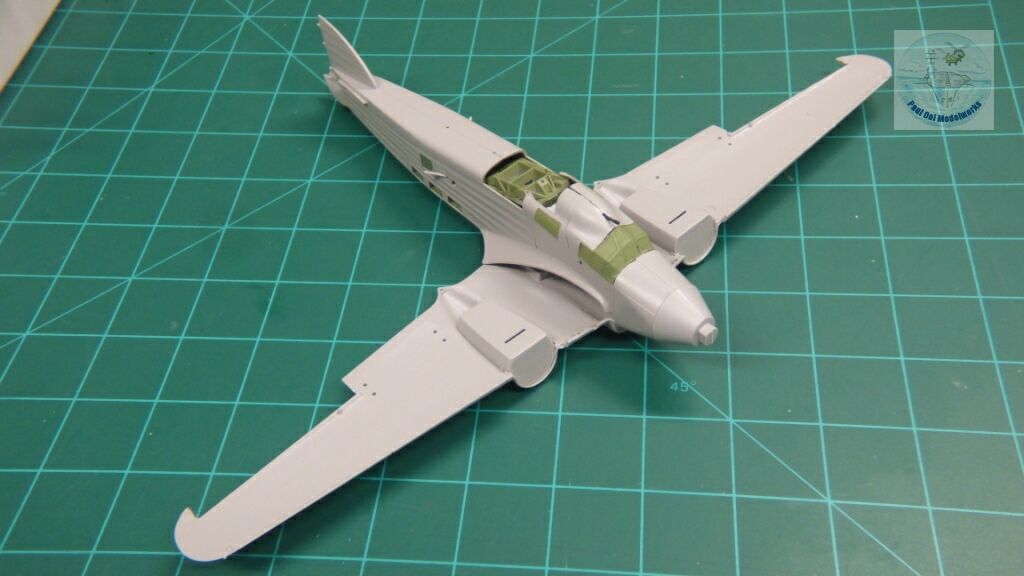
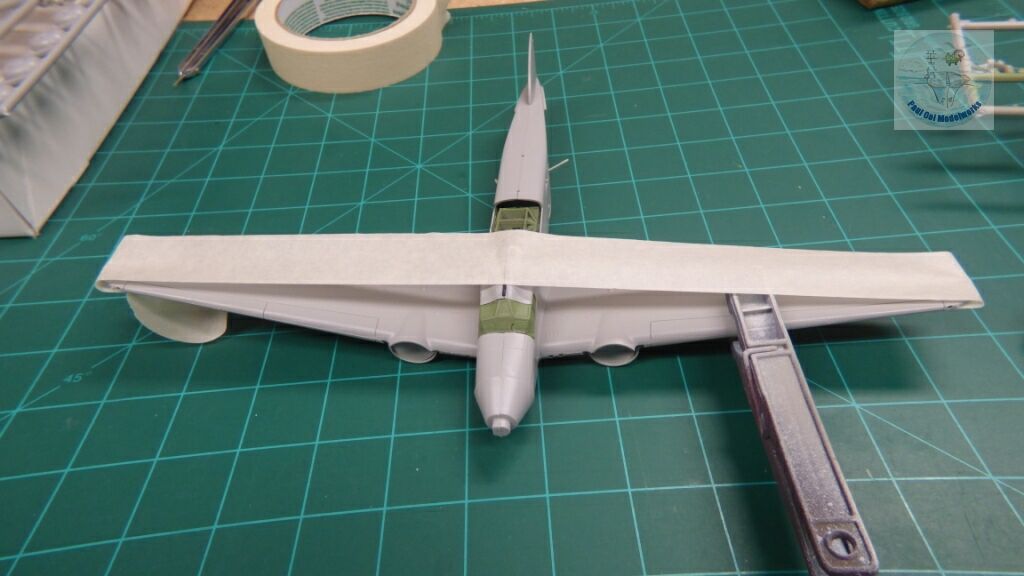
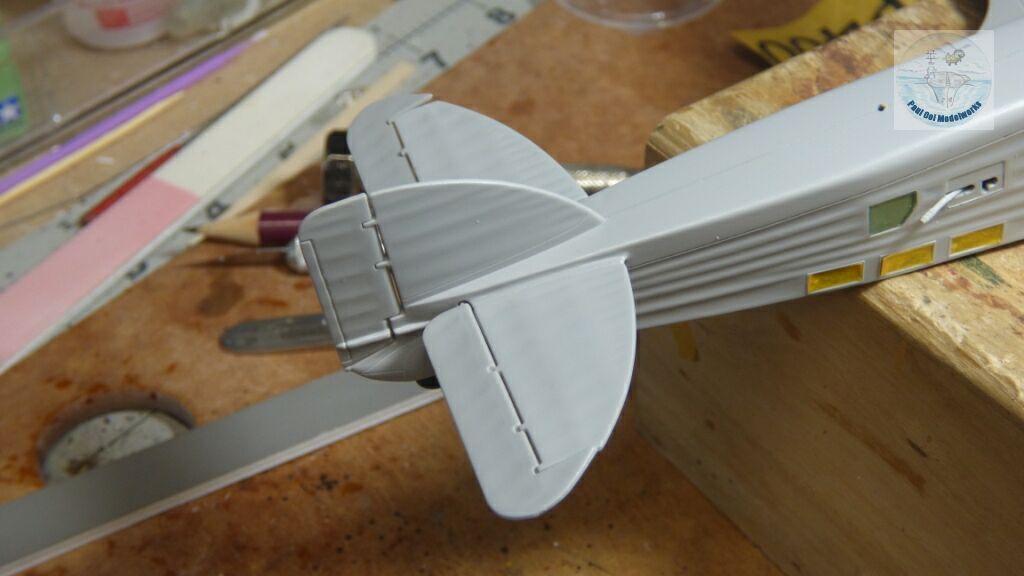
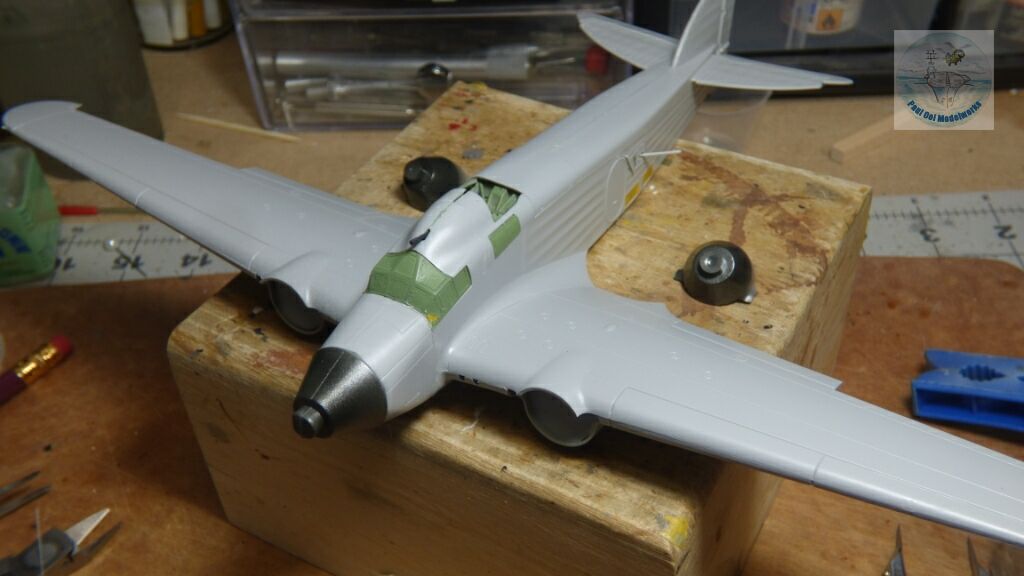
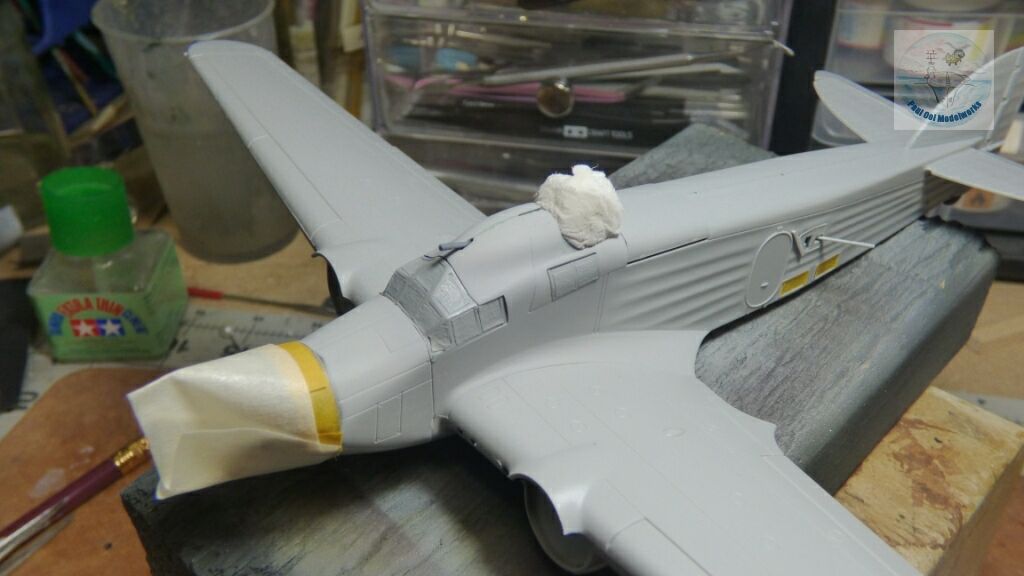
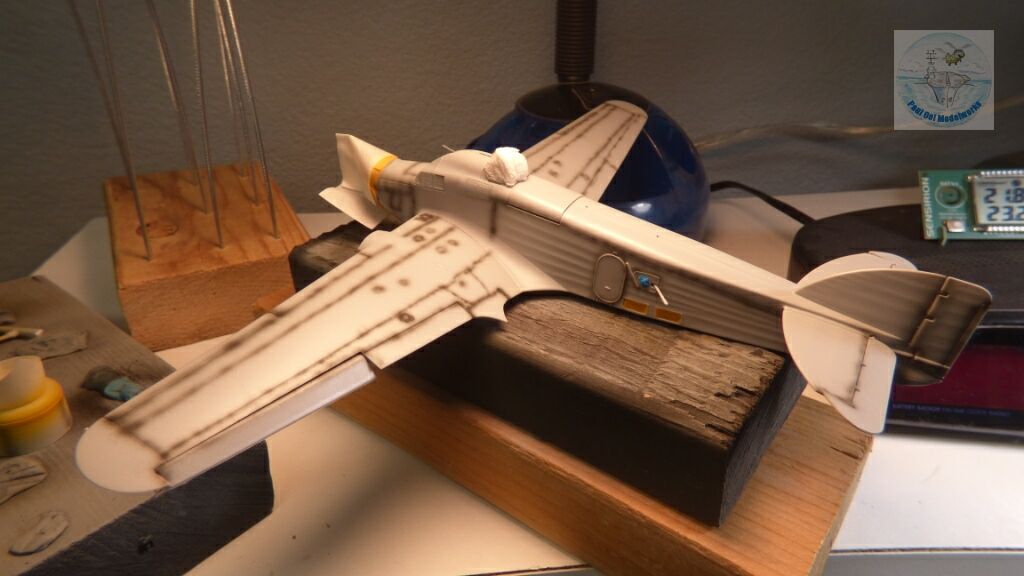
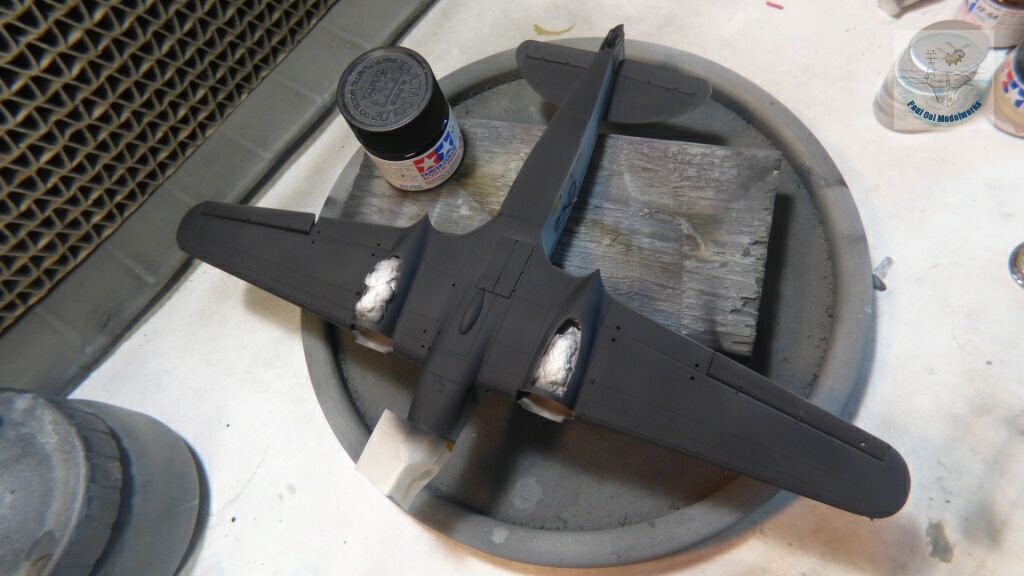
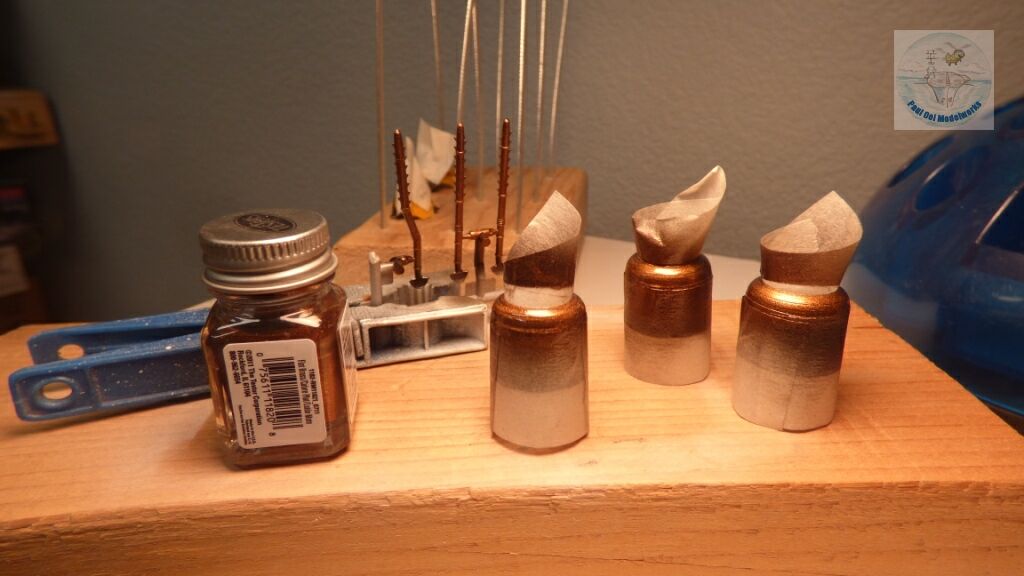
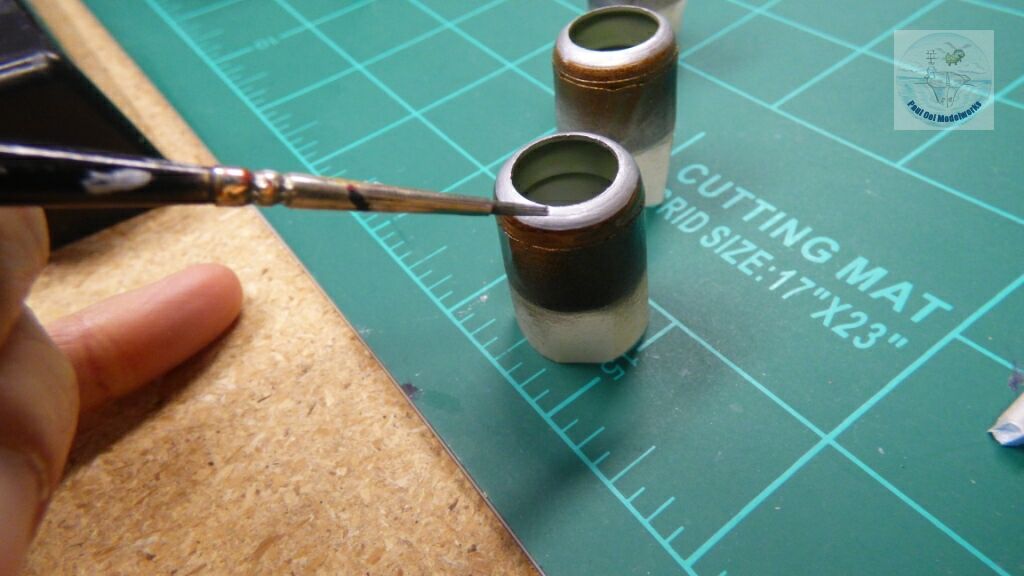
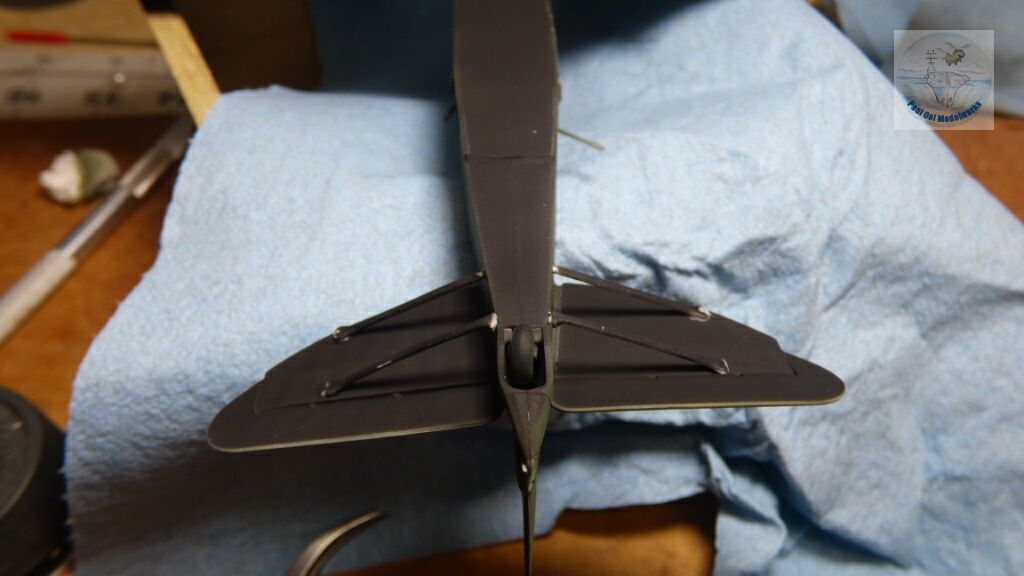
Construction Notes
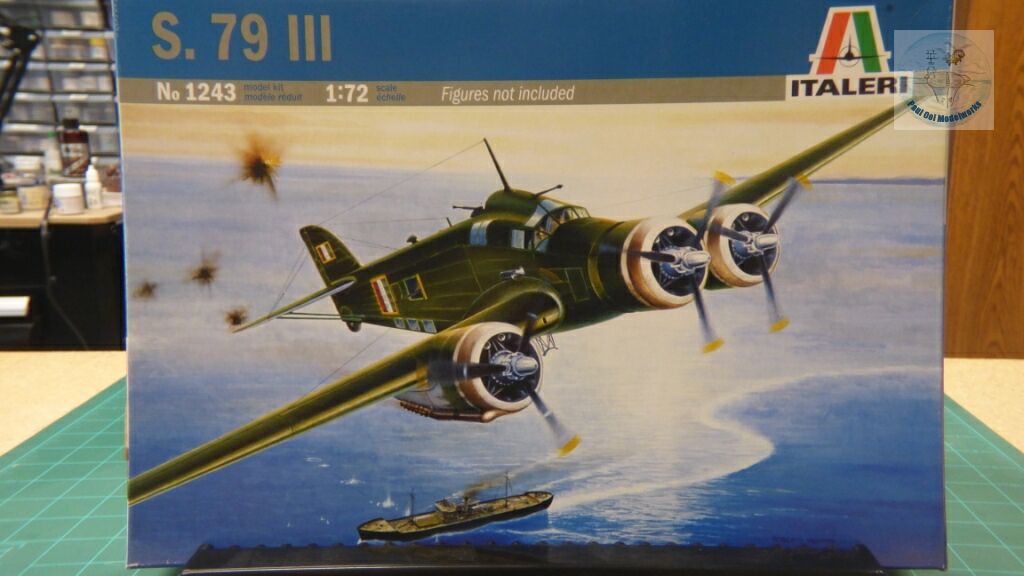
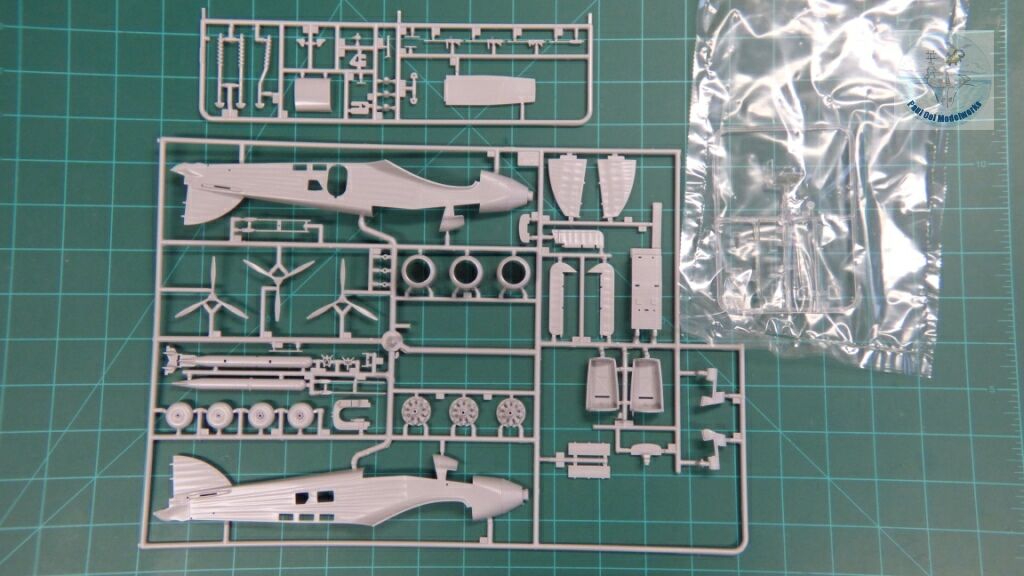
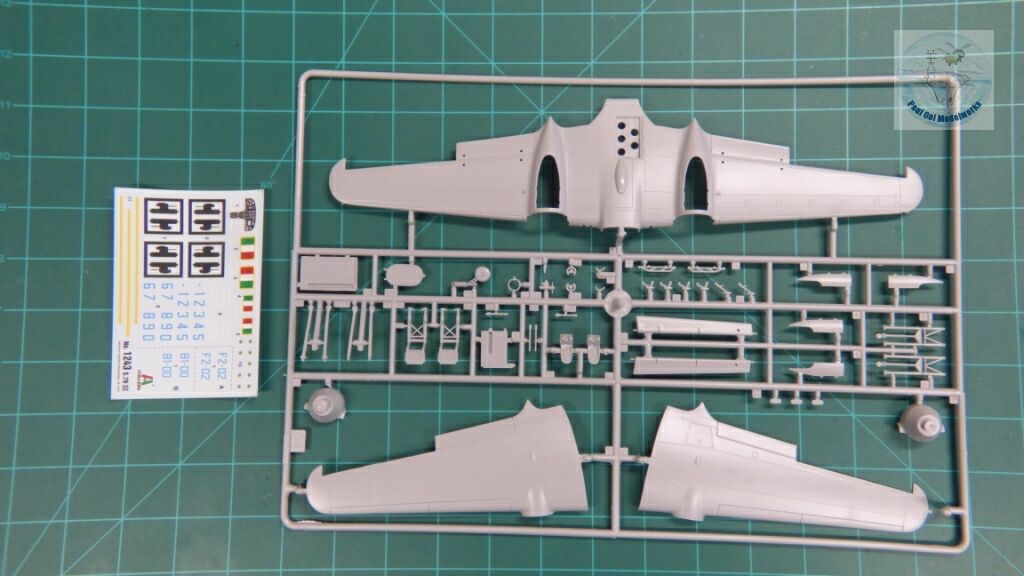
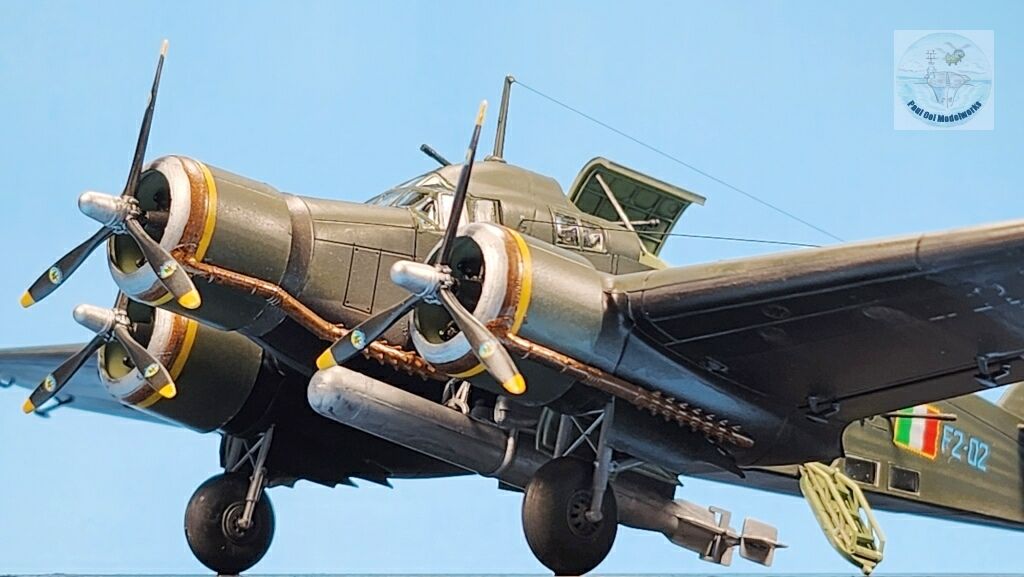
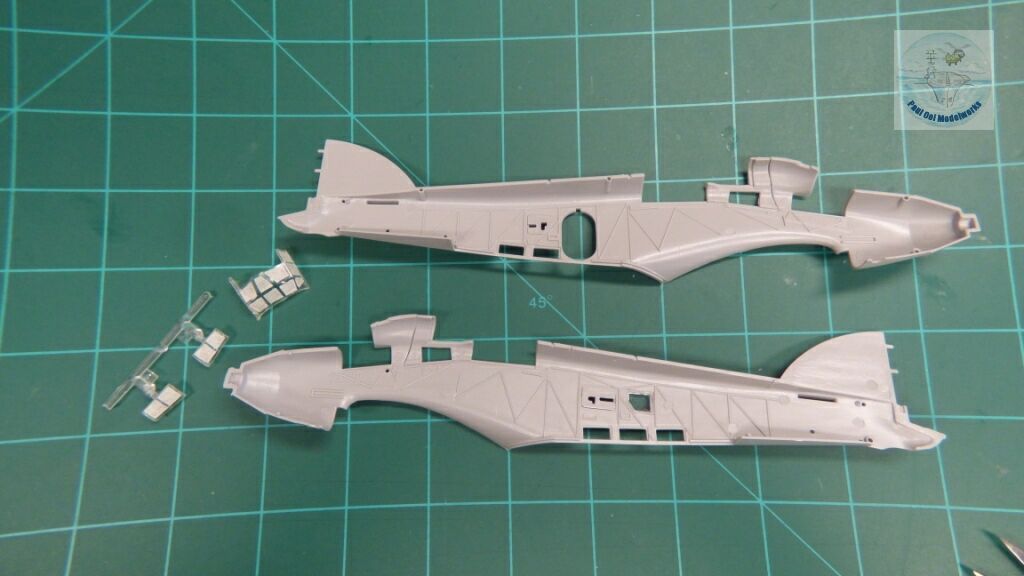
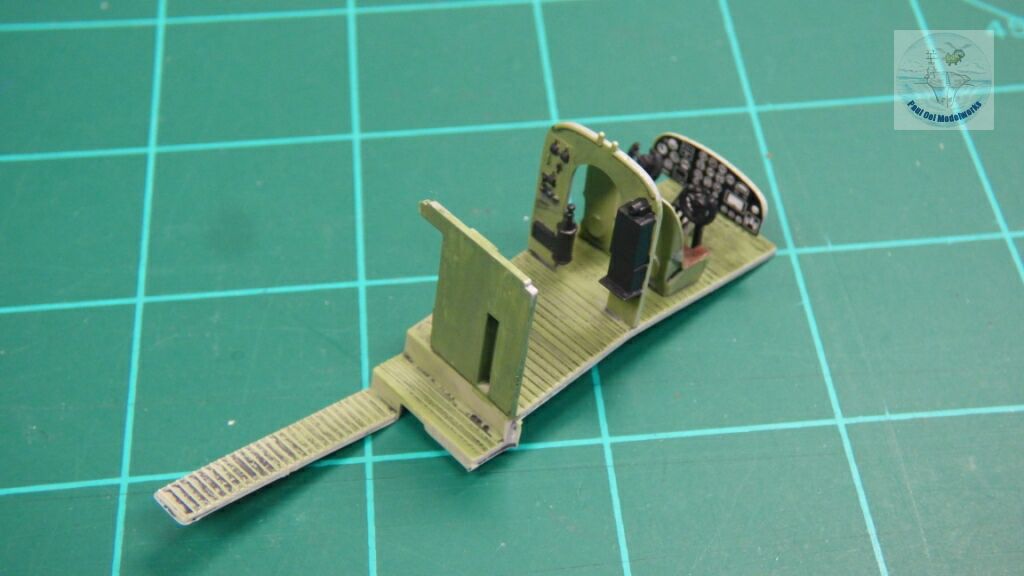
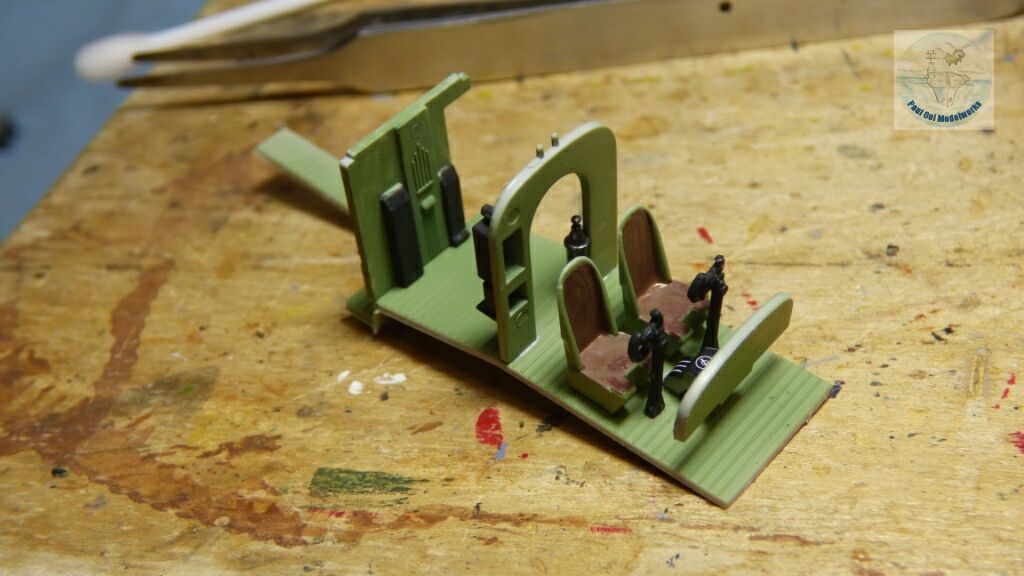
I had bought this 1/72 scale Italeri kit of the infamous il gobbo maledetto (the cursed hunchback) many years ago and it got lost in my stash of unbuilt models. Recently while I was looking for something else, I came across this kit and I decided I was going to built it at once. The SM.79, or Sparviero (Sparrowhawk) was one of the most iconic aircraft of the Regia Aeronautica in WW2. It had the strange, ungainly-looking fuselage but actually, the aircraft was very fast and powerful. The kit was well-molded with very little flash and the quality was pretty crisp. The fit was also good, with only the area around the cockpit needing some filling in of the seams. My one complaint was that the decals were too thick and tended to silver despite copious amounts of decal setting agent. I would recommend this kit for intermediate level experience because of the unusual shape of the fuselage and the many openings. However, a beginner can also do a decent job if you leave off some of the rigging details and leave all the hatches shut. I built this kit out-of-box without any after-market enhancements but it turned out very nicely.


Leave a Reply