5th in the series of the Light and Mighty Tanks of WW2.
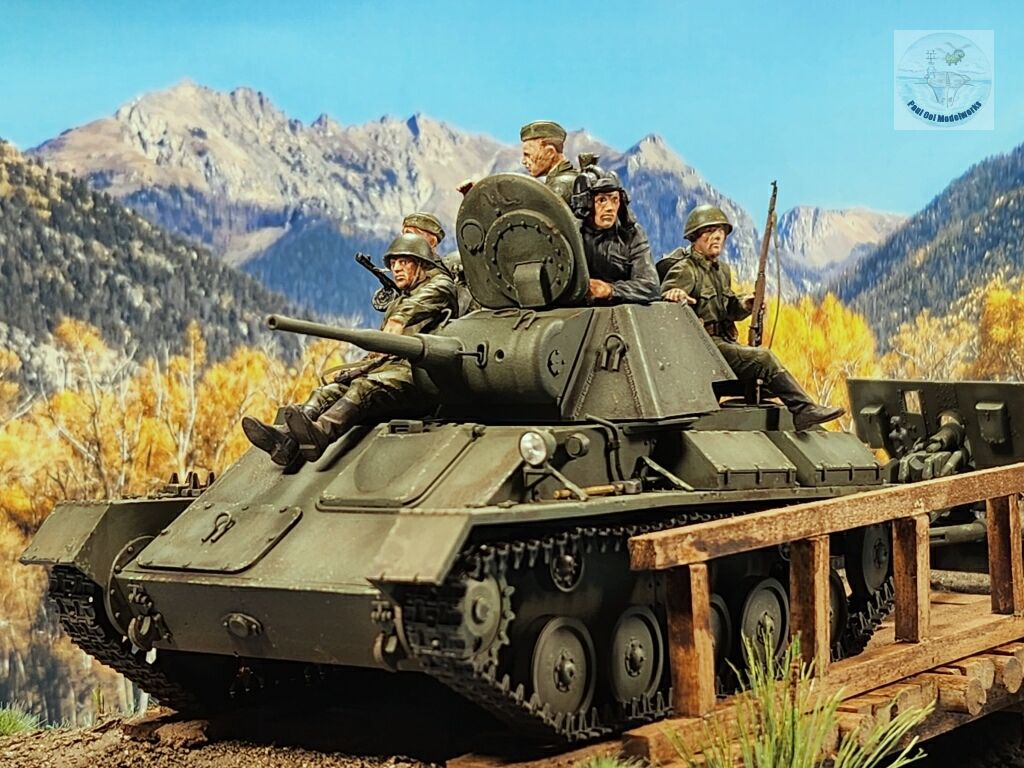
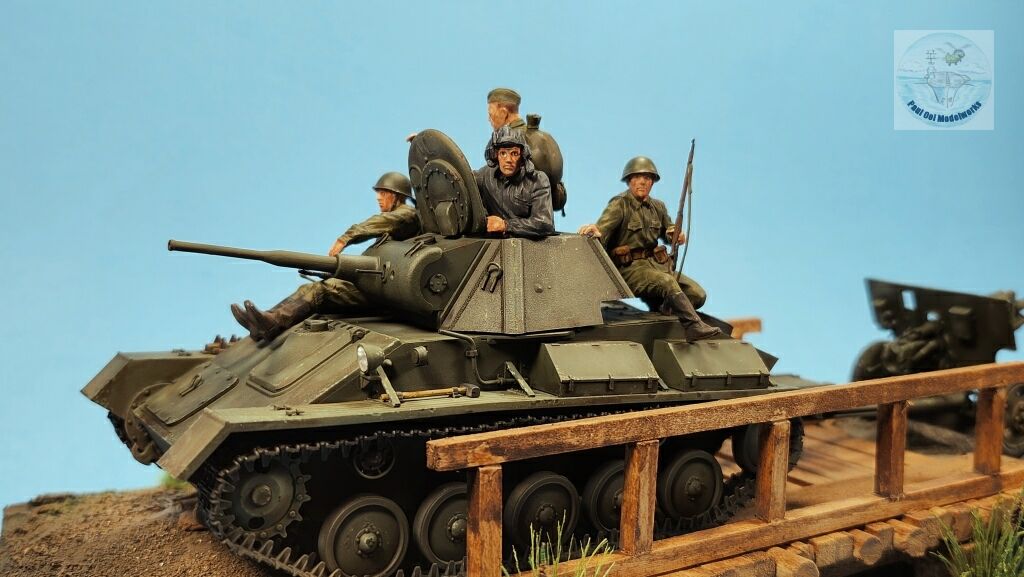
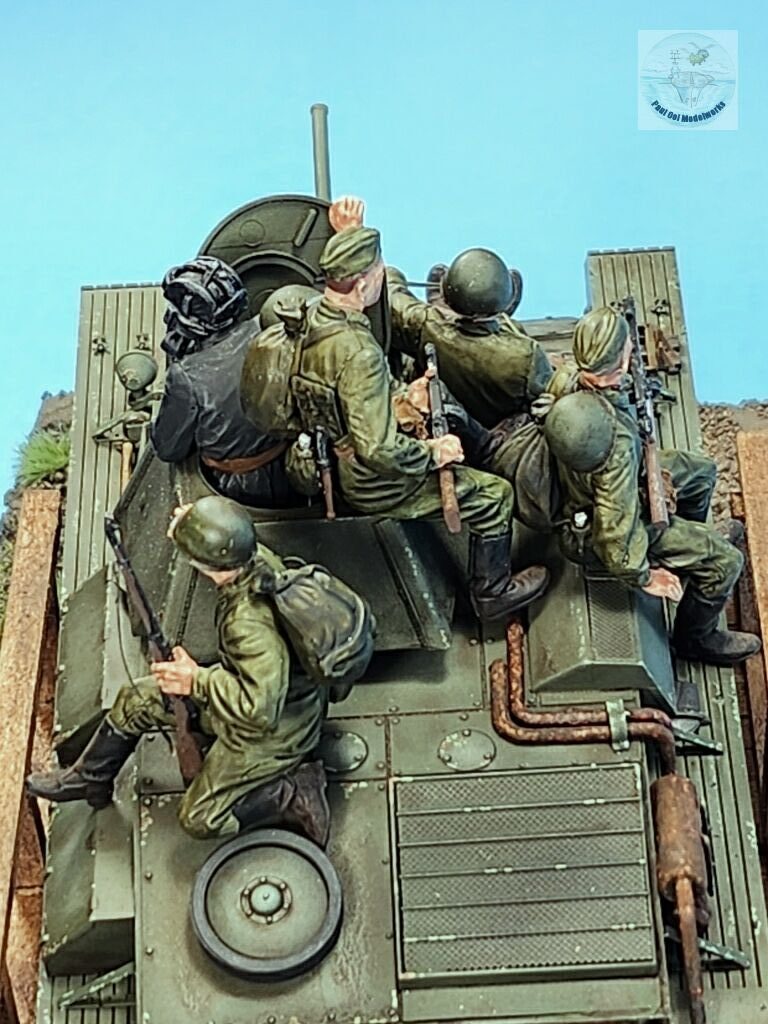
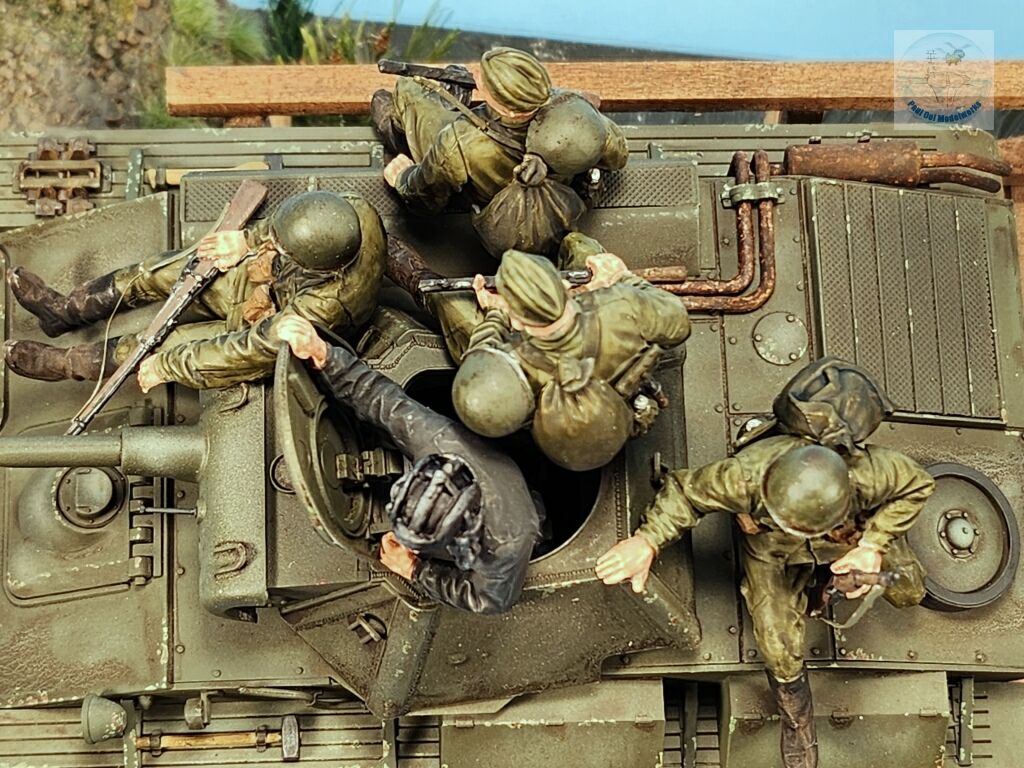
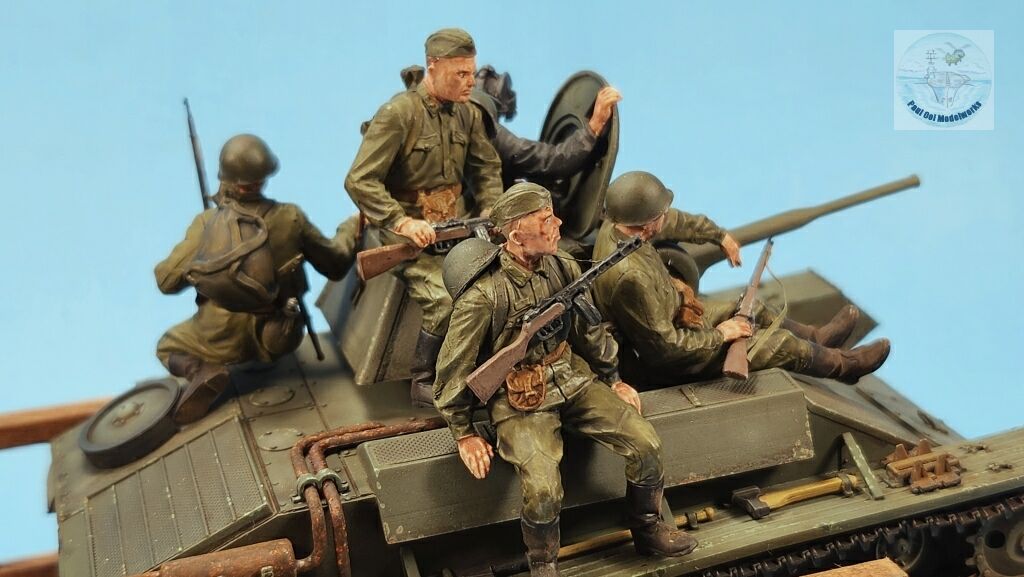
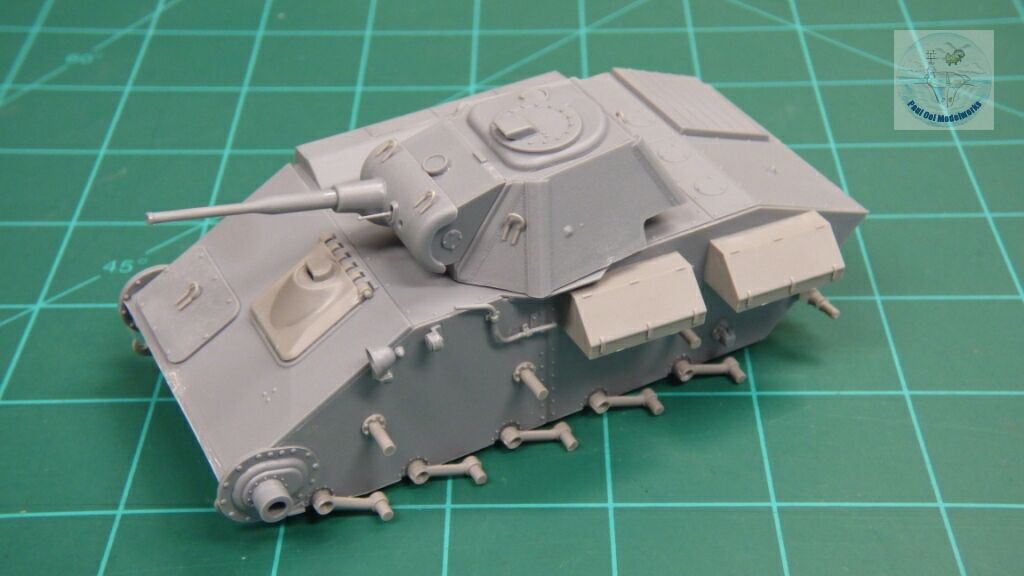
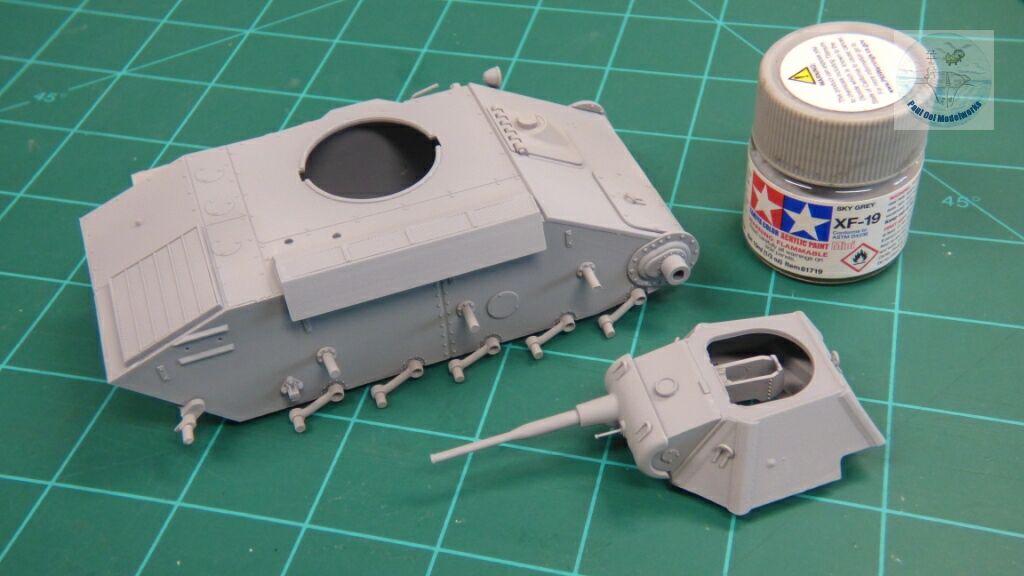
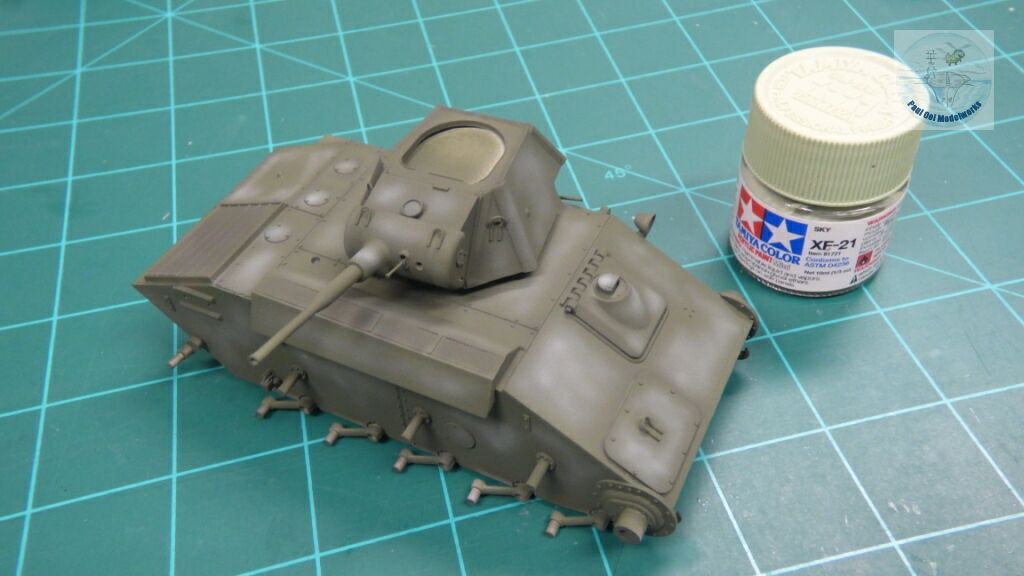
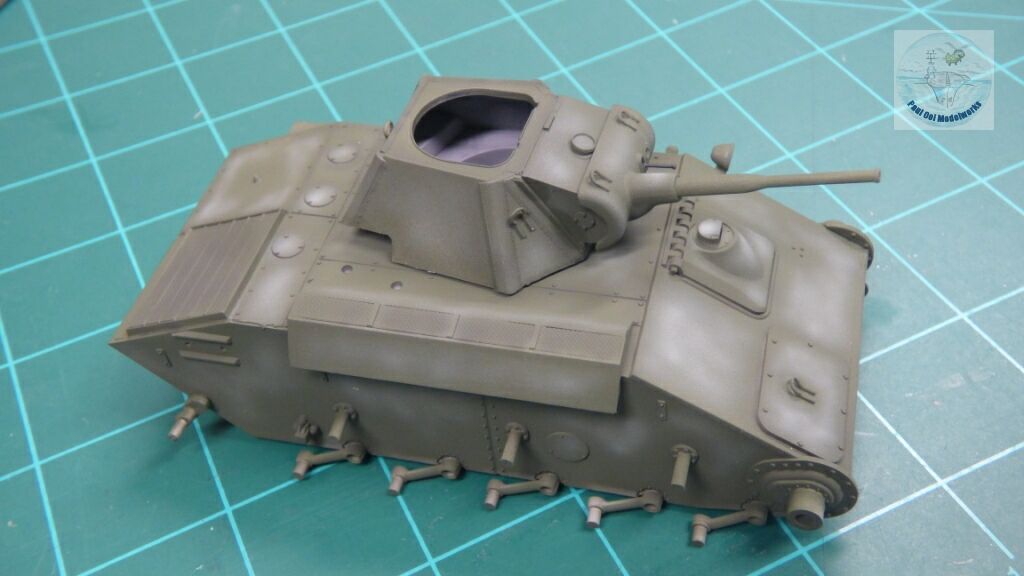
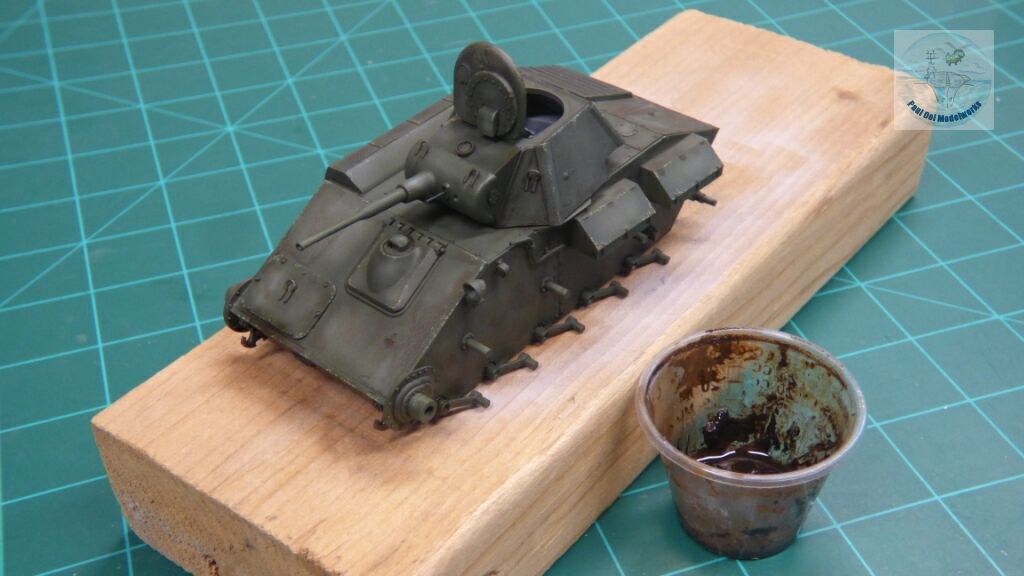
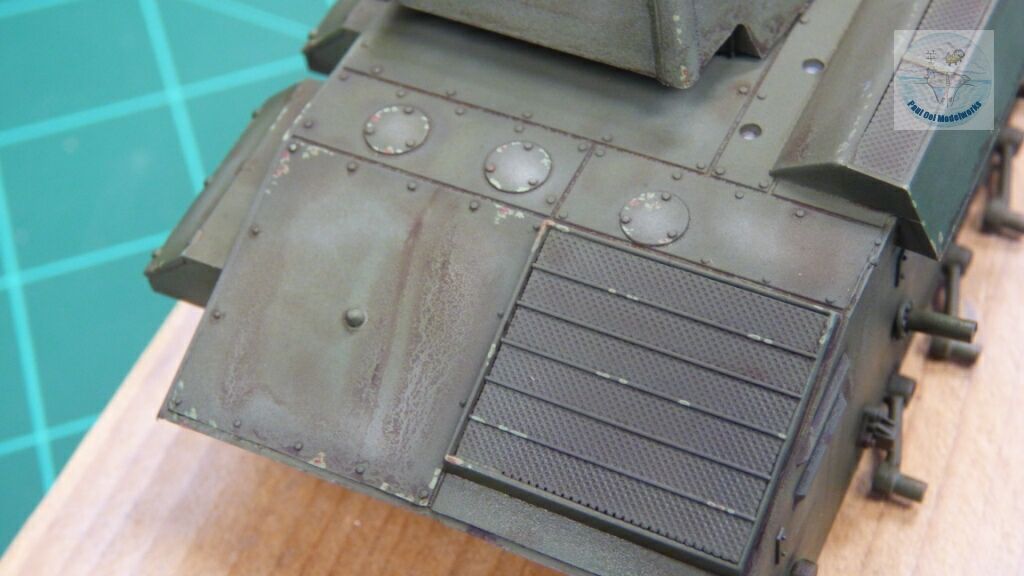
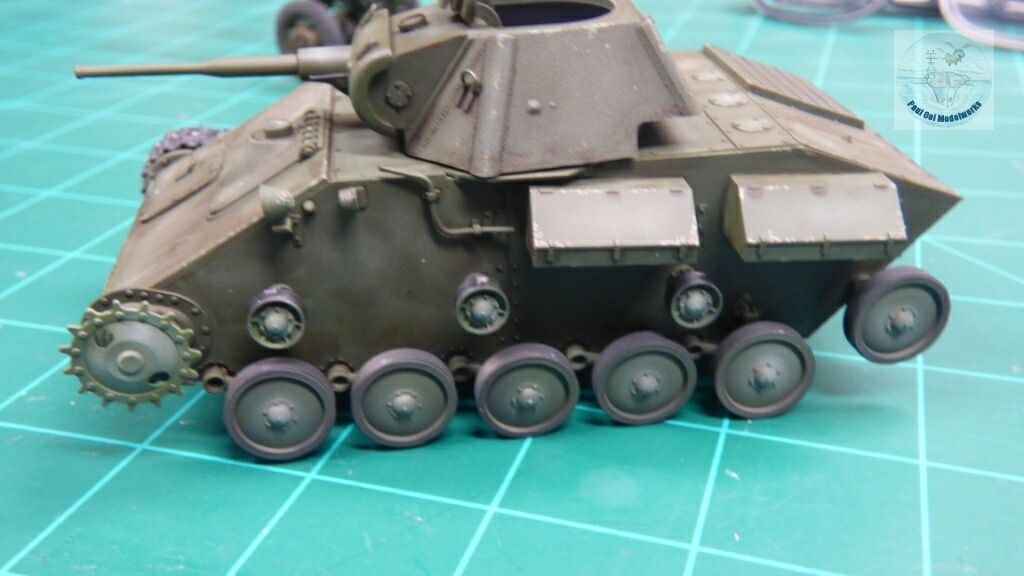
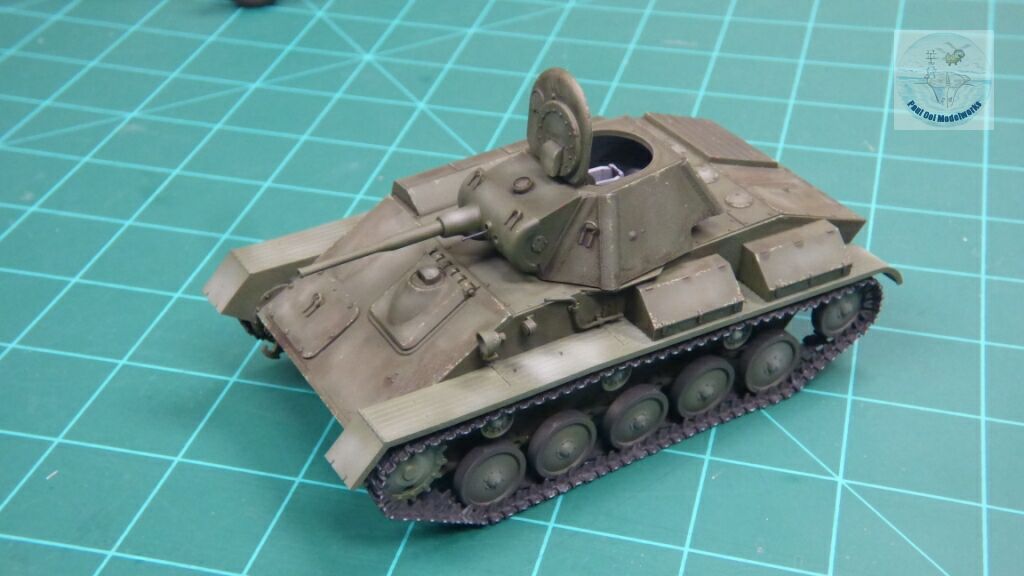
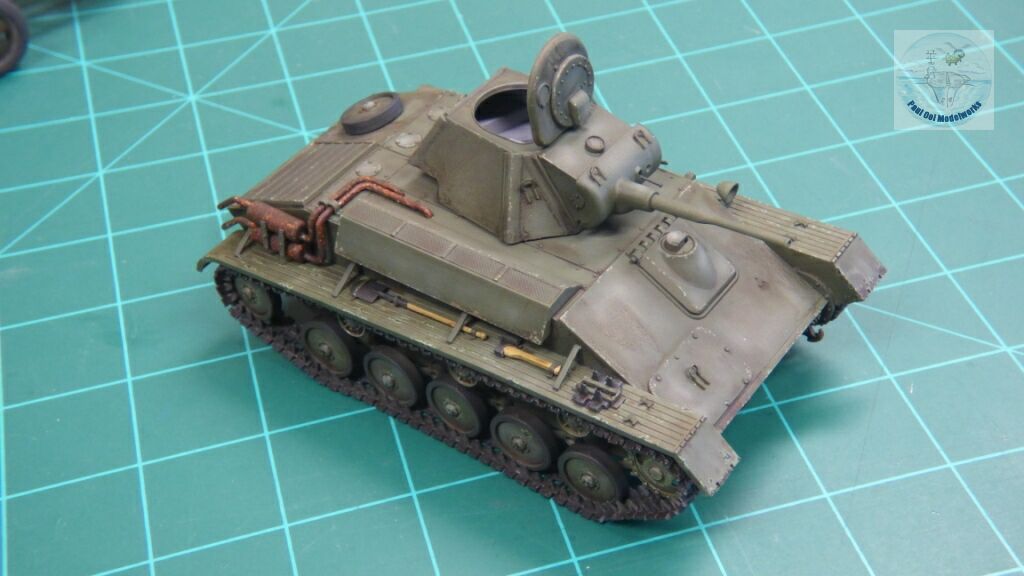
The T-70M light tank may has a passing resemblance to its more famous and larger cousin, the T-34/76 medium tank but they are very different in construction and deployment. The T-70M was the replacement to the earlier T-60 light tank and also the T-50 infantry tank, both of which suffered mightily under the German onslaught of 1941.The T-70 had a 47mm main gun, improved armor, and a better engine for cross-country performance. However, unlike the other powers in WW2, the Soviets used light tanks differently. They were mainly used in the infantry support role, and often doubled up as field tractors for divisional artillery. They were useful in being more mobile than the medium and heavy Soviet tanks, and thus could use narrower bridges and trek through thickly forested areas and boggy grounds. A total of 8,226 of these light tanks were produced, and the Soviets deployed them in active service until 1948. By 1944, they were largely supplanted by the T-34/85 in the infantry support role, but the T-70 chassis became the foundation for the SU-76M tank destroyer, the most numerous WW2 Soviet tank after the T-34 series. It also became the basis for the development of the Soviet amphibious tank, the PT-76 that came out in 1954.
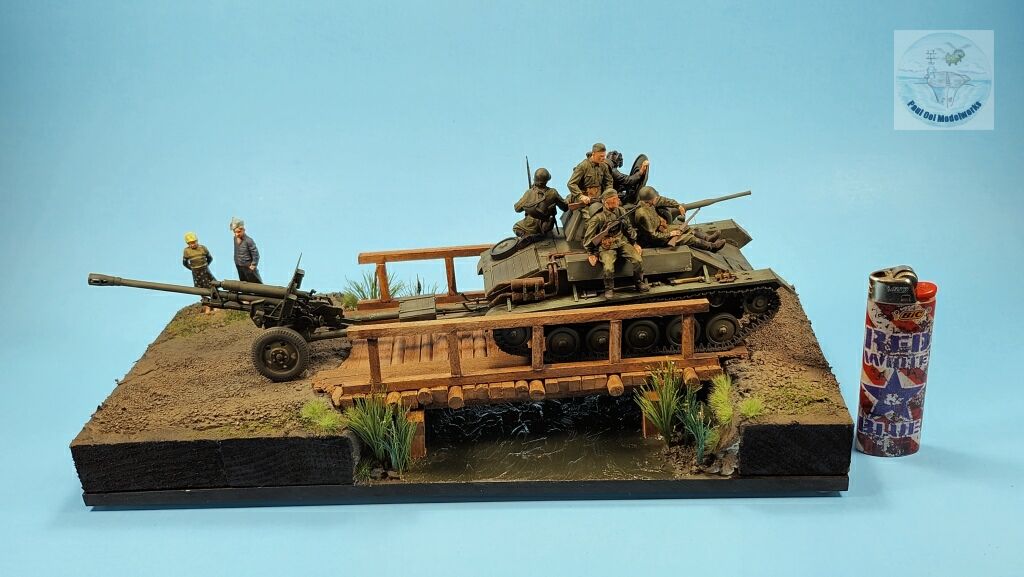
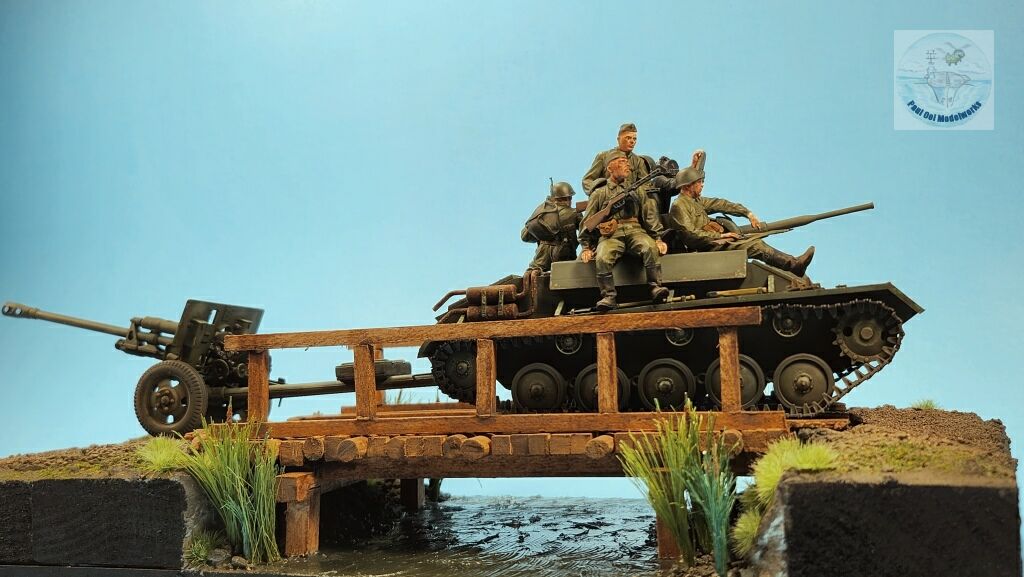
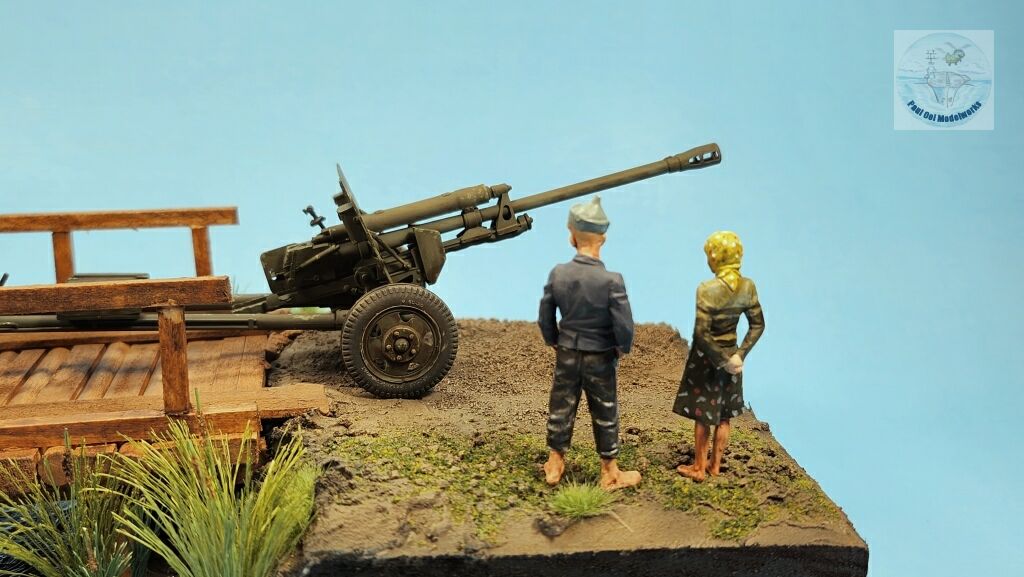
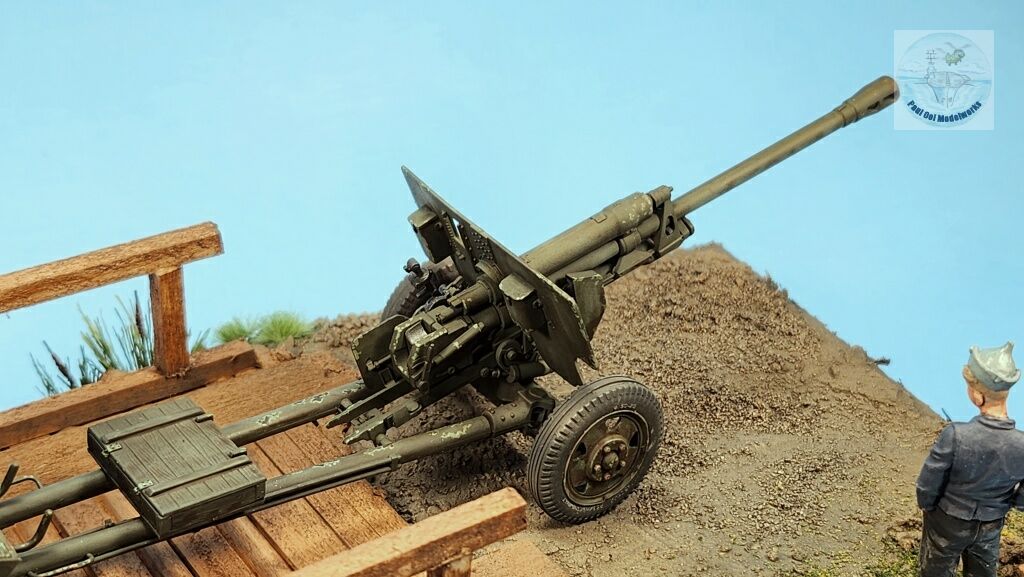
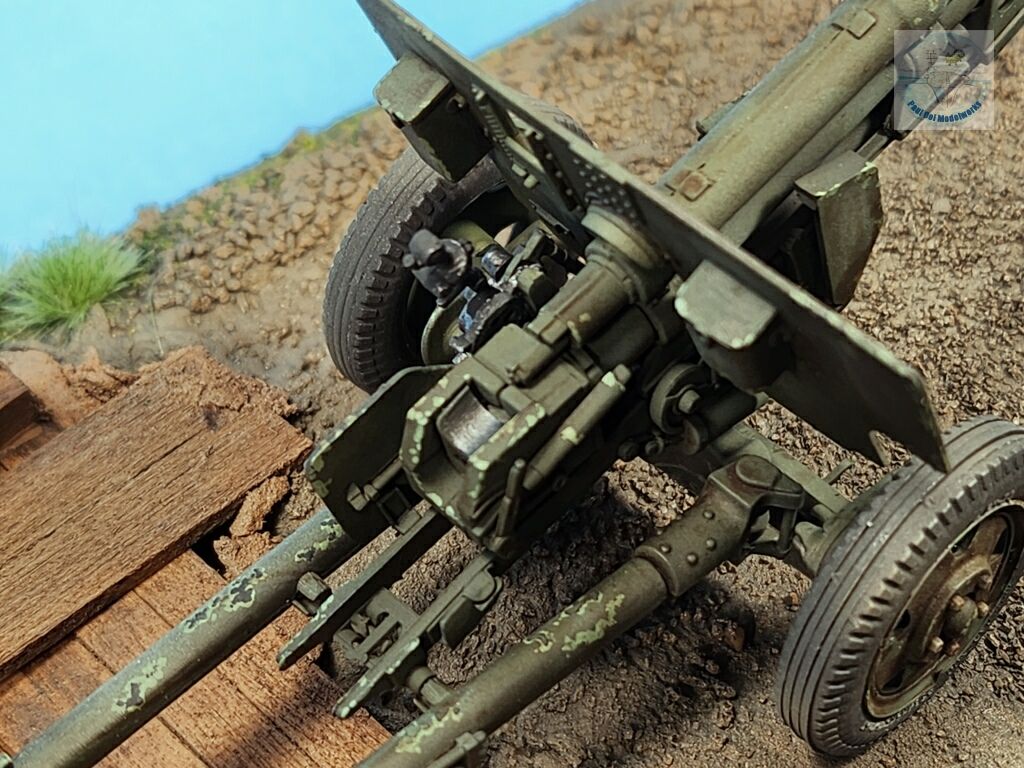
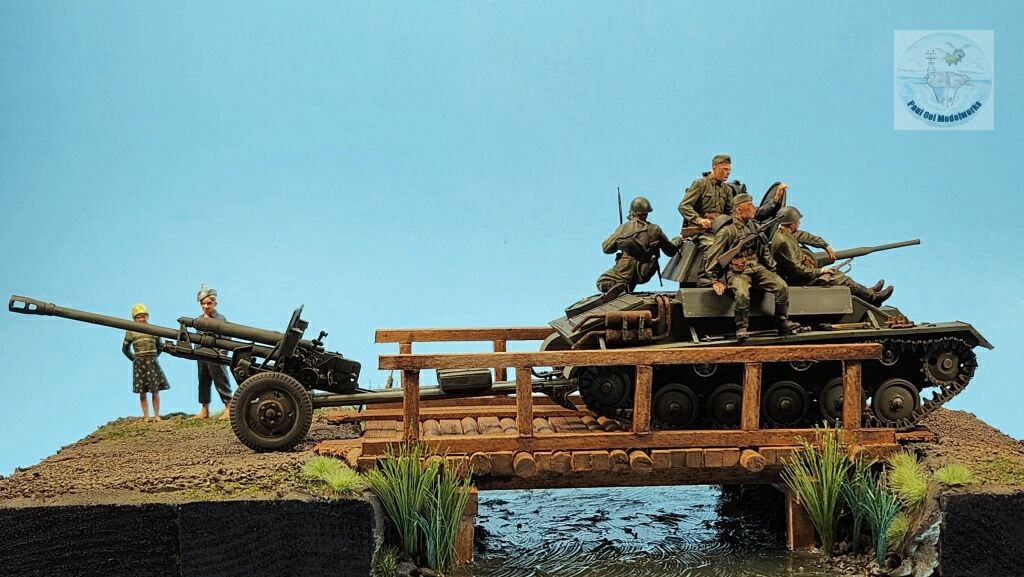
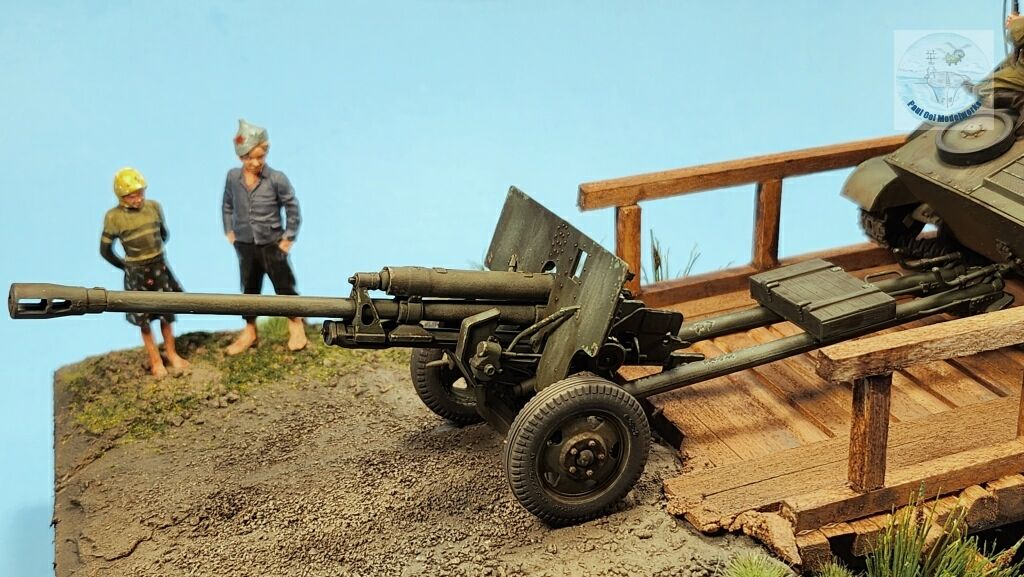
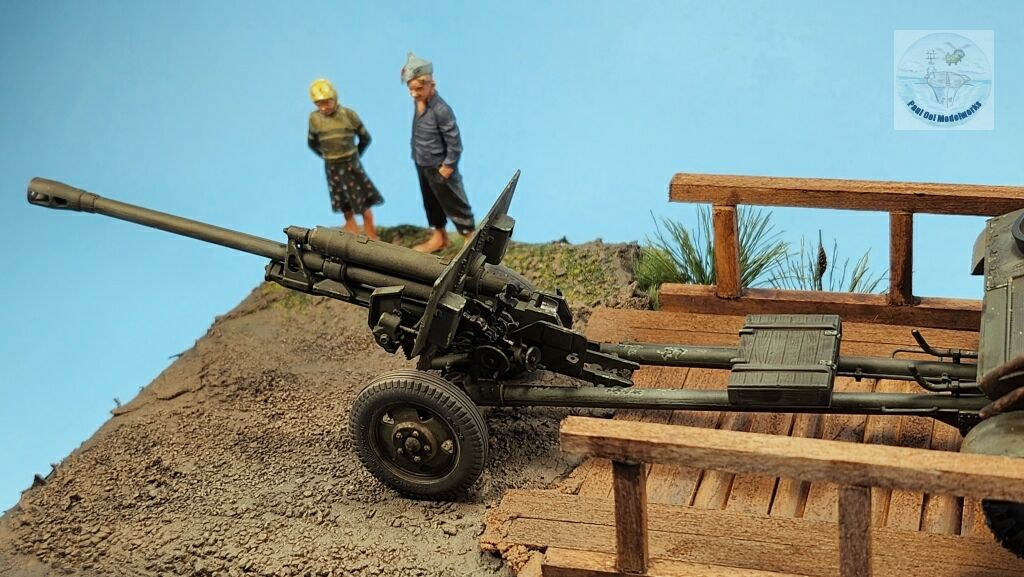
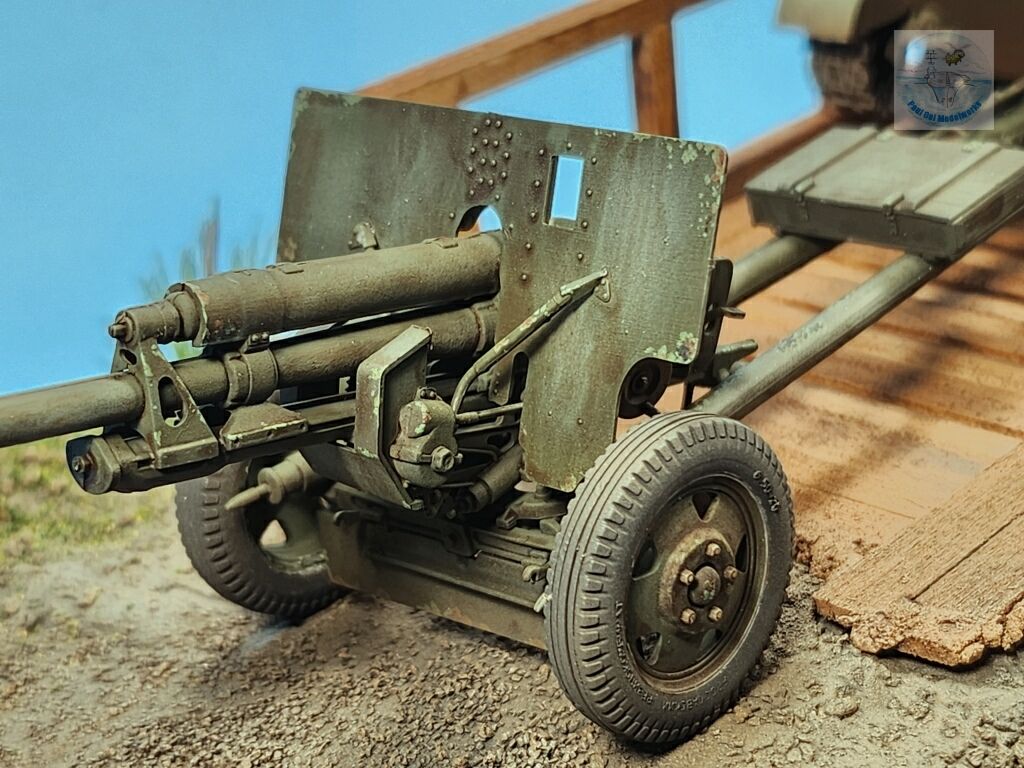
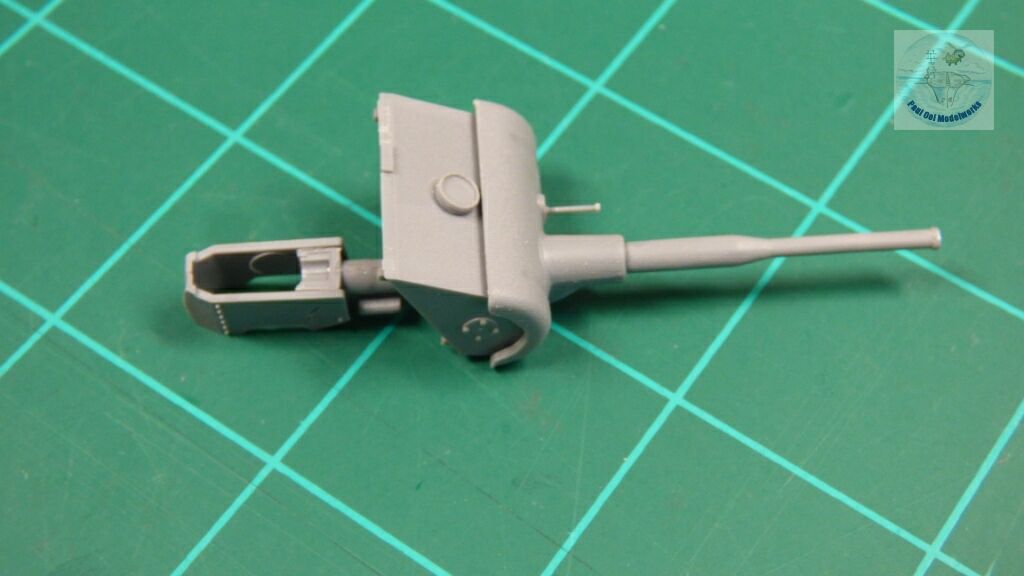
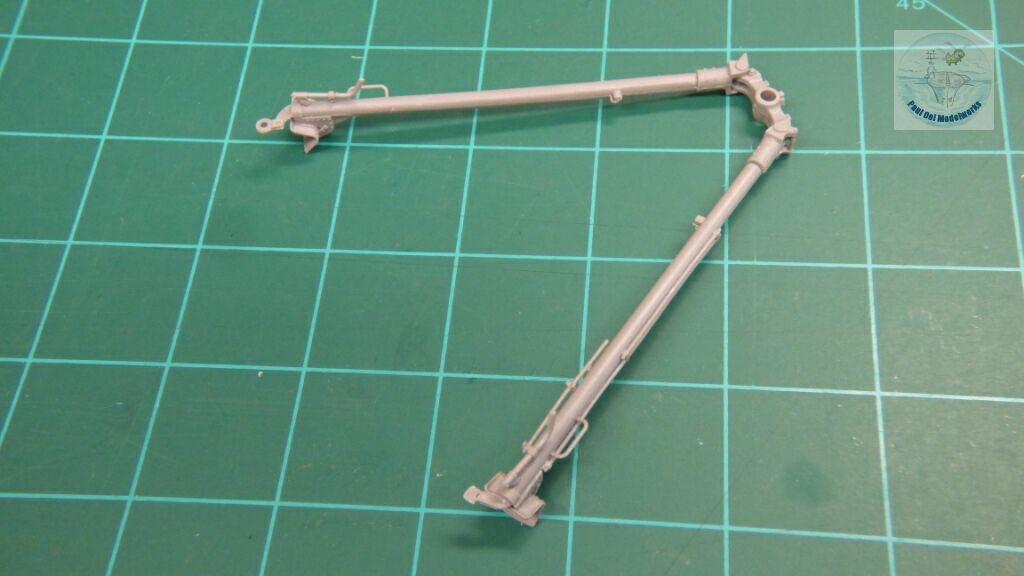
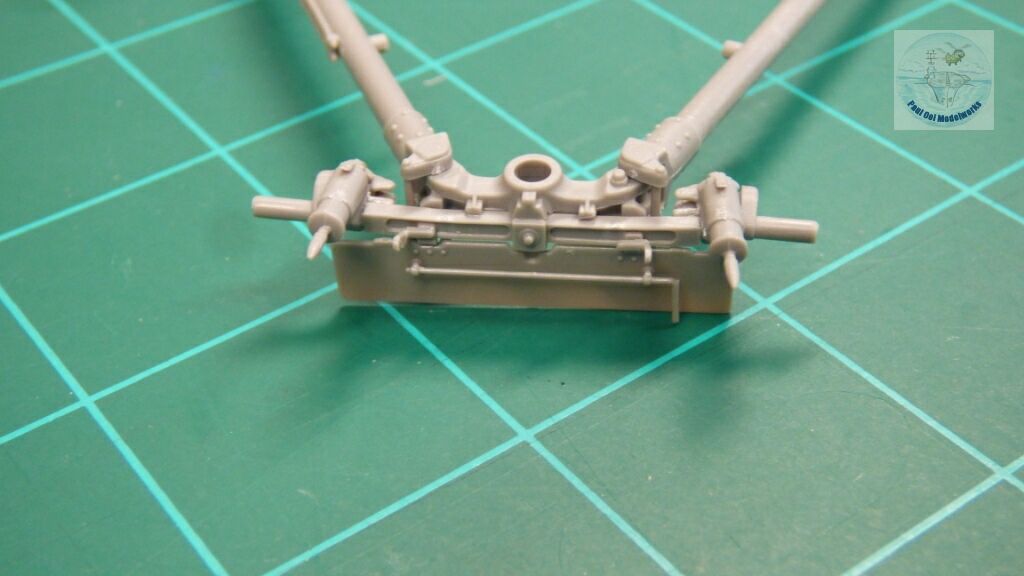
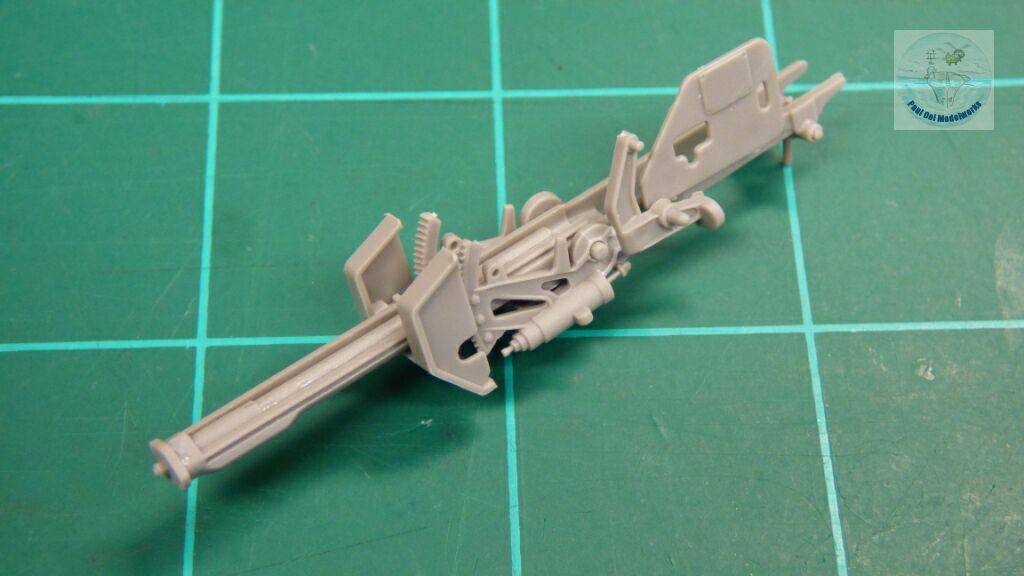
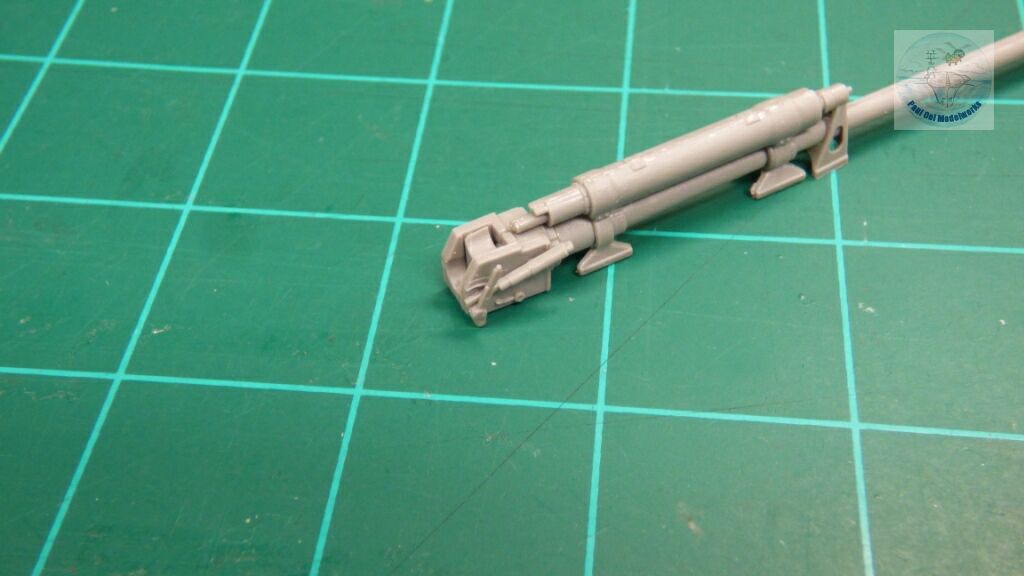
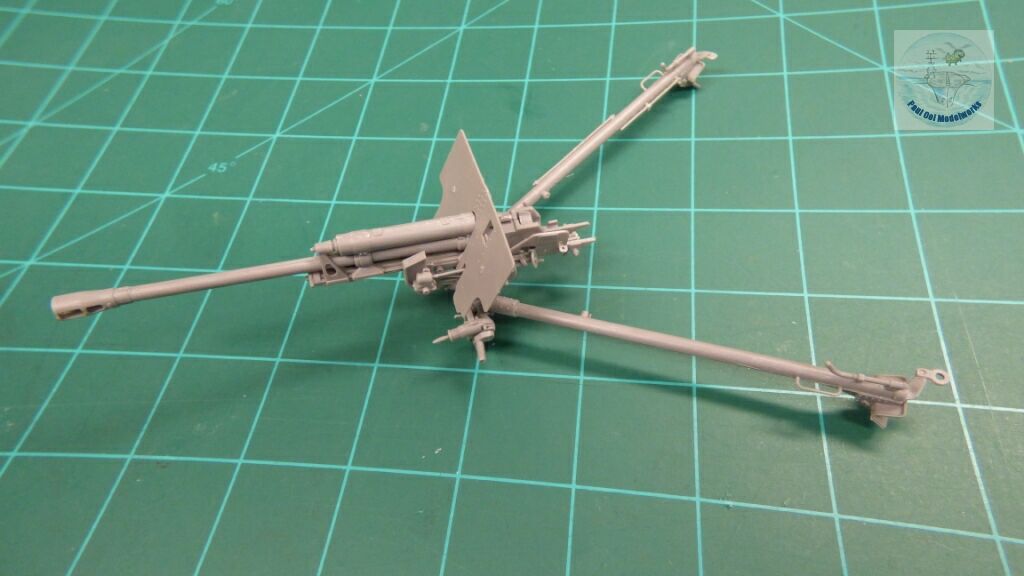
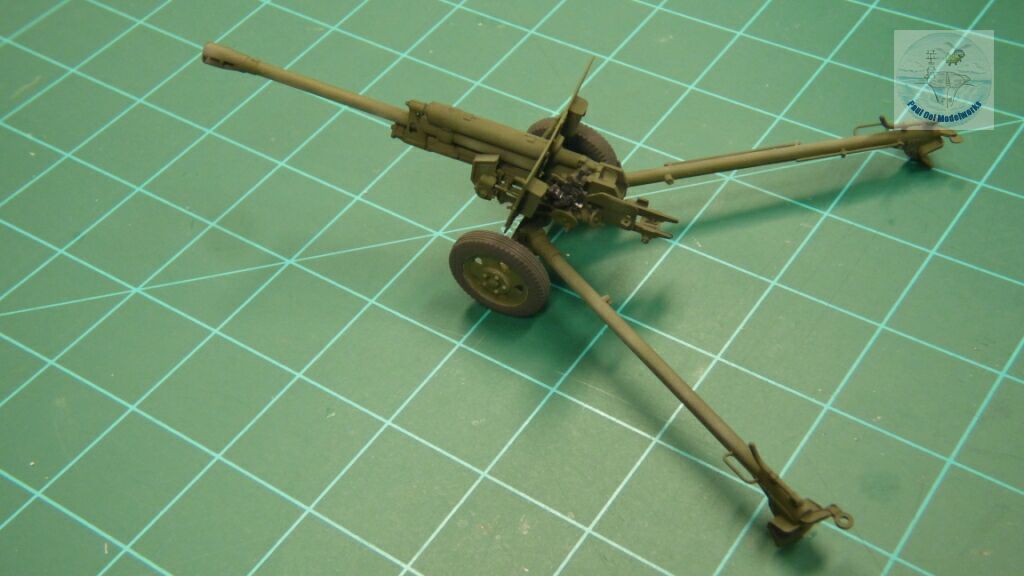
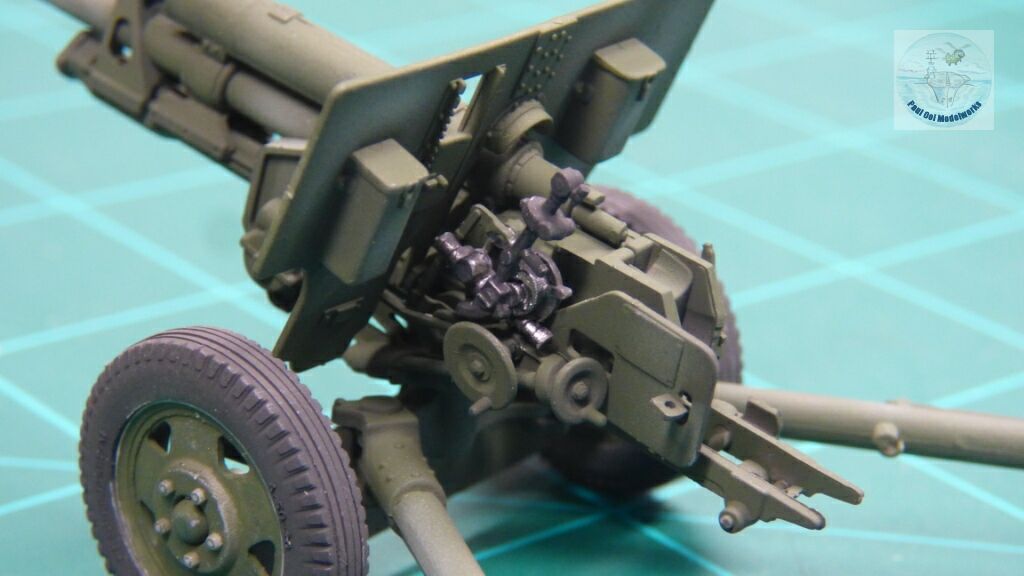
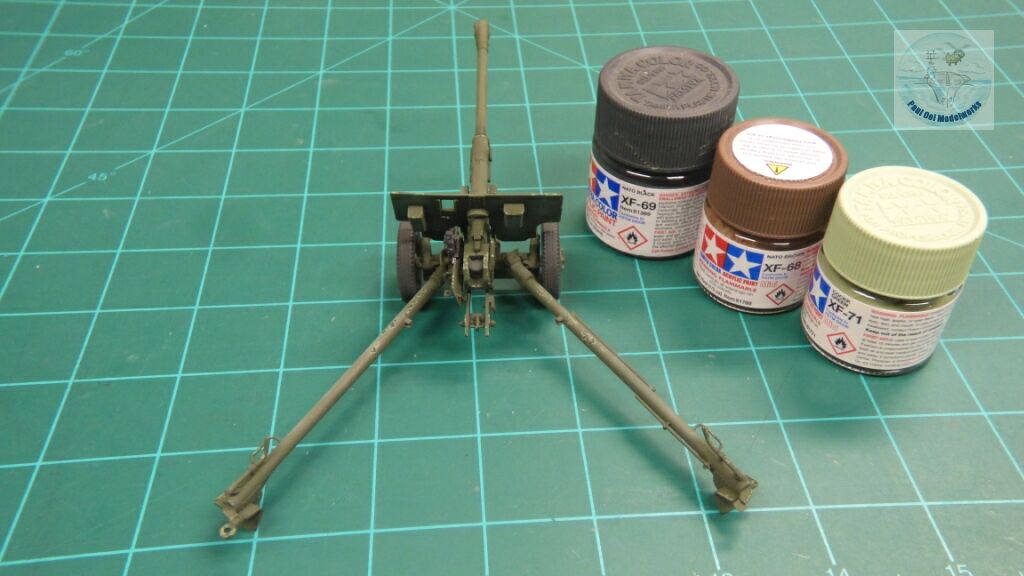
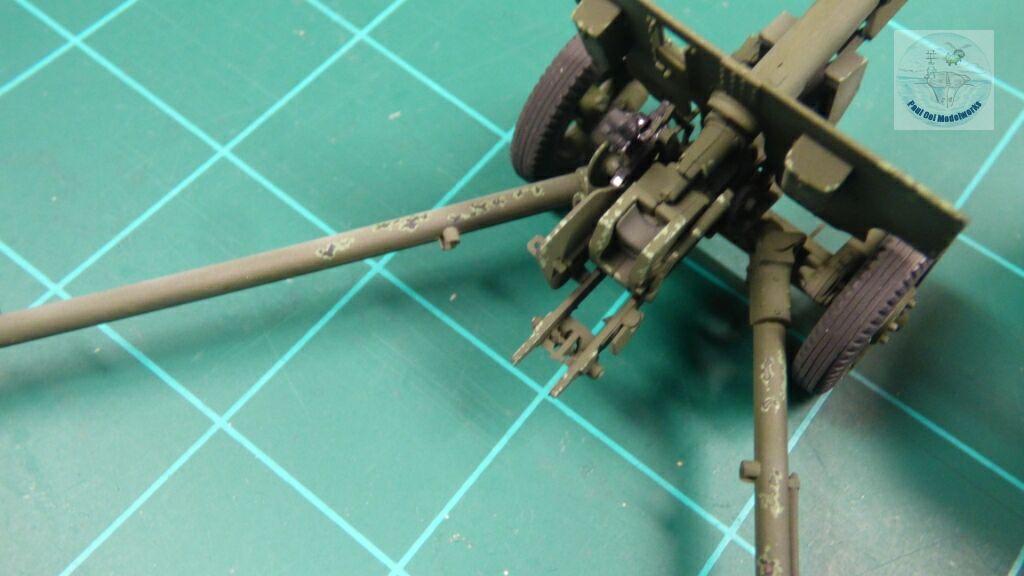
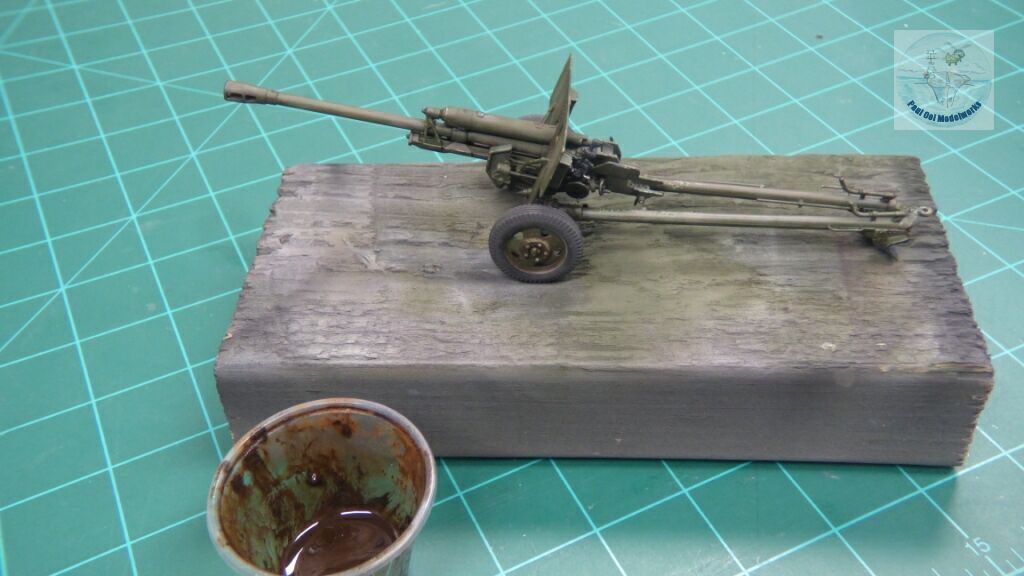
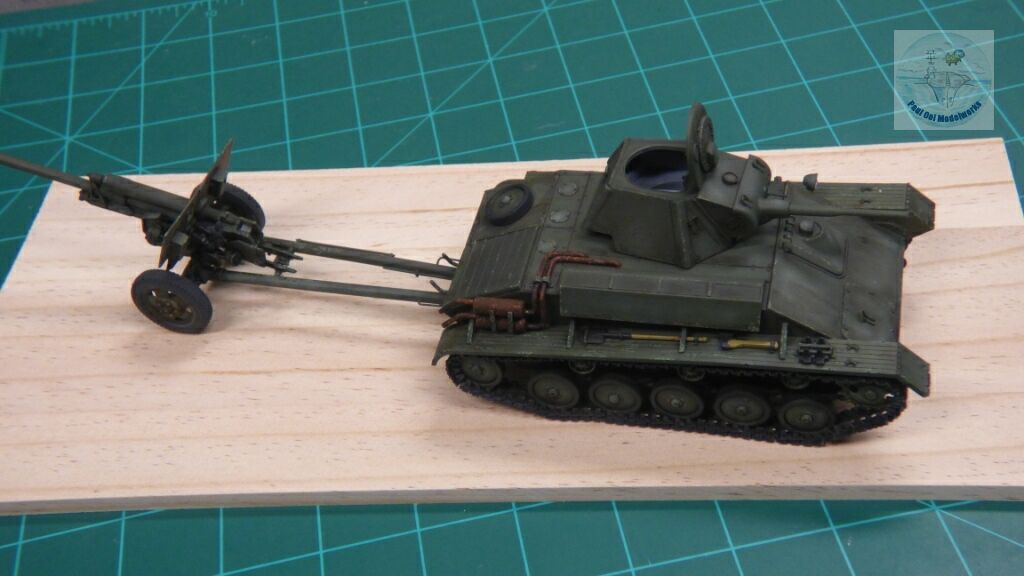
Accompanying the T-70M is the famous ZiS-76 field gun. This was a favorite anti-tank and fire support gun used by Soviets at divisional level. It was a robust and powerful. During Operation Barbarossa, the only Russian artillery piece that could stop German armor was the ZiS-76. This gun and its variants became the most numerous of the Soviet divisional guns with more than 10,000 units made. Also, it was used the longest by many nations, and today, it is still in active duty in Cambodia and Nicaragua! The last time it was used in an actual conflict was the first Russian invasion of Ukraine in 2014. The ZiS-76 also had the distinction of being used by the Wehrmacht because of its ease of operation and accuracy, so good was its design and functionality.
Gallery


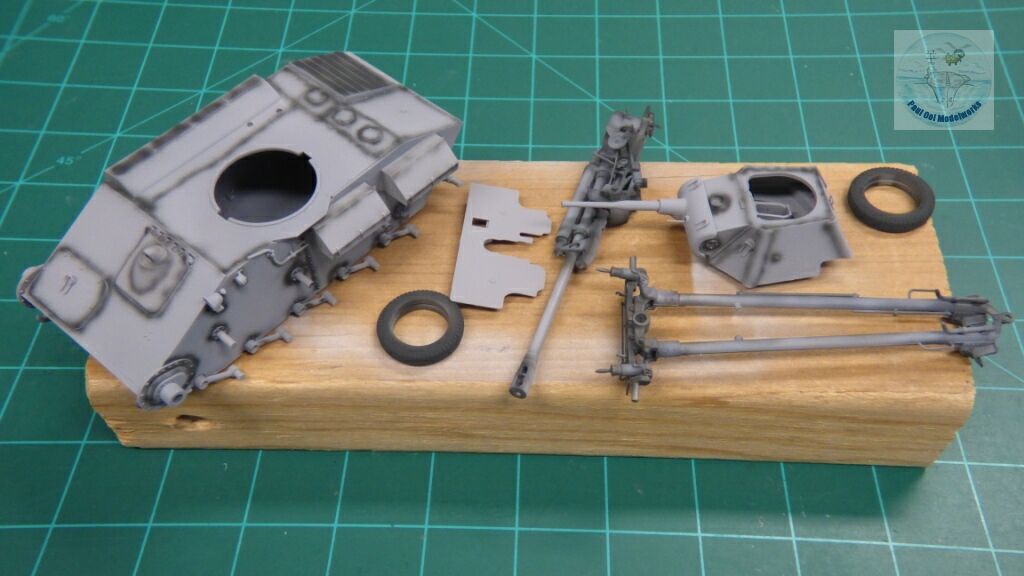
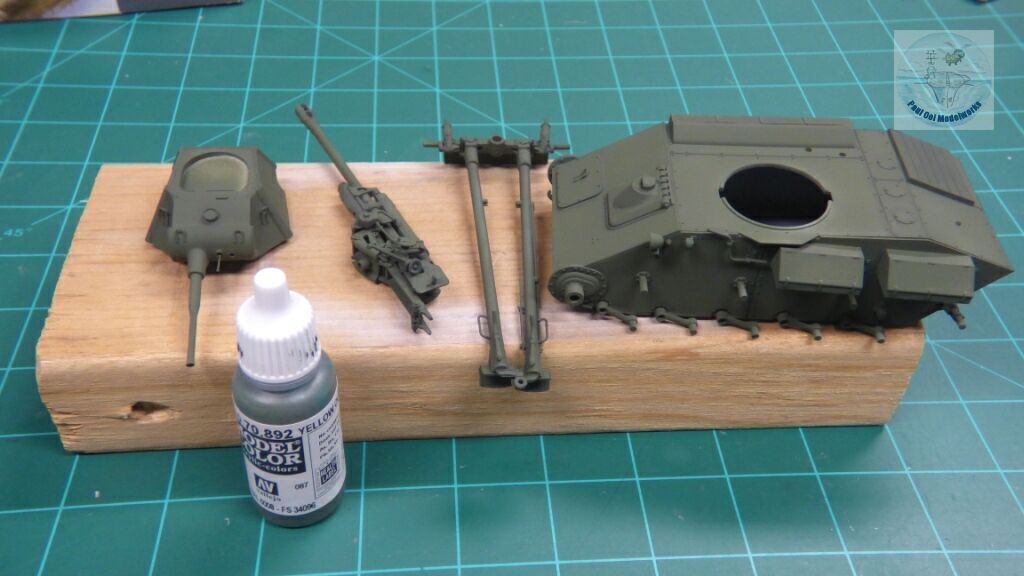
Construction Notes
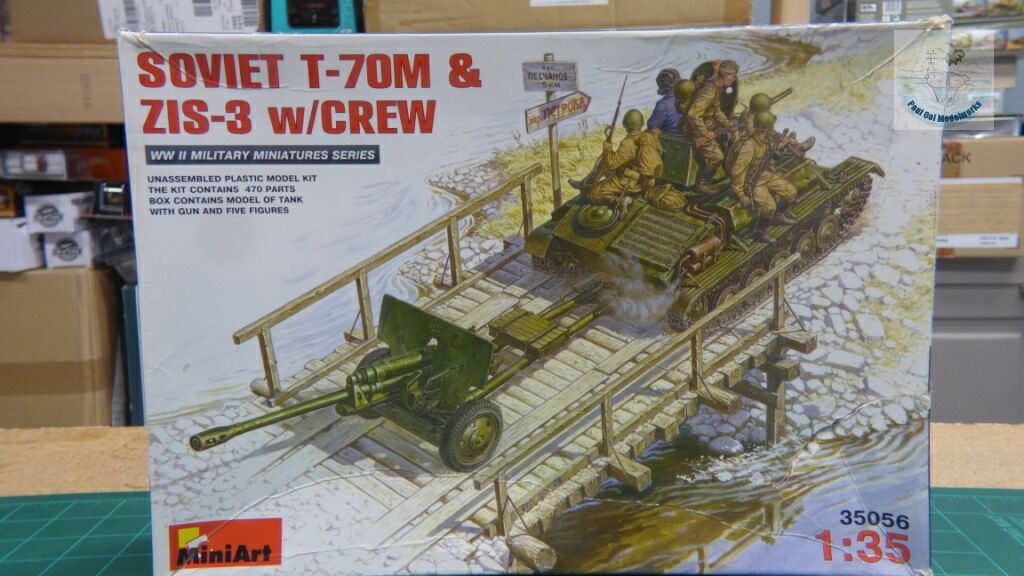
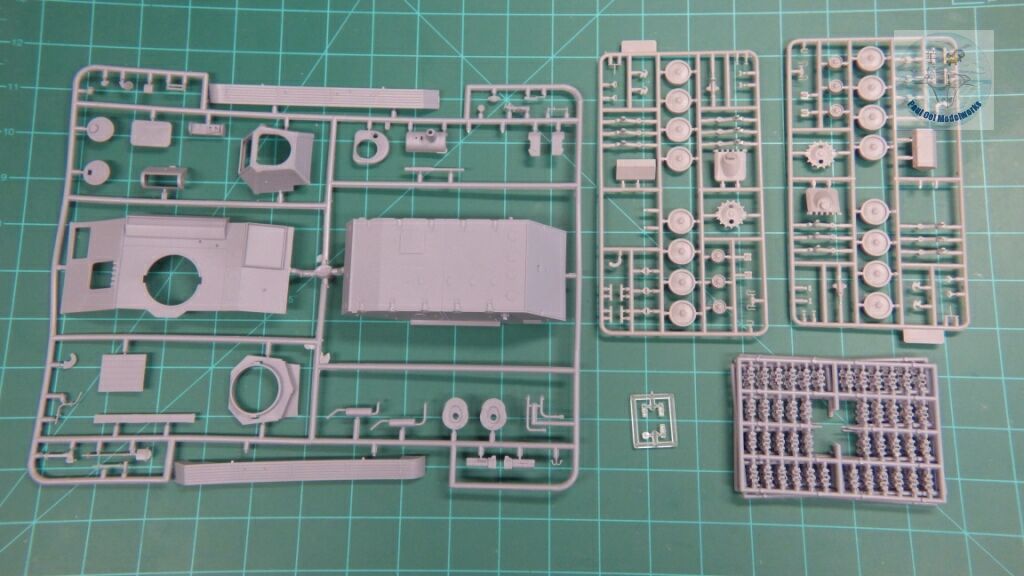
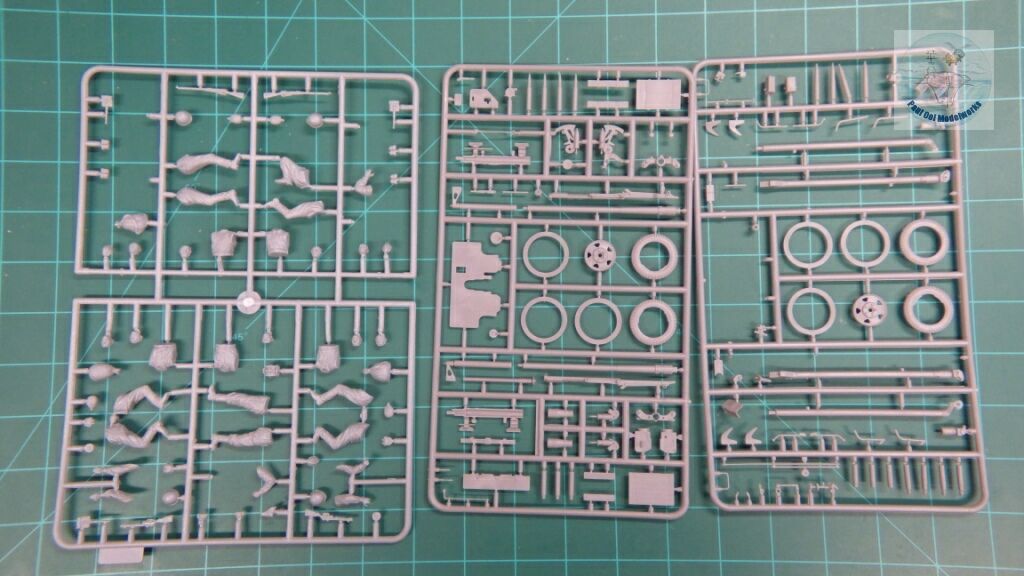
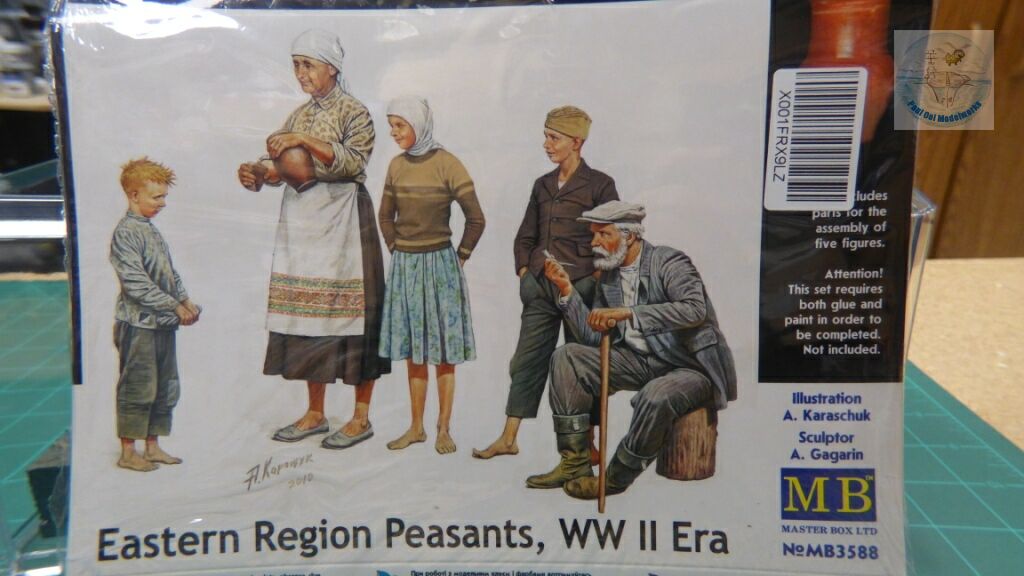
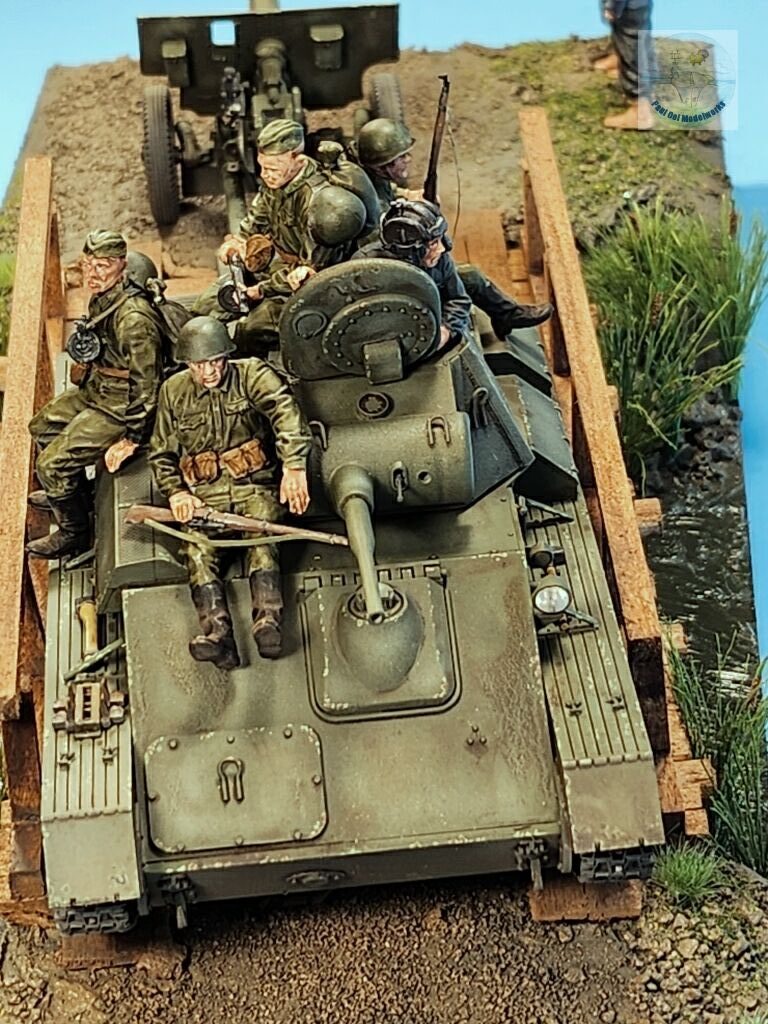
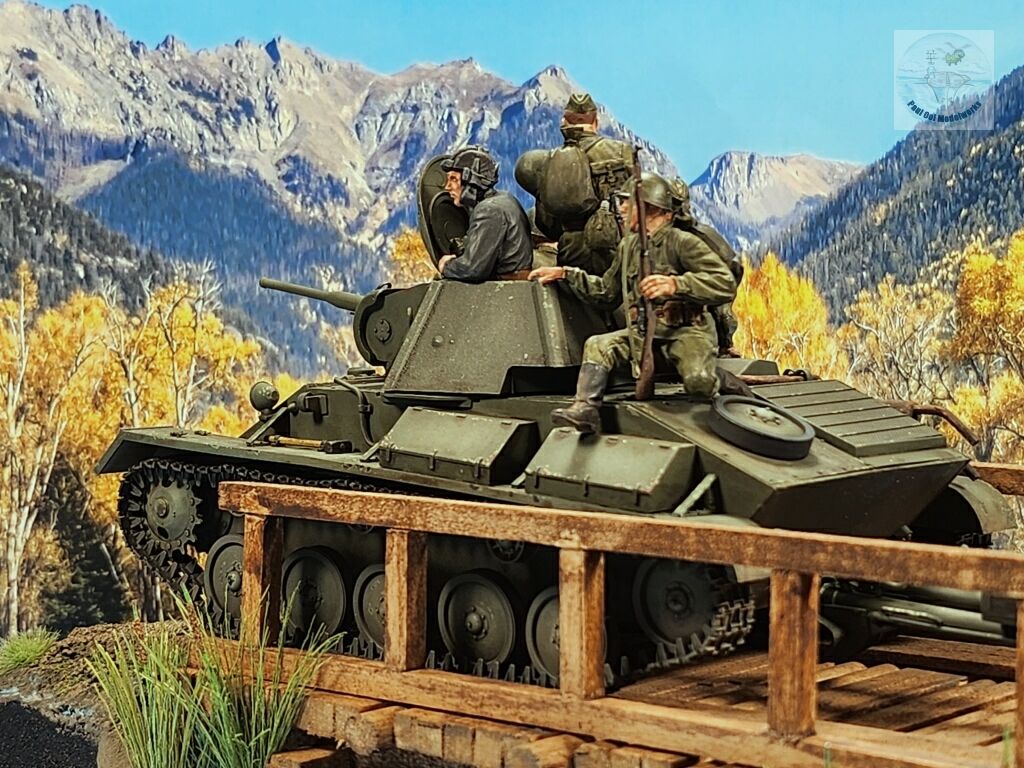
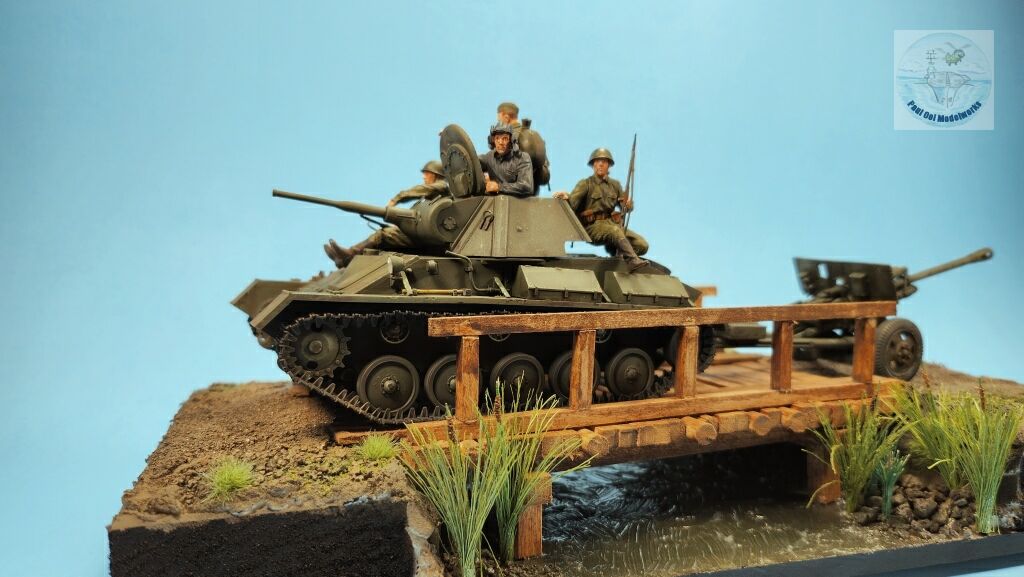
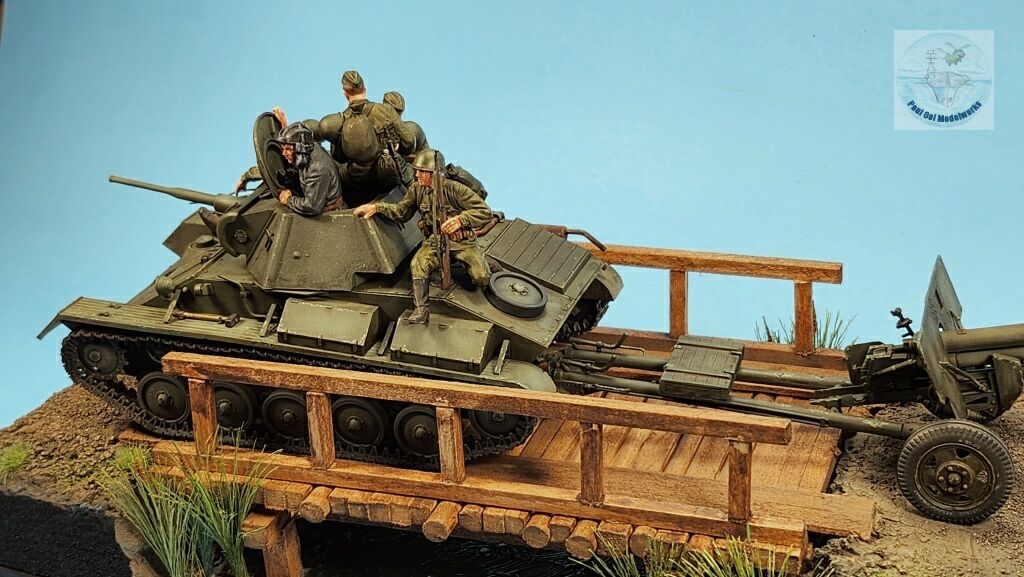
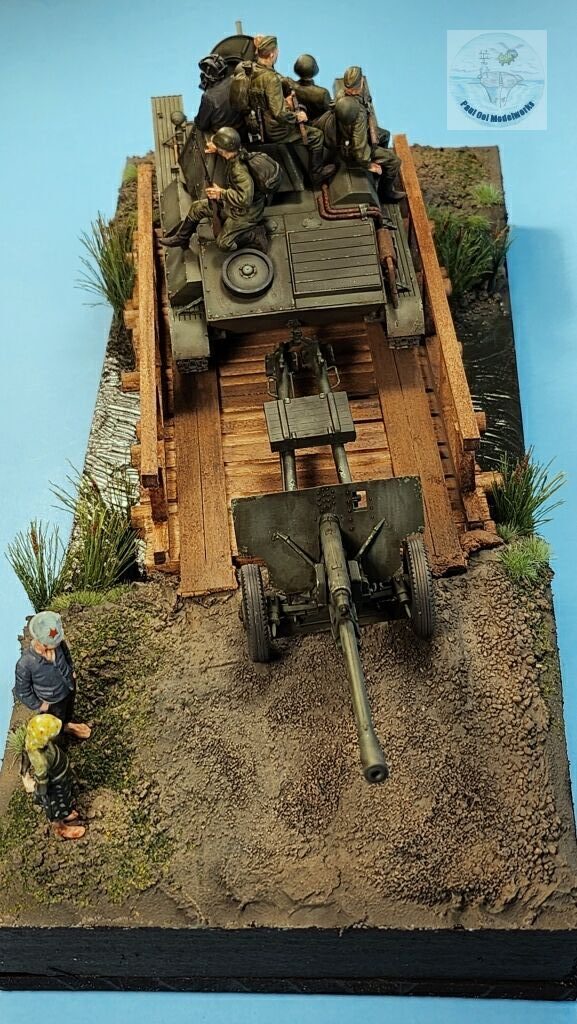
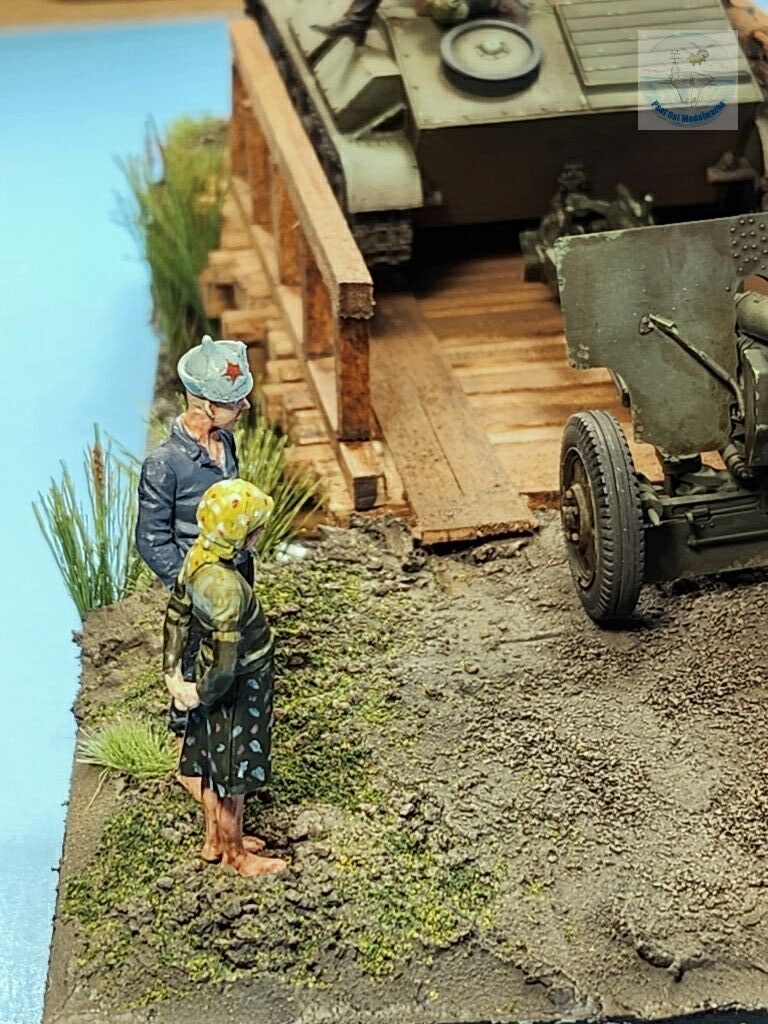
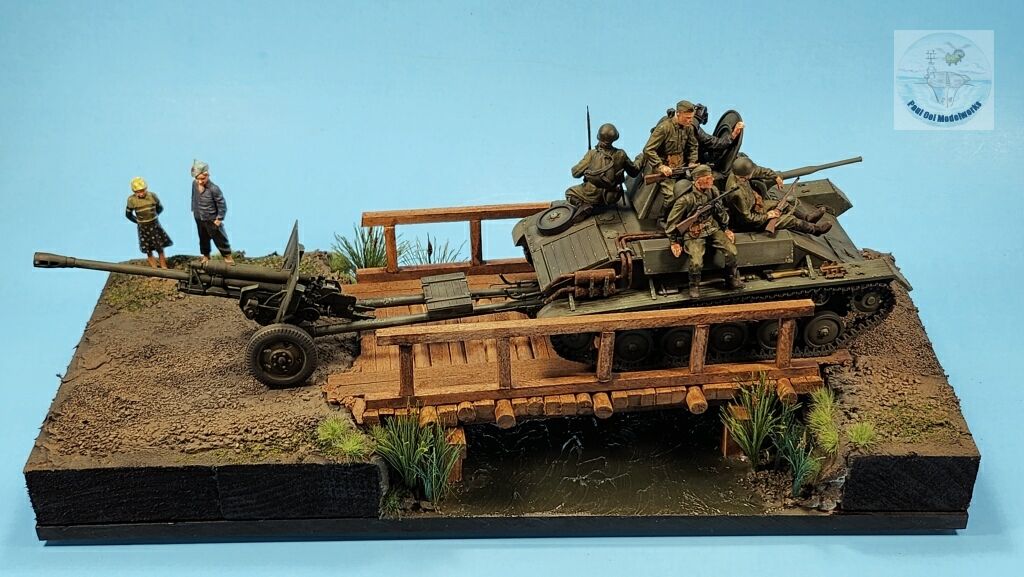
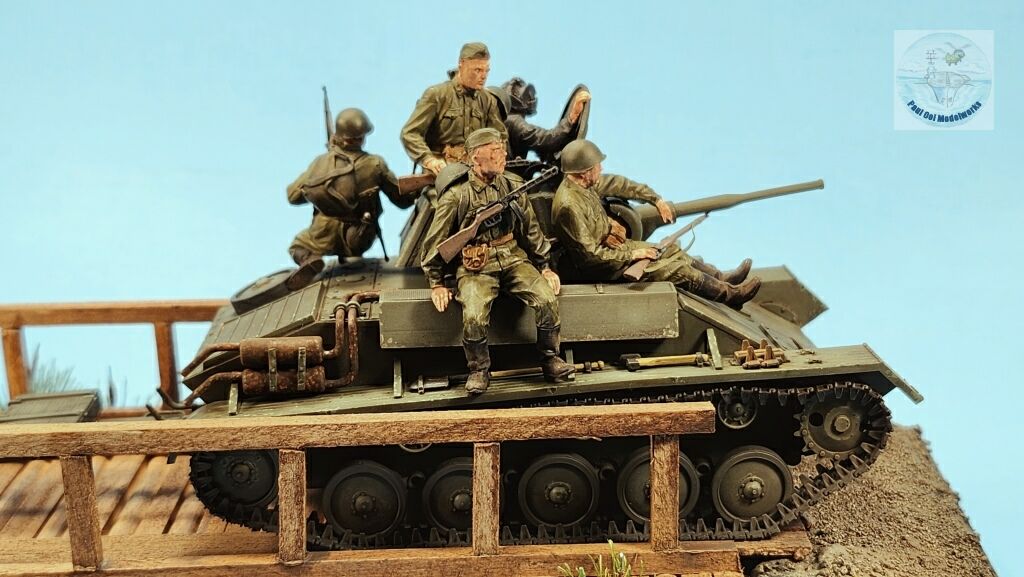
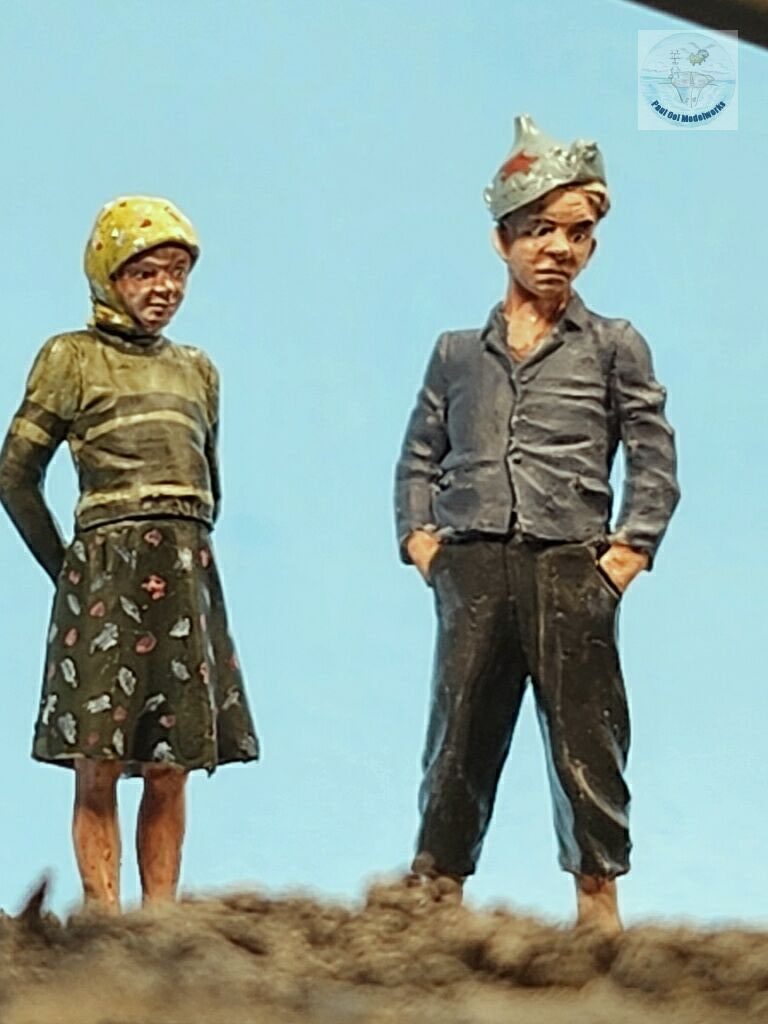
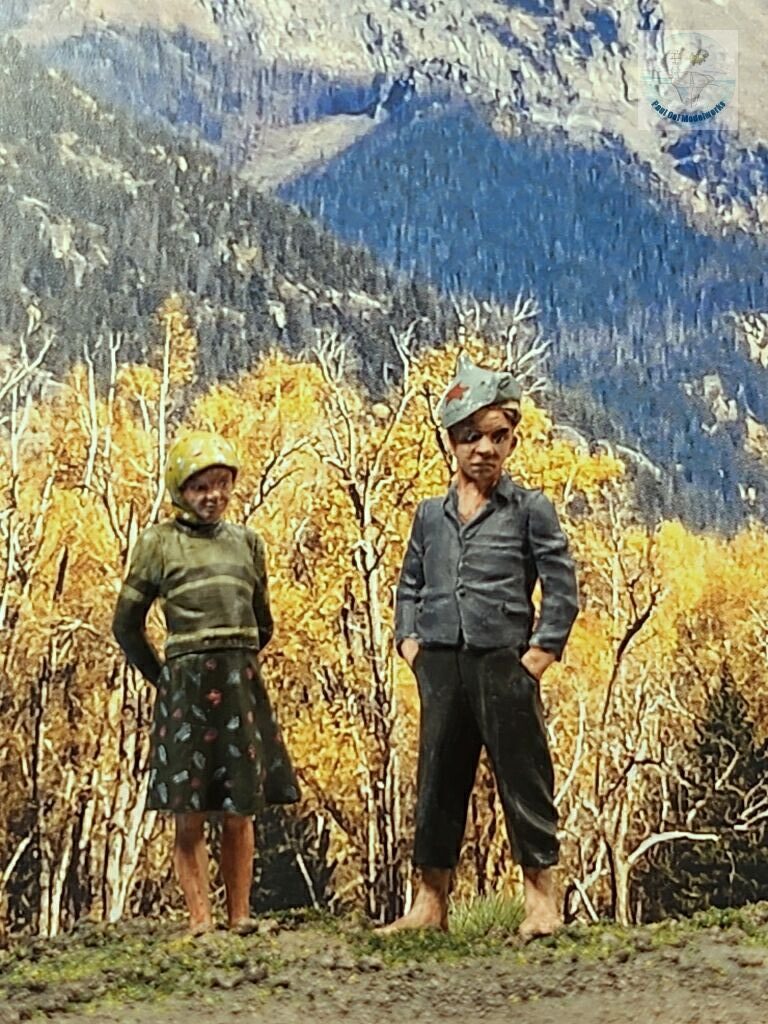
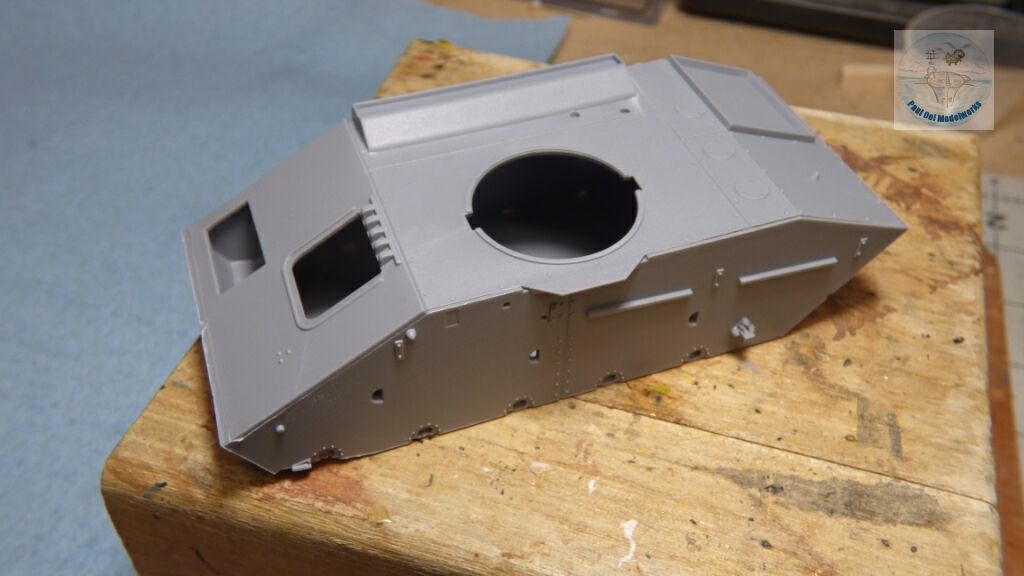
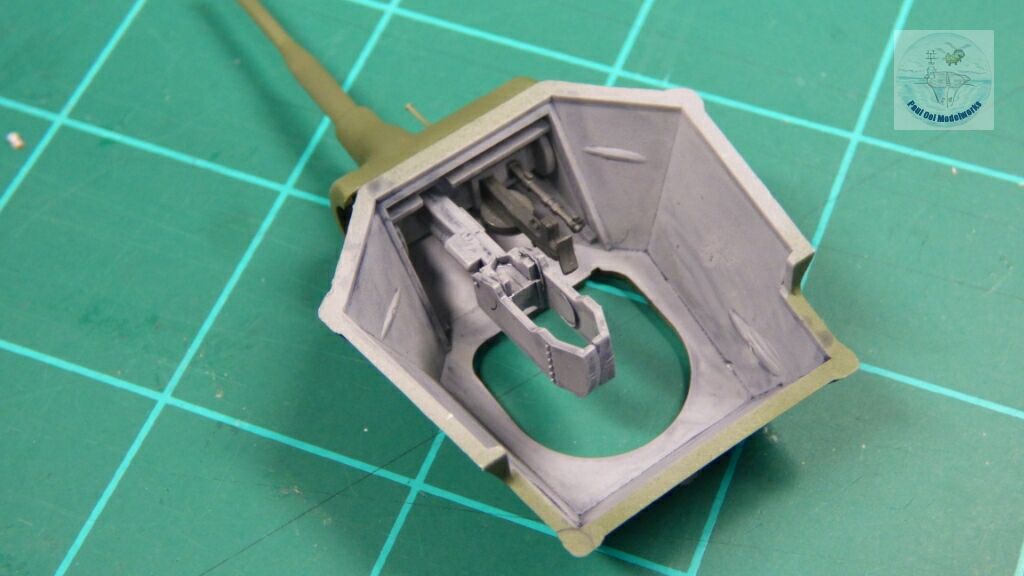
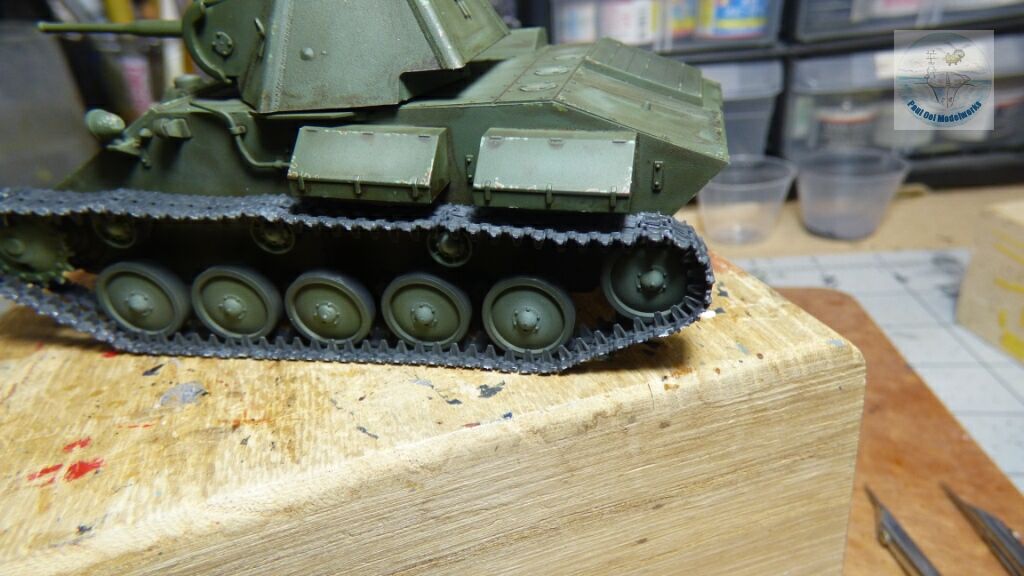
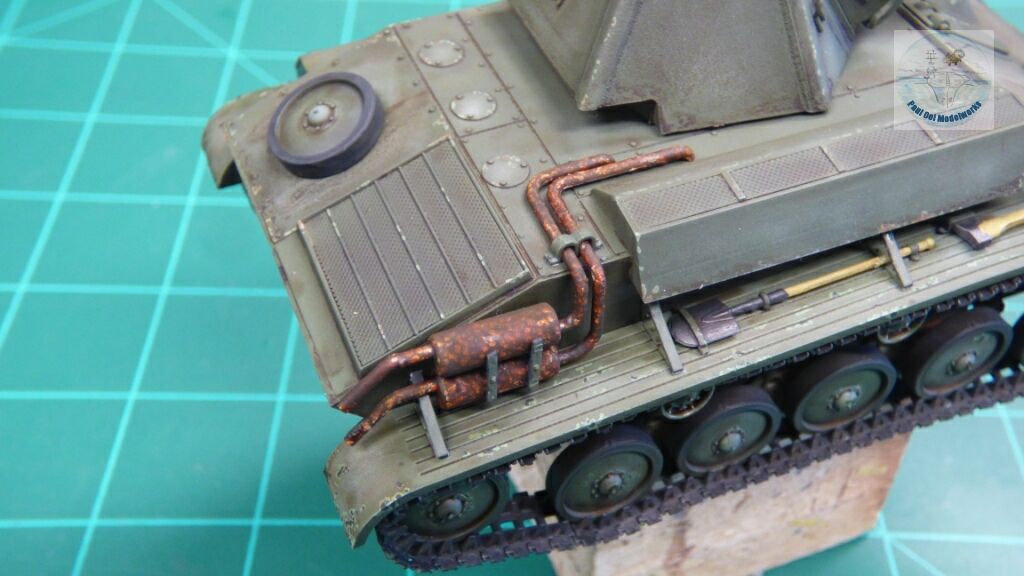
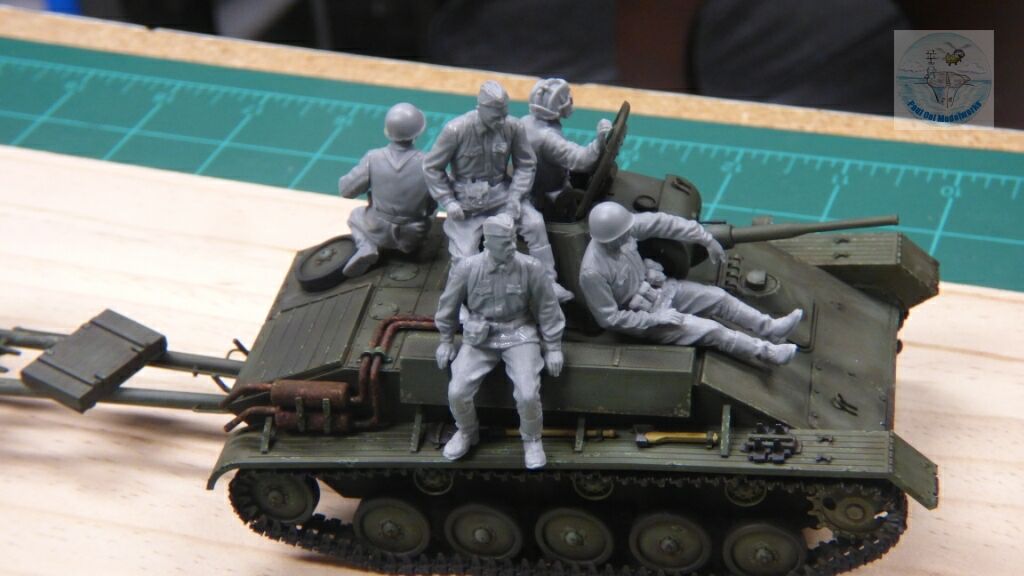
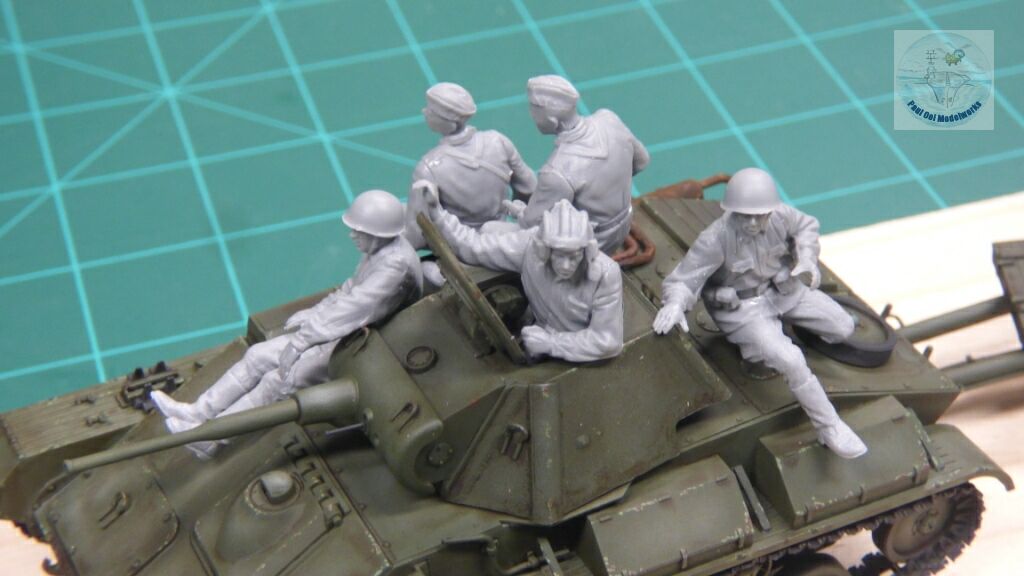
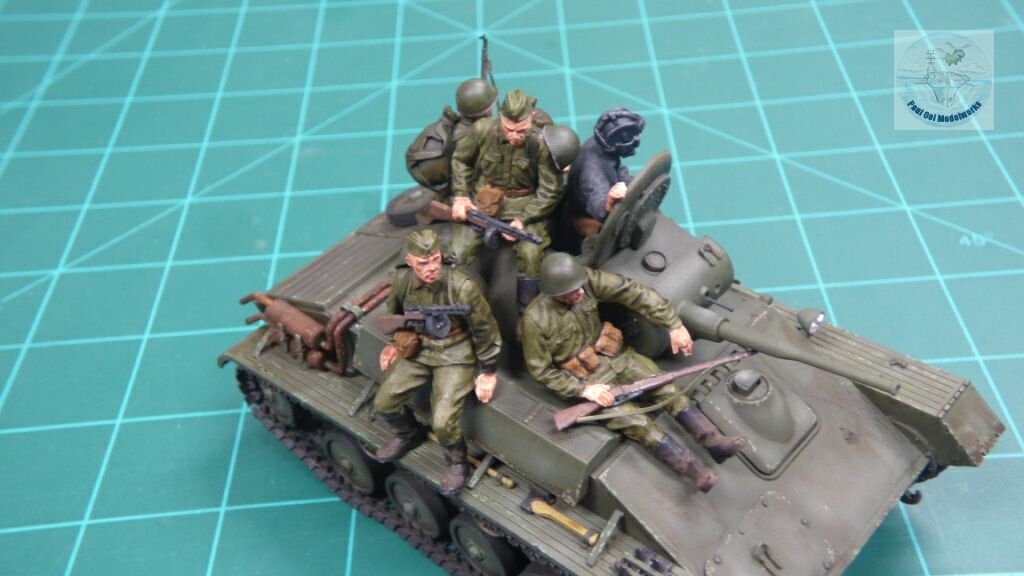
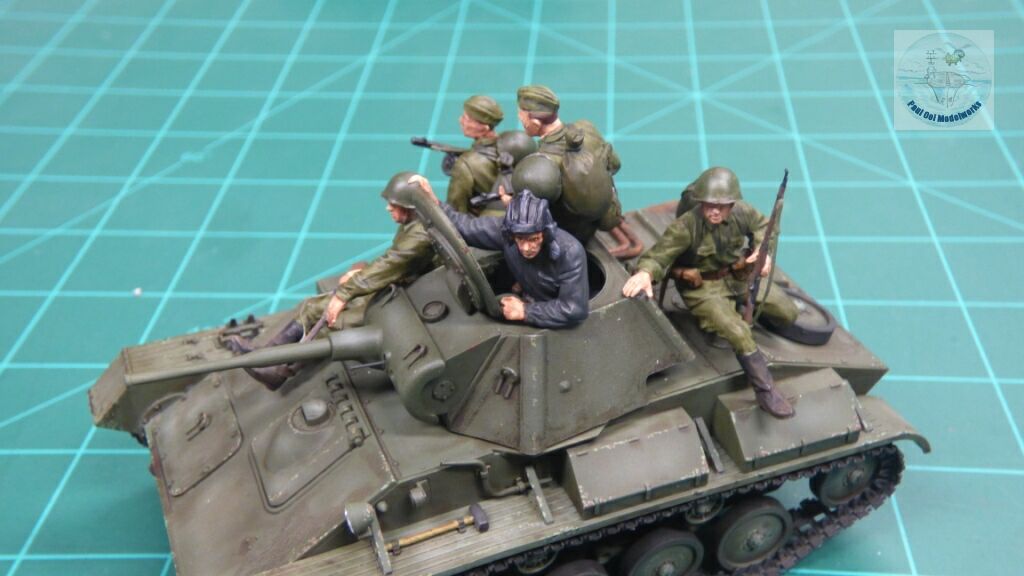
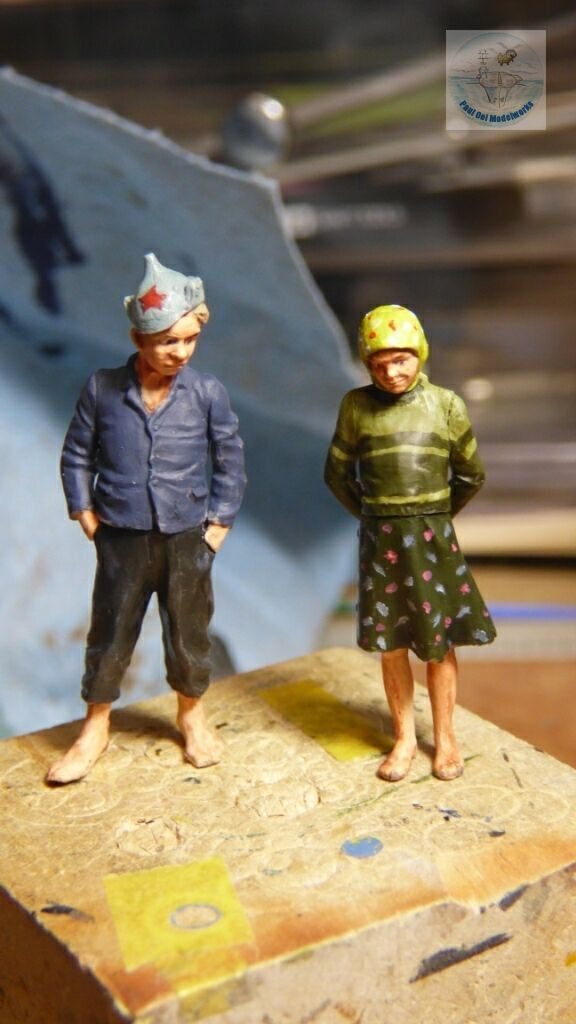
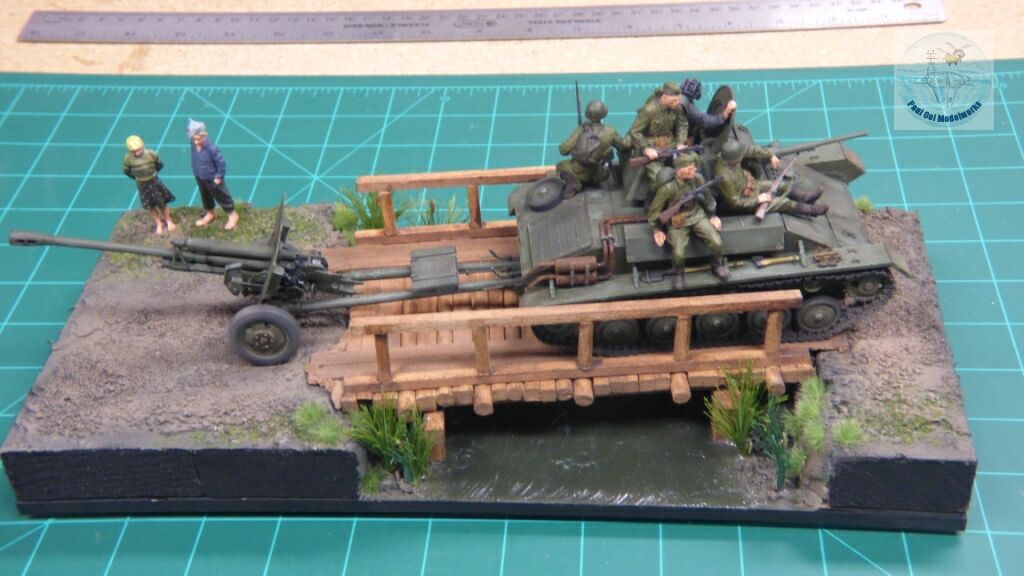
I came across this pre-owned MiniArt (Ukraine) kit of the T-70M combined with the ZiS-3 field gun and its crew riding on the tank. I was captivated by the bridge crossing scene of the box art and decided to build this diorama as part of the current series of Light and Mighty Tanks of WW2. I also bought the Master Box kit of Russian civilians in suitable period clothes to provide some interest in the diorama. The kit itself is very detailed and for most part, the molding was very detailed. However, some of the parts are very delicate and were easy to break while being snipped off the sprue. Also, there were a few parts that were insufficiently molded and had missing sections. However, these were minor and I could remedy them easily with stretched sprue. The fit was fair, and so some experience would be needed to build this kit. Also, the tracks are of the dreaded individual-links-only variety and will require the patience of a jeweler to assemble.
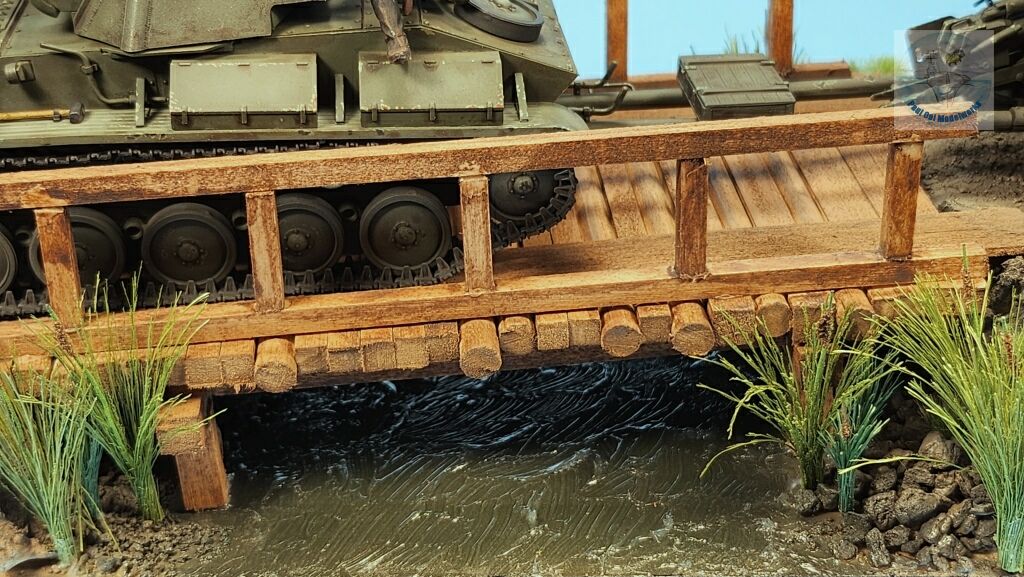
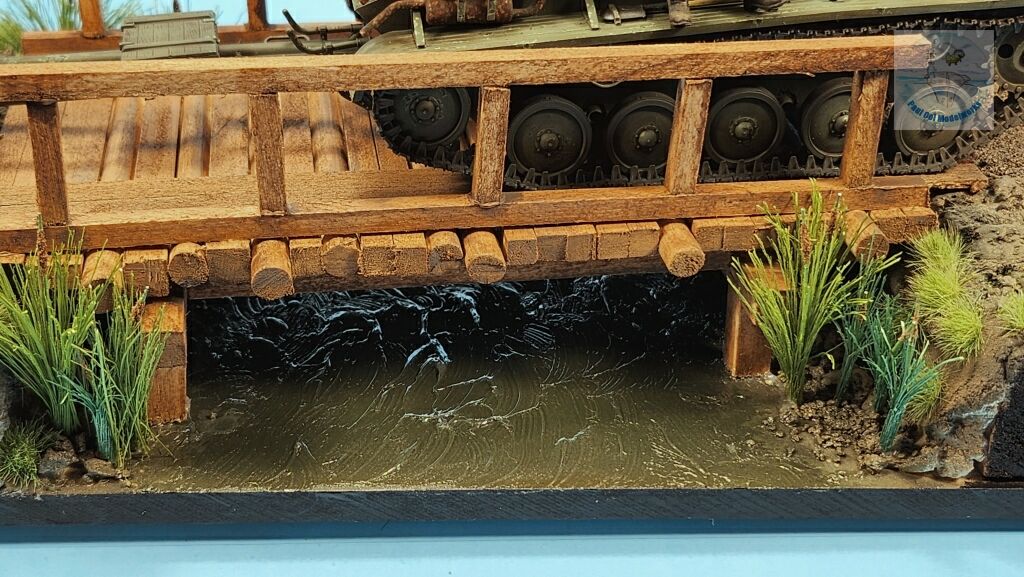
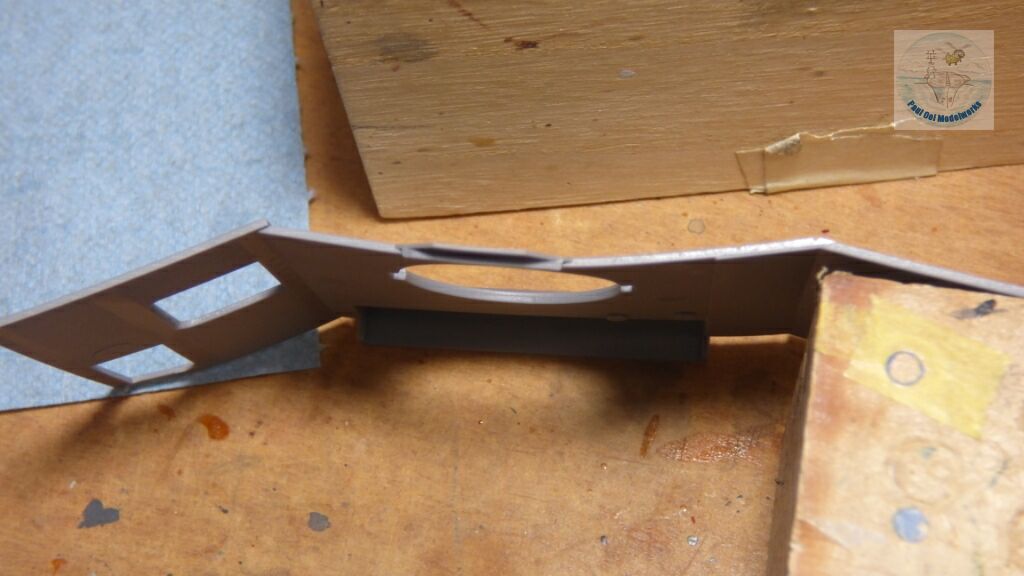
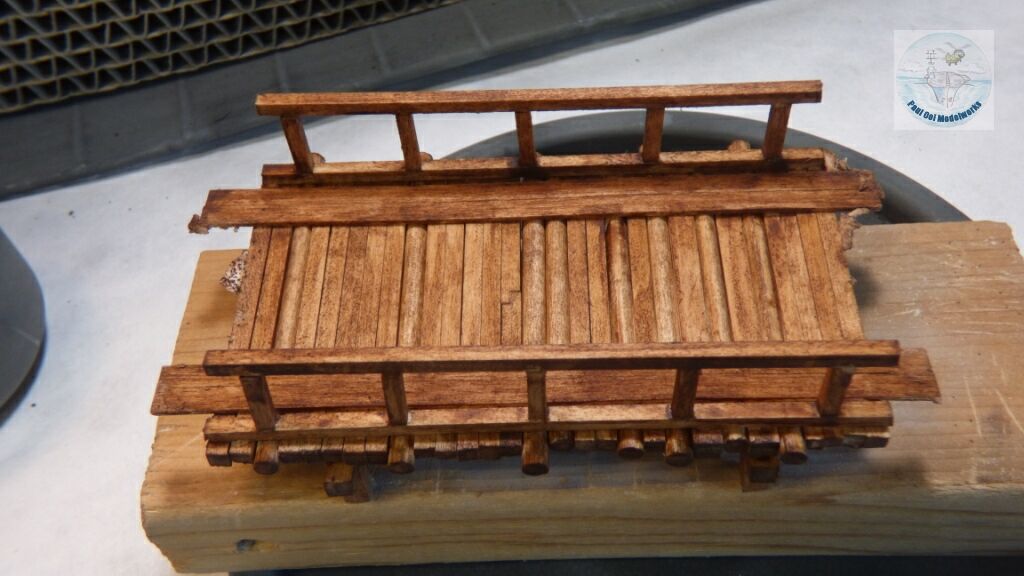
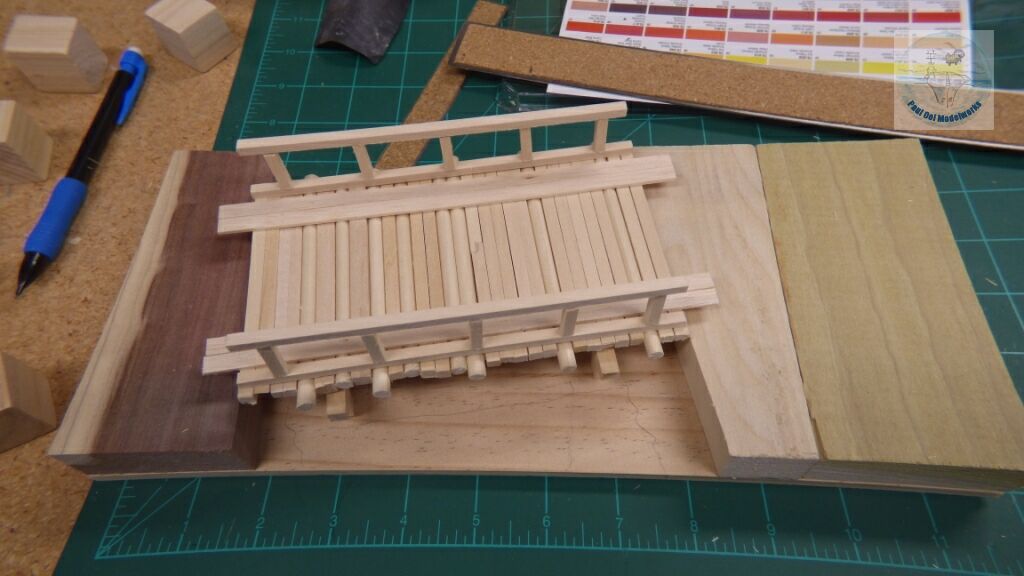
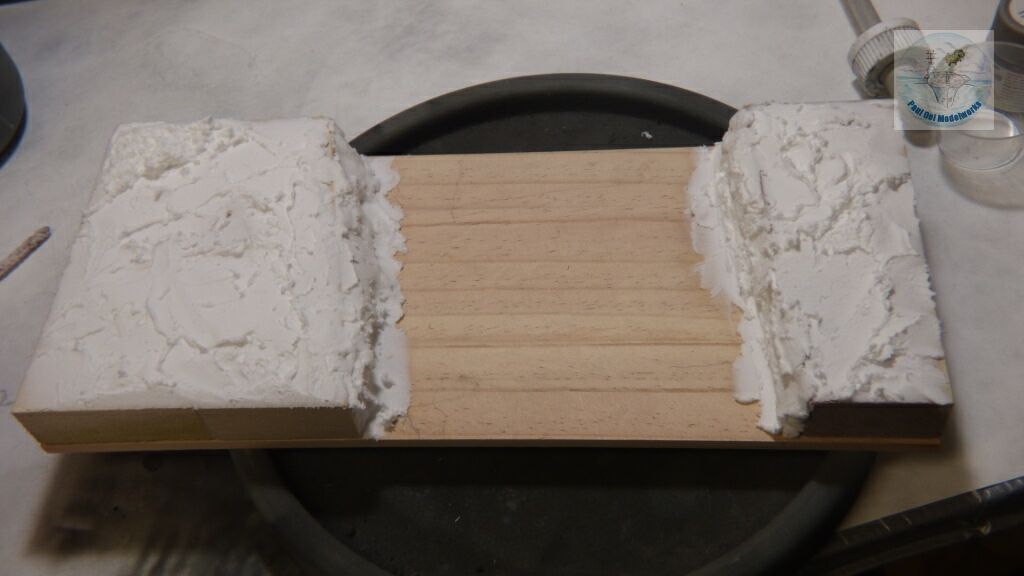
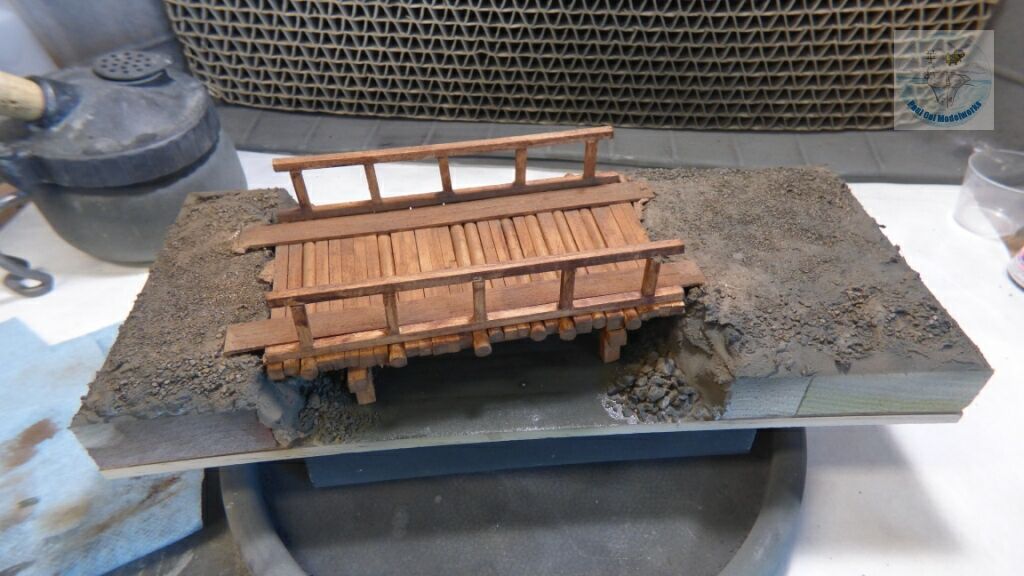
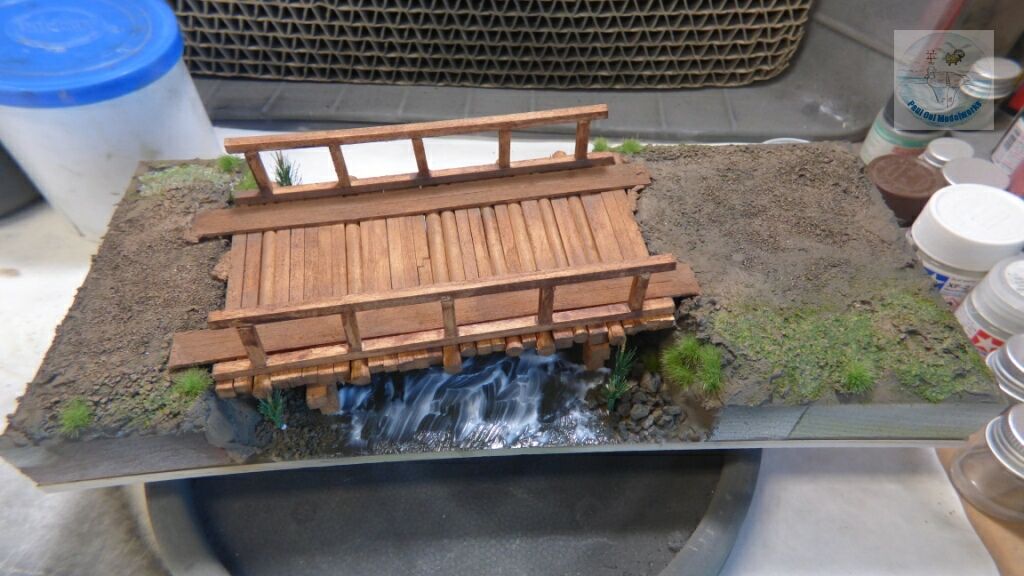
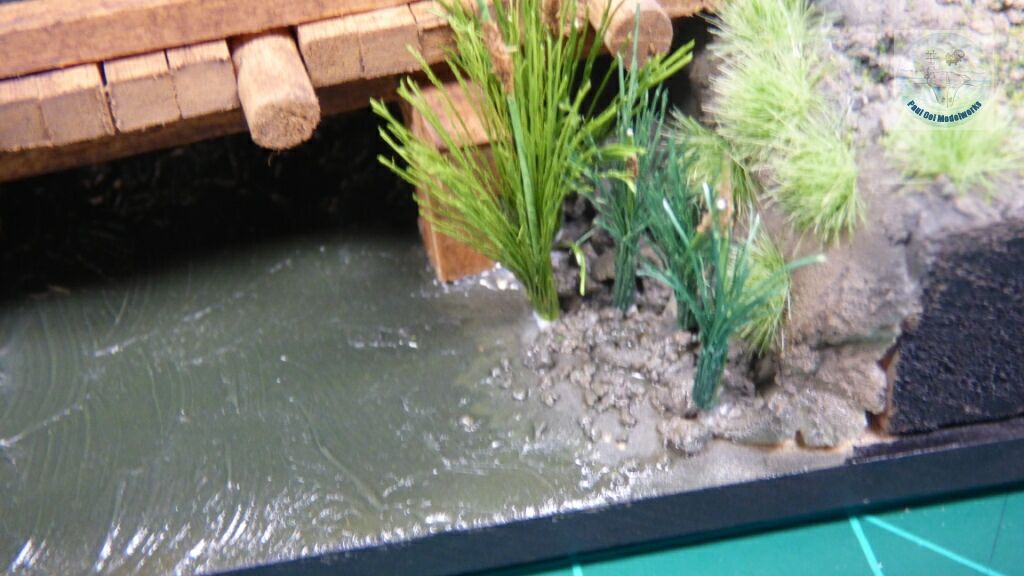
I wanted to portray a field gun being pulled by the tank over a small country bridge while being watched by two curious village kids. Such crossings were common as the Soviets attempted to push across the Dniepr in the summer of 1943, and the region was crisscrossed with multiple streams and tributaries of that main river. The bridge itself is scratched-built from bass wood and balsa, and it will be shown step-by-step in Tutorial 17 on Bridge-building.
Leave a Reply