
The Russo-Japanese War of 1904-1905 foreshadowed the type of warfare that the 20th century was going to experience, dominated by machines and technology. Although the territorial gains of this conflict was limited to the Korean Peninsular and Northern China, the political and cultural shift was a seismic one that will have future import in World War 2. For the first time in modern history an Asian country had defeated a major European power in a clash of arms at sea and on land. It also ushered the dawn of Japan as a Pacific power, leading to frantic attempts by Great Britain and the United States to contain her in the Washington Treaty of 1922.
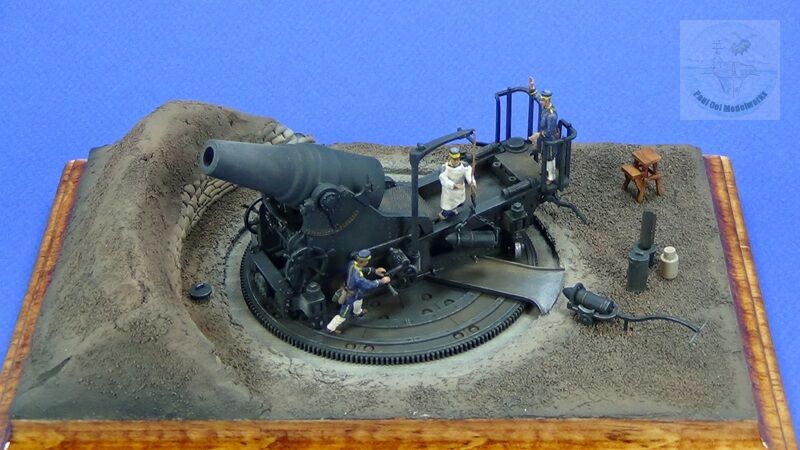
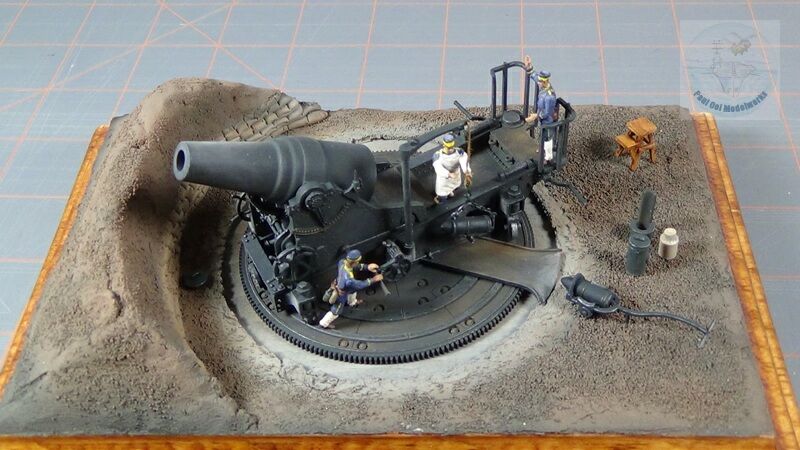
The Siege of Port Arthur by the Japanese was one of the major developments of the land war. The Russian Pacific fleet was trapped inside Port Arthur but the area was ringed by Russian fortifications. To reduce Port Arthur’s defenses, Japan brought in these heavy 28cm howitzers from Japan’s coastal forts. The 28cm L/10 Howitzer was manufactured by the Imperial Army Osaka Arsenal based on the original Krupp design. The monster gun hurled a 217kg (478 lbs) shell up to 8km. Once the Japanese captured the heights around the port, the howitzers fired directly upon the ships moored in the bay, sinking them one by one. This final development led to the rapid Russian capitulation.
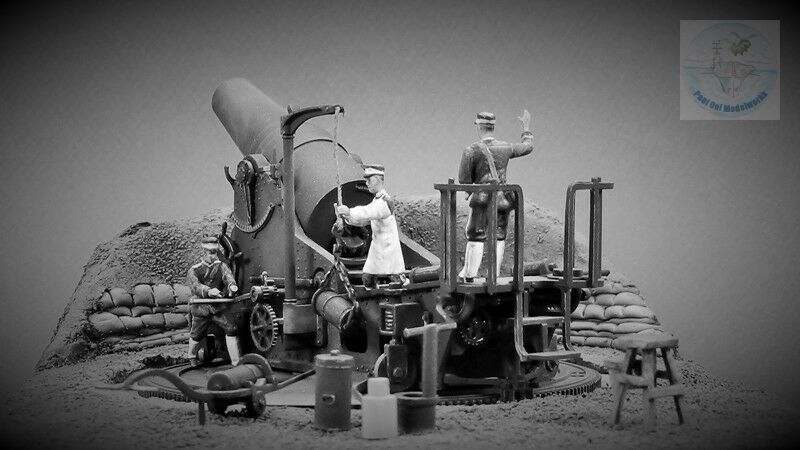
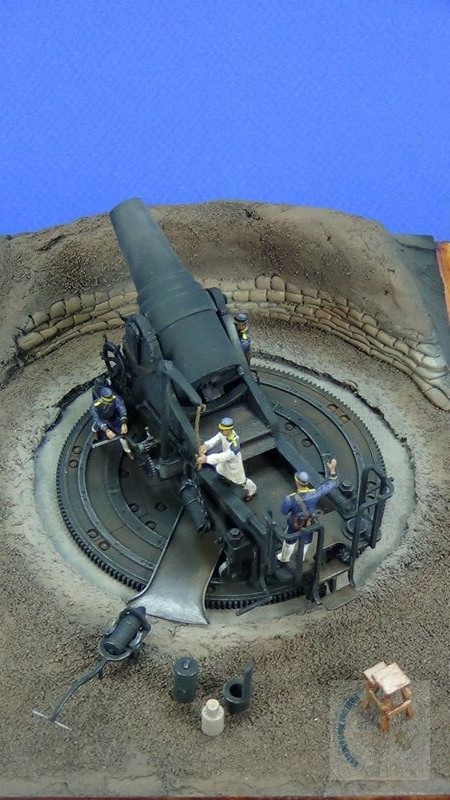
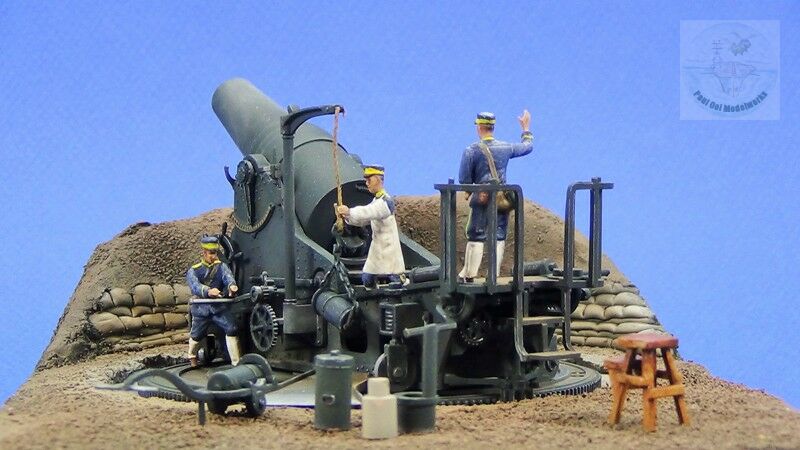
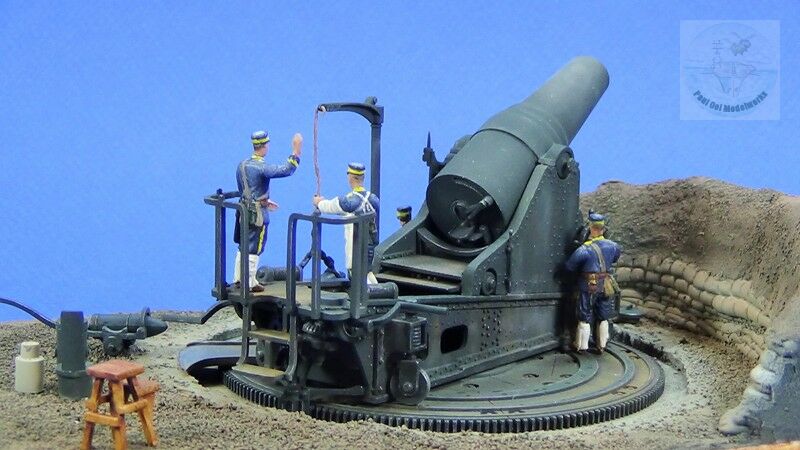
Gallery


Construction Notes
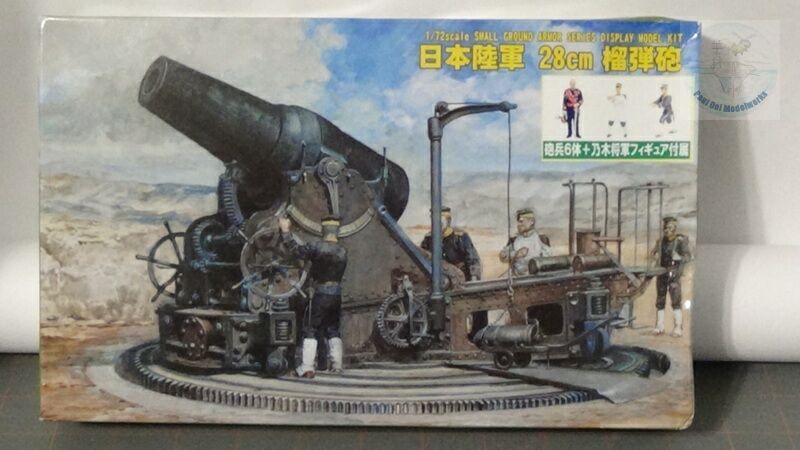
This 1/72 scale model of the 28cm Howitzer by Pitroad was just such a delight when I found it while browsing in the Yokohama Yodobashi Camera superstore. This subject matter is very different from the usual modern AFV’s and aircraft, and I was immediately captivated. There are very few models of the land war from the Russo-Japanese War. Most well known kits are naval ones like the HIJMS Mikasa or the Kniaz Suvoroz from the Battle of Tsushima Straits.
The kit contained several dark grey frets of very well molded parts for the gun. There was also two (less detailed) frets of figures for the gun crew and a rather out-of-place one of General Nogi in his finery. The part fitted very well and there were plenty of mechanical gears that required careful study in order to put together in the correct order. There are also a few pieces of artillery tools that help to make a wonderful diorama.
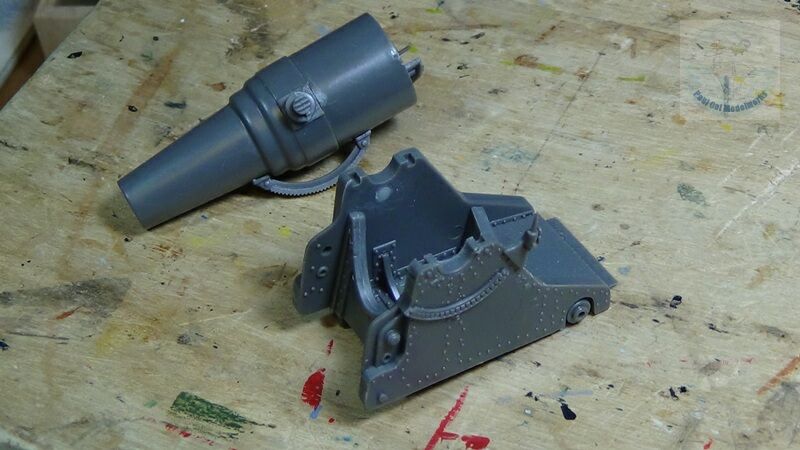
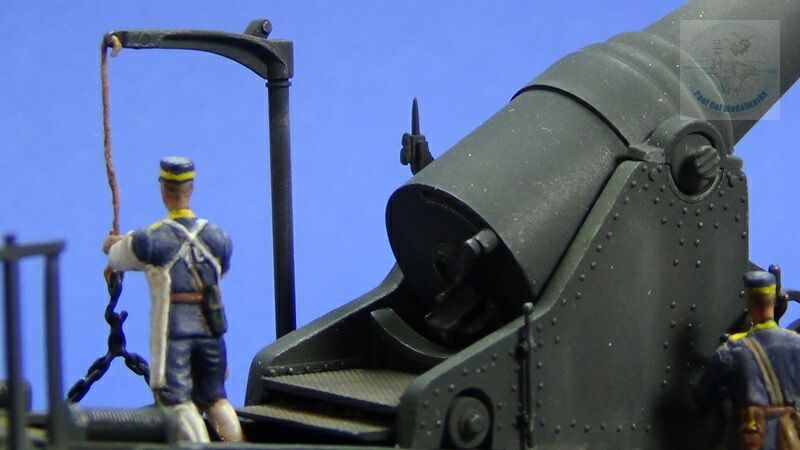
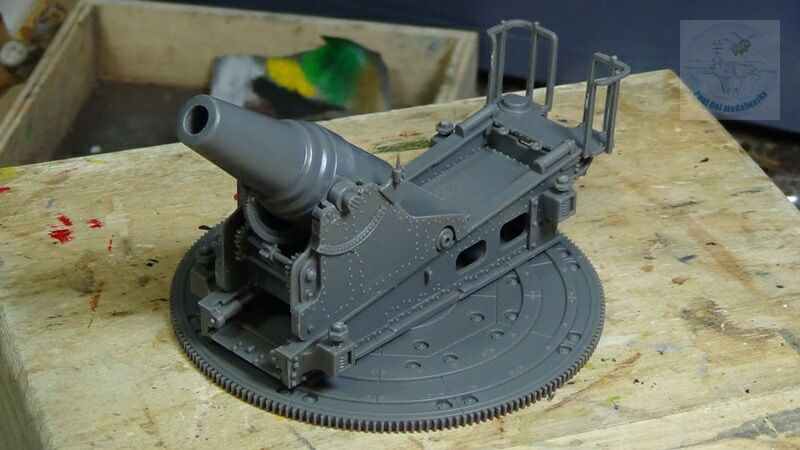
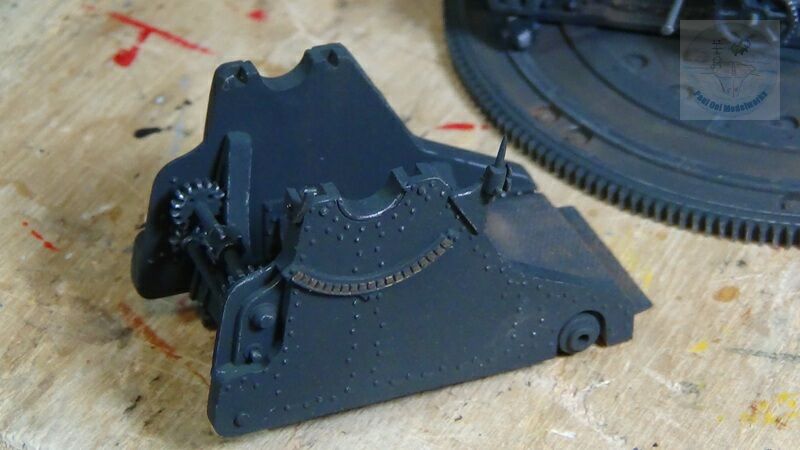
The gun barrel comprised of two separate sections that fitted perfectly, followed by the elevation gear and the breech details. the gun cradle also cam together very easily although I actually did not glue one side until after painting. The picture of the gun cradle here was a dry-fit.

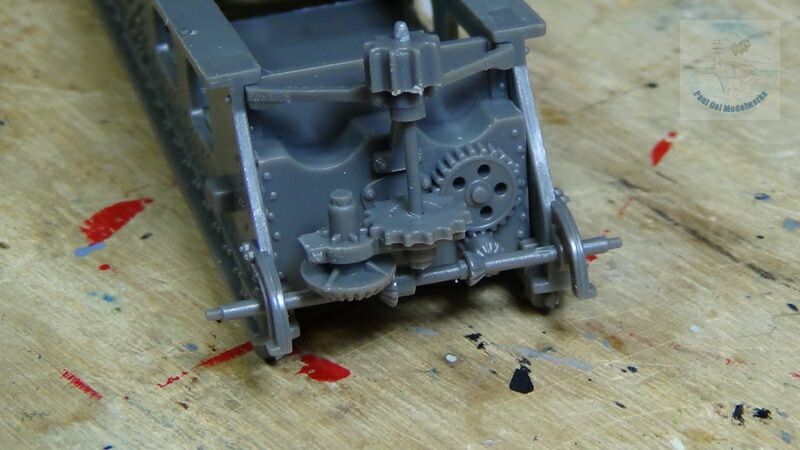
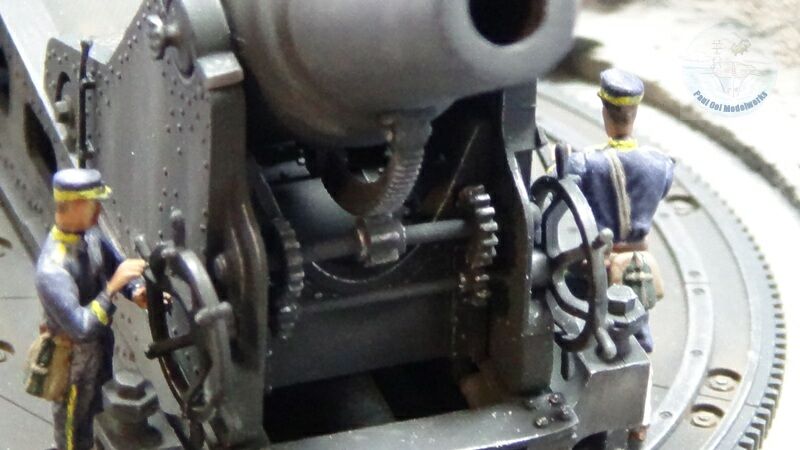
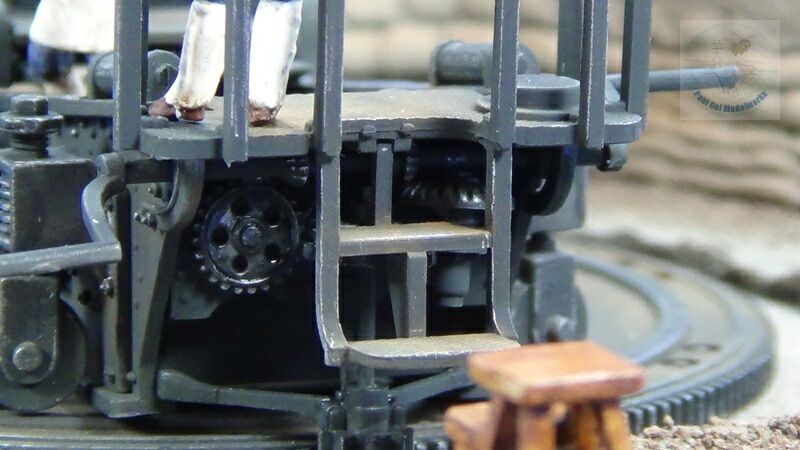
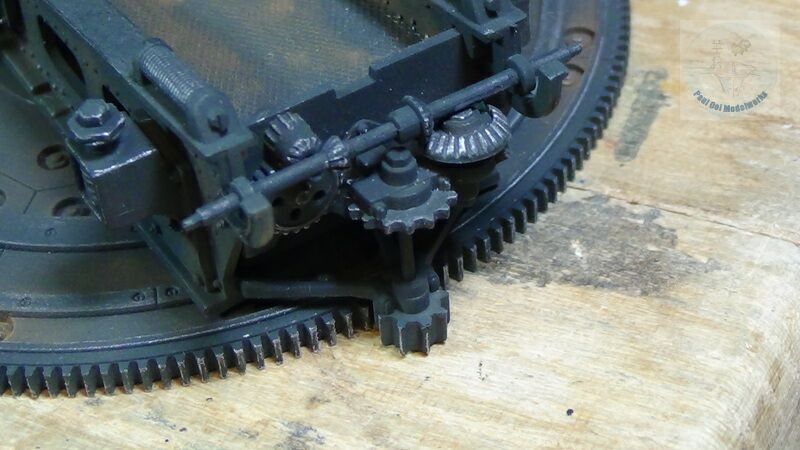
The next part was the gun carriage with several important pieces for the mechanical gear assembly that terminates in a spur gear that ran along the edge of the circular gun platform. These have to be carefully aligned so that there will be proper engagement with the gear teeth along the periphery of the giant platform.
After attaching the rear platform onto the gun carriage, the whole assembly was dry-fitted again to ensure proper alignment before being removed for painting.
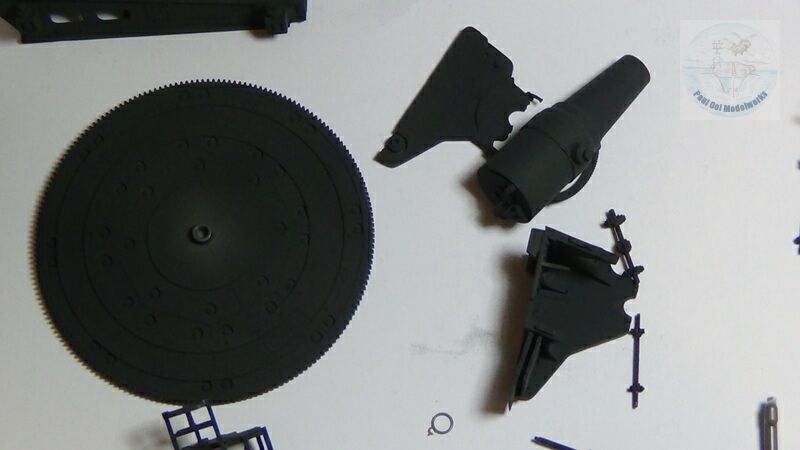
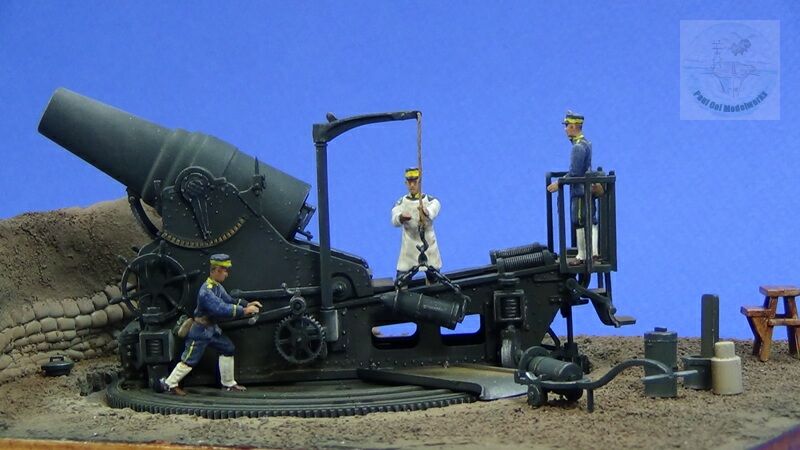
The sub-assemblies were painted Tamiya NATO Black XF69. This dark grey finish gives a better scale portrayal of the large gun rather than using flat black.
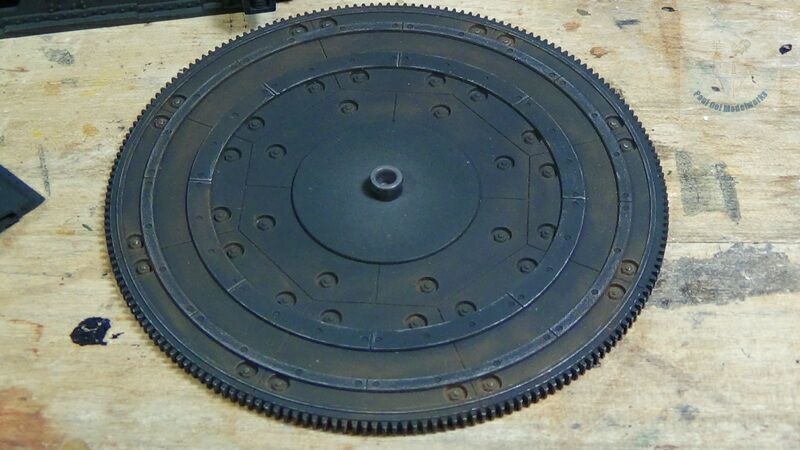
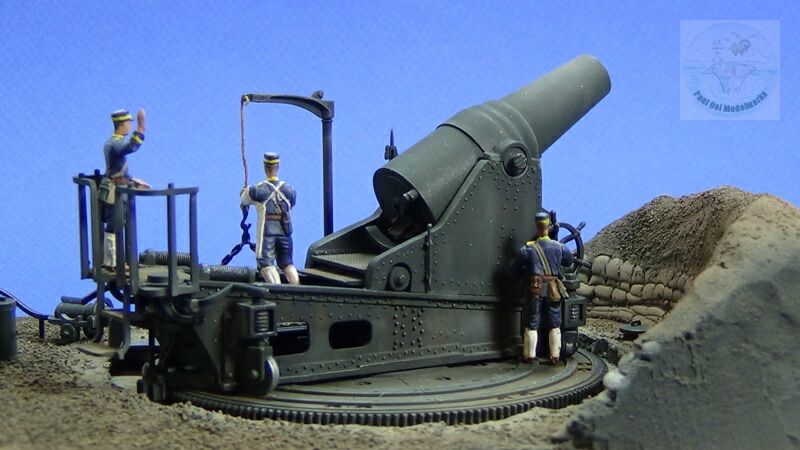
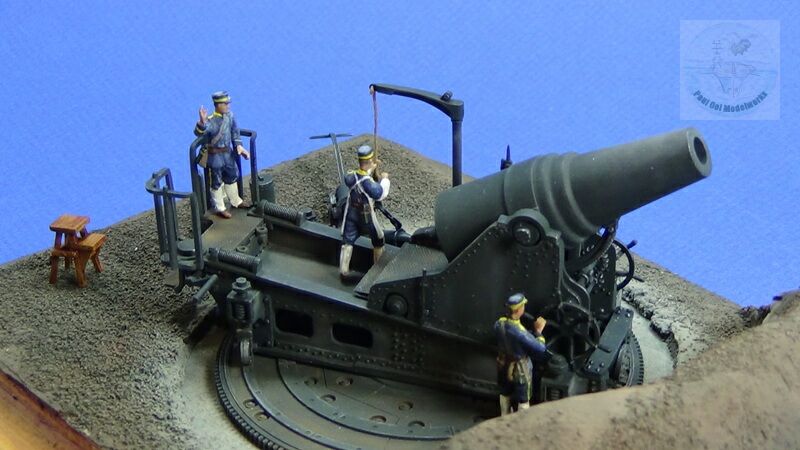
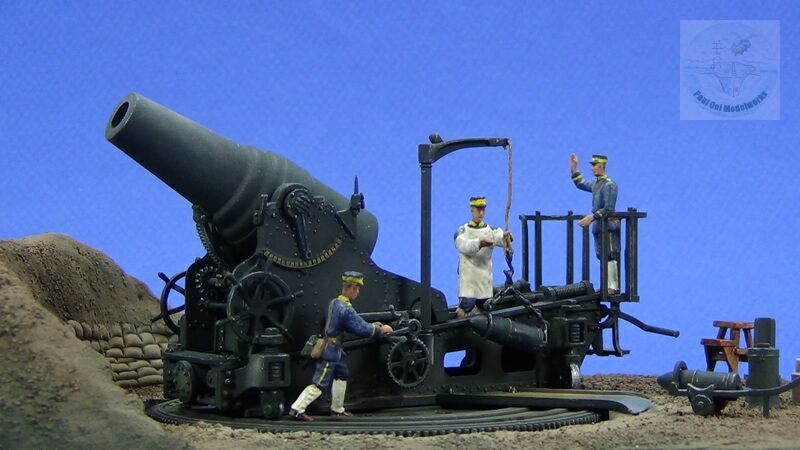
The gun platform was weathered using metallic silver Prismacolor PC949 to highlight the edges and also the wear of the rails on which the large circular carriage rollers rolled upon. Brown and orange chalk pastels were used as pigments to provide the well worn look.

Weathering is then done on the gun carriage, repeating the process similar to the gun platform, adding light grey pigment for the bleaching and rain streaks on the gun.
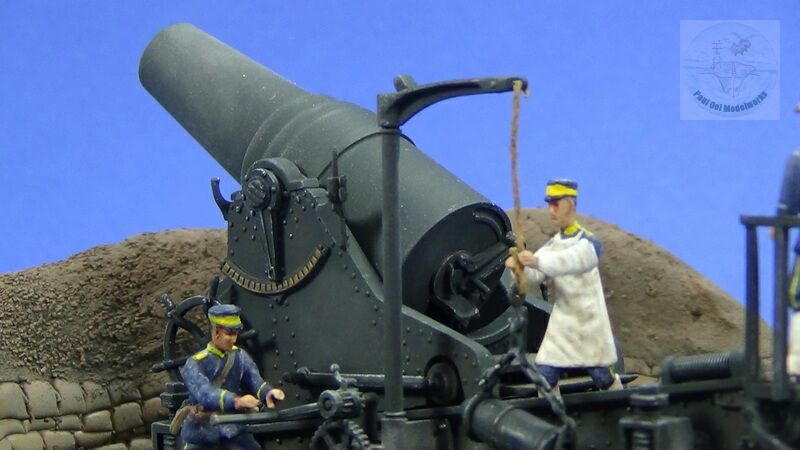
The gun cradle is given similar weathering treatment before attaching the gun barrel.
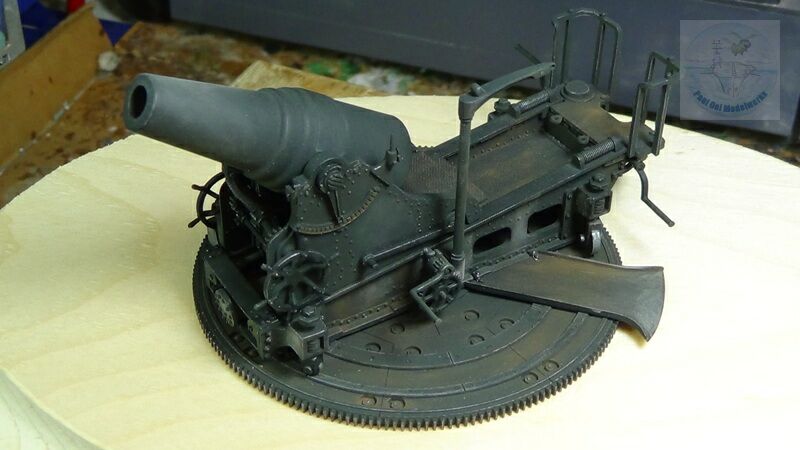
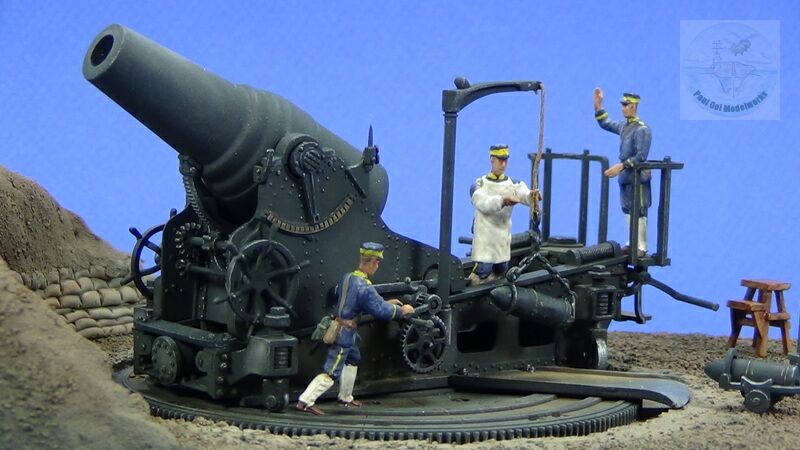
Once the gun cradle and barrel are attached to the carriage, all the other appendages like the roller wheels, bridge plate were finally attached. Detailing of the gun features like the huge brass quadrant were applied to the gun assembly.
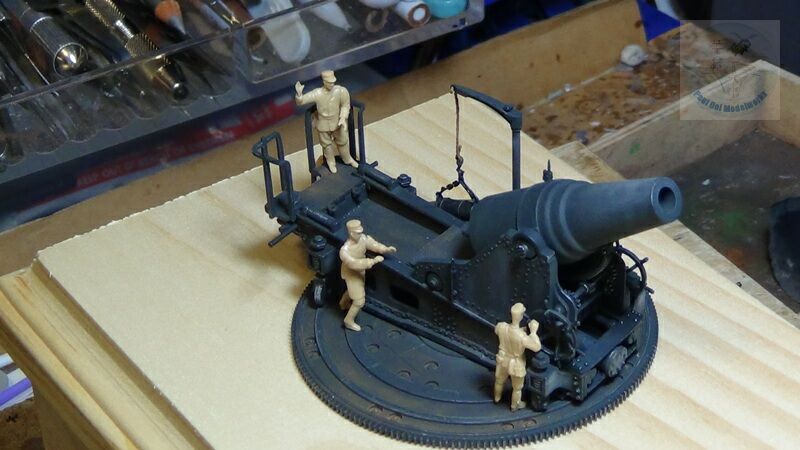
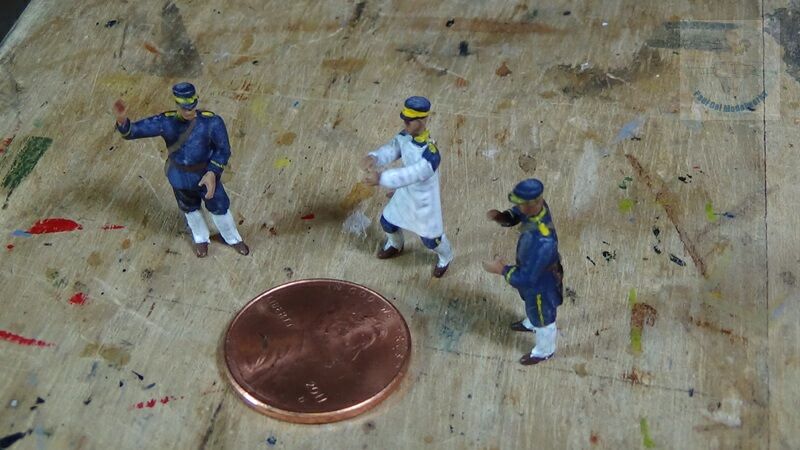
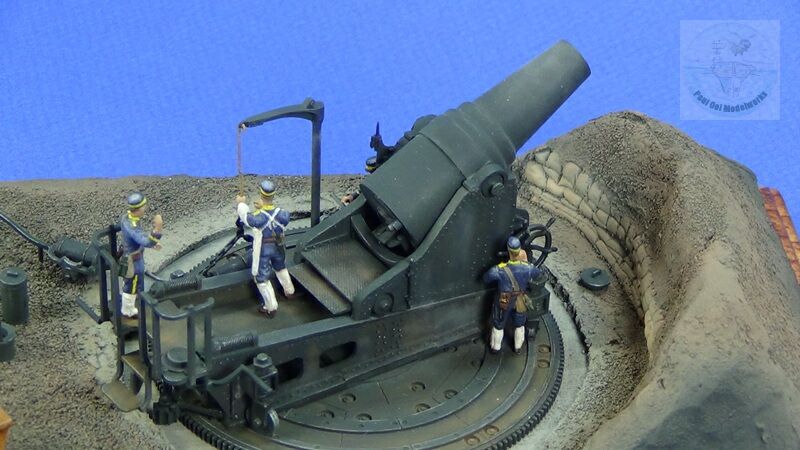
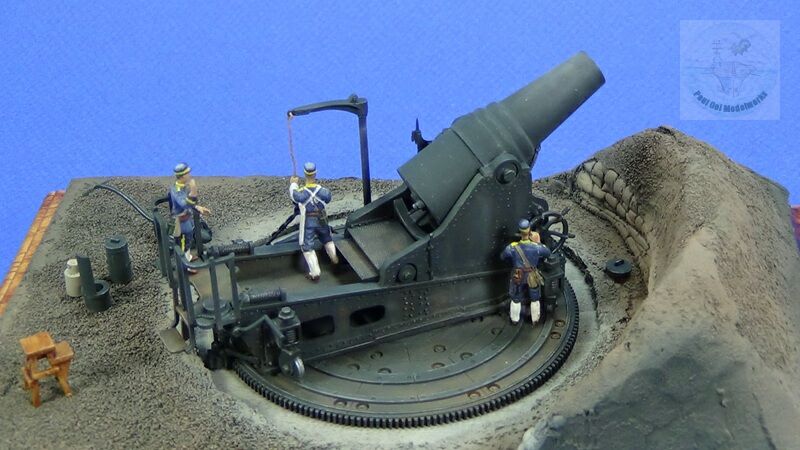
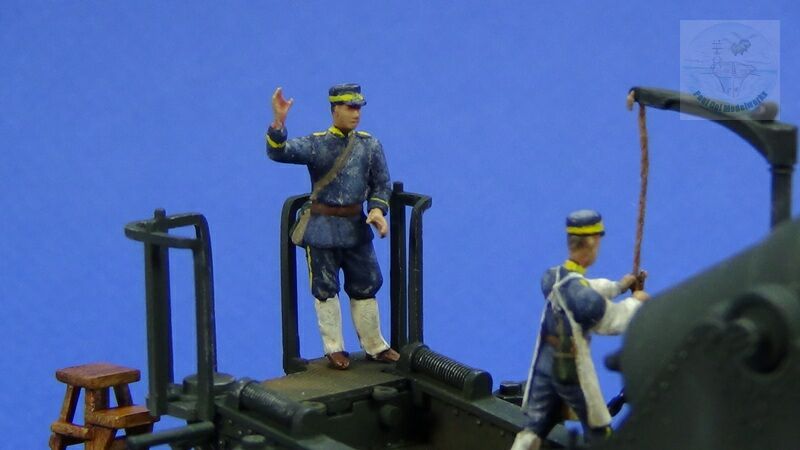
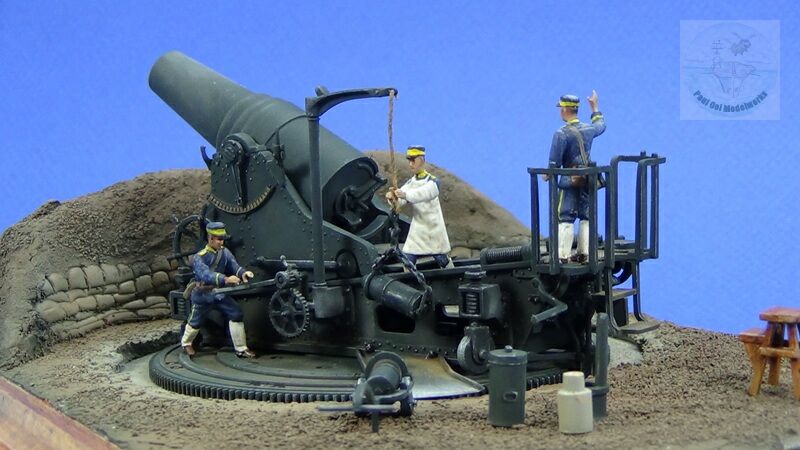
The gun crew are very much a part of the vignette and these have to be posed onto the gun to check the alignment of their poses to make sure there were doing useful things around the gun. Once properly fixed, these tiny figures were painted in acrylic paints, shaded using Vallejo washes and highlighted with some Titanium White oil paint.
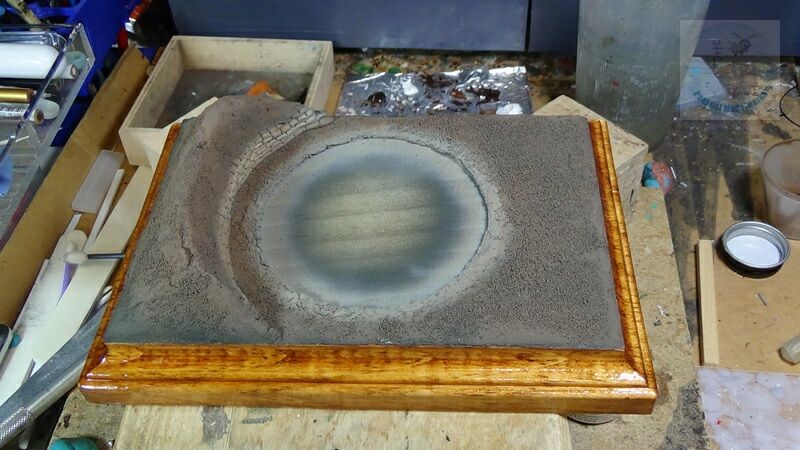
The rest of the diorama base was carefully made to show the circular cement well for the gun platform and enough clearance for the spur gear riding along the rim of the geared platform. Instructions for putting together the gun emplacement base can be found under Tutorial 5: Making a gun emplacement with earthworks .
Leave a Reply