Some of Bandai’s most popular model kits are the 1/144 scale mobile suits from the long-running sci-fi Gundam series. These kits are very well designed for good articulation, and they are molded in the approximate colors to match the prototypes. One of the most popular Gundam mobile suits is the Freedom Gundam from the Mobile Suit Gundam Zero and Zero Destiny storylines. Piloted by the impetuous Kira Yamato, the Freedom, in its various versions have featured heavily as one of the main protagonists in the incessant wars of the Gundam Universe. The High Grade range of kits are a good entry level project and does not require a lot of tools to turn out a really nice model. For those interested, I had previously built some pretty large and complex Gundam kits like the Perfect Grade Unicorn Gundam and the Neo Zeon Moble Suit Nightingale. Overall, it was a good short break from the “serious” subjects of actual historical subjects.
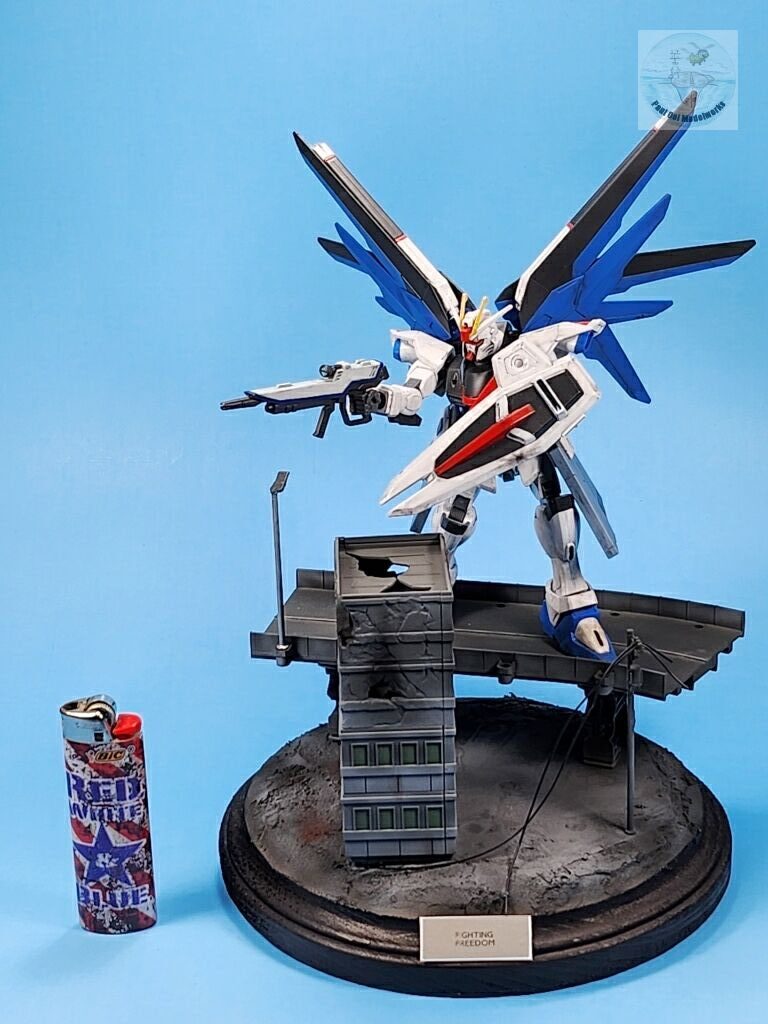
Gallery
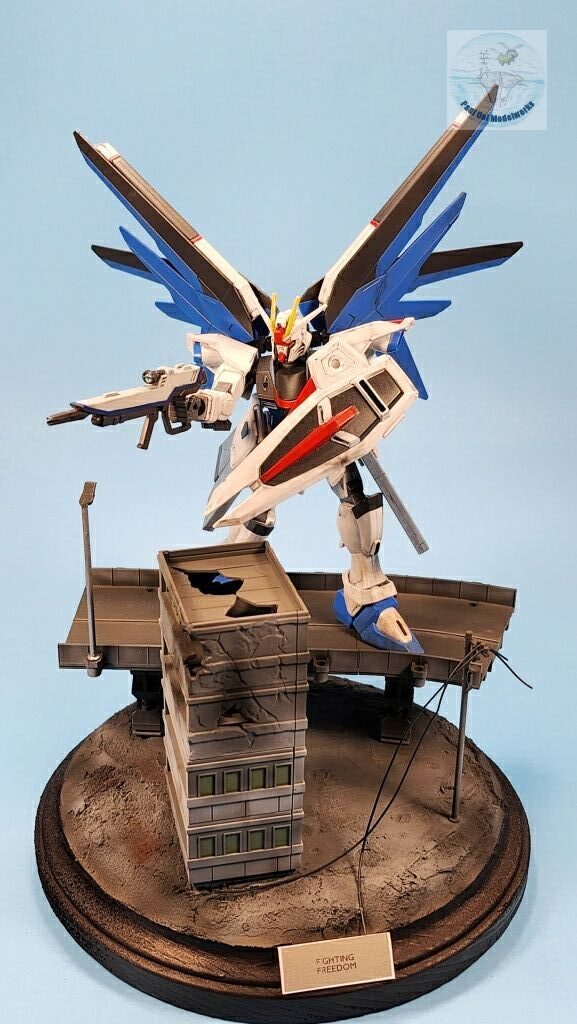
Construction Notes
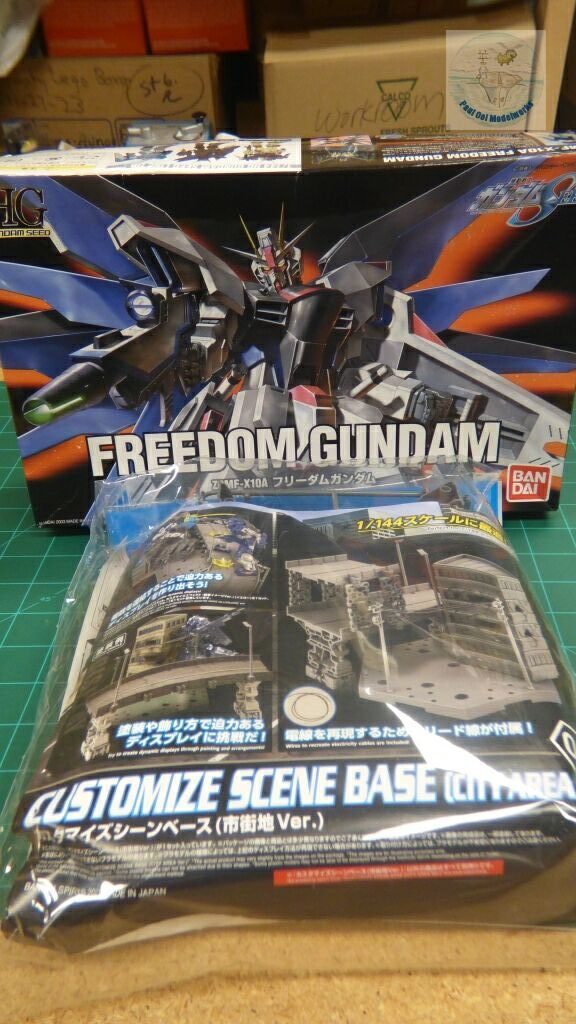
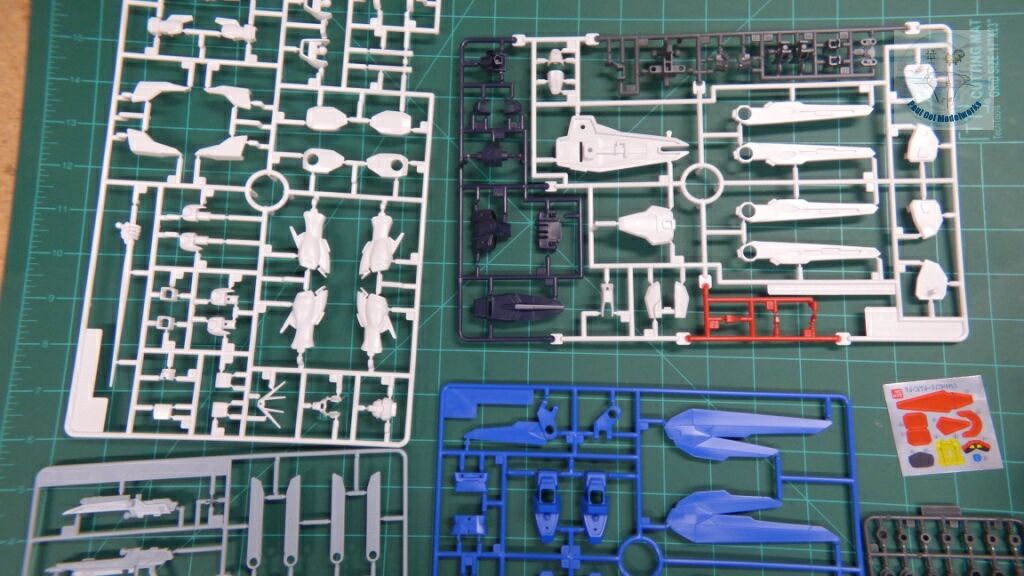
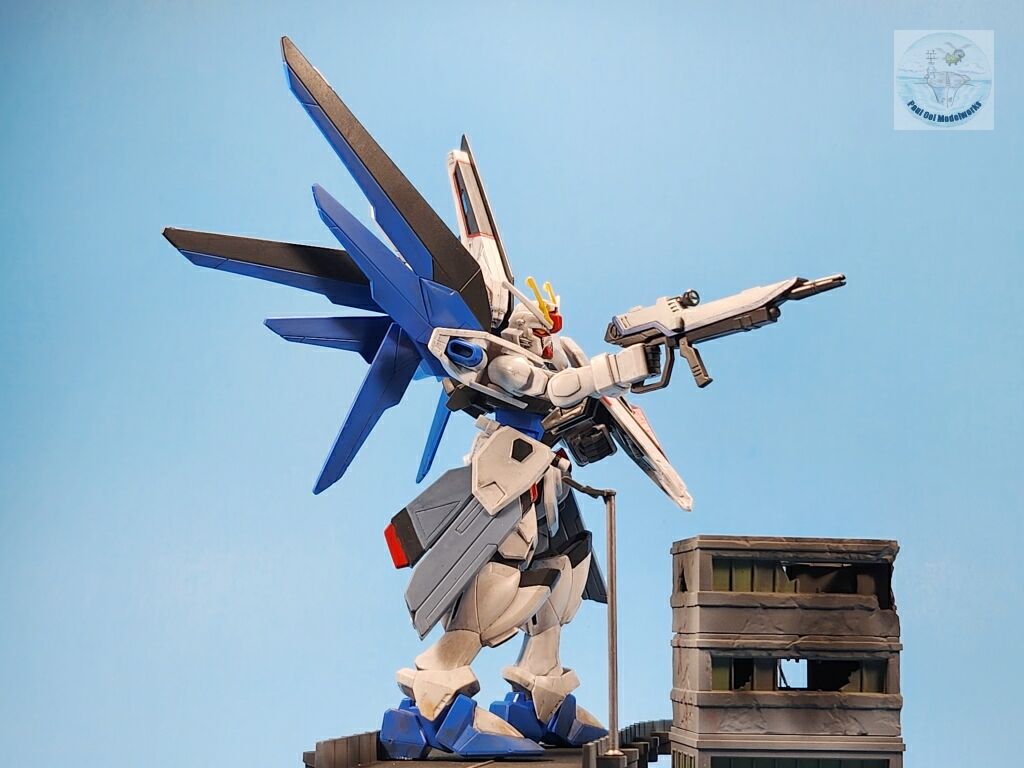
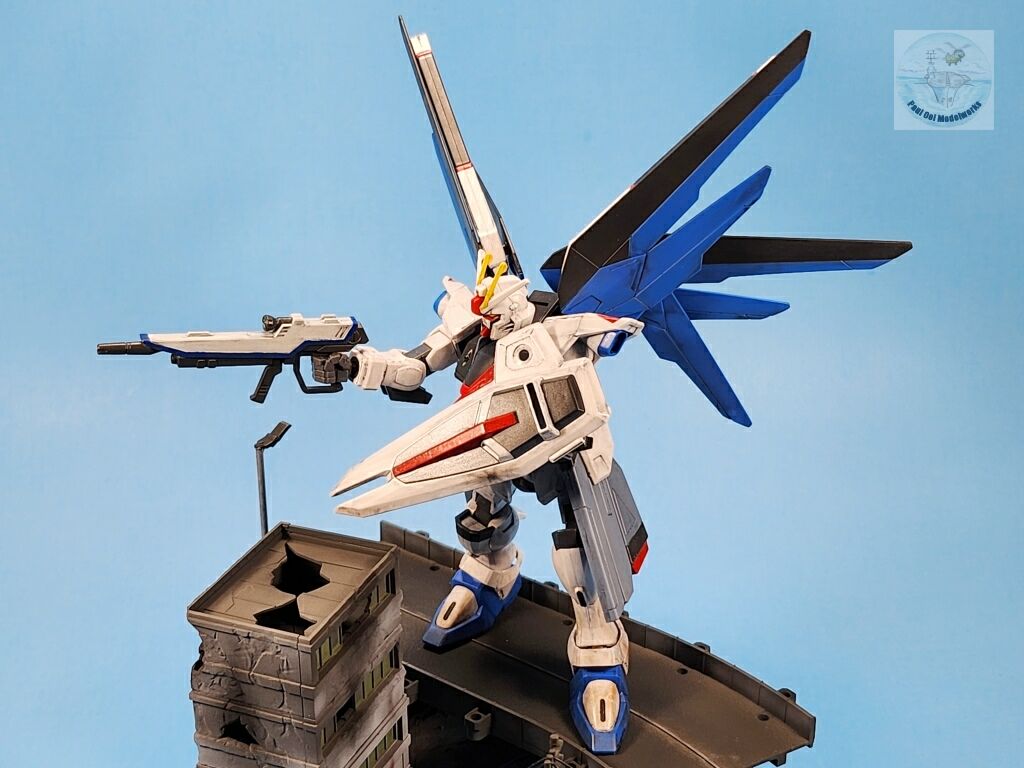
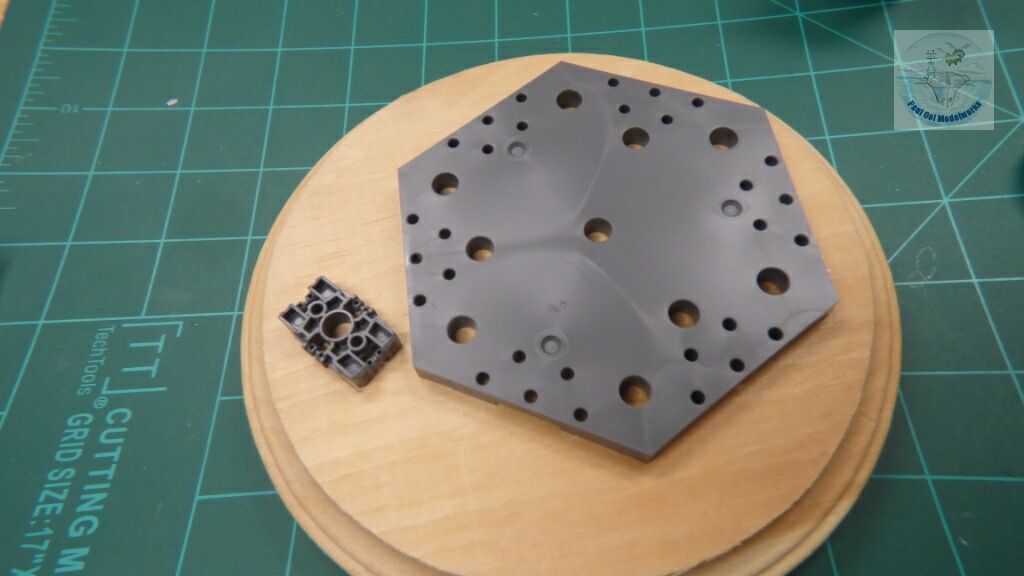
Together with the basic Bandai High Grade (HG) Freedom Gundam kit, I also got the City Area Scene module kit to create a small vignette. This was one of the earlier High Grade kits that required quite a bit more painting of you wanted to match the colors of the prototype, and the stickers (not decals) provided are only for a few color panels, not the stenciling and unit markings of later High Grade and Real Grade kits. All the panels are molded in one color or another, some matching the standard Gundam colors like the blue and red ones. There is also a panel of poly propylene connectors for the joints.
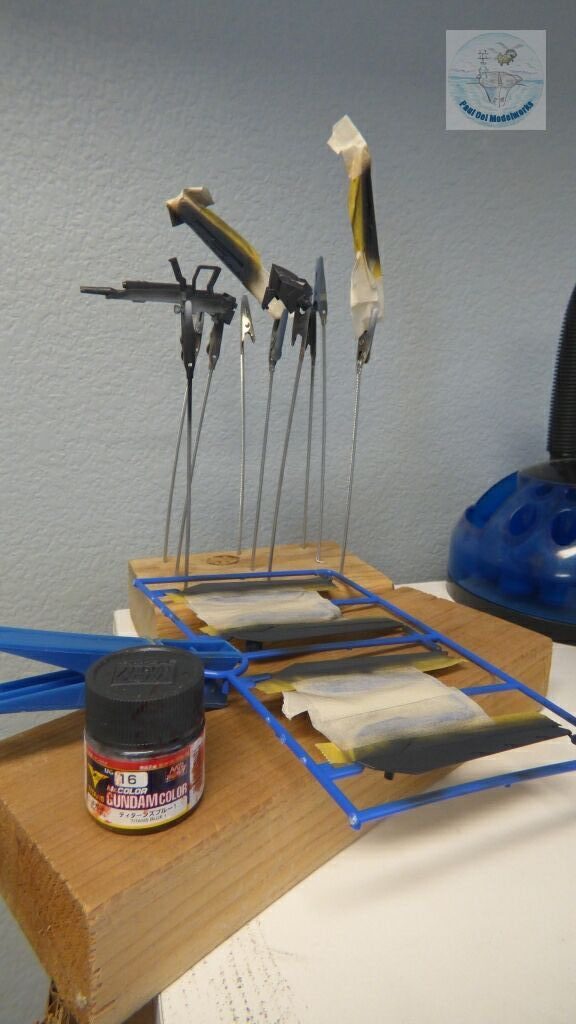
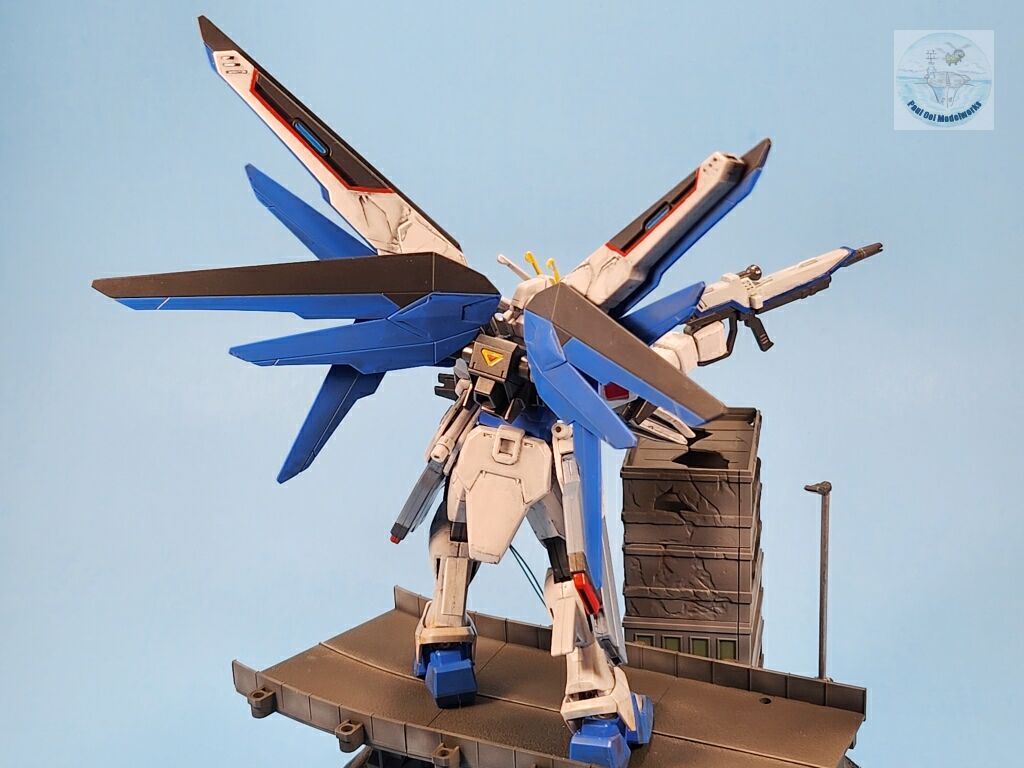
Quite a few wing sections, torso panels, and the blaster needed to be painted with the correct color, in this case, a deep blue-grey called Titan Blue I from Mr. Color’s Gundam Color range.
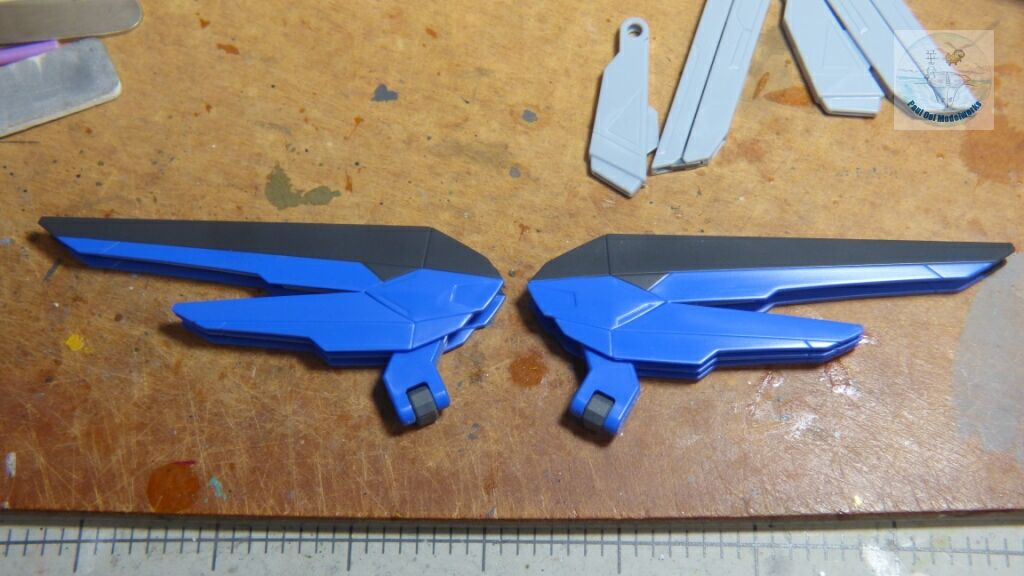
These are the wing sections after the masks have been removed to reveal the Titan Blue 1 top and Gundam Blue bottom.
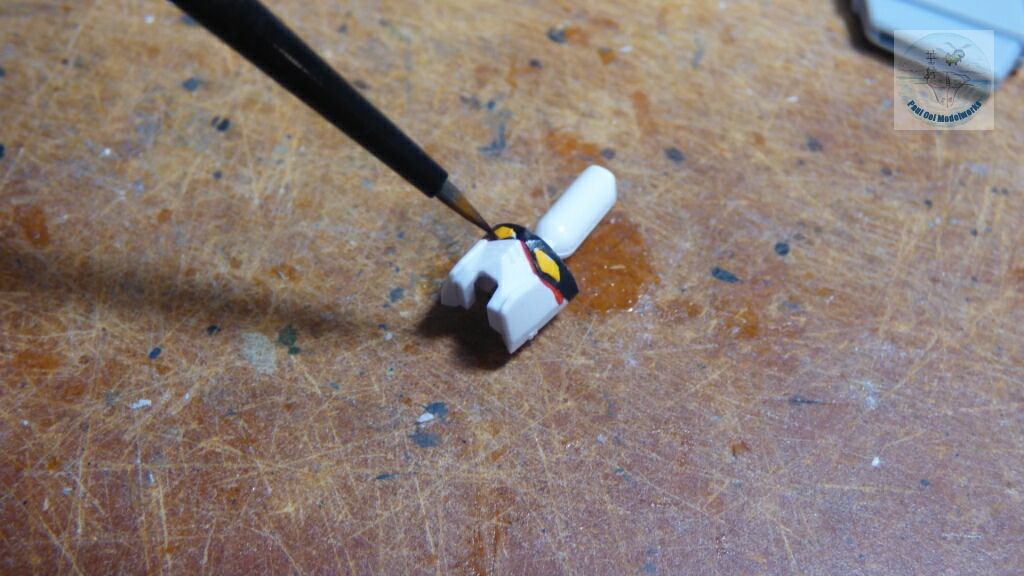
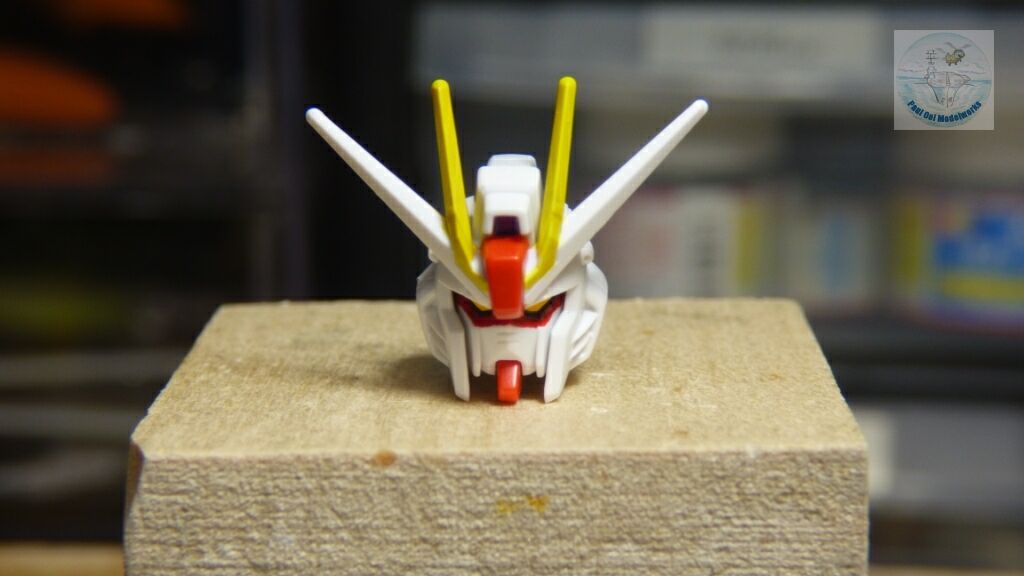
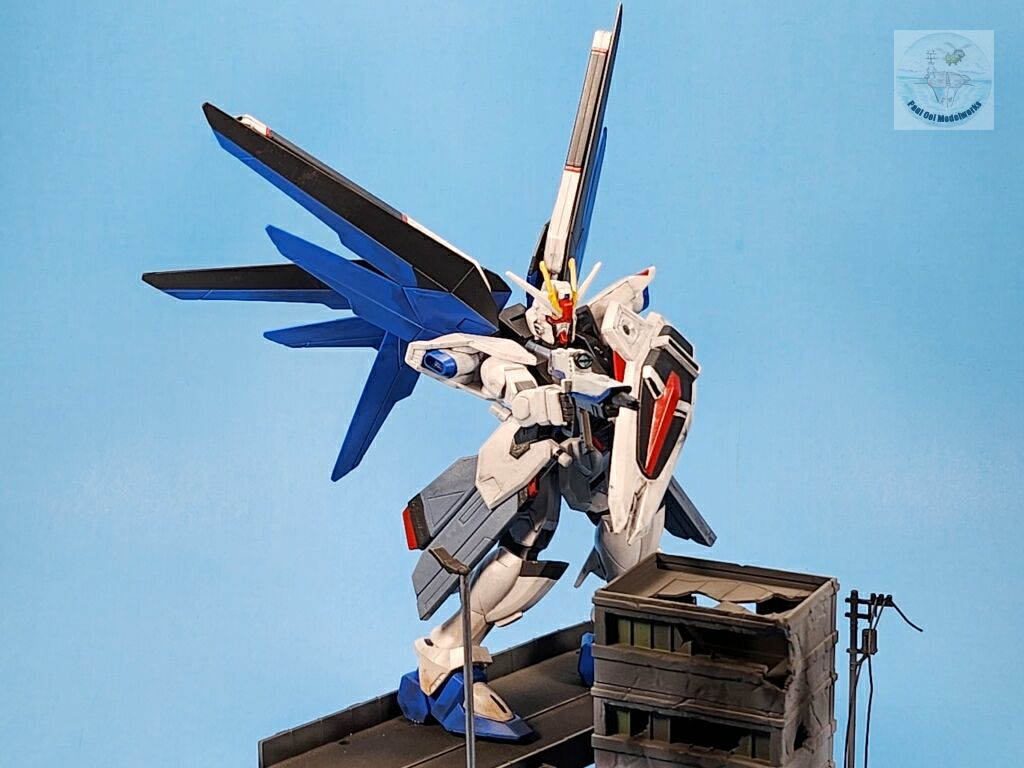
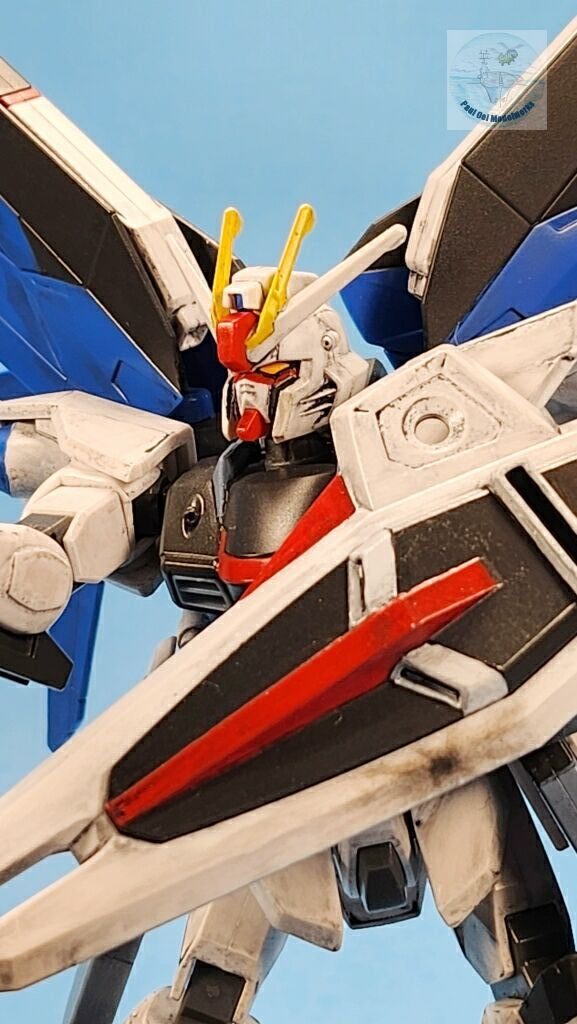
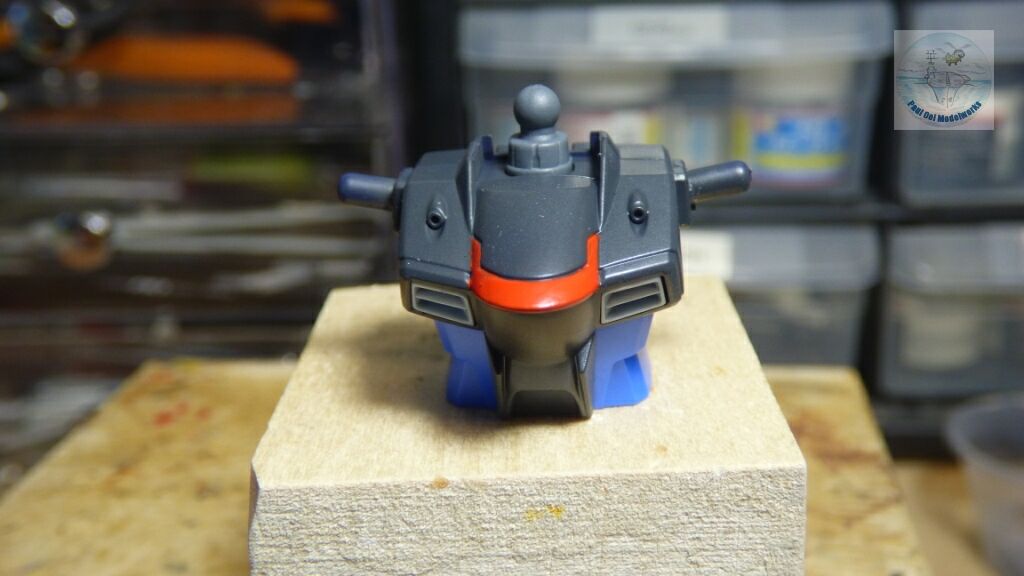
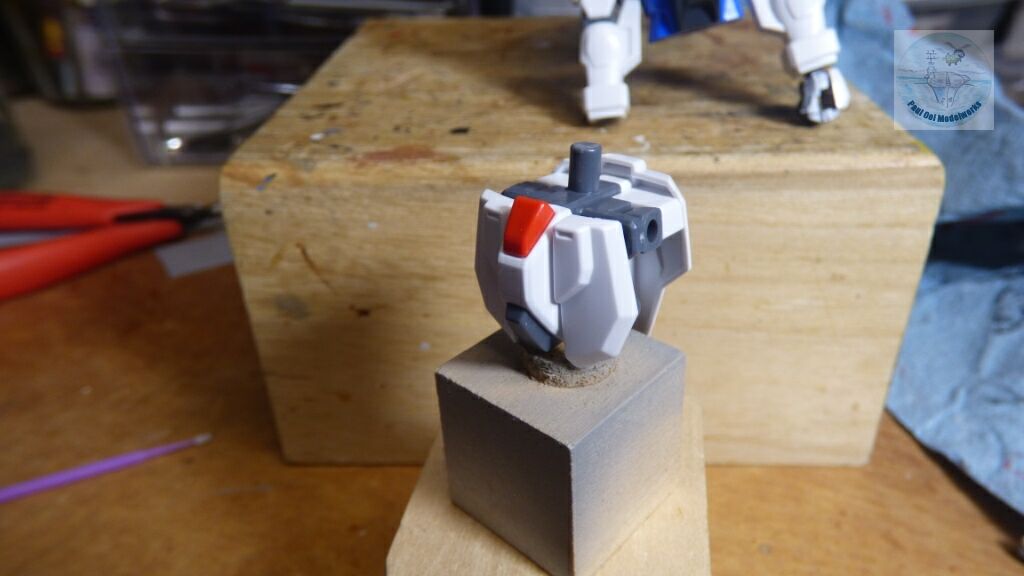
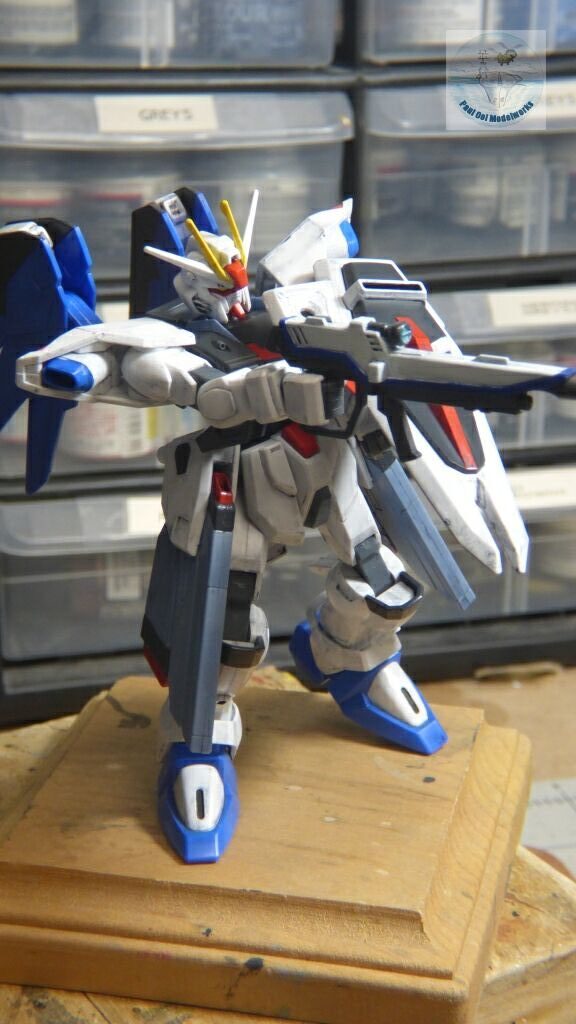
Rather than using the sticker for the “eyes” (actually high-powered sensors), I painted the “face” with Deep Yellow for the sensors, Mr. Color Gundam Red around the upper “face” and Flat Black around the brow. The helmet antenna are painted Mr. Color Gundam Yellow.
Once the upper torso pieces (painted Titan Blue 1) have dried, the front breast piece was hand-painted Gundam Red.
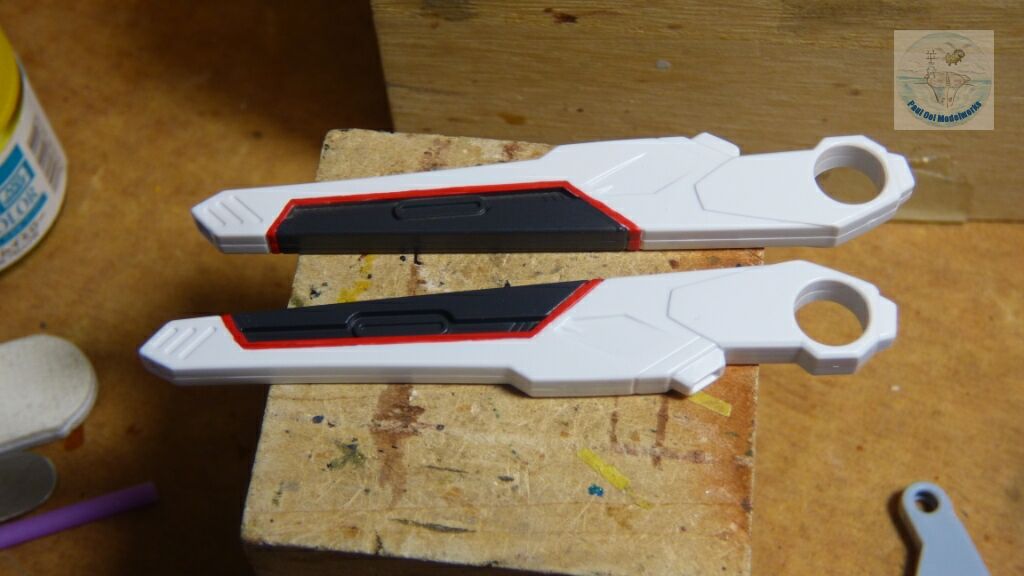
The rail guns have the middle section painted in Titan Blue 1, and then lined with Gundam Red over a Gundam White background.
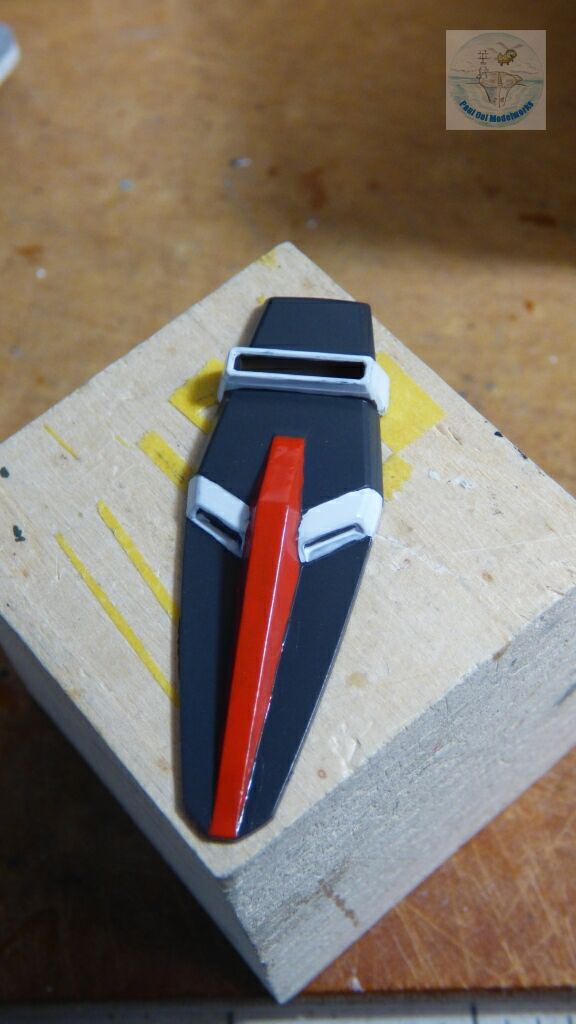
Over the shield center peice that was painted Titan Blue 1, the center boss was hand-painted Gundam Red, and sections of Gundam White (like off-white).
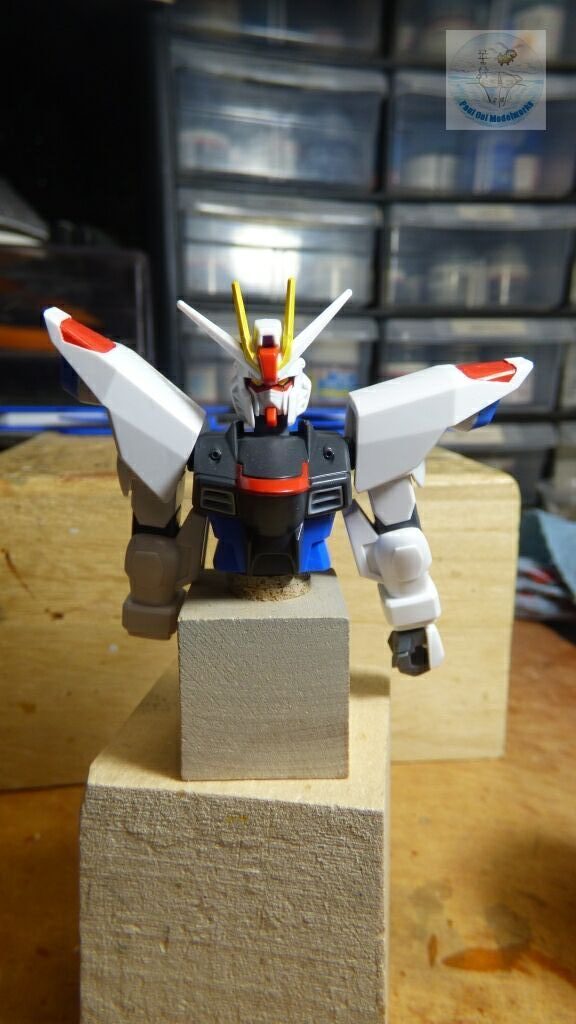
The shoulder pads and arm sections were completed and attached to the main torso, together with the “head”.
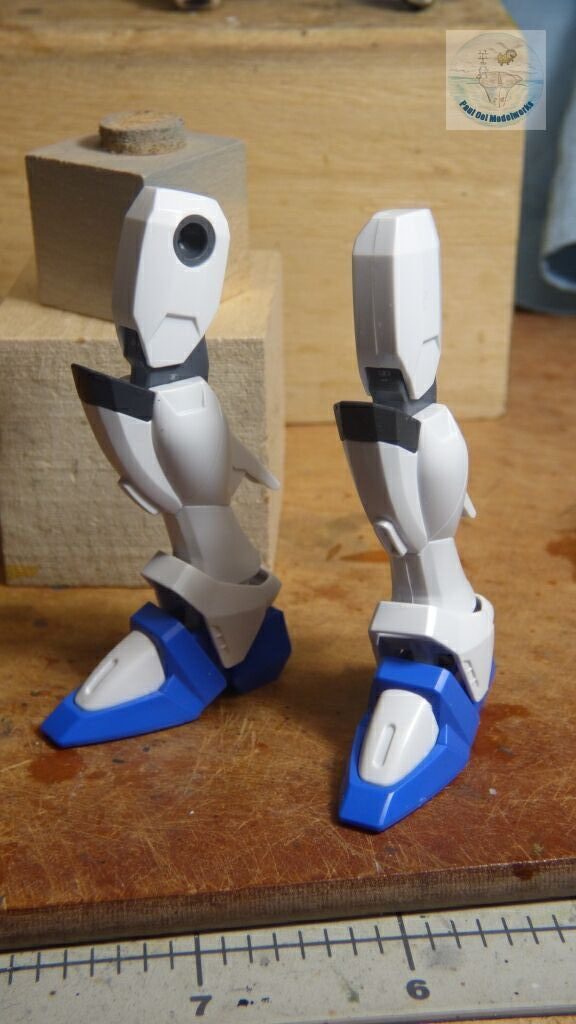
Pelvis section and the legs come next.
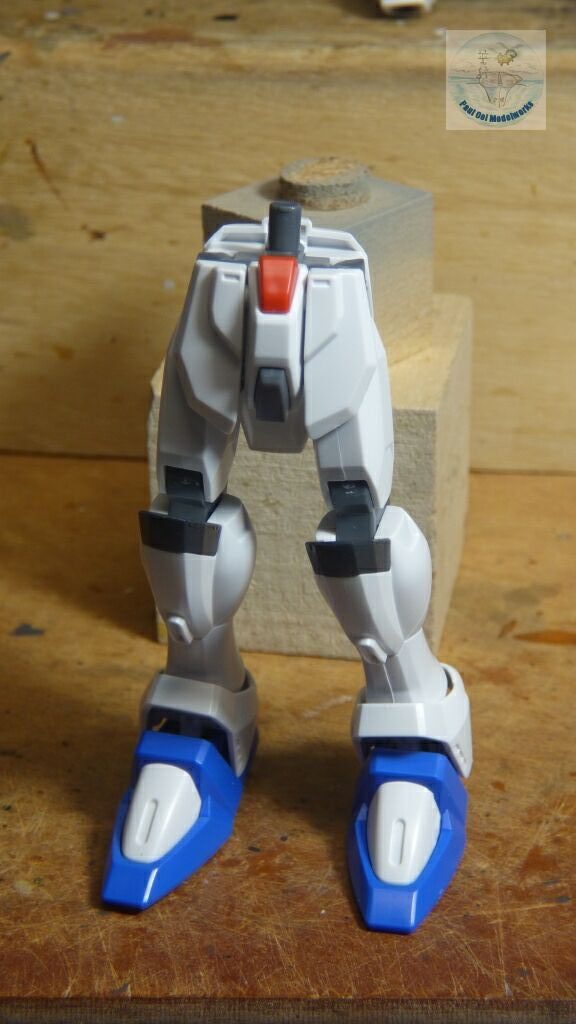
The lower body is ready for action!
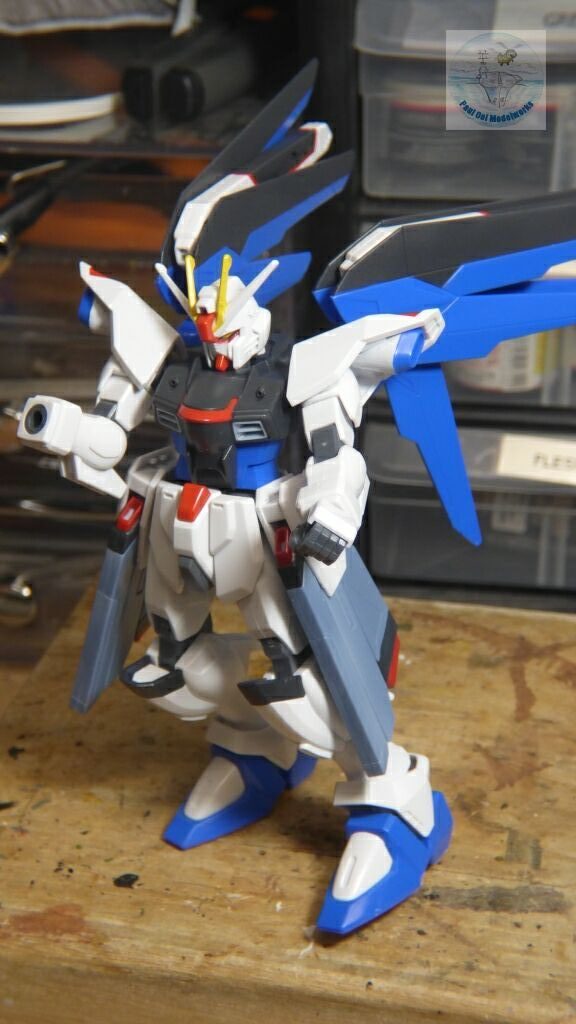
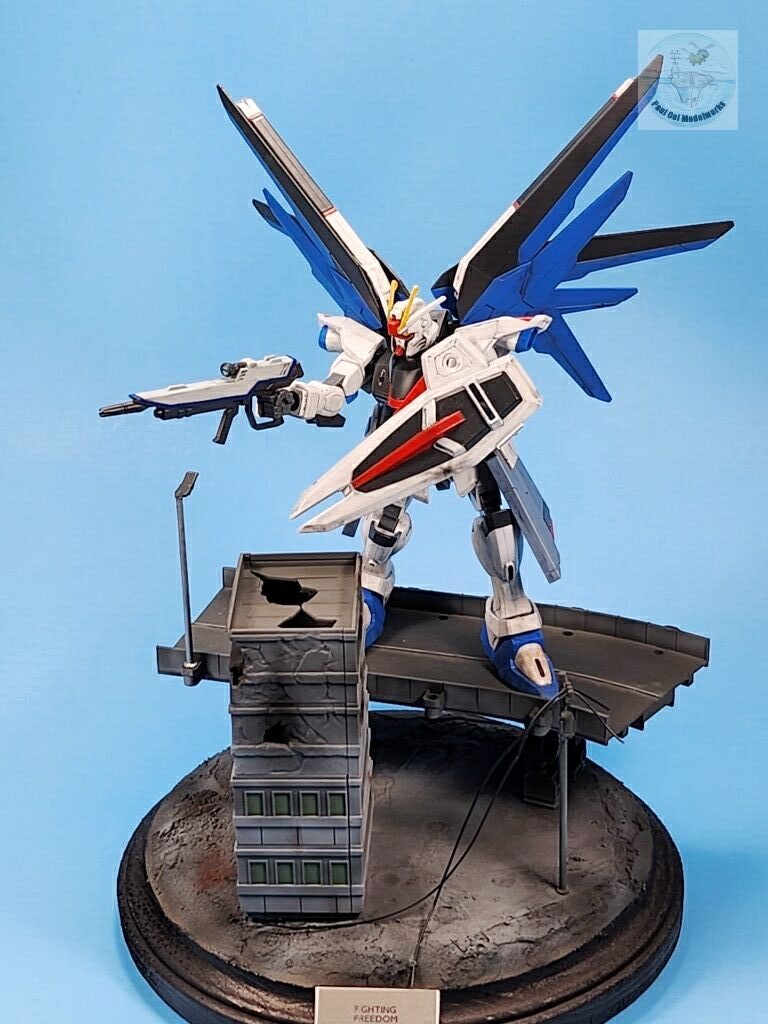
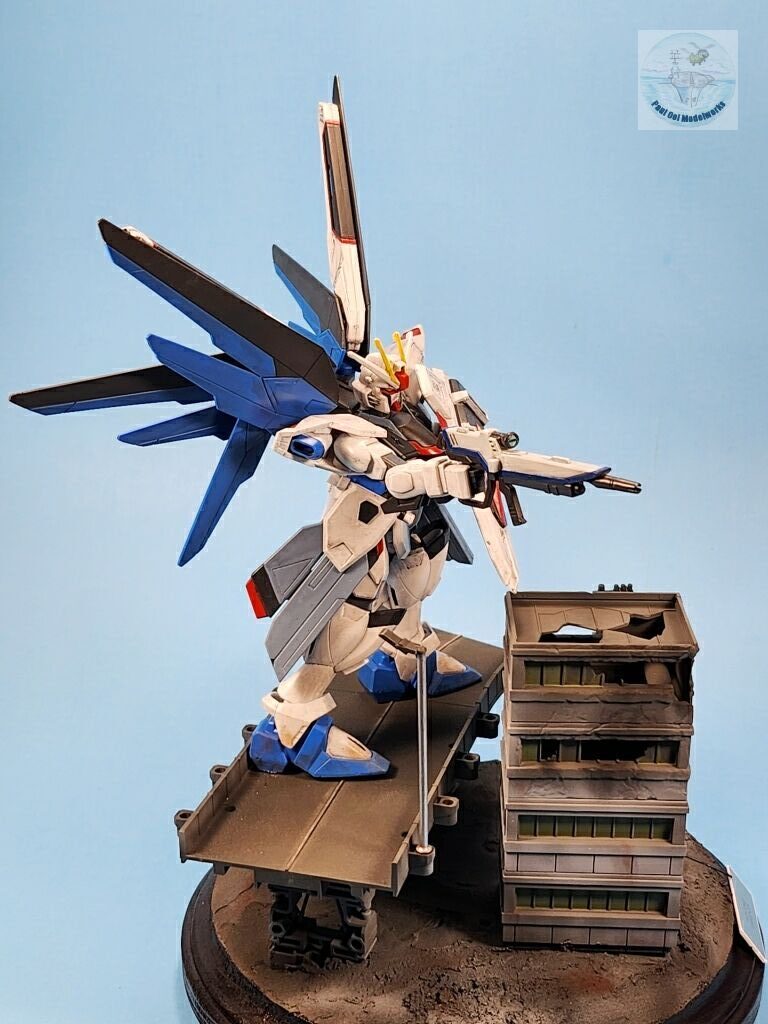
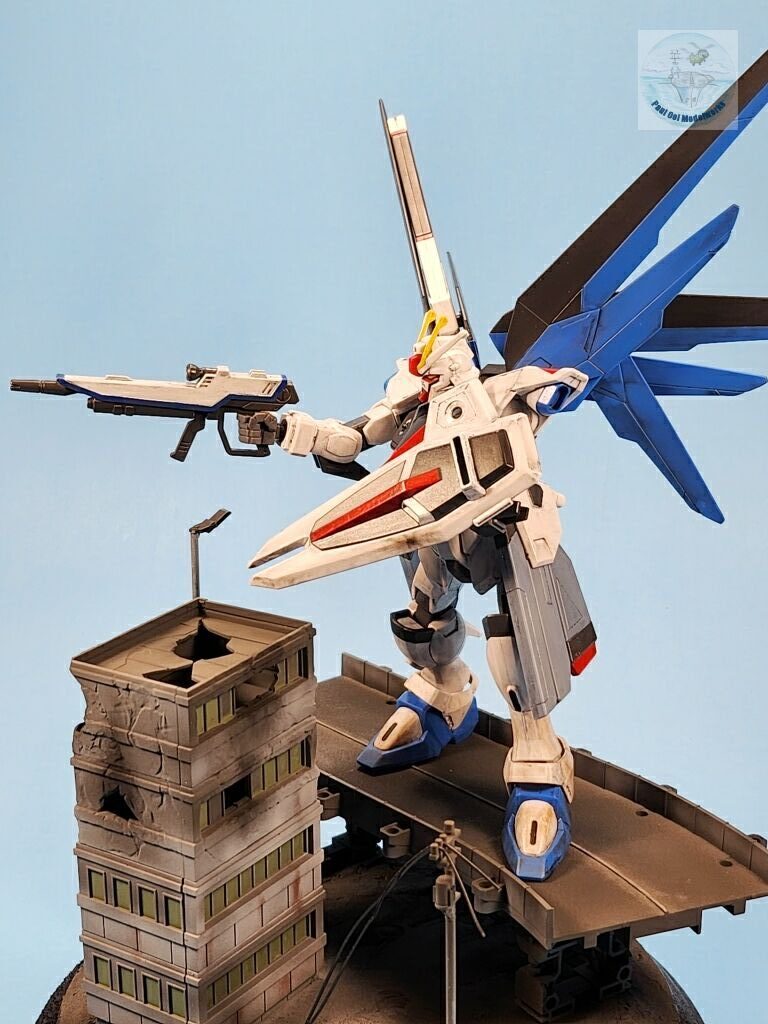
The figure is almost completed. The sections that look like “skirts” are actually a pair of rail guns. The rail guns were painted with Citadel Colours Russ Grey, with Gundam Red and Titan Blue 1 tips.
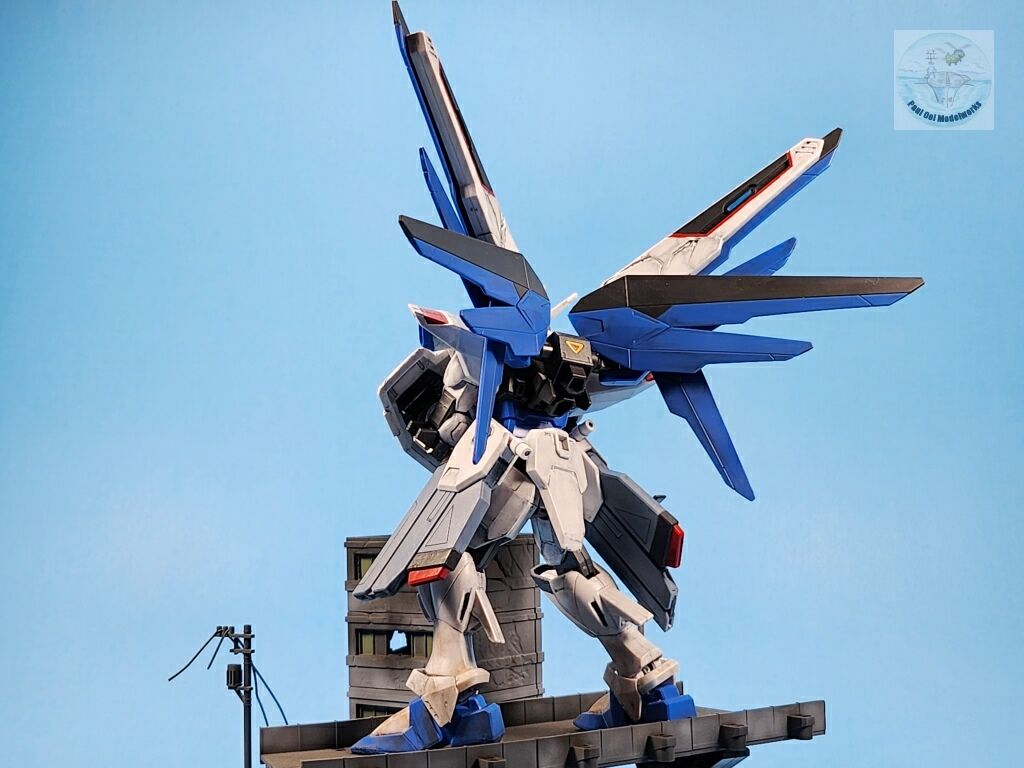
To add weathering to the figure, I gave it a generous oil wash of 70% Payne’s Grey + 30% Zinc White. Once that has dried, the whole figure is sealed with a satin varnish.
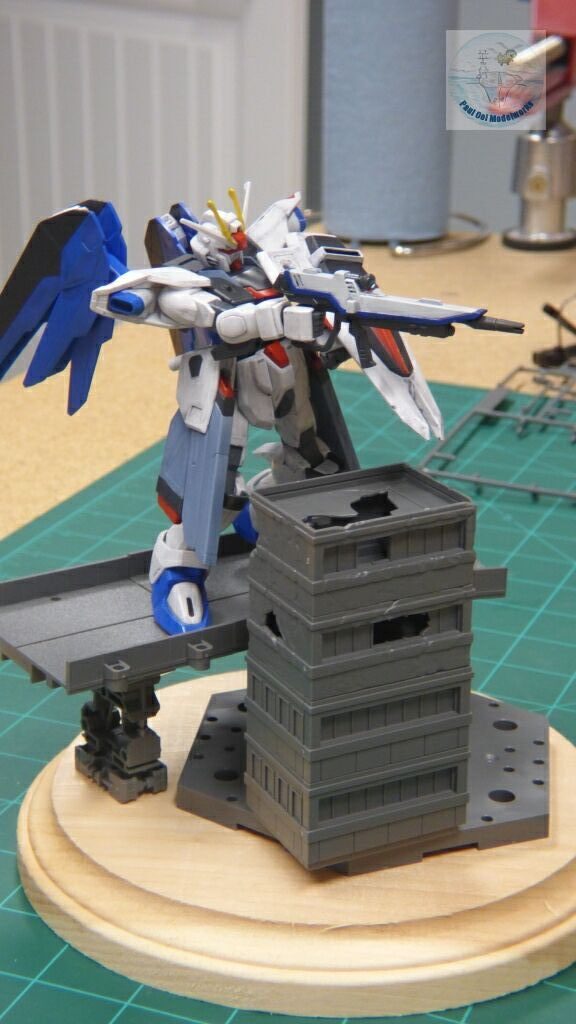
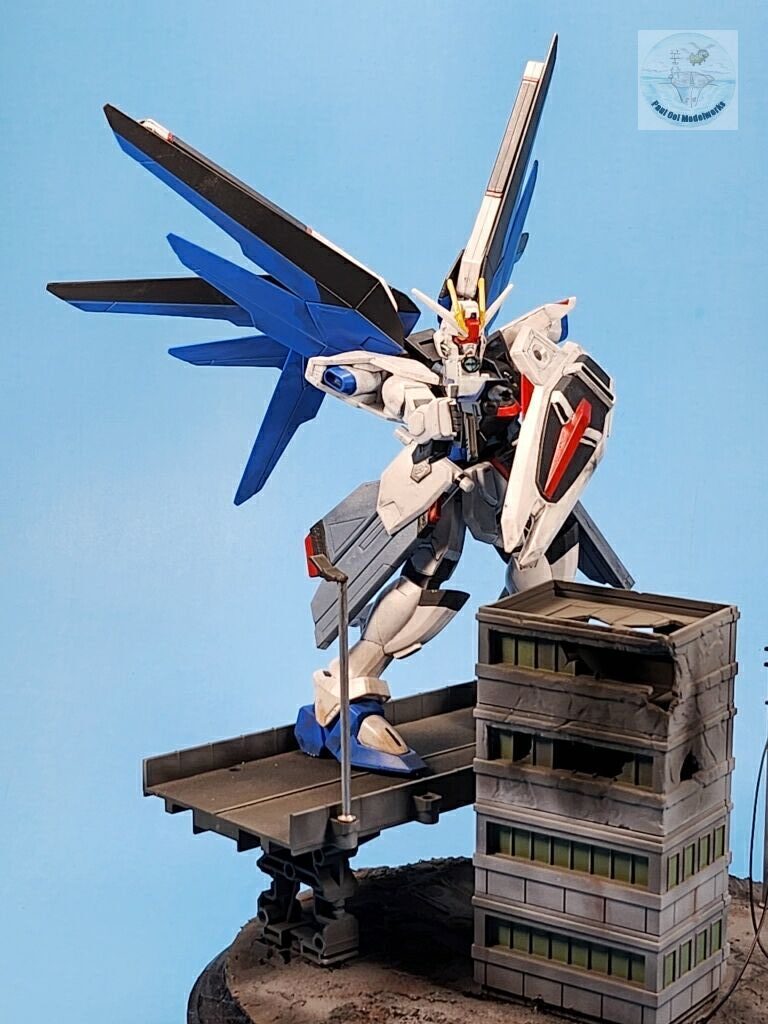
To check the composition of the vignette, I dry-tested the various components for the best angle.
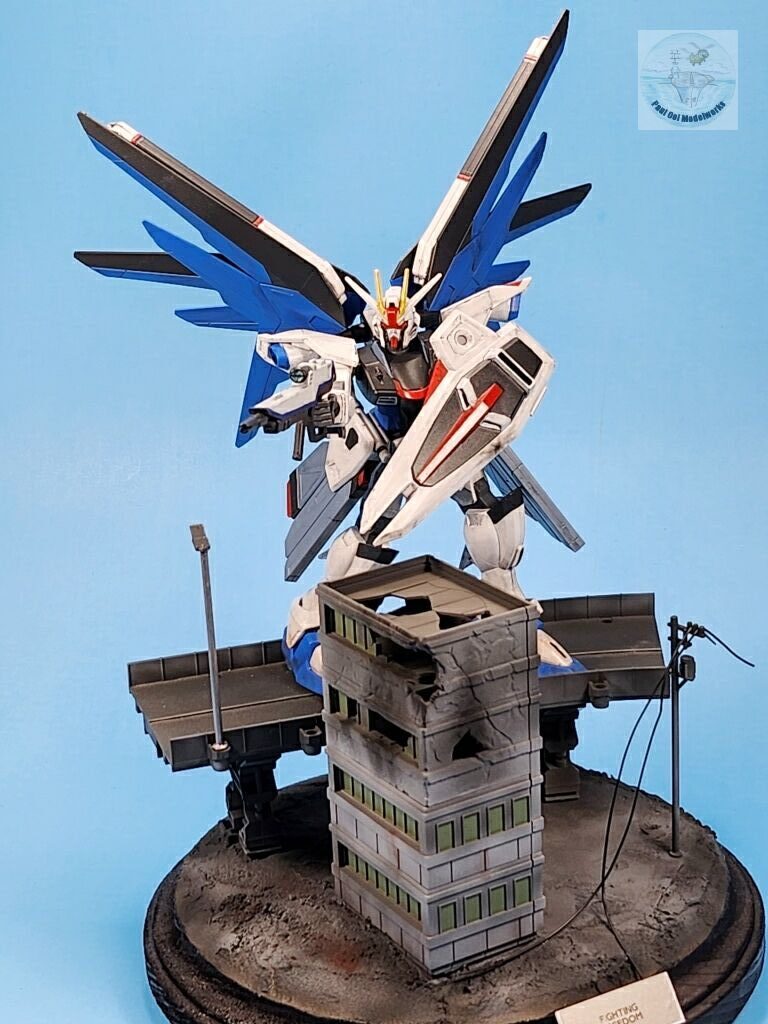
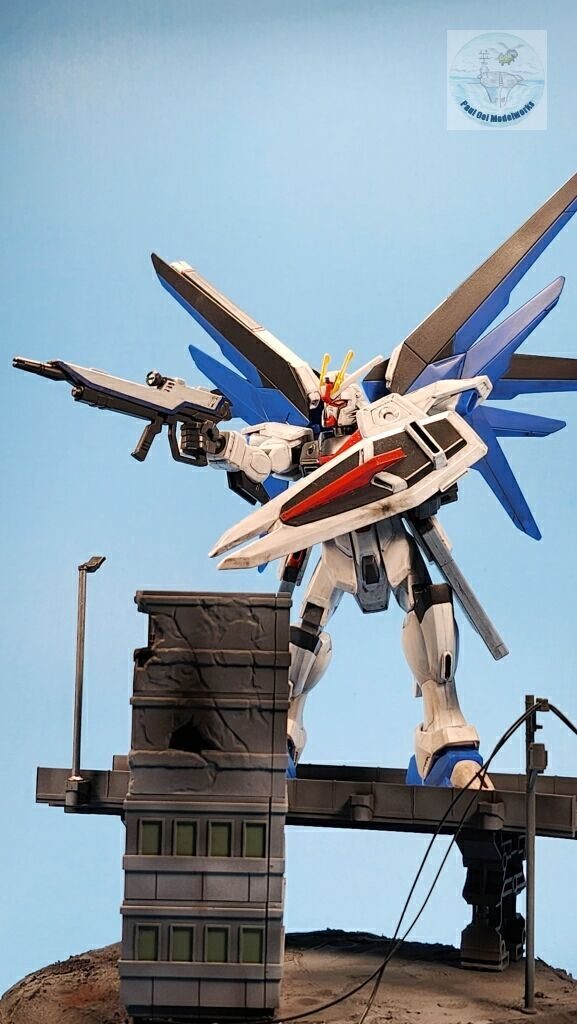
The elevated highway base and pier were attached to the wooden base with superglue.
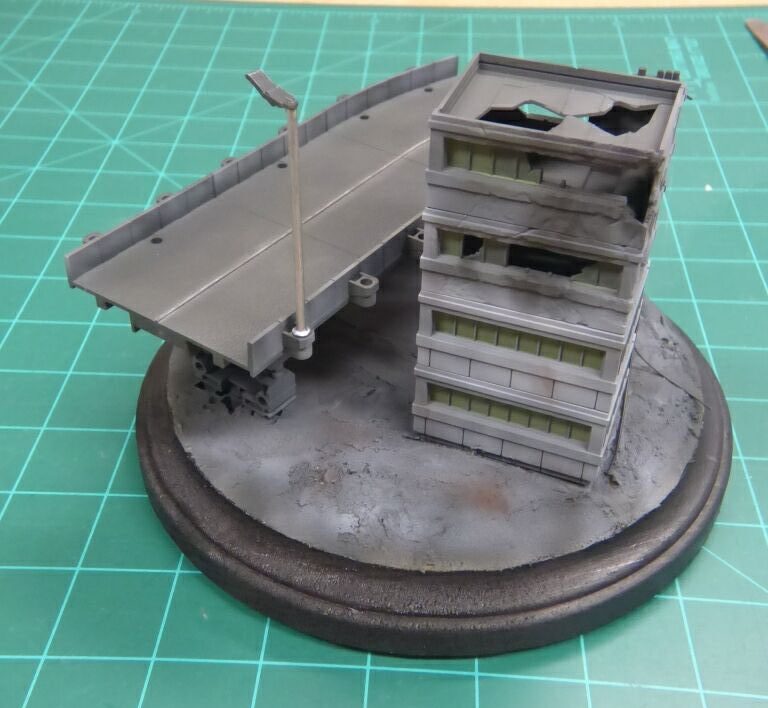
Plaster was applied to cover the base and pier, carefully keeping the anchor holes opened for the building block and highway sections. The building and highway sections were given a NATO Black base, highlights of Tamiya Aircraft Grey, windows in Mission Models Hellgrun RLM82, and pastel chalk shading for burn marks.
Leave a Reply