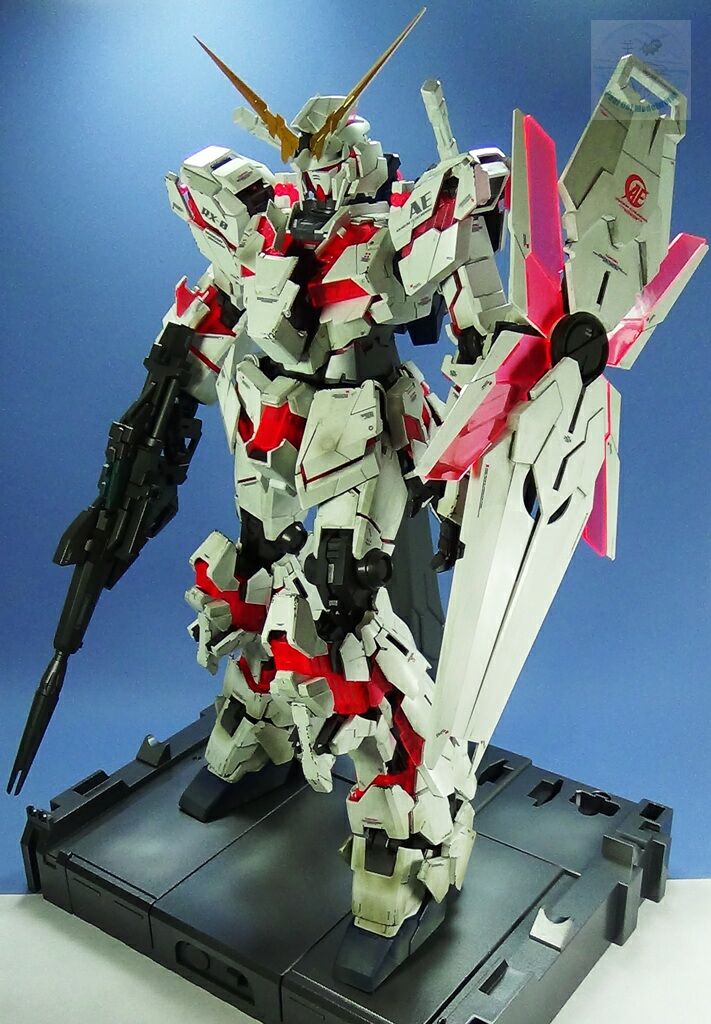
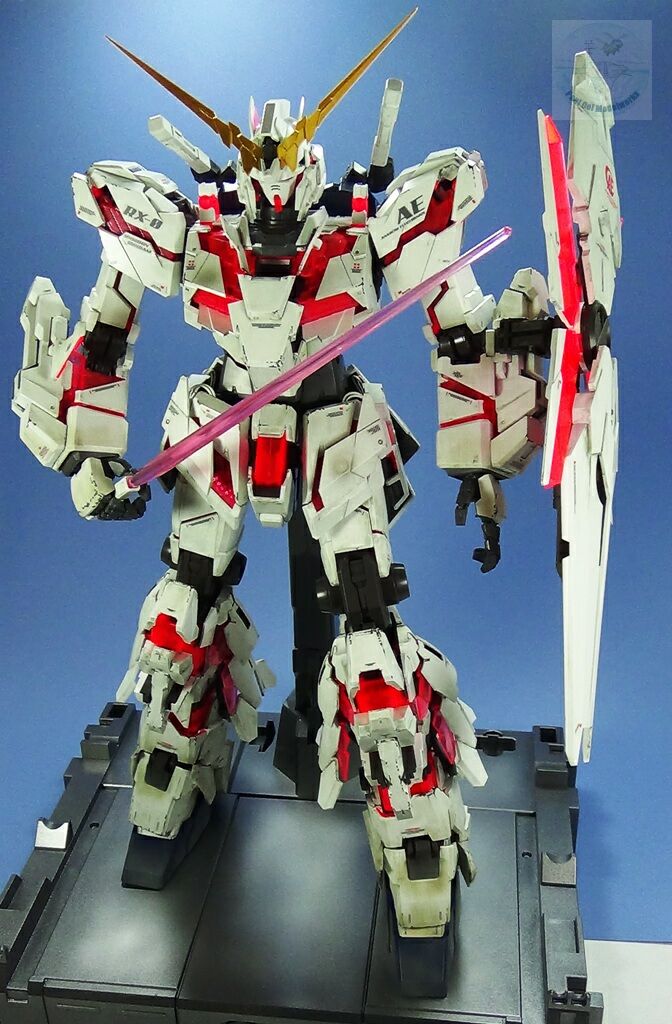
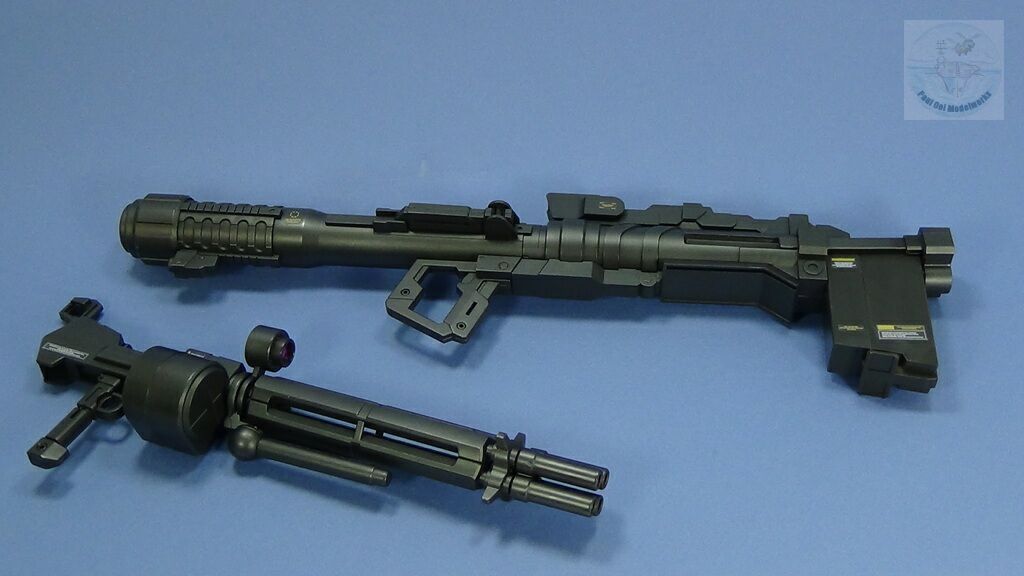
Japanese anime fans may be well acquainted with the Gundam series that originally started in the 1980’s, have spawned multiple parallel story lines in the Gundam universe and grows in popularity outside of outside of Japan as well. The Gundam mobile suits come in countless configurations and designs and have lent themselves easily to adaptation to scale model enthusiasts. This particular one, the RX-0 Unicorn Gundam prototype came with the series of the same name and can transform between its white Unicorn mode and its energized destroy mode glowing red all over. The mobile suite also comes equipped with two light sabers, a blaster, a hyper bazooka, and a pair of super Gatling guns. This particular model is on display at Hub Hobby in Richfield MN.
Gallery


Construction Notes

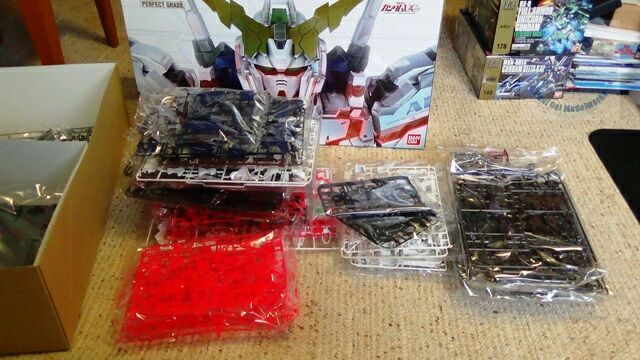
This is a very HUGE kit. The labeling of the plastic sprue frames alone exceed the total number of 26 alphabets, and for some alphabets are there are two of each for part common to both sets of arms and legs. I estimated more than 40 sprue frames with more than 1000 parts molded in many colors from white to fluorescent red. There are also polycarbonate (PC) and polyoxymethylene (POM) grommets of various sizes for flexible joints. The box is so huge that it has a plastic handle for easier carrying. There is also a full color instruction sheet with good color references. I suppose Bandai’s definition of Perfect Class is that the kit has to be perfectly huge, and for Gundam fans, the Perfect Class kits do live of to its name with a high level of detail, moving parts and great molding. It is also the largest scale used for Gundam kits, at 1/60, in comparison to the Master Grade kits at 1/100th and the accessible and affordable High Grade kits at 1/144 scale. There are also several reflective sticker sheets and one dry stencil sticker sheet similar in texture to dry decals.
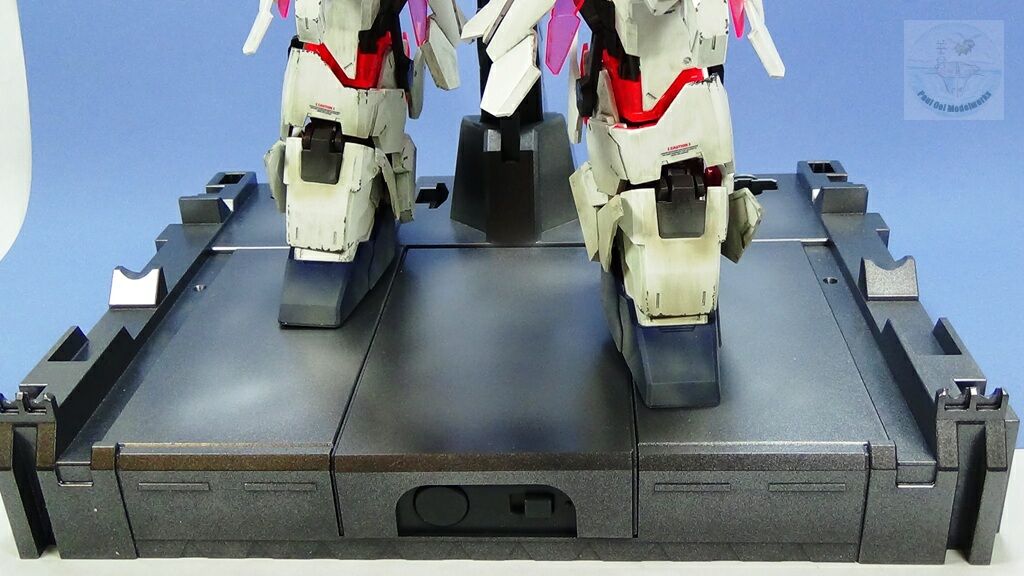
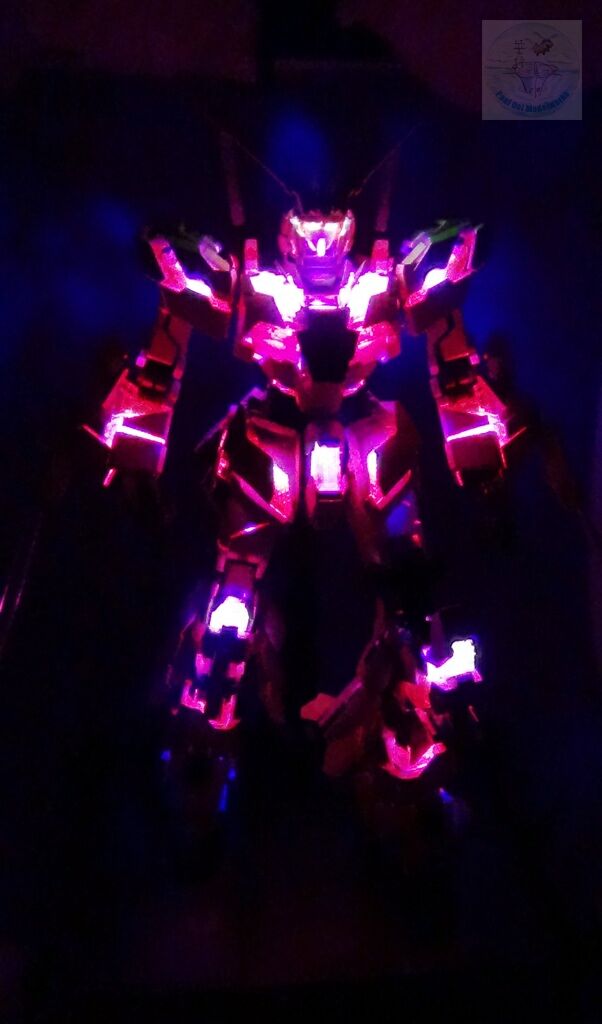
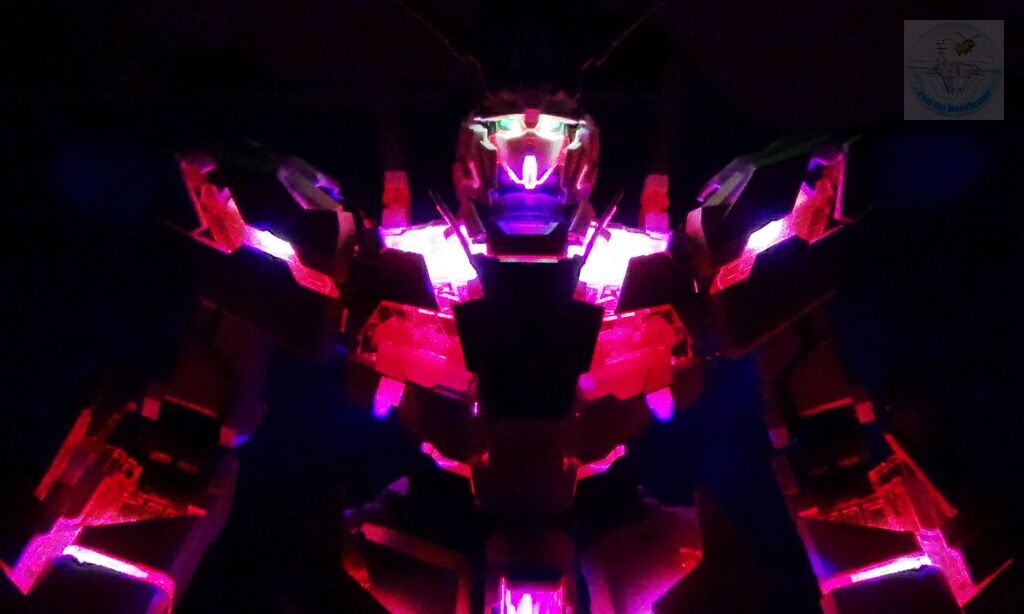
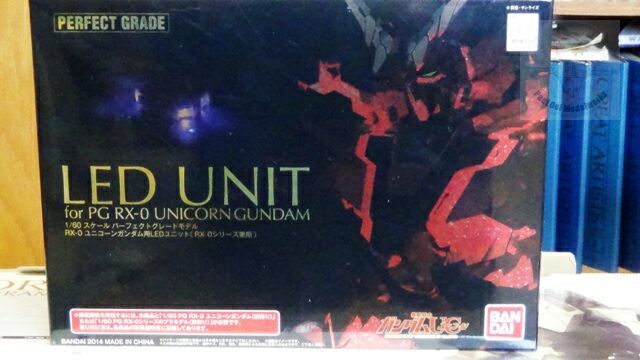
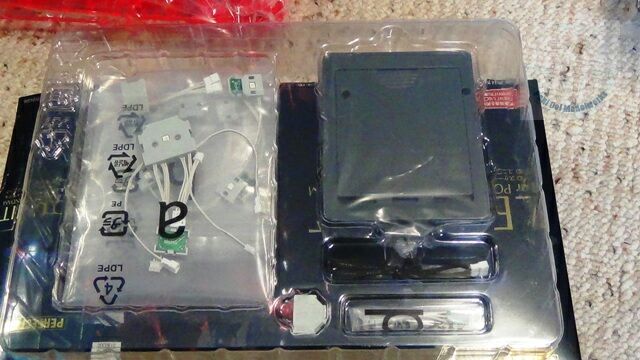
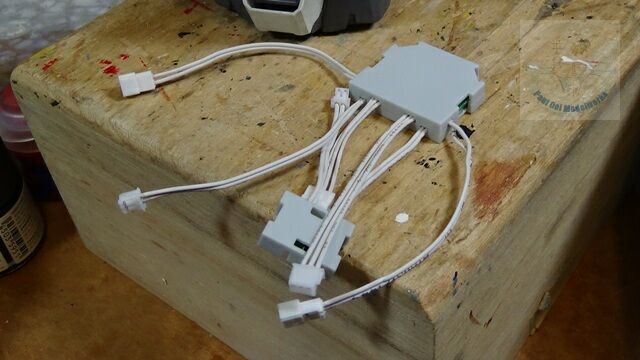
As this was Hub Hobby’s commission for me to build for their shop display to highlight their very large collection of Bandai Gundam stock, they also provided me with the fabulous LED kit for the Perfect Class figures. This turns out to be pre-wired LED modules that will properly fit into strategically formed slots that will light up the Unicorn like a red and pink Christmas tree with an attitude. The LED lights are powered by four AA batteries housed in a battery switch box intended to fit into the display base of the Gundam figure.
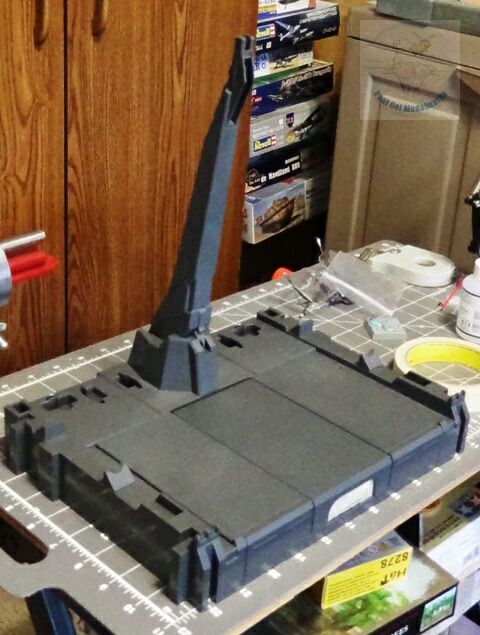
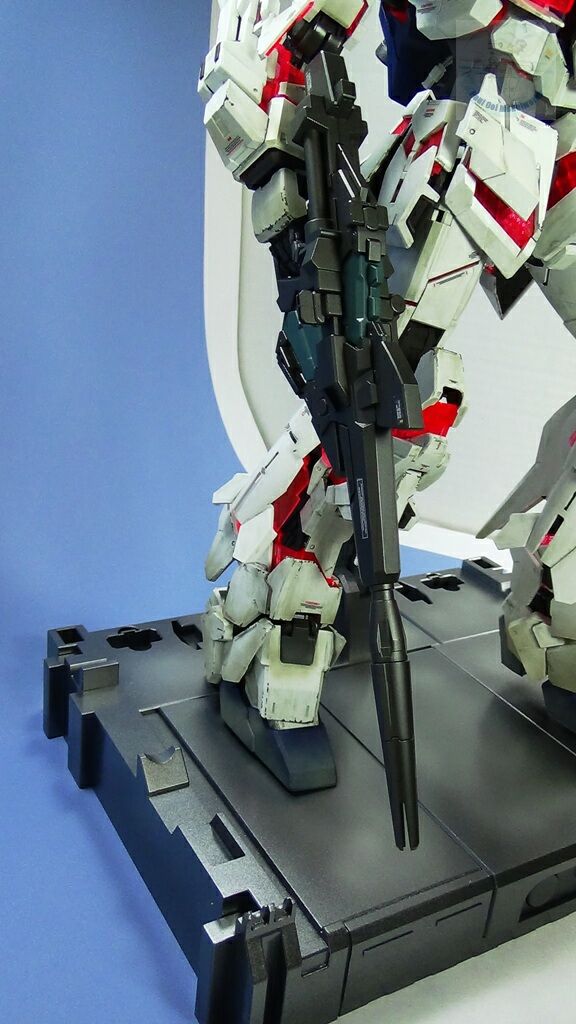
In fact, the instruction have me starting with building the display base, complete with an adjustable vertical spine that houses the supply cable and connector to the back of the mobile suit figure. The spine itself is adjustable for different heights (depending on the mode of the Gundam suit, it can stand taller or shorter).
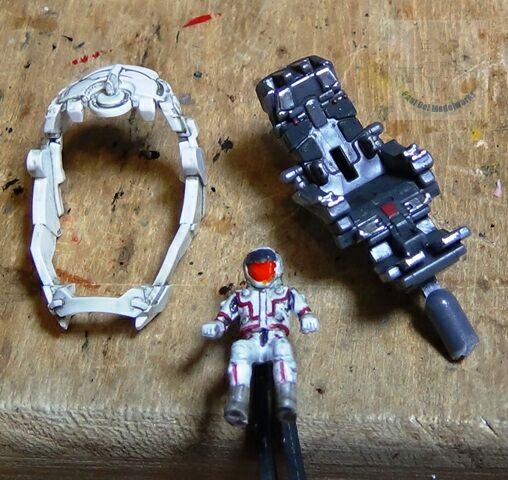
Officially, this mobile suit model is in 1/60th scale, but the pilot figure in the seated pose is closer to 1/72. I painted the pilot in a white suit with red lines, grey boots, and a clear orange visor. The seat and cockpit capsule are also detailed and painted at this time.
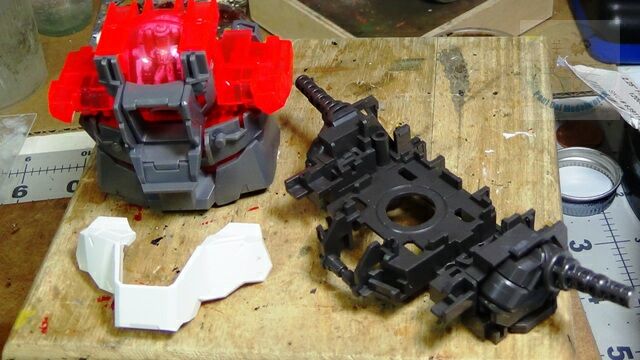
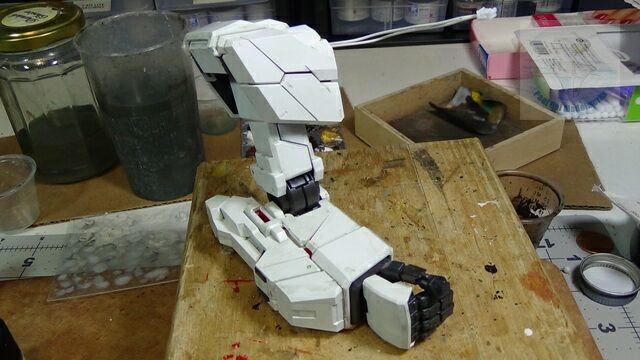
The cockpit capsule is inserted into this clear red ball-shaped compartment that forms the core of the torso.
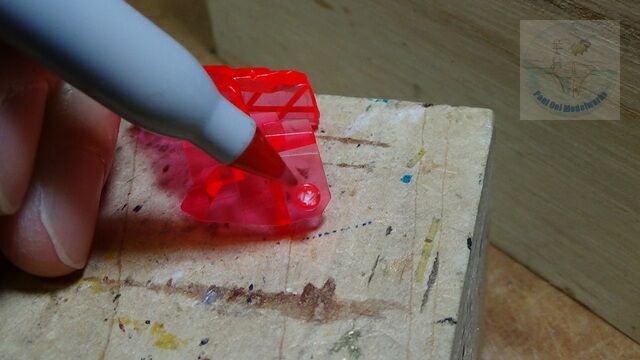
Cutting of the sprue tabs from the clear red parts inevitably cause the areas at the cuts to show up white and slightly crazed. I found that after cleaning off the excess tab plastic, the clear red color is restored using a red Sharpie pen.
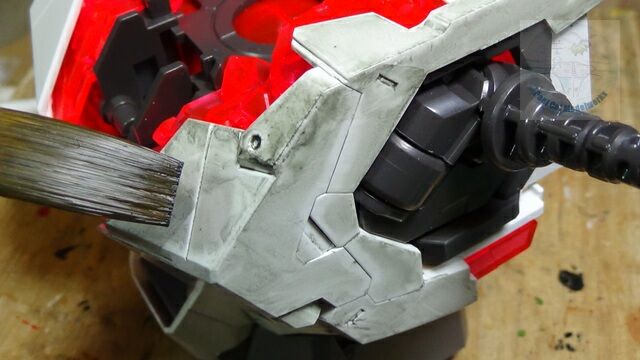
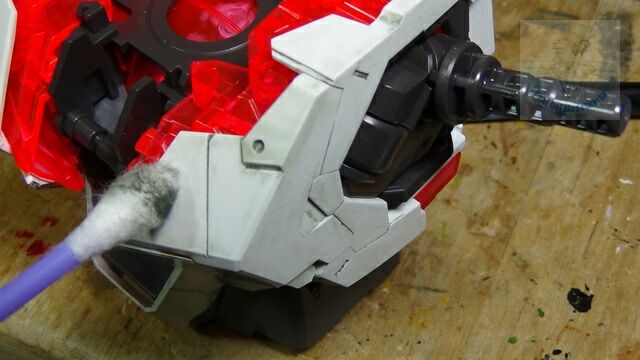
In painting and weathering of this Gundam figure, several things came to mind. This kit is designed for handling and moving of parts during “transforming” between the Unicorn and Destroy mode, so the finish must be able to withstand that level of handling. The other factor is to capitalize on the parts already (largely) molded in color. I ended up using Tamiya XF-69 NATO Black heavily diluted in Tamiya acrylic thinner as a wash applied on the white and blue panels. Working with a small area at a time, I remove most of the wash with cotton buds or absorbent paper towels for larger surfaces, leaving a weathered look that panels would get from leaking machinery fluid and general equipment and metal dirt. This dries quickly, allowing us to build this gigantic figure at a faster speed. It is also resilient for handling when pressing the parts together.
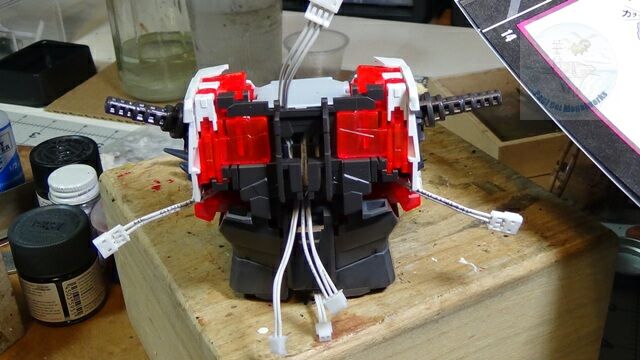
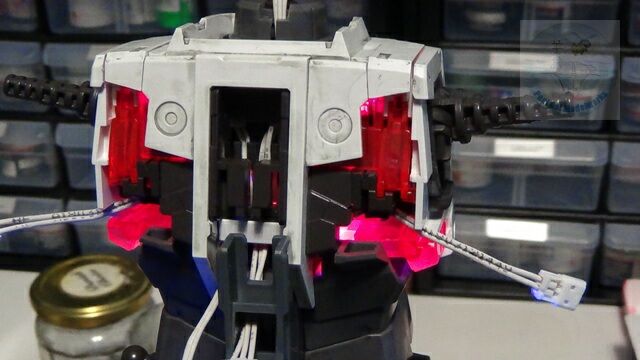
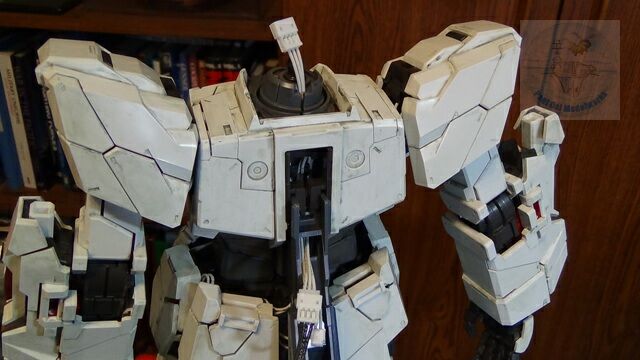
The torso comes together at a reasonable pace, followed by installation of the first LED wire harness set. The LED squares themselves get inserted into receptacles throughout the torso and other limbs. The wires connecting them are delicate and require careful routing with specific points for insertion into tab locks to keep the wires in place and out of harm’s way when the limbs move. This one here in the torso is “command central” for the lights yet to be installed in other limbs.
For now, the torso is completed in its Unicorn mode (all white and none of the red sections showing).
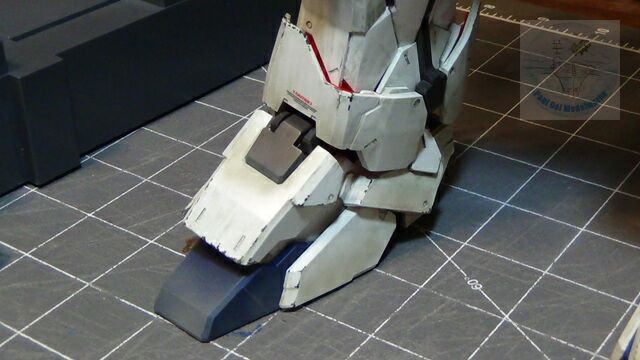
The feet sections (two identical assemblies) are about the size of 1/72 scale tank kits with many articulated joints built into them. I weather the sub-assemblies as we move along. My son who is now a Gundam kit expert helped me with building the interior skeleton and joints, while I painted or weathered the outer plates.
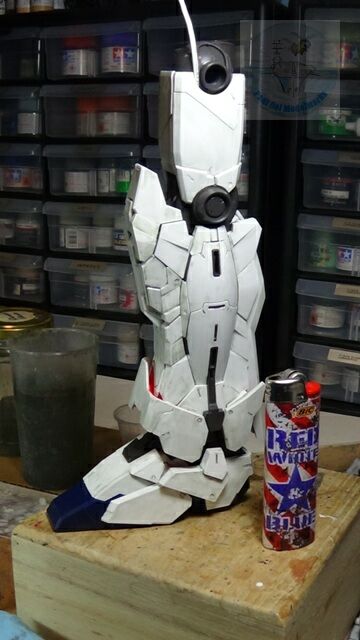
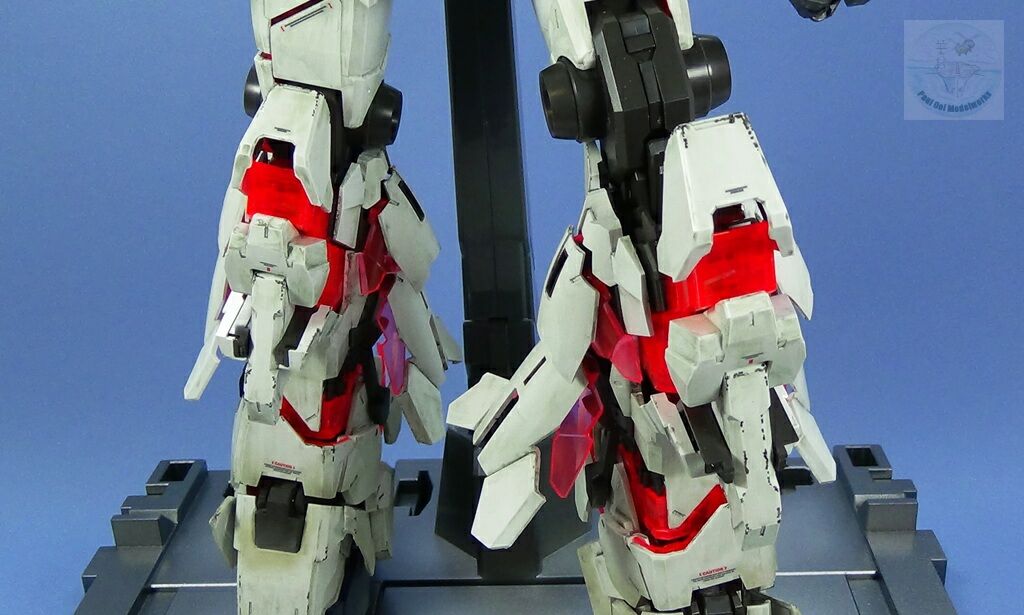
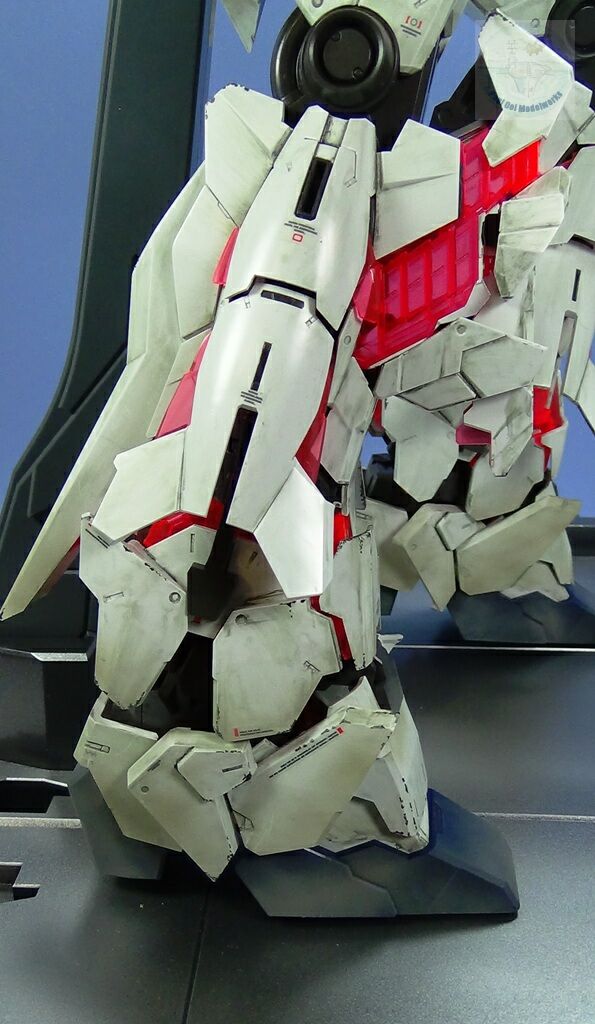
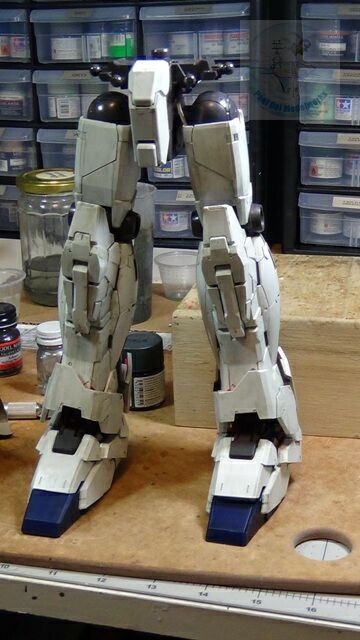
It took about three days with two people working intermittently to finish the legs, by far the largest sub-assemblies of the mobile suit. Just compare the size of this one leg to a lighter. The LED wiring set for each leg has to be inserted as the build progresses.
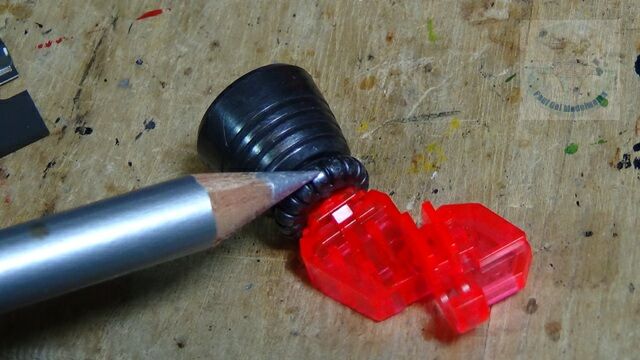
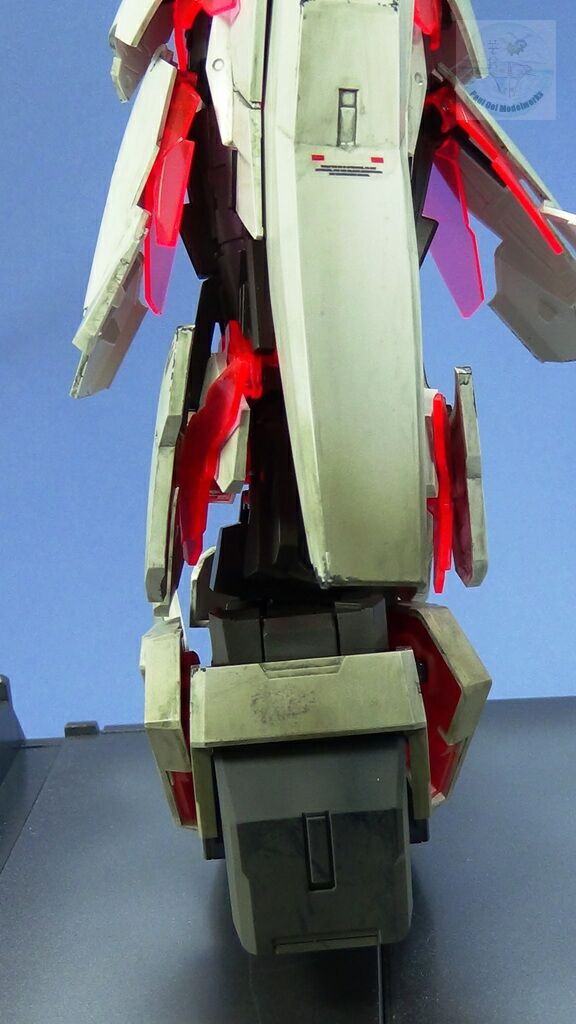
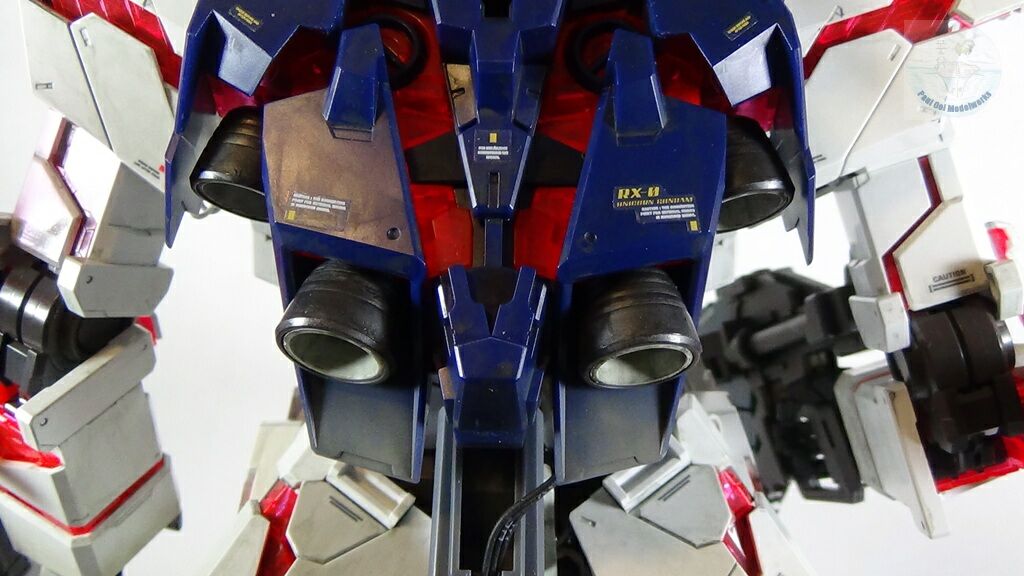
There are retro rocket nozzles in both legs. These are first painted in Metallizer Buffable Exhaust, and then highlighted with a silver Prismacolor pencil. The retro rockets of the power backpack later on are also treated in the same way.
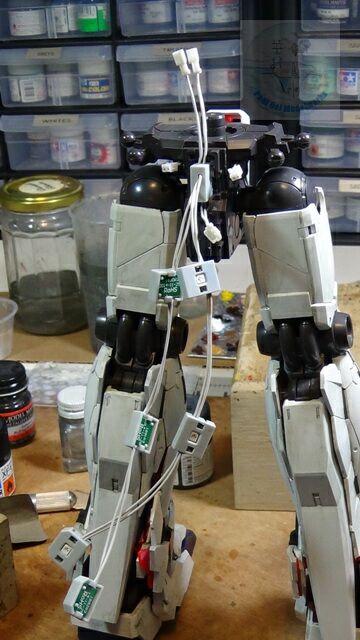
Both legs are then joined to the lower torso, and the largest set of LED wires are inserted into the lower torso and connected to both legs.
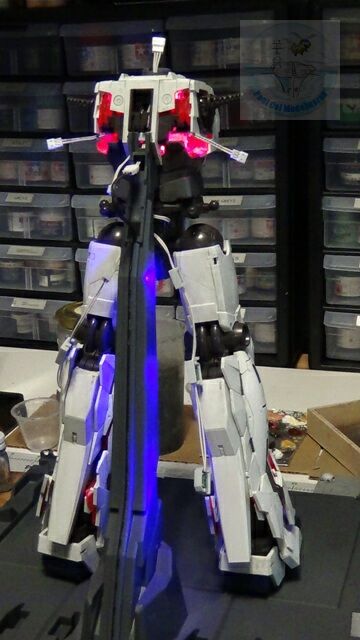
The upper torso assembly is inserted into the lower torso to make it look like the beginnings of a mobile suit (finally). The LED wire sets are connected between the two sections. At this time, I also test the LED circuits by connecting the torso umbilical connector to the DC supply from the display base to make sure that all units light up before proceeding any further.
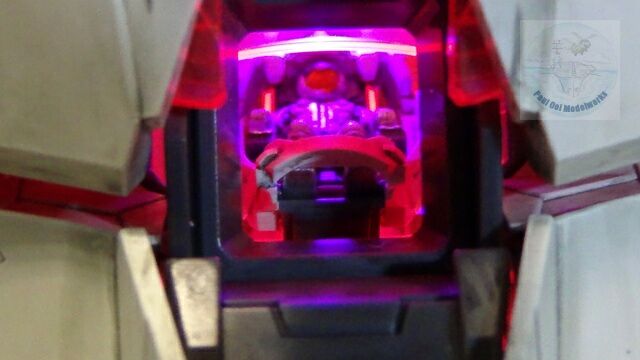
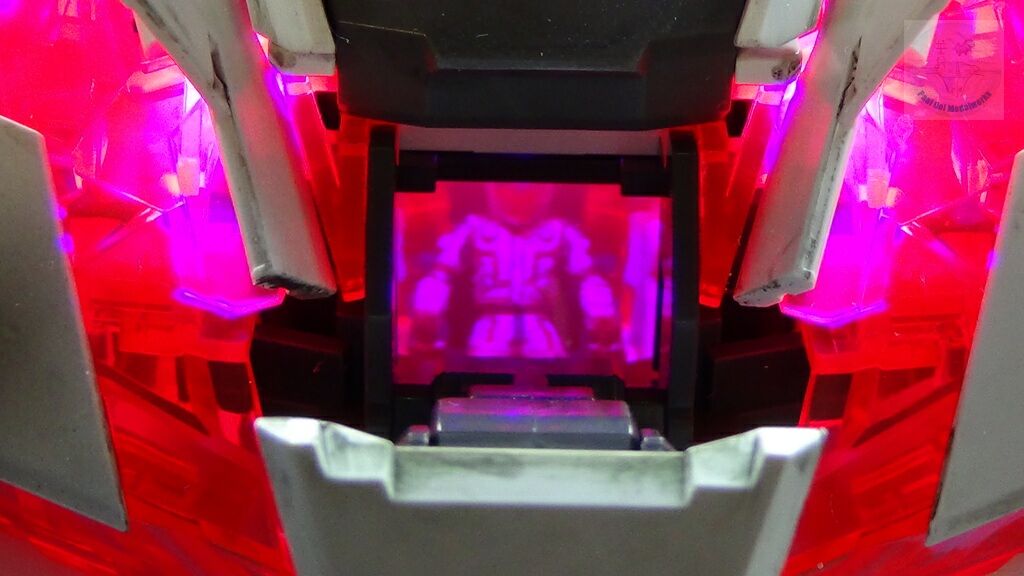
When I open the front pilot hatch, I can see the cockpit capsule all lit up in red. He’s having a party time in there, I can tell!
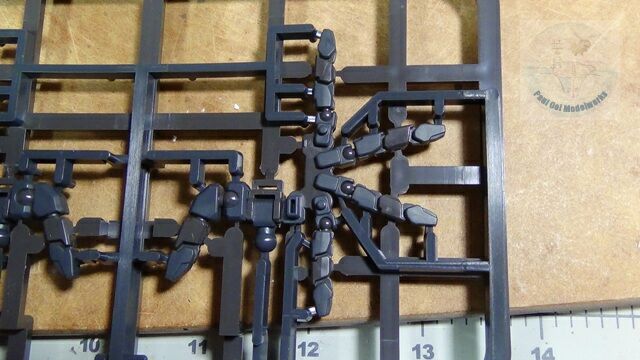
The next step is to build the arms for the mobile suit. I want to show the fingers-and-thumb sub-assembly as supplied in the sprue frame. Pretty awesome, complete with articulated fingers and ball joints.
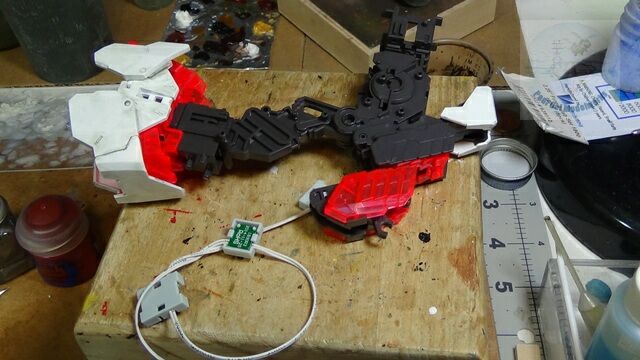
The arms also need to have their LED circuit installed as we assemble.
The arms are pressed onto the two shoulder spindles protruding out of the upper torso.
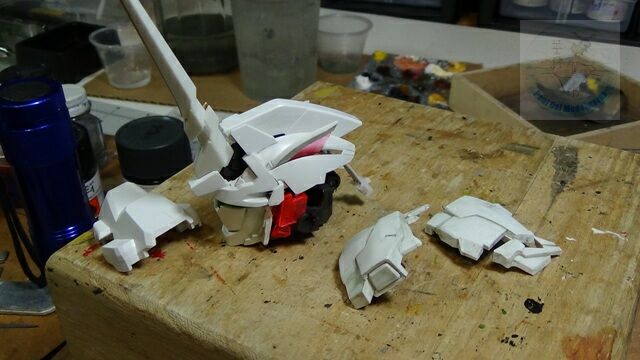
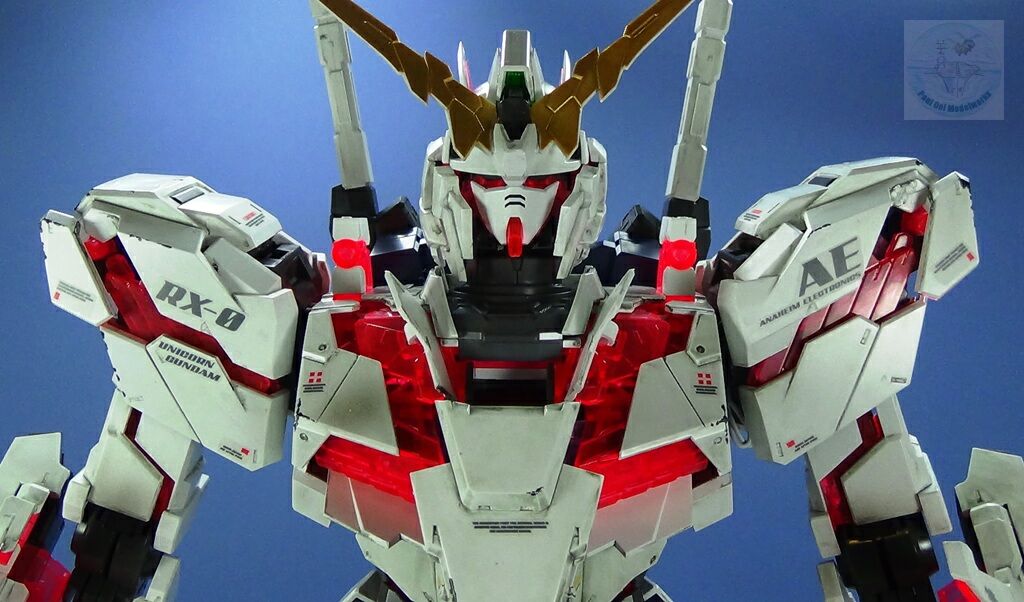
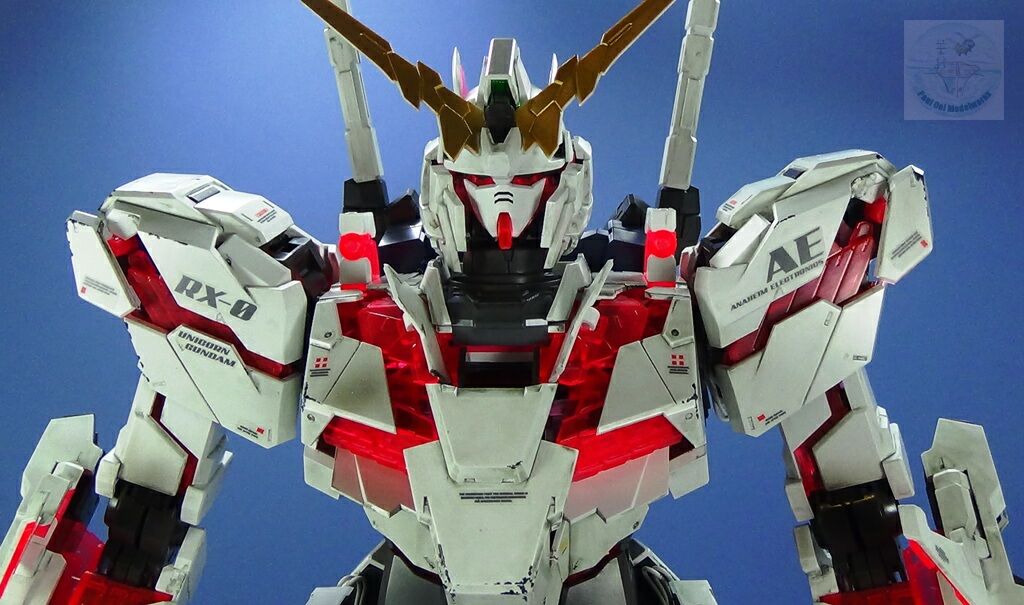
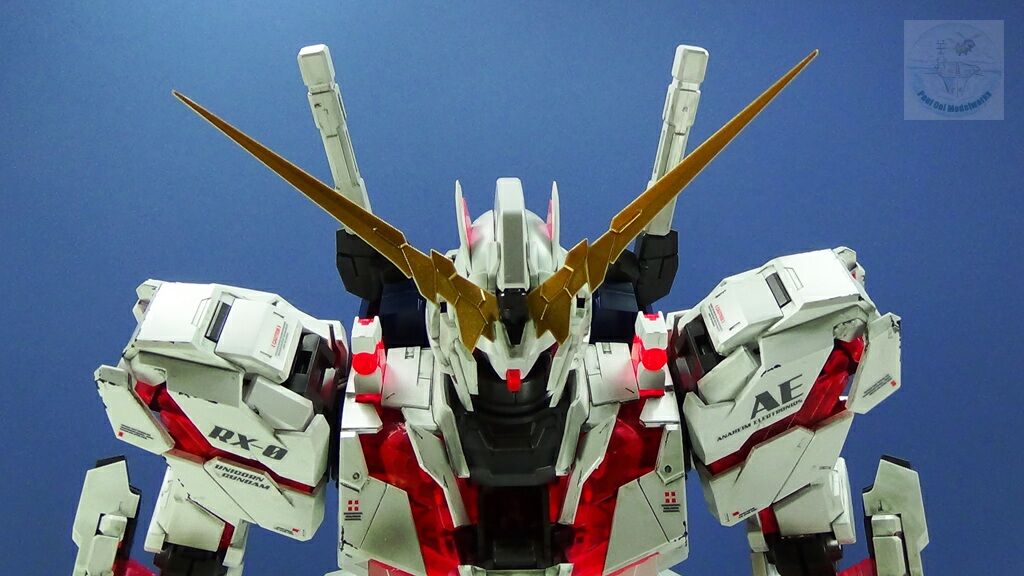
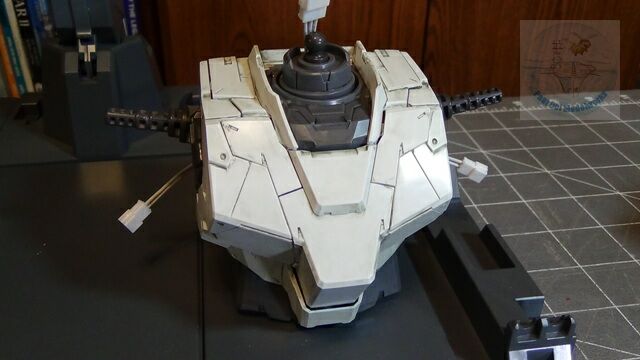
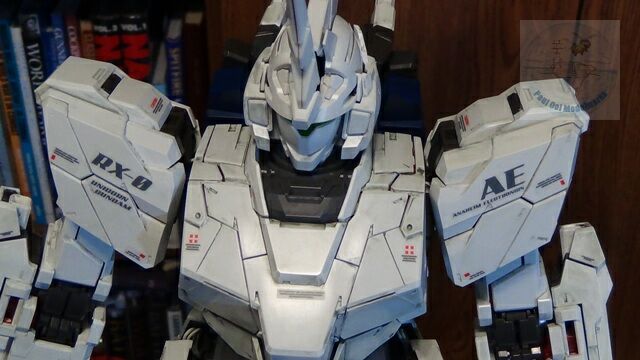
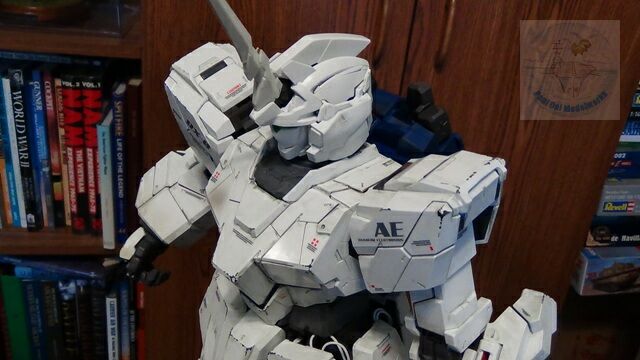
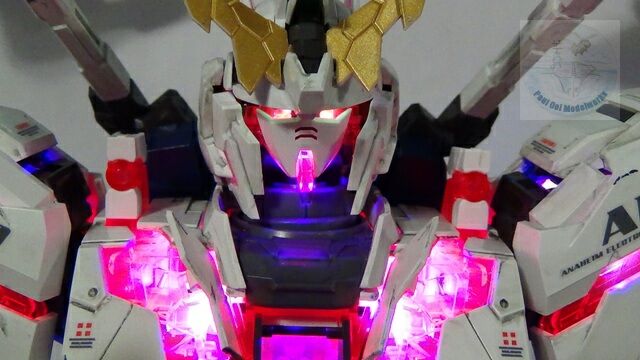
Finally I can work on the “head” where the sensors for the mobile suit are installed. There are quite a few tiny parts that cause the Unicorn and Destroy mode faces to swap out, so beware the hinges and joints.
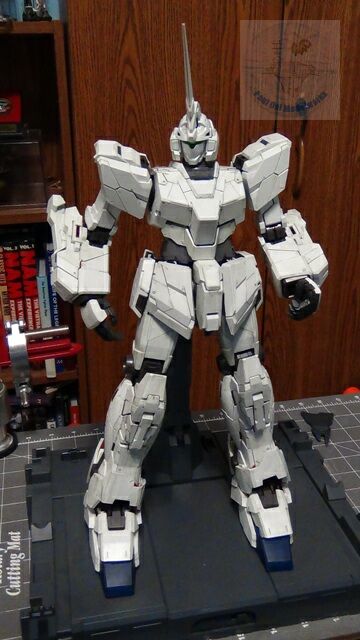
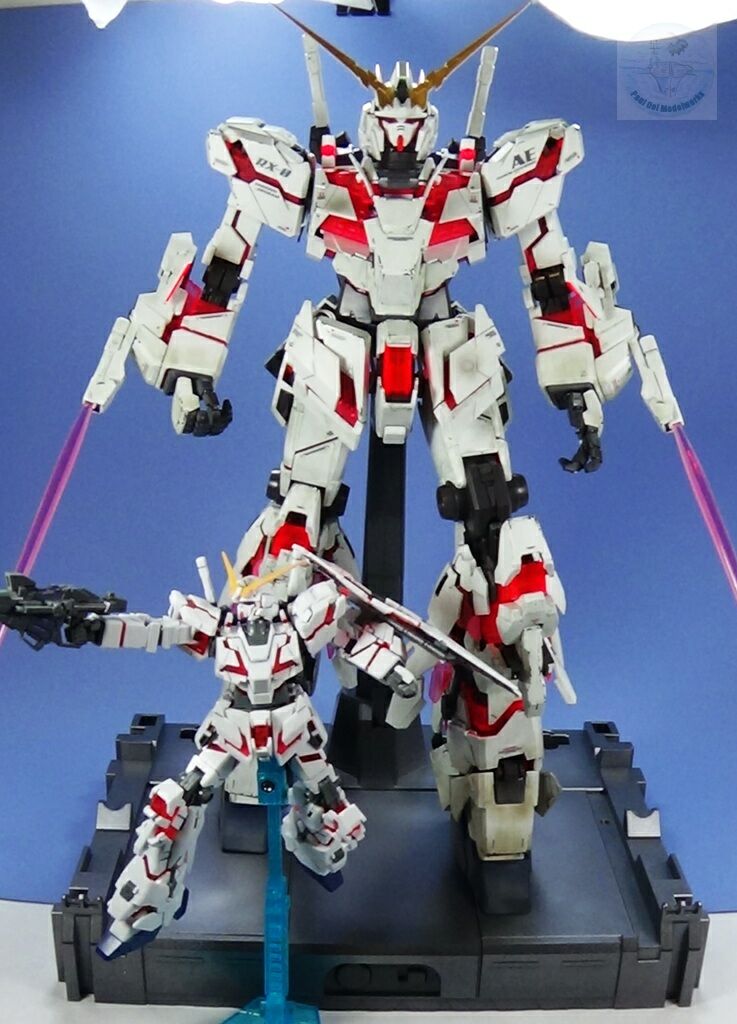
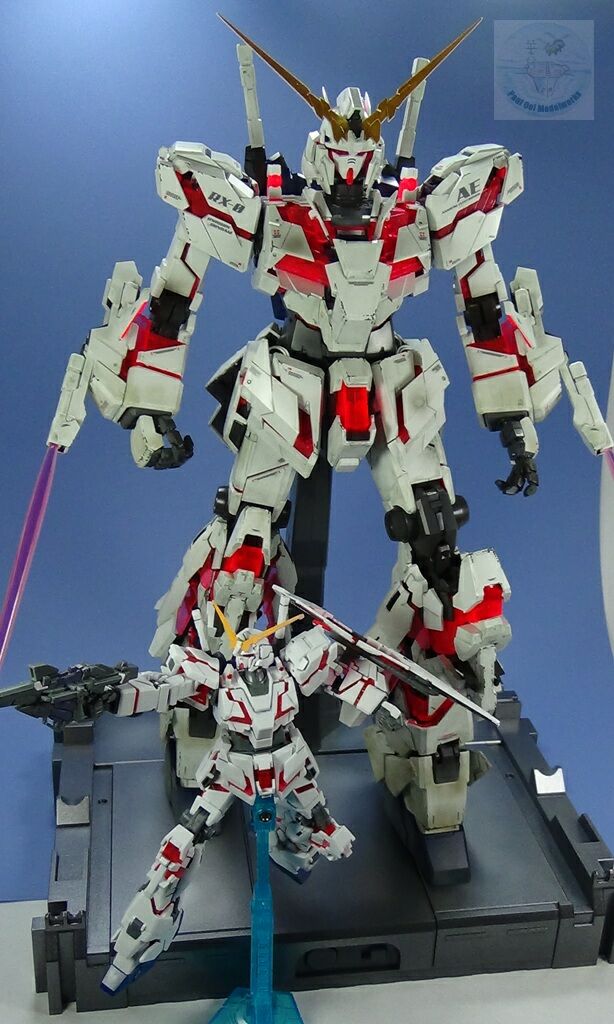
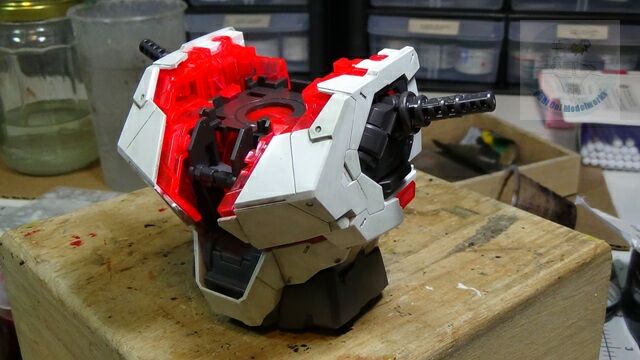
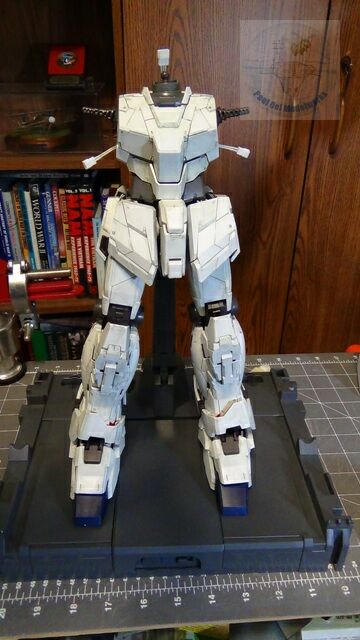
White the “head” on, the main mobile suit is now complete. This is what the Unicorn mode looks like, not showing any of the glowing red portions for the Destroy Mode.
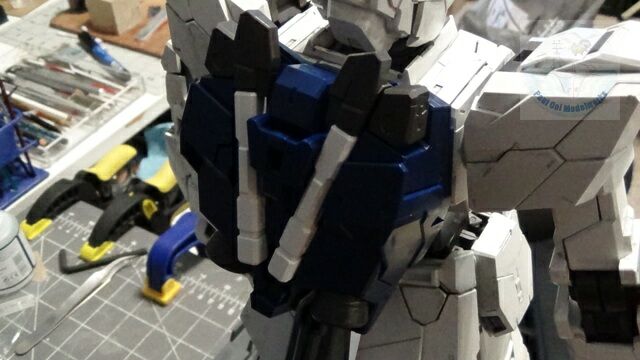
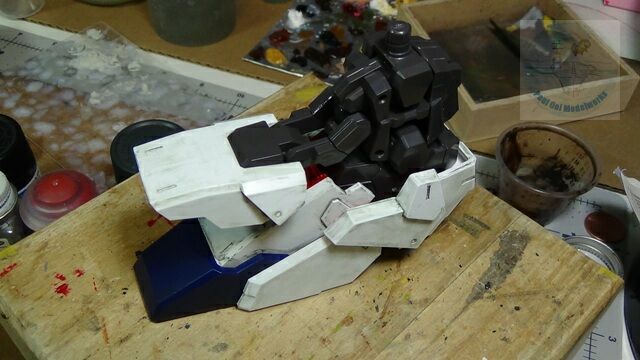
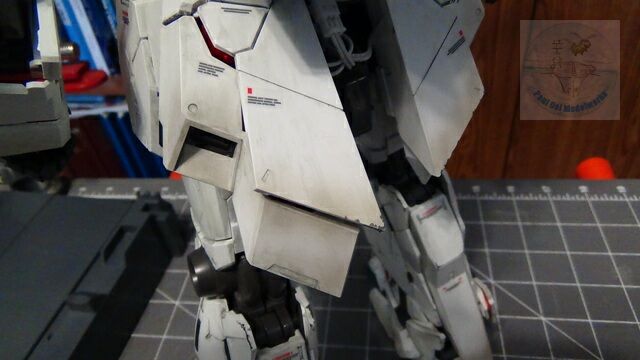
Next the back booster pack with 4 retro-engine rockets are hooked onto the back of the suit.
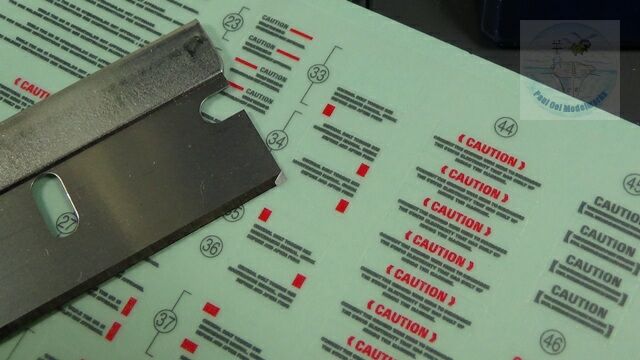

This kit comes with stickers, not decals. Because sticker are thicker than water slide decals, notice that I applied the acrylic wash to all the surface armor several steps back before applying these stickers to prevent the wash from forming black boxes around the thicker edges, or getting into air pockets under the stickers. The method to get these fragile stickers are as follows:
1. Use a sharp edge like a razor blade to lift one corner of the sticker
2. Use a good pair of flat tipped tweezers to hold the sticker as we maneuver into position and apply.
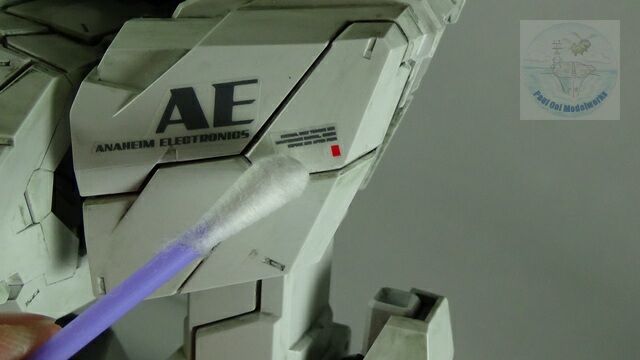
3. Press the sticker onto the target surface using a rounded tip like a cotton bud or similar. Make sure to press out all air pockets.
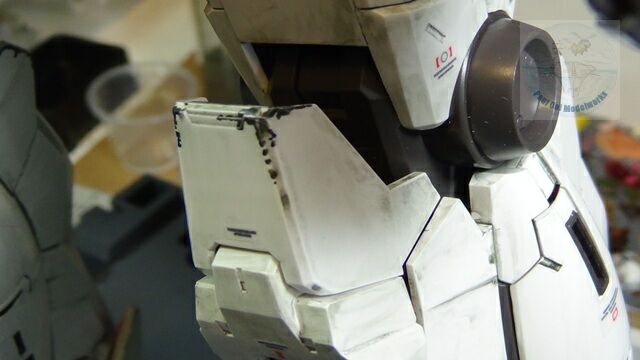
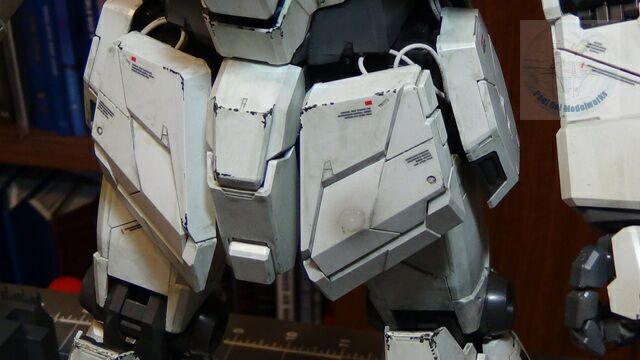
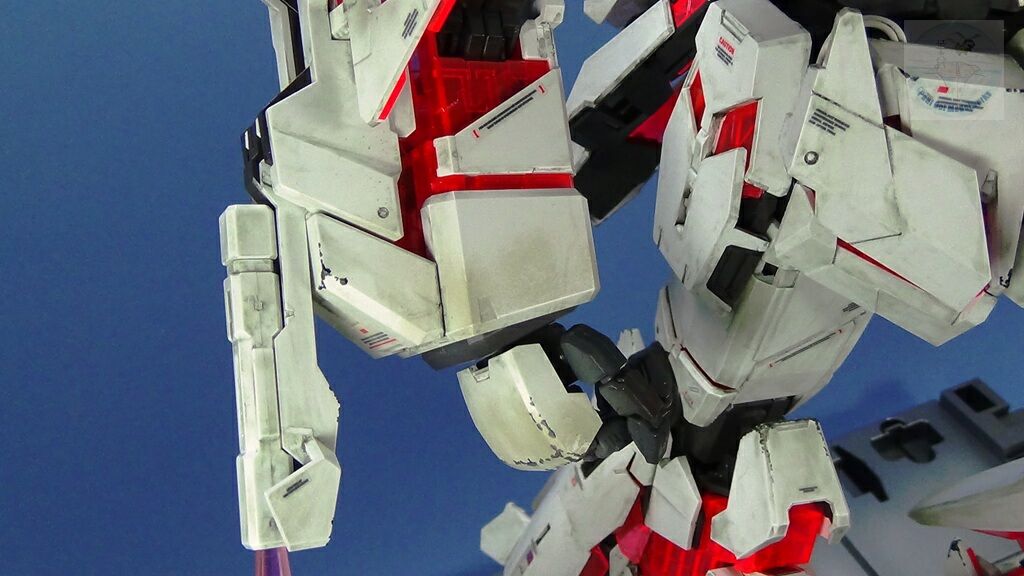
More weathering is applied to the armor plates. Since Gundam mobile suit armor plating are made from a material called gundamium, similar to titanium, this stuff oxidizes into a middle to dark grey. So no brown rust. Also, the RX-0 Unicorn prototype did not operate on Earth until one of the last episodes, so unless one is portraying the latter, most of the weathering is caused by operating in outer space off ship decks or from blasts. So scuff marks and exposed metal with some dusting from running about metal decks. Paint scuffs are painted in with Tamiya XF-69 NATO Black, and then graphite penciled over some of the spots. Oil stains and even an occasional glancing blast mark from an opponent laser blaster. The plates closest to retro rockets have greyish blast marks airbrushed with Tamiya XF20 Medium Grey. Weathered areas are then given a protective coat of satin varnish.
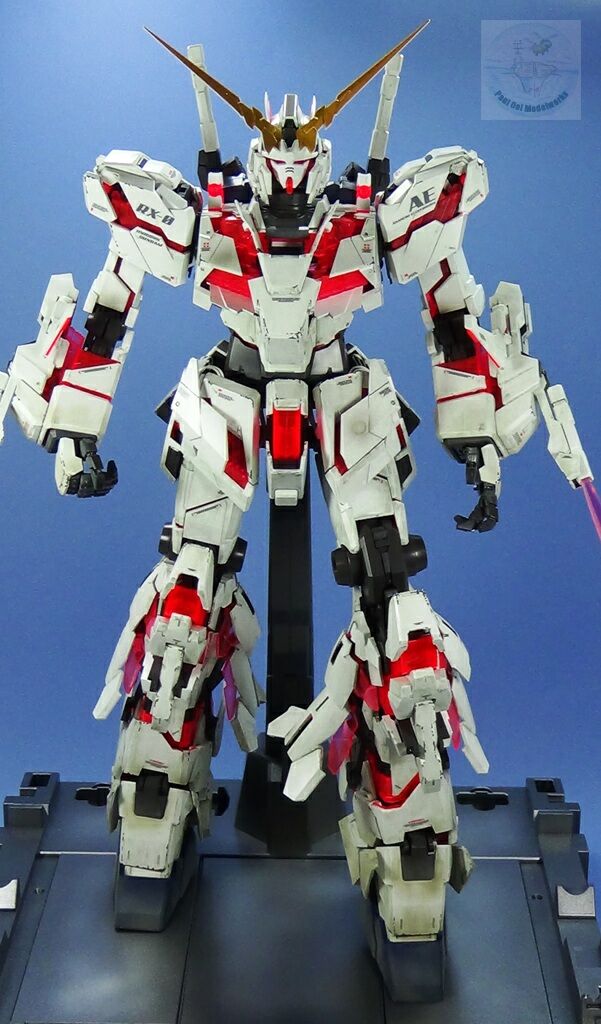
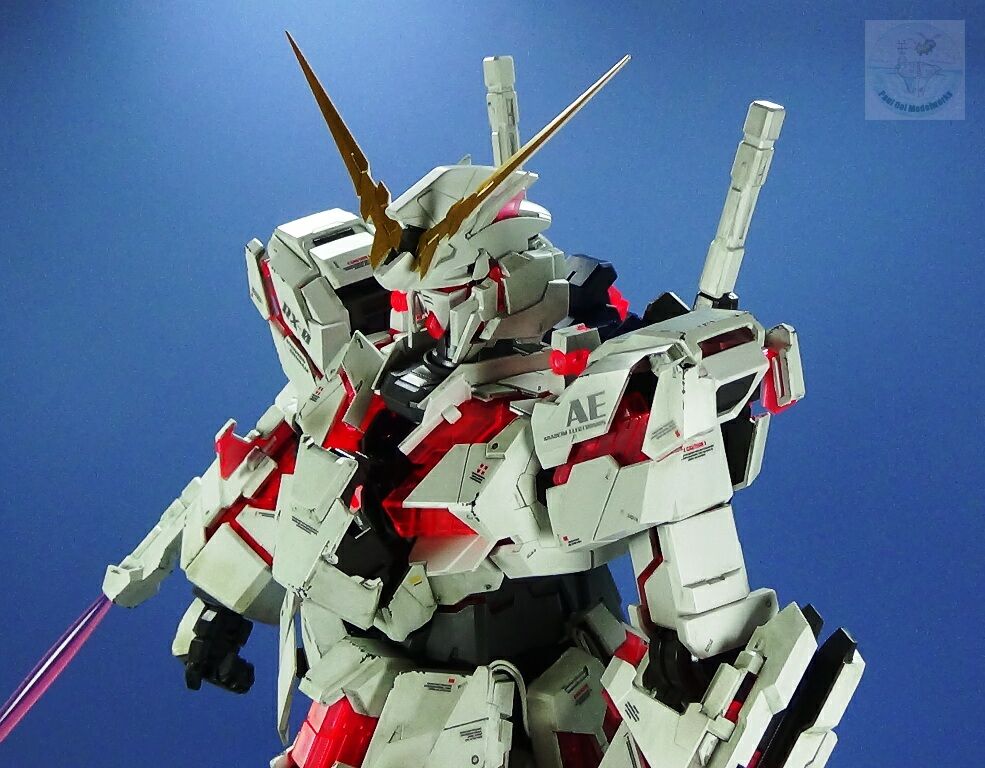
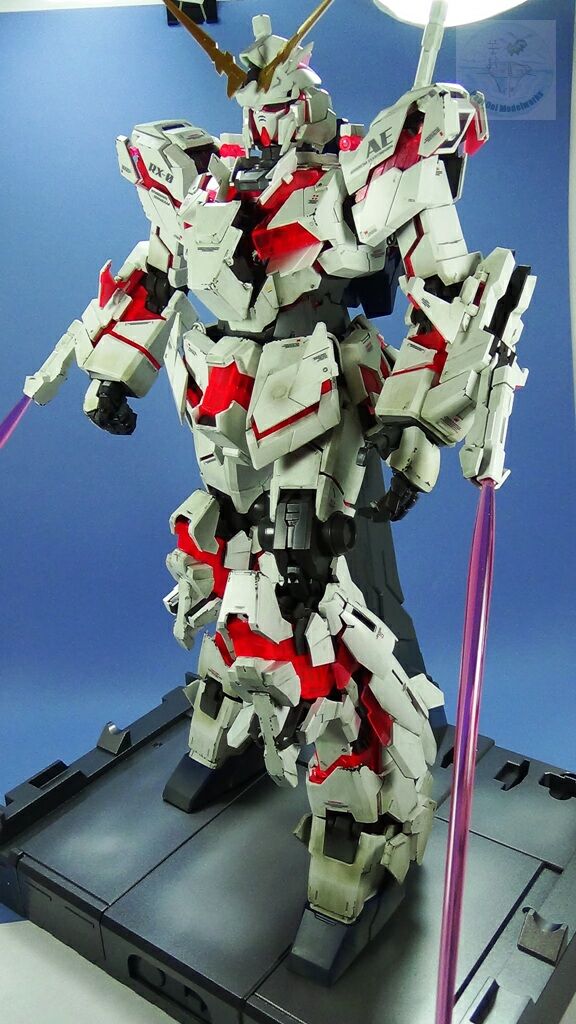
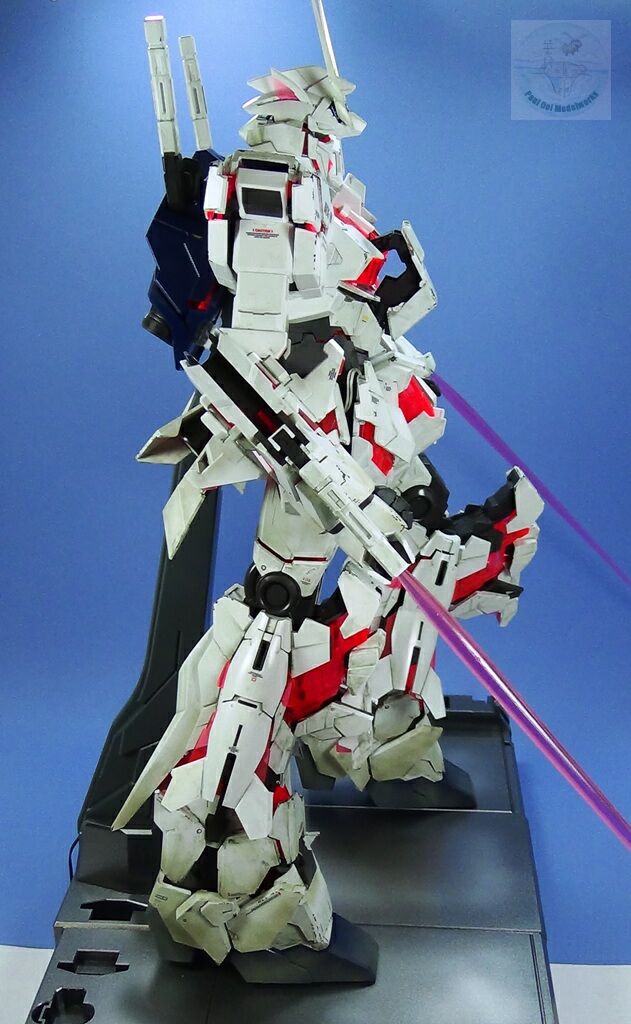
A few final shots of the mobile suit in its Unicorn mode before we permanently transform it to Destroy Mode for the shop display.
.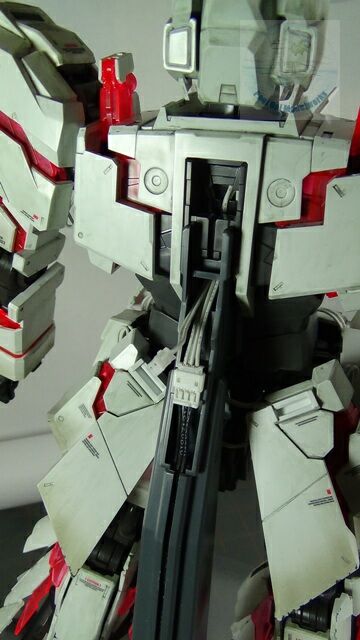
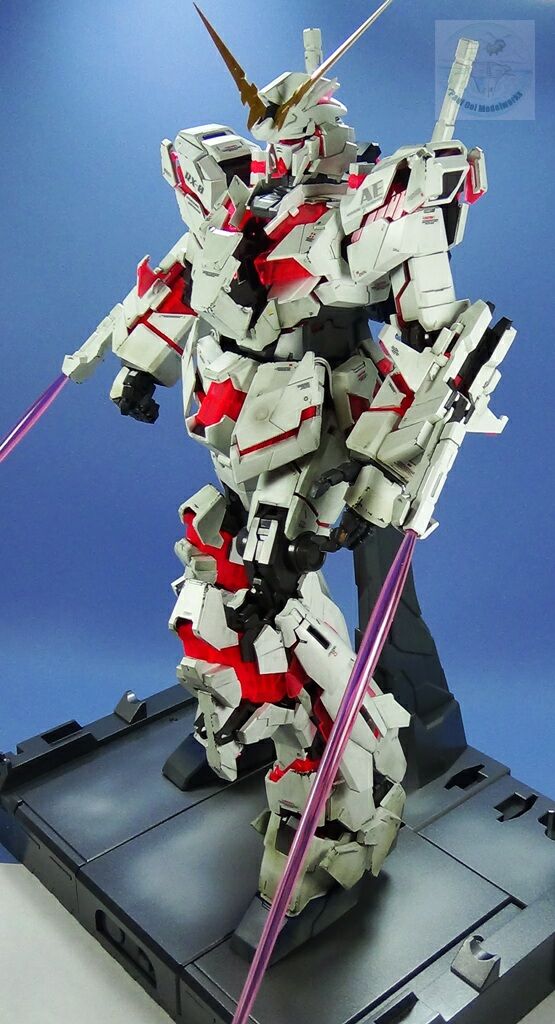
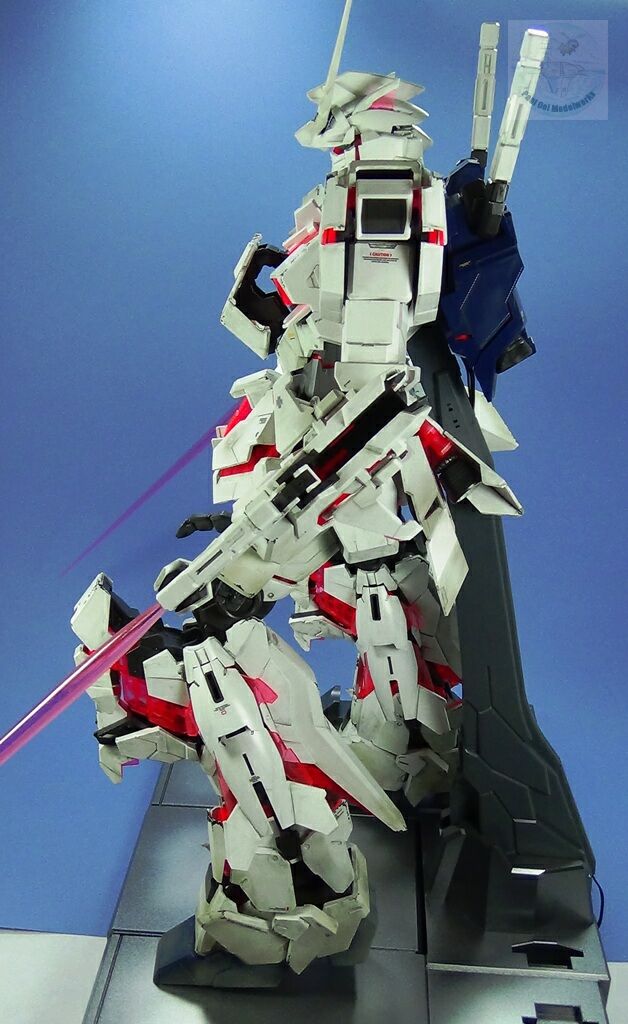
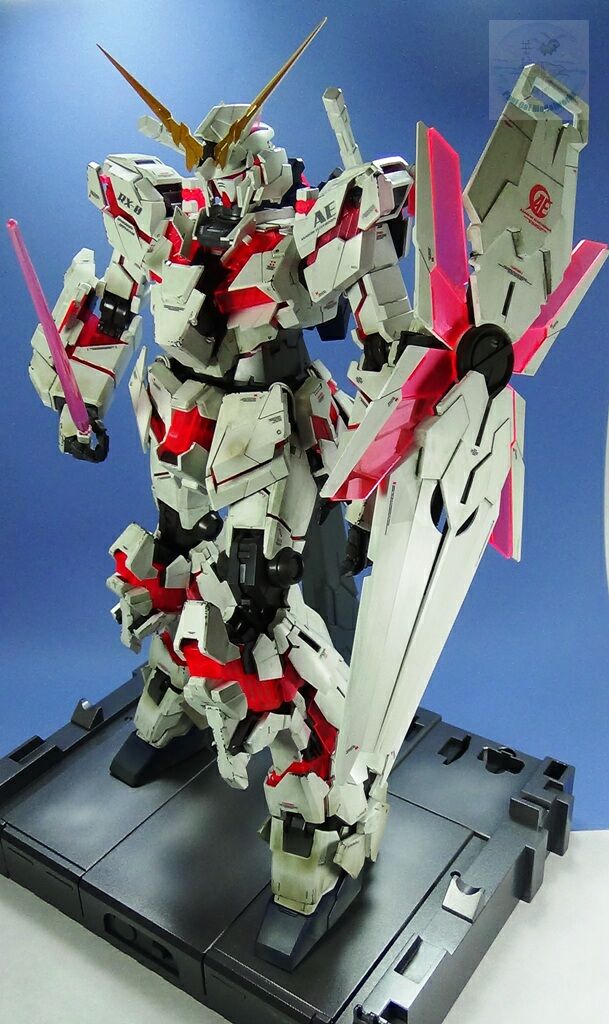
The figure is fixed onto the vertical spine of the display unit and the umbilical is connected to the power supply.
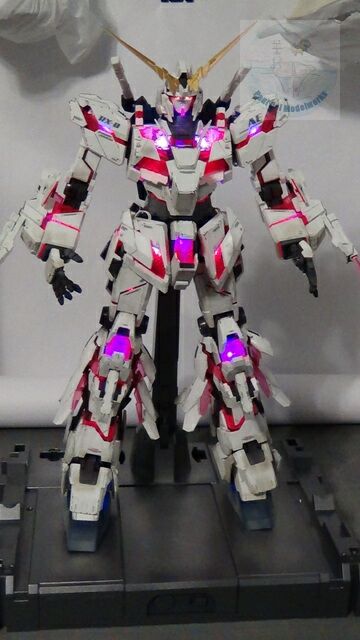
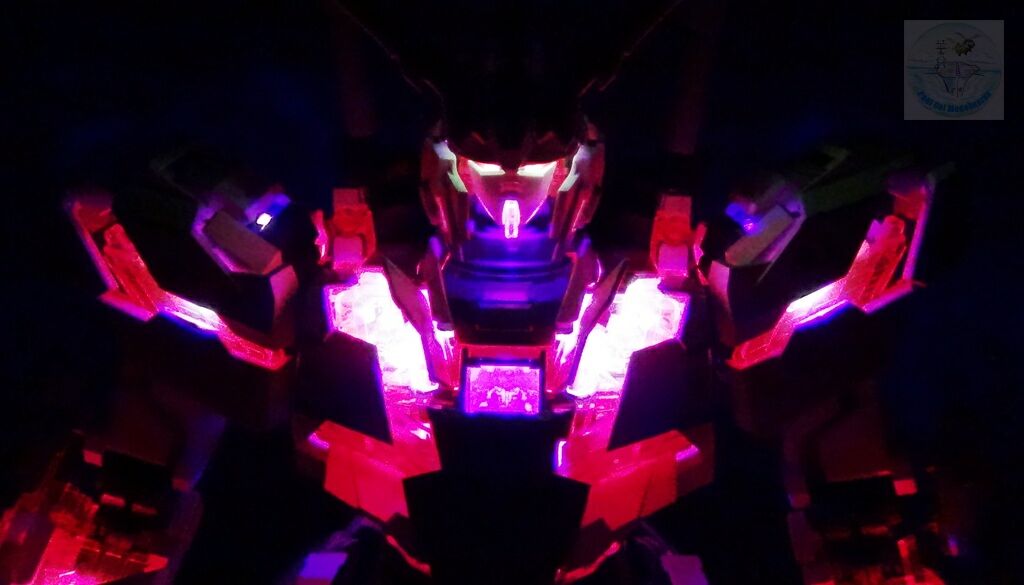
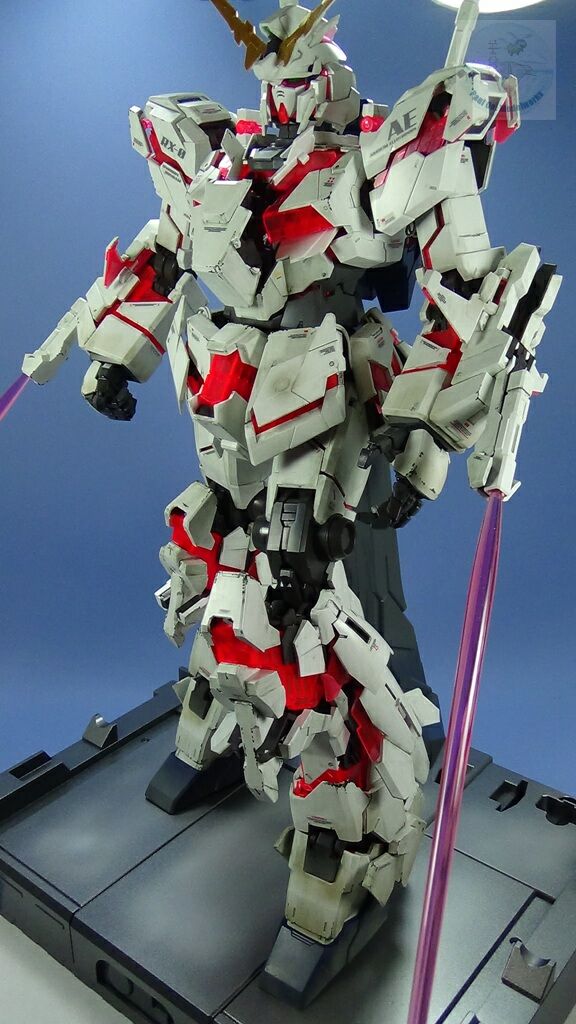
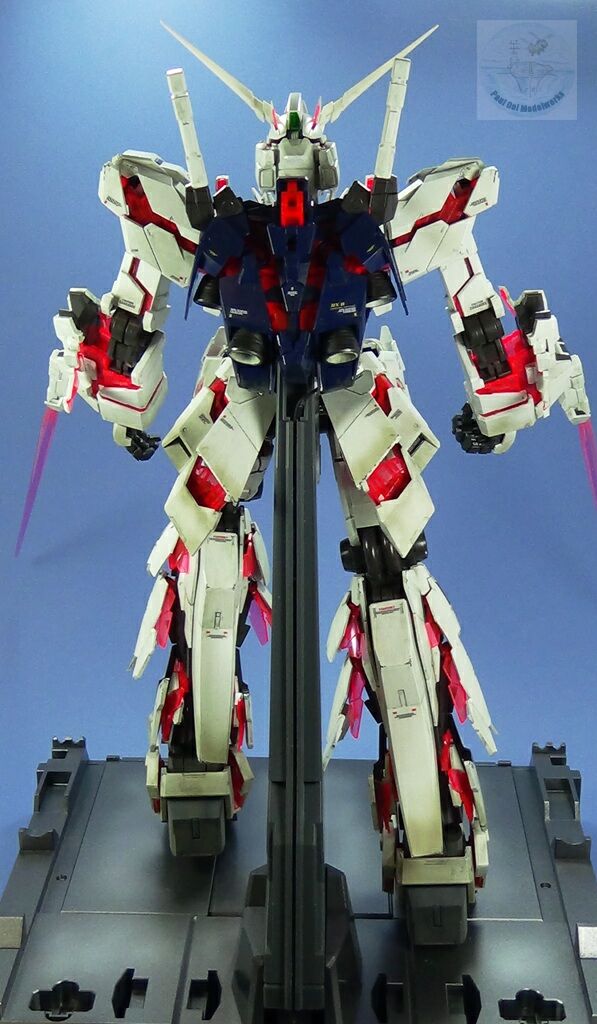
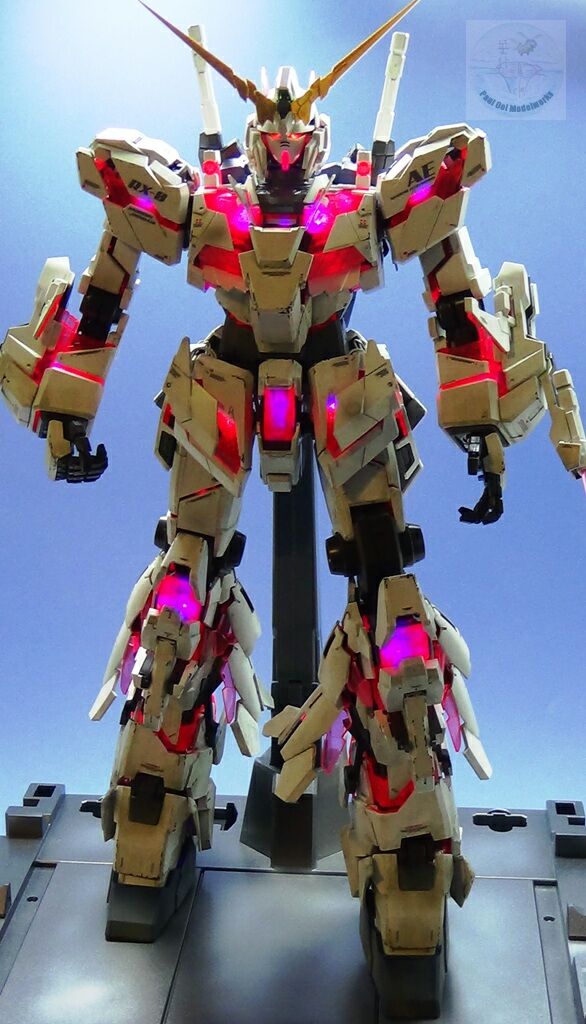
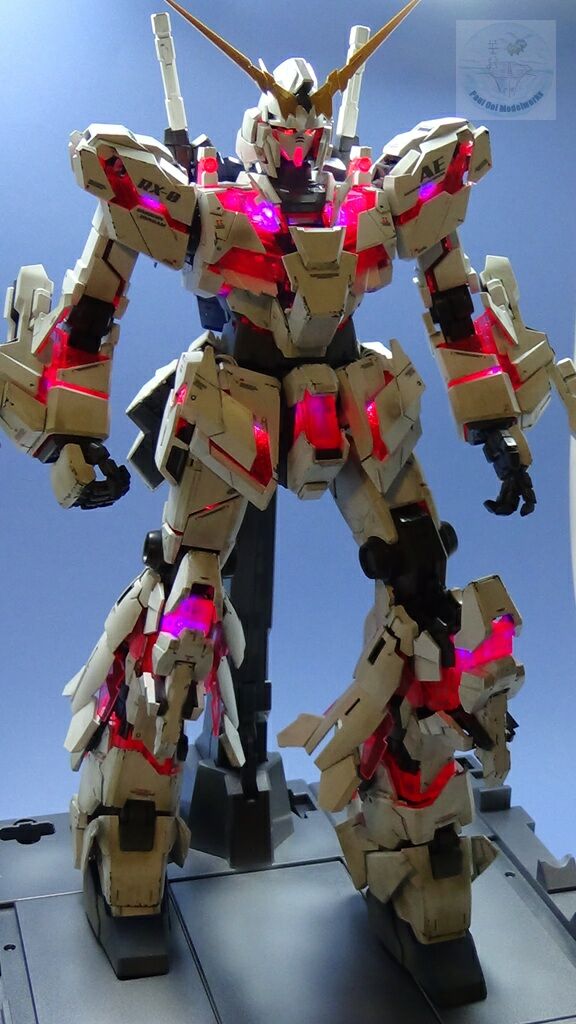
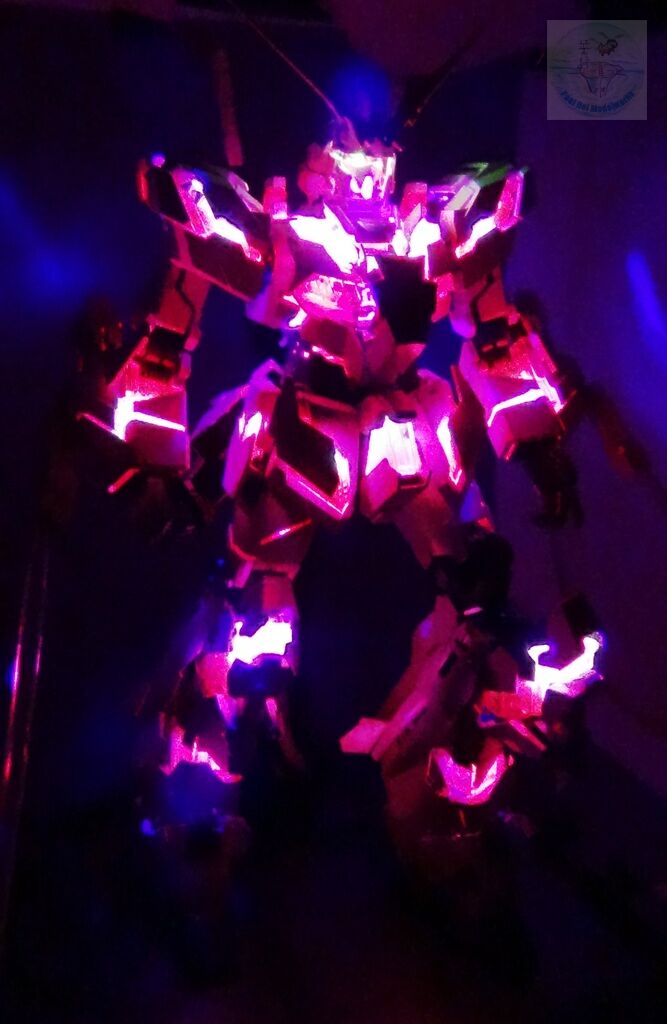
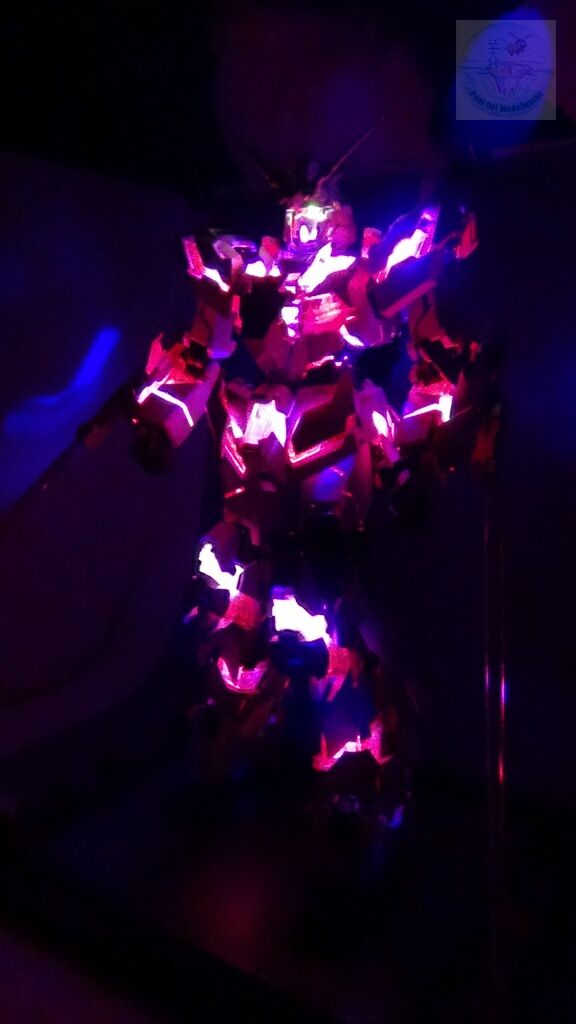
The choice is pretty obvious as to why the shop wants to Destroy mode display as much more of the red LED areas are visible and the figure stands about 1 inch taller! Transforming this guy is no easy matter and takes almost 45 minutes to accomplish without dislodging any of the hooked on plates
Hello, we met at Hub Hobby, the older gentleman that works there introduced us.
I am a big gundam fan and you did an excellent job!
I recently finished a model kit for a competition that HobbyLink TV was doing. It is a 1/12 scale ’69 Camaro Z/28 Foose box edition. I have pictures.
I am also working on my own Perfect Grade Gundam, it’s an RX-178 MK-II.
Again, excellent work!