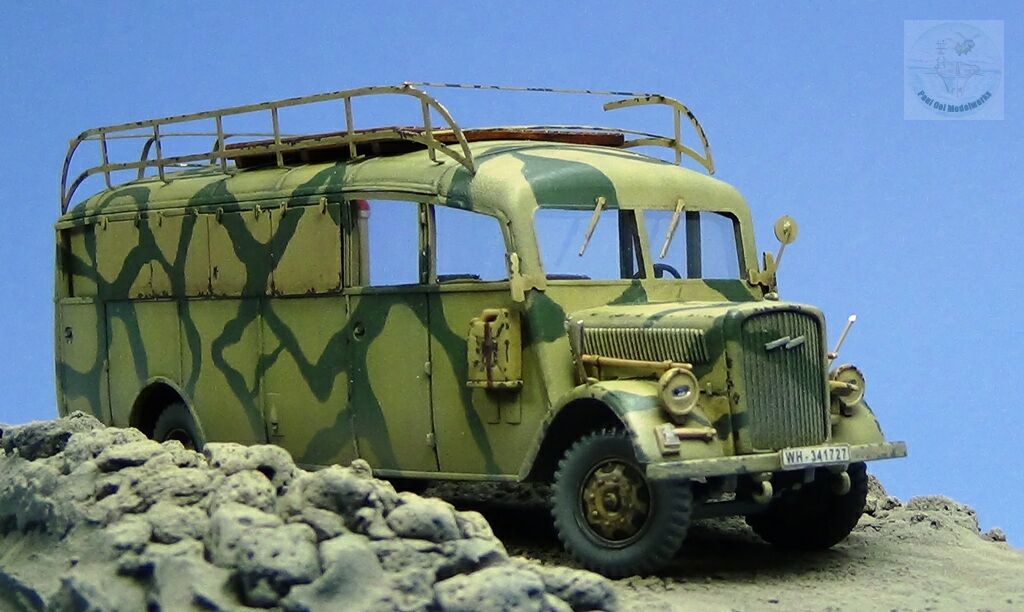
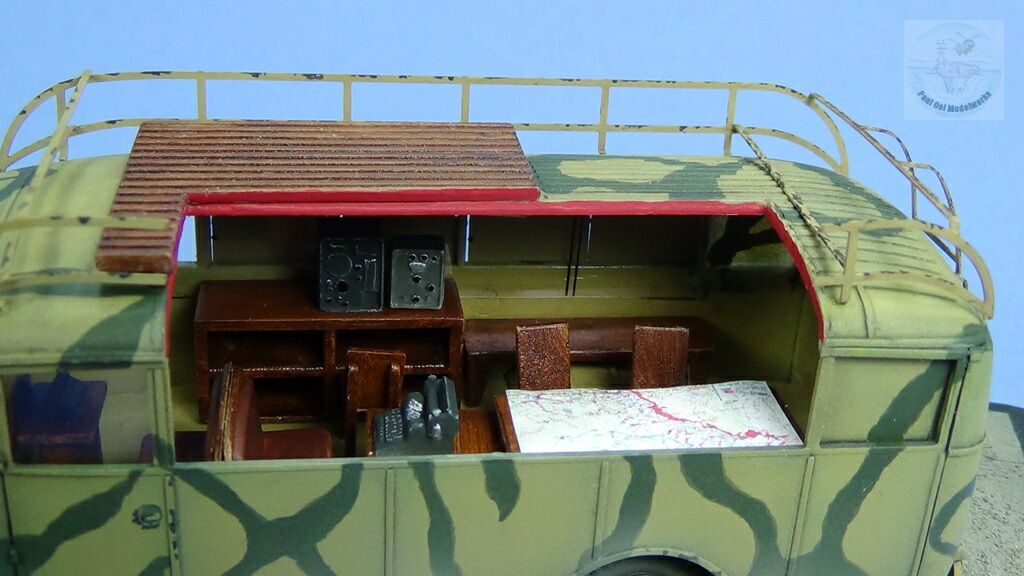
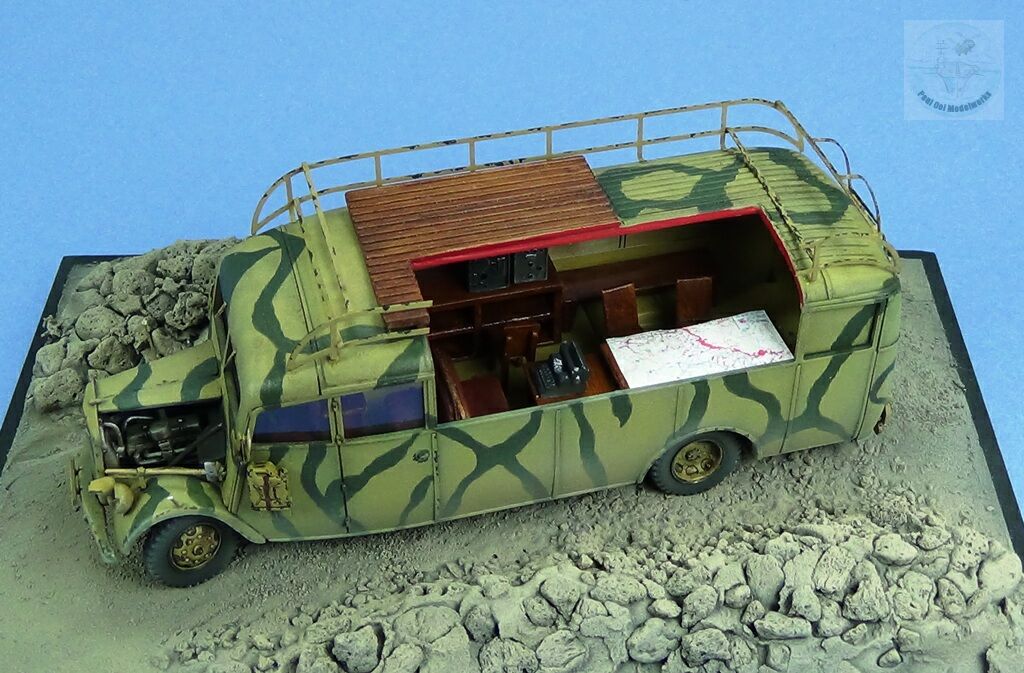
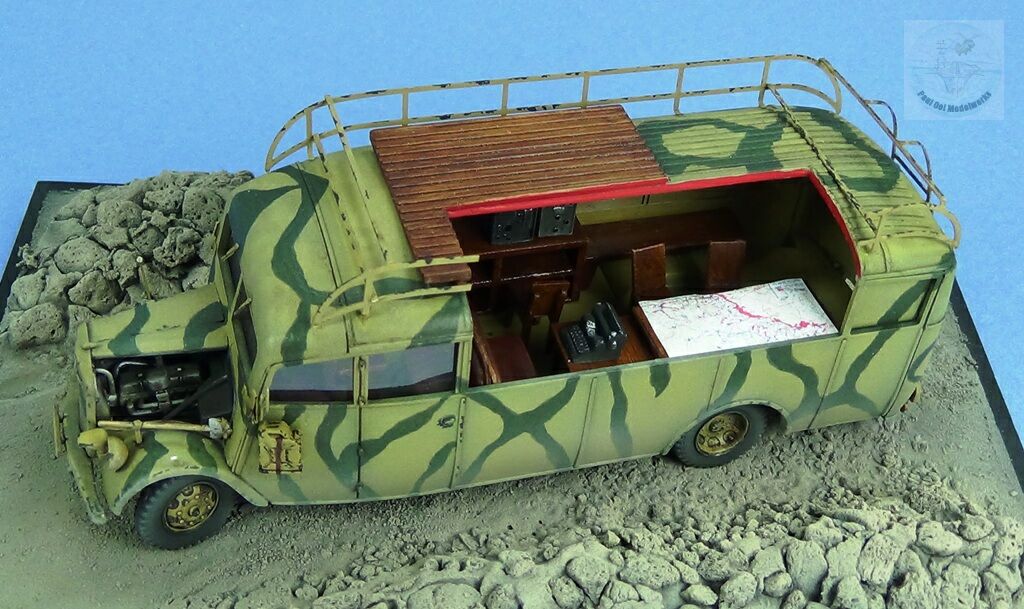
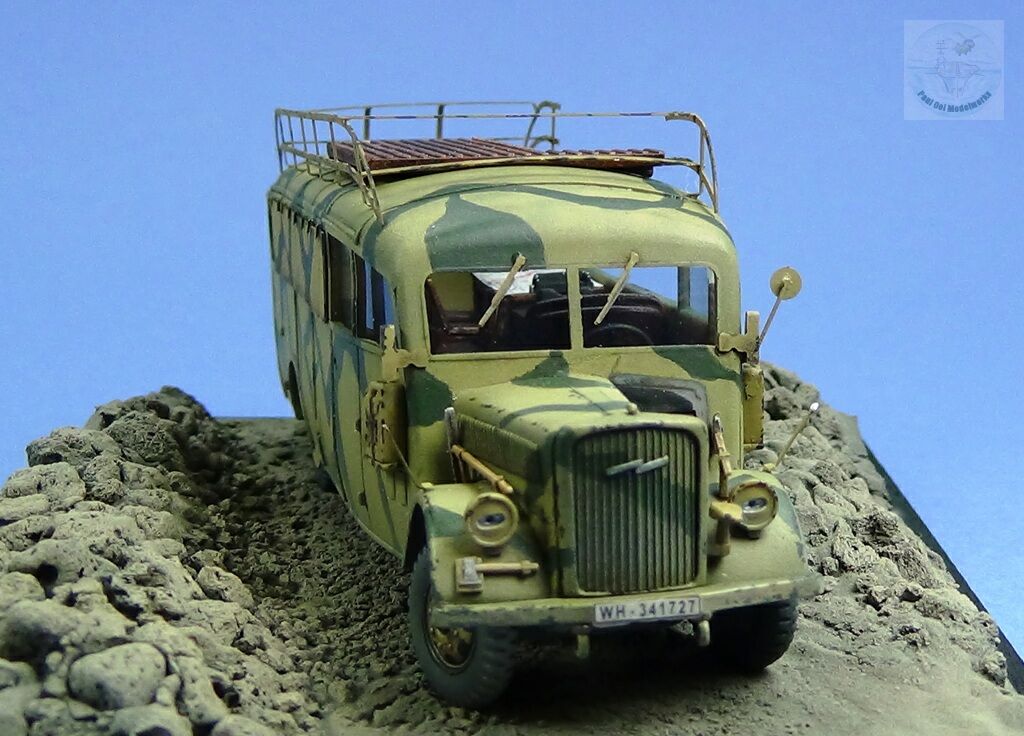
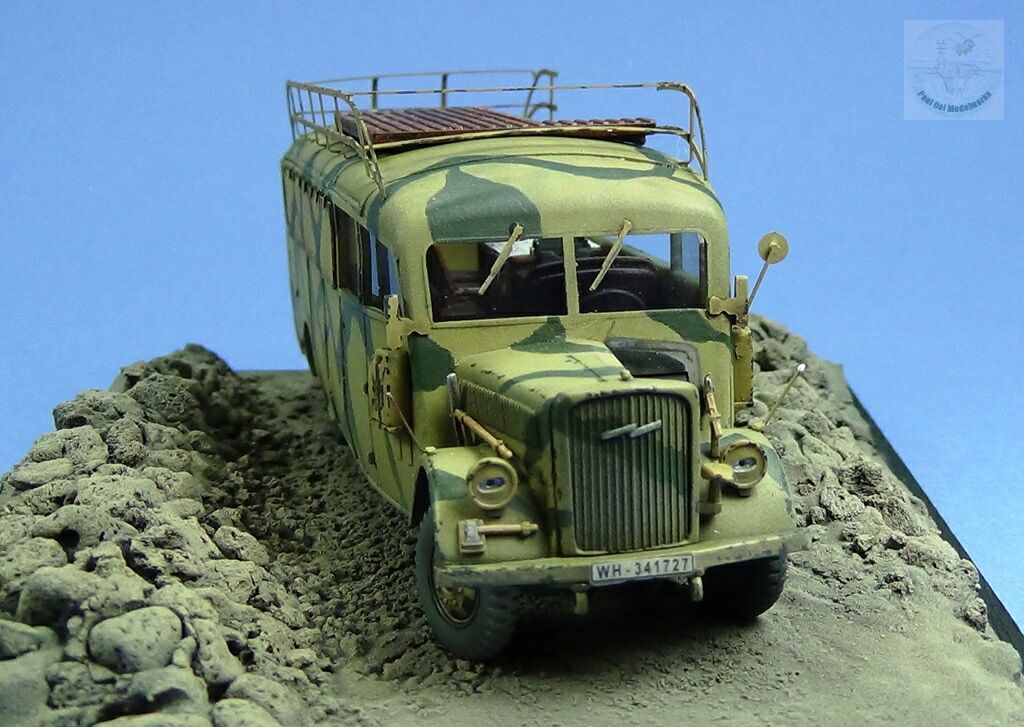
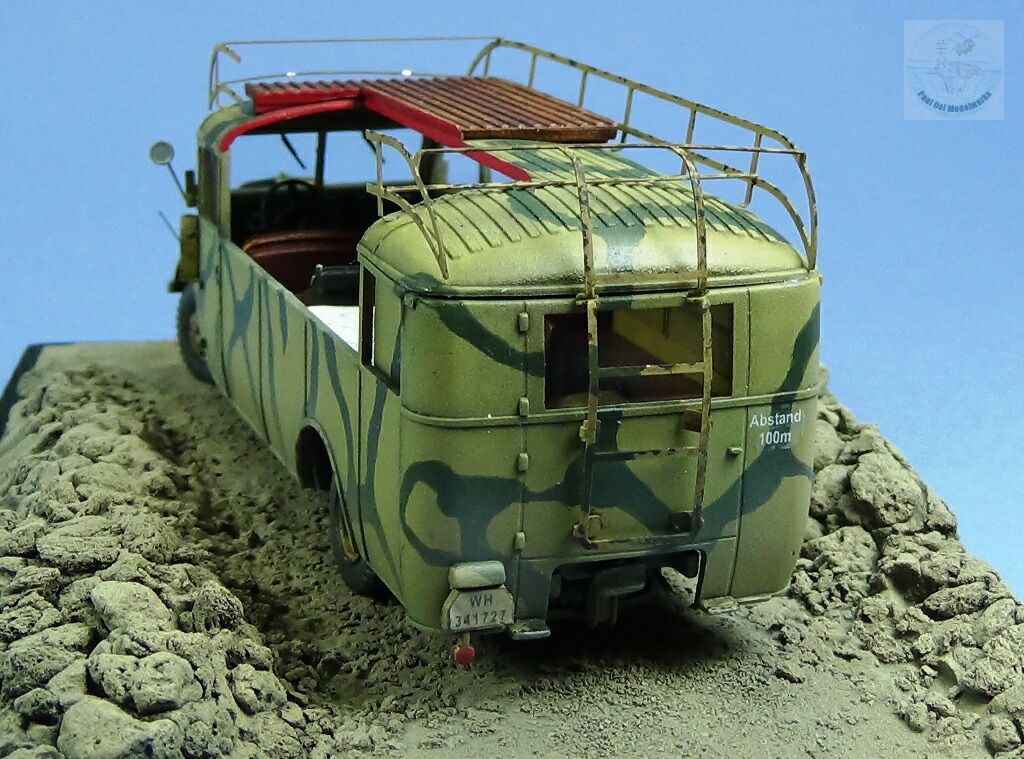
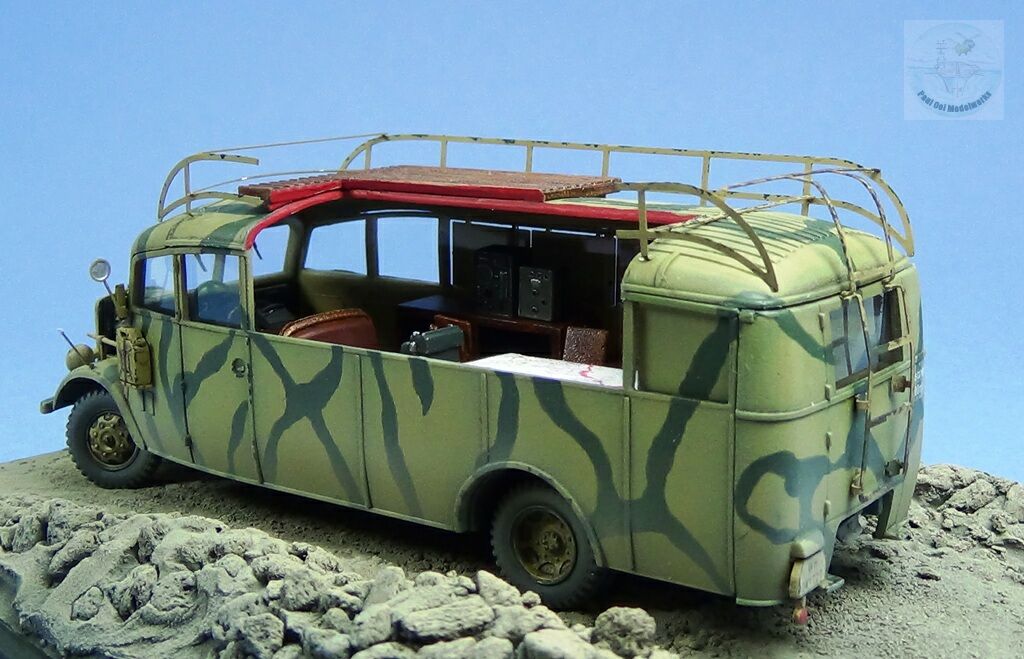
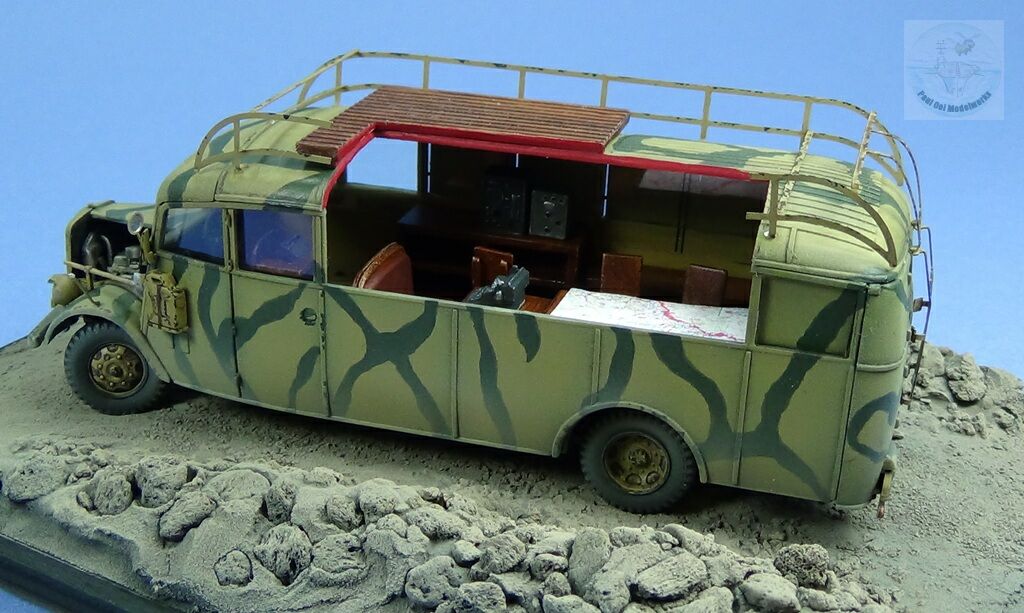
Apart from fighting vehicles, modern mechanized armies ran all kinds of specialized vehicles for the logistics of war. For the Afrika Korp, the Wehrmacht converted the reliable work chassis of the Opel Blitz truck and bus for this staff command vehicle. This vehicle is actually identical to the town buses running in Germany in Austria in the 1930’s. Essentially, they cleared out the passenger seats and provided a moving office complete with radio sets, field communication, and a typewriter. There must be an enigma machine hidden in there as well. The ones sent to North Africa also had extra metal shields installed along the passenger windows of the bus to keep out the intense desert sunlight. Running along the rocky desert roads in Tunisia may not be the most comfortable ride in the world but it sure beats driving around the hot and dusty desert in an open vehicle or marching on foot.
Gallery
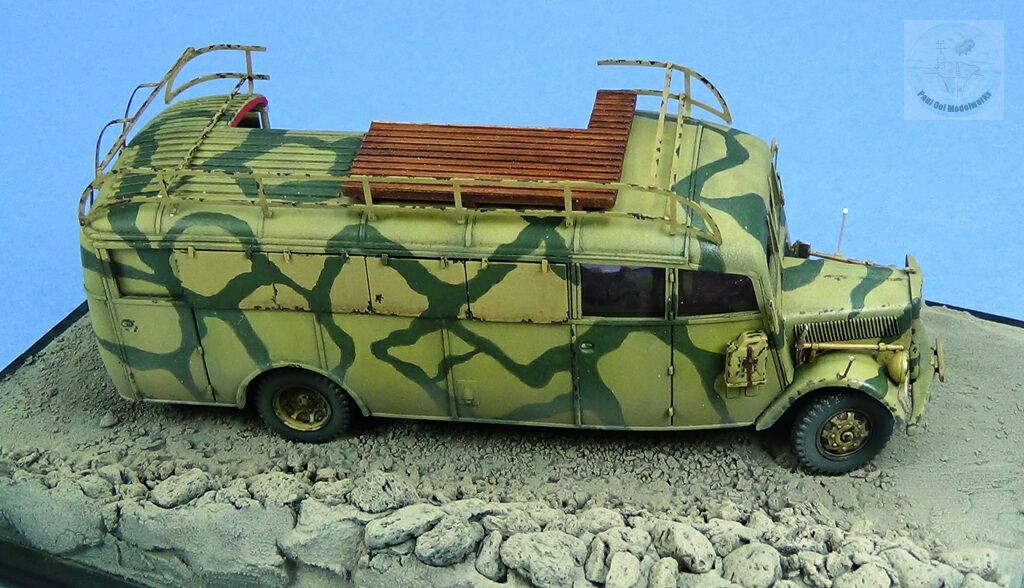
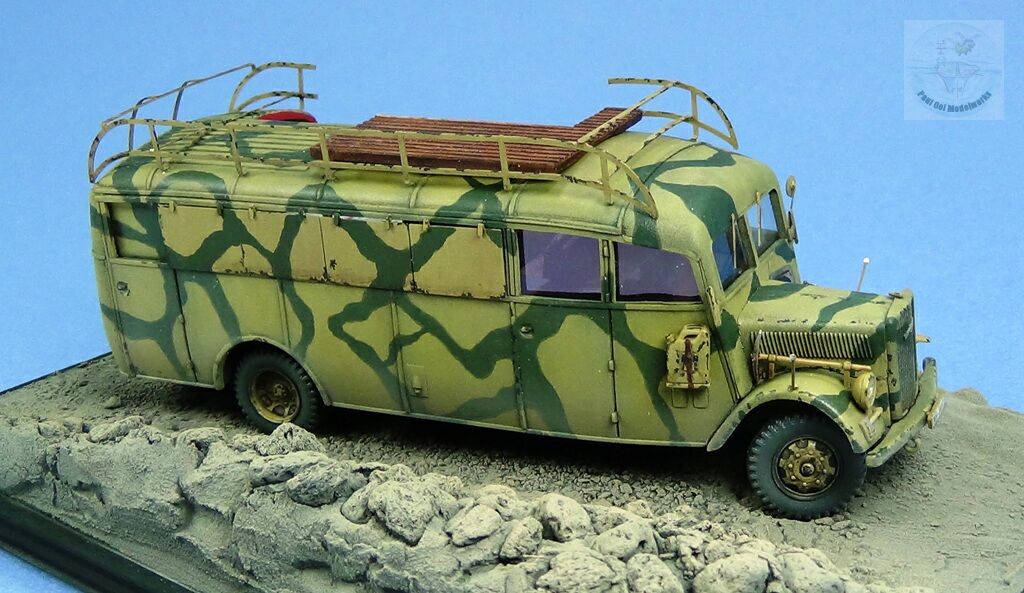
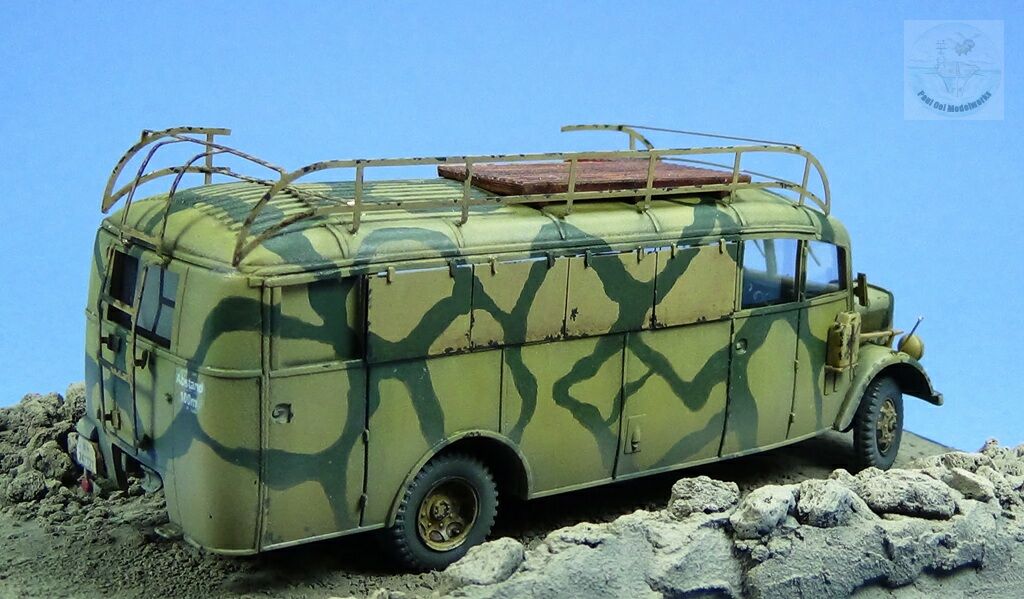
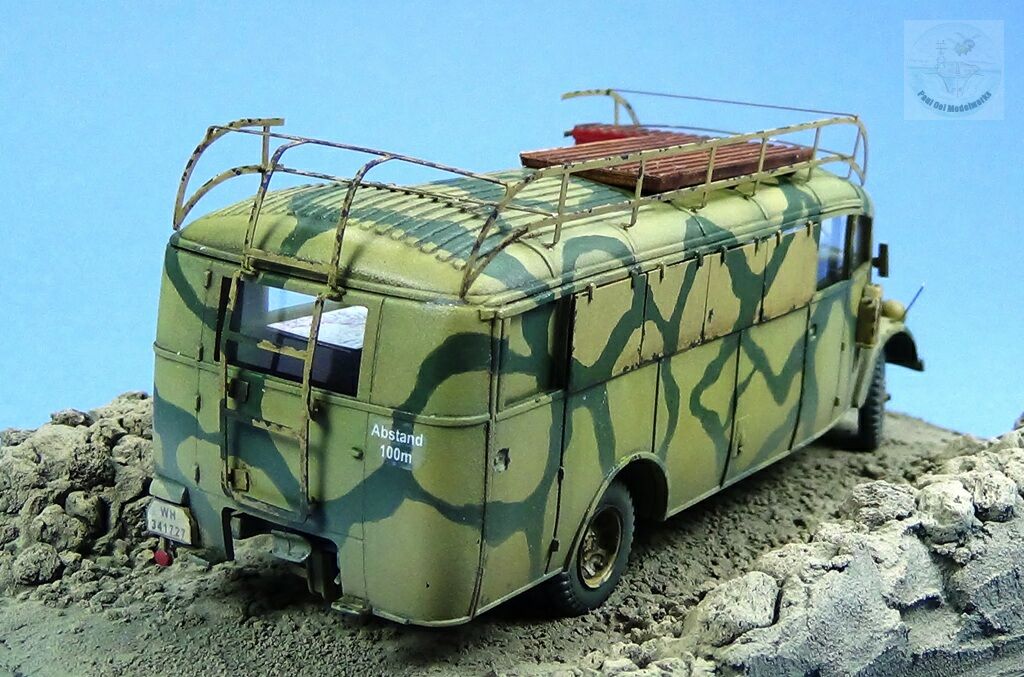
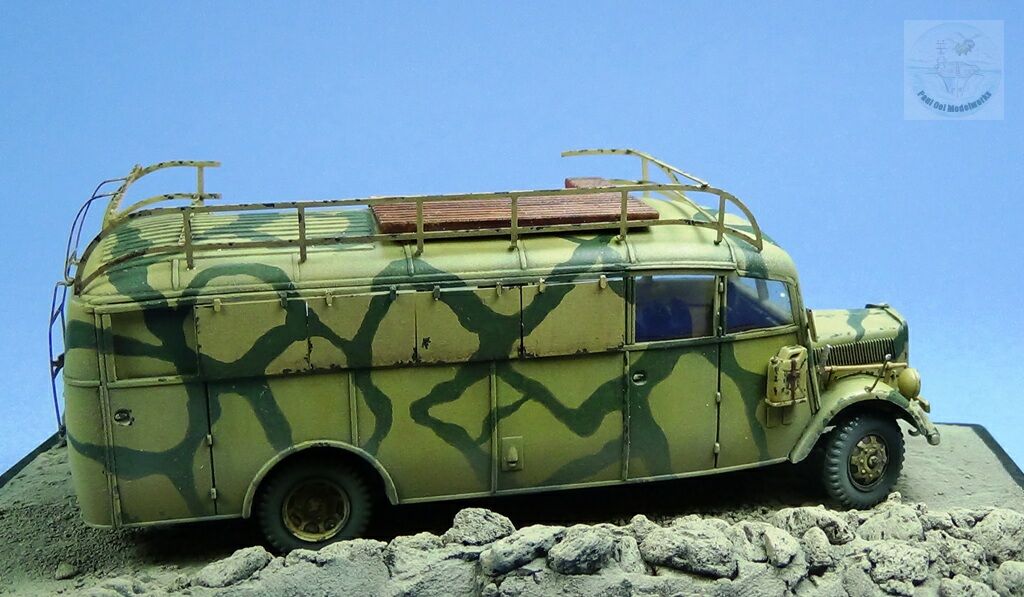
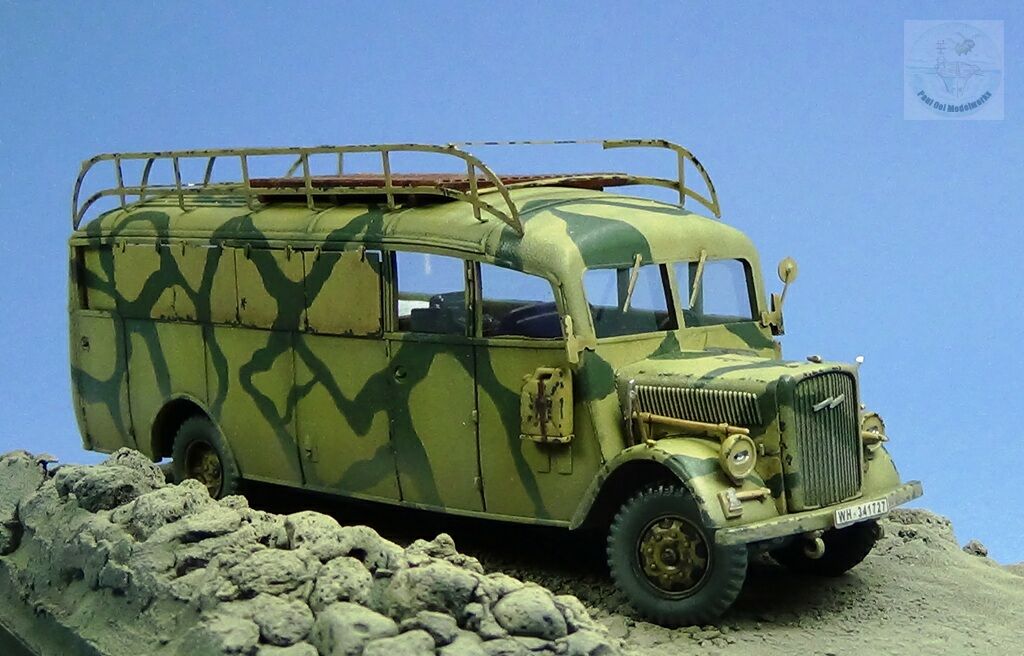
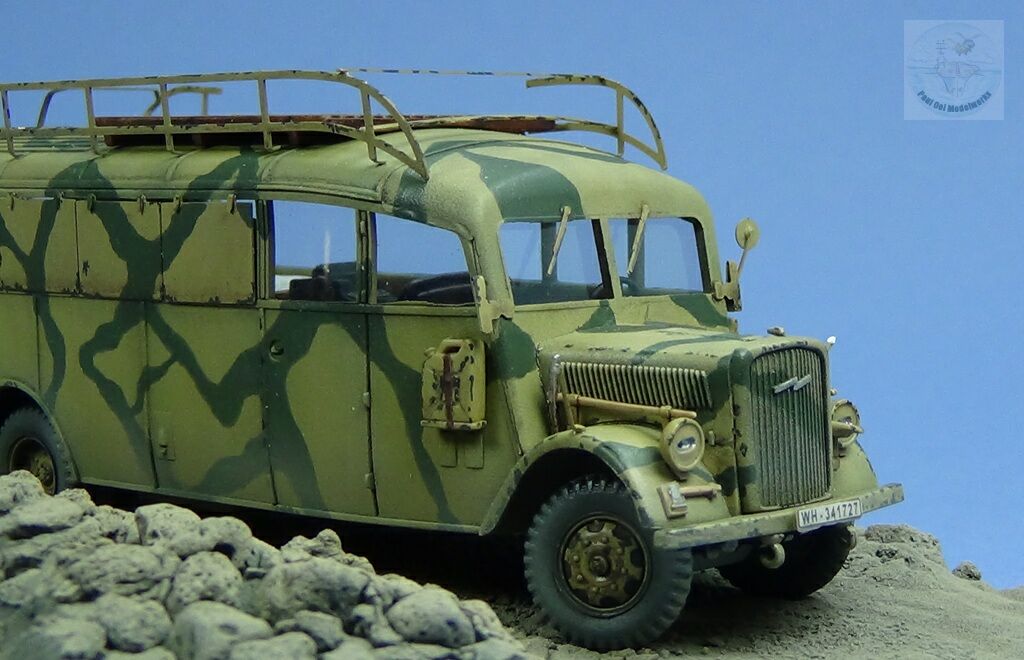
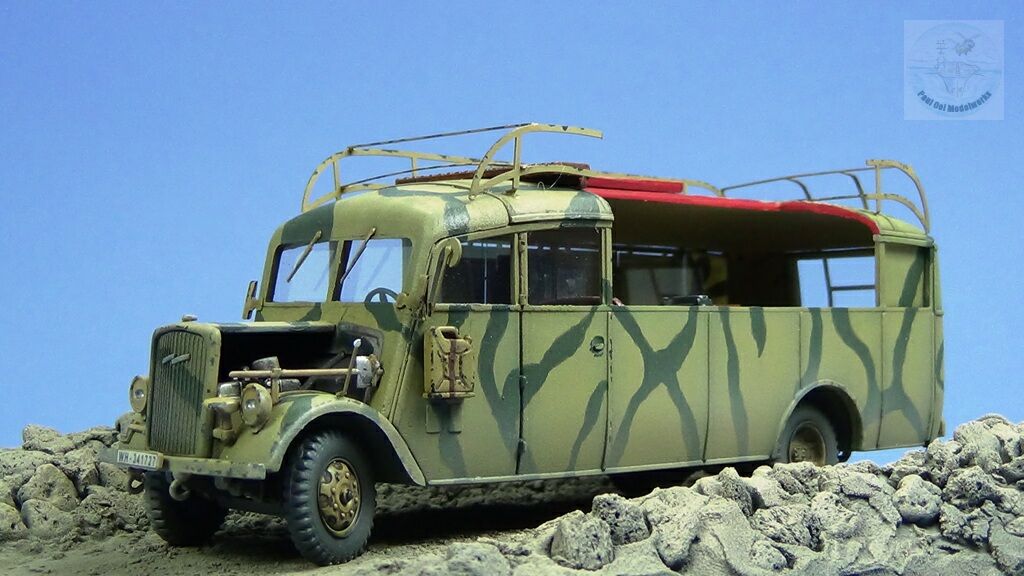
Construction Notes
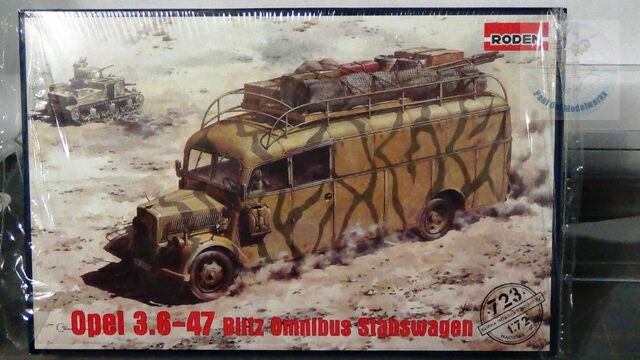
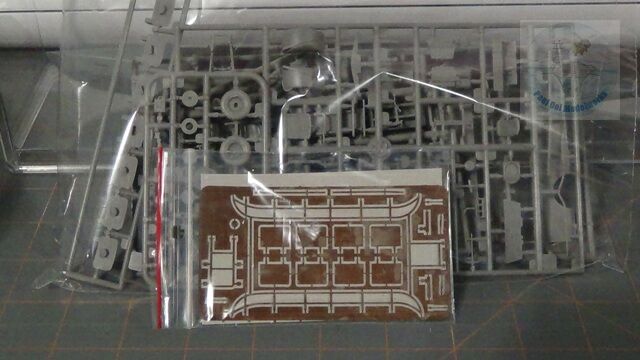
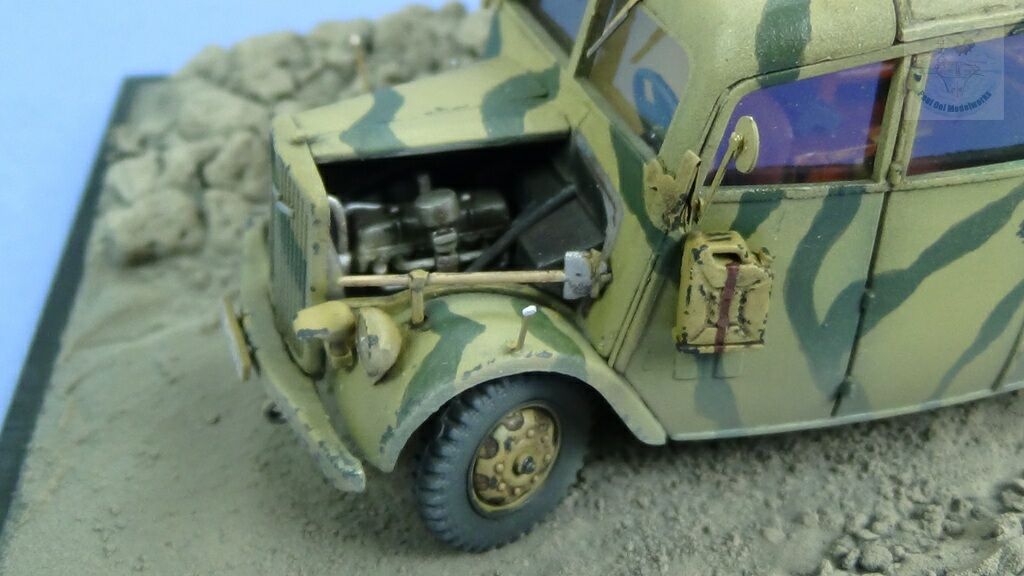
Roden of Ukraine makes some excellent 1/72 scale models of unique vehicles, and this is a good example. Because the interior of a bus is quite visible, building this vehicle is very different from tanks, in fact a little bit more like WW2 bombers with the interior details being visible through the windows. The kit has many parts including a pretty extensive photo-etched fret for the roof rack, side shields, and other smaller bits. There is also a large sheet of acetate for the windows and wind shield. The plastic fit is generally good, but the molding has plenty of ejection marks, some very deep and prominent that need filling, or sanding down. This kit is deceptive in that the outer shell of the buss does not seem to have many features but requires moderate to advanced skill level to make it fit nicely together. Other than that, this kit turns out to be a very interesting subject with lots of diorama potential.
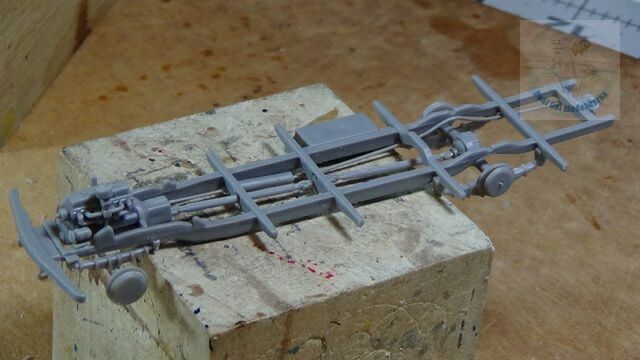
I start building the chassis, noting the different arrangement between the front axle, and the rear 4-wheeled axle. The axle-to-leaf-spring assembly is a bit vague and will require some dry-fitting to make it work properly, and give it lots of time to dry once assembled.
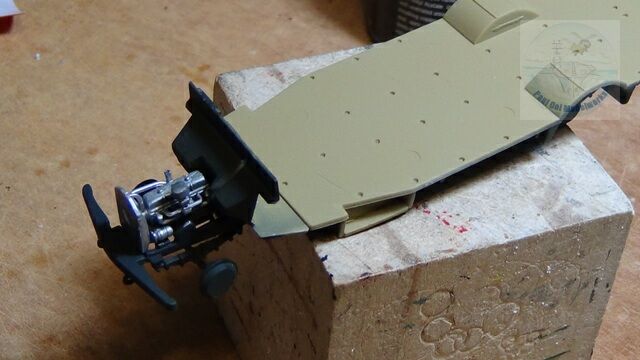
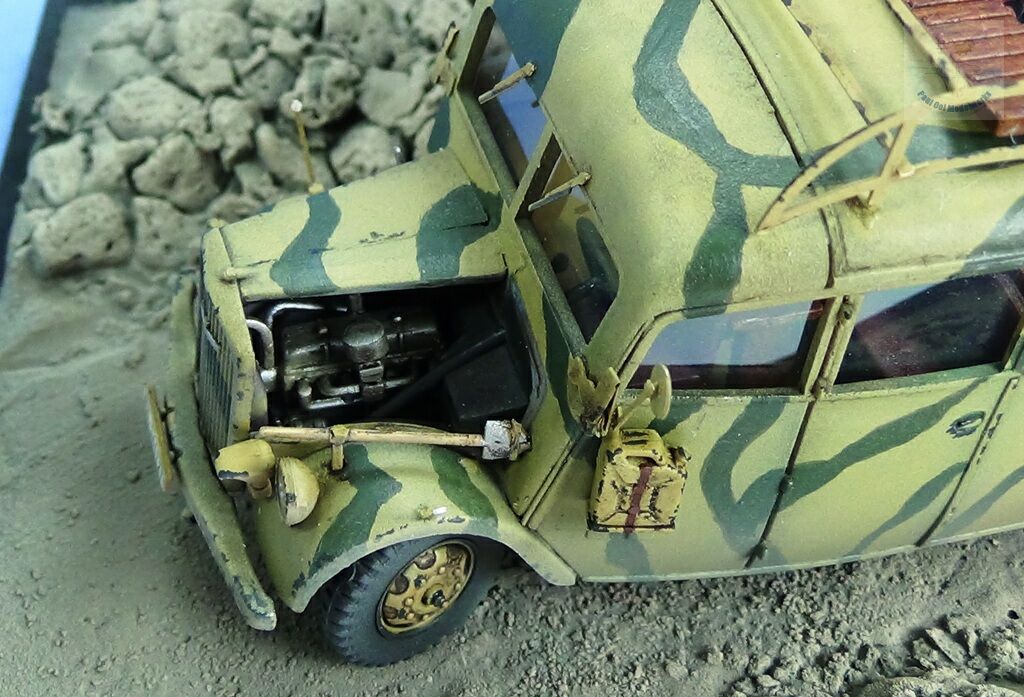
The engine block is very nicely detailed for a 1/72 scale kit and needs to be properly fitted onto the chassis before too many other bits go on. The driver’s dashboard needs to wrap around the gear box and engine block, so lots of dry-fitting is needed, including using the main bus deck to check the dashboard alignment.
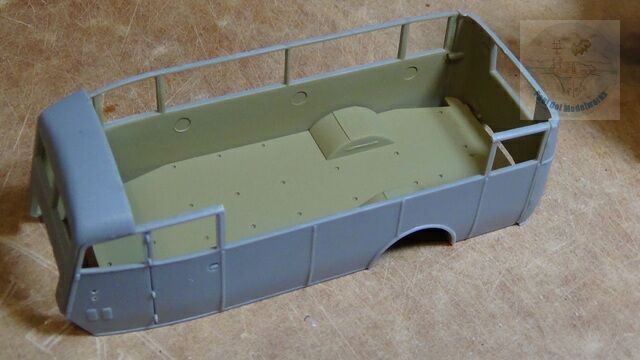
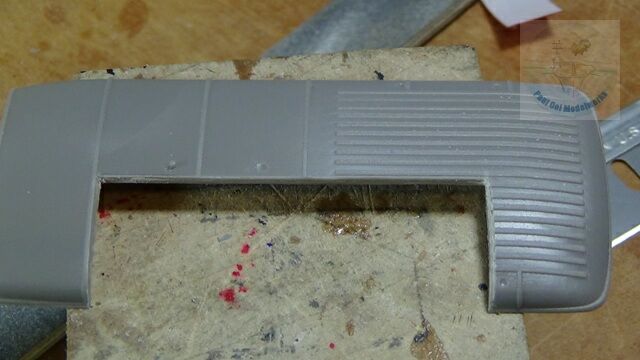
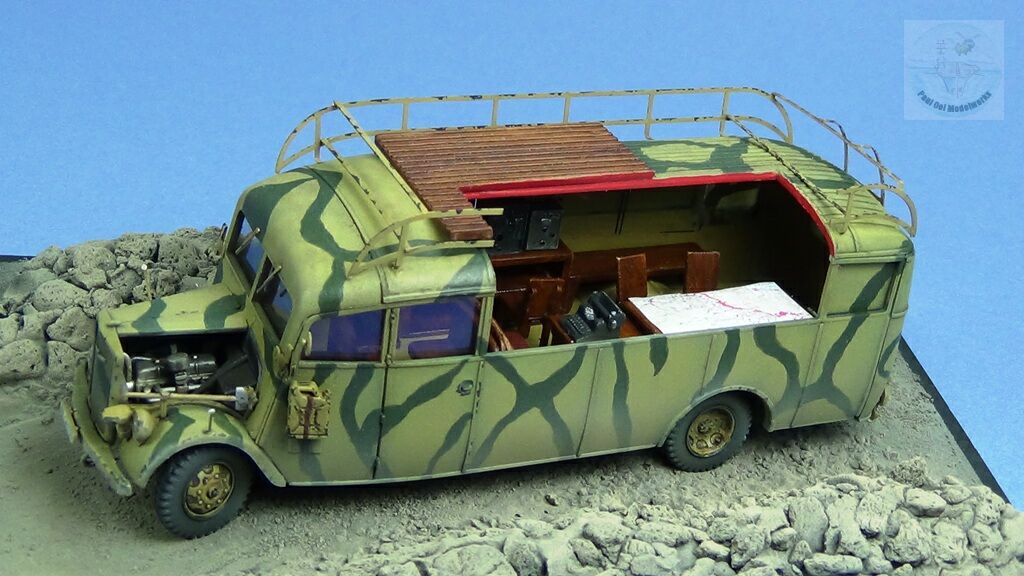
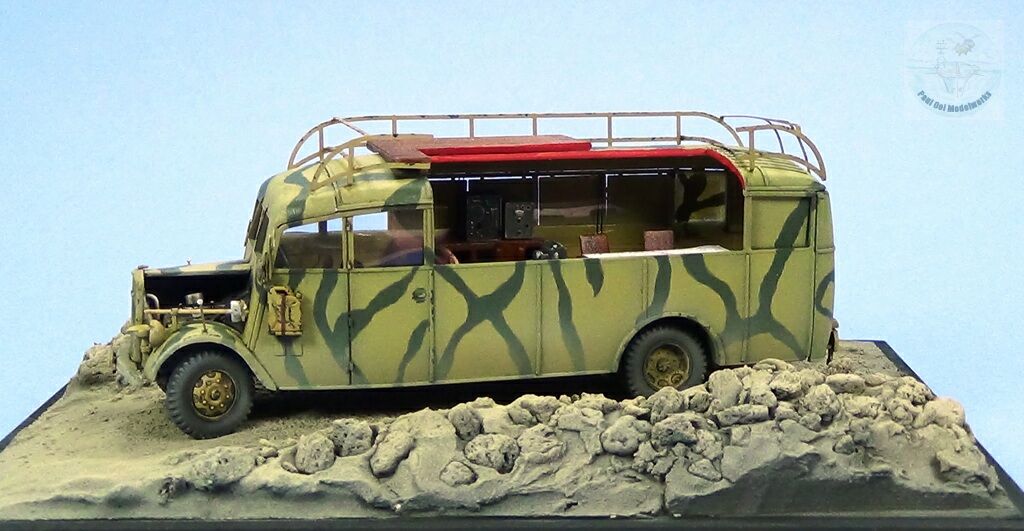
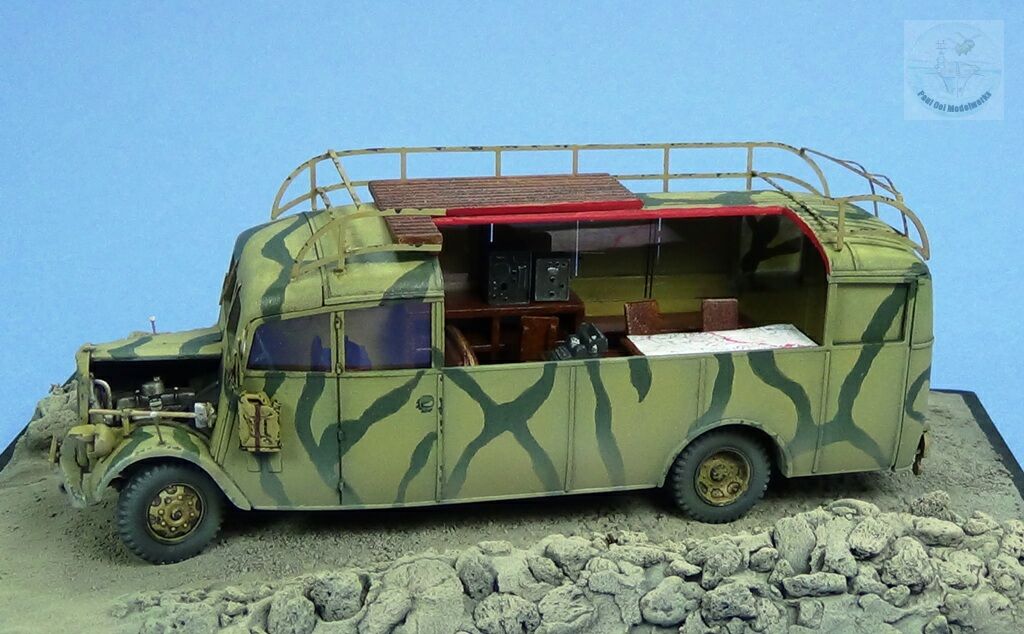
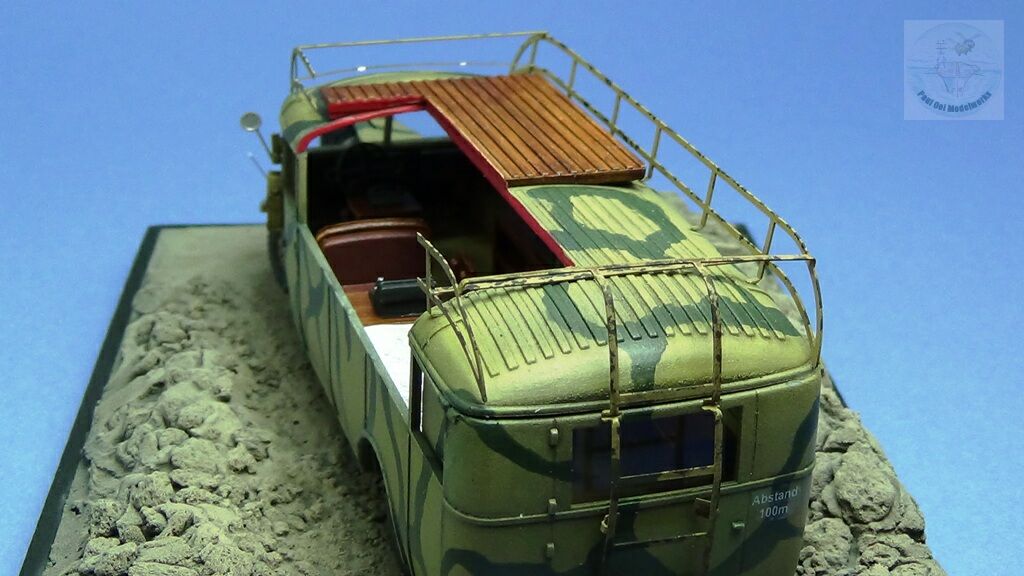
Since the side shields effectively cover up the entire mid and rear portions of the bus, it would be impossible to see the many details in the interior (full office). I decided to display the bus with a cut-away view on one side, while keeping the other fully fitted so that the viewer can fully appreciate the vehicle. I uses a micro-saw to remove a section of the roof, and also cut away some of the window frames. When putting together the walls of the bus, I used the deck piece as the main reference to get all sides properly square and aligned.
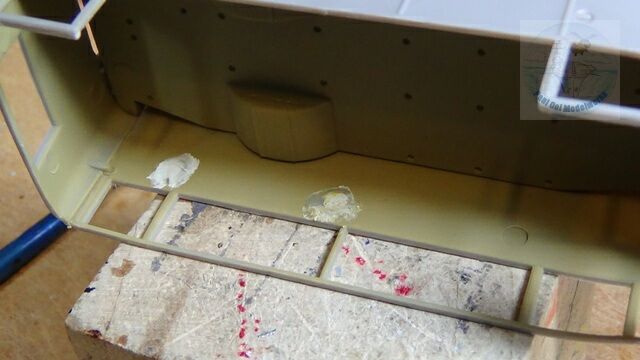
The interior walls had huge ejections marks that needed to be filled and filed.
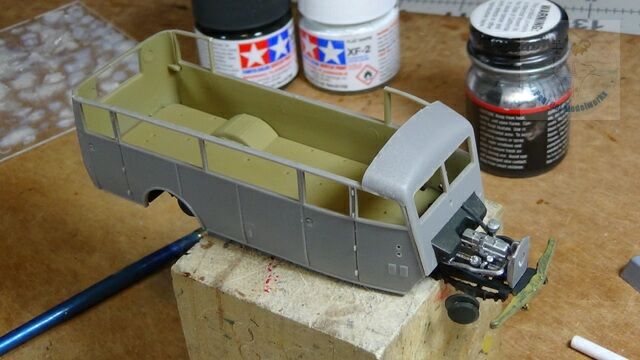
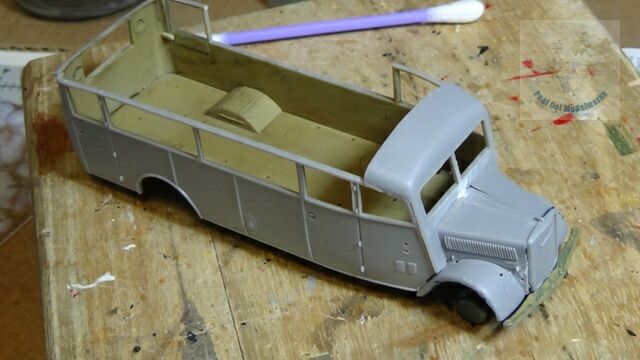
The bus cabin is then installed onto the chassis, with the front hood (bonnet for some of you) section built around the engine. I kept the left side door unglued because in the final display, I will leave it open for the engine compartment to be shown as well.
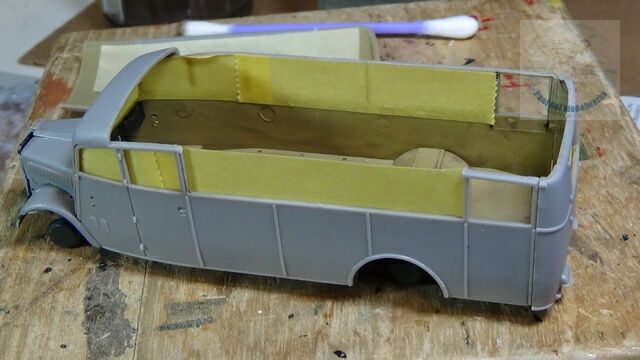
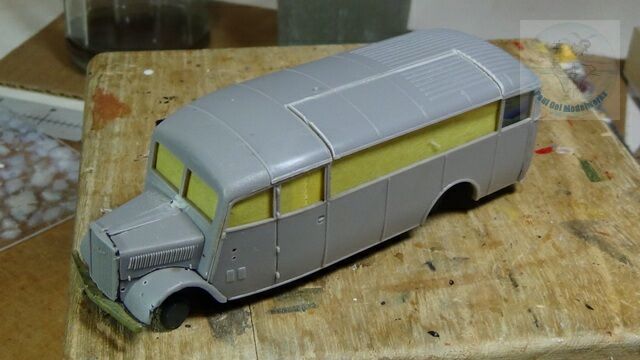
I attached the acetate pieces for the two rear windows that will be painted over with the body color. The rest of the window openings are masked with sealing tape, and then the roof section (note the sawn of piece is temporarily re-attached to provide masking for the paintjob) is tack-glued using white glue, for easy removal later.
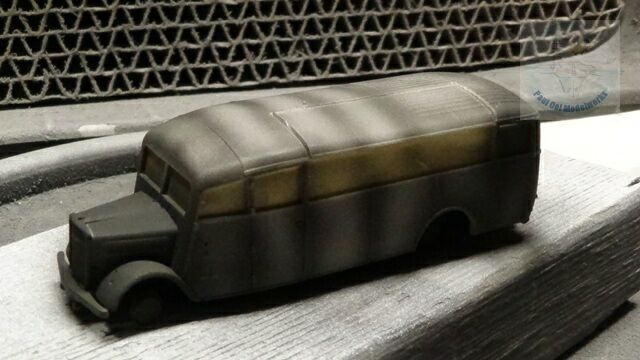
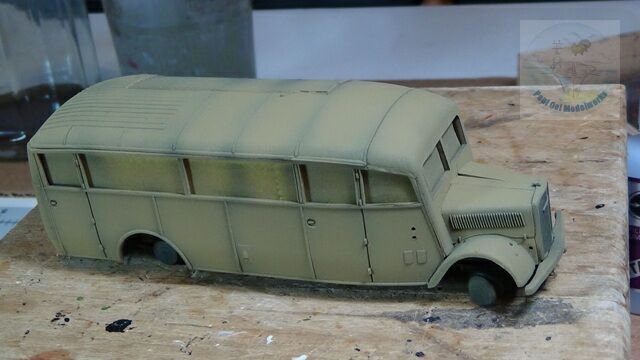
The vehicle body is first under-toned in Tamiya XF-69 NATO Black, leaving grey highlights, and then Tamiya XF-60 Dark Yellow.
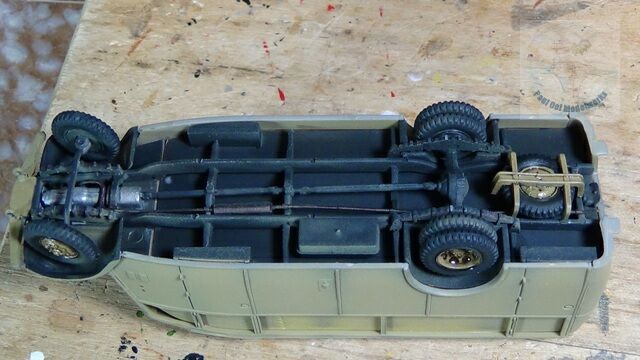
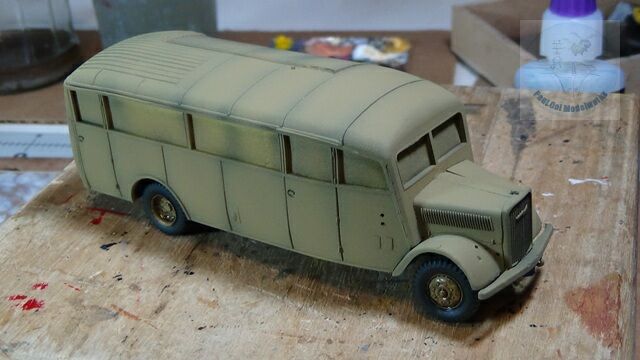
The wheels are finally installed to the axles.
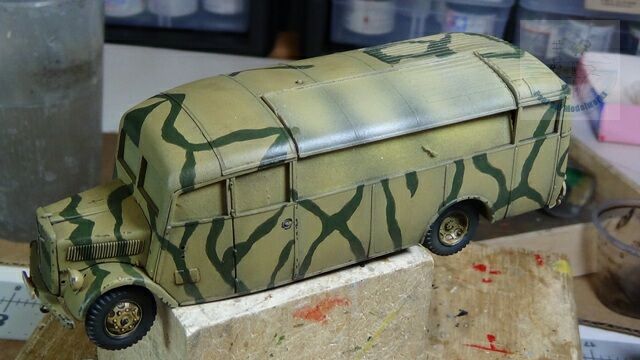
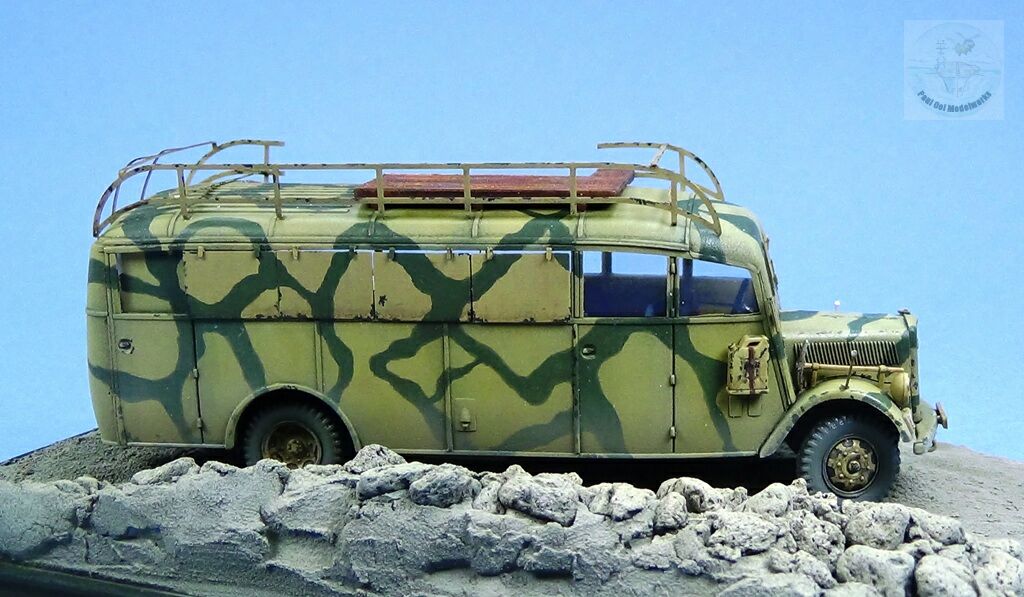
The unusual camouflage pattern was hand-painted with Vallejo 892 Yellow Olive or RAL6008. This was followed with a turpenoid+black+burnt umber wash.
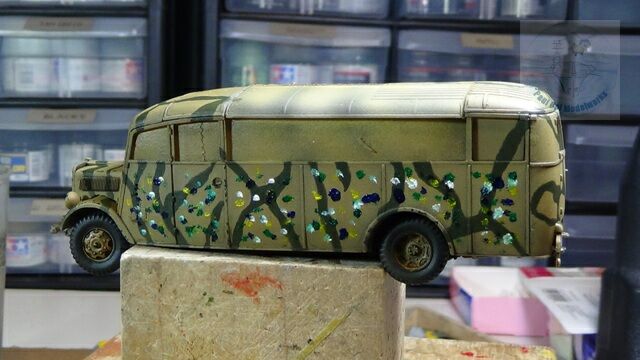
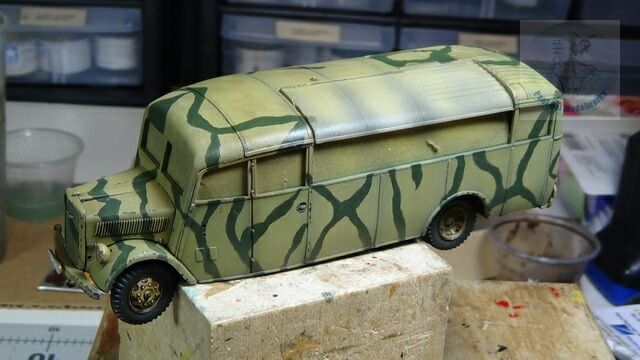
This time I tried the oil paint filter method, first applying dots of Cadmium Yellow, White, French Blue, Ultramarine Green, only to wash most of it away with fresh turpenoid. It gives the camouflaged body a unified and blended in look.
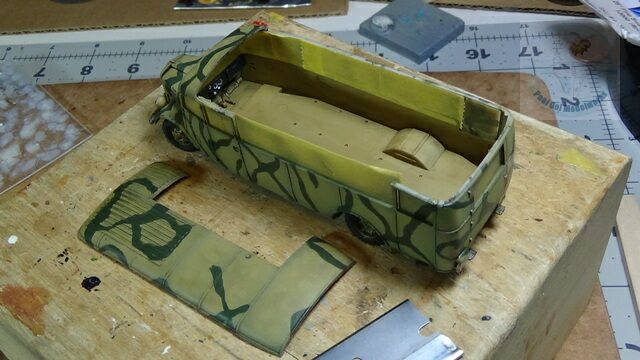
After the camouflage colors have dried. the roof section is carefully removed, to allow access inside the body. Accetate window glazing are installed to the interior.
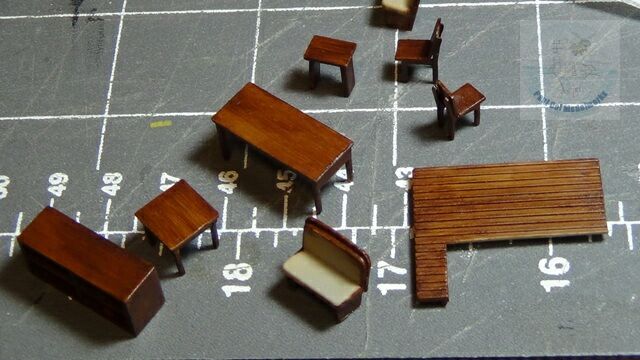
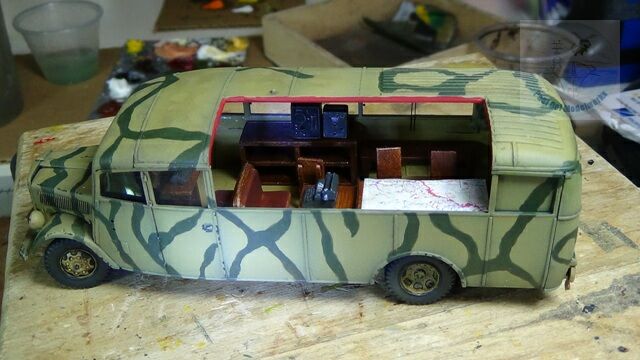
Meanwhile, the wooden furniture had been separately painted, first in Tamiya XF-78 Wooden Deck Tan, then tinted with Burnt Umber. These are carefully ranged inside the bus interior. Radio sets and even a typewriter (what’s that?) are also added in.
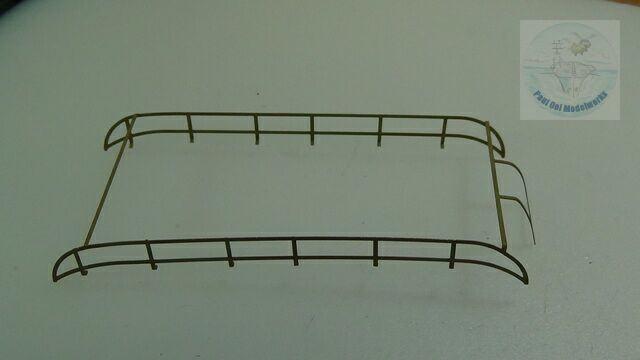
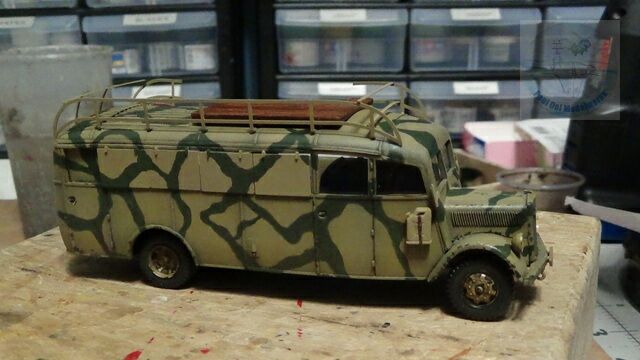
The roof rack is formed(carefully) and added to the bus, together with the rear ladder. Side shileds are also carefully added, painted with camouflage and then given a dark brown oil paint wash again.
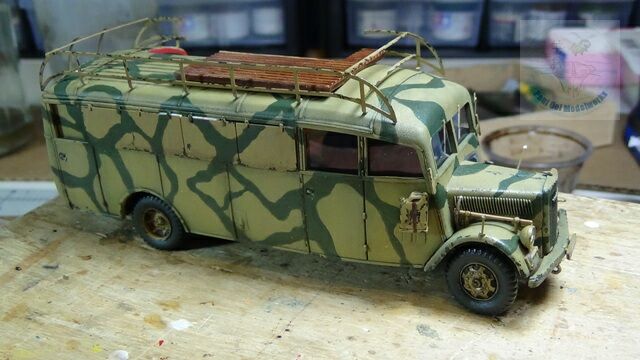
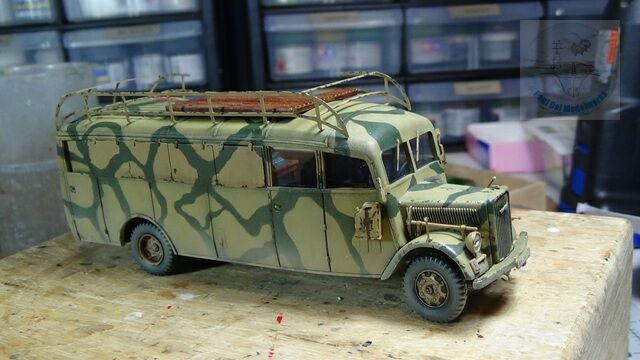
Final details are added like windshield wipers, and then the underside is given a mist of Tamiya XF-58 Buff for the dirt from driving through the desert. A little weathering goes a long way.
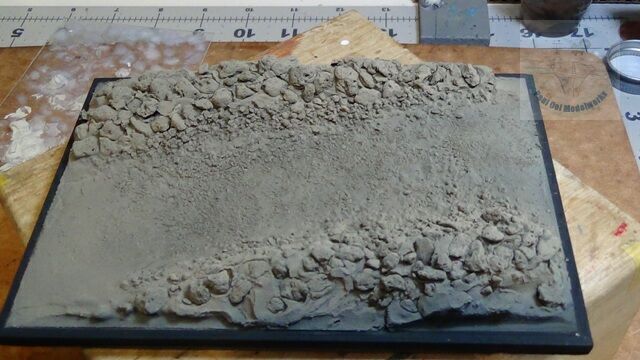
Speaking of the desert, here’s the display base with a narrow road between a rocky desert outcrops. The base was given an undercoat of Tamiya NATO Black followed by Tamiya Buff. This way the rocks retain their shadows and helps to highlight the landscape.


Leave a Reply