
Among America's weapons deployed against the insurgents in Afghanistan and Iraq, one of the most…
A10 Warthog “Black Snake” of the Indiana Air National Guard – A Hasegawa Gem
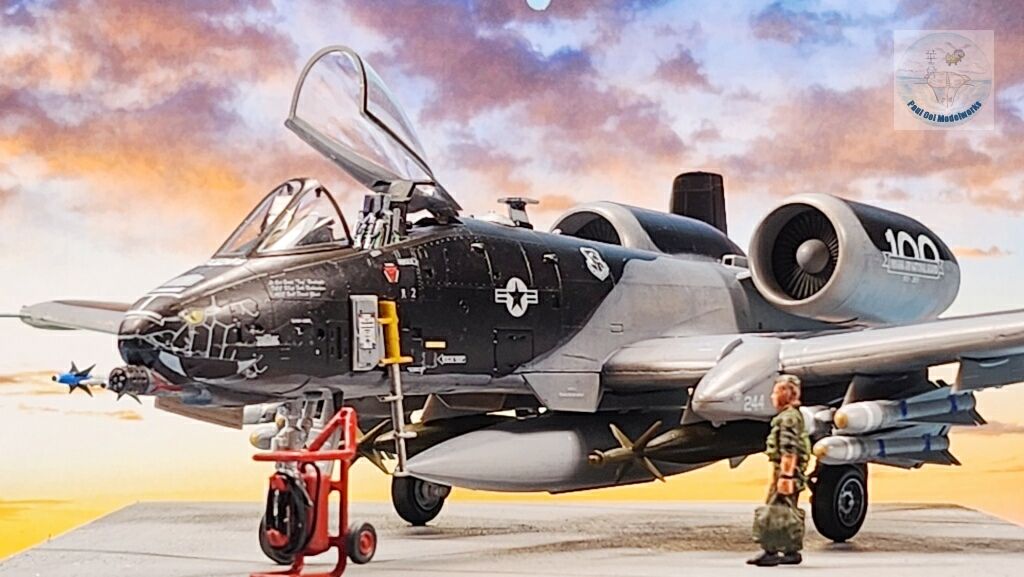
The A10 Warthog is truly an icon of the ground attack aircraft world. It’s official name is the Fairchild Republic A10 Thunderbolt II, but most people just prefer the Warthog or simply Hog. The aircraft first rolled out of the production line in 1976 and immediately attracted attention for its unconventional shape, in a time when air force jets were looking more streamlined with swept wings and sharp radom tips. Instead the Warthog had features that were a throwback to WW2, with straight wings and twin tails. The aircraft was relatively slow and looked ungainly, but once fully loaded with bombs and Hellfire missiles, the Warthog inflicted hell on earth.
The airframe was literally built around its most devastating weapon, the 30mm GAU-8 Avenger autocannon. This monster gun spat out depleted uranium rounds at a rate of 3900 rounds per minute, being able to put a round into every square foot in a saturation burst. The cockpit and key control compartments were enshrouded in titanium armor for maximum survivability. Thus equipped, the A10 wreaked havoc on ground and sea targets from Bosnia through the Straits of Hormuz recently. The signature engine drone over the battlefield inspires dread and fear in the enemy while bringing relief to friendly troops and allies. Over the years, the aircraft livery started with the three-tone green camouflage, some experimental mottled schemes, and then settling on the dull low-vis USAF Medium Gray for most units.
Gallery
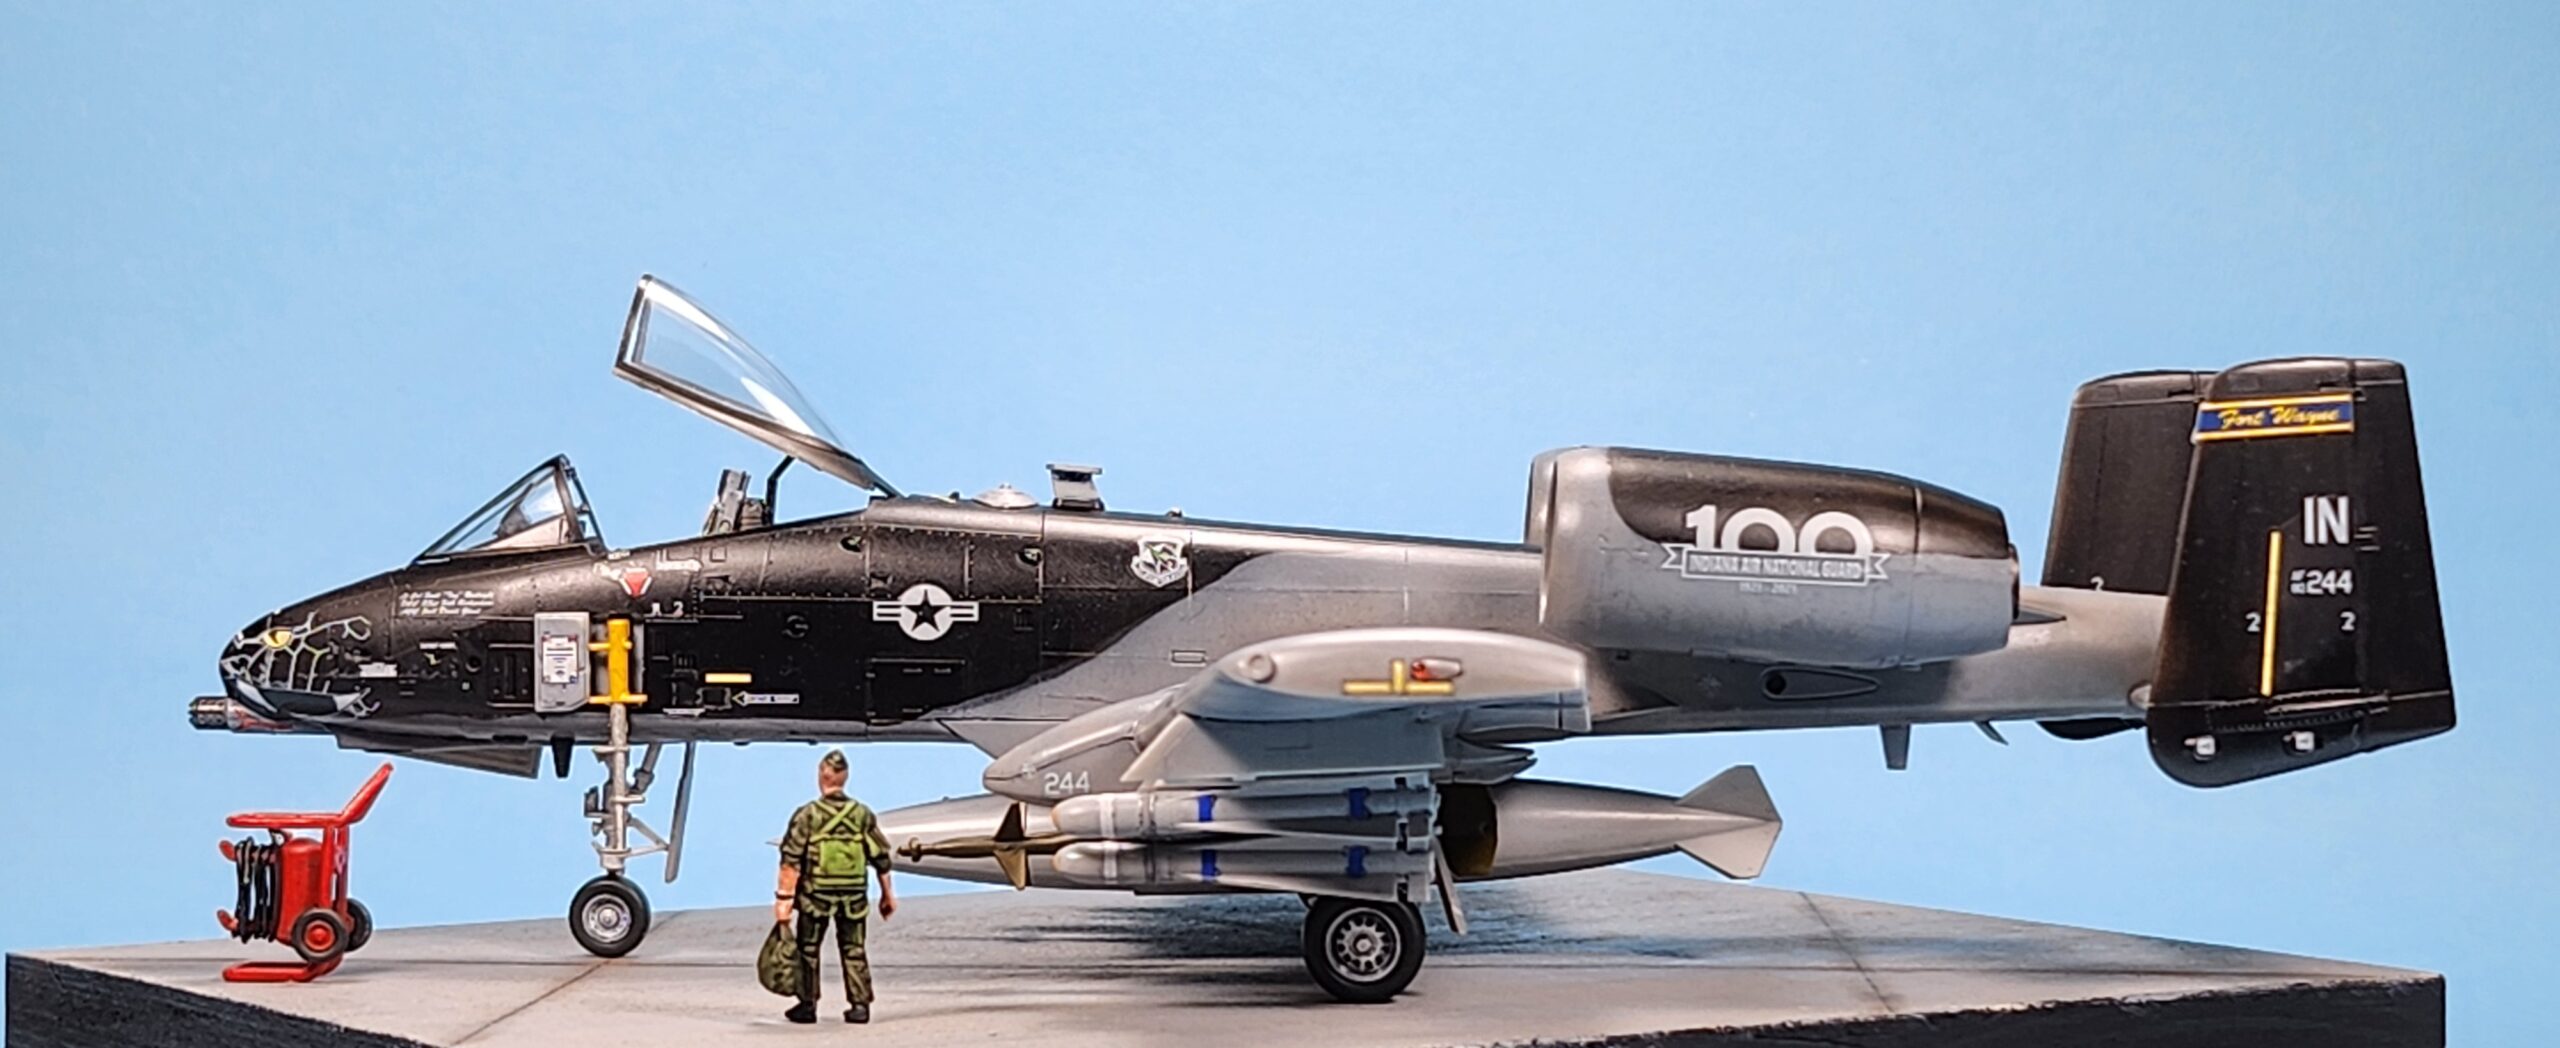
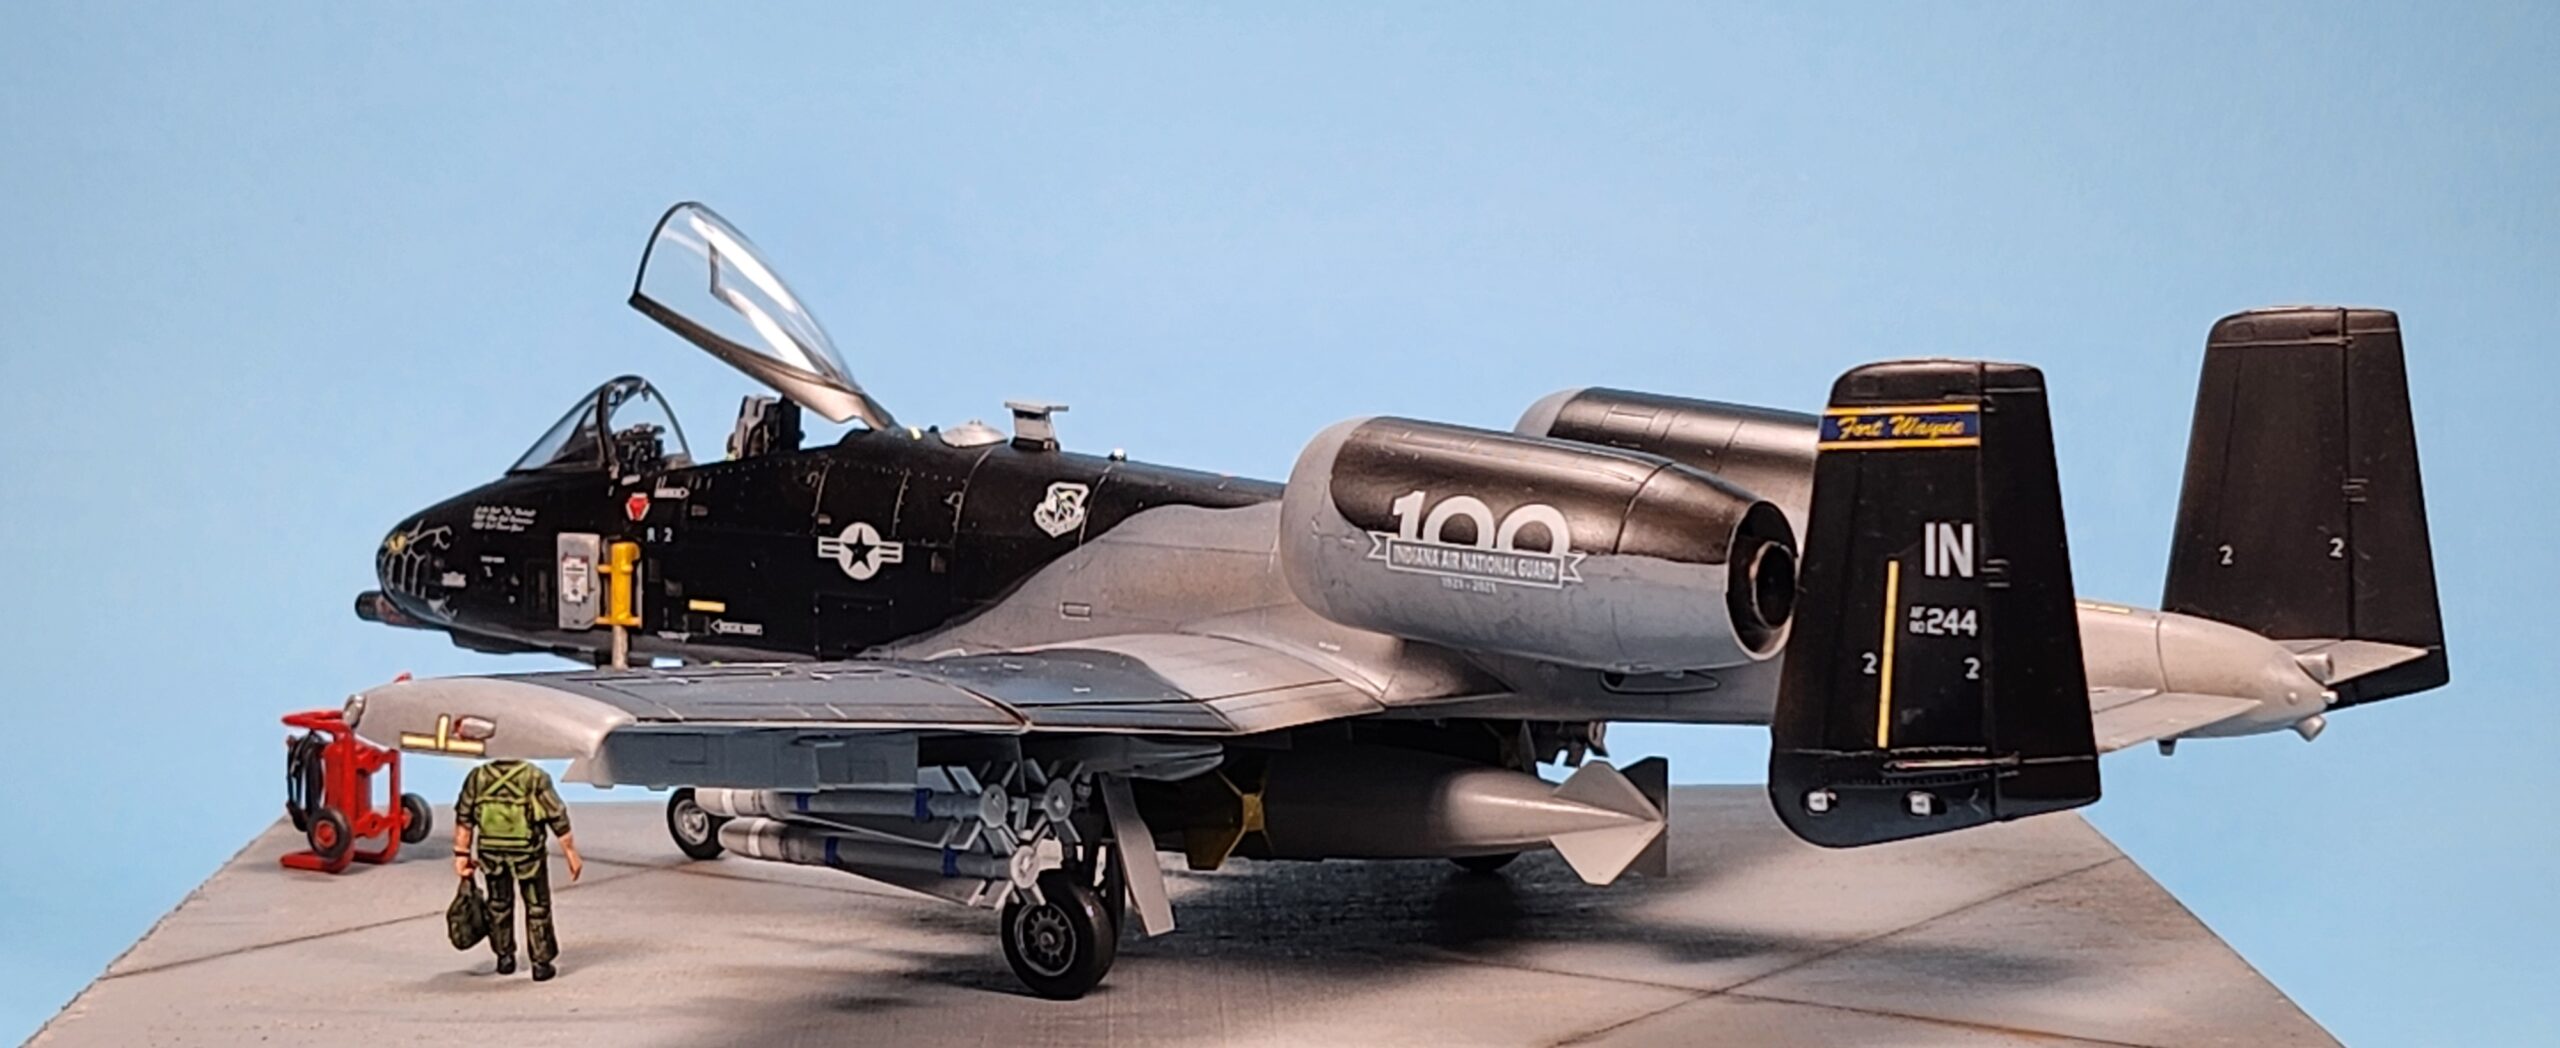
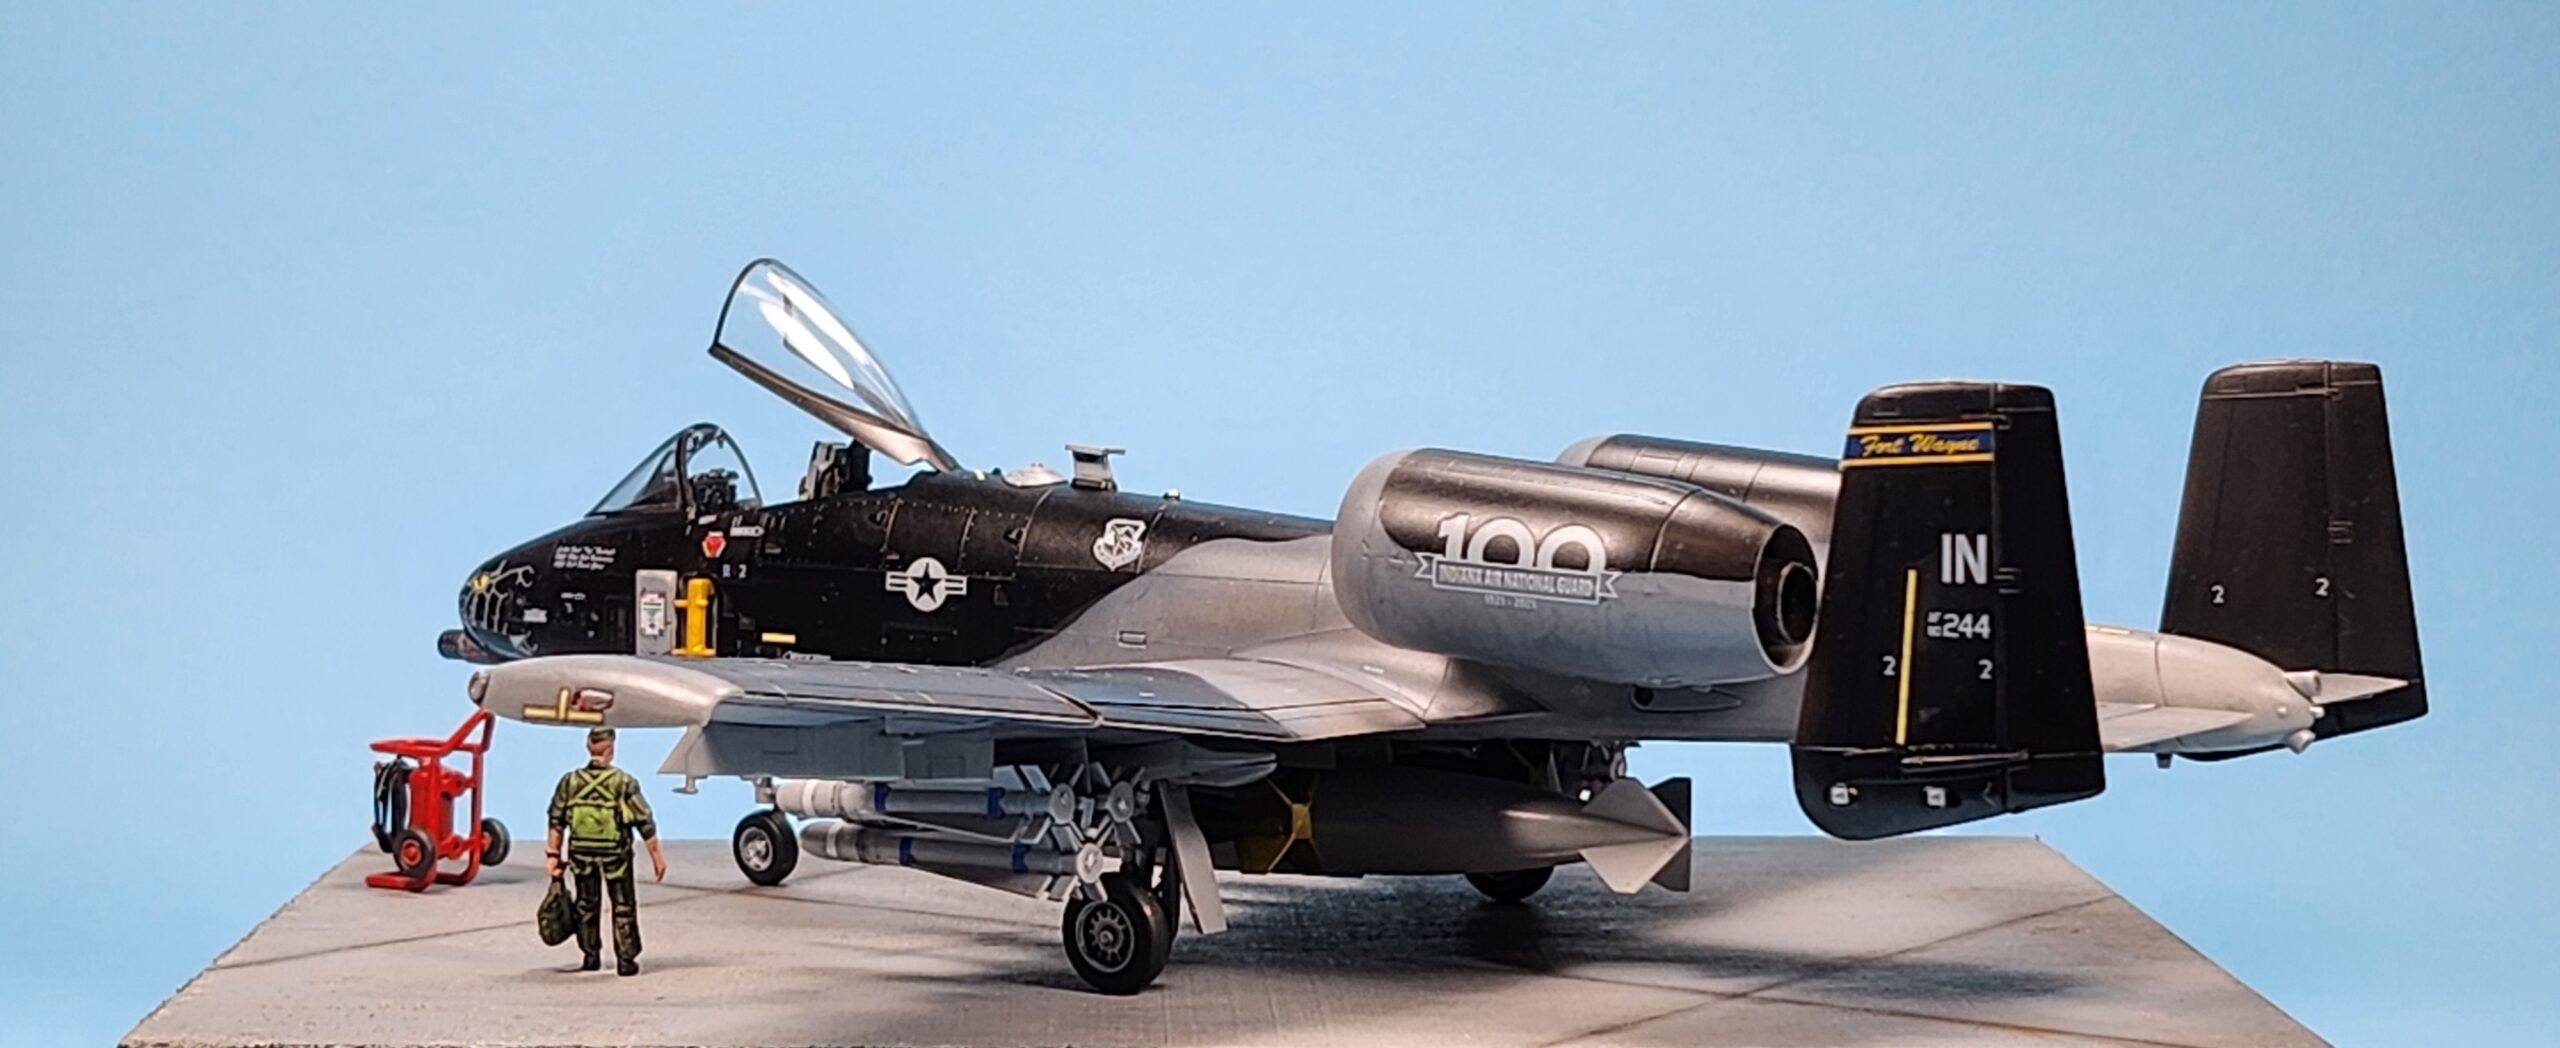
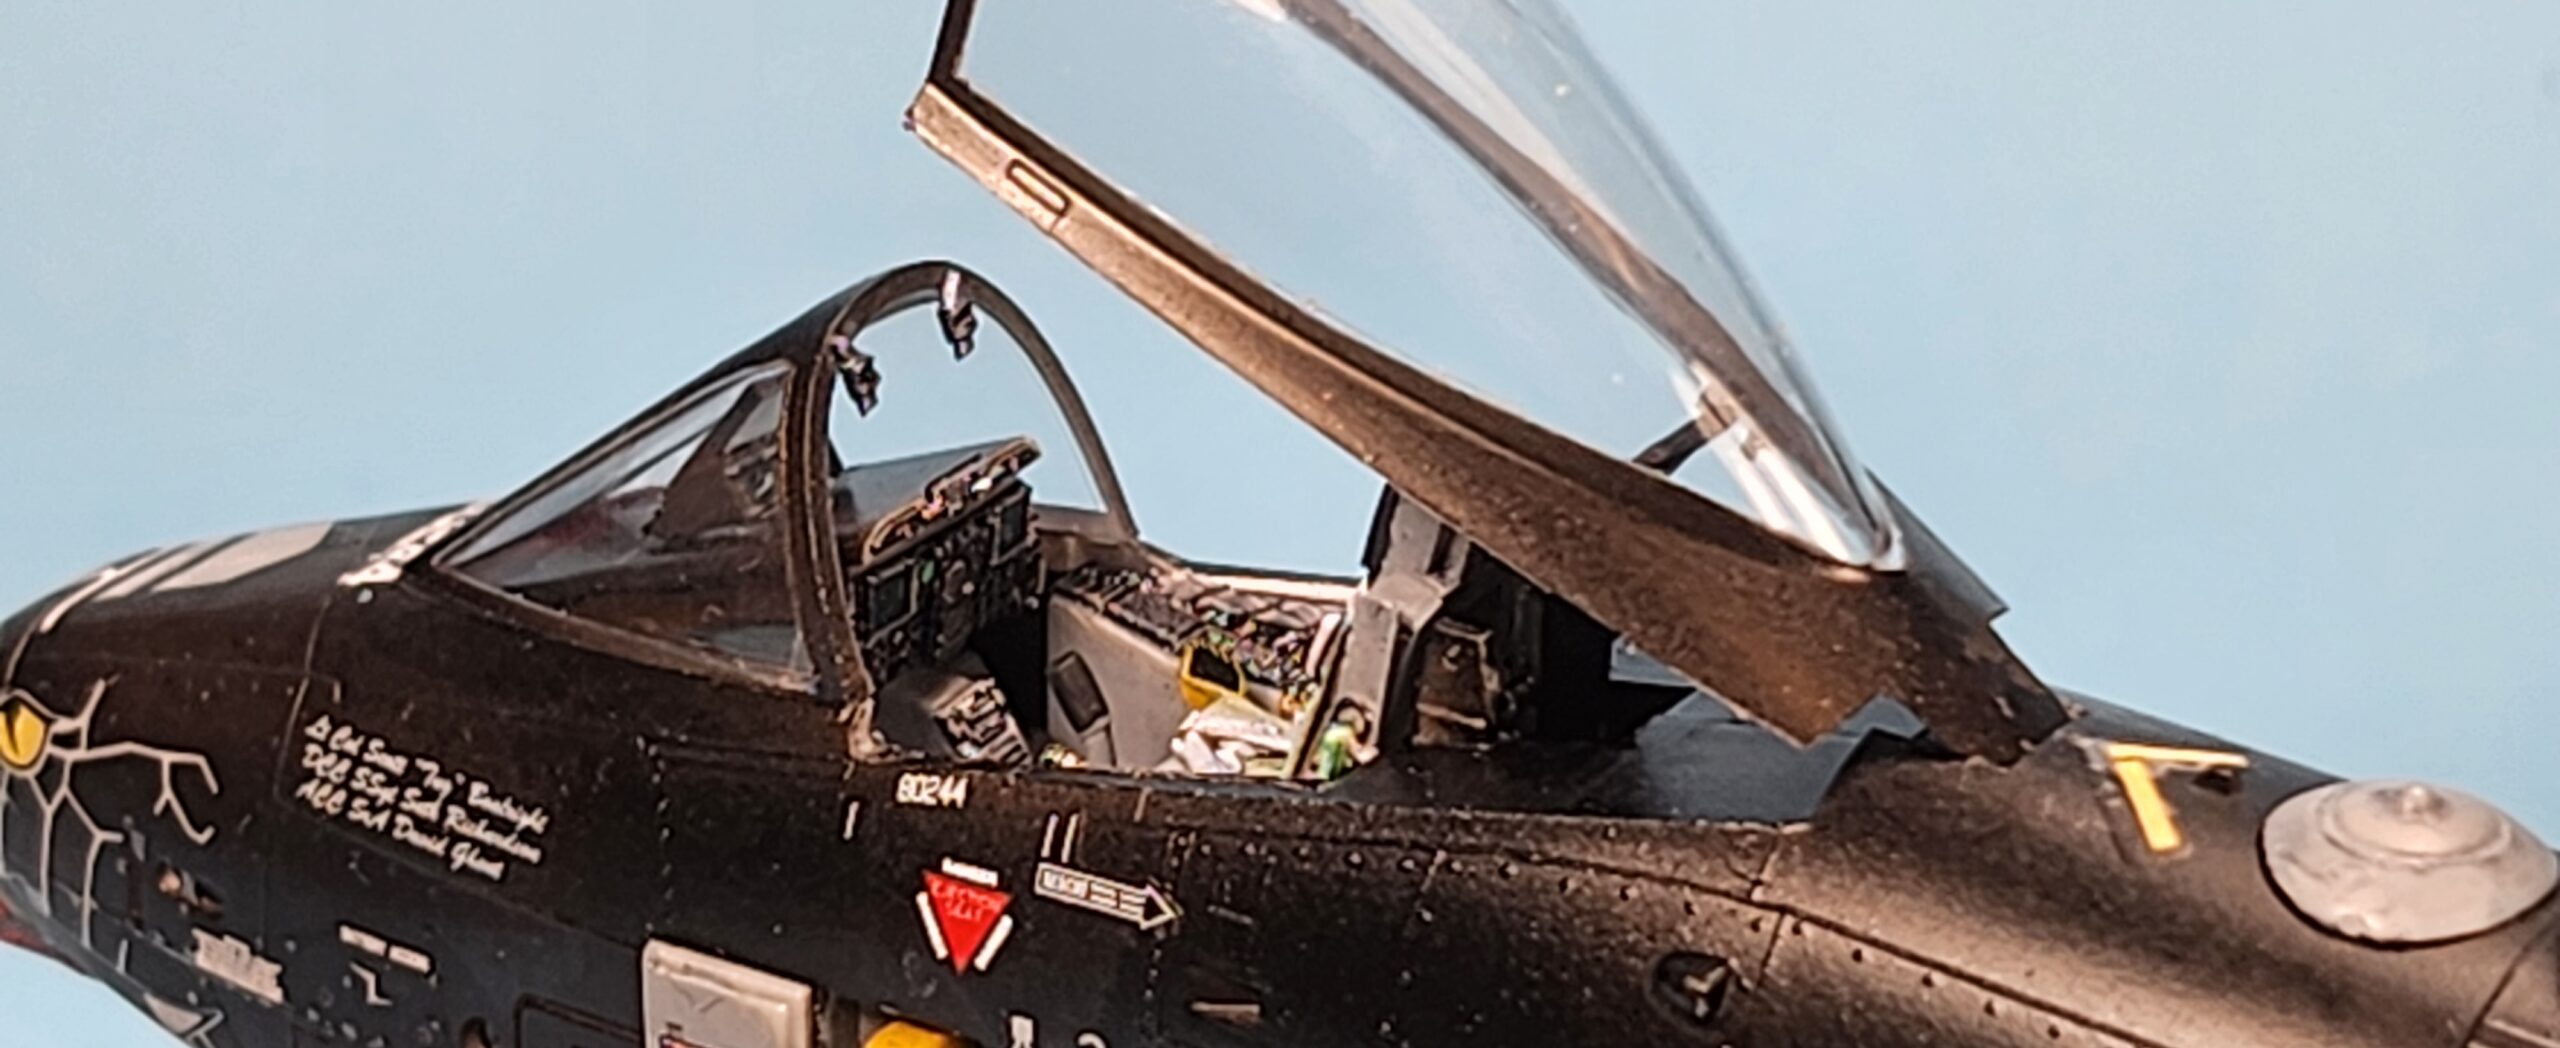
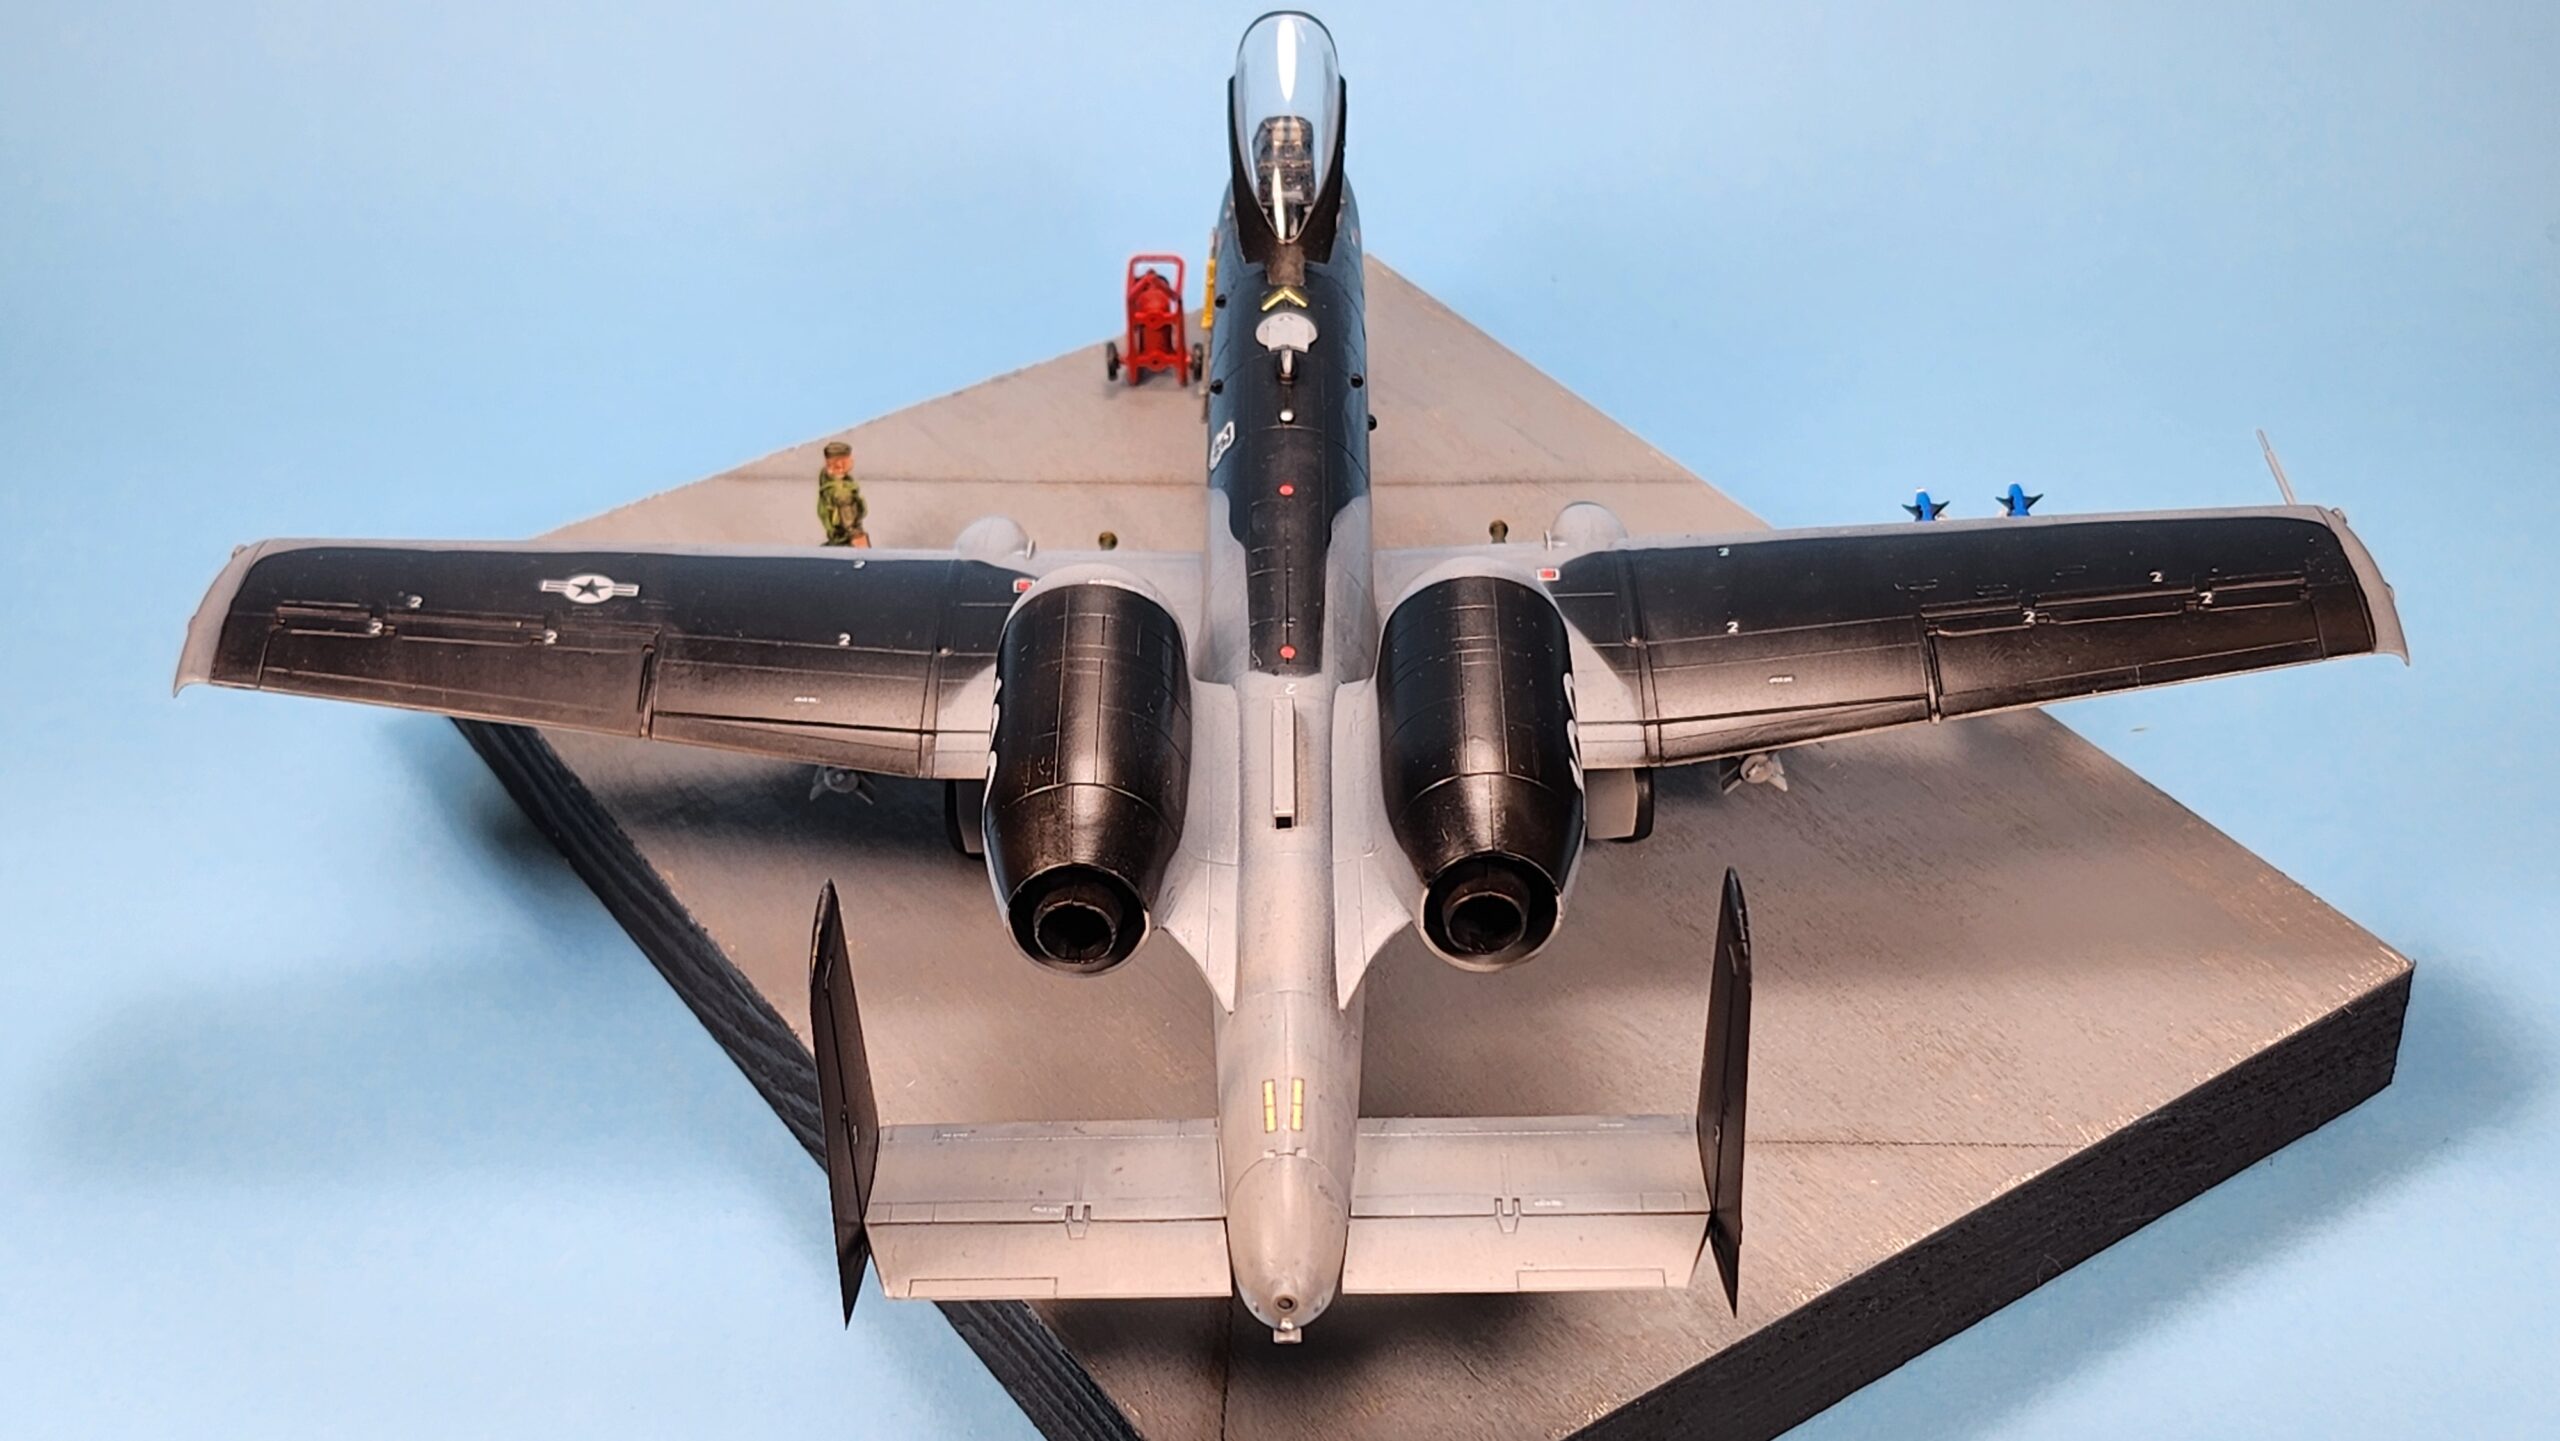
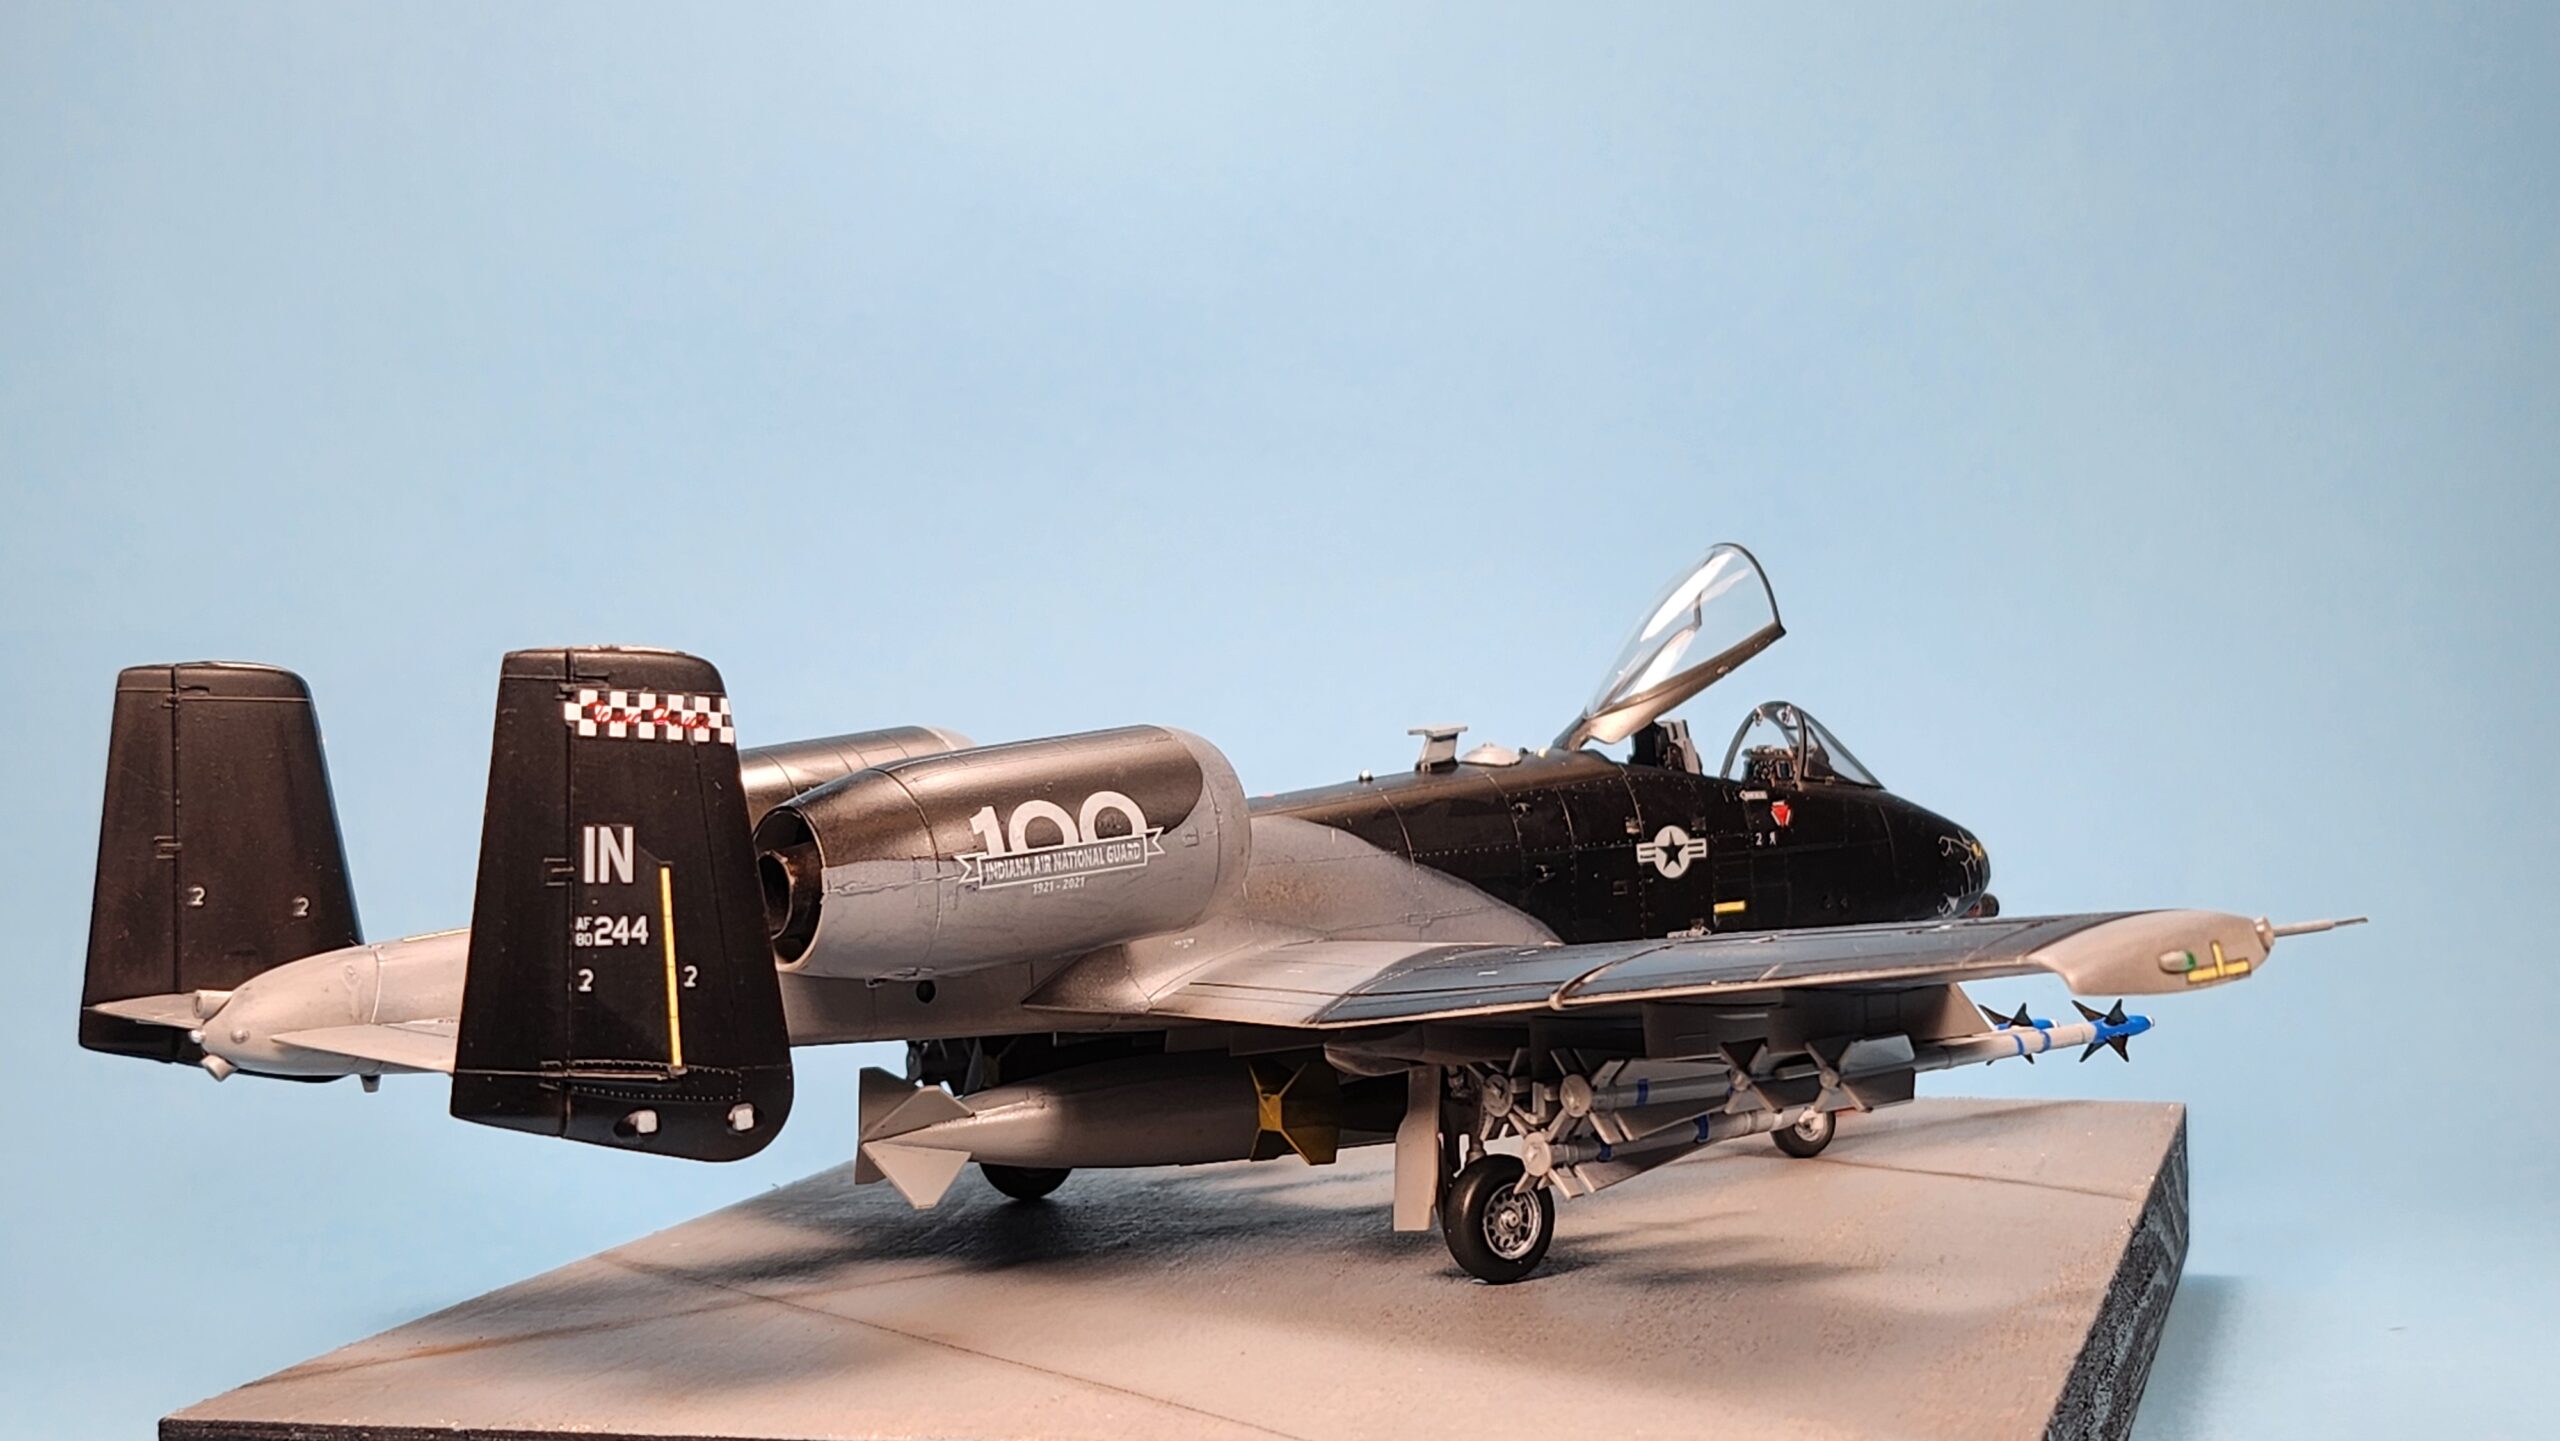
Construction Notes
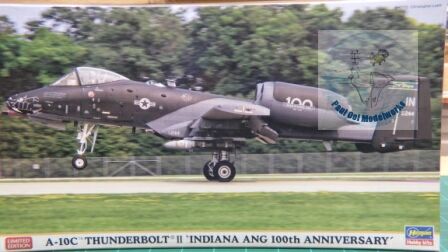
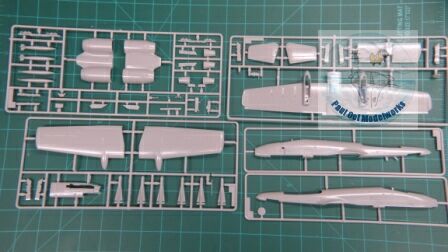
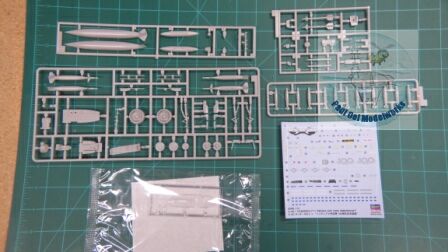
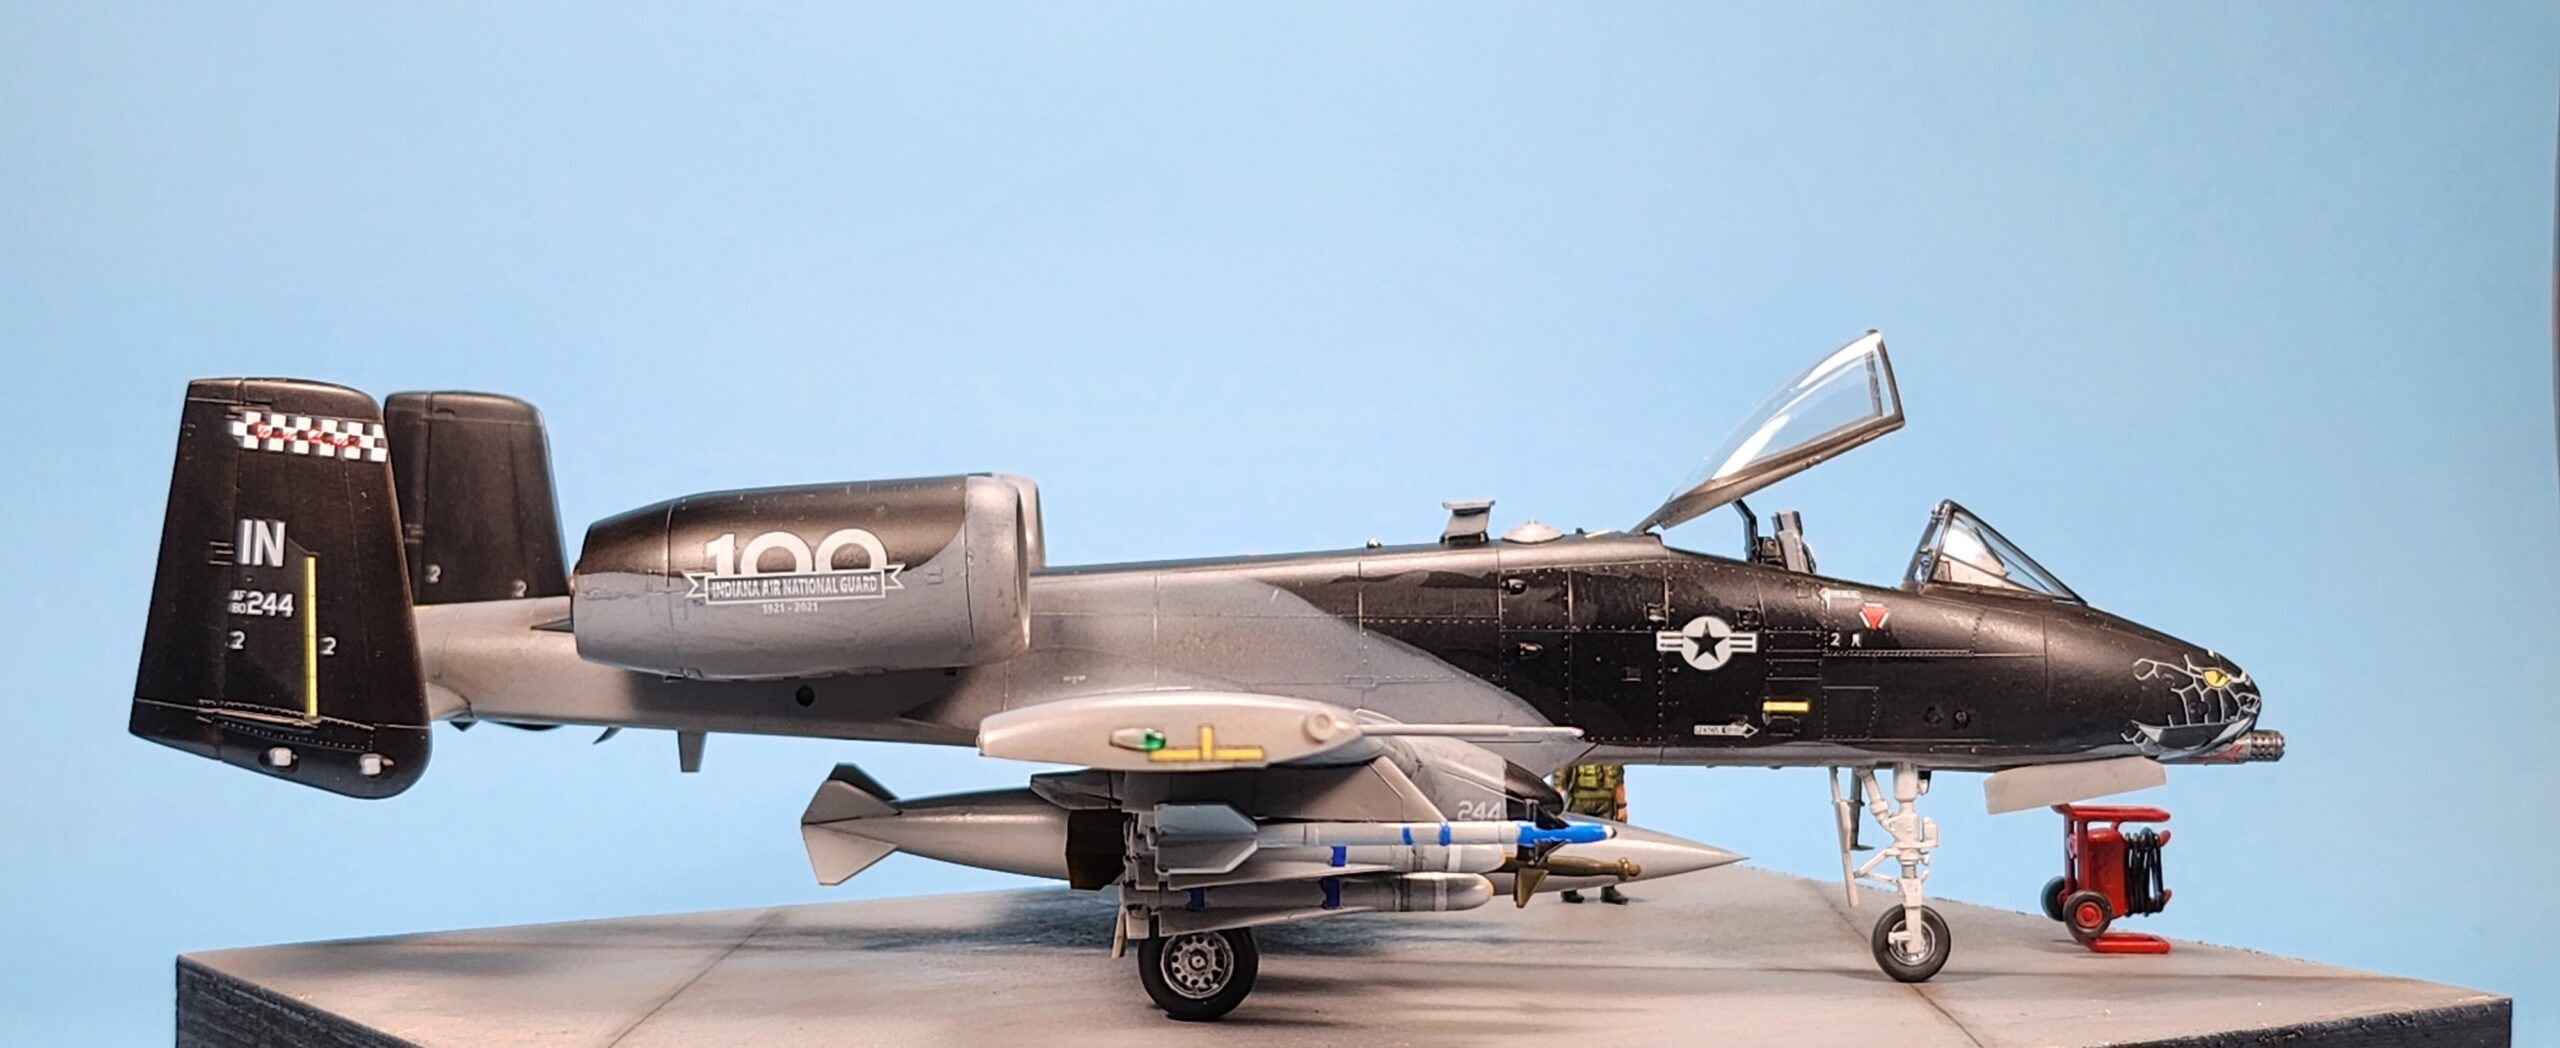
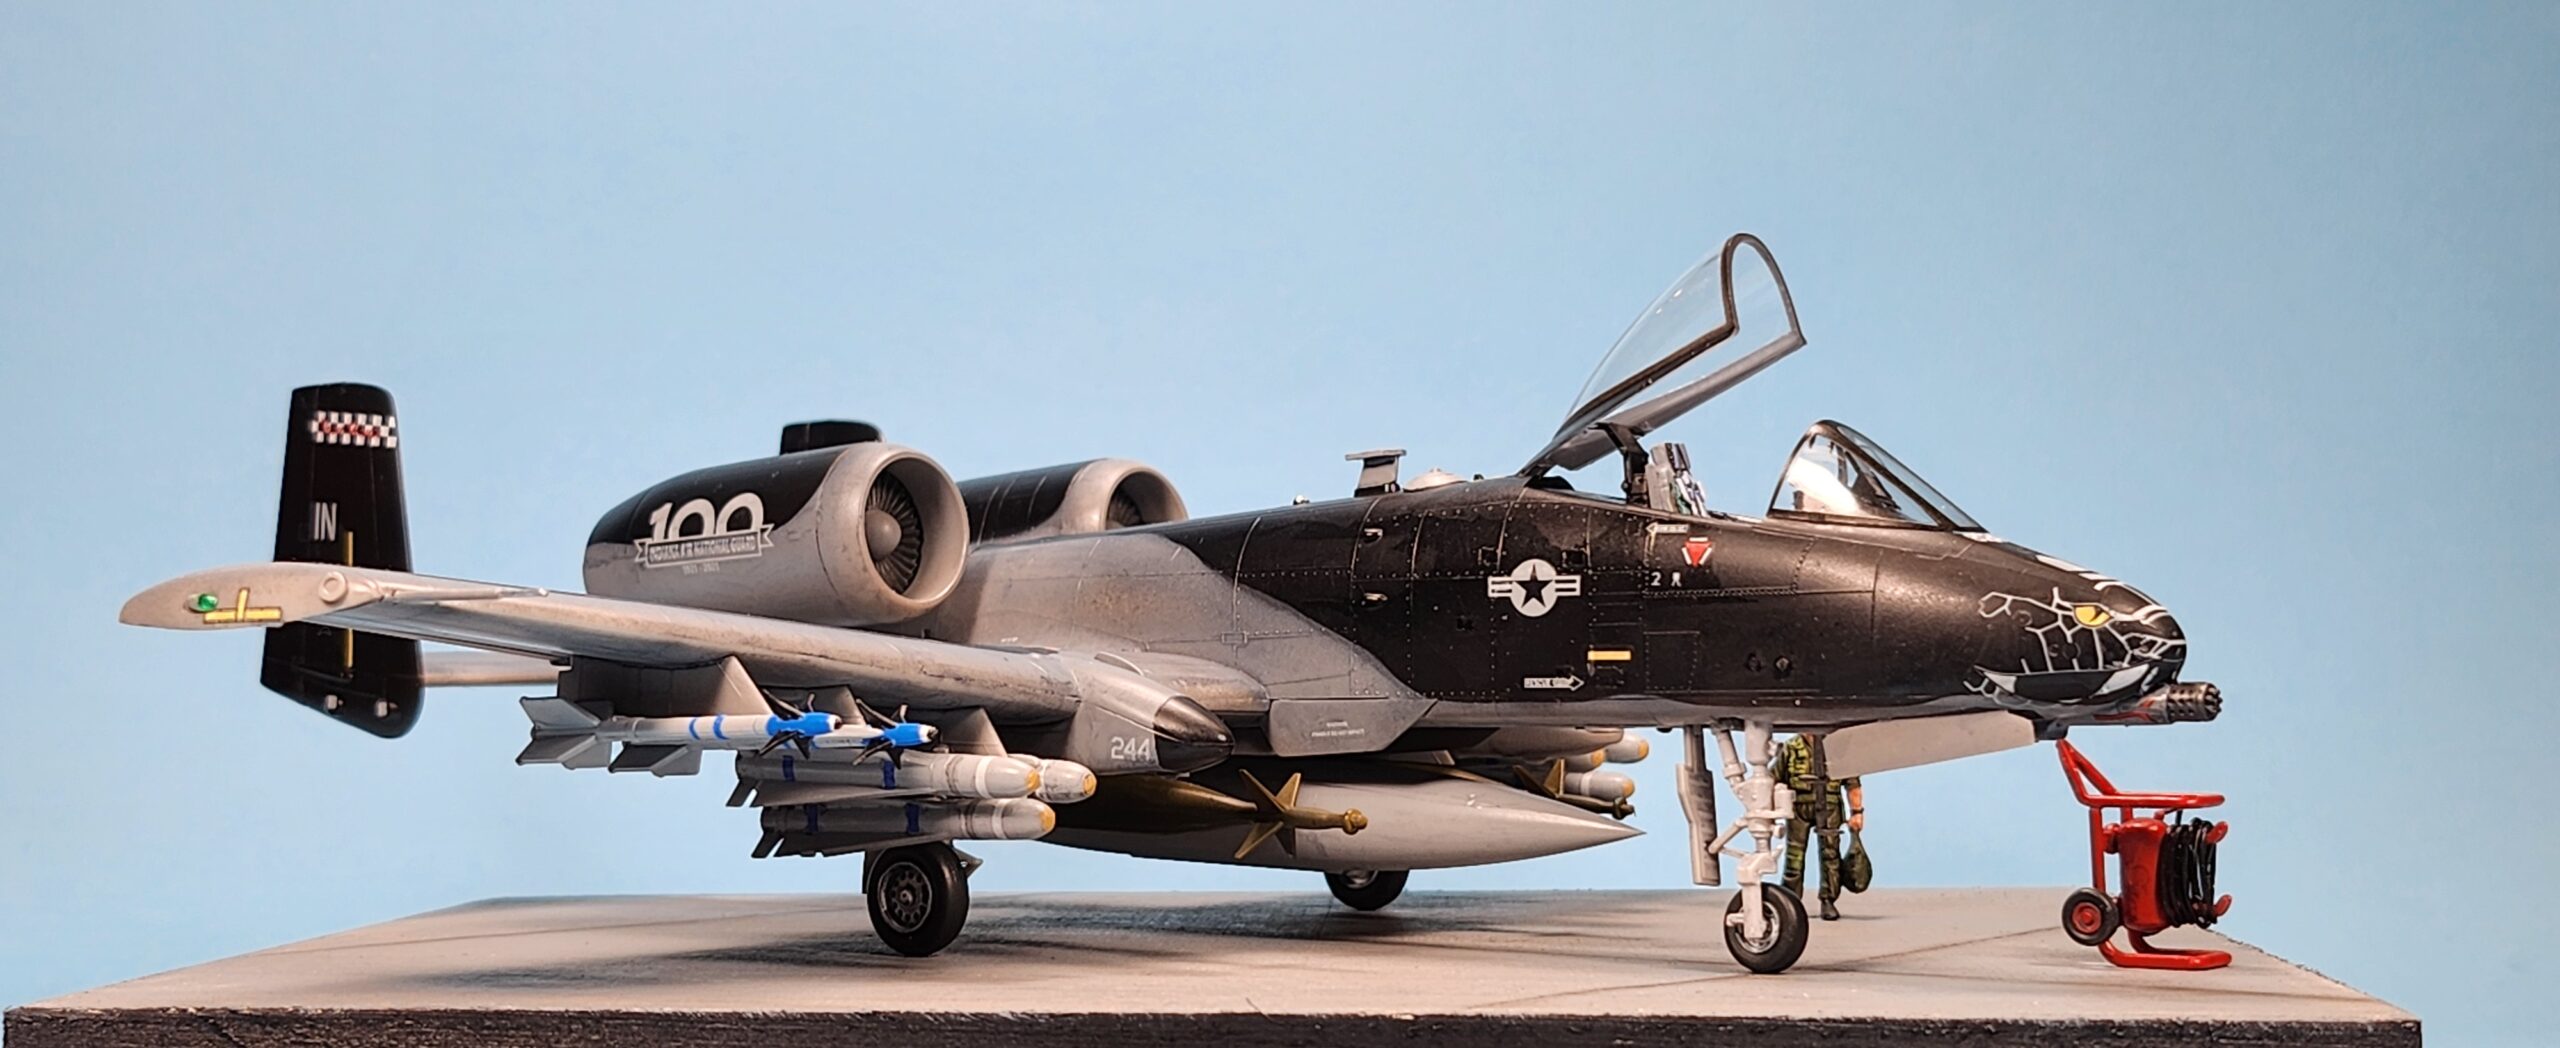
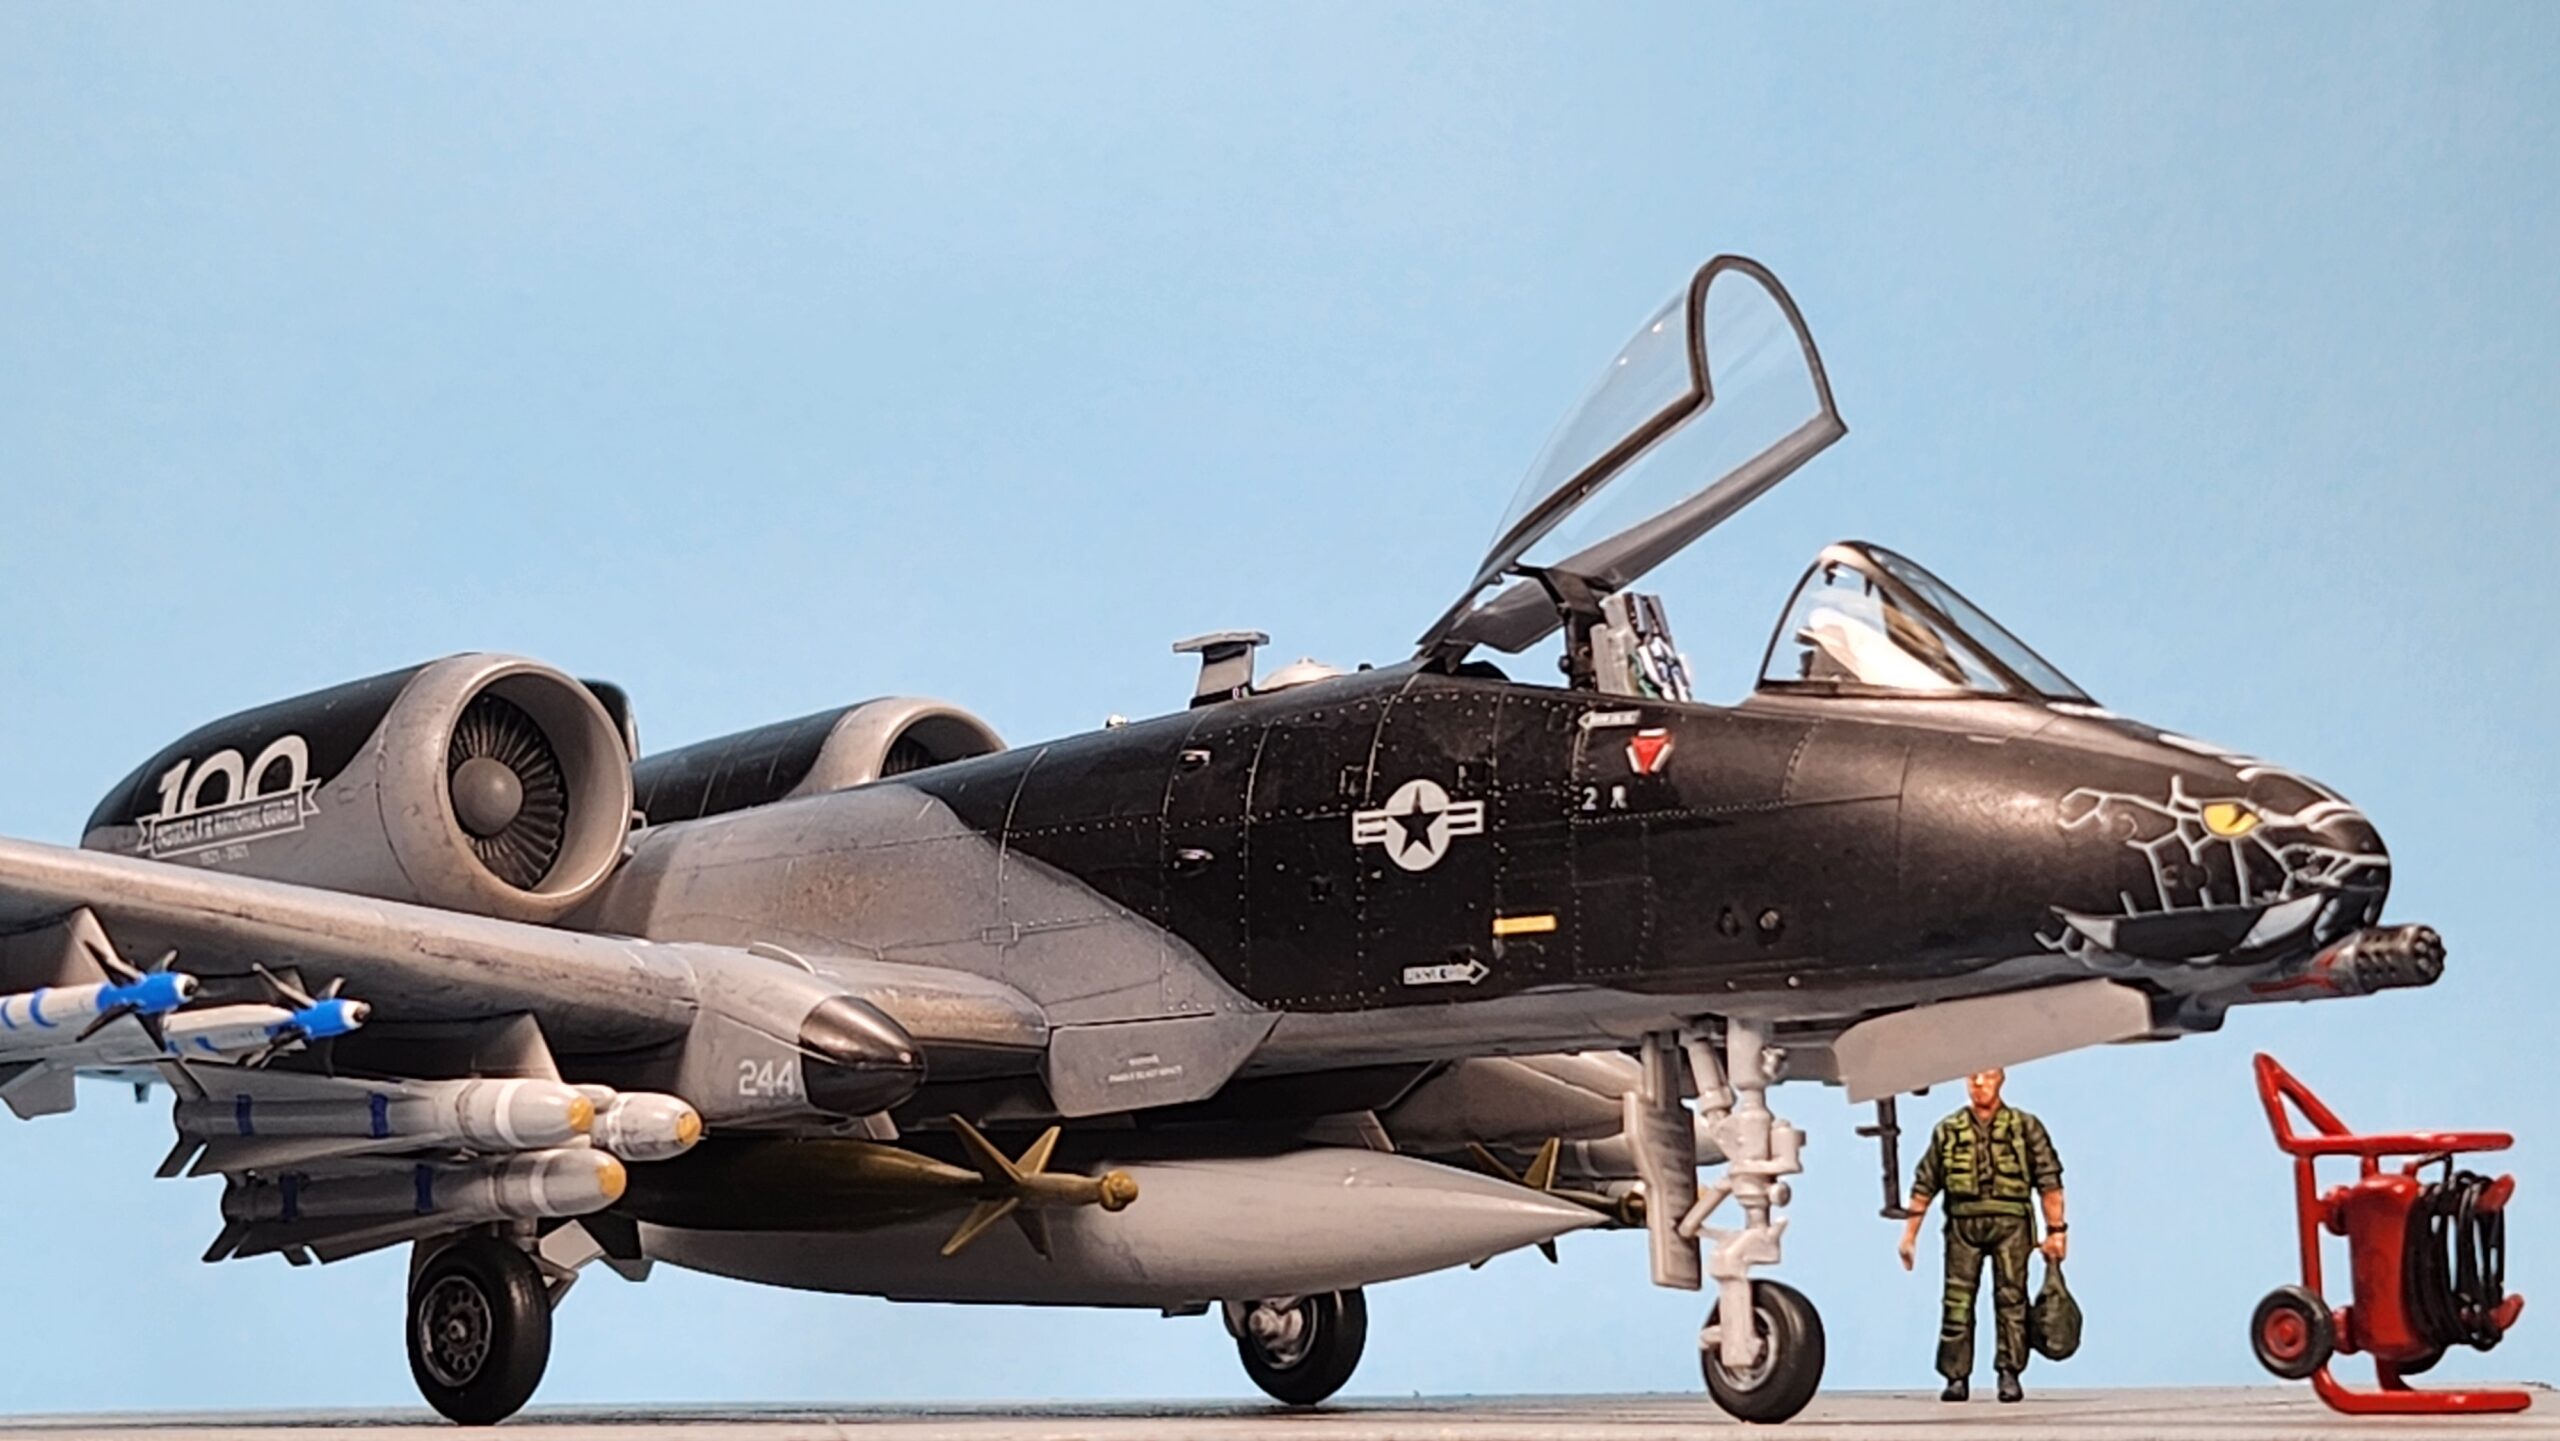
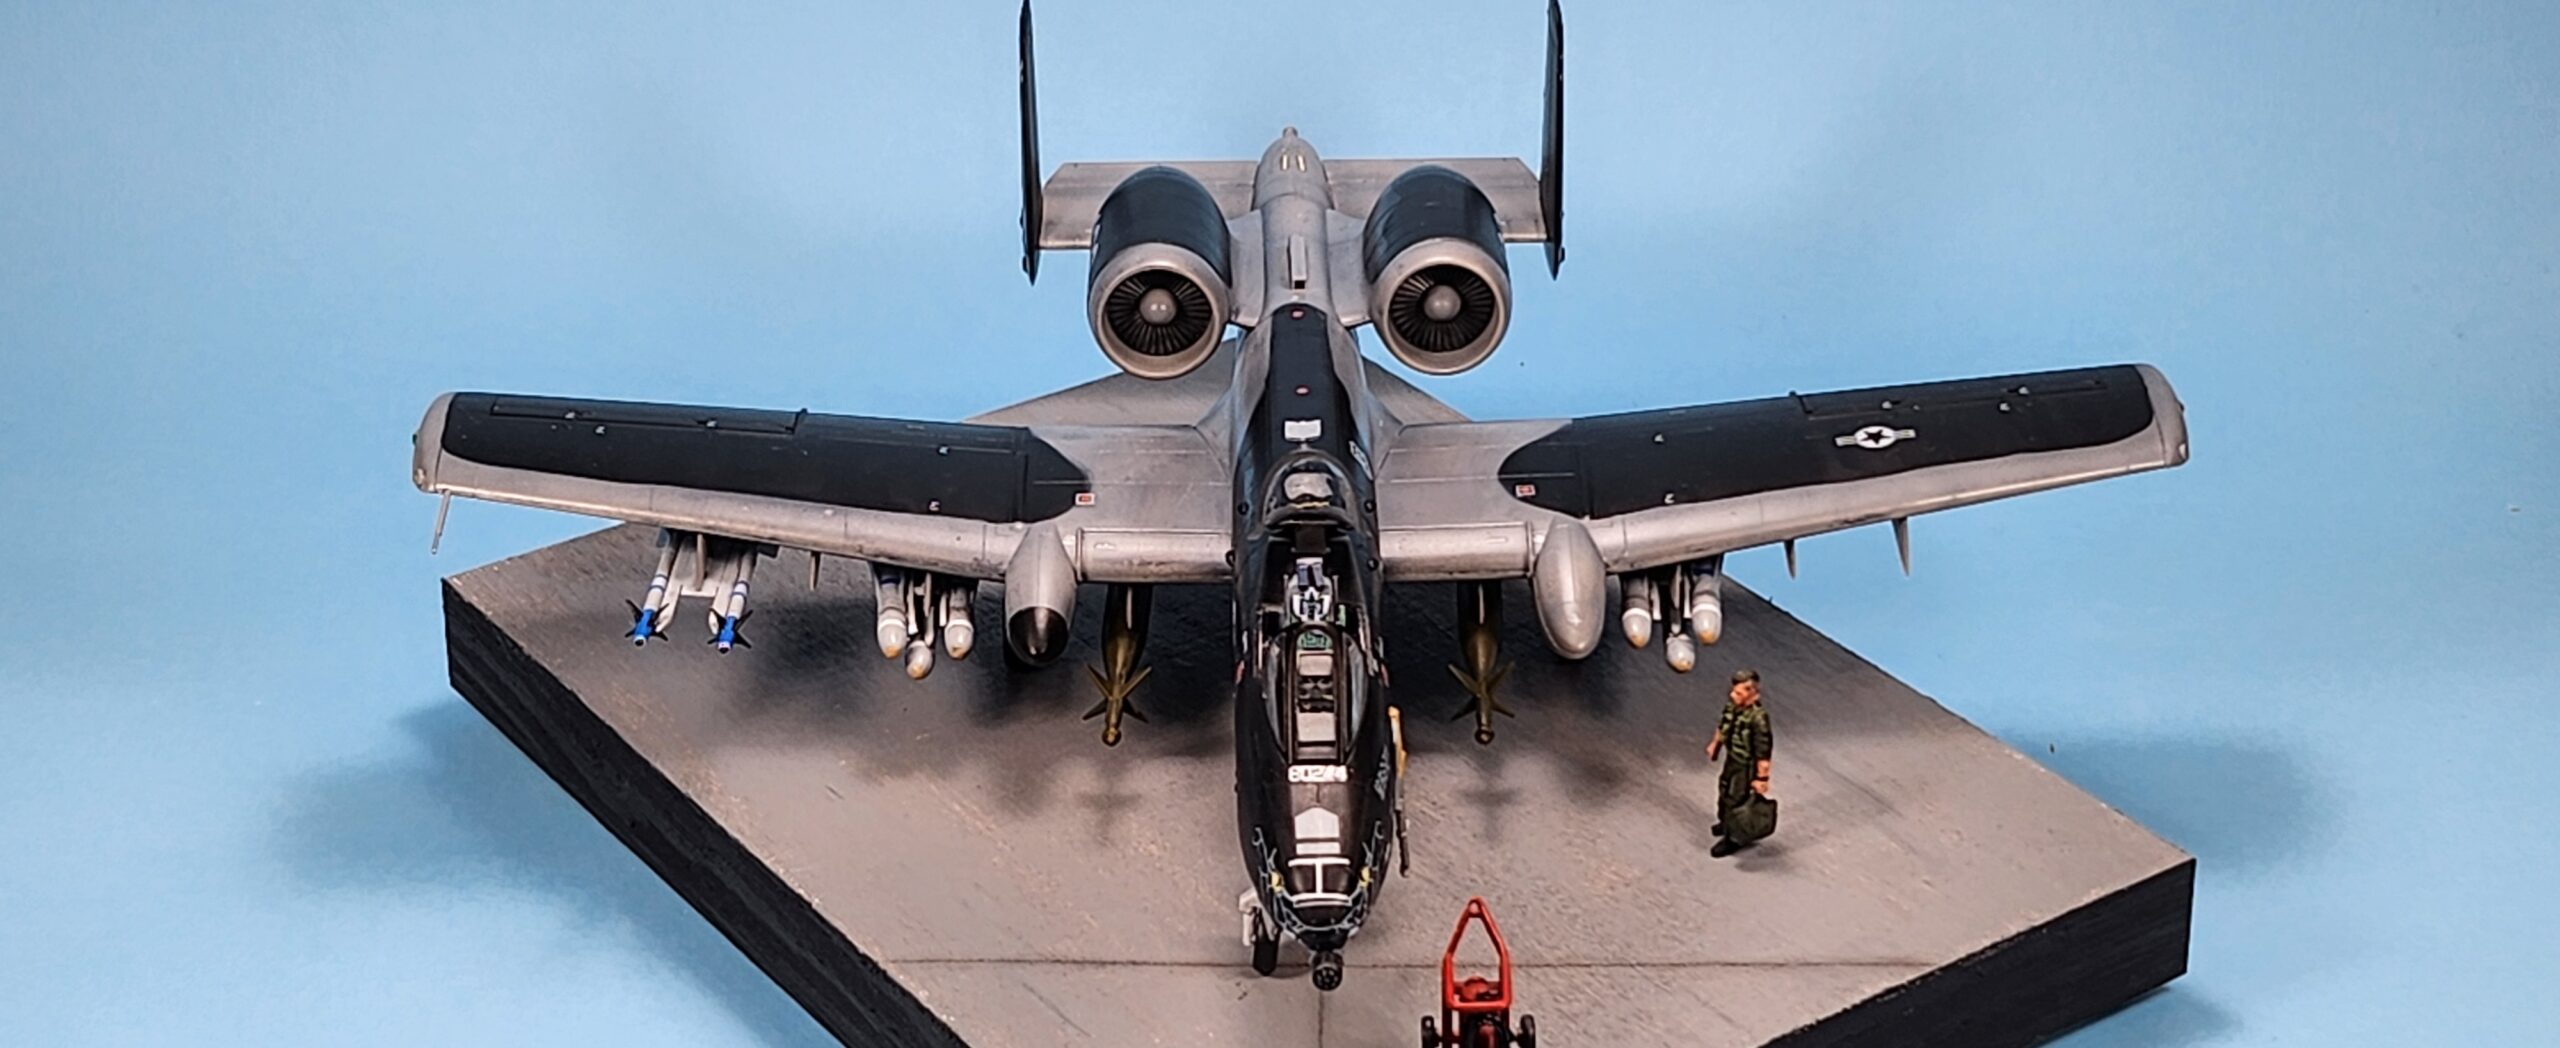
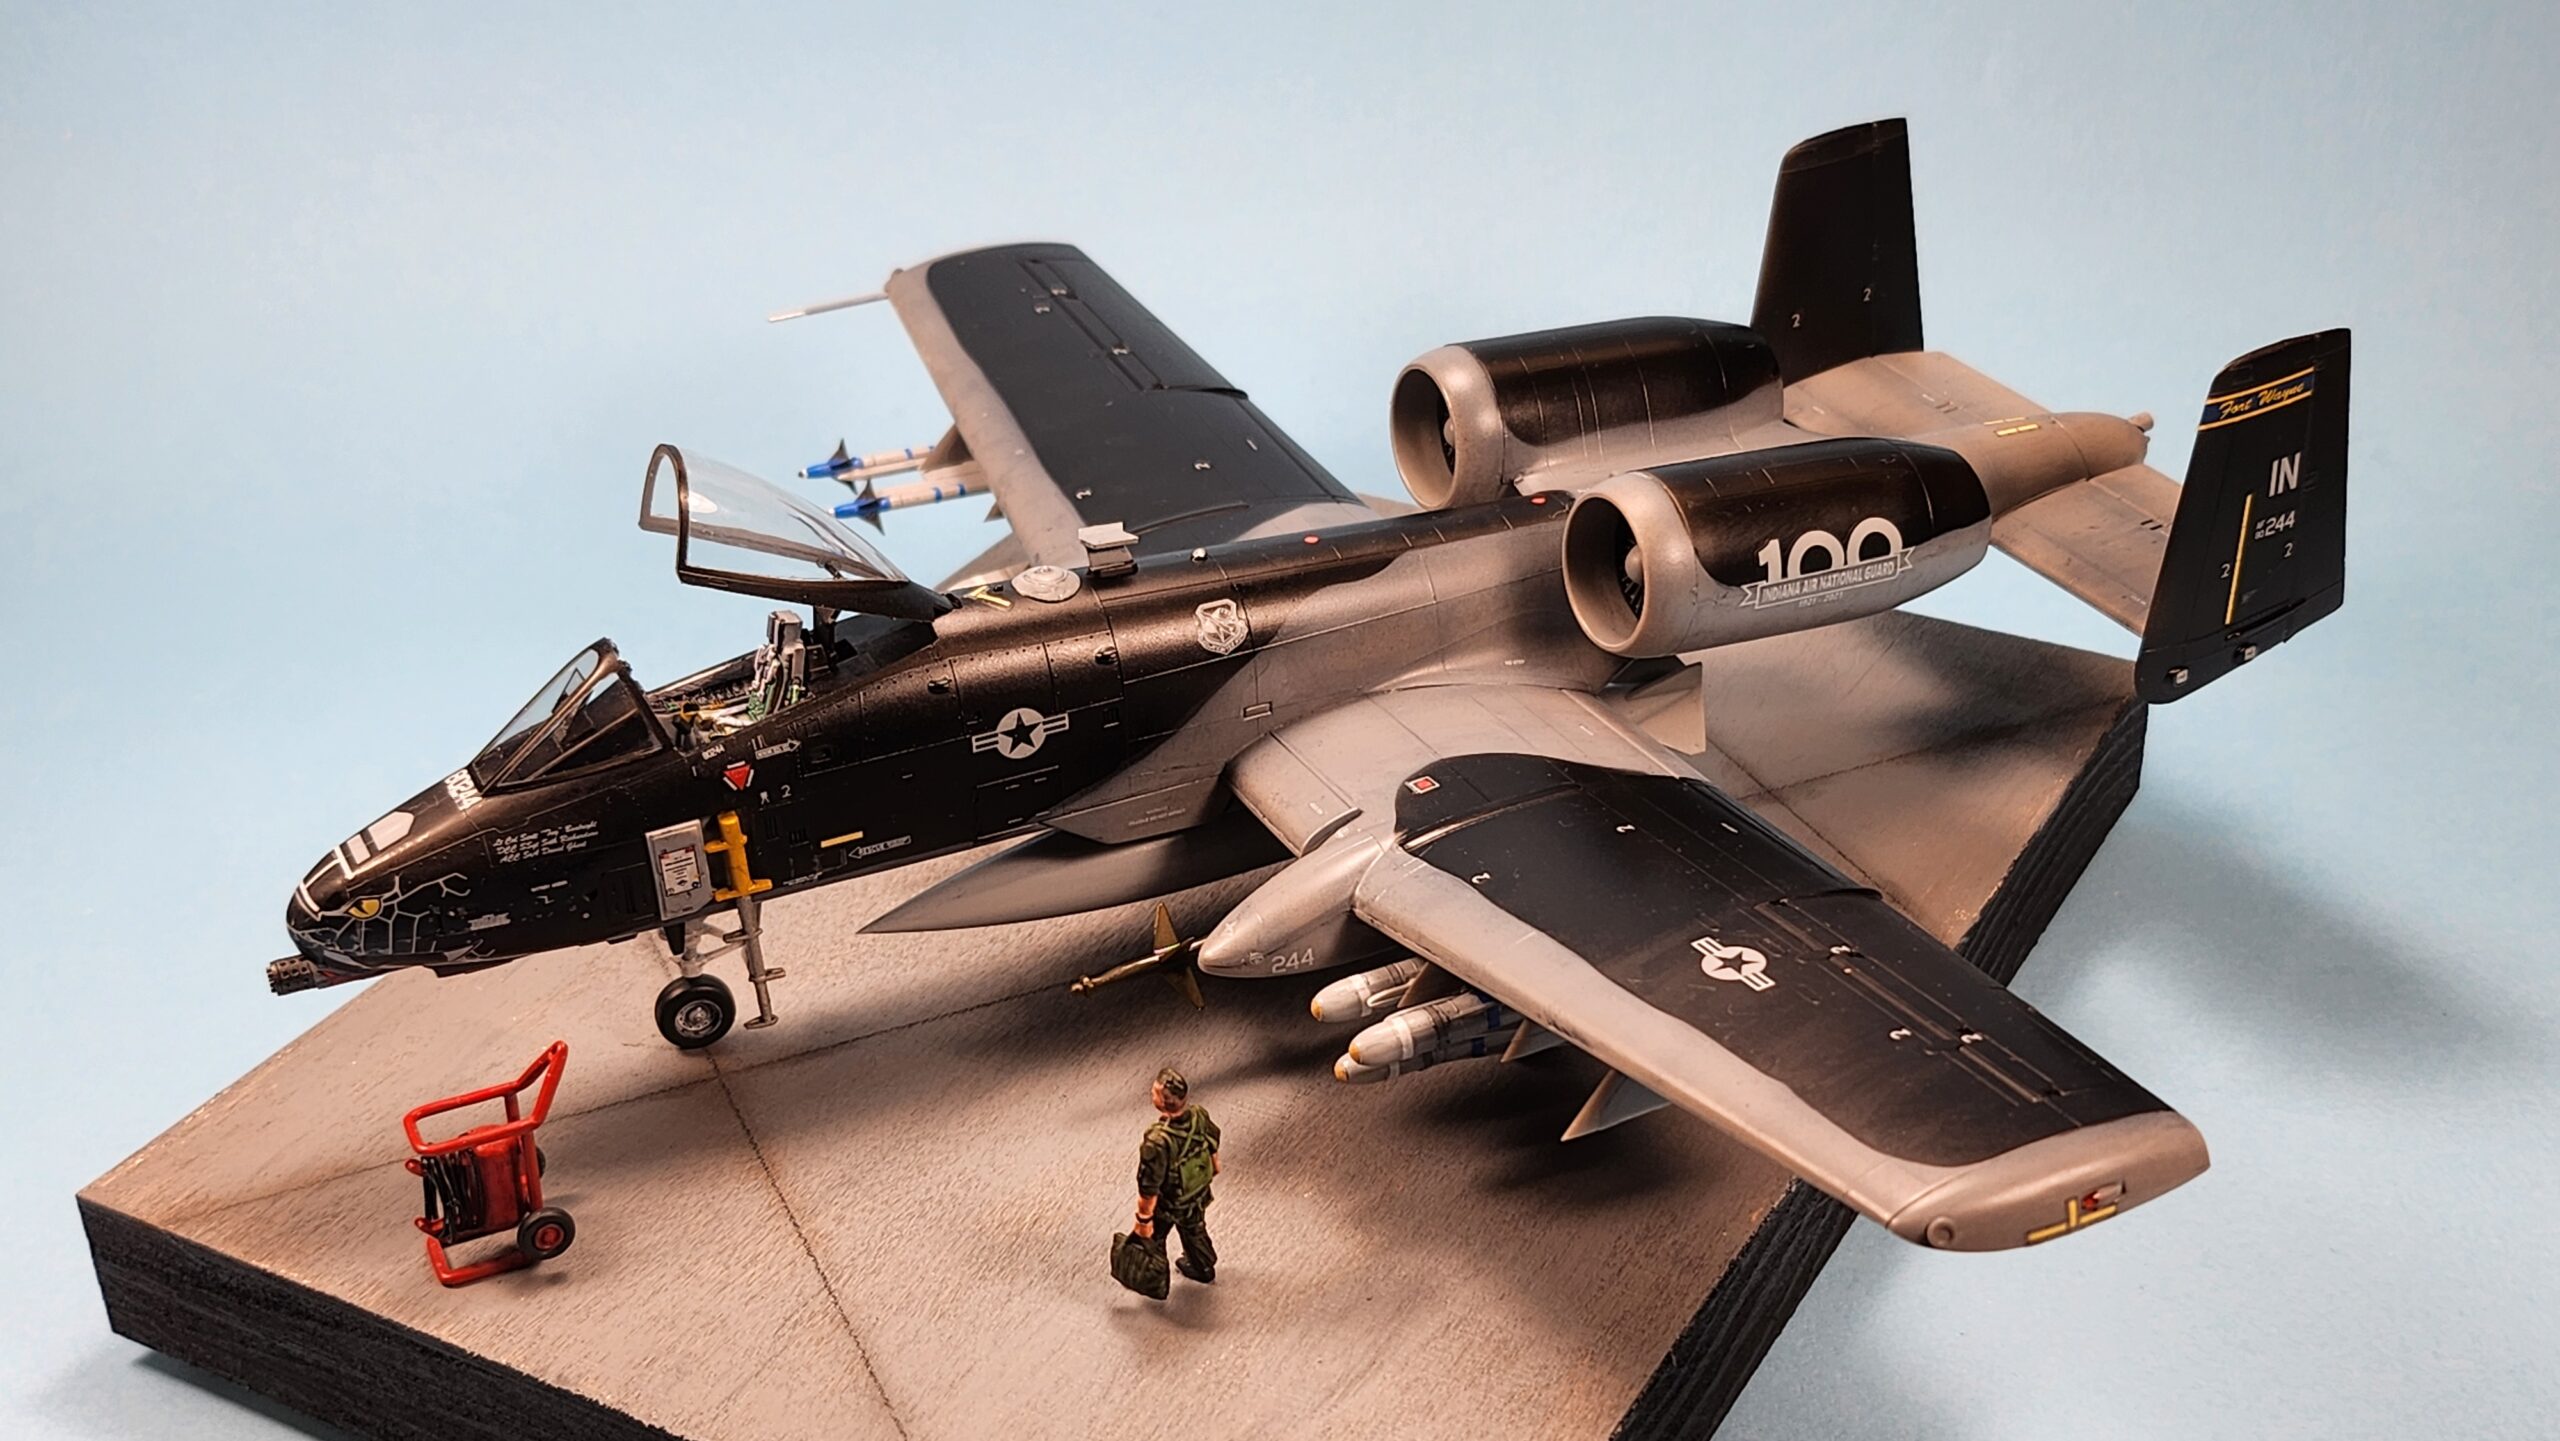
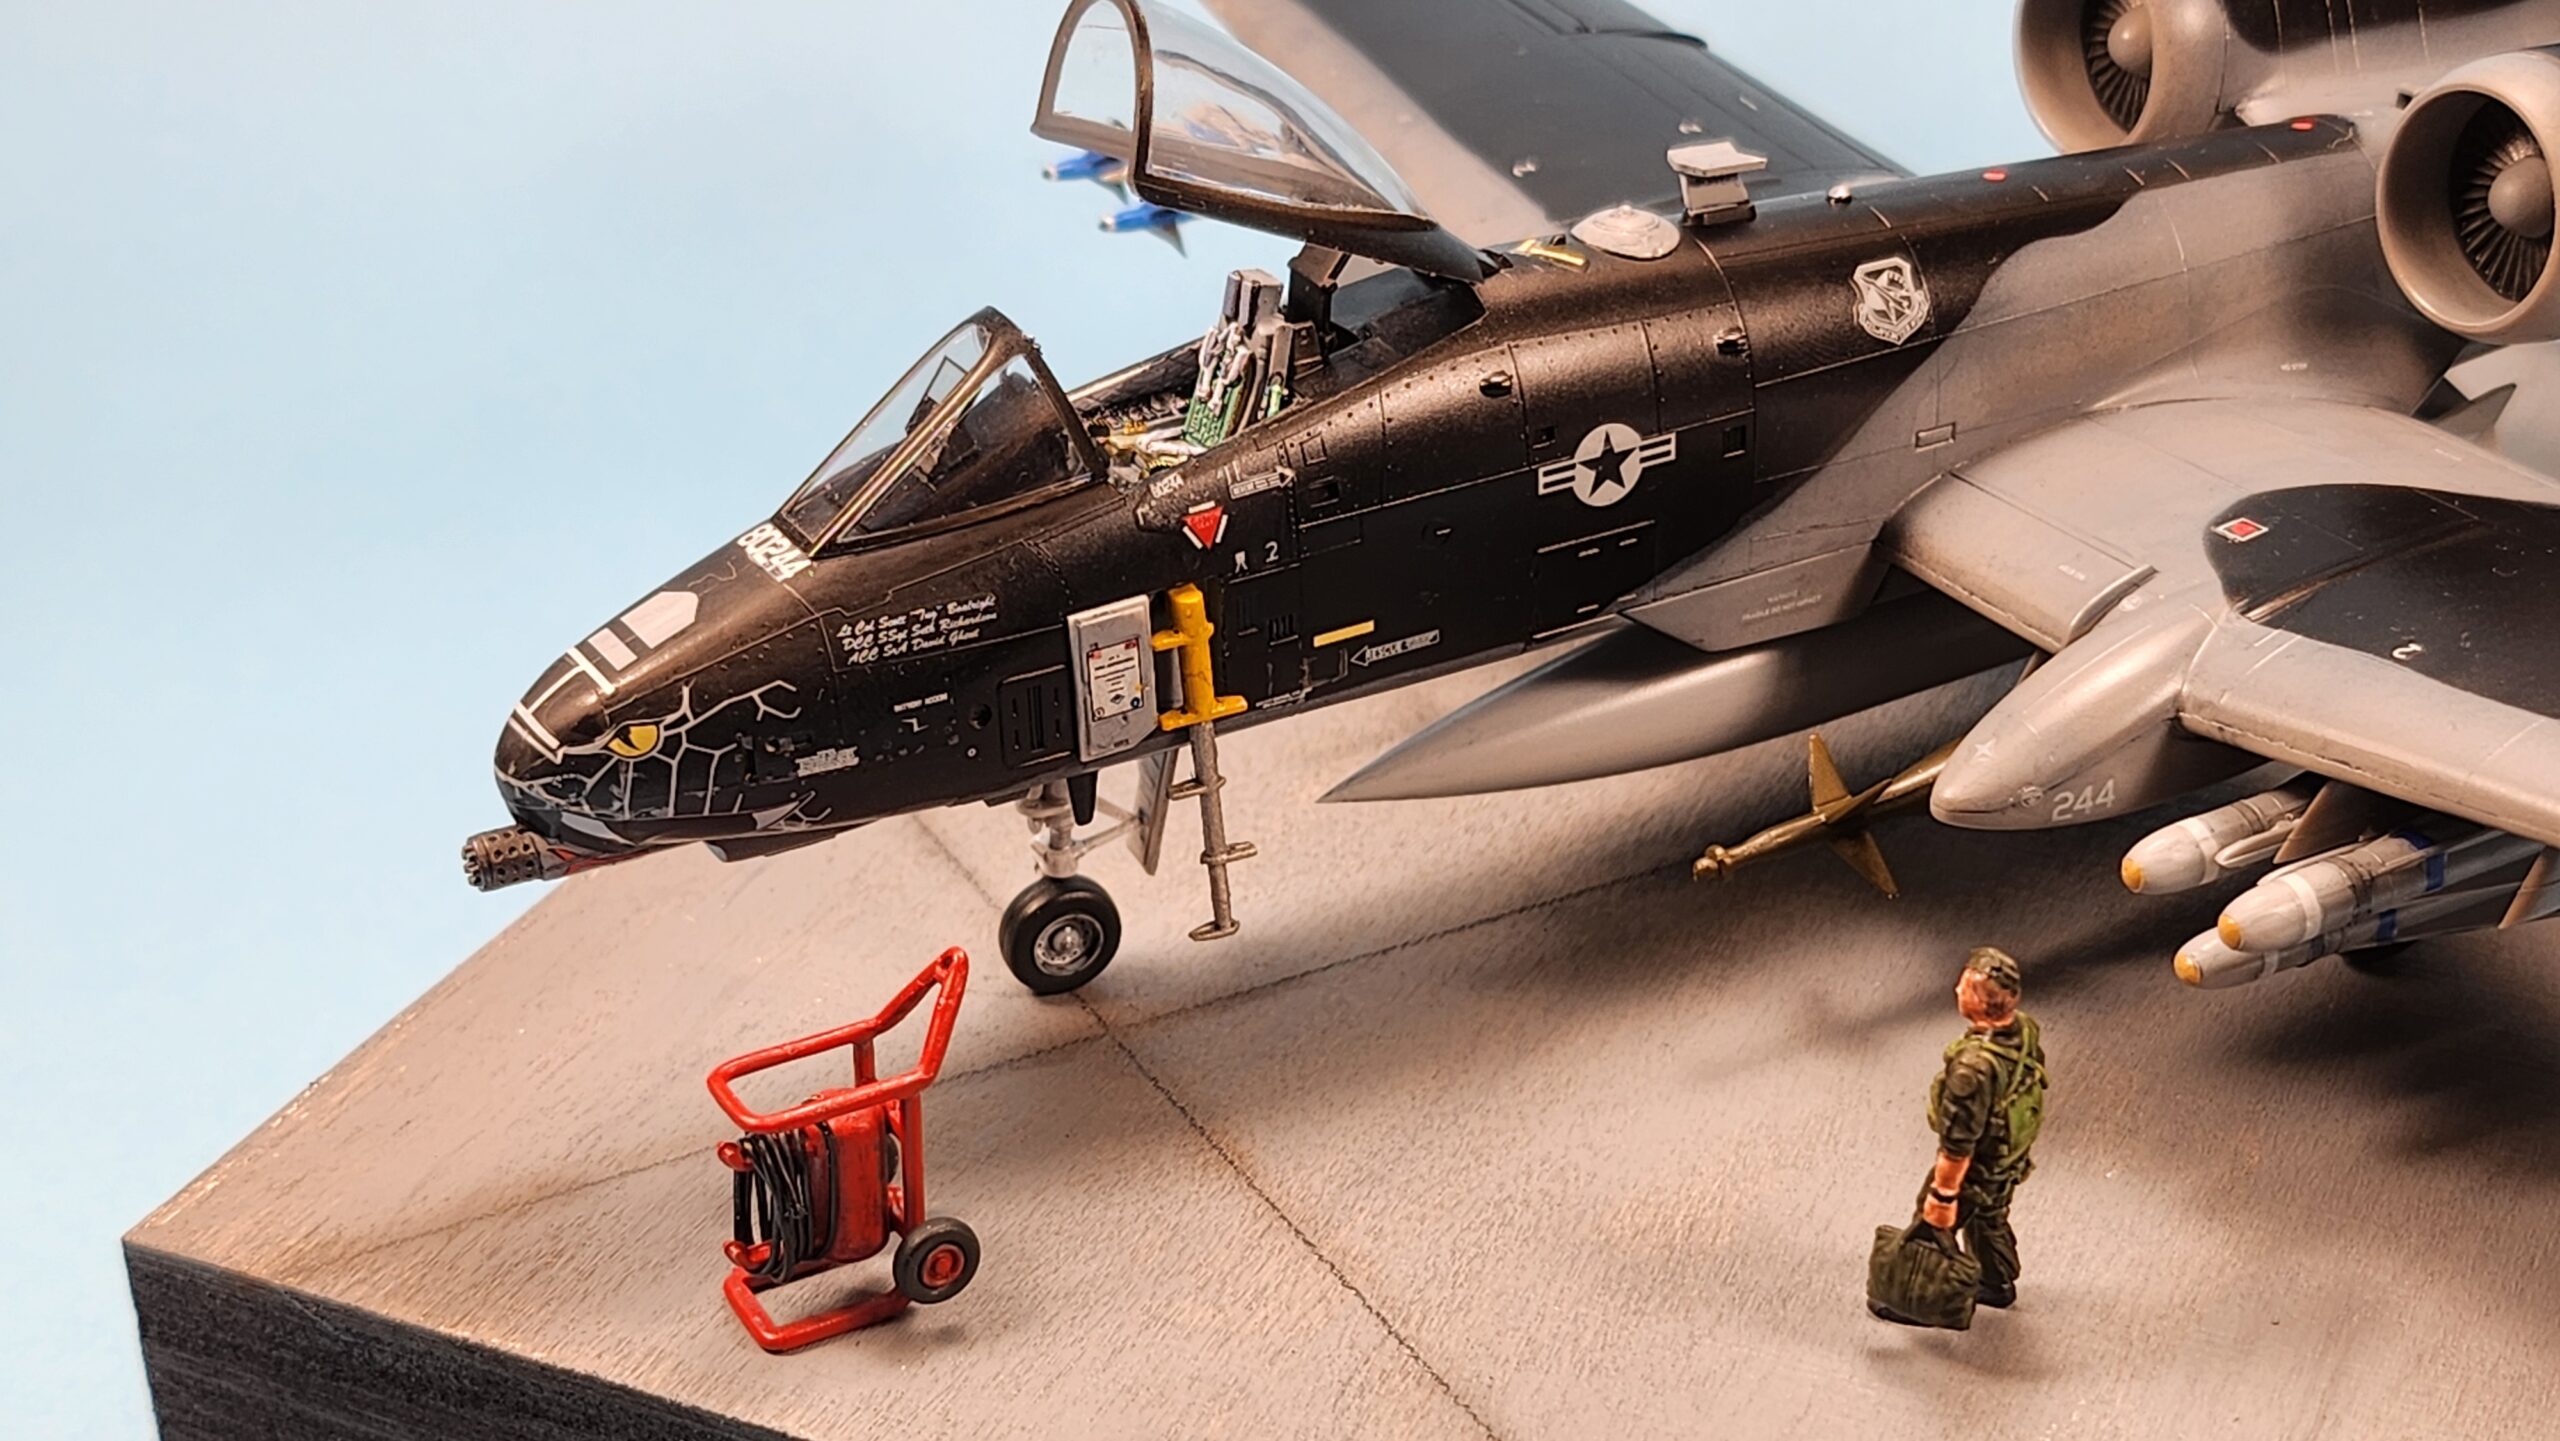
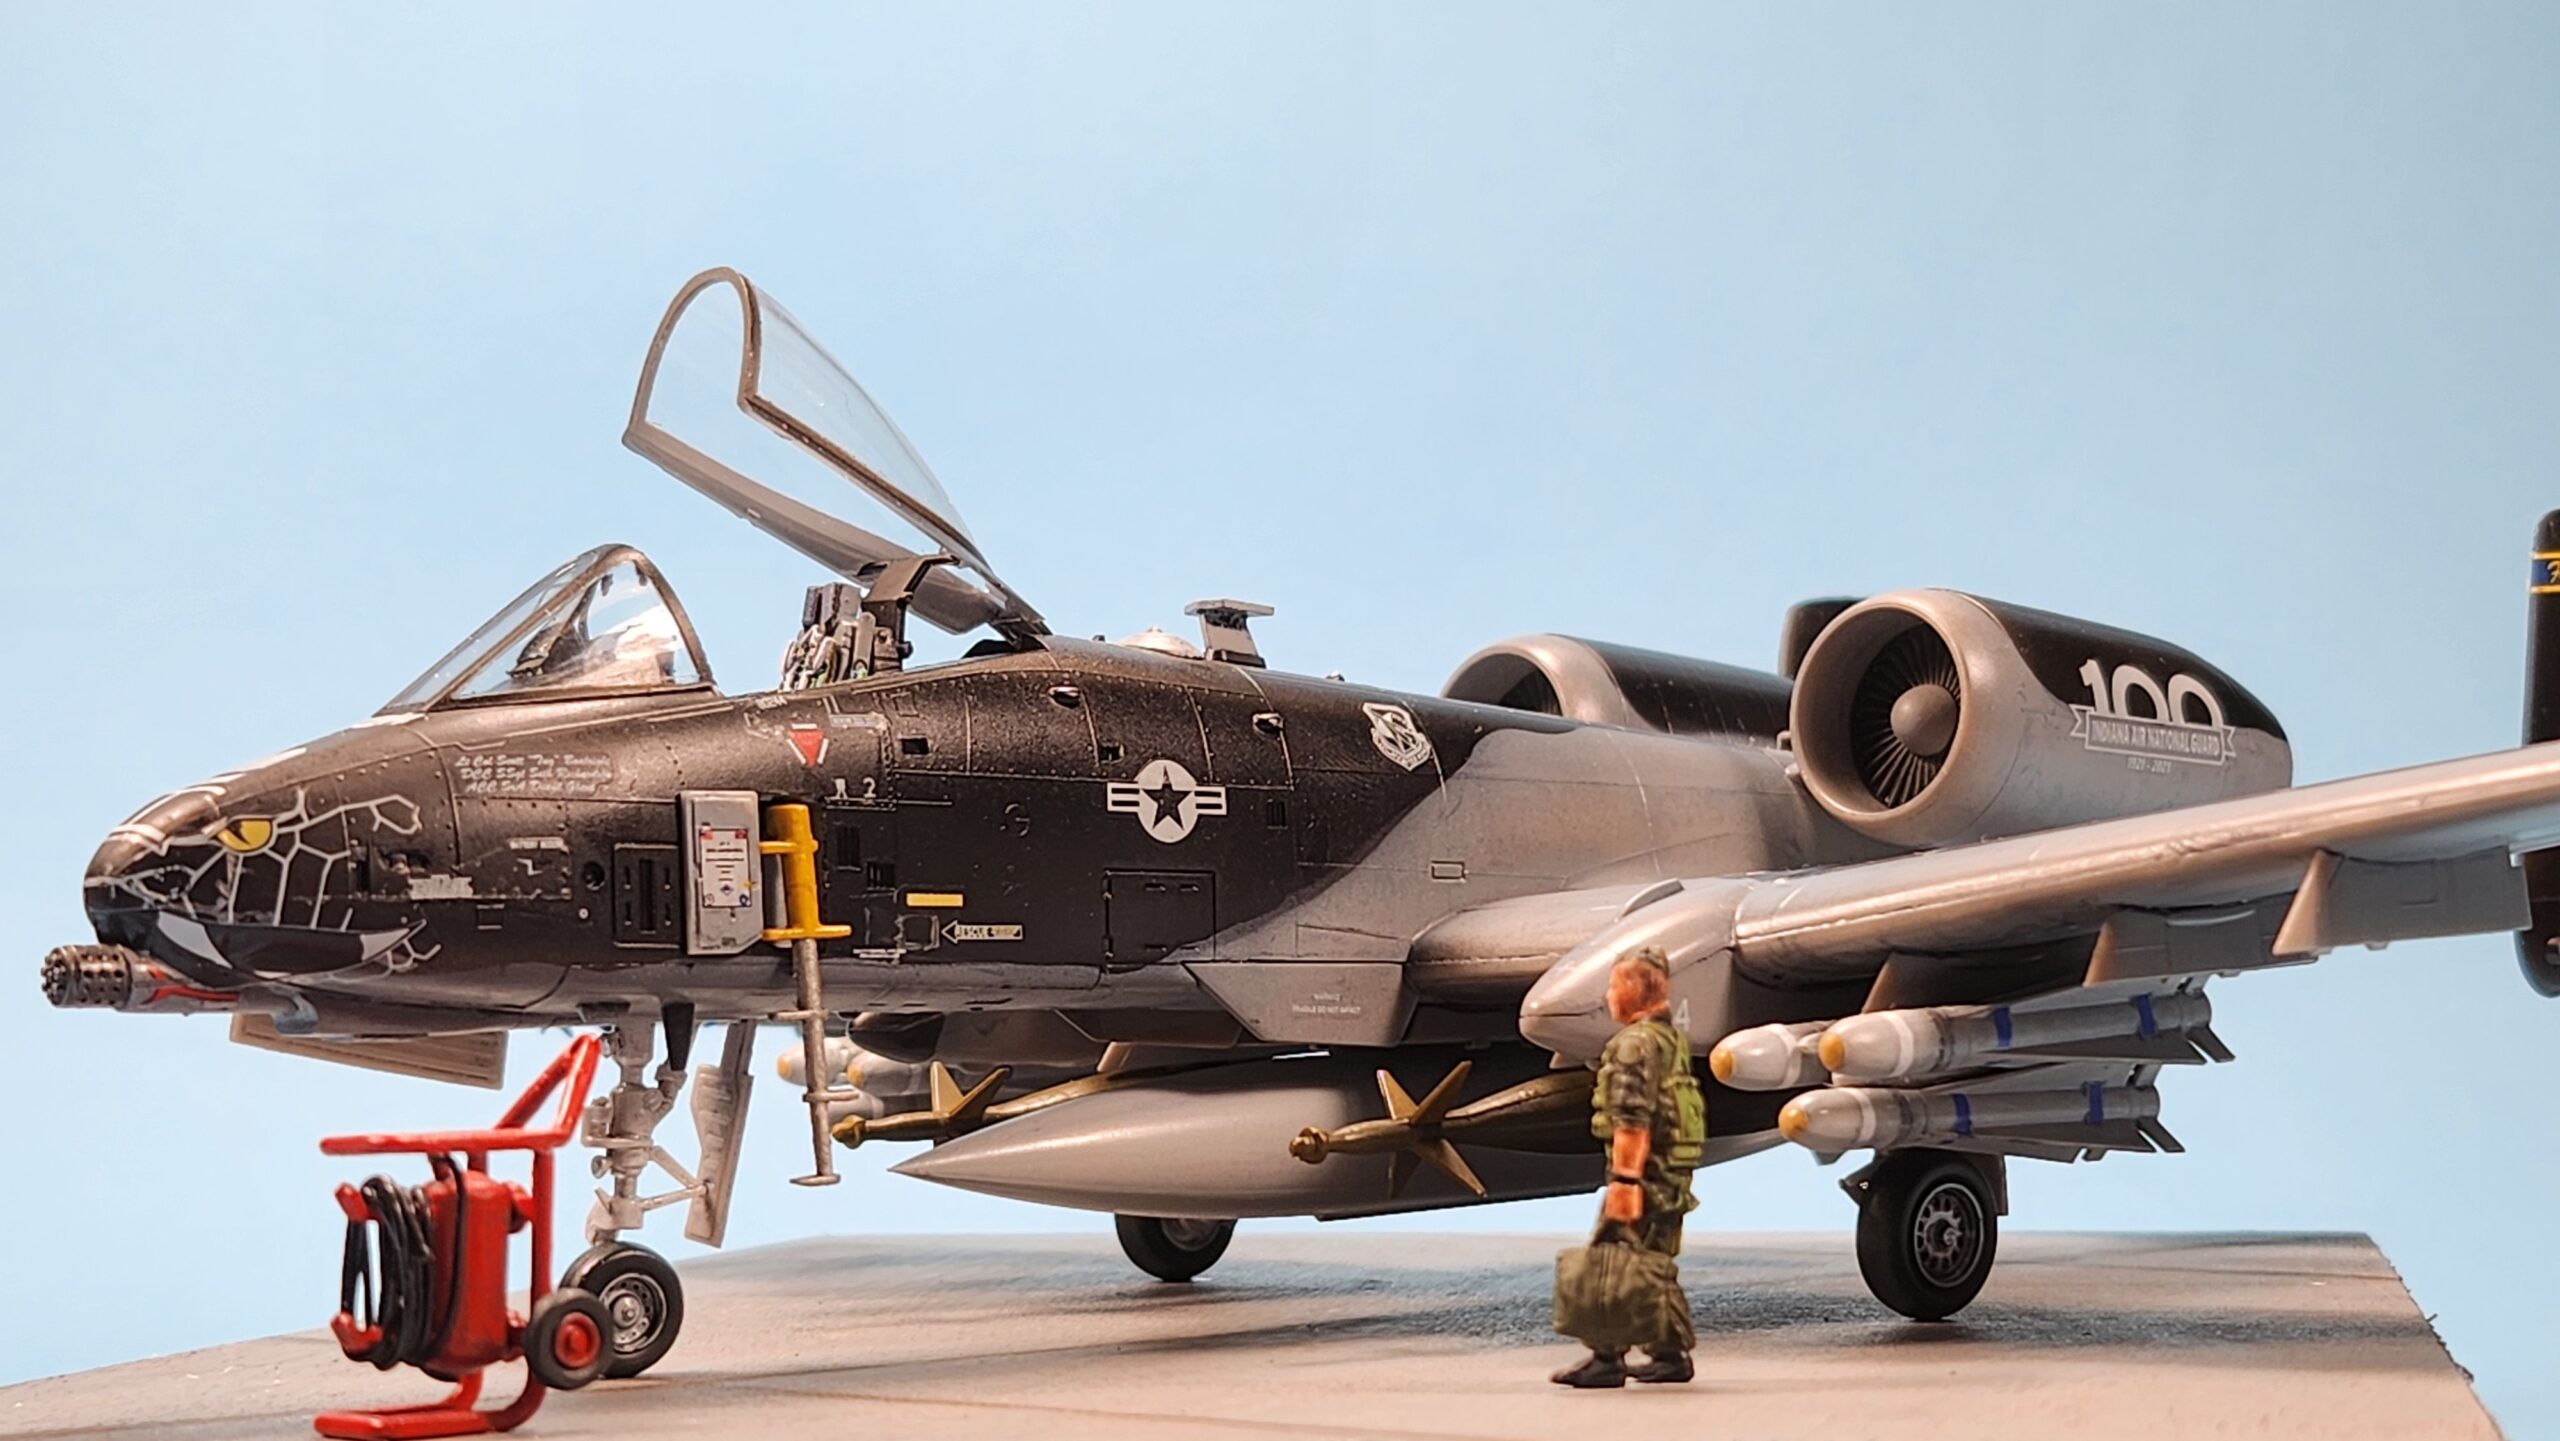
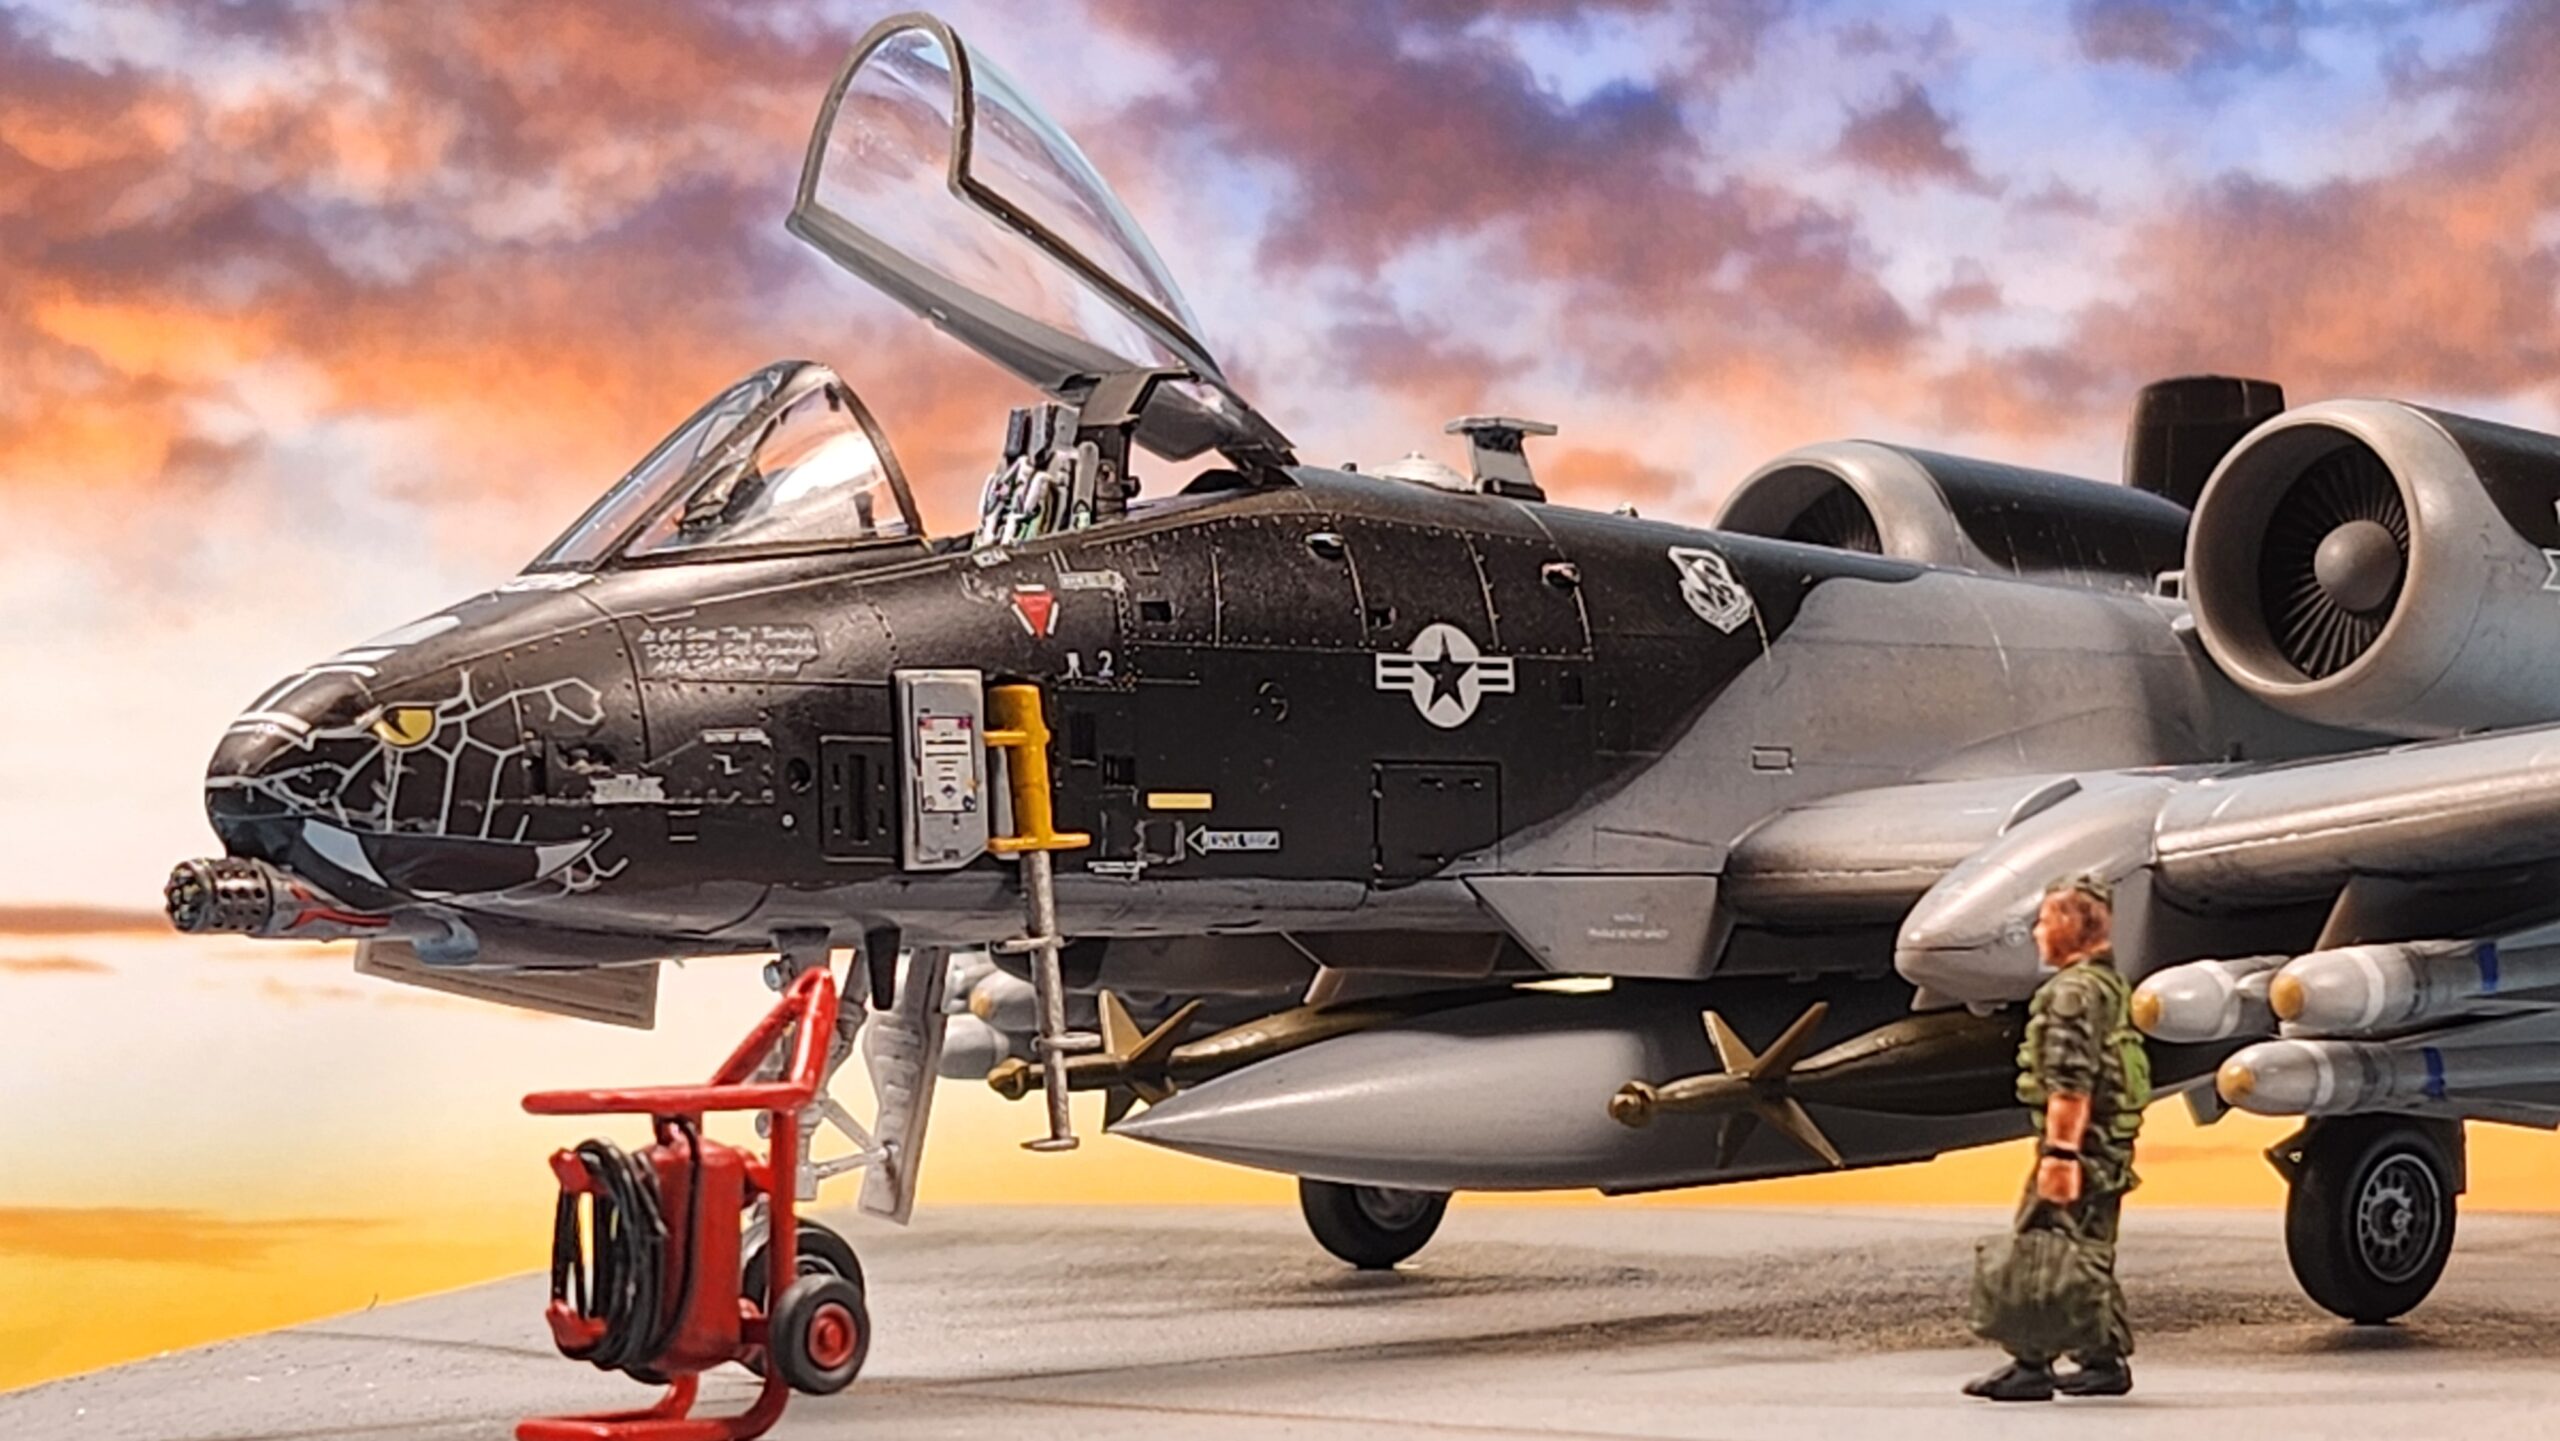
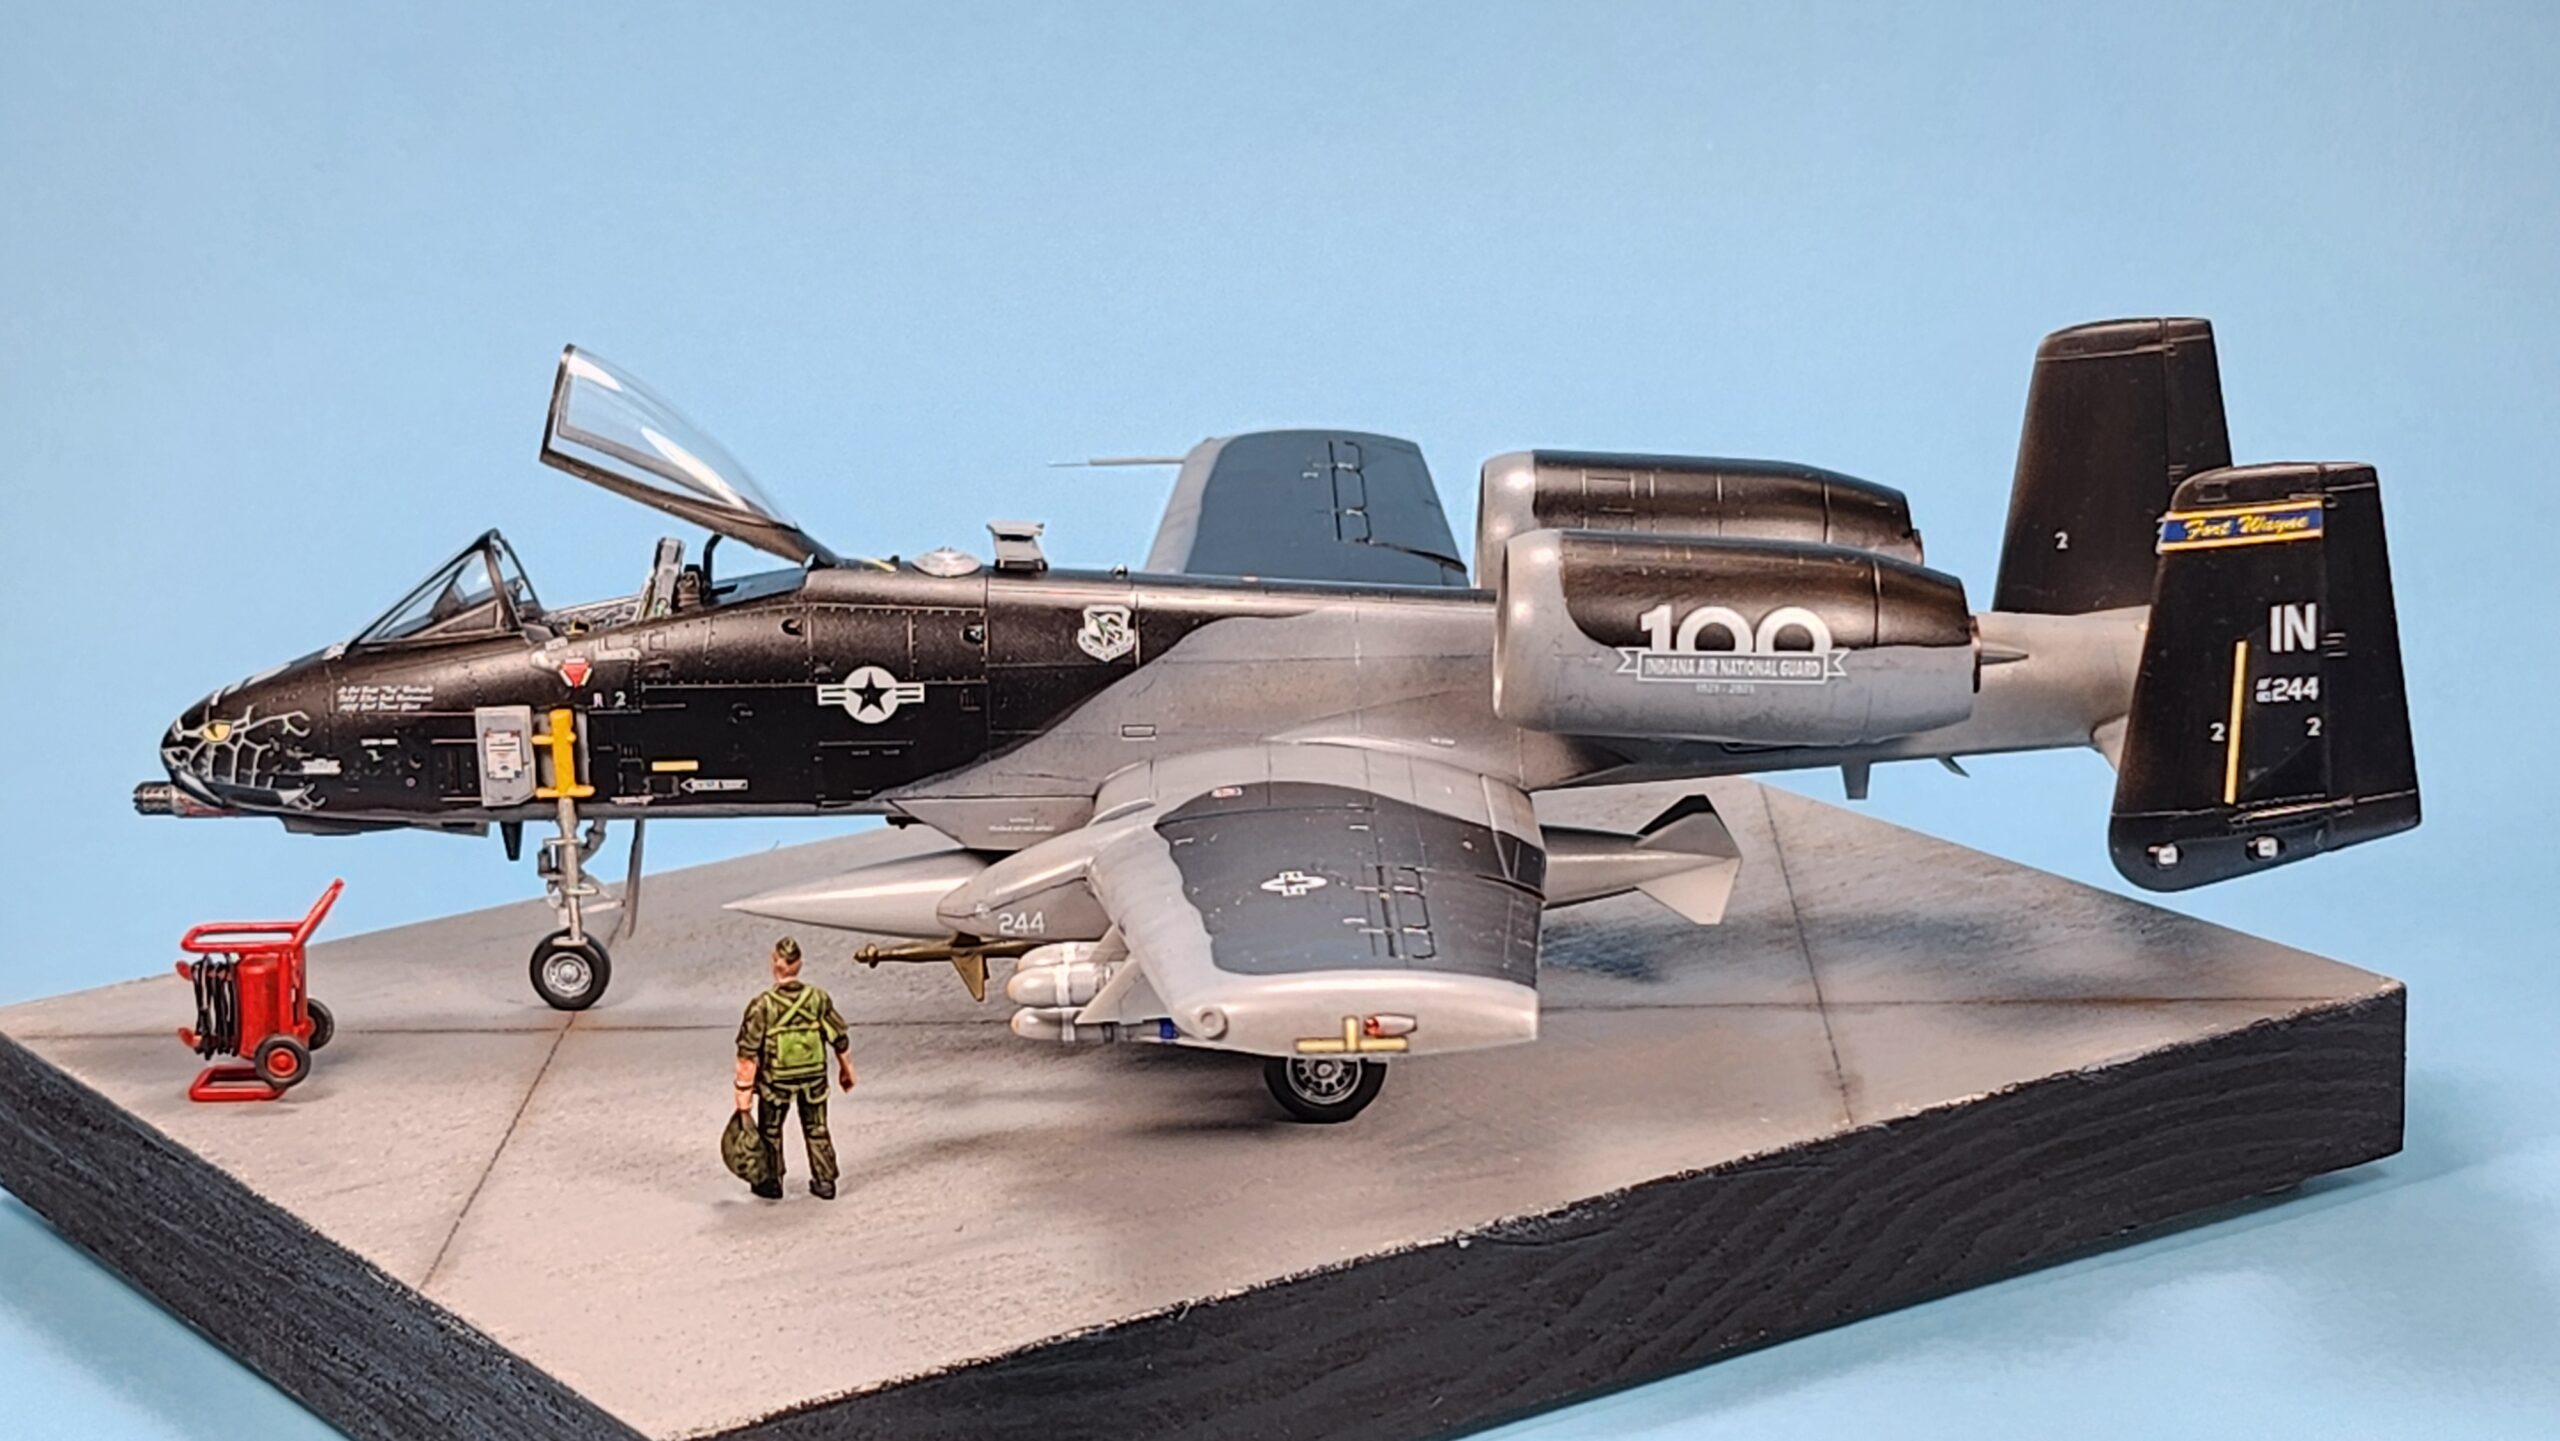
As mentioned in the intro, the large majority of Warthogs carry the medium gray service scheme, but I spotted this 1/72 Hasegawa special edition with the block over gray scheme from the Indiana ANG celebrating their 100th anniversary. The aircraft nose carried the Black Snake face instead of the more usual Warthog. This really piqued my interest. The molding itself is actually quite old from 1982 with raised panel lines, updated in 2014 with new parts for the A10C. This set with the Indiana ANG decals was from 2021. Like most Hasegawa kits, the parts are crisply molded despite the age of the molds with very little flash or sinkholes.
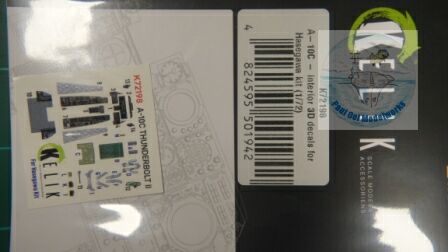
The one new thing I experimented with are these vinyl 3D decals from Kelik Ukraine. I have posted a new tutorial on how to use 3D-printed decals such as these.
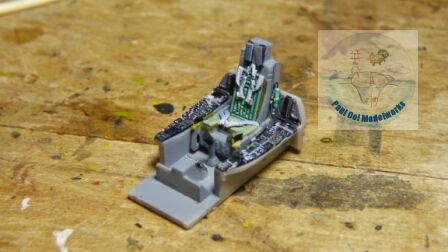
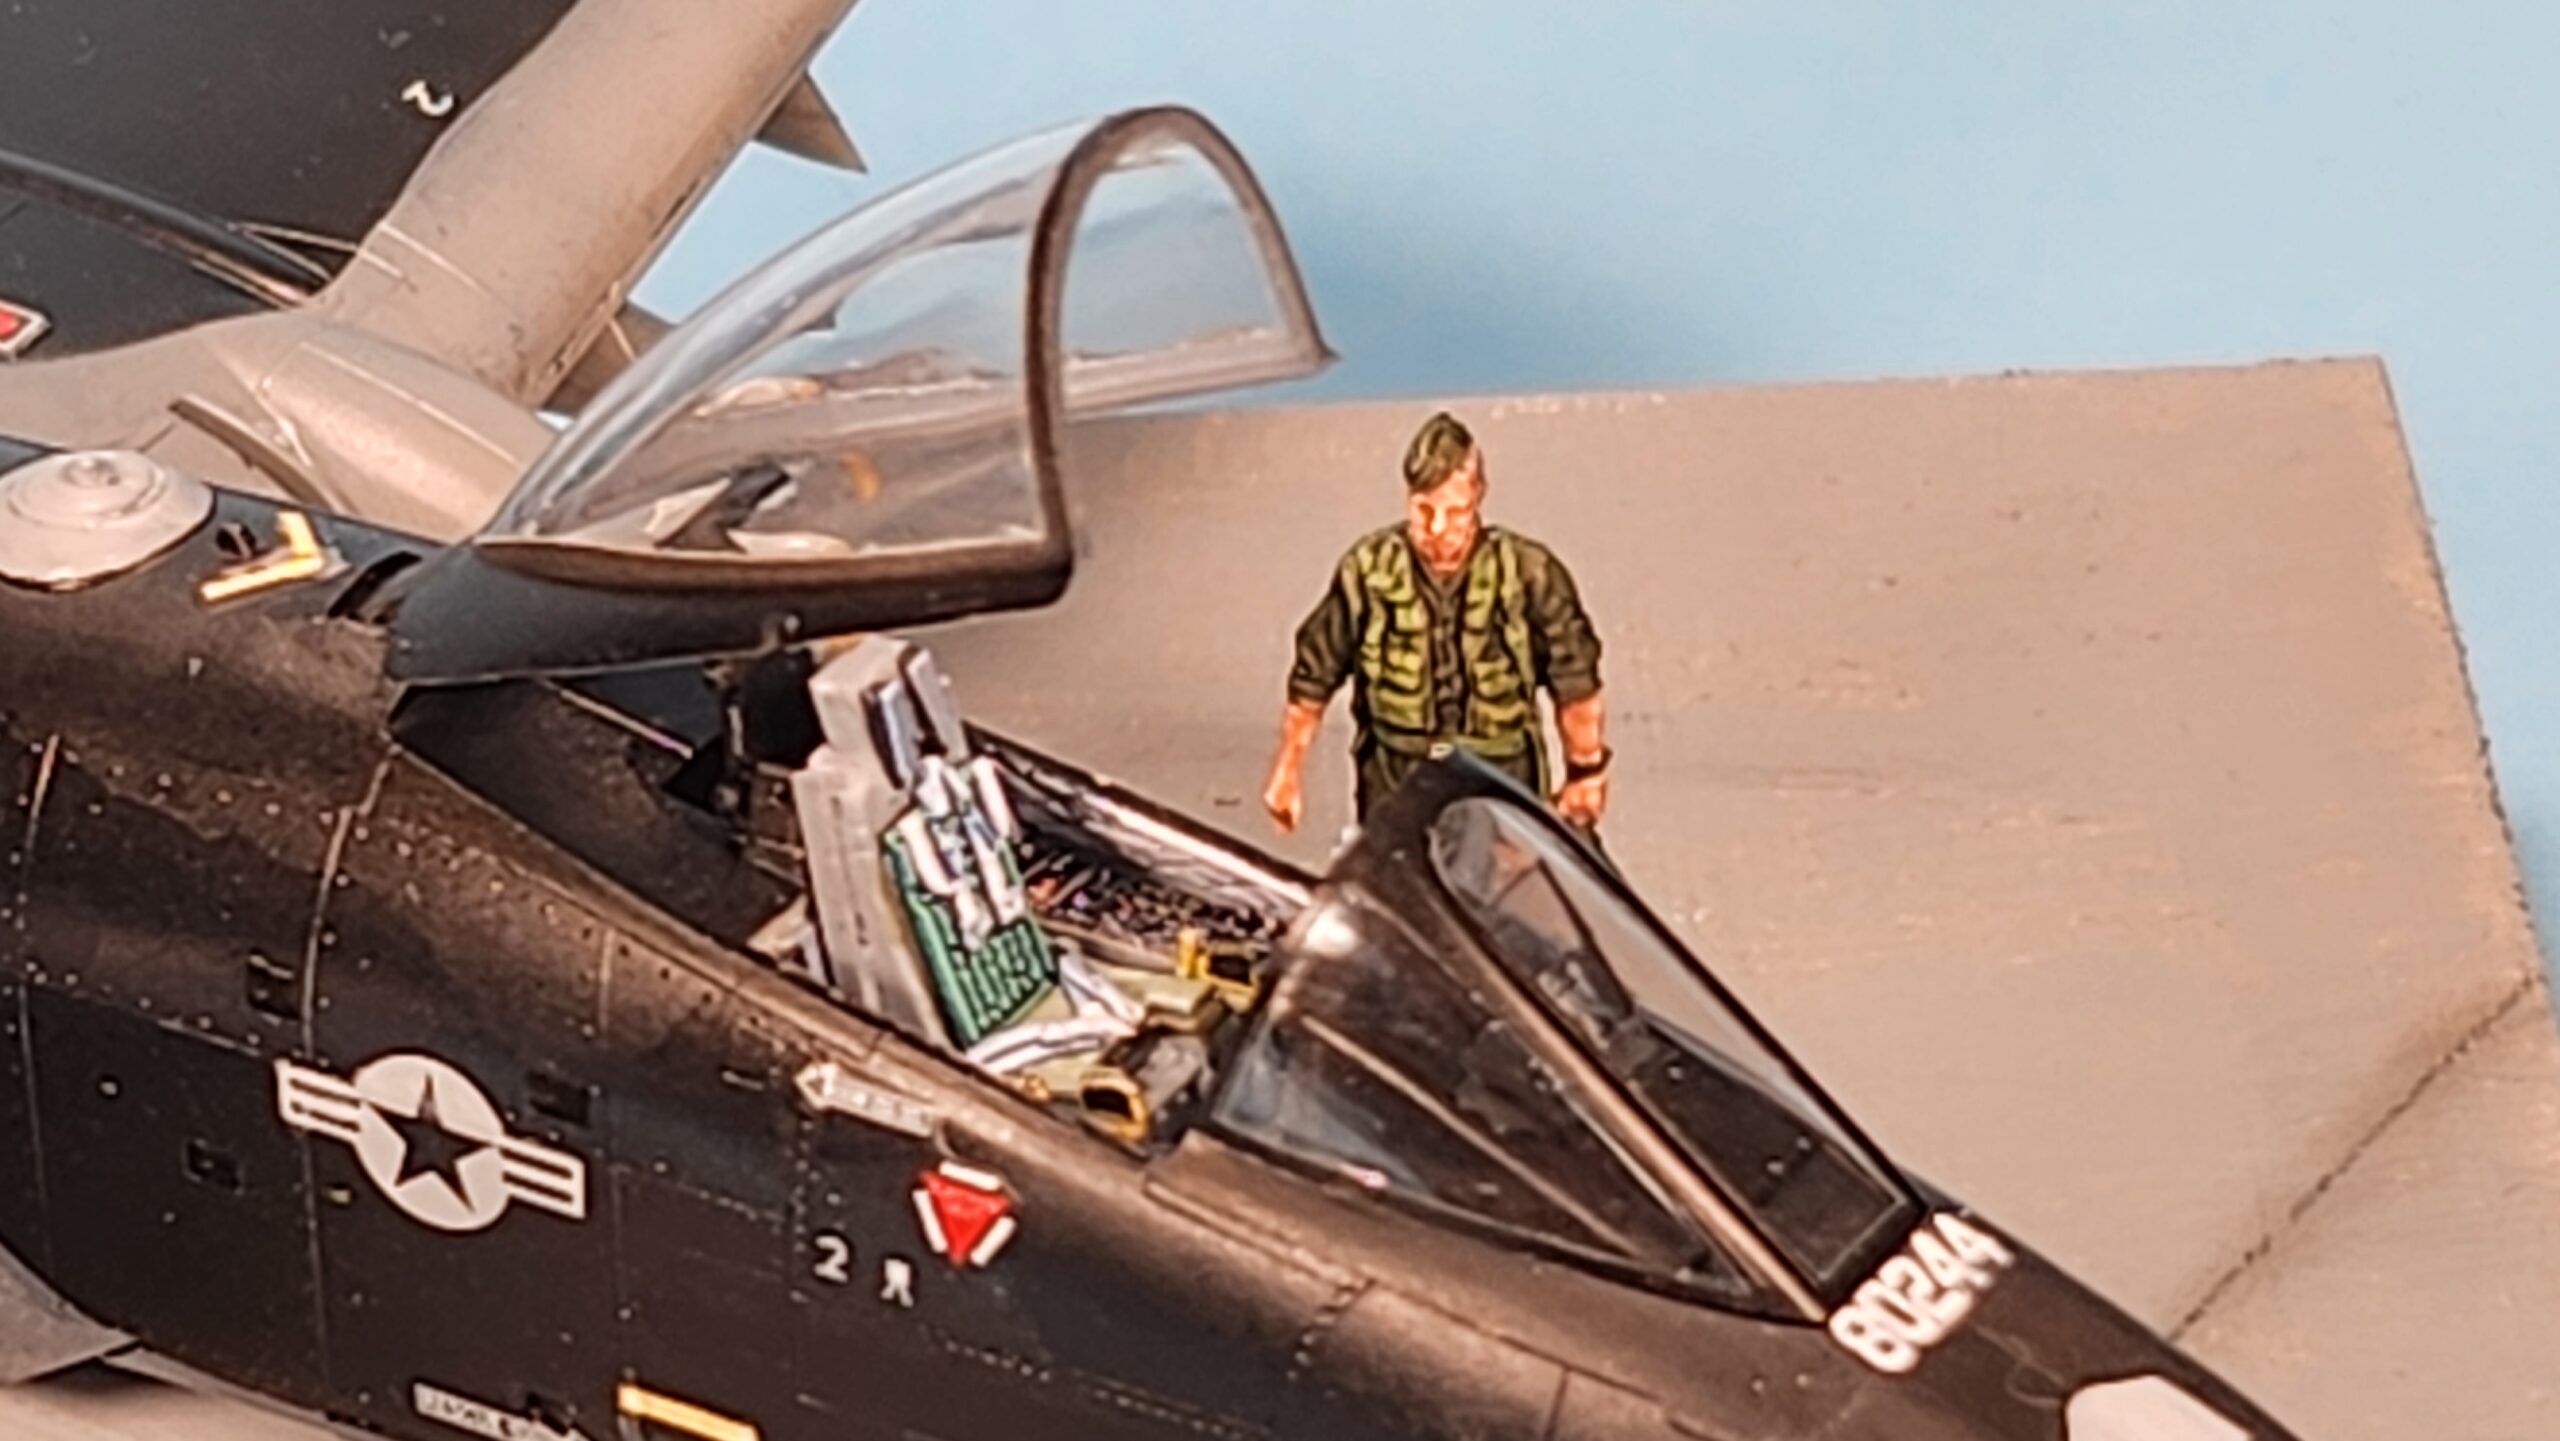
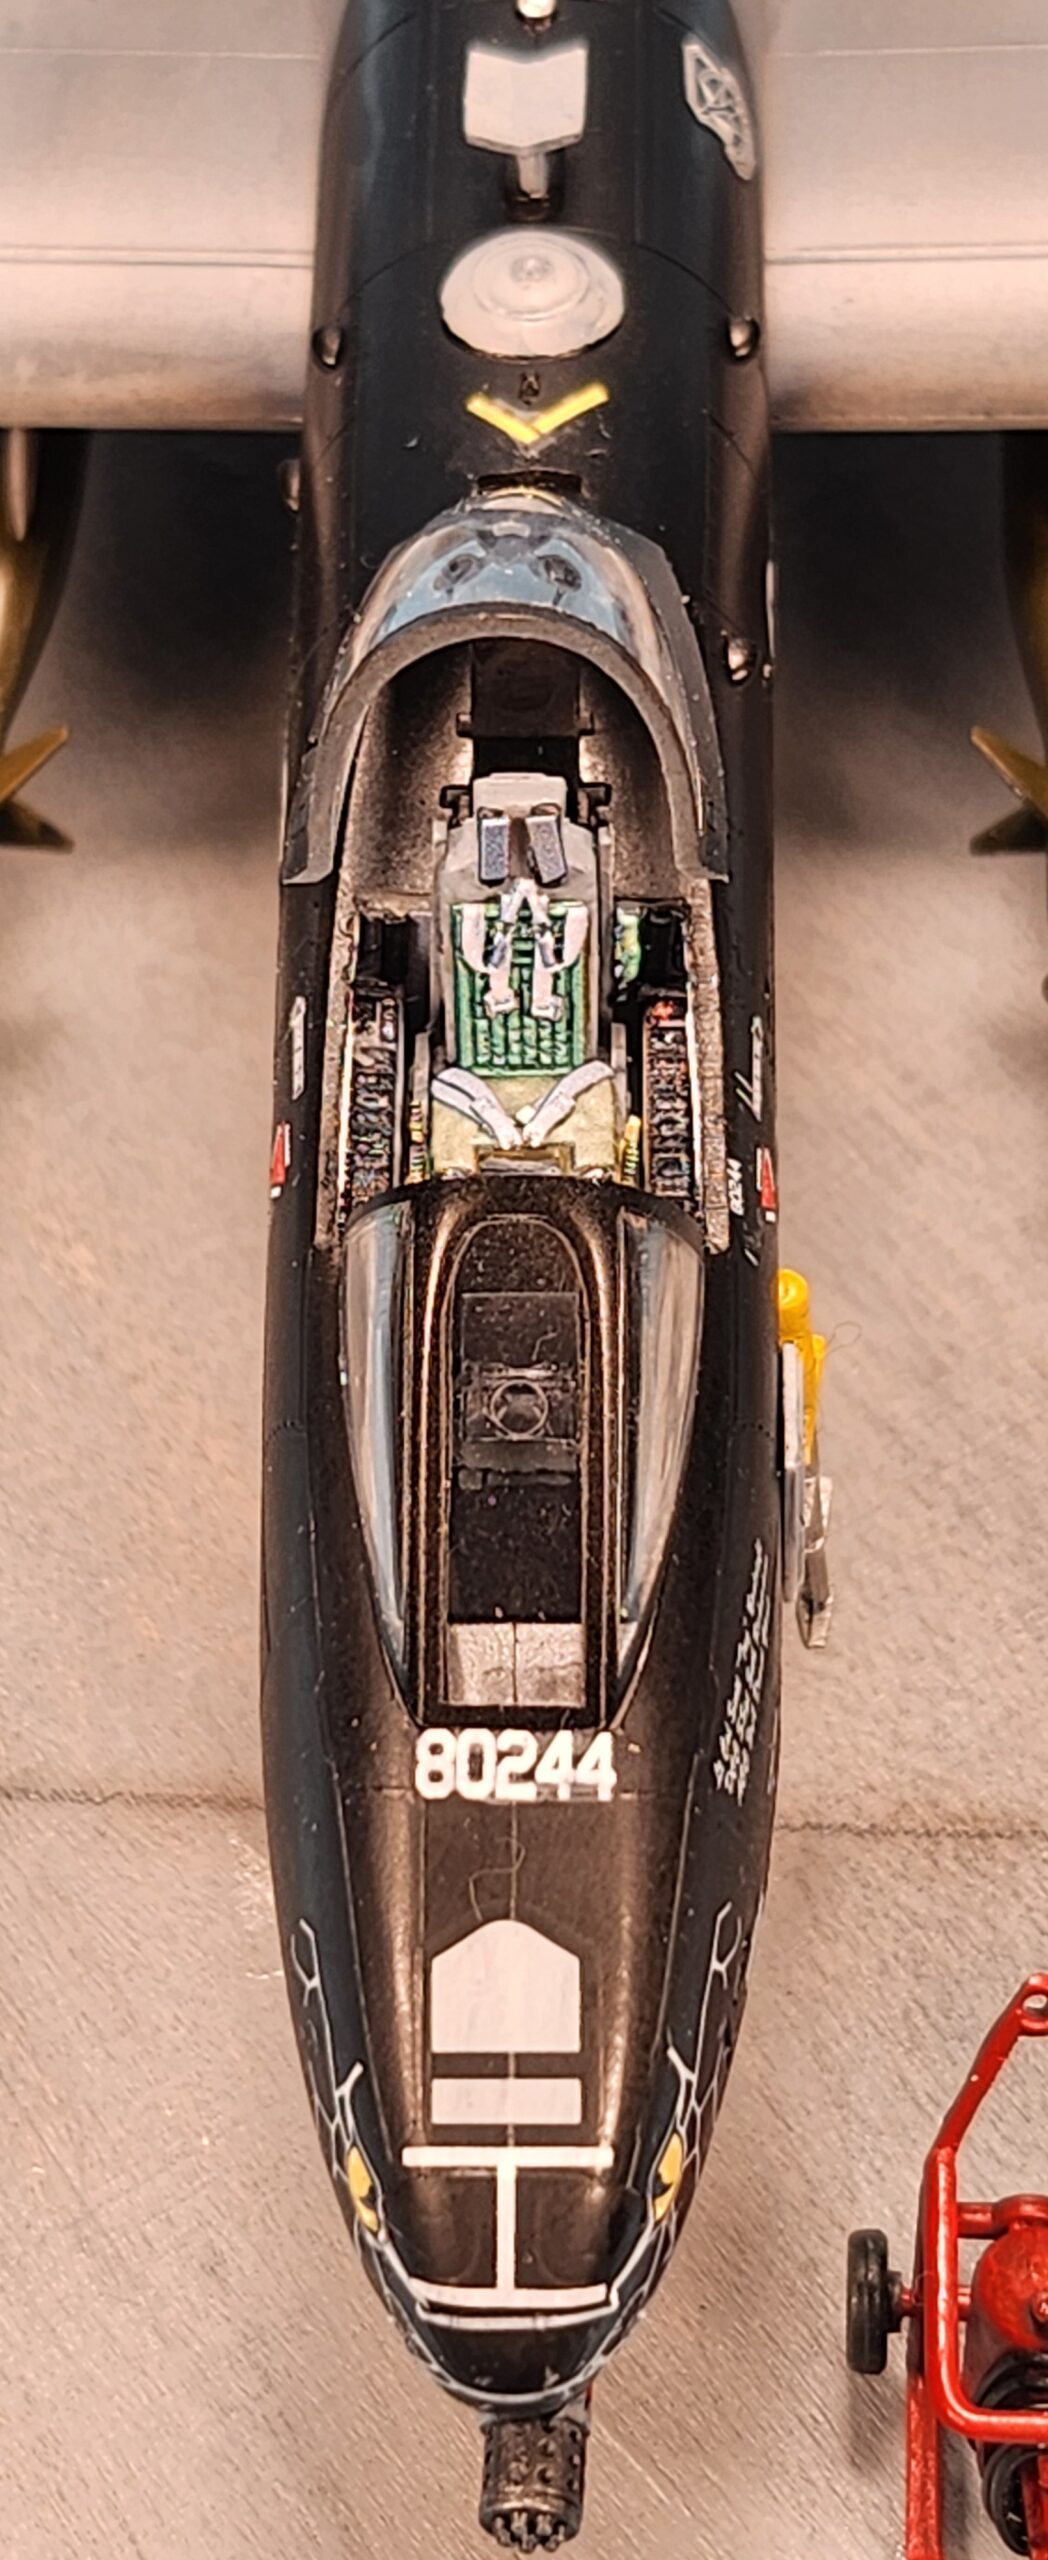
The 3D decals work fabulously, without the need to paint the tiny details. This is a shot of the cockpit tub with the details on.
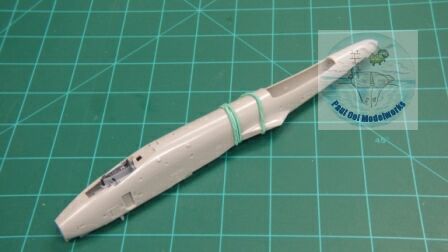
In this case, the fuselage halves go together with the cockpit tub in the middle BEFORE adding nose weights.
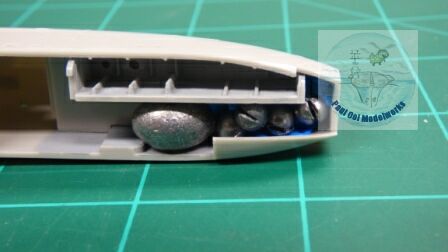
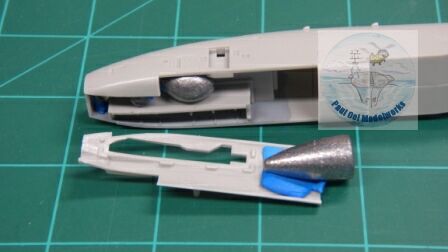
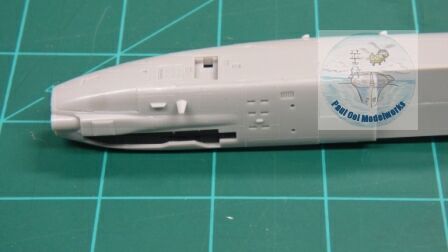
As you can see here, the underside of the fuselage nose area is still open for the weights to be added. I added several ounces of lead shot, just to be sure. It closes up nicely after that.
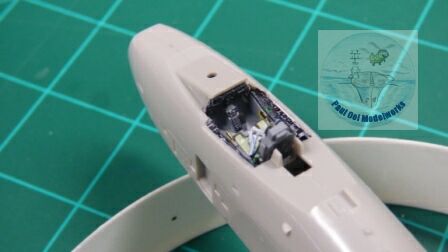
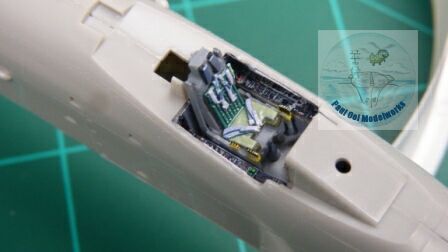
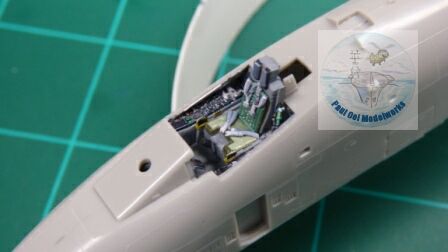
The rest of the cockpit details are finished (dashboard, display panels, etc. The ejection seat is not attached yet, just simply placed for alignment checks.
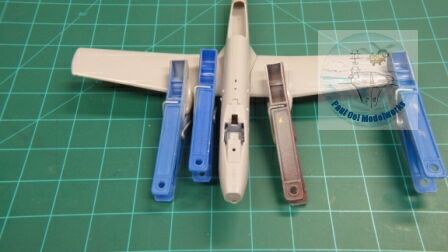
This part of the kit is pretty challenging. The fit isn’t as good (circa 1982) and I needed to get them clamped down hard.
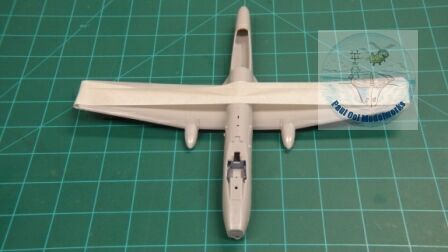
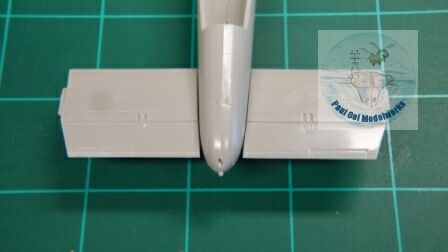
As usual, we achieve the correct wing diahedral angle using masking tape while gluing the seams of the wing roots.
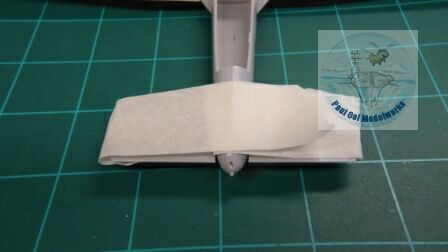
There is a similar diahedral angle for the rear spars of the twin tails that need to be formed using masking tape when gluing the spar roots to the fuselage.
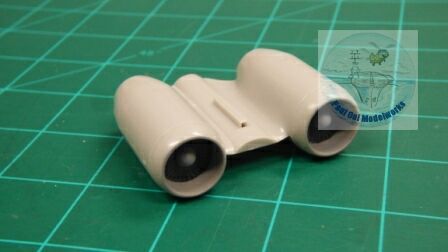
The twin engine nacelles are an entire assembly unto itself. The interior surfaces are painted in Burnt Iron and the turbine blades are Flat Steel.
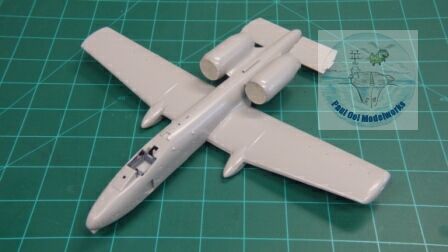
Once the engine assembly is fitted onto the fuselage, I masked the nacelle entry and exit holes with masking tape. Then wait for 6 months (LOL!)….that was how long this assembly sat around before I got back to it.
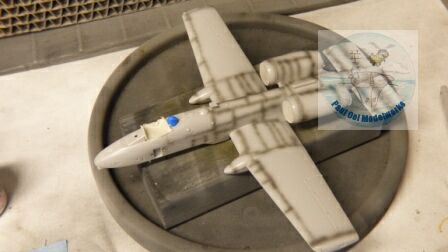
6 MONTHS LATER! After masking off the cockpit tub, I do the usual undershading with Tamiya XF-69 NATO Black.
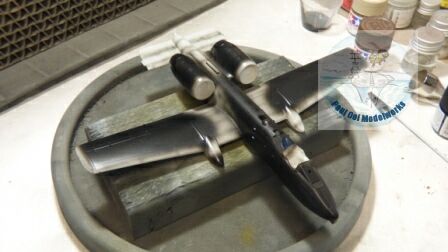
Next, the black areas are sprayed free-hand with Tamiya XF-1 Flat Black.
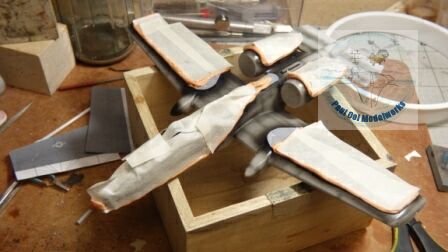
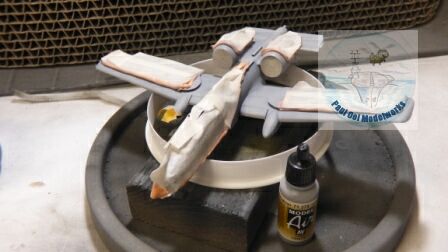
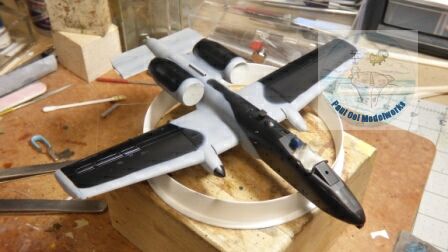
The black section are masked over with Silly Putty noodles and masking tap for that soft line. Then the rest of the areas are sprayed with Vallejo 71.275 USAF medium Gray FS36270. Once the masks are removed, the scheme is pretty much done, except for touching up areas of overspray.
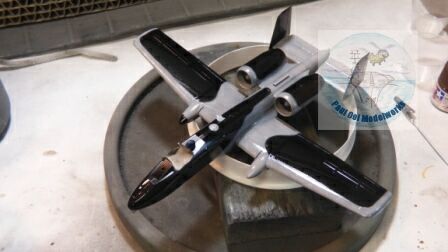
Several details of antenna housing colors are hand-painted, and then the entire assembly is coated in Pledge Floor Polish high gloss.
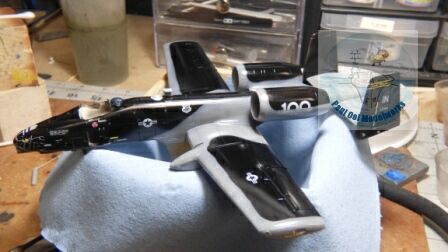
The decals go on easily, EXCEPT for the black snake mask which required large amounts of setting solution and tons of patience to settle on the curved nose area.
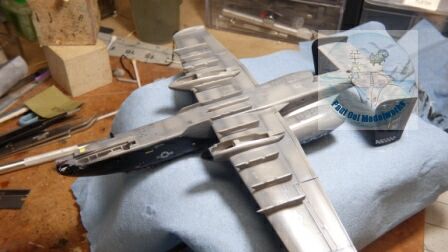
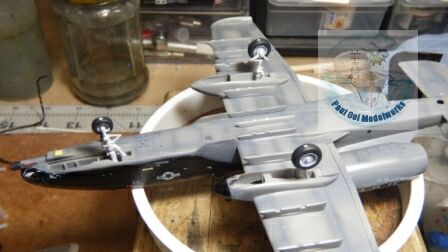
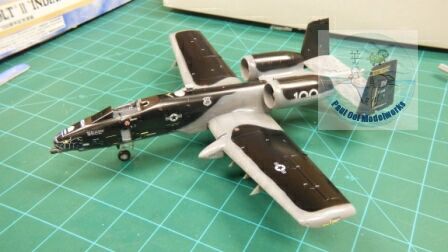
The underside details like the ordnance pylons and the fiddly undercarriage bits go on.
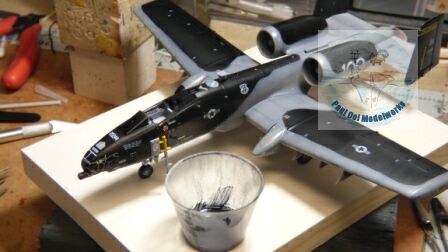
Weathering of the whole aircraft is done with a simple oil wash of Payne’s Gray.
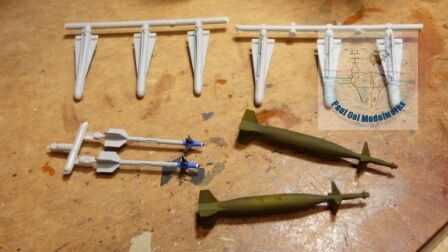
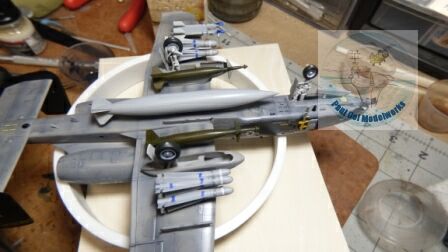
The drop tank, laser-guided bombs, Hellfire missiles, and Sidewinders are added near the end.
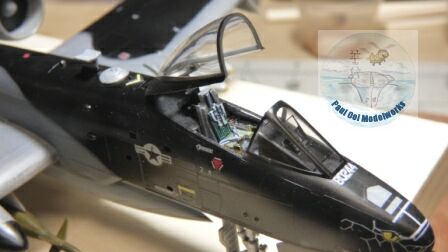
Cockpit details, ejection seat, and the opened canopy go on the fuselage.
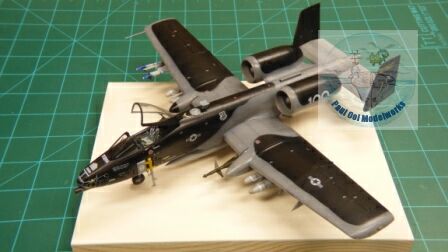
Checking the placement on the base.
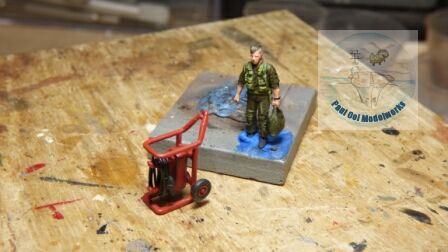
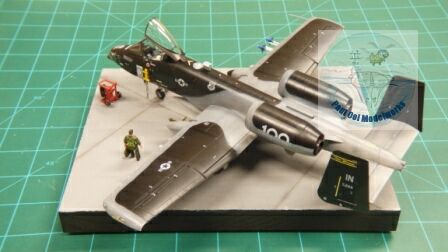 The pilot figure and compressor set (from Hasegawa 1/72 USAF Pilot and Ground Crew set) are painted and added. Finish!

Leave a Reply