• Skip to primary navigation
  • Skip to main content
  • Skip to primary sidebar
  • Skip to footer
  • Home
  • Blog
  • About
  • The Fine Print
    • Disclaimer
    • Copyright
  • Privacy Policy
  • Contact
  • Paul Ooi Modelworks
  • Nav Social Menu

    • Email
    • Instagram
Paul Ooi Modelworks

Paul Ooi Modelworks

Building a better world, one scale model at a time

  • Index
    • Aircraft
      • WW1 Aircraft
      • Inter-War Aircraft
      • WW2 Allied Aircraft
      • WW2 Axis Aircraft
      • Modern Aircraft
    • Armored Fighting Vehicles
      • Artillery
      • WW1 AFVs
      • WW2 AFVs
      • Tractors and Buldozers
      • Cold War AFVs
    • Ships
      • WW1 Ships
      • Inter-War Ships
      • WW2 Allied Ships
      • WW2 Axis Ships
      • Modern Ships
    • NordicCon Show
    • Figures
    • Buildings
    • Sci-Fi
    • Miscellaneous
  • Tutorials
    • Tutorial 1: Making a Wooden Platform Helipad
    • Tutorial 2: Wooden Hard Stand for Aircraft
    • Tutorial 3: Filling Large Plastic Seams
    • Tutorial 4: Diorama, Sicily 1943
    • Tutorial 5: Making a Gun Emplacement with Earthworks
    • Tutorial 6: Basic figure painting (1/35 scale or 54mm)
    • Tutorial 7: Filling Large Mouse Bite Gouges
    • Tutorial 8: Frames for Vacuum Formed Clear Canopies
    • Tutorial 9: Prepared Tank Position Diorama
    • Tutorial 10: Installing Multi-Piece Track System
    • Tutorial 11: Masking and Painting “Bird-Cage” Clear Canopies
    • Tutorial 12 – Aircraft Wing Tip Navigation Lights with Colored Bulbs
    • Tutorial 13 – Installing Wood Laminate Deck for Model Warships
    • Tutorial 14 – Painting a Rusted Muffler and Exhaust Pipe System
    • Tutorial 15 – Painting German Red Oxide Finish for WW2 Tanks
    • Tutorial 16 – Creating a European cobblestone street base
    • Tutorial 17 – Constructing tracks using single track link system
    • Tutorial 18 – Building a small wooden bridge
    • Tutorial 19 – The Wash-and-Dry Figure Painting Method
Home / Armored Fighting Vehicles / Light and Mighty Tanks of WW2 – M24 Chaffee at the Gothic Line from Italeri

Light and Mighty Tanks of WW2 – M24 Chaffee at the Gothic Line from Italeri

Armored Fighting Vehicles, Cold War AFVs, WW2 AFVs


This is the 6th project under the Light and Mighty Tanks of WW2.

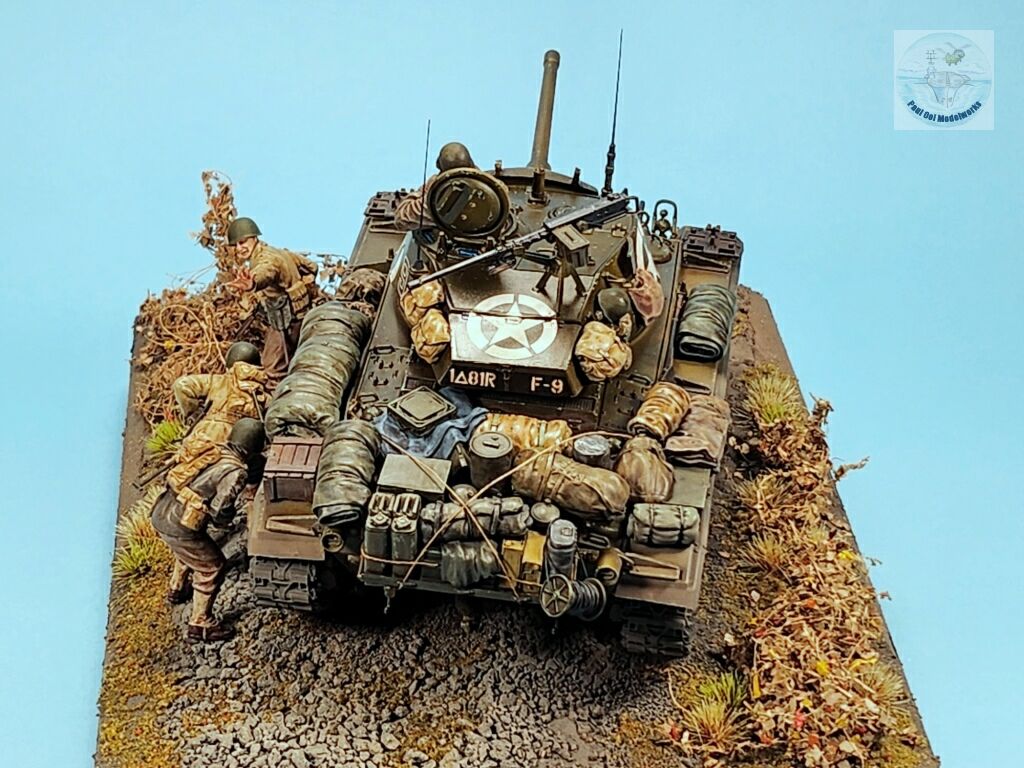
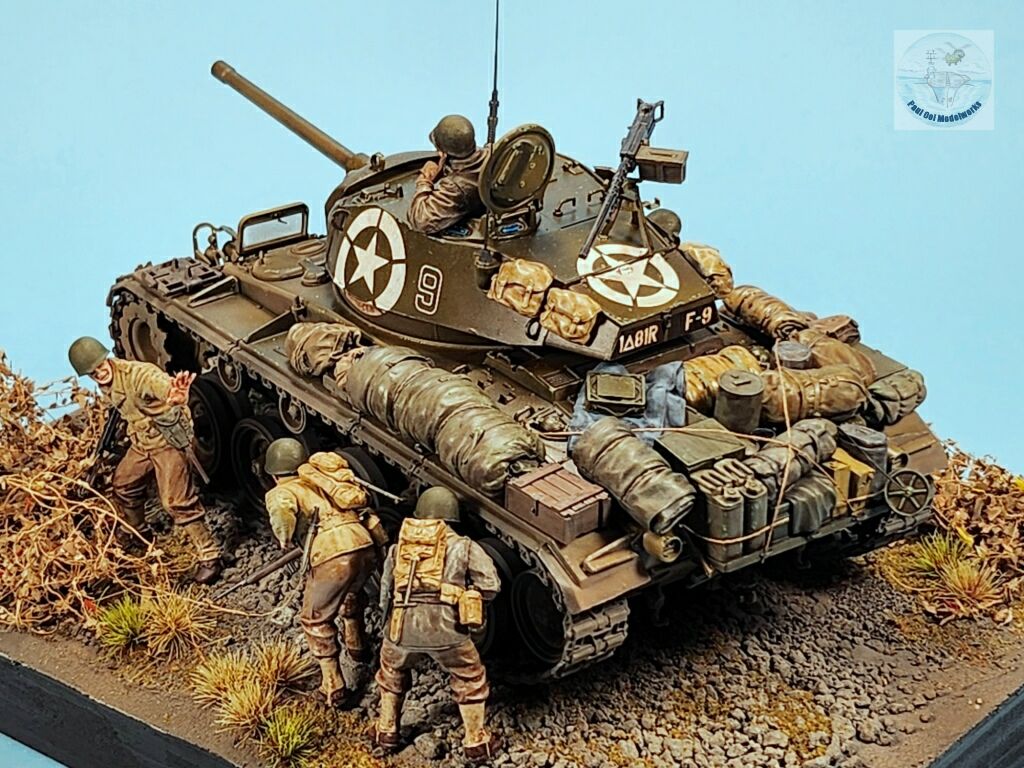
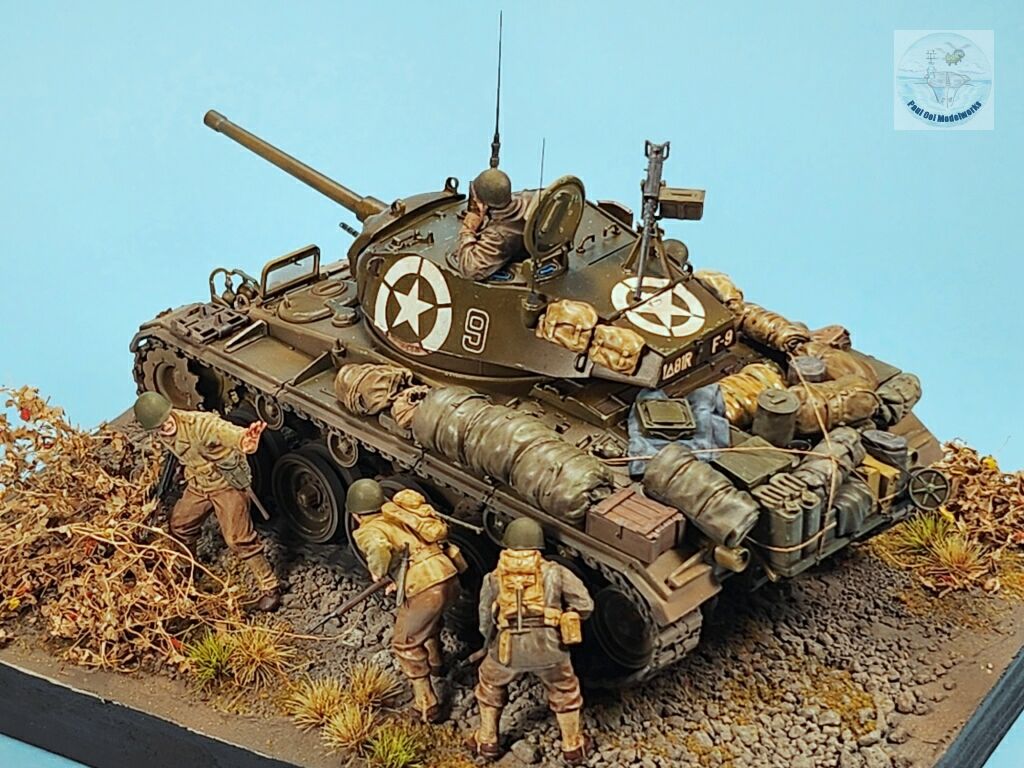
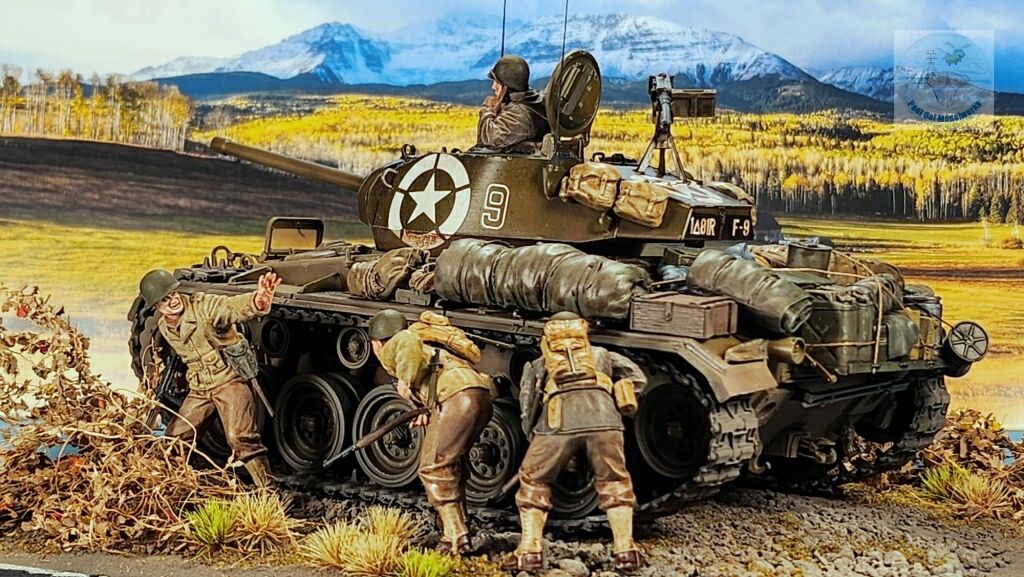
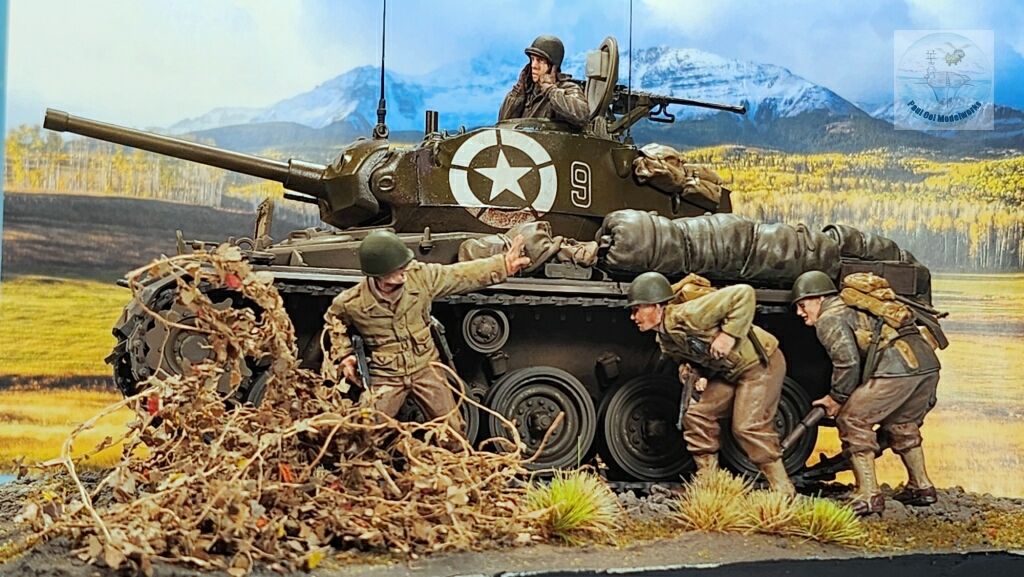
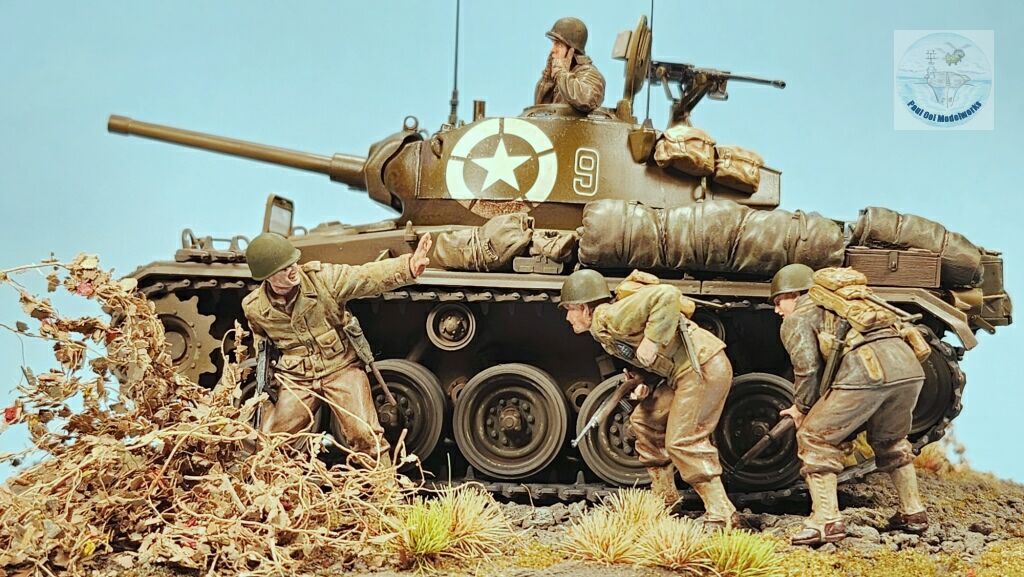
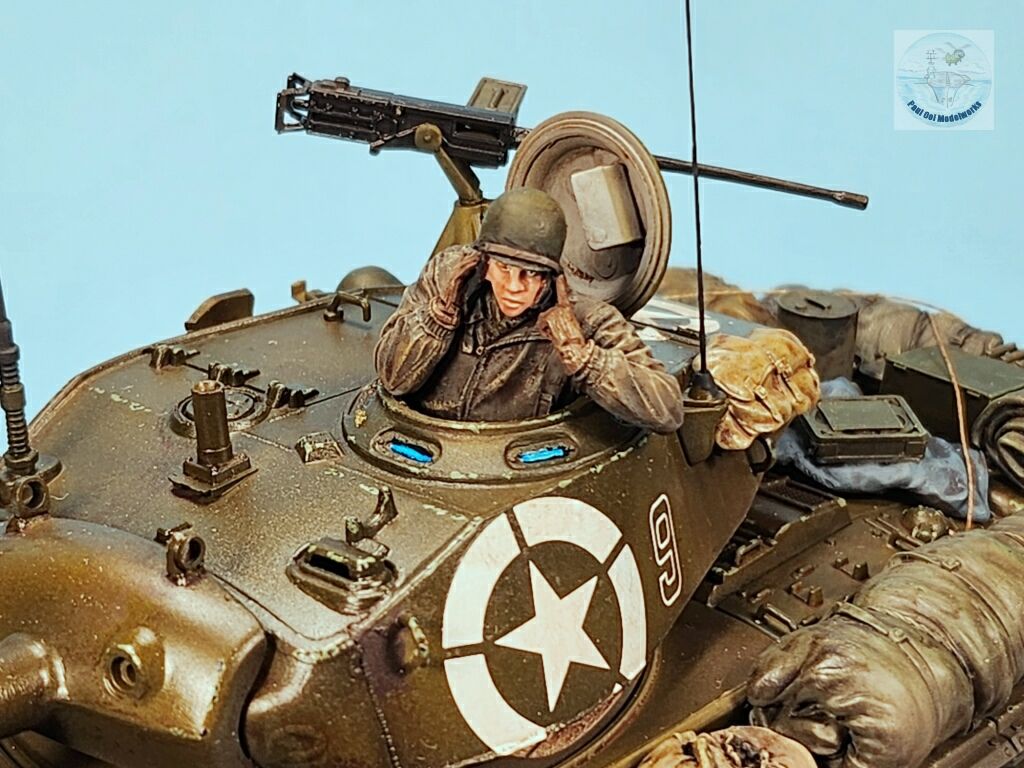
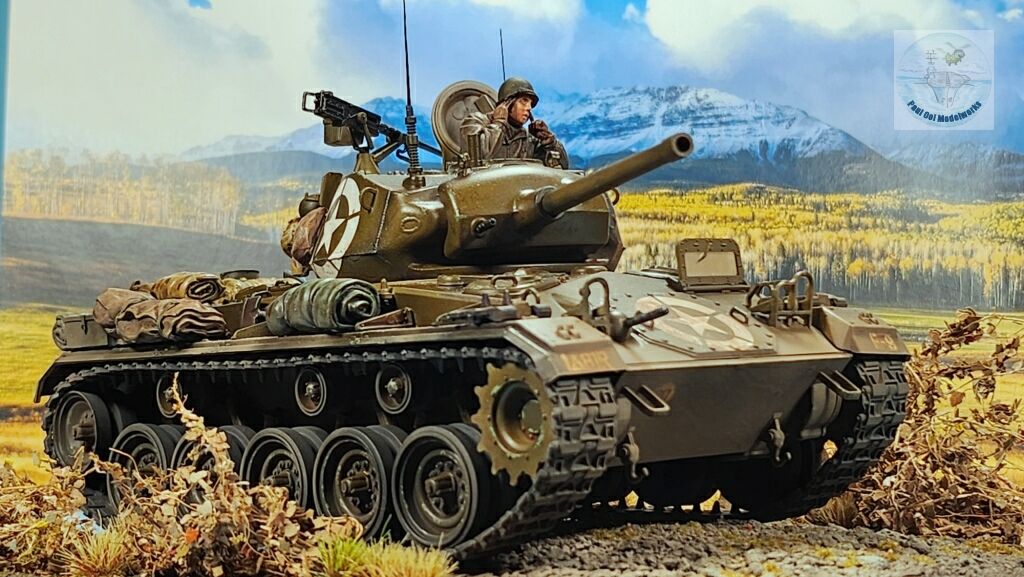
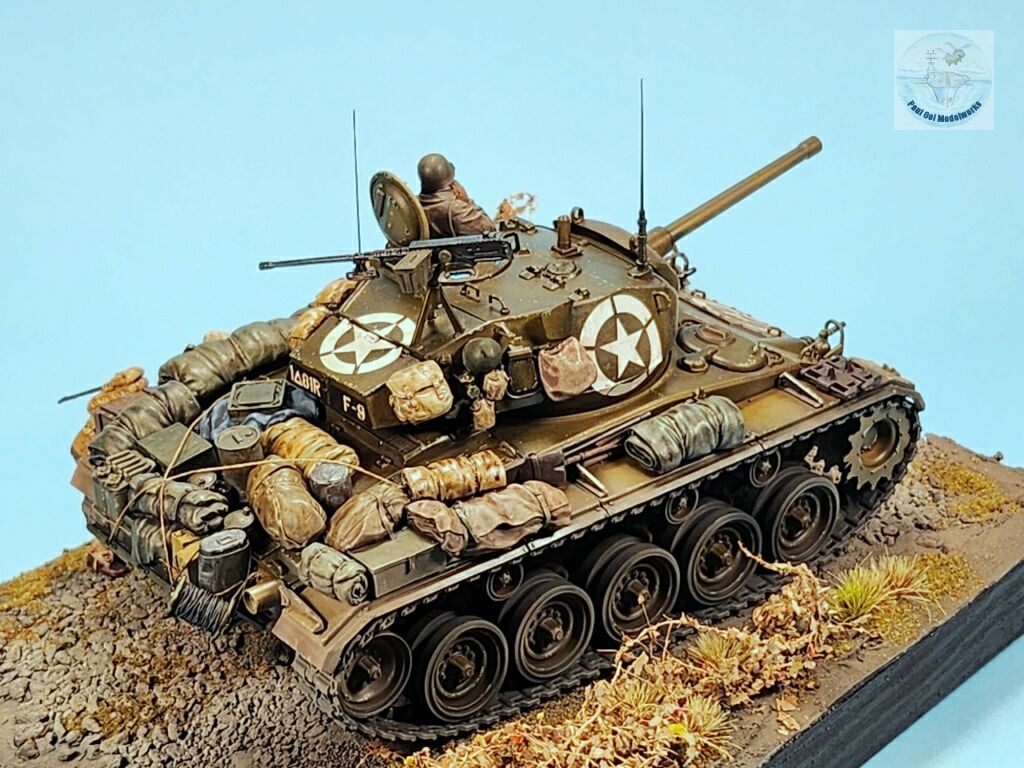
The M24 Chaffee light tank is arguably the best light tank of WW2. Very well armed with a high velocity M6 75mm cannon and two 0.5 inch Browning machineguns, it could stand toe-to-toe against heavier Axis opponents in 1944. The chassis and engine platforms were reliable, and the layout of the tank’s interior was practical for the crew. This tank was so effective that it continued to serve for decades after WW2, deployed by the US Army in Korea, and then by NATO countries in Europe from 1950 to 1970. In total , 28 other countries operated the M24 even to this present day (2026). A total of 4,731 units were built. The Chaffee was designed for two roles, that of reconnaissance and infantry support. It could sustain a short confrontation with main battle tanks in a hit-and-run scenario or in an ambush, but its light armor was not designed for a stand-and-fight mission. it also performed well in the post-war colonial conflicts, being used in closed-in terrain that deterred larger and heavier tanks.

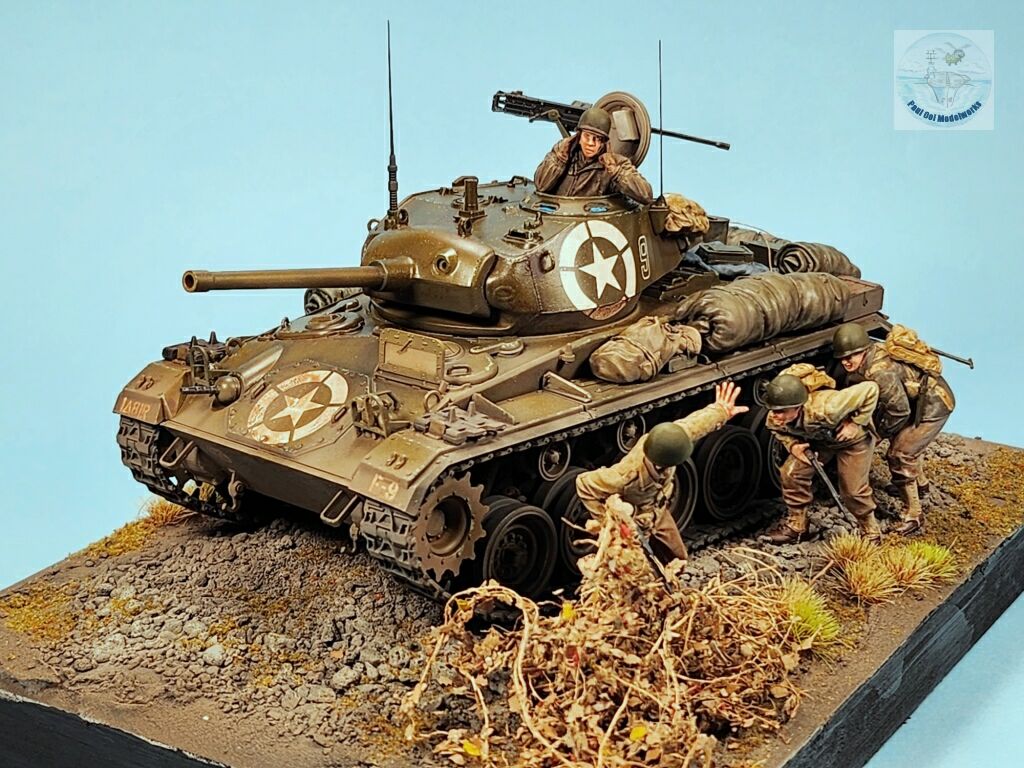
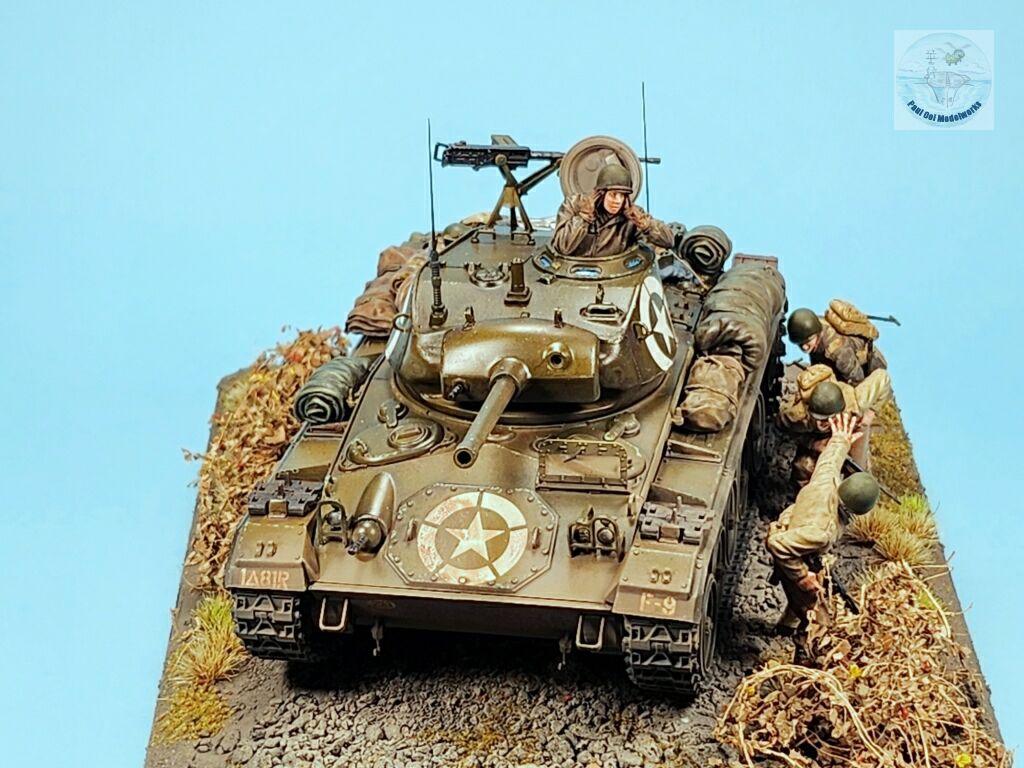
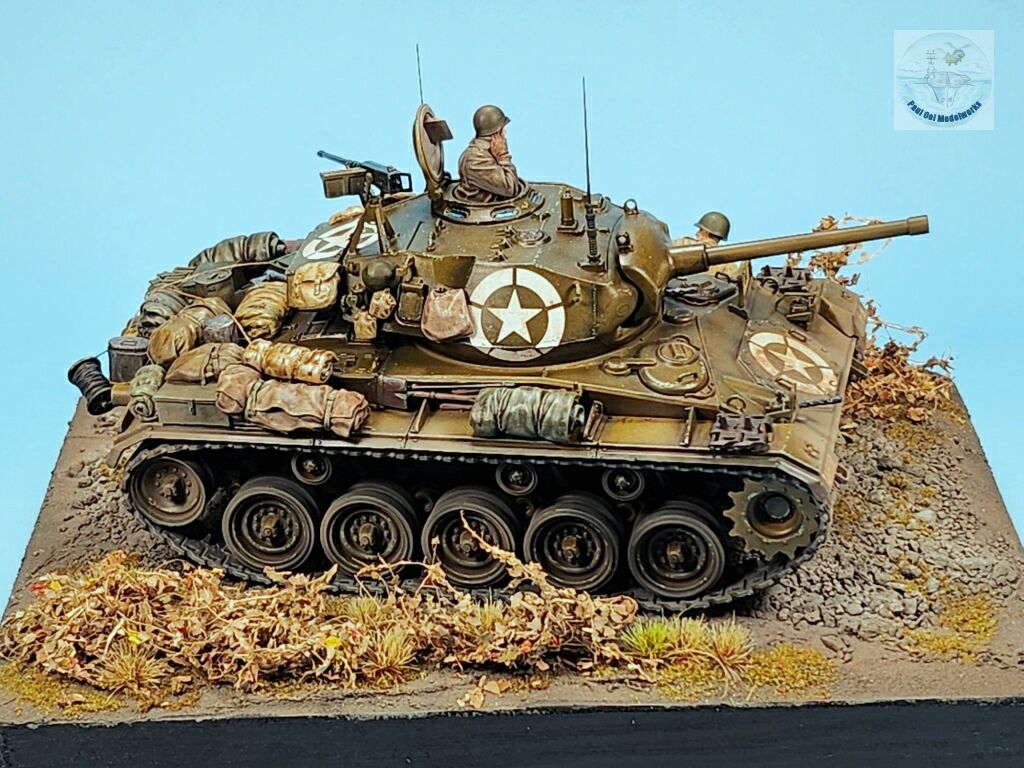
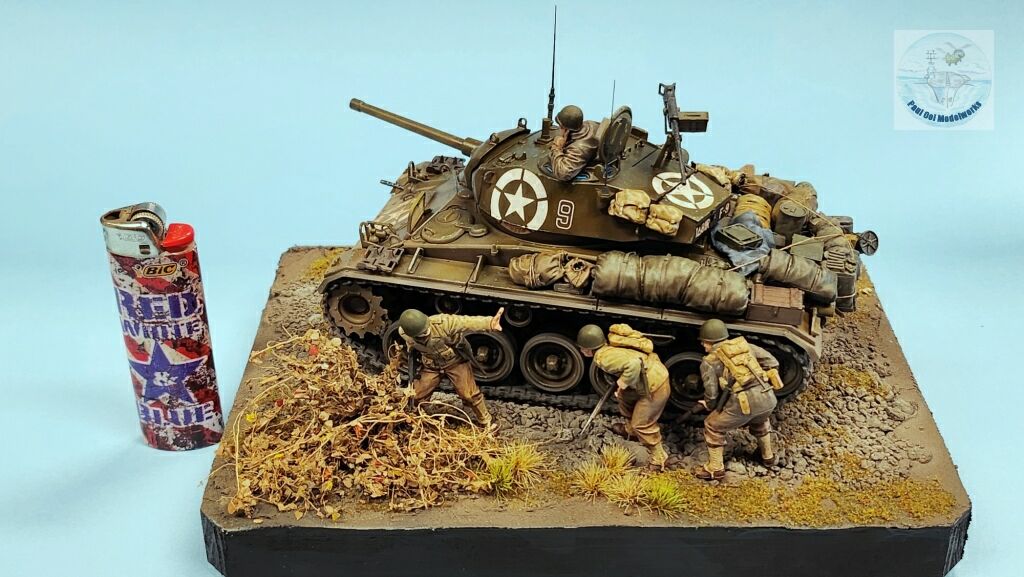
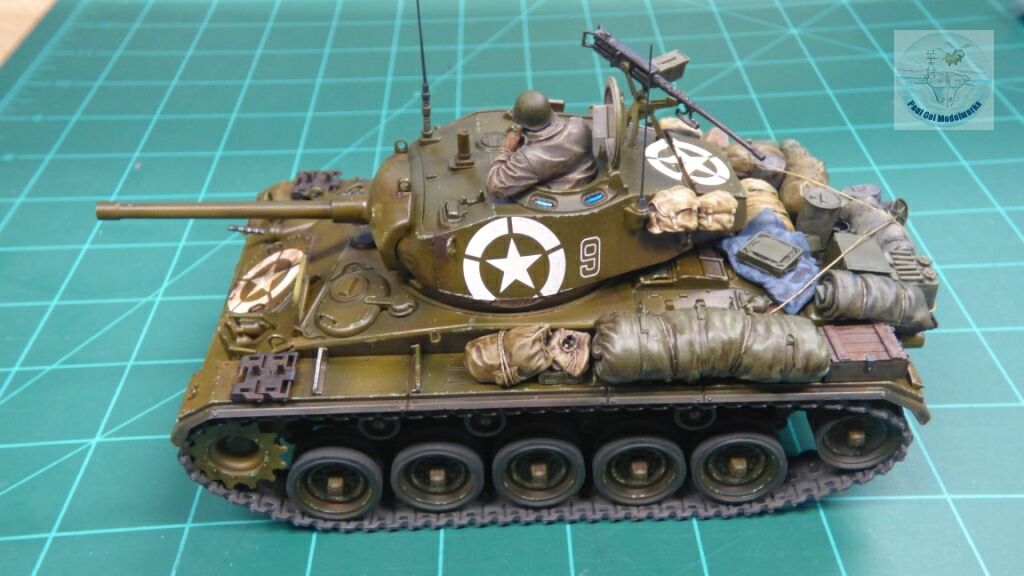
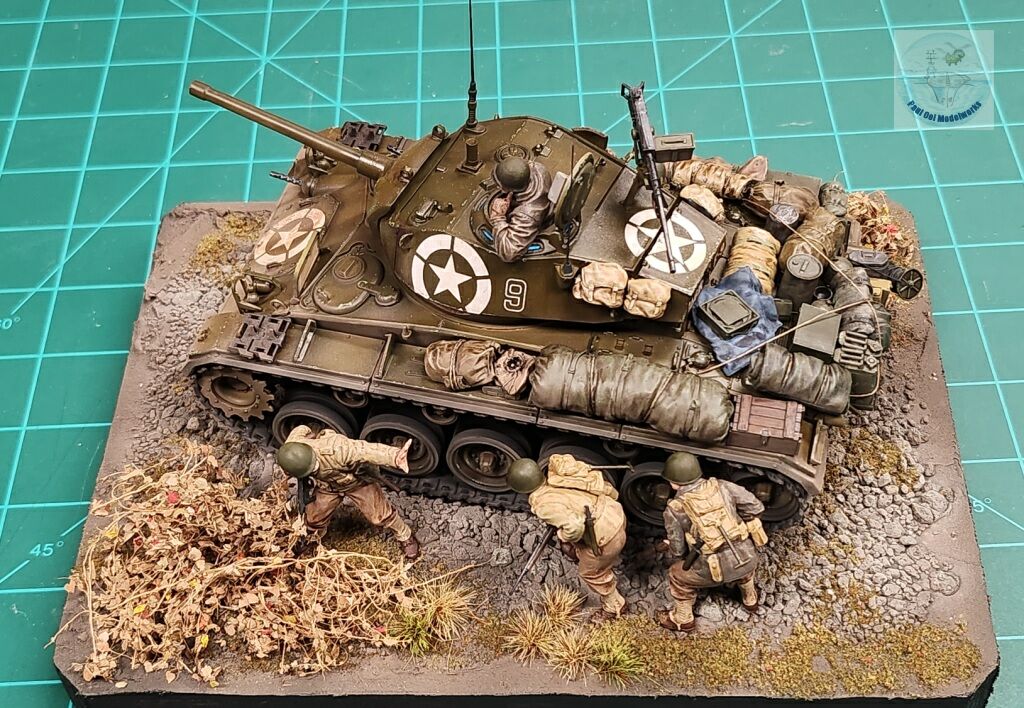
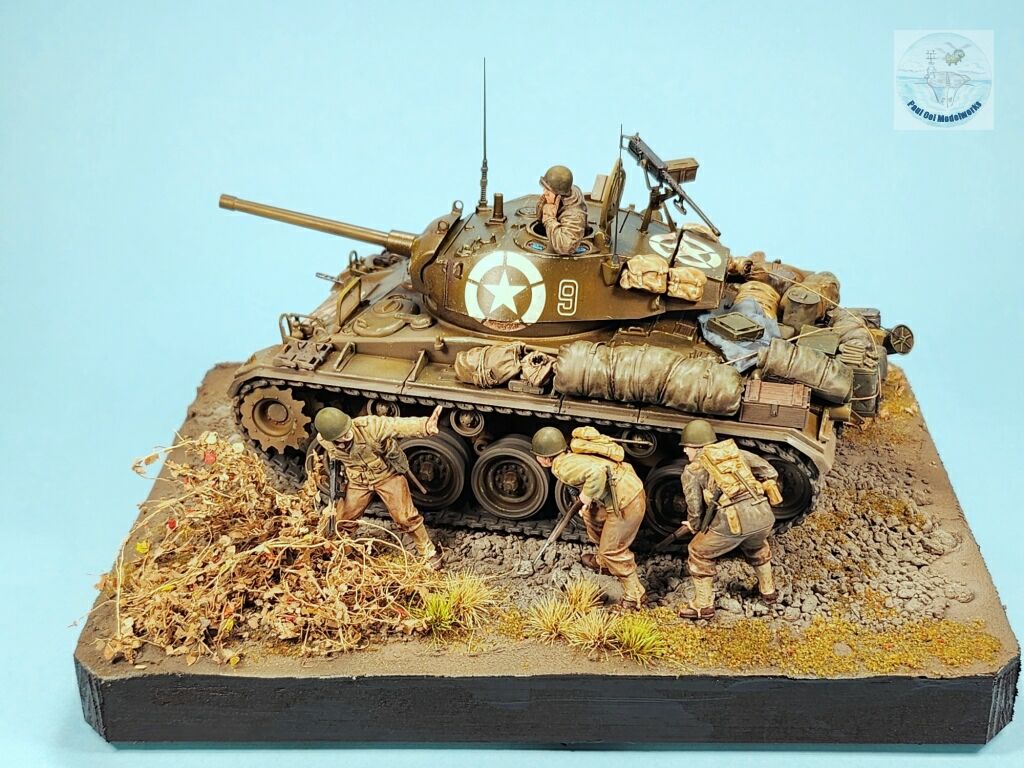
This specimen carries the markings of the US Army 81st Recon Squadron of the 1st Armored Division in Northern Italy in the spring of 1945. The US 5th Army was trying to breach the tenacious German defensive line, called the Gothic Line that Kesselring had established just south of Bologna along the Appenine Mountain Range. The constrained geography and the difficult terrain made it very difficult for the Allies to breach the German defenses after the Monte Casino campaign in the fall of 1944. In the early spring of 1945, US reconnaissance units, like this one with light tanks and infantry squads began to probe German positions along the Gothic Line, looking for weak points and gaps. The Germans eventually withdrew from the Gothic Line when the Allied pressure grew on the Eastern and Western fronts, allowing breakthroughs for the Allied forces in Italy to move into Austria and Southern Germany.

Gallery
https://www.paulooimodelworks.com/wp-content/uploads/2026/04/f3e42041-20ab-4997-819d-f985500b259e-1_all_30786.mp4


Construction Notes

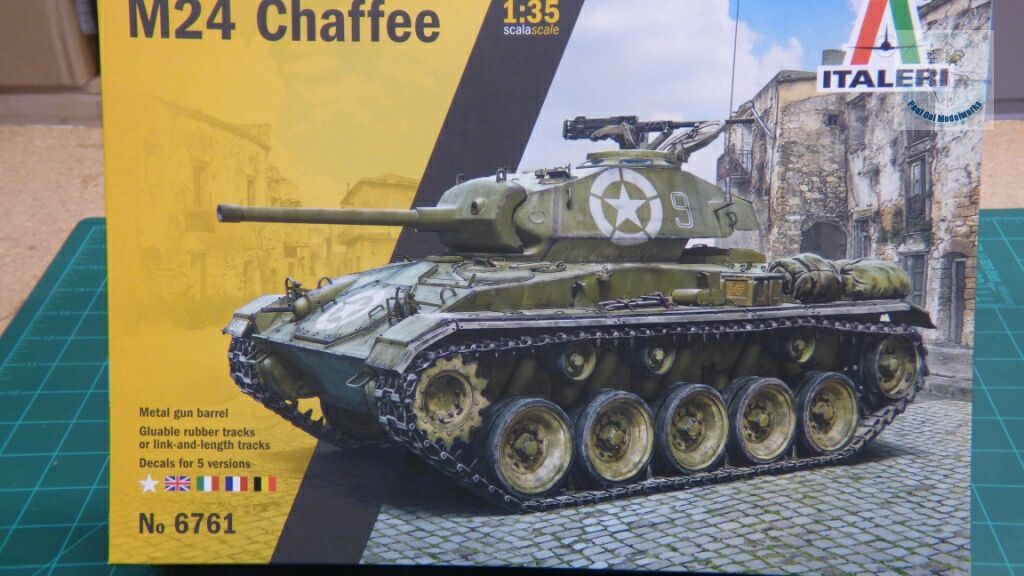
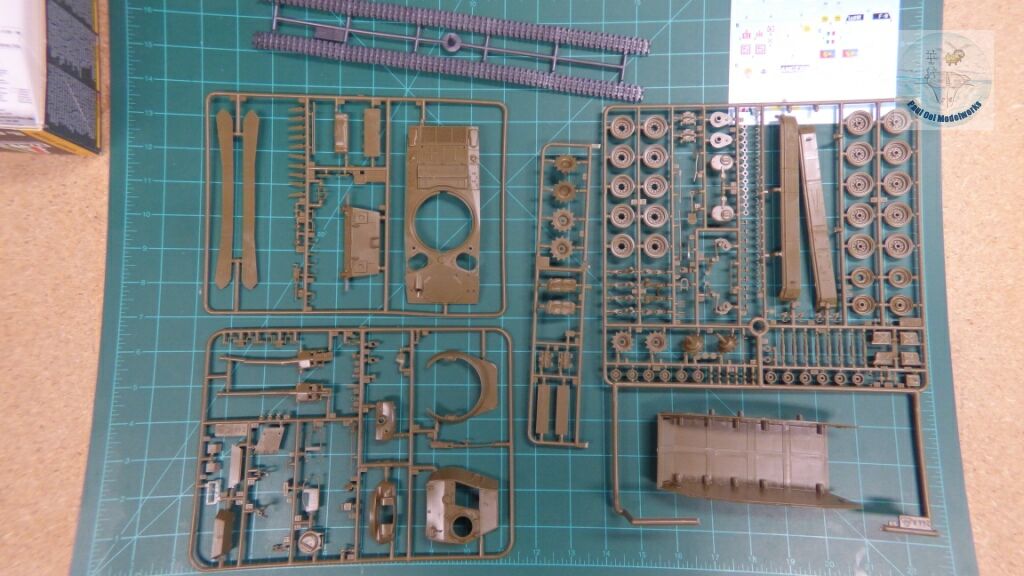
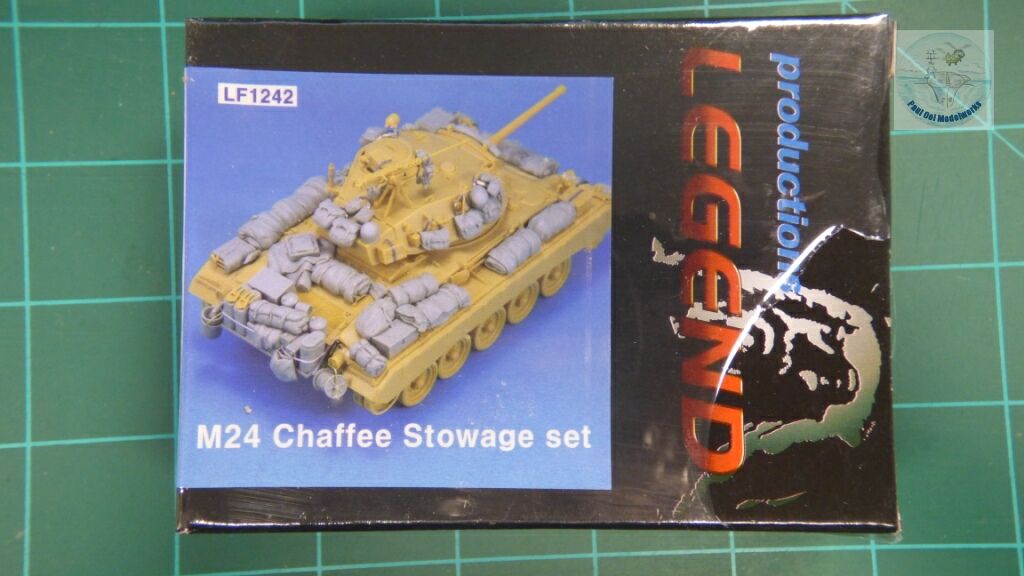
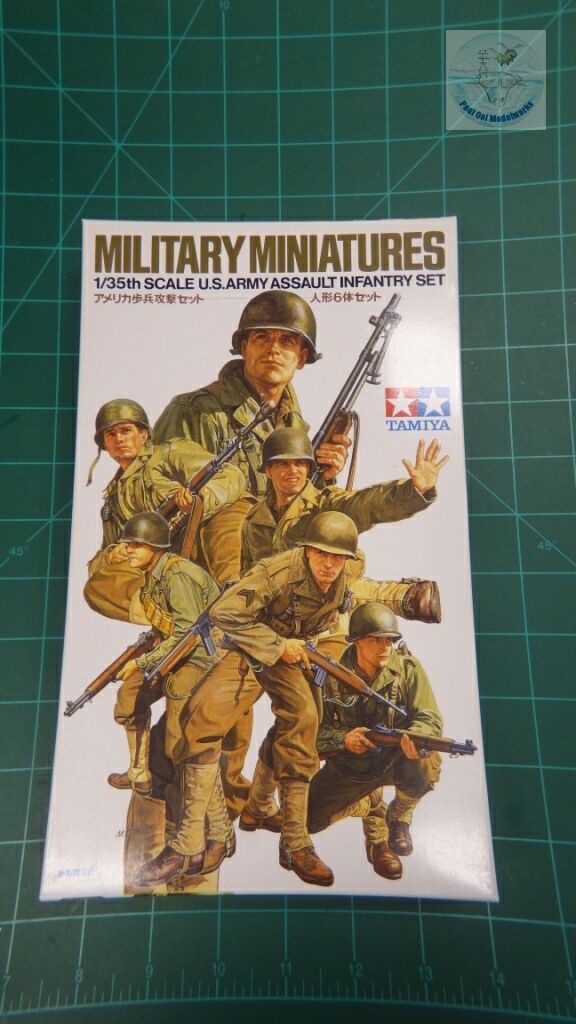
As I was building the Light and Mighty series, I started looking for a 1/35 scale kit of the M24. There were only two real choices, the venerable Italeri/Tamiya kit made from a 1986 mold with some improved parts, or the rarer AFV kit. At the time of this writing, Tamiya is about to roll out a brand new tooling for the Chaffee which will probably be excellent at a higher price point. I decided to go with a recent Italeri re-issue with an aluminum barrel (which turns out to be a very good thing as we shall see). To provide more details for the diorama vignette, I bought resin stowage parts from Legend and Tamiya’s excellent US Army Assault Infantry. Considering that the mold itself dated from 1986, the details were crisp and flash free, except for a badly broken up gun barrel section on the plastic tree. The fit was generally very good, again, considering the age of the mold.
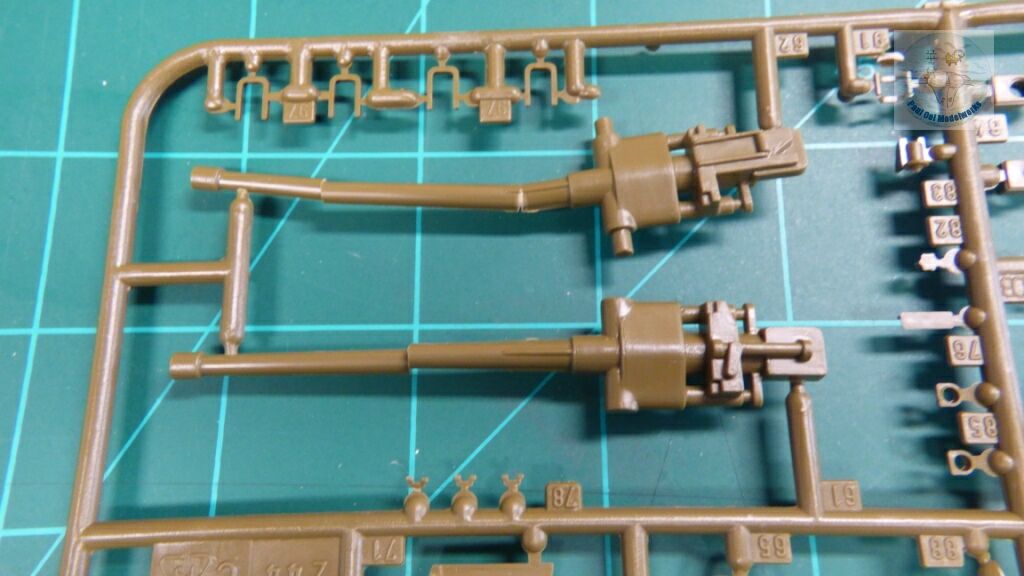
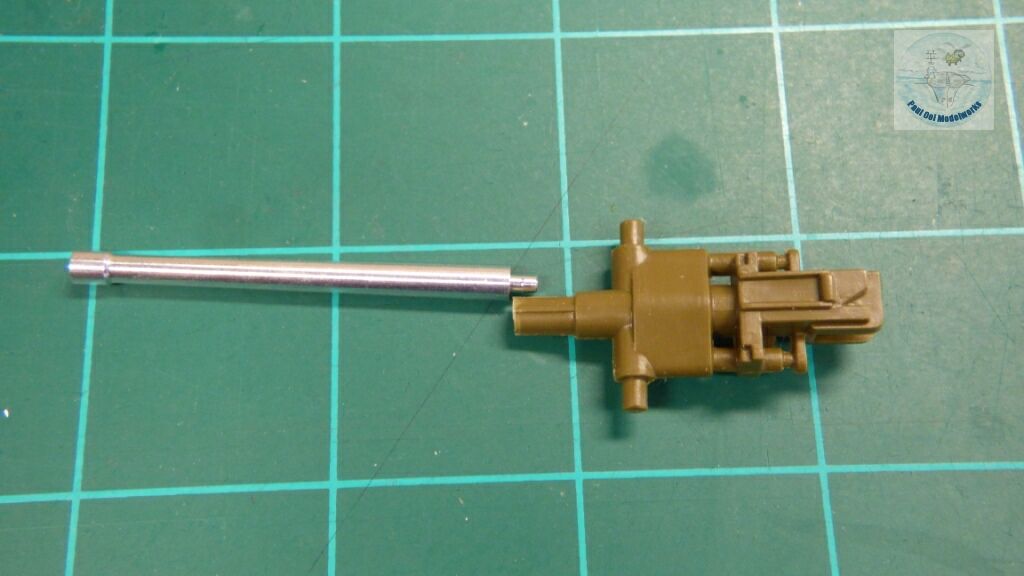
This was the problem with the plastic gun barrel. So badly broken and bent. I am glad that the kit came with a metal gunbarrel.
I started with the gun barrel assembly first. The kit instruction visuals are misleading as to where the grafting of the metal barrel goes to. DO NOT cut at the base of the gun mandrel There is a section about 1/4″ from the gun mandrel where there is a thinned out ring section in the plastic to cut and fit the root of the metal barrel to. Otherwise, your gun assembly will be too short.
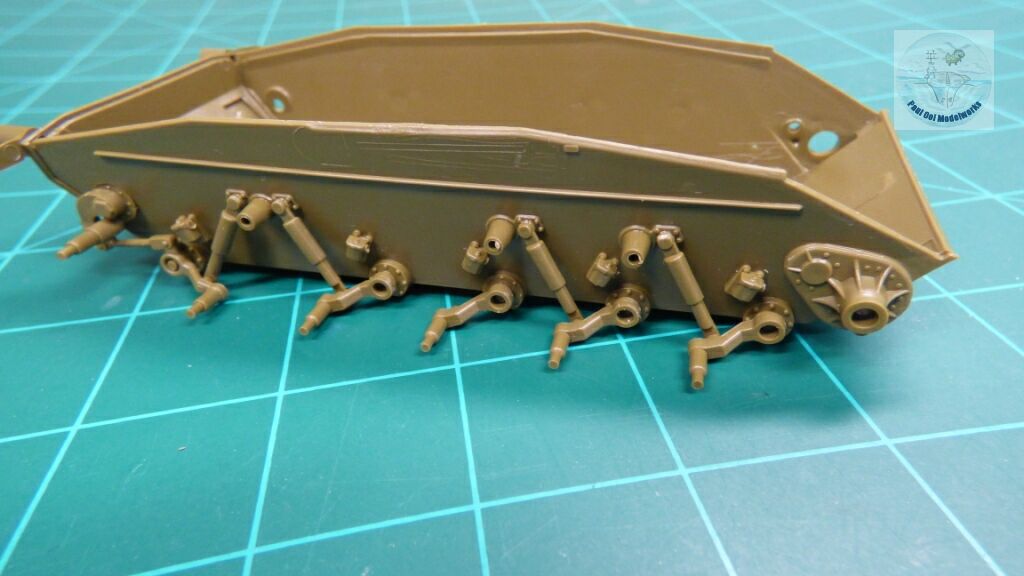
Once the gun assembly is settled, I go on to build the main hull tub and chassis.
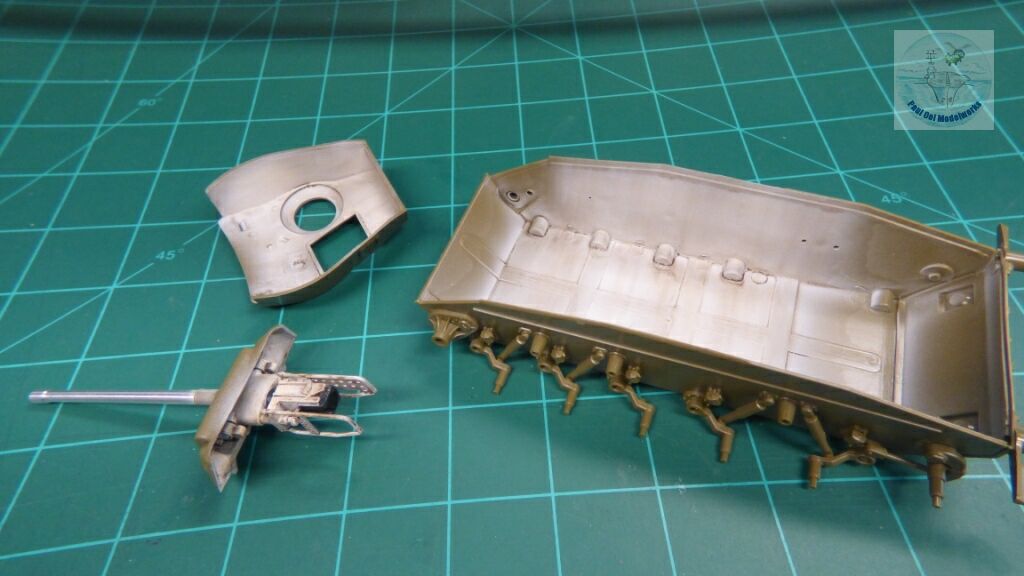
The interior areas of the hull tub, turret, and gun breech are painted Tamiya XF-2 Flat White, and then given a Burnt Umber oil wash.
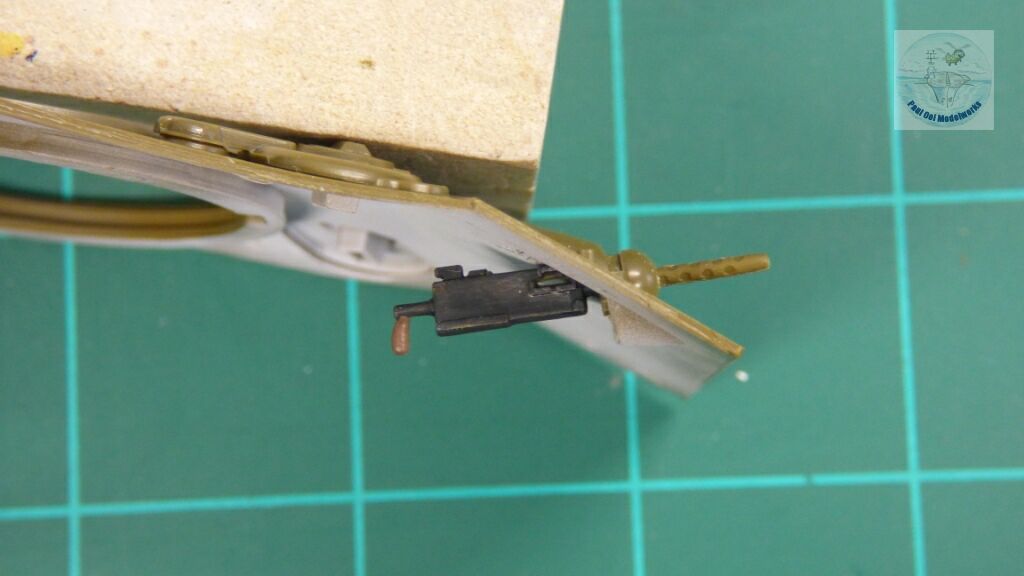
The hull machine gun has to be mounted before closing the hull assembly due to its inaccessibility after that step.
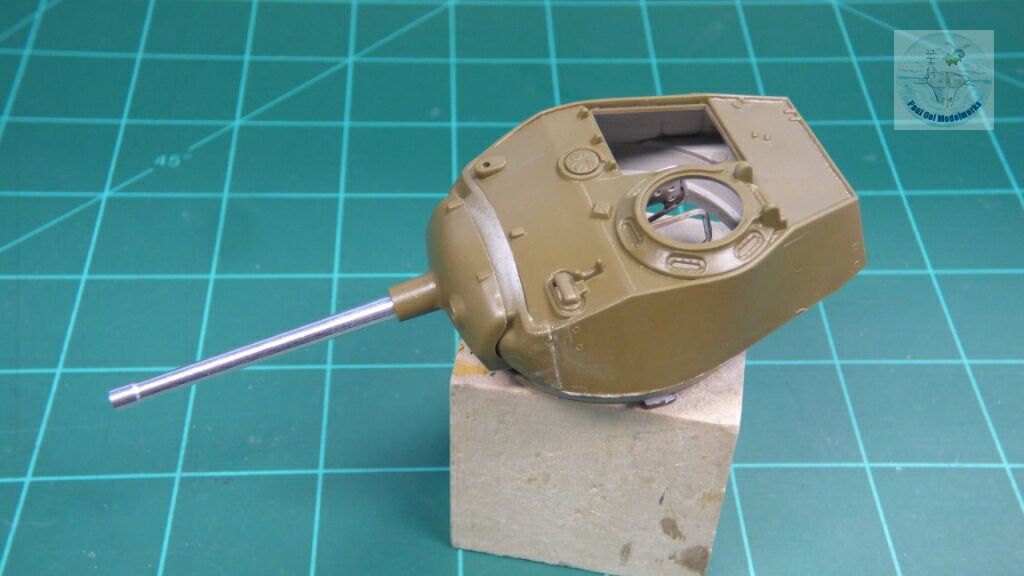
The turret and gun assembly is completed. Make sure that the main gun can still move across its range of elevation after assembly.
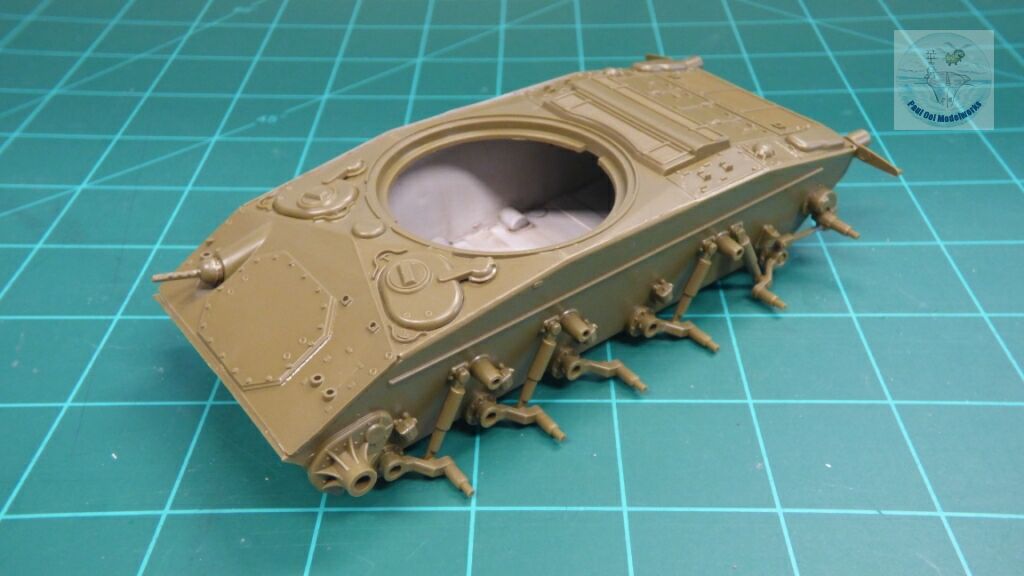
The main hull is all closed up and ready for exterior details.
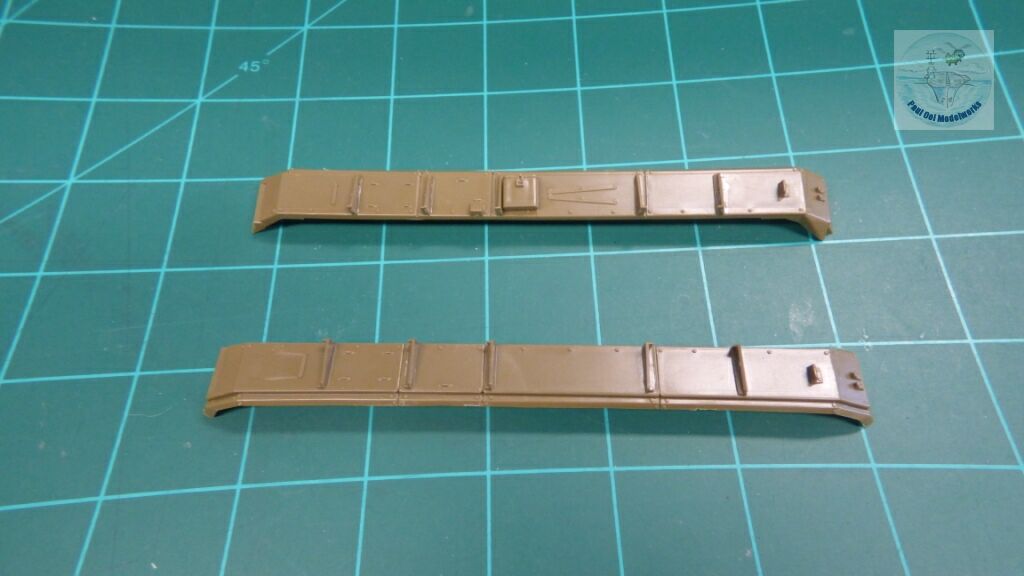
The two side fenders are built but left off the main hull until the tracks are fitted.
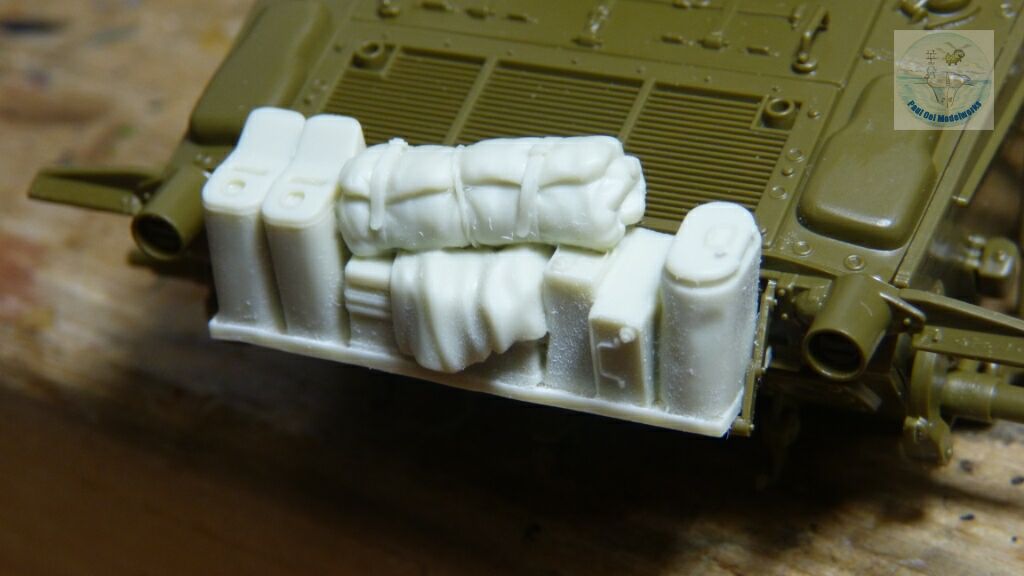
Dry-fitting of the resin casted rear stowage items to get the supports in place.
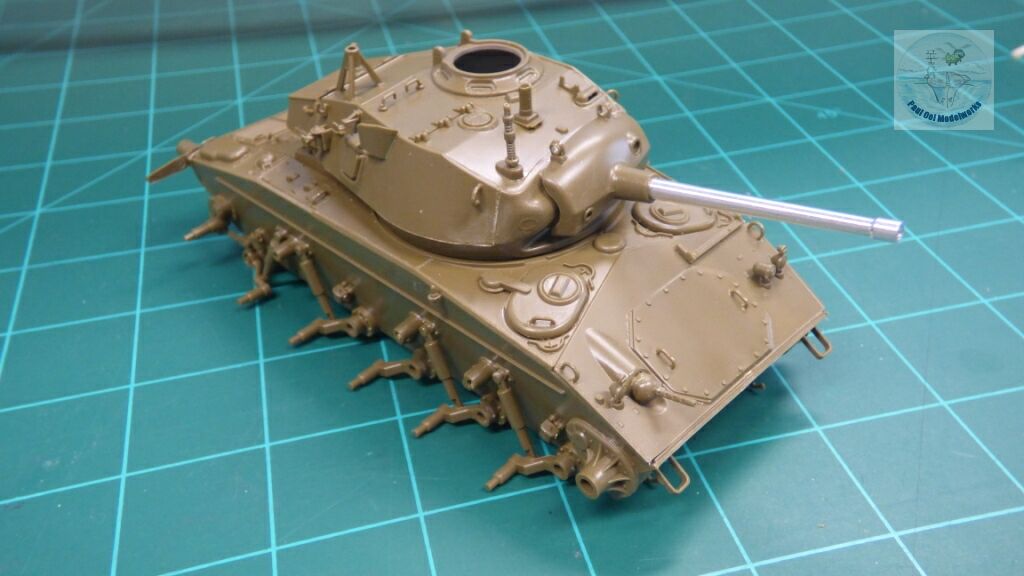
Trial fitting of the turret assembly to the main hull. Note that most of the hull exterior fittings have been afixed.
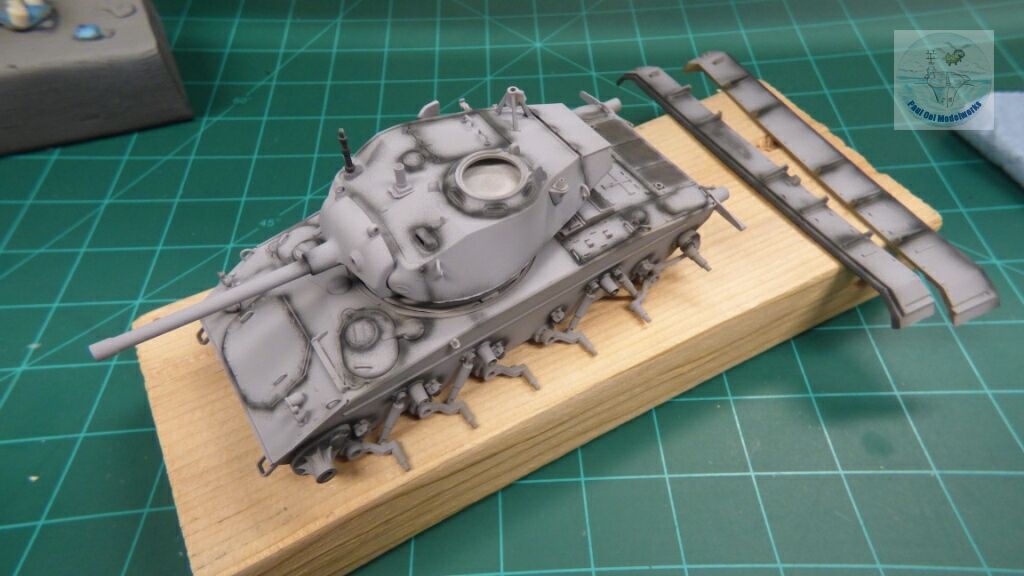
The usual priming and under-shading of Tamiya XF-19 Sky Grey and XF-69 NATO Black.
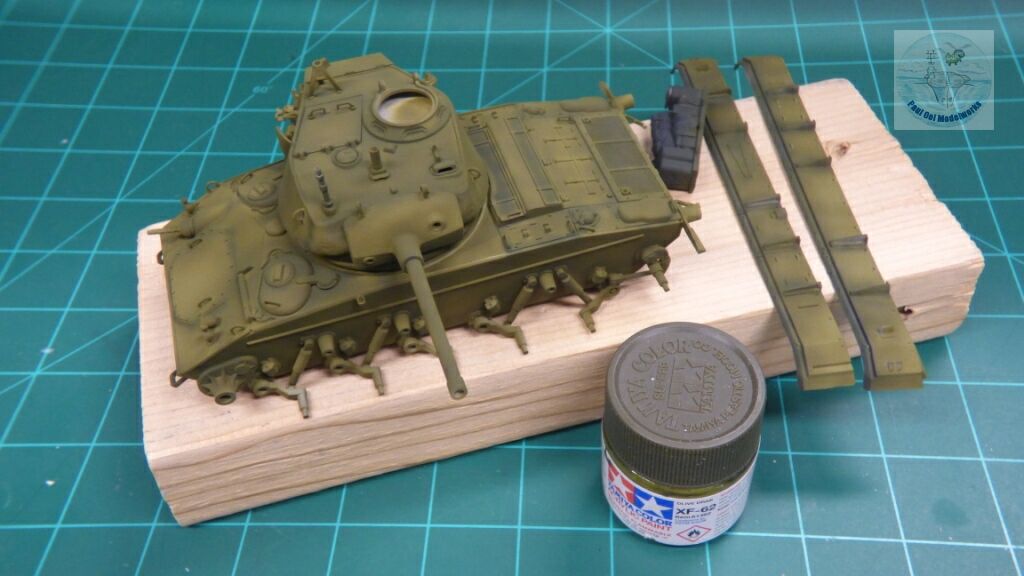
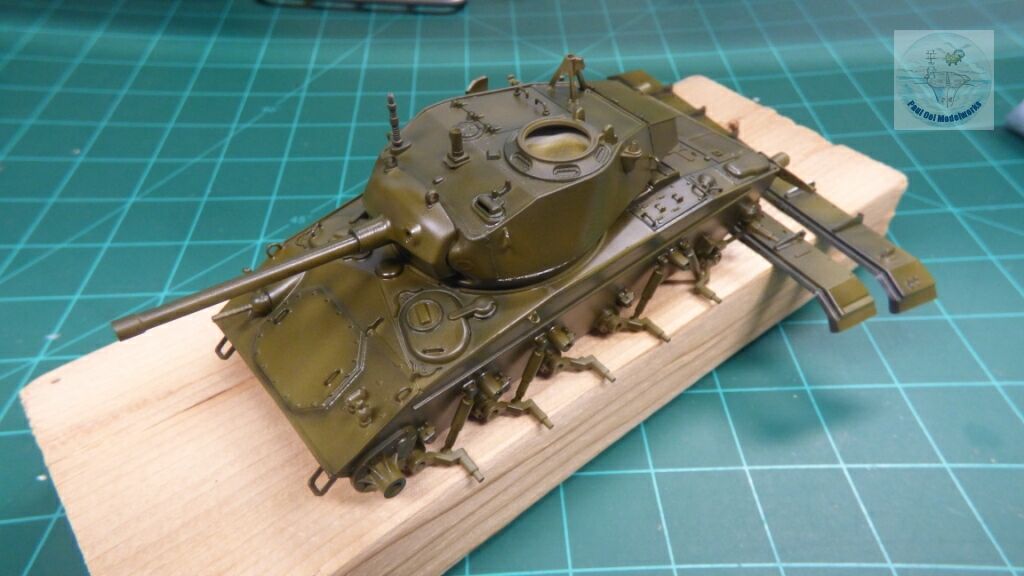
Overall color of Tamiya Olive Drab XF-62, thinned enough to allow the under-shading effect to show through.
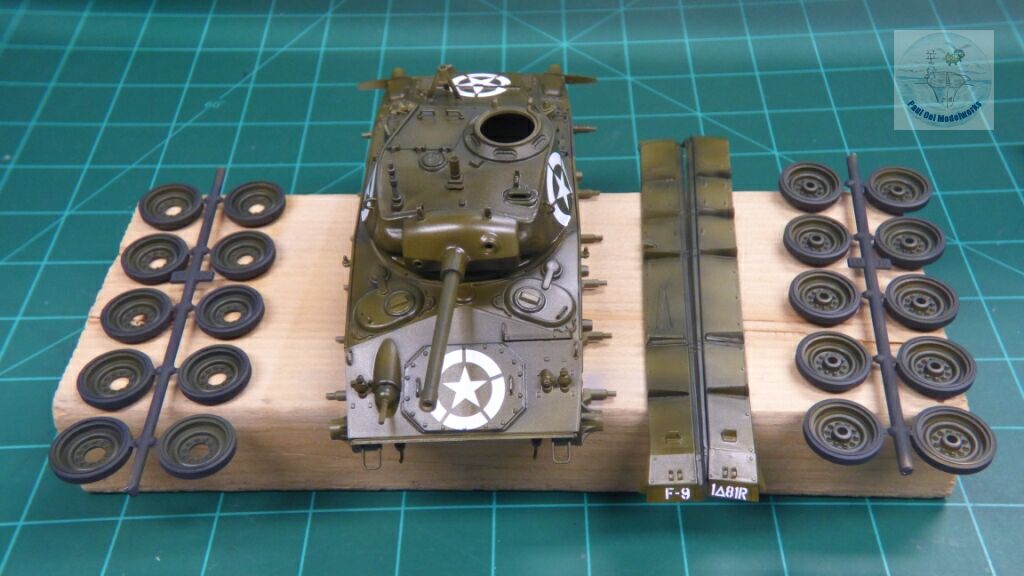
Pledge Floor Polish gloss varnish to prep for decal application. Given the size of the stars and circle, this is a necessary step to prevent silvering of the decals.
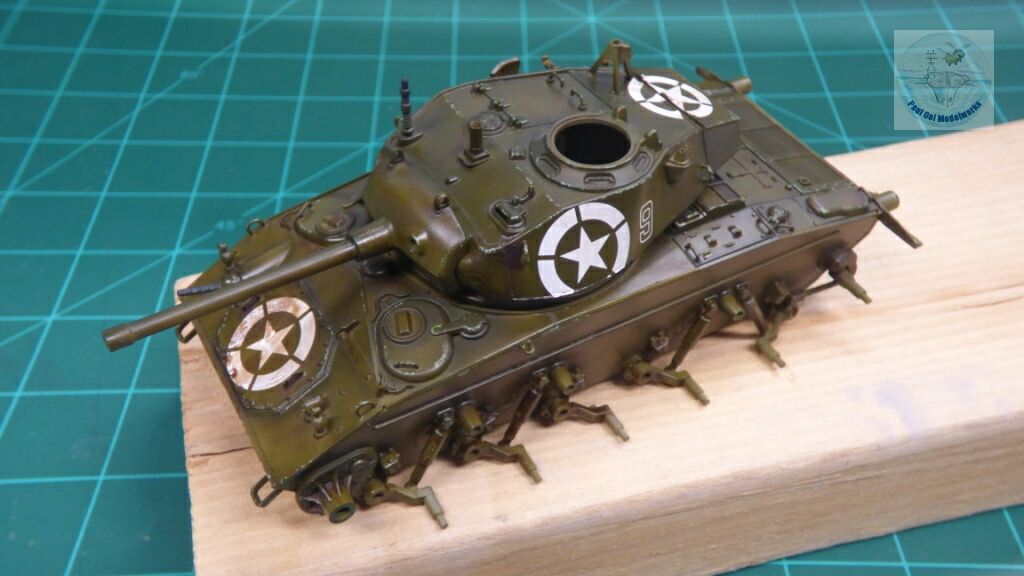
Decals are completed, and the next layer of satin varnish applied over the entire tank.
First, chipping of the worn surfaces with Tamiya XF-71 Cockpit Green and XF-69 NATO Black. Then, we apply an oil wash of 100% Burn Umber.
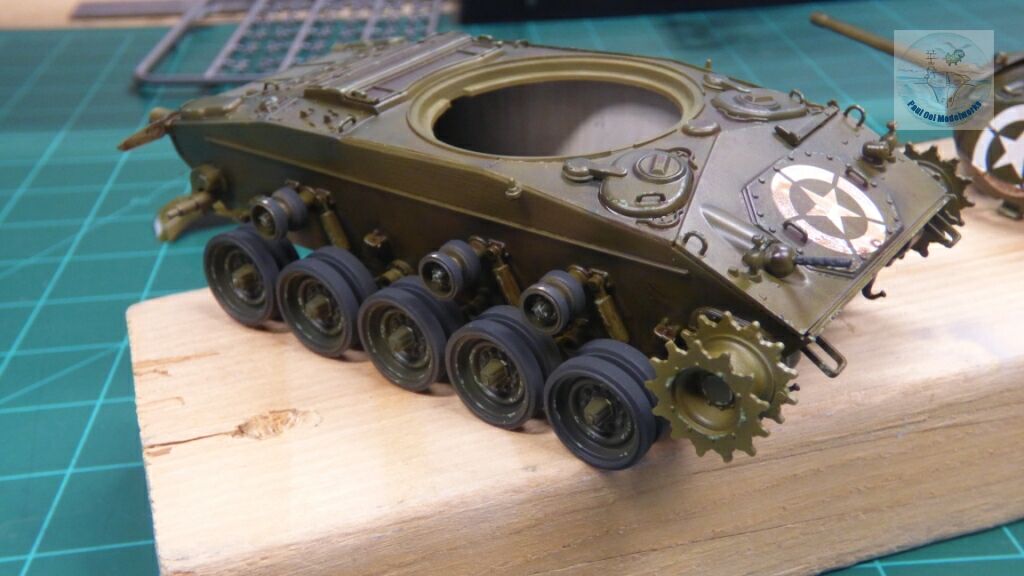
The front sprockets, road wheels, and the top idlers have been added. Note, that I have left off the rear idler. This will facilitate the application of the tracks in a short while.
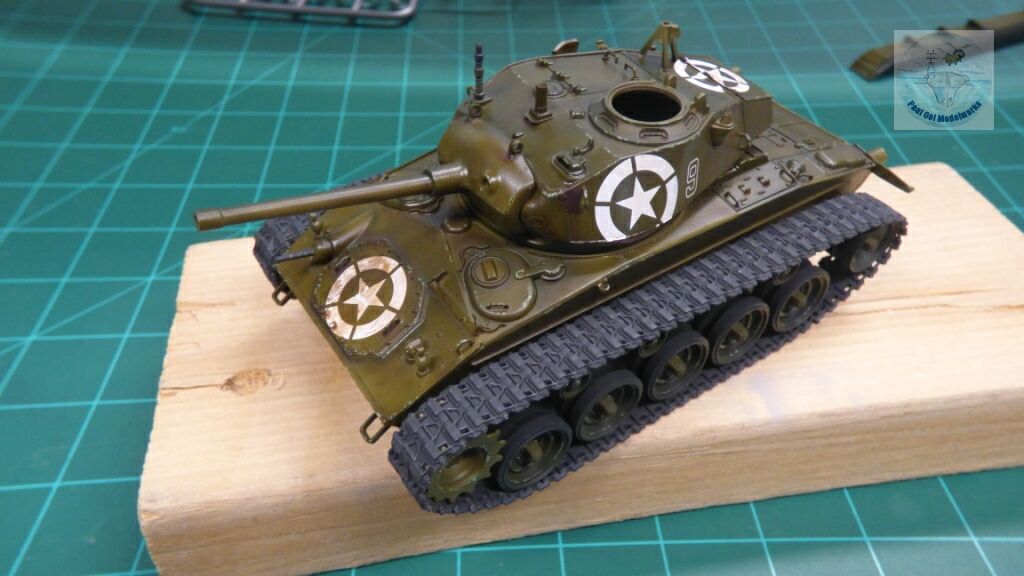
I decided to use the rubberized tracks because looking at the actual tank specimens, there is hardly any draping or sagging of the top tracks over the idlers. As such, the rubber tracks work well enough and much faster.The rubberized track ends are bonded with superglue, and then stretched over the wheel array by using the last idler as the tensioner.
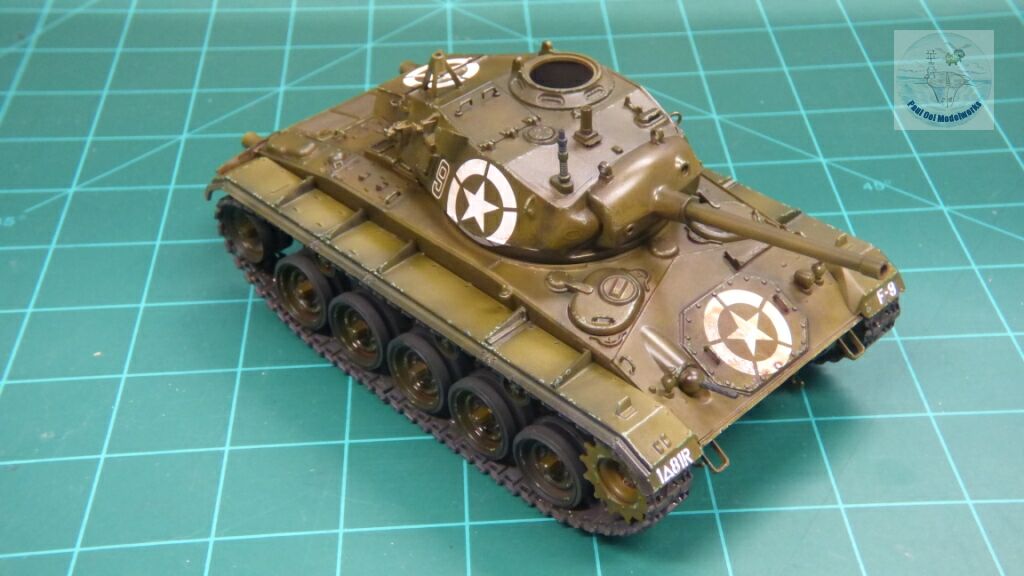
The tank proper is complete, more or less.
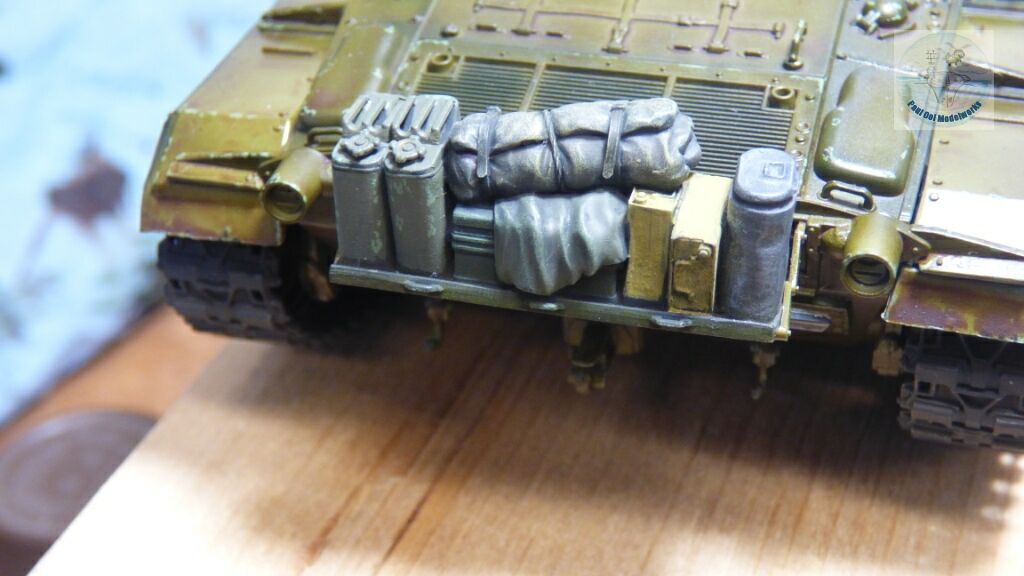
The previously dry-fitted rear stowage have been painted, and now fitted permanently to the tank rear.
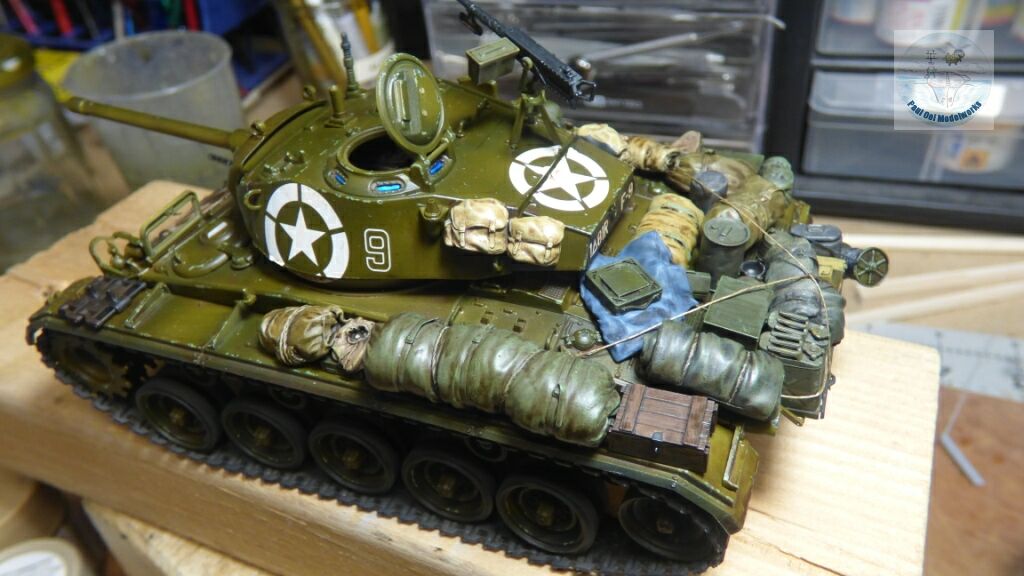
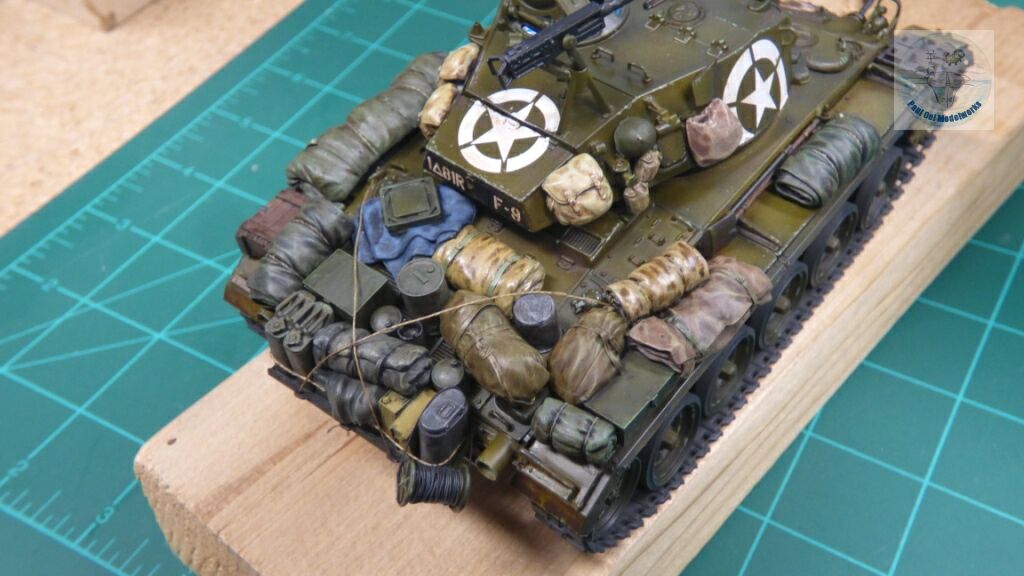
Resin stowage stuff on the port side
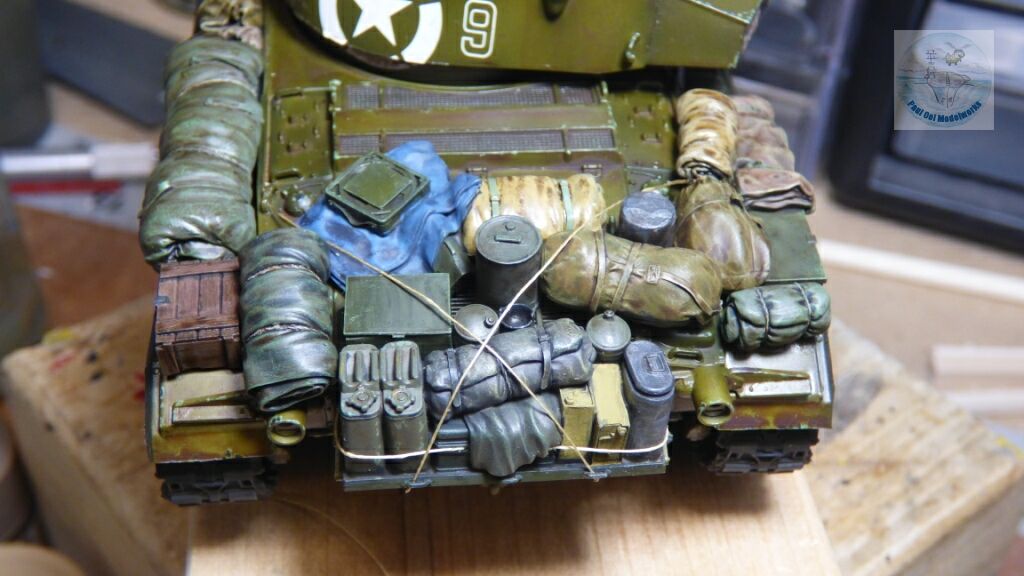
Resin stowage on the rear engine deck and also on the starboard side,
Securing “ropes” using spare ship rigging thread stretched over the resin items.
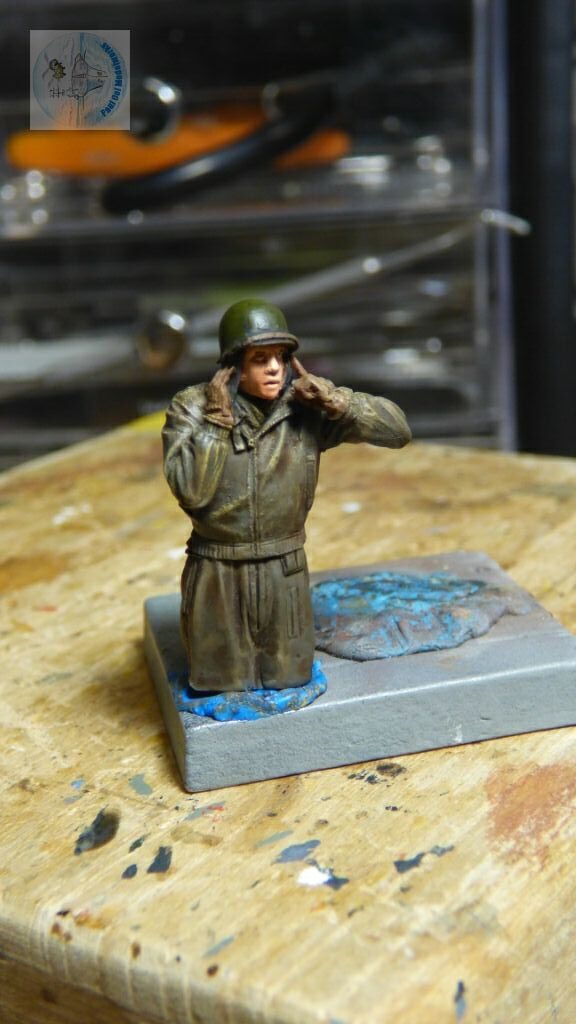
Resin commander figure painted using wash-and-dry brushing method in Tutorial 19.
Commander figure inserted into turret cupola.
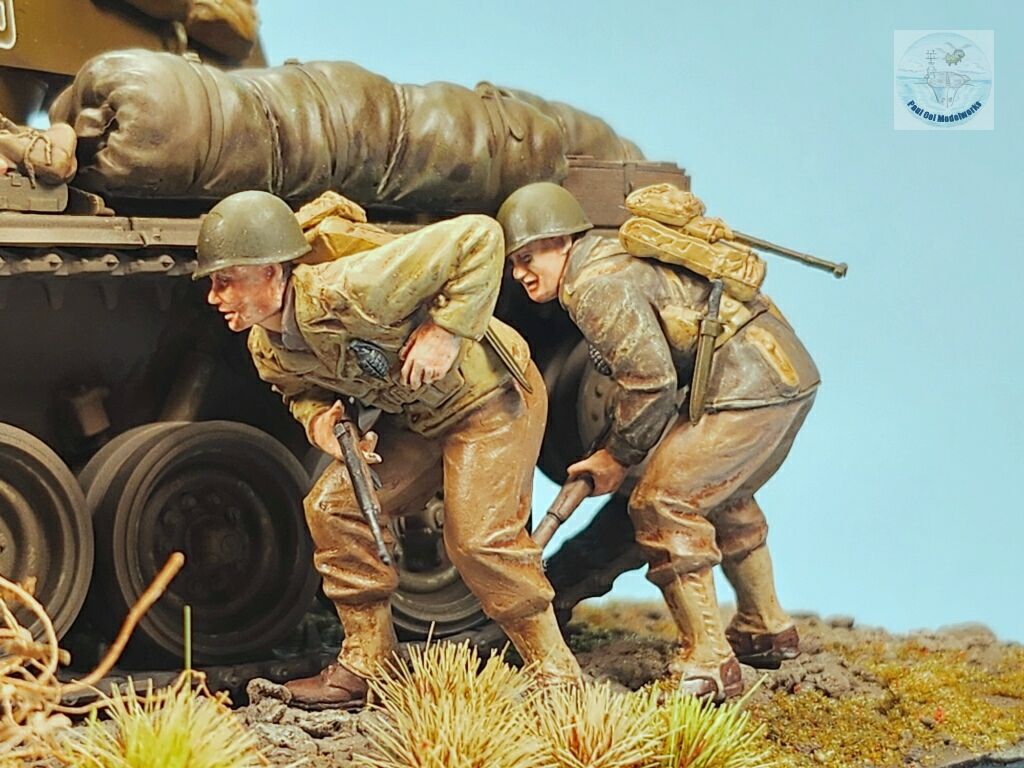
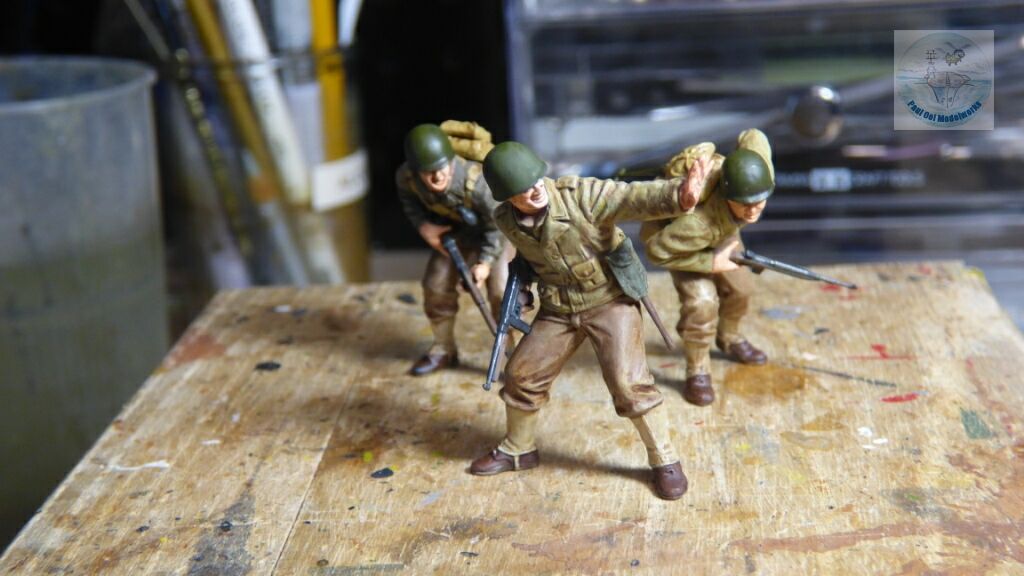
Assault team figures painted using Tutorial 19 wash-and-dry painting technique.
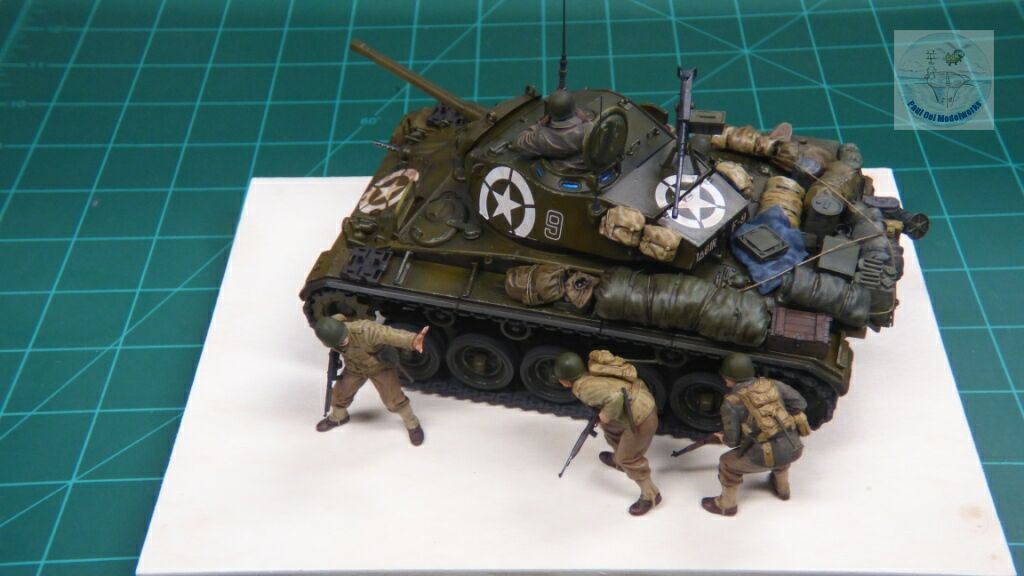
Trial arrangement on the diorama base.
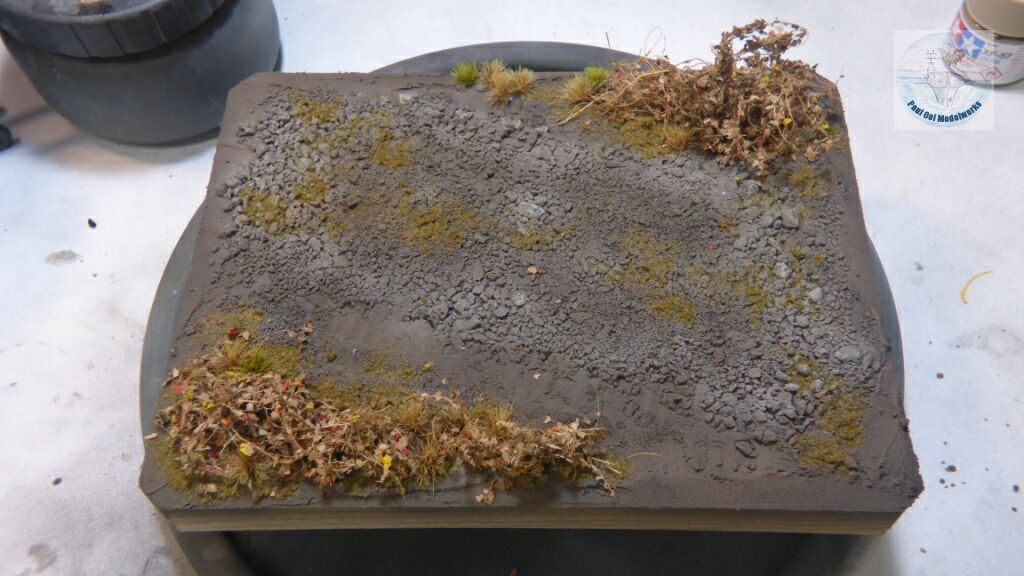
Diorama base showing a countryside rocky road in March with some early spring vegetation and dormant plants.
Final diorama arrangement.

April 11, 2026 · Leave a Comment

Previous Post: « FMA IA 58A Pucará of the Malvinas – The Argentine Flying Fortress

Reader Interactions

Leave a Reply Cancel reply

Your email address will not be published. Required fields are marked *

Primary Sidebar

Hey! It is nice to meet you!

Paul Ooi Modelworks welcomes casual visitors browsing, and enjoying the pictures as well as more serious fellow modelers looking for tips and references on the art of making miniatures and relishing in the challenge. I will be more than happy to answer any questions you may have about the models.

Please feel free to leave a comment or a question.

  • Email
  • Instagram

NEVER MISS A POST

Member of International List of Scale Model Related Web Sites

International List of Scale Model Related Web Sites

Paul Ooi Modelworks

NEVER MISS A POST

Sign up for notification on new posts.

Footer

  • Email
  • Instagram

Categories

  • Privacy Policy
  • Disclaimer
  • Copyright

© 2011–2026 · Paul Ooi Modelworks · All Rights Reserved