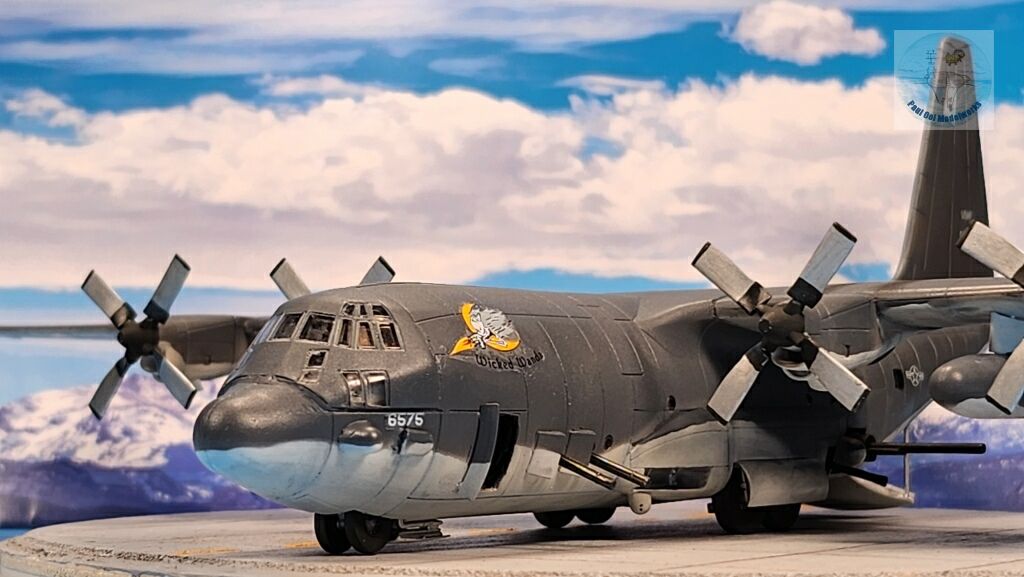
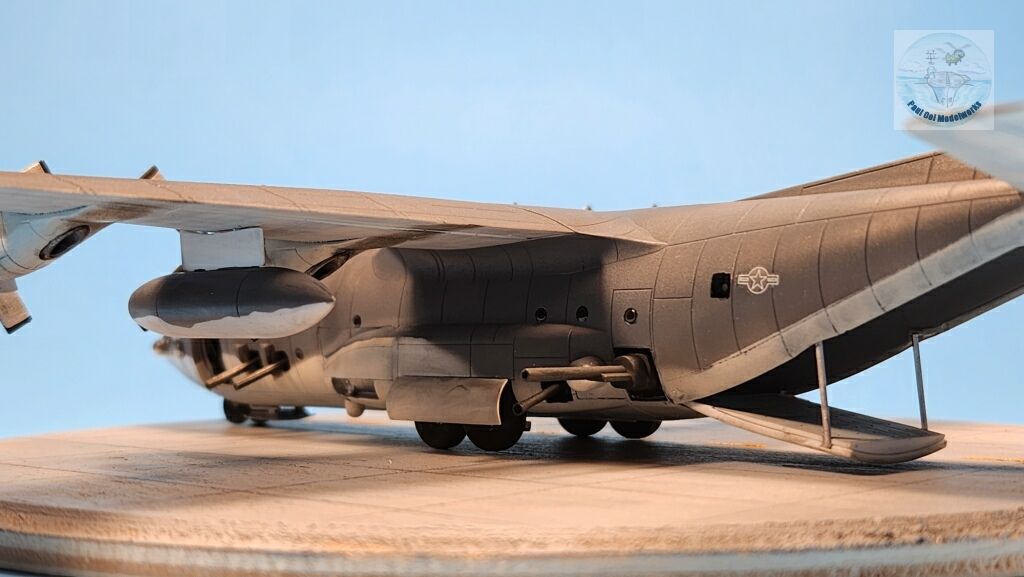
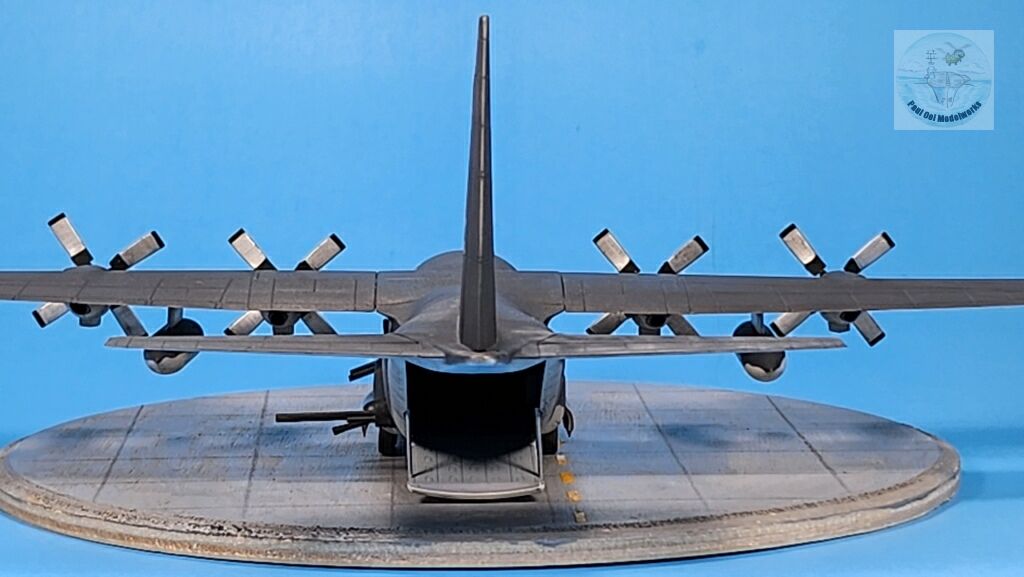
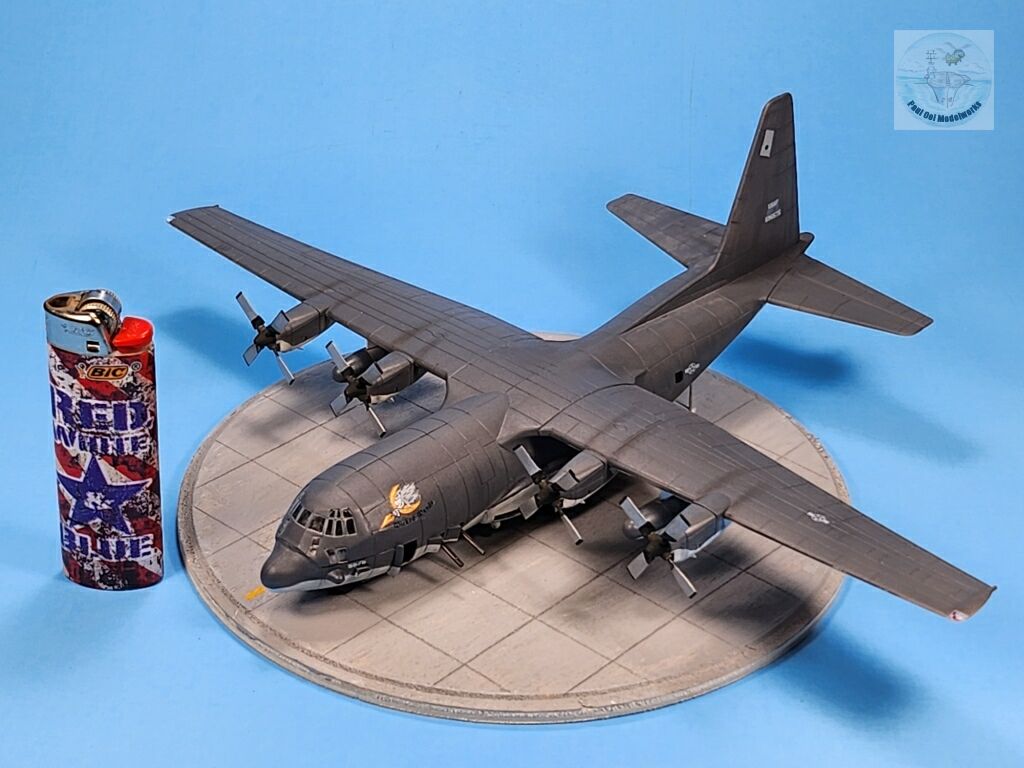
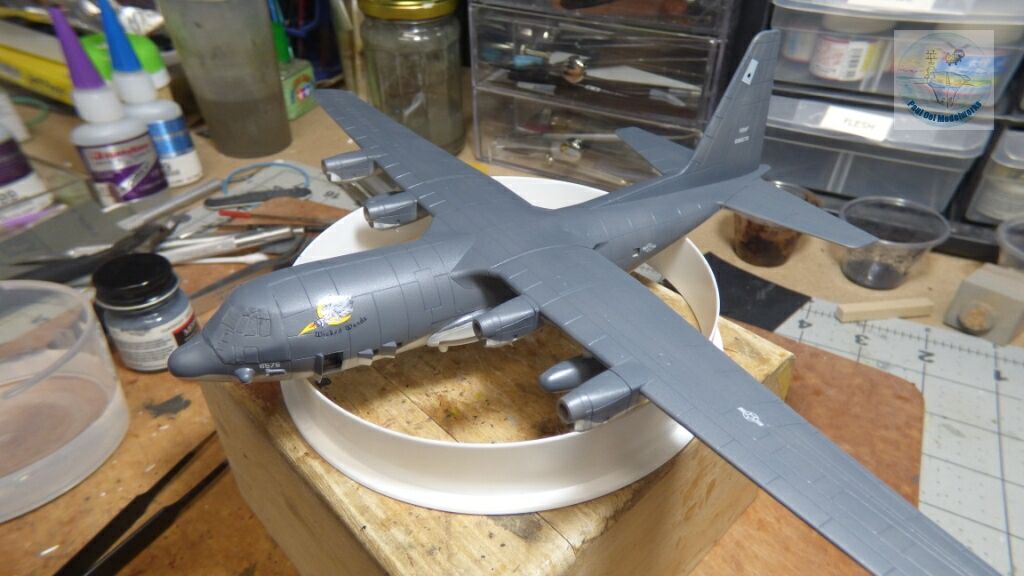
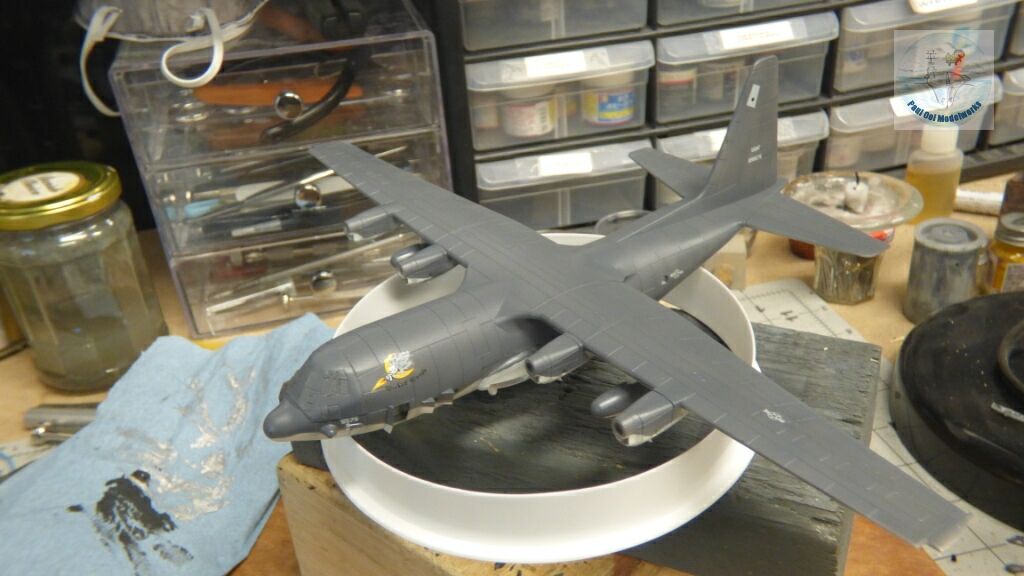
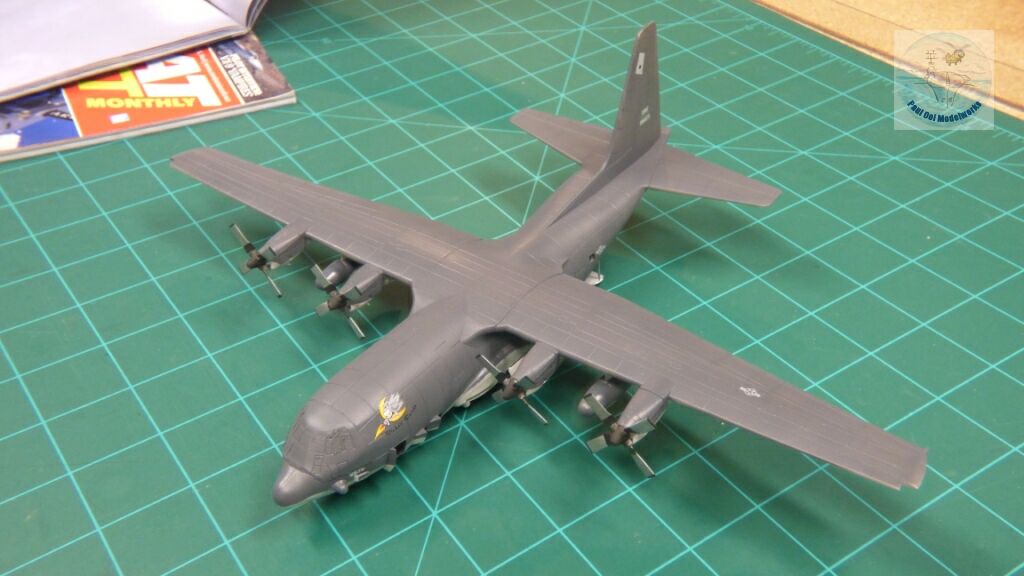
Among America’s weapons deployed against the insurgents in Afghanistan and Iraq, one of the most feared for lethality and its psychological effect is the AC130-series gunship. Originally started in the Vietnam War when Gatling machineguns were mounted through the windows of the DC-3 cargo planes, the weapons got heavier and more sophisticated over time. The aircraft also got larger, culminating in these customized Hercules C130s that get loaded with special sensors and cameras to help guide the weapons loaded facing the port side of the fuselage. The gunship works by receiving a target coordinate, and then the pilot circles that location at a known radius and banks the aircraft at a 45 degree angle. The resultant fire cone concentrates all the onboard weapons into a very small kill zone, with deadly saturation. Wicked Wanda served the USAF as a gunship from 1980 until it was decommissioned in 2015. In this kit version, Wicked Wanda was fitted with two Gatlings, one 105mm howitzer and one 40mm gun.
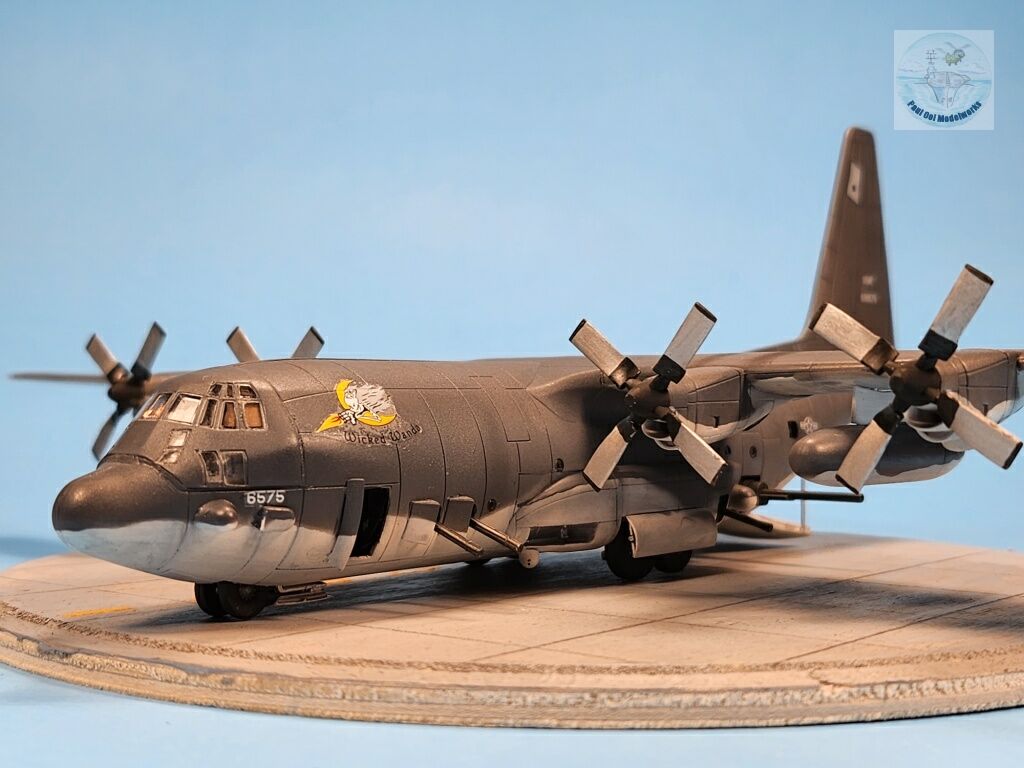
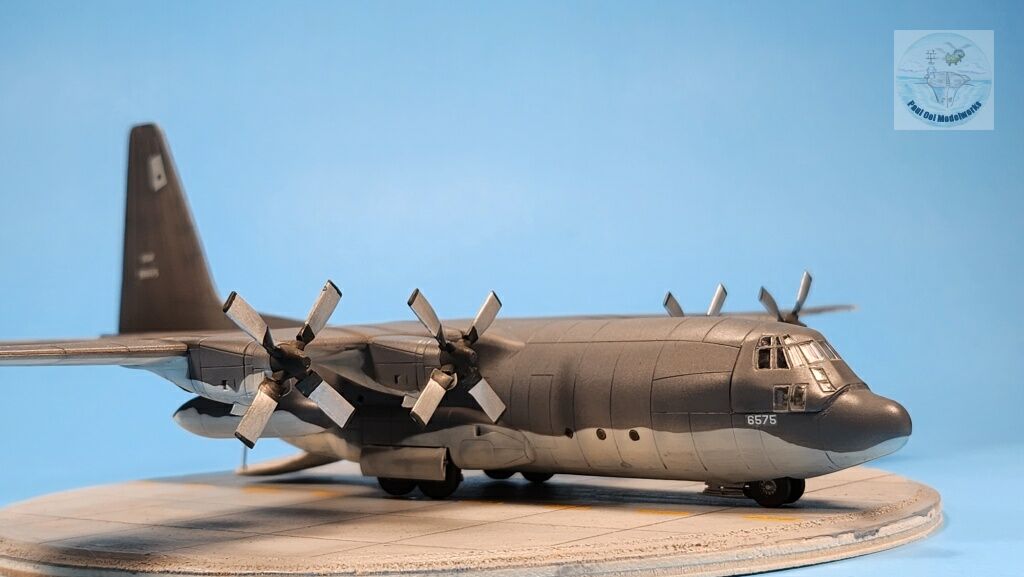
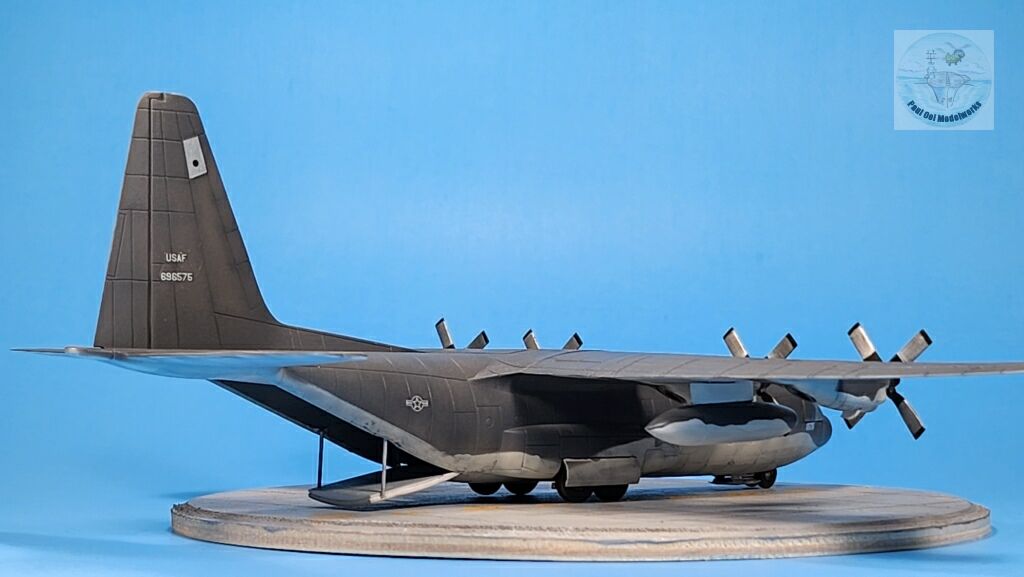
Most gunships were converted from former transport planes. Seen from the starboard side from afar, it still maintains its silhouette of a relatively “harmless” cargo plane, but the port side is just bristling with ordnance. Most aircraft were painted either totally Flat Black or Gunship Gray FS36118. I chose this color scheme that was more interesting with a two-toned finish with Gunship Gray on the top, and Light Gray FS36495.
Gallery

Construction Notes
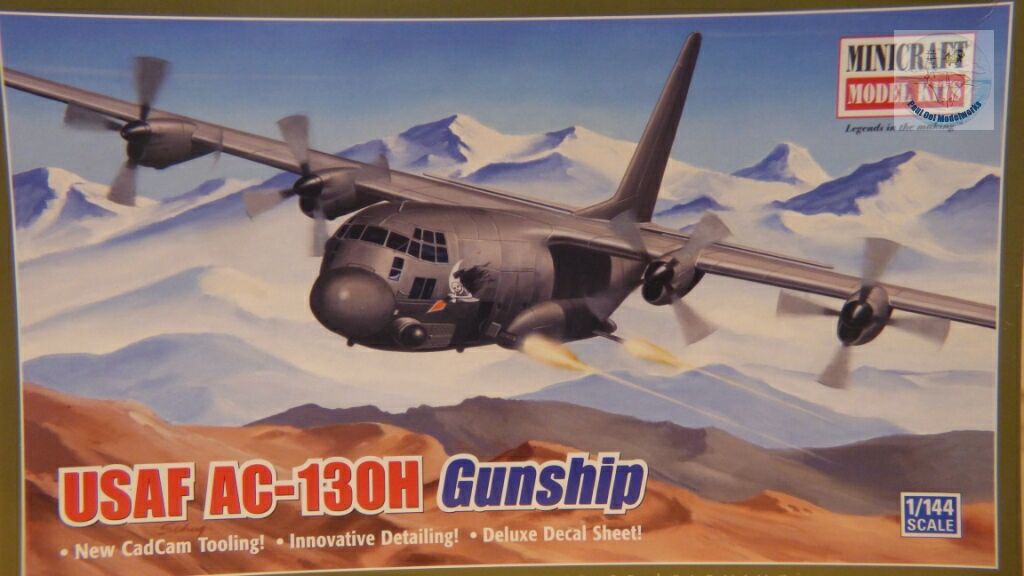
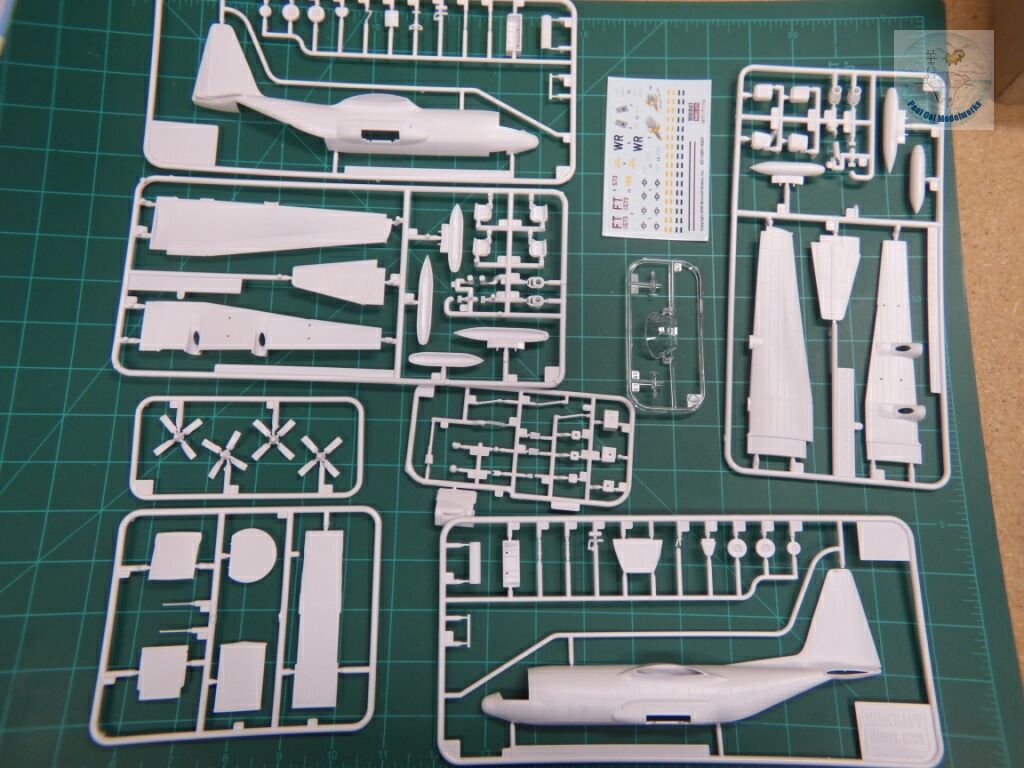
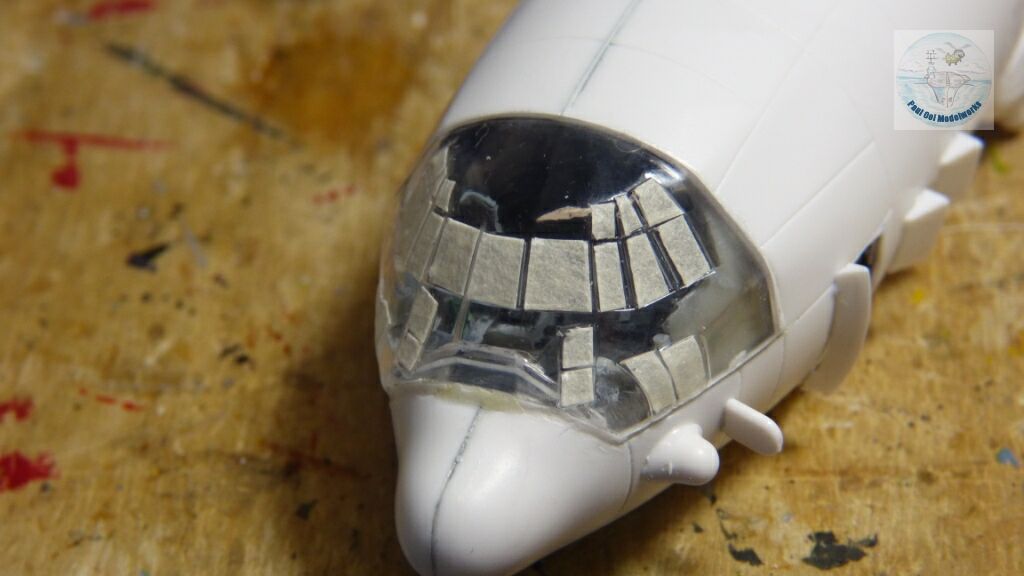
I bought this 1/144 scale Minicraft kit when it was newly issued back in 2007. I had always been attracted to the gunships, and this model is still a decent size in 1/144 scale. The mold details were OK for that scale but when I checked the actual AC130H details of the gun ports, I suspect there was some simplification going on here. The fit, sad to say, ranged from fair to terrible. Although the kit had remained in its sealed bags all these years, one of the optional fuel tank halves was missing. The worse fit was the large cockpit clear section over the front fuselage, which was so oversized that no amount of adjusting could work. Even filing down to match the seams could not get a smooth fit. Also, the required grafting of the avionics bulge on the port side was pretty tricky work. This is a kit for an advanced modeler and the canopy would still be an issue. There were no cockpit details at all, but actually you could not see the inside details once it is all said and done.
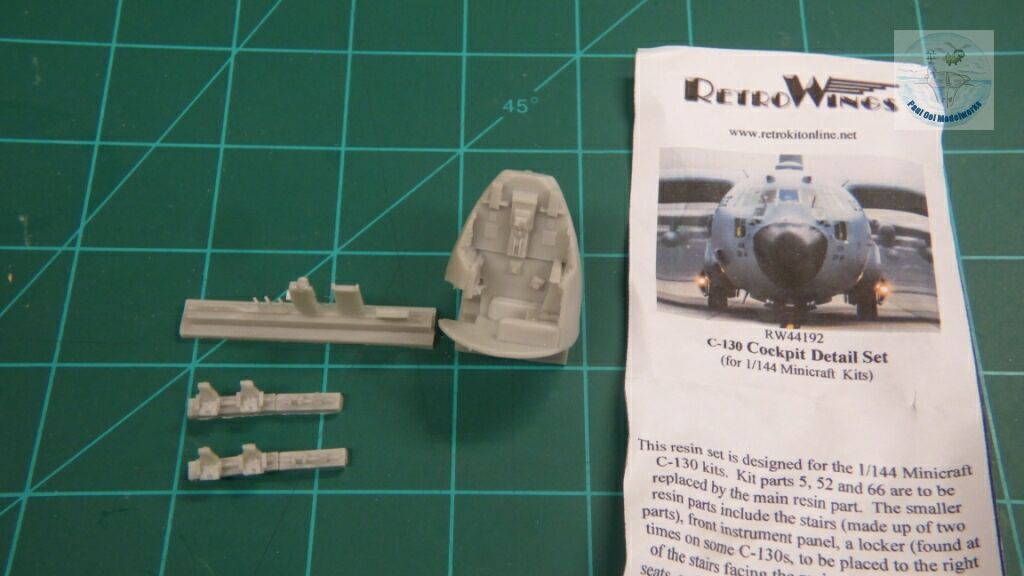
It still bothered me that the cockpit area was just one flat platform, so I ordered Retrokitonline’s cockpit resin detail kit from Belgium. As it turned out, at the ned of it all, you could barely make out the details inside.
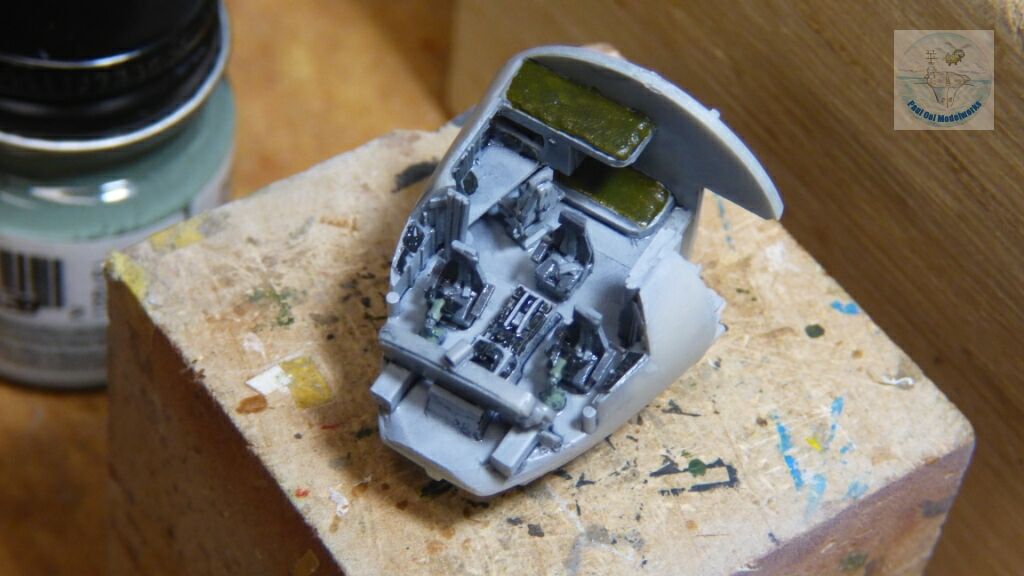
The interior surface was painted Light Ghost Gray FS 36375, and the seats were in Gunship Gray. Steering columns were painted Pale Interior Green. Bunks in the rear bulkhead were painted Olive Drab.
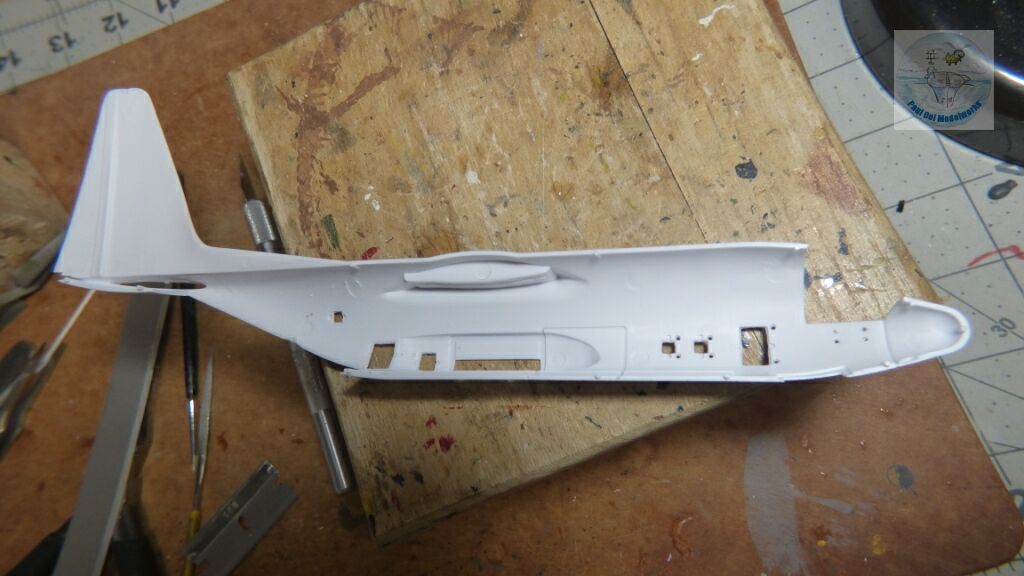
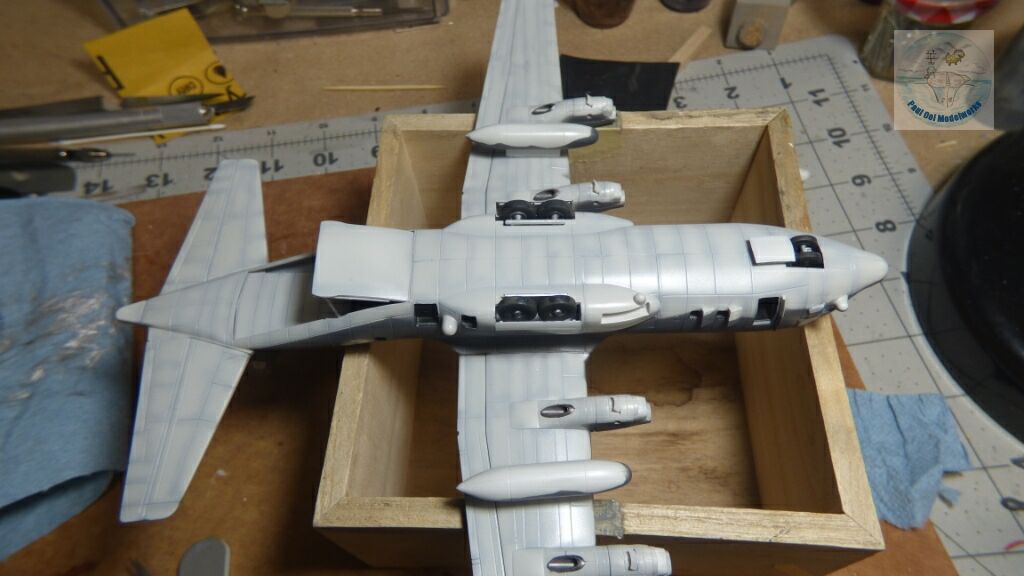
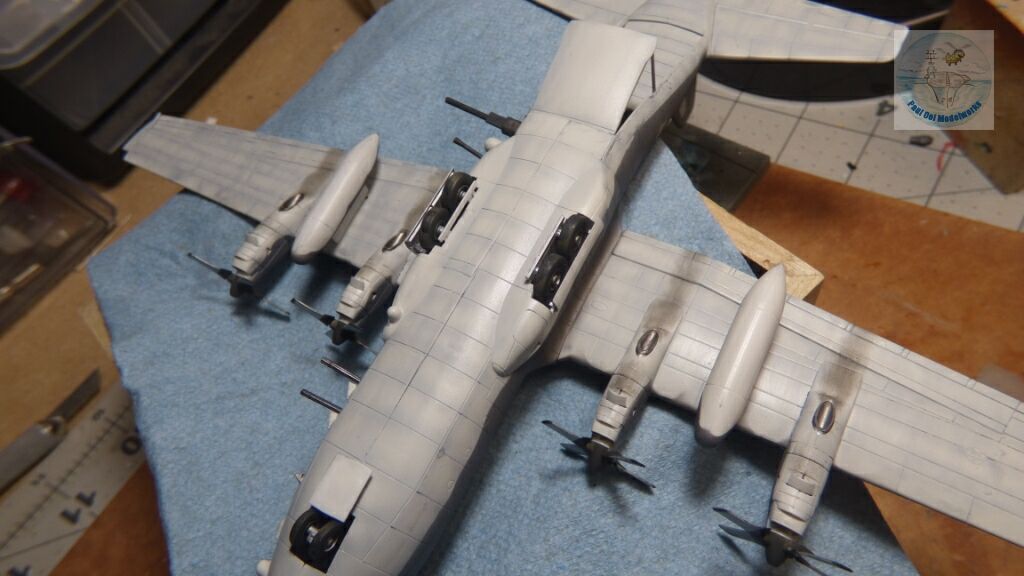
On the port side of the fuselage, there were plenty of precise square and rectangular holes to cut. I do these with a scriber tool first, and only when it is close to piercing, do I switch to an X-cto knife, being careful not to gash the corners of the openings.
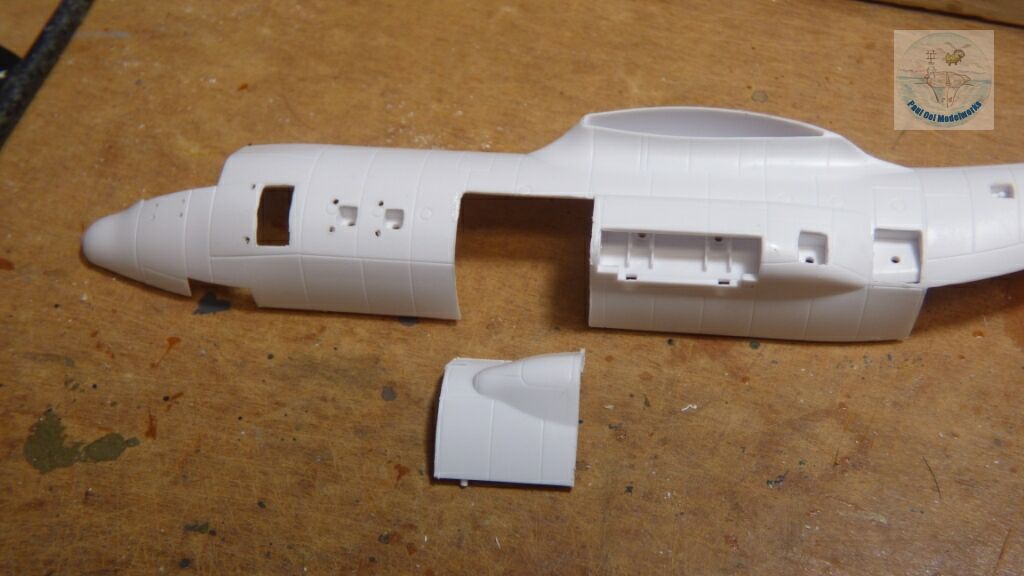
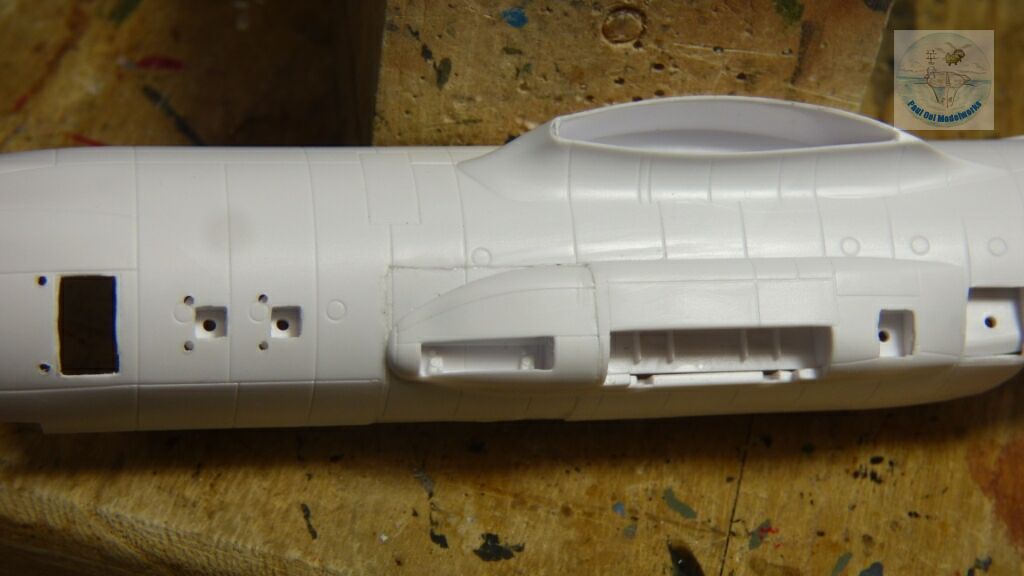
The removal of the standard side housing and grafting on of the special fairing requires careful sawing, followed by a careful fitting of the new panel, and then lots of sanding for the edges to blend it into the fuselage.
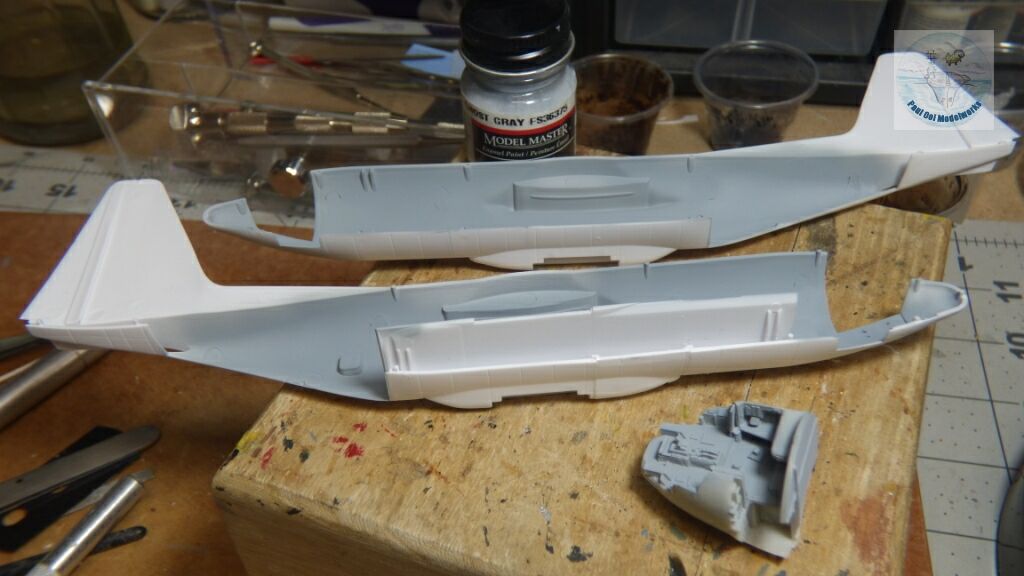
The interior of the aircraft and the floor assembly are all painted Light Gull Grey FS36375 by Model Master.
The rest of the aircraft go together very fast once we have he main fuselage together. That front clear canopy is a very problematic. The whole piece seems to be molded for a larger fuselage, and so the side hang over the edge of the hole. I made the best compromise fit without sanding over the window details. This was very frustrating.
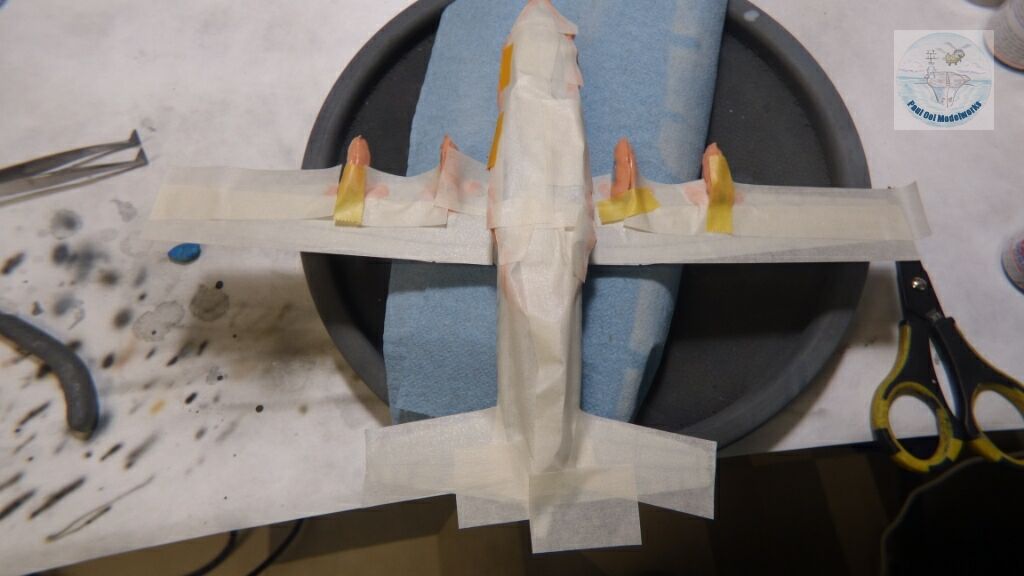
I puttied some of the more awkward joints, and even considered widening the fuselage. However, given the bulbous shape of the nose cone, it would totally change the look of the aircraft, so I decided to live with the misalignment. I proceeded to mask the window panes off.
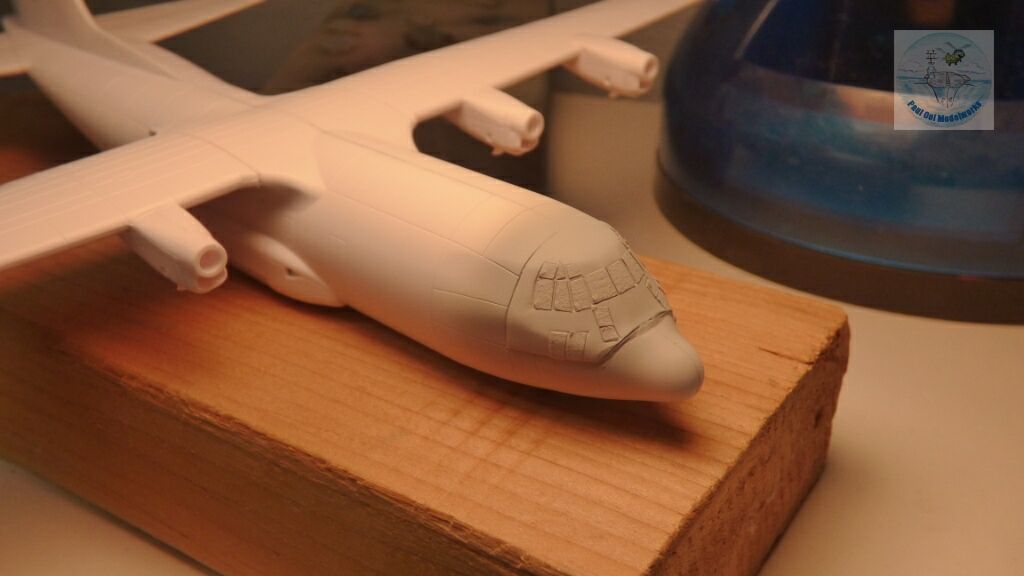
I primed the clear canopy area with Light Ghost Grey FS36375.
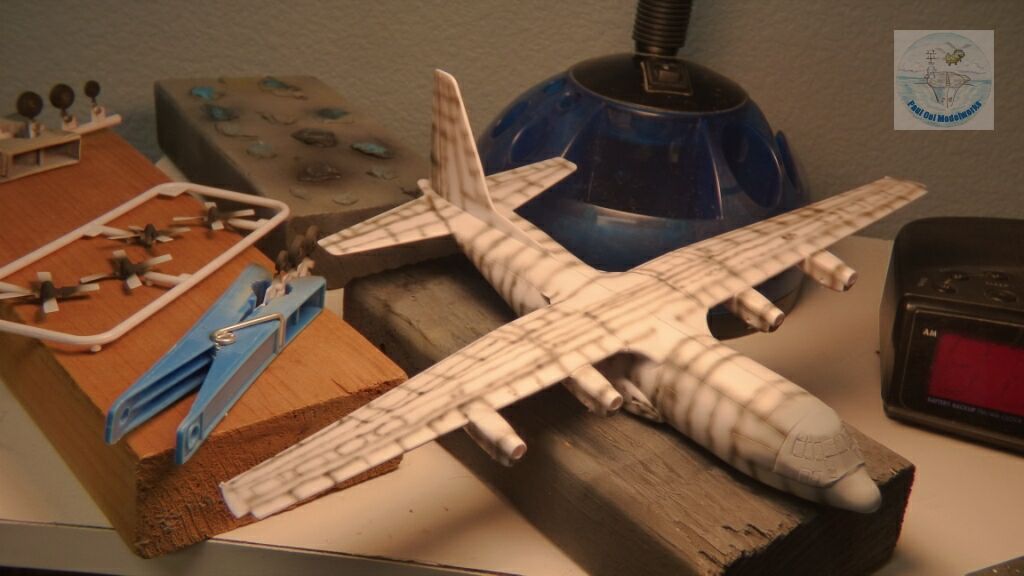
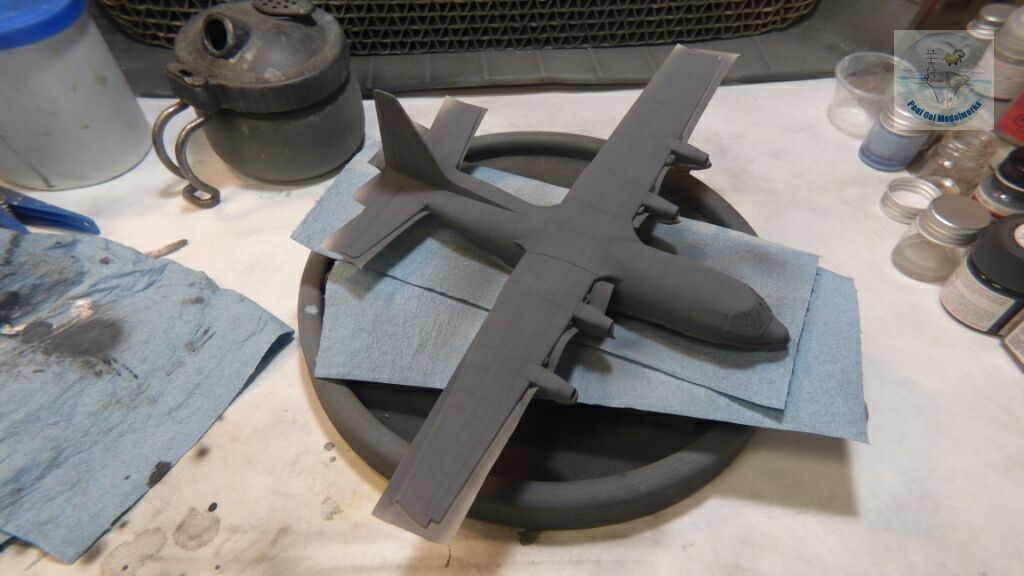
The NATO Black Tamiya XF-69 undershading was applied directly onto the white plastic.
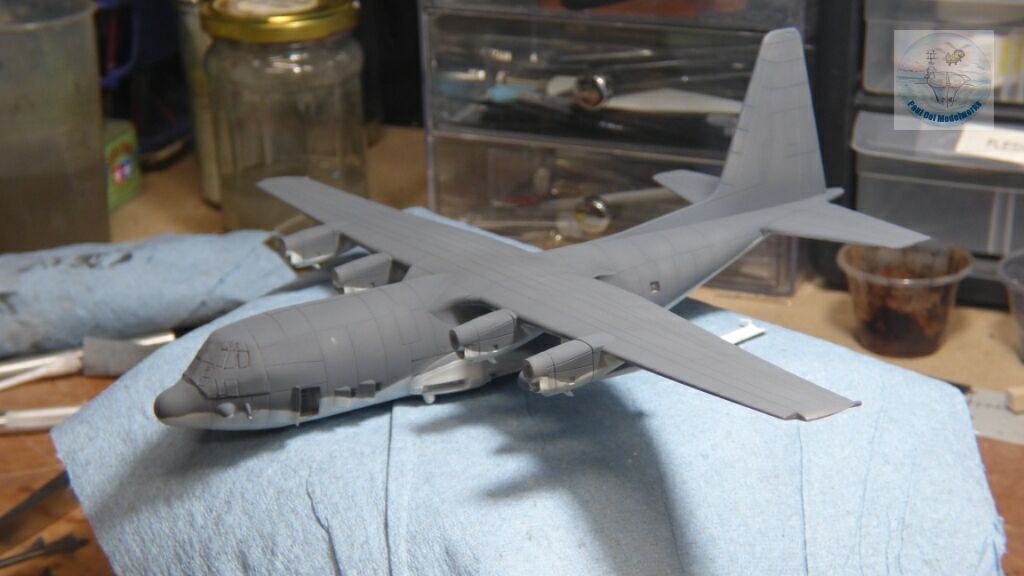
The Light Grey FS36495 from Vallejo was applied first on the underside surfaces.
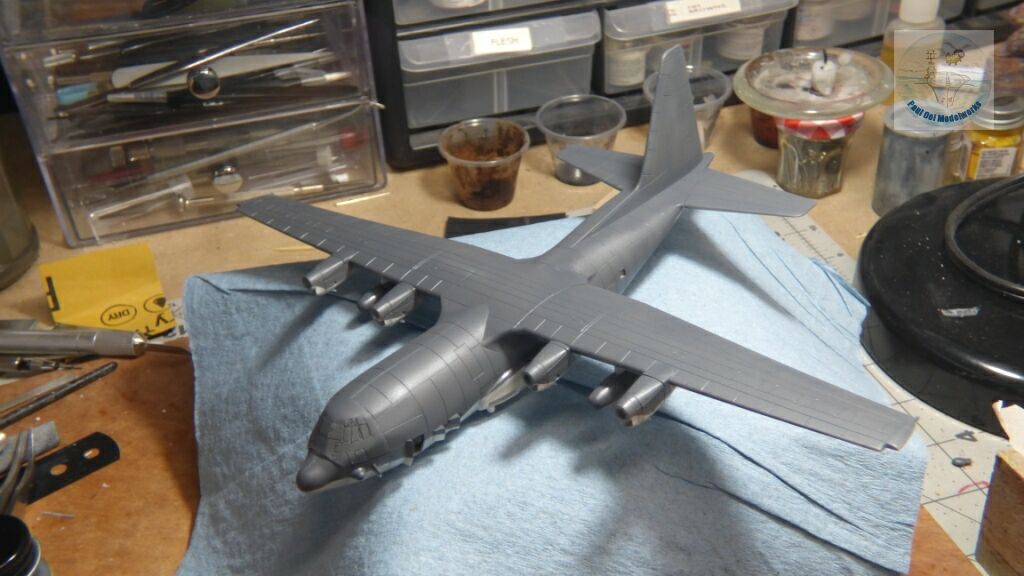
The underside is masked with silly putty for the wavy edges, and masking tape. Gunship Grey FS36118 is applied over the top surface.
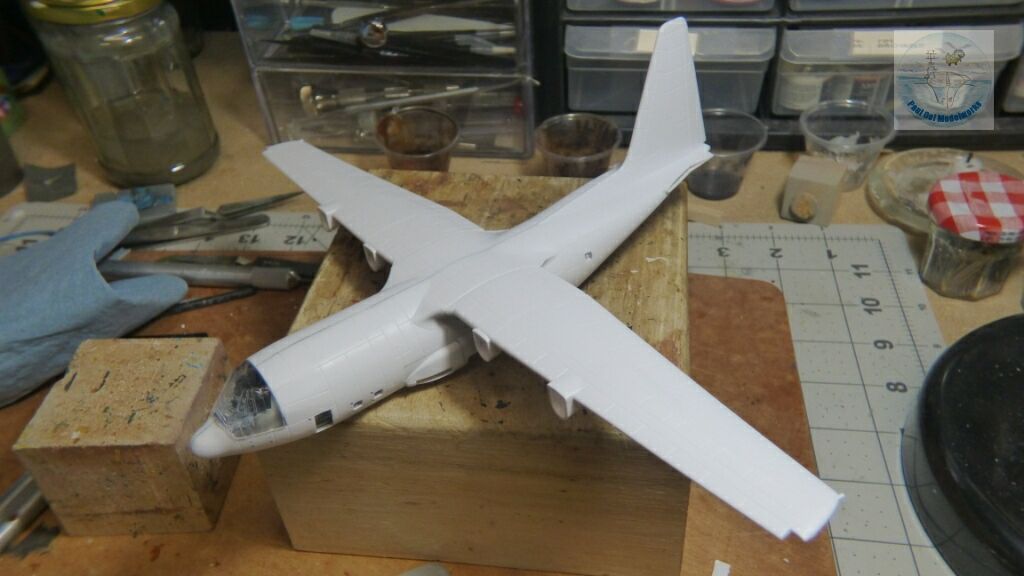
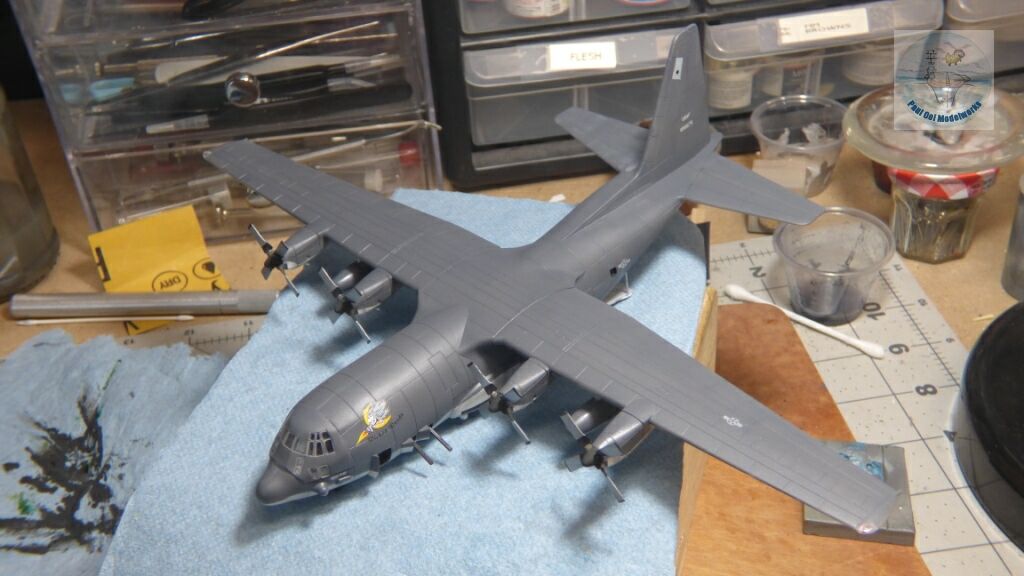
Once the masking and putty were removed, the two-tone scheme became apparent.
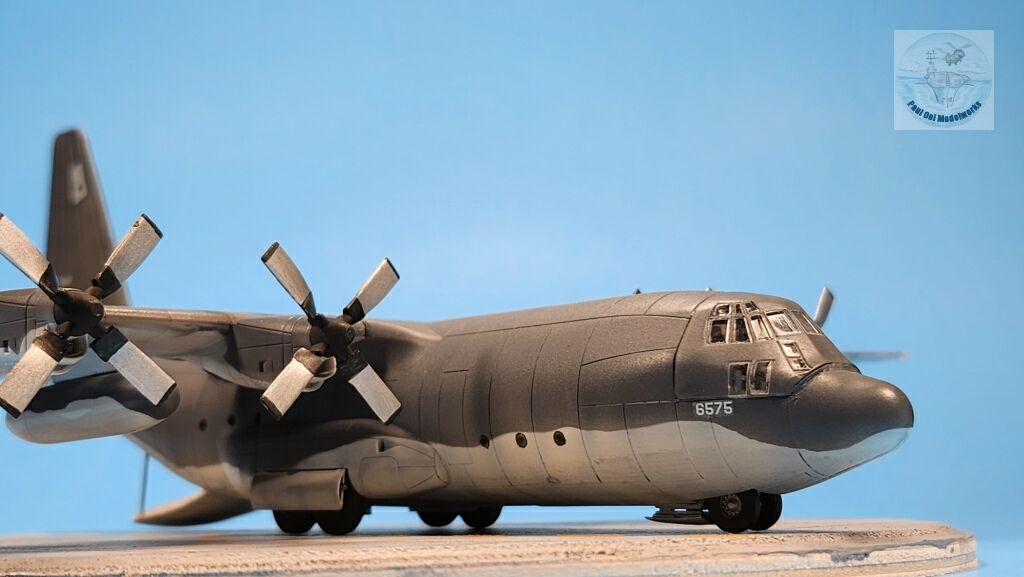
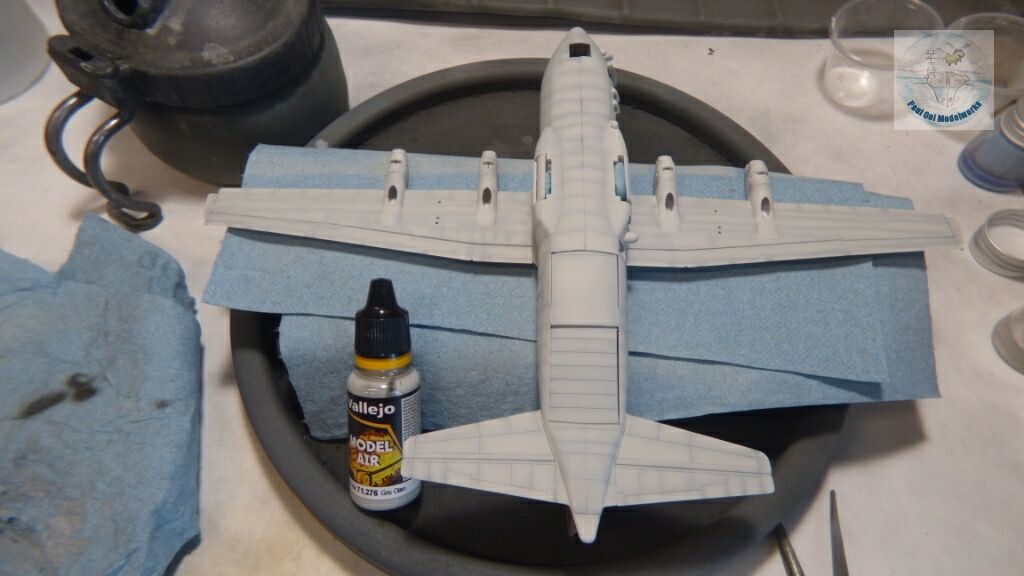
Gloss Pledge Polish varnish was applied to the entire aircraft.
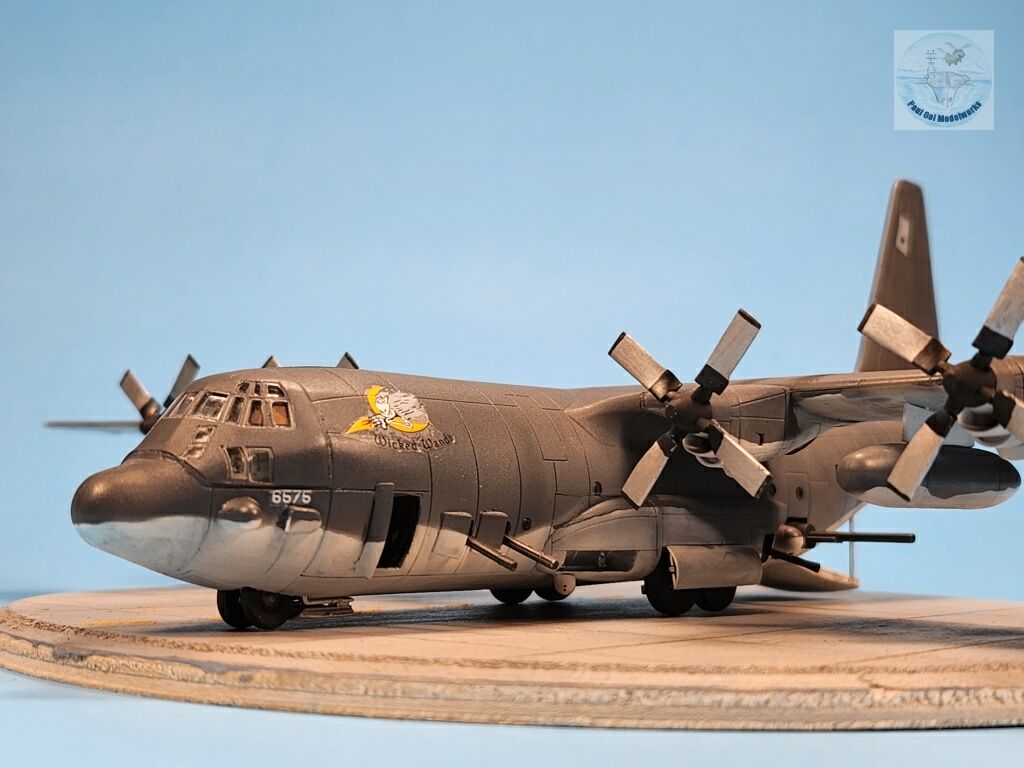
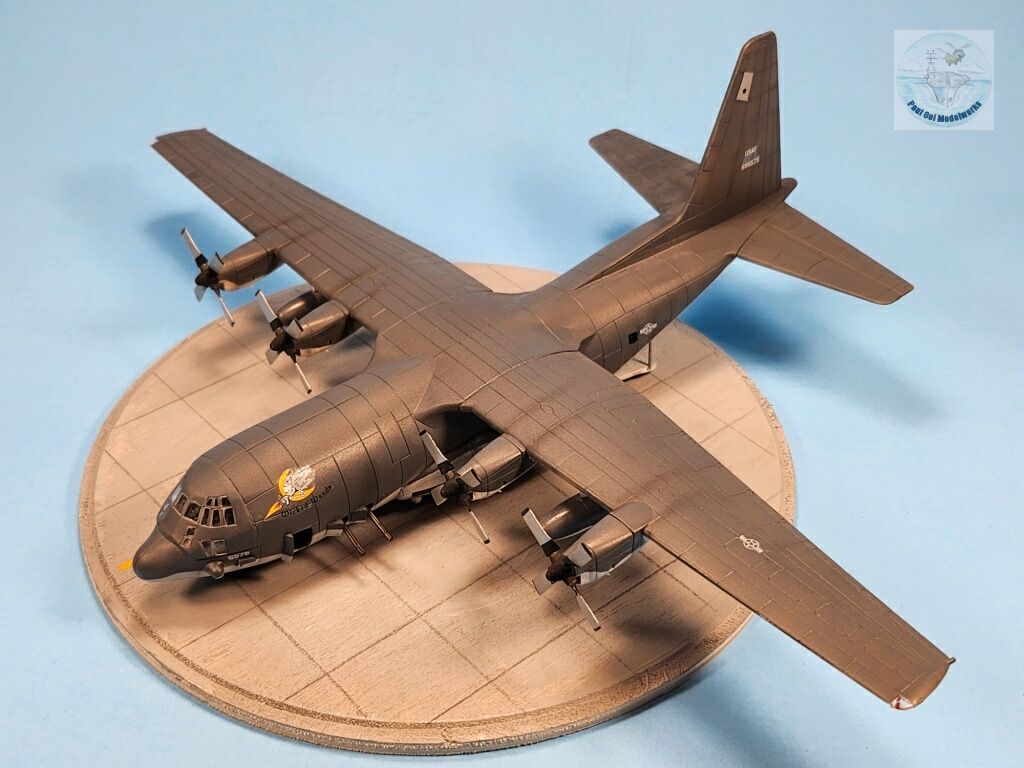
The Minicraft decals are a bit thick and needed a lot of setting agent to get them to settle in, especially the large Wicked Wanda artwork.
After the decals have dried overnight, I applied a sealing layer of satin varnish.
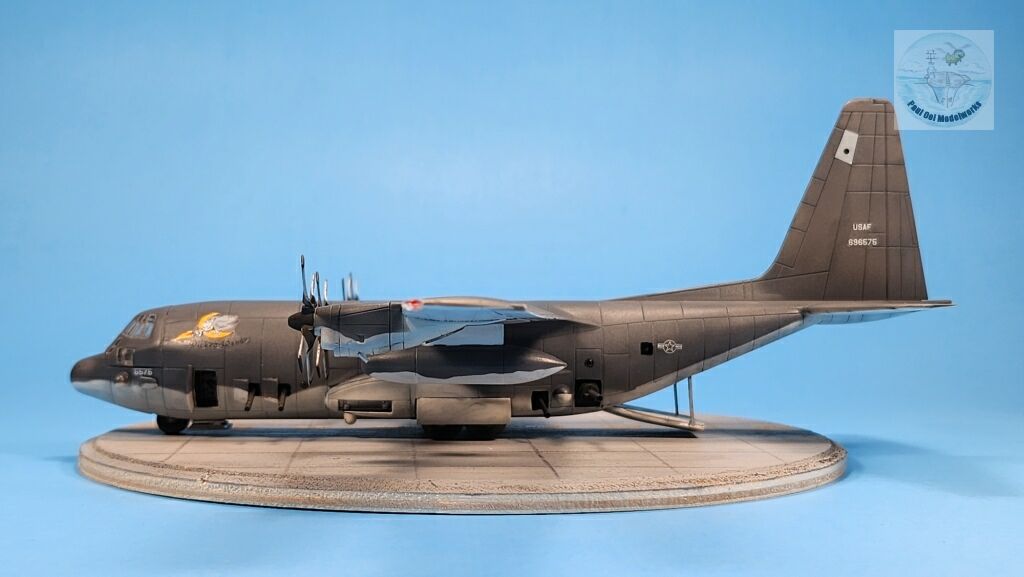
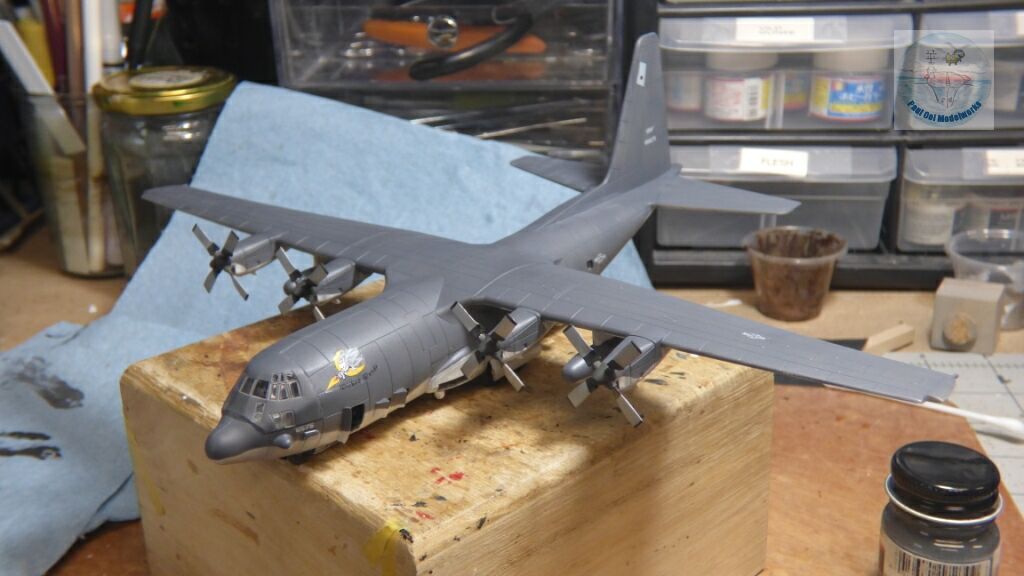
Landing gear and underside details were added.
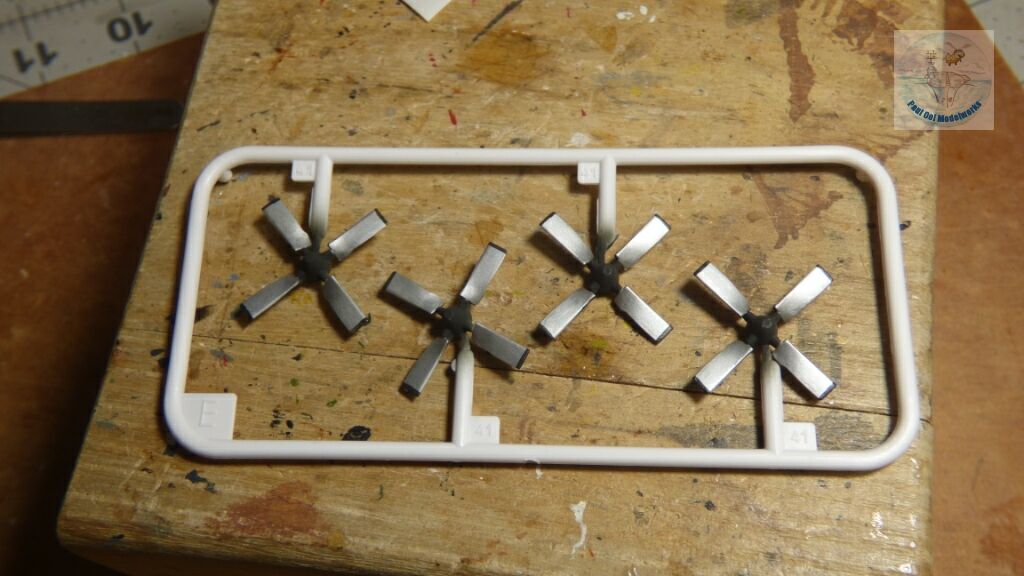
Propellers were painted aluminum and black and affixed to the nacelles. An oil wash of Payne’s Grey is applied over the entire aircraft.
Once the oil wash was dried, the front windshield masks were removed and cleaned up.
Soot marks applied to the engine exhausts.
The protruding weapons on the port side were added last as they were the most fragile attachments. Wicked Wanda is all completed!
Leave a Reply