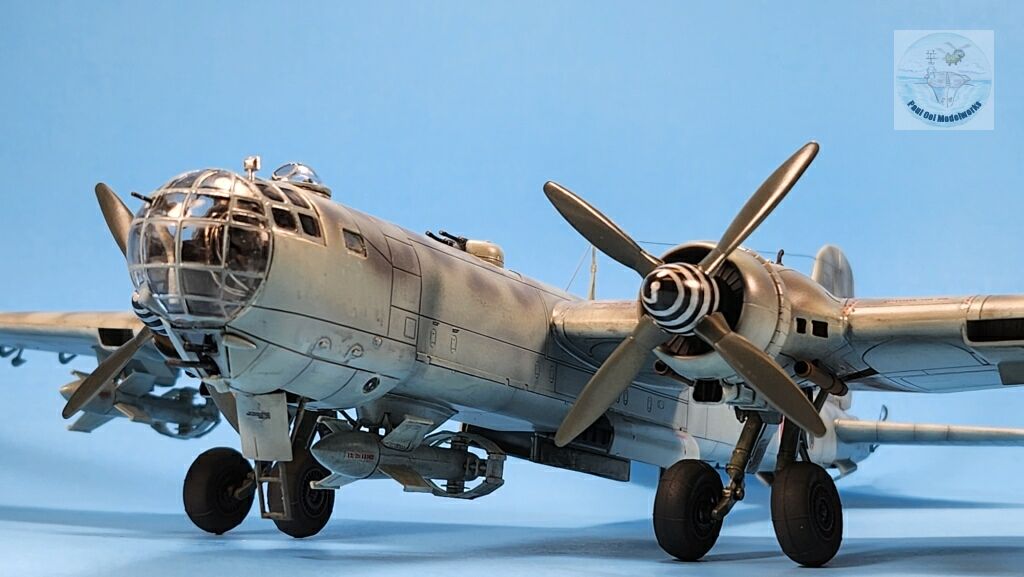
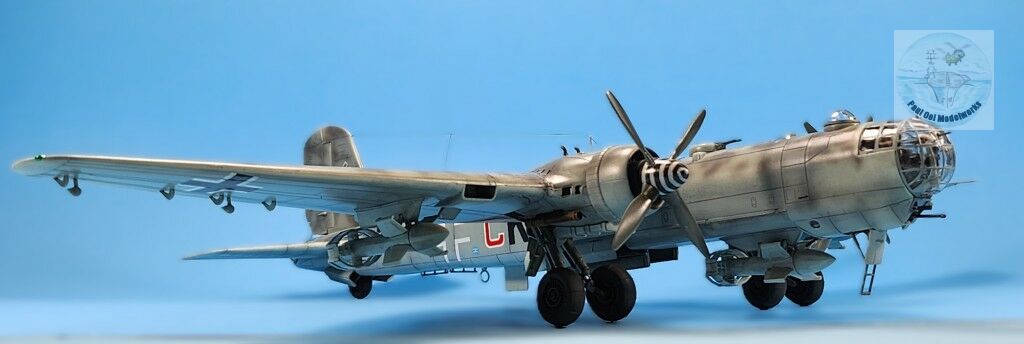
The majority of the Luftwaffe bombers in WW2 tend to be medium bombers designed for tactical missions. Examples like the Ju88 and Heinkel He111 were excellent for the task of supporting the German Blitzkrieg, flying ahead of the armored columns to soften enemy positions ahead of the assault. This stood in stark contrast to the numerous Allied strategic bombers with 4 engines and very heavy bomb payloads. One of the largest German bombers that were built in significant numbers was the Heinkel He 177 Greif, and one could be forgiven to think that this was the German answer for a strategic bomber. It had four Daimler Benz engines, but they were paired side-by-side to run larger propellers. However, instead of strategic bombing, the large Heinkels were used in the anti-shipping role, and this A5 version was the most powerful maritime bomber that the Germans had.
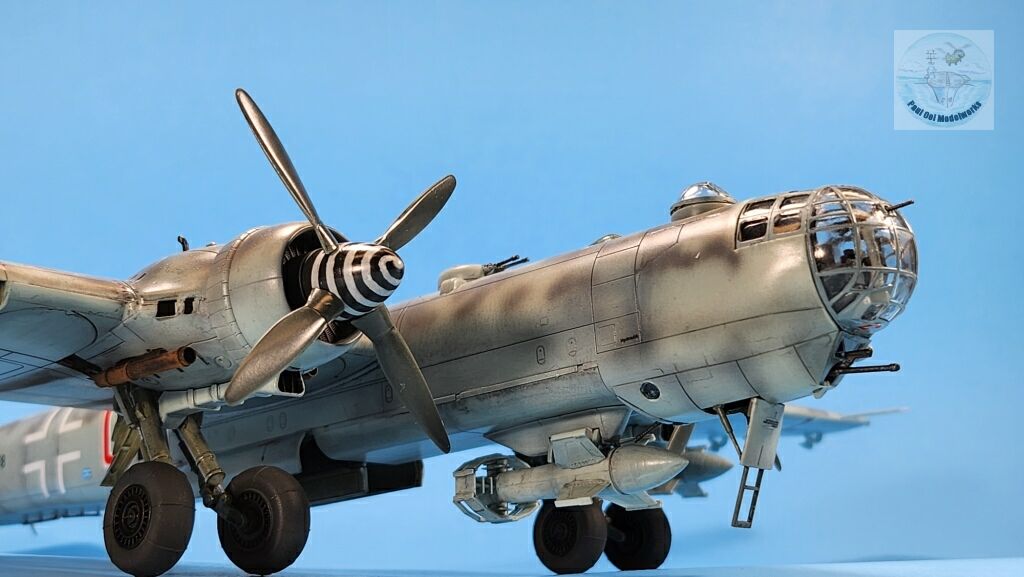
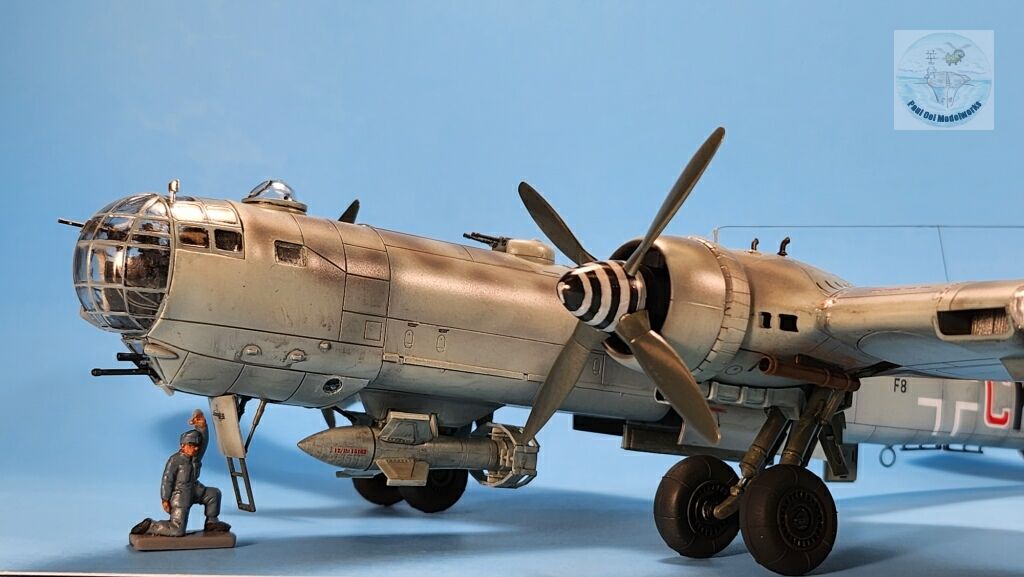
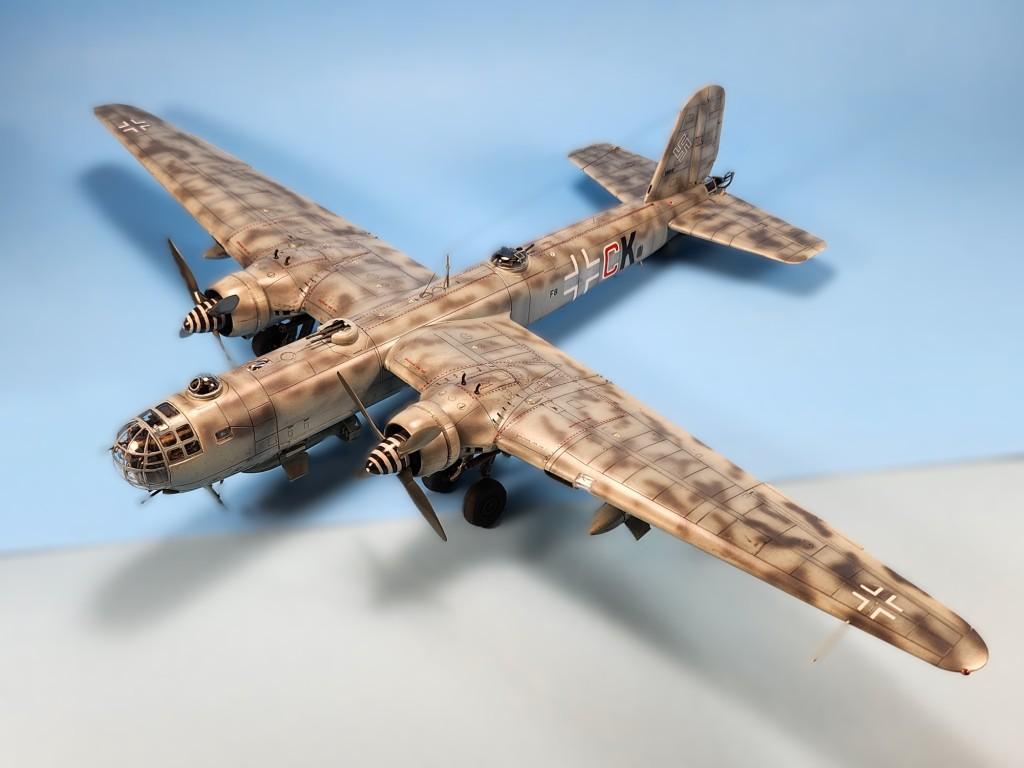
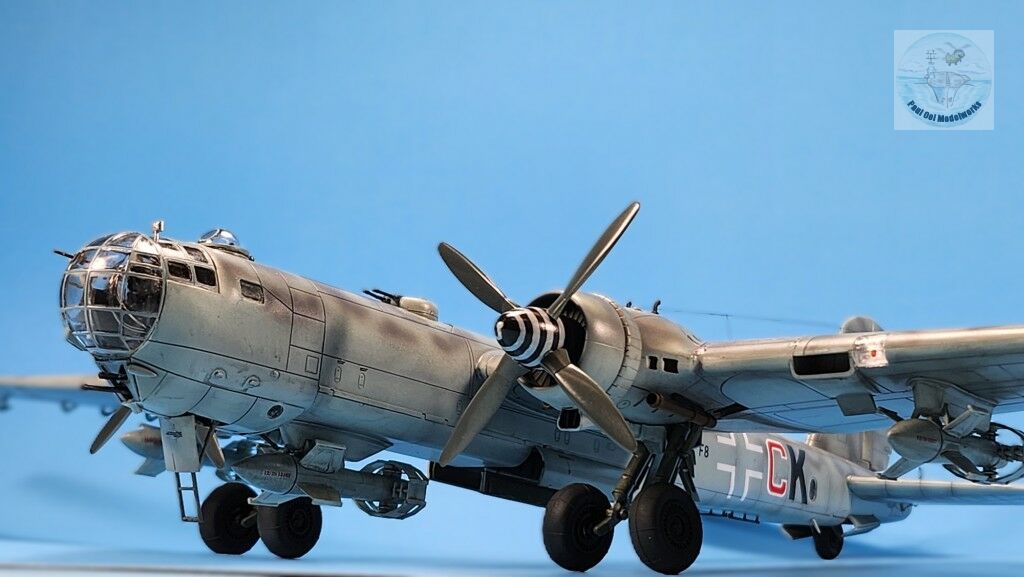
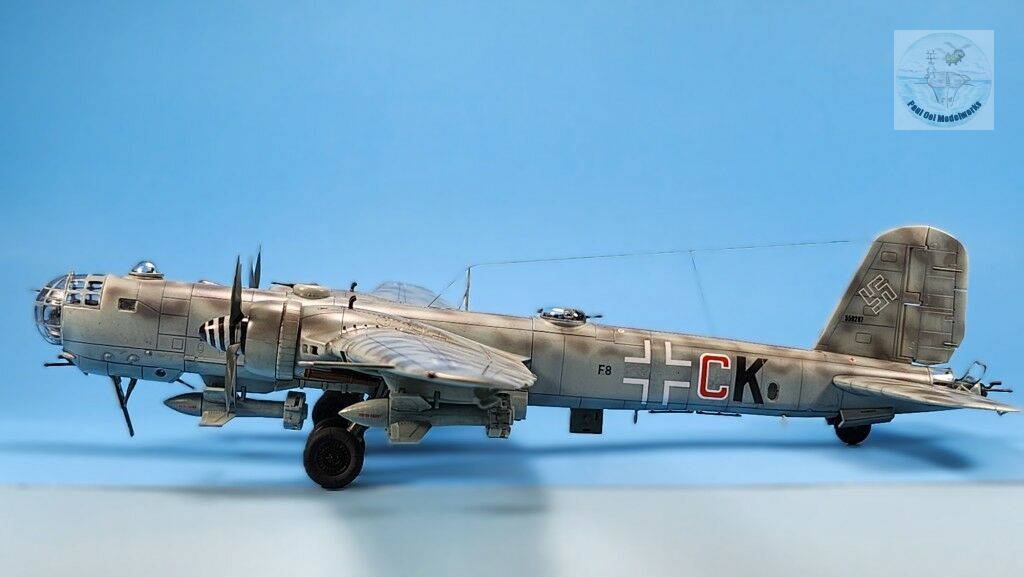
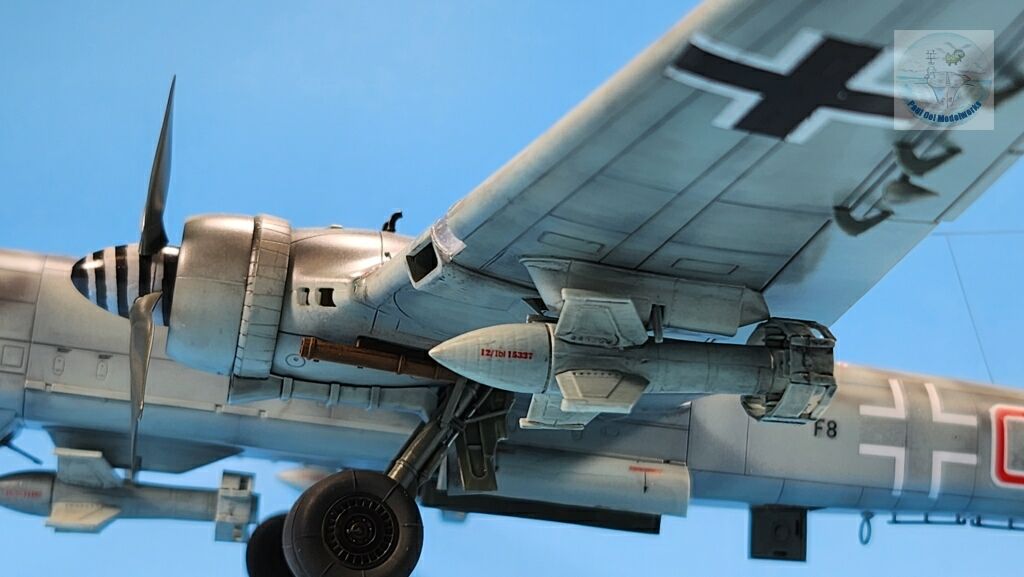
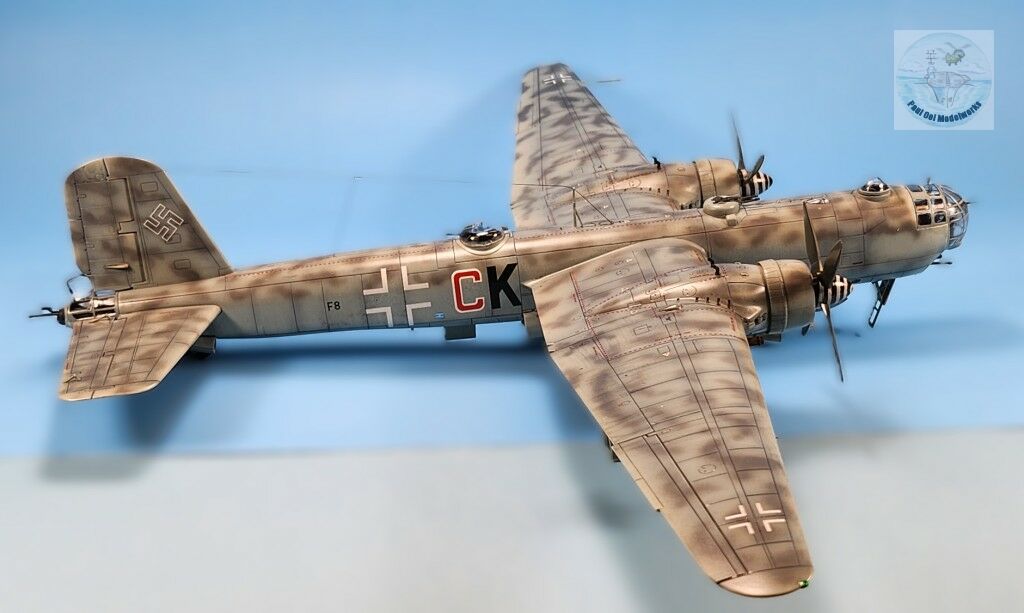
These He177 A5s were equipped to run the world’s first “cruise missile” in the form of the Fritz X. The latter was a remote-controlled gliding bomb controlled by the bombardier seated next to the pilot. The large glider bomb had to be carried on external pylons, as they were too big to be fitted into the bomb bays. The Fritz X was deadly when it struck its target and its huge warhead detonated close to the waterline would doom the vessel. Several He177 Kampfgeschwader were stationed along the Atlantic coast of France, and they were a threat against Allied shipping. For the markings, I chose the one from 2./KG40, stationed in the airfield at Bordeaux-Merignac (today’s Bordeaux regional airport) towards the end of 1944. This aircraft had a mottled camouflage of RLM76 Lichtblau base covered with patches of RLM75 Grauviolett.
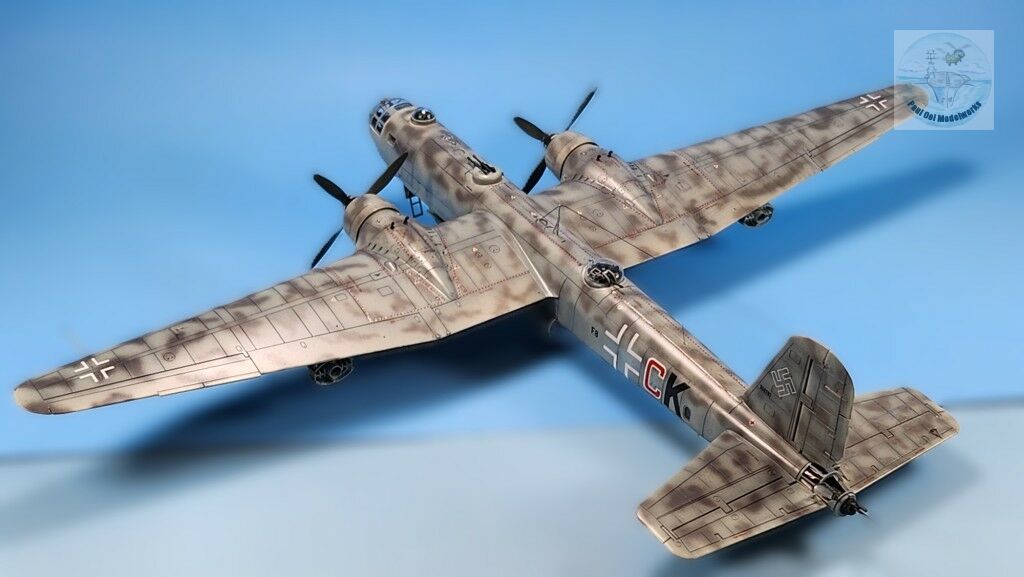
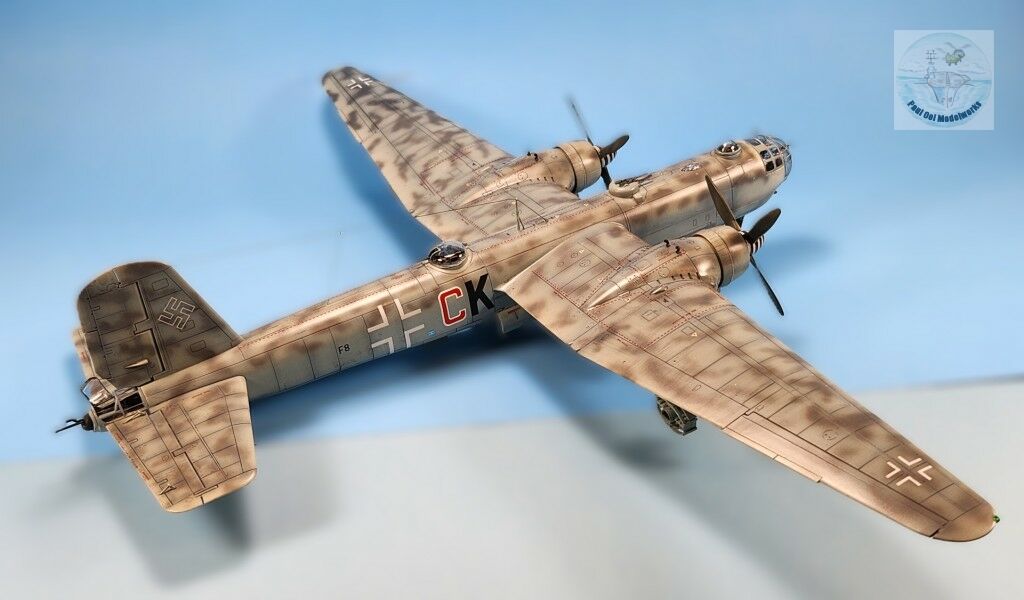
Gallery


Construction Notes
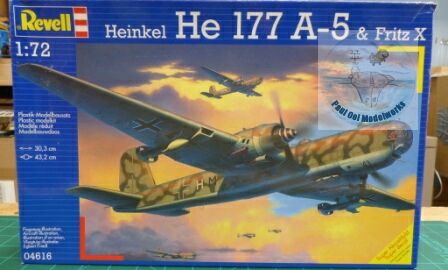
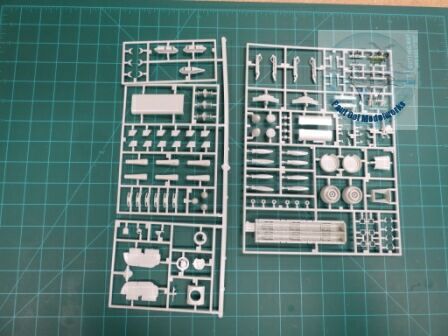
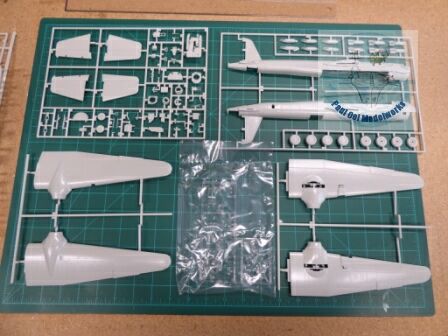
The 1/72 scale former Revell Germany kit is one of the most detailed release of the He177 Greif. This one came with three Fritz X glide-bombs. There had been other releases by Revell of the A6 version with the Hs293 glide bomb. The molding is crisp, with recessed panel lines and lots of interior details. This kit has excellent fit, but I would not recommend it for beginners. The decal sheet was excellent with a lot of stenciling to make for a detailed model. I decided to build this kit straight out of the box without any aftermarket parts.
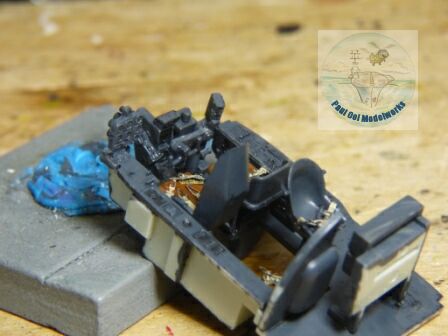

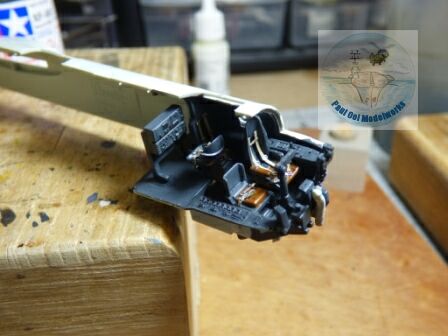
As usual, we start with the cockpit area with the multiple seats for the pilot, co-pilot, and navigator. The interior surface is painted Vallejo RLM 66 Schwarzgrau, the seats are Model Master Leather, and I added German bomber seat belts from Eduard.
The main fuselage is a long structure with several compartments. The alignment and fit is very good and the halves came together without any problems. I secured them together with rubber bands and let it dry overnight.
The bomb bays are a separate module that snapped easily into the underside of the main fuselage. The interior of the bomb bays were also painted Vallejo RLM66.
Next comes the enormous wings, but I am very happy that they join to the main fuselage easily without any issue. The seams were perfect on the first go.
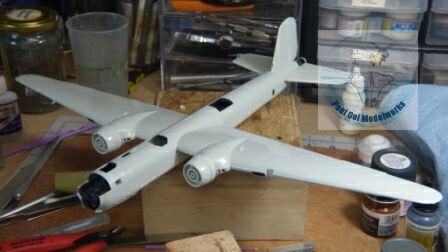
The tail stabilizers also attach easily, and the shape of the Greif is apparent. The engine nacelles have also been attached.
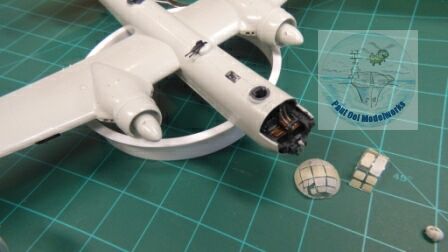
The clear sections are carefully masked using the technique from Tutorial 11.
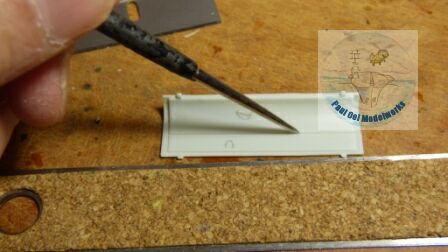
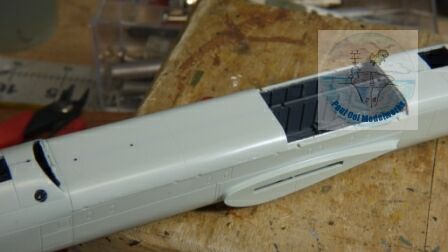
The doors for the bomb bays come as two pieces, but in order to build them in the open position, I have to score and cut the joints between the side and center portions. It is best to use a sharp scoring tool so that the lines are straight and narrow. I have not installed them at this point, but just to prepare for painting.
 The openings are masked for spray painting.
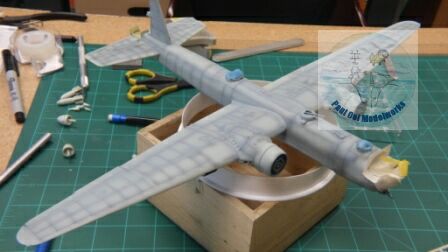
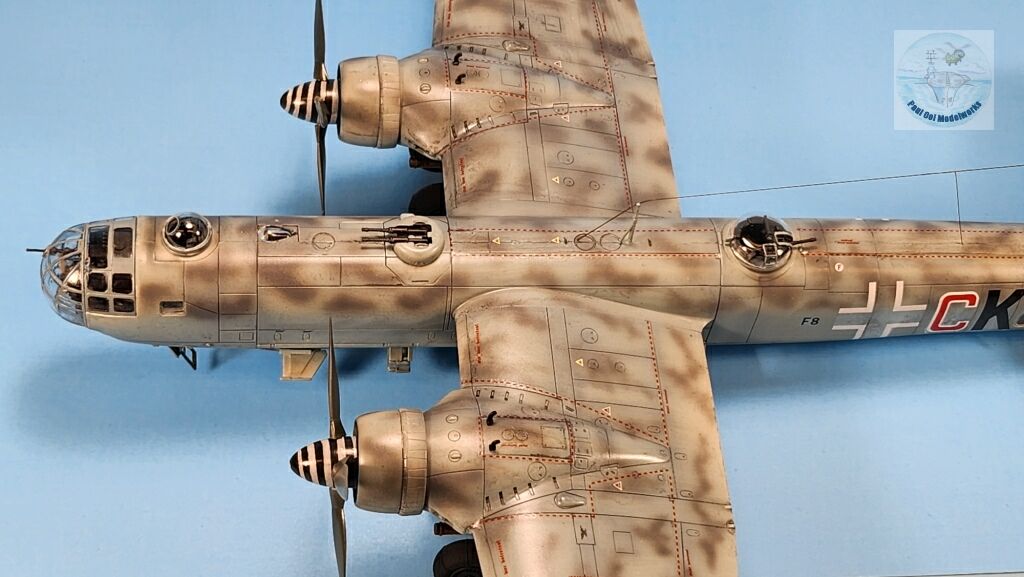
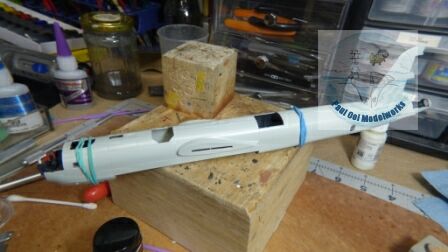
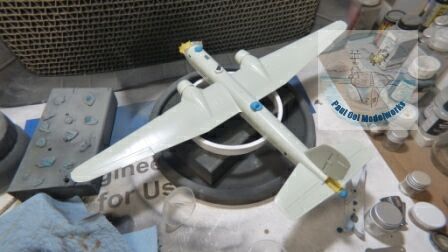
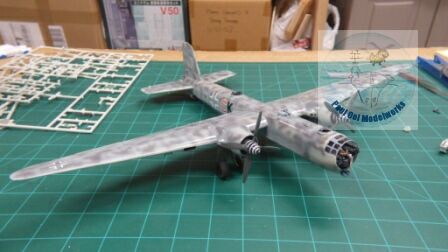
After undershading with Tamiya NATO Black XF69, I apply several thin coats of Model Masters RLM76 Licht Blau. After the paint has dried, I apply Pledge Polish to protect the paintwork. This is important before applying the “blotch” camouflage that comes next.
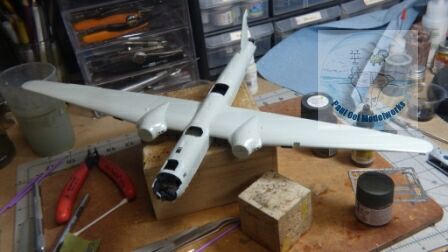
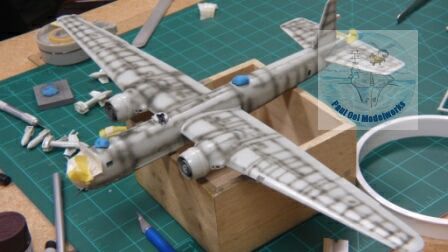
Now comes the tricky part. The blotches of RLM75 Grauviolett has to be carefully applied with low pressure, thinned paint. For remove the outer cone of my airbrush, and carefully test on scrap paper before applying the camouflage. This is a slow steady process that cannot be rushed, with frequent cleaning of the paint buildup on the needle. Work on a small area at a time to ensure proper coverage. In case the paint comes out wrong (spider blotch, or paint spots), just use a Q-tip to remove it quickly. That was why in the previous step, I had protected the previous layers of paint with Pledge Polish.
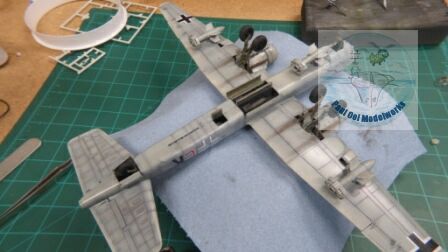
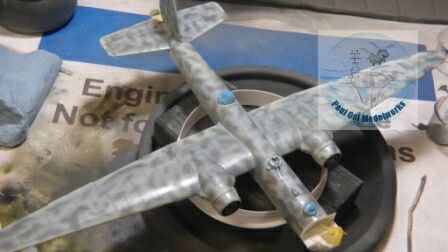 Voila! It came out perfectly!
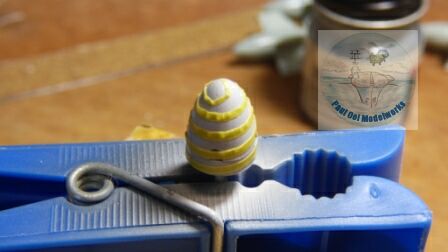
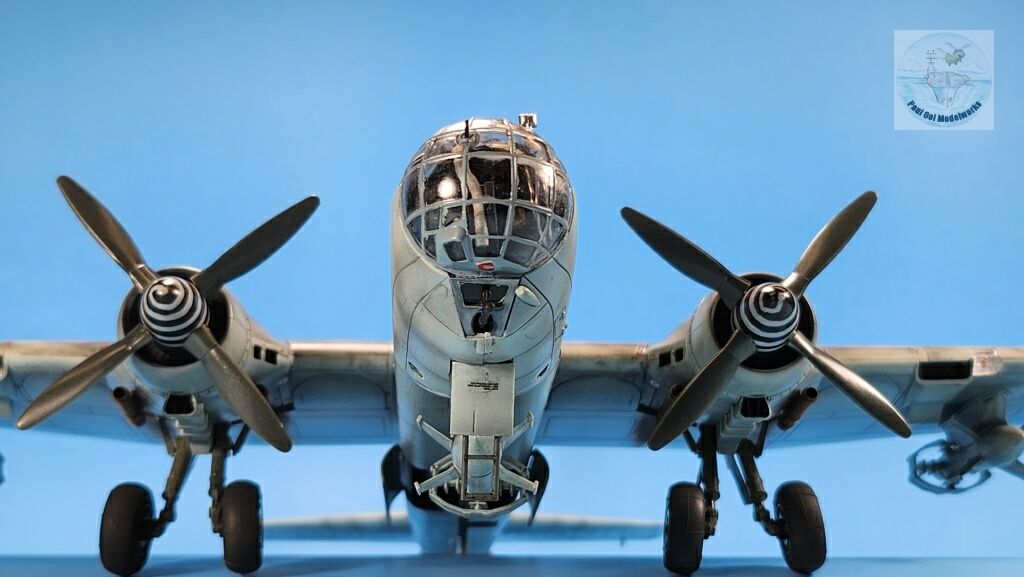
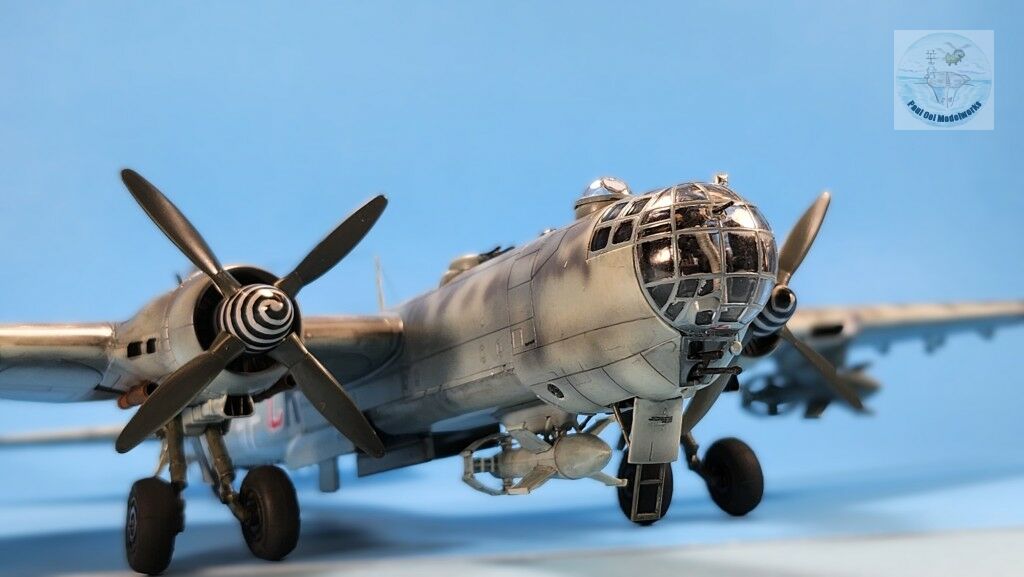
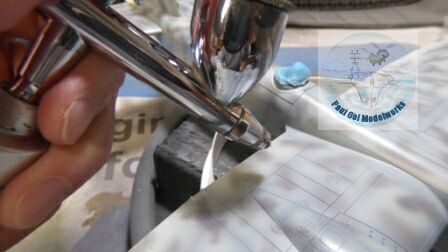
The next paint job is almost as tricky, getting the spirals onto the spinners. Important note on the spiral patterns. The port and starboard spirals are running in opposite directions. Initially, I tried using the kit’s decals but I felt that the stripe was too thick. I decided to use the masking technique instead.
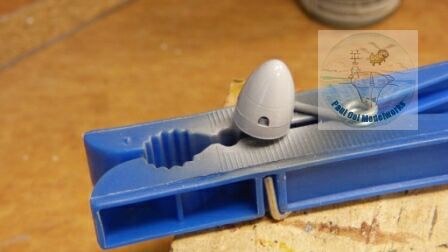
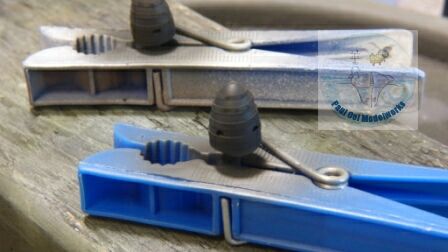
Start with Tamiya XF2 White. Then carefully wrap about 2.5 inches (75mm) of cut masking tape approximately 1/32 inch thick (0.75mm). The tape tappers to a sharp end for the tip of the spinner. Then, I spray Tamiya XF69 NATO Black over it.
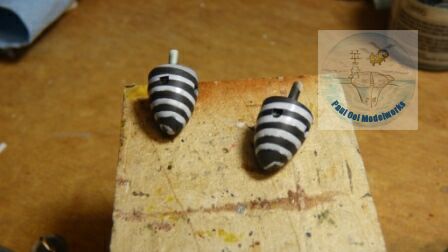
The results are great! Notice the areas of overspray of black over white? Just touch up with thinned white paint to smoothen the spiral patterns. In reality, these spirals were field-applied by the ground crew and actual photographs from the period show similar imperfections, so don’t kill yourself over minor faults, so long as the overall spiral is steady and neat.
The finished spinners should be clockwise on the starboard side, and counter-clockwise on the port side. The propeller blades were painted with Model Masters RLM 70 Schwarzgrun.

The decals are added, and then the entire scheme is sealed under another layer of Pledge Polish.
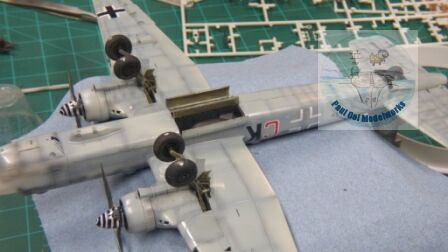
Time to get all the underside details in. The all-important landing gear are installed. I leave these to dry overnight to ensure that they will support this large airframe. Bomb bay doors, and wheel well doors are also added.
Sitting on its own wheels at last!
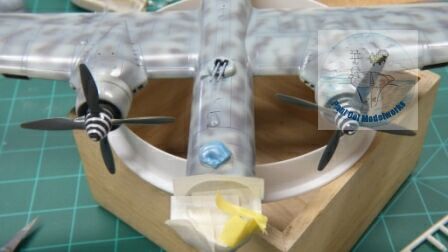
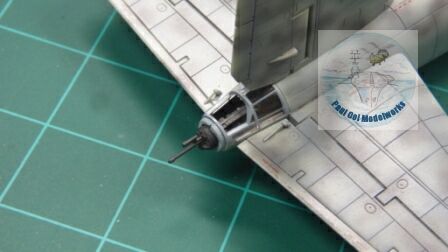
More fiddly details for the underside like the three Fritz X gliding bombs, regular dumb bombs in the bomb bay, and crew hatches at the fore cabin and mid-fuselage. Note the exhaust markings behind the engines created with brown and black pastel chalk.
The clear glazing parts are the last to be added. The rear gunner position has a gun carriage and dorsal ball to be attached. I kept the entry door open so that the details are visible.

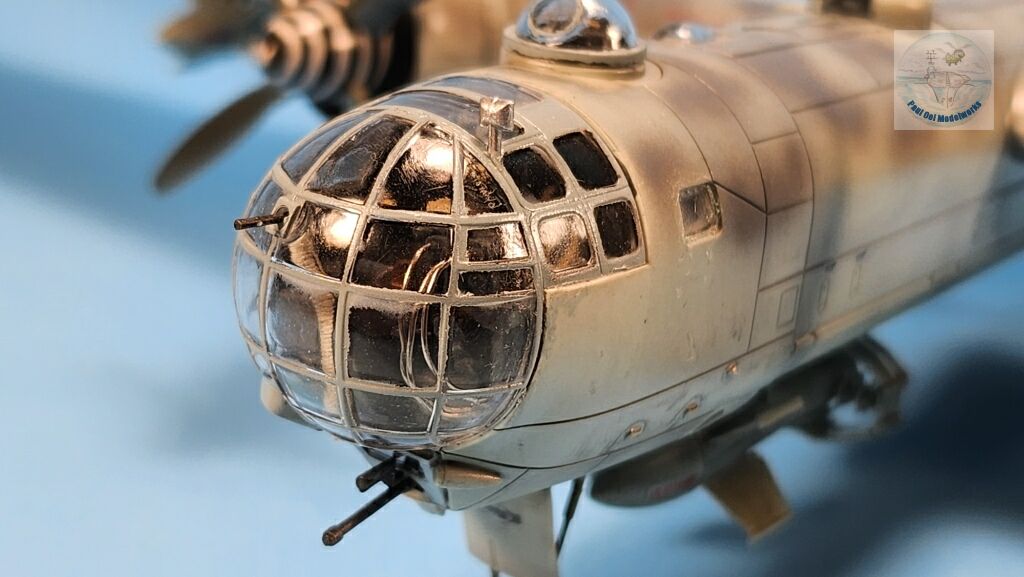
The top clear turret has some fine details that are also visible through the bubble canopy.
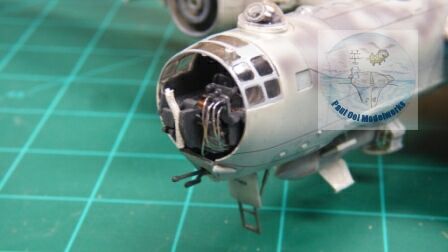
I added some solder wire to the pilot’s instrument panel and these are visible through the “greenhouse”.
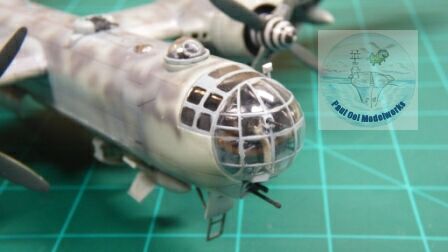
And finally, we seal the fuselage with the front bubble canopy. With the addition of the antenna post and wing pitot, the Greif flies again!
Leave a Reply