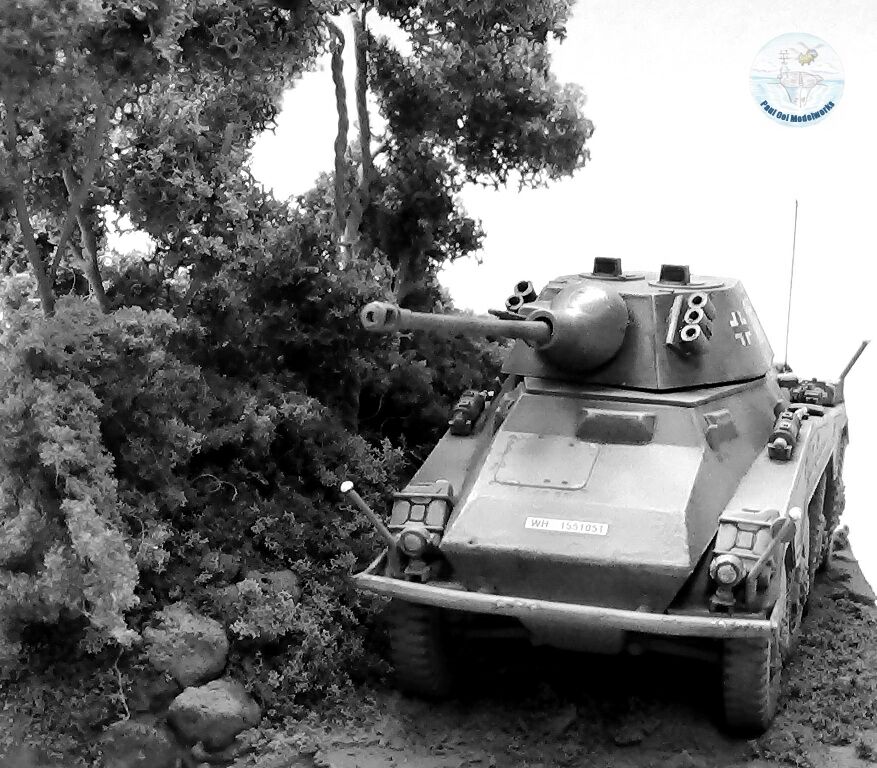
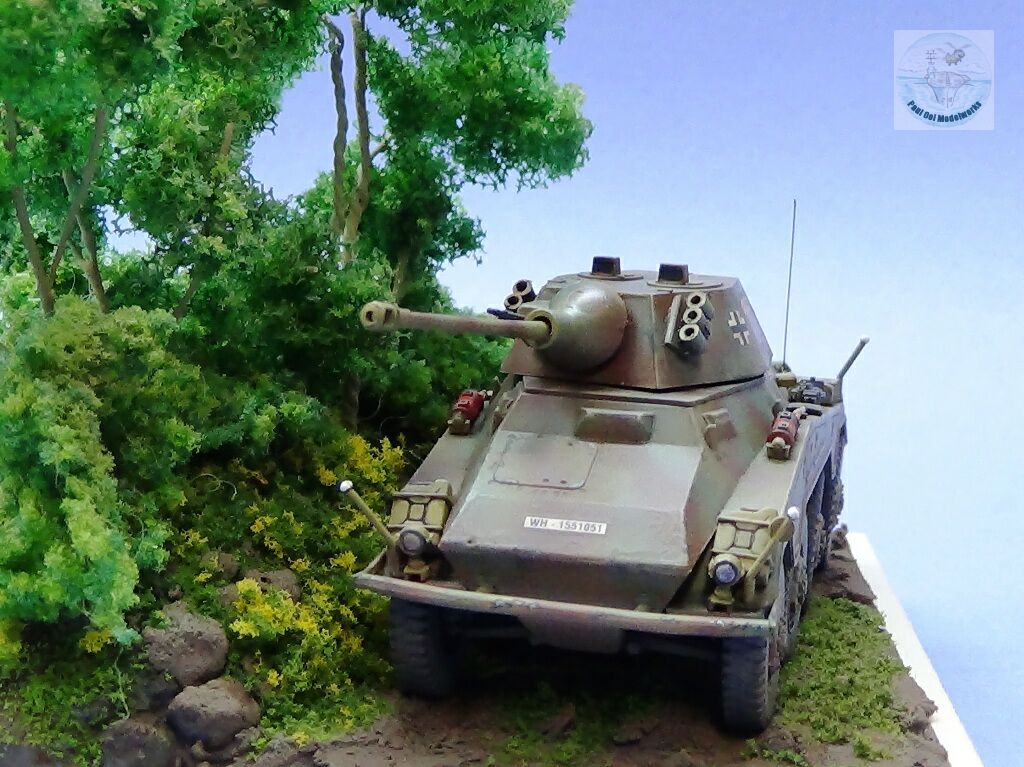
Immediately after the successful Normandy landings by the Allies, their advance into the Cotentin Peninsula grounded to a halt in the hedgerow country, also known as Bocage. The farmlands in the area were surrounded by centuries old stone enclosures overgrown with bushes and trees that hid the roads and obstructed line of sight for the combatants. The terrain favored the defenders who could mount concentrated defensive lines with enfilading fire on the attackers. The Wehrmacht employed many self-propelled guns and anti-tank guns along hedgerows. To serve as forward observers for these ambush units, the Germans employed several units of Puma armored cars.
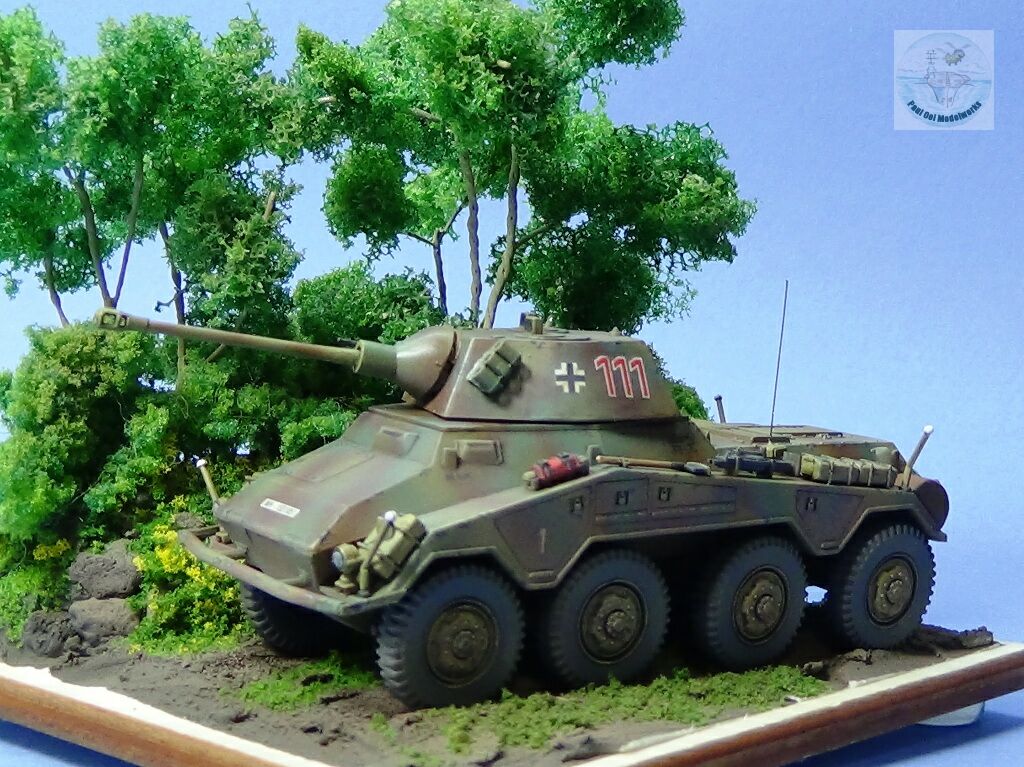
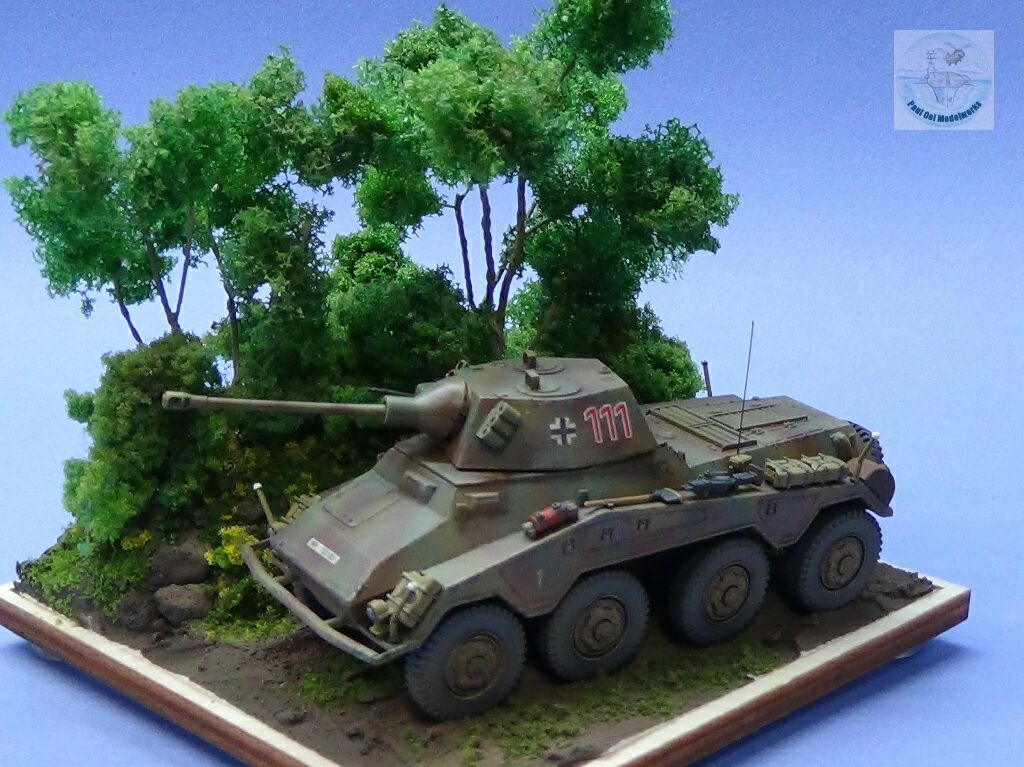
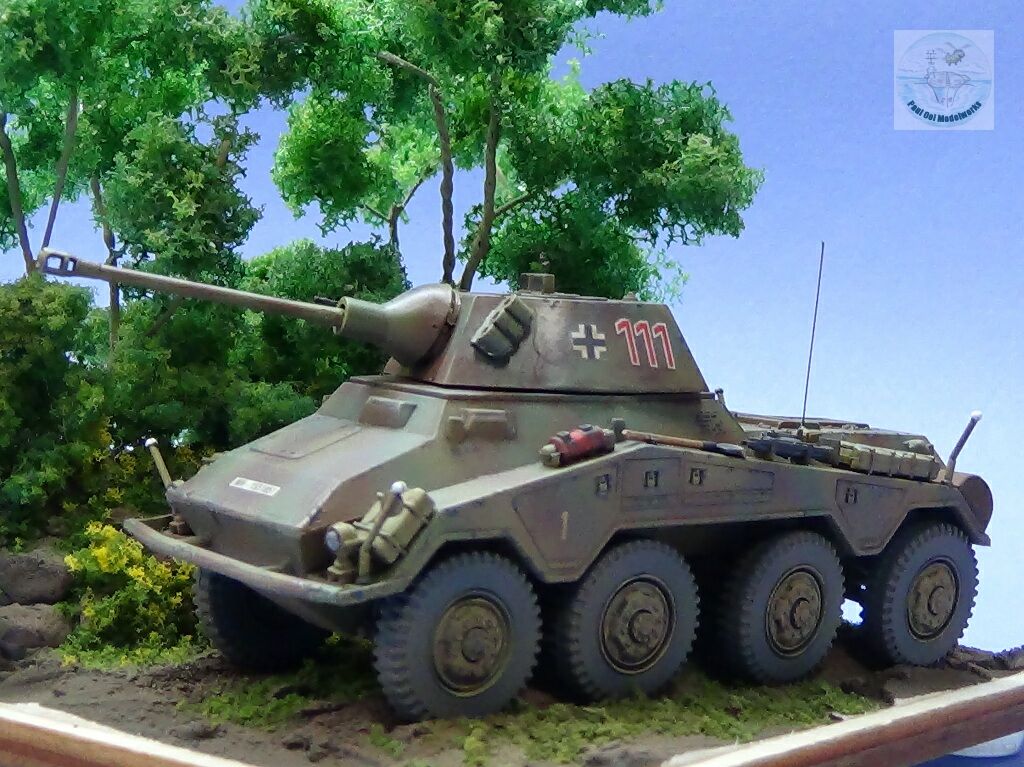
The eight-wheeled armored car was ideal for running mobile recce to mark the approach of Allied tanks. The Puma would run on quiet low gear along hedgerow lined lanes listening for the engine sounds of the Shermans, and then radioing back the information to waiting German units. The design of the Puma was very advanced for its time, with a reliable chassis and good cross-country performance. The Sdkfz 234/2 variant mounted a turret with a high velocity 50mm gun. This enables the Puma to be a good ambush fighter in its own right against soft-skinned targets. So good was its design that this armored car was copied by the Allies, spawning vehicles like the Soviet BTR series of APC’s and the US Piranhas.
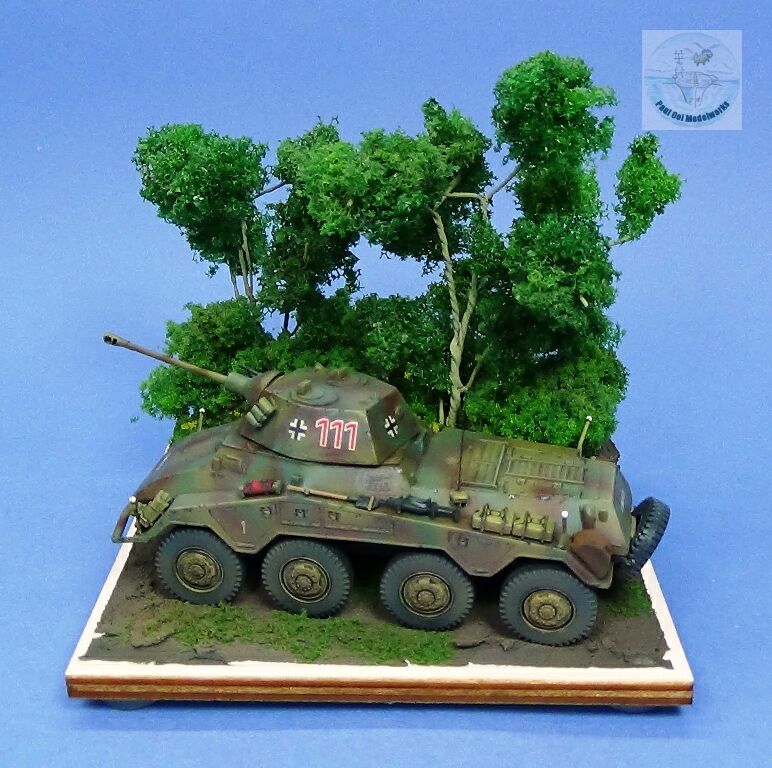
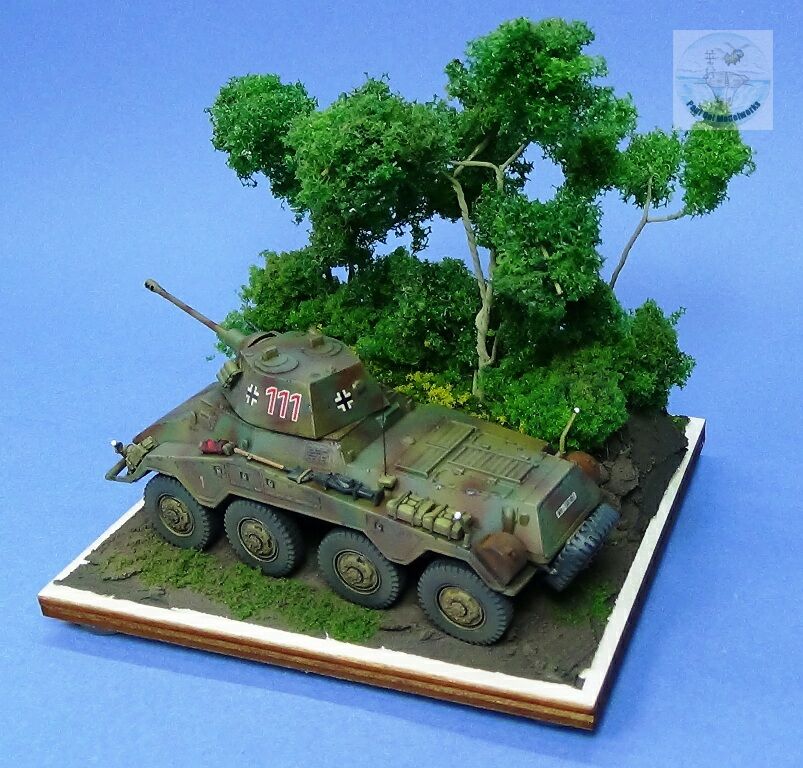
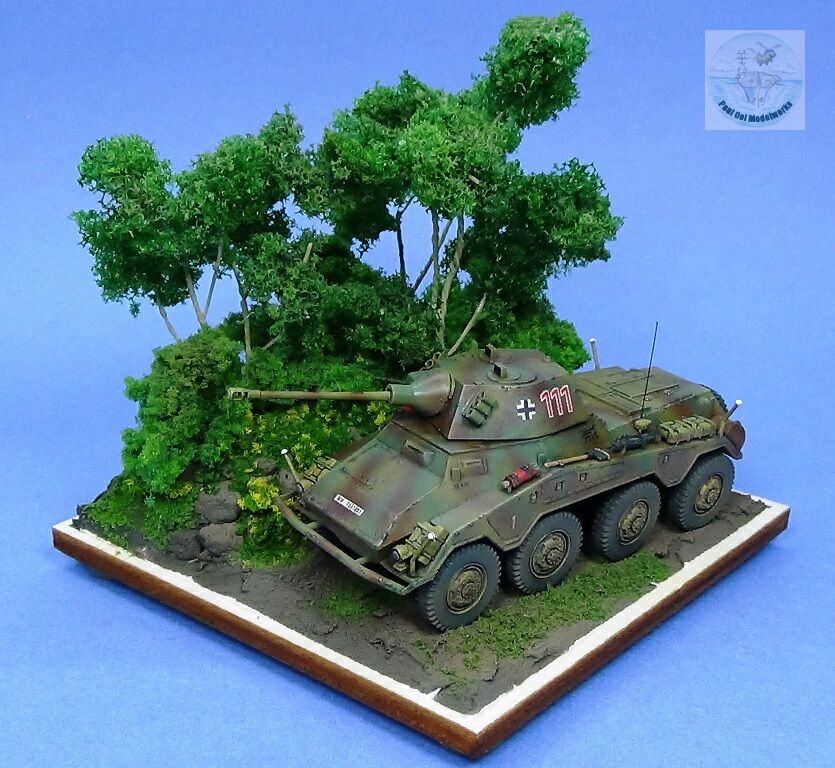
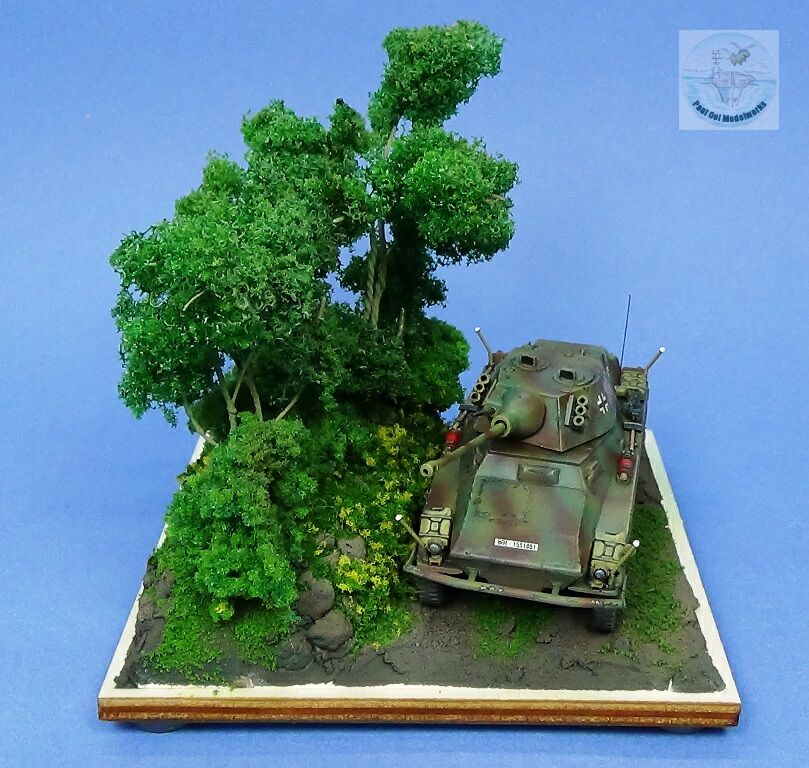
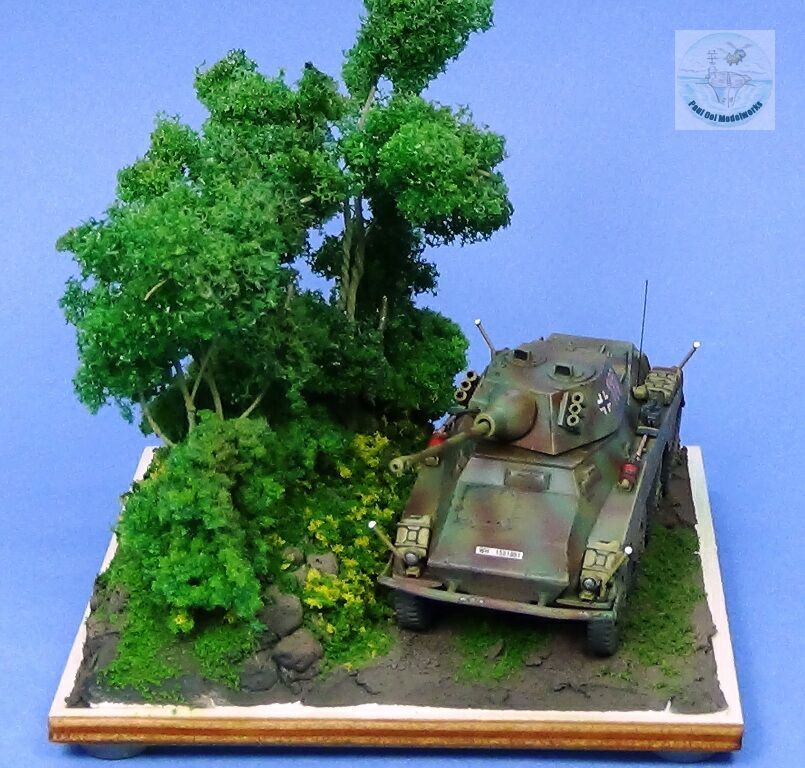
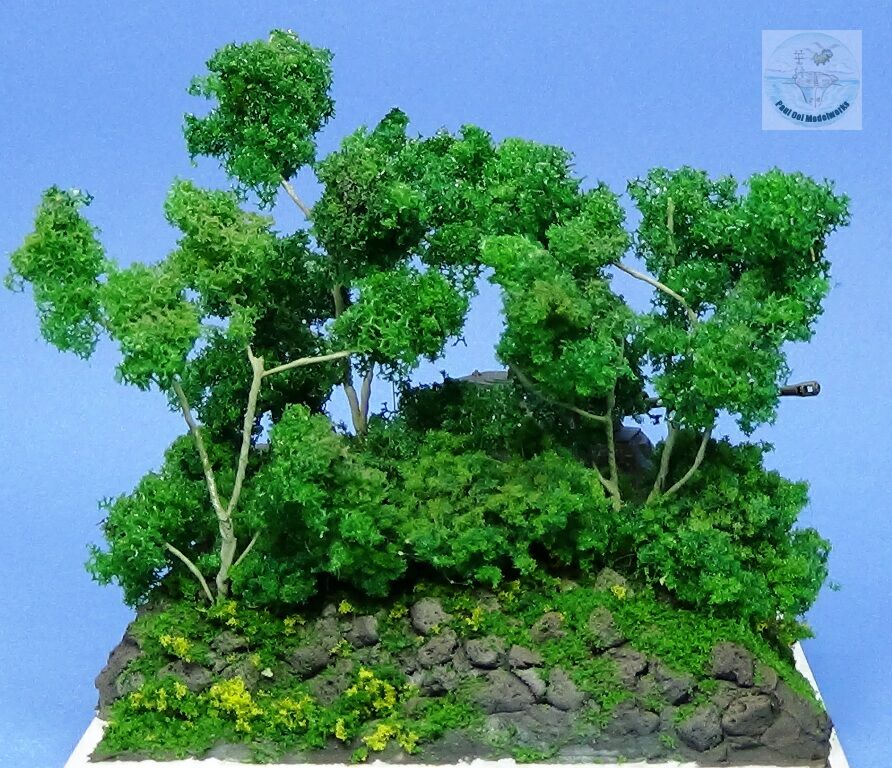
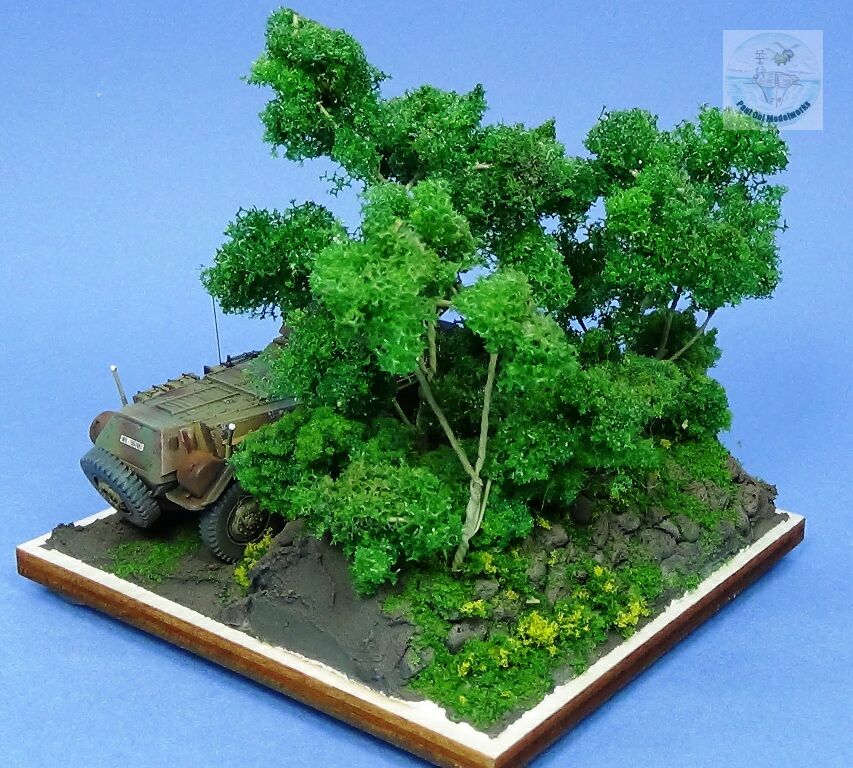
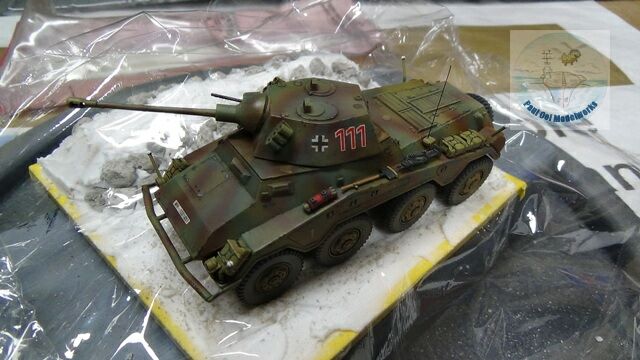
Gallery

Construction Notes
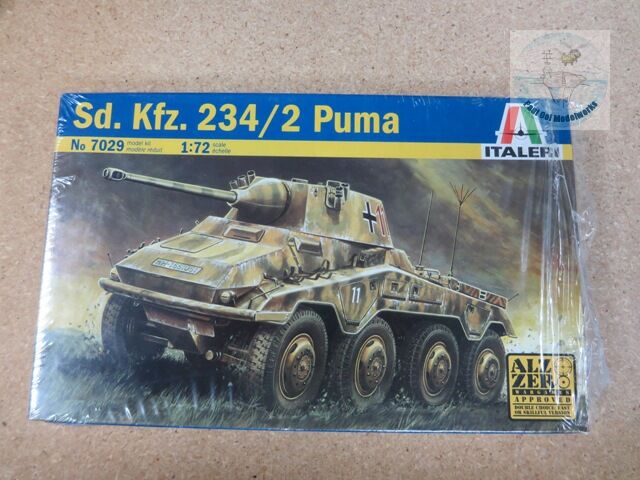
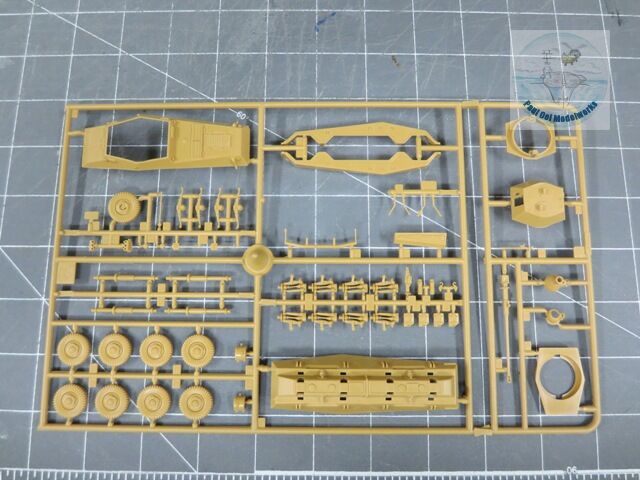
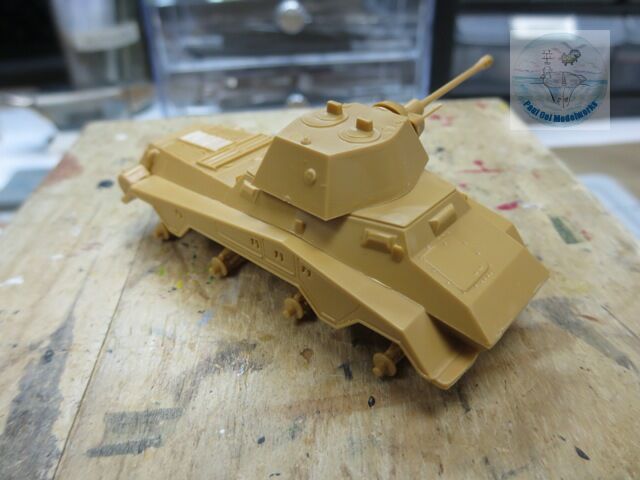
It has been a while since I actually sat down to build a model because of our 900-mile move from the Twin Cities in Minnesota to Loveland in Colorado. I did not have my own project room in the temporary apartment, so it wasn’t until February 2019 that I finally could build a model the way I wanted to. I chose the 1/72 scale Puma by Italeri because of its simple construction, so that I can re-start my spray booth and construction table without worrying about the kit’s complexity. Despite its simplicity, the kit did have very good detail and it did present some interesting color schemes to get my airbrush going.
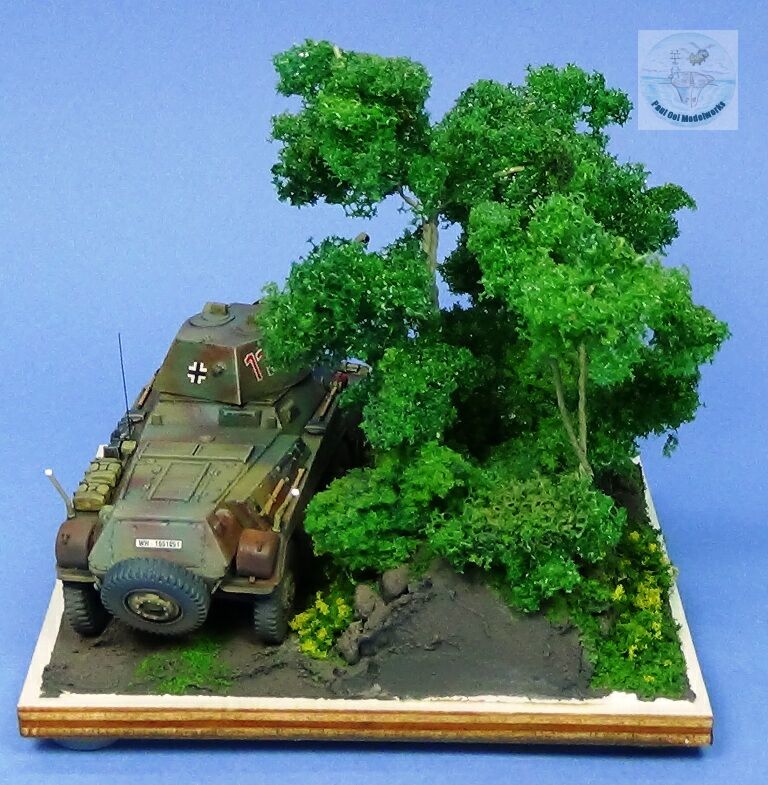
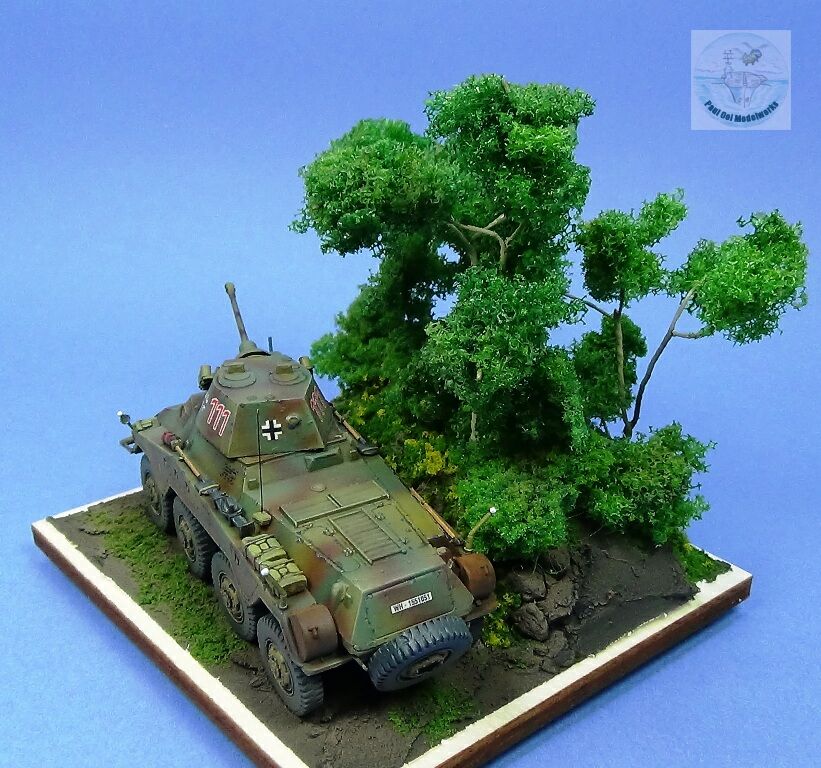
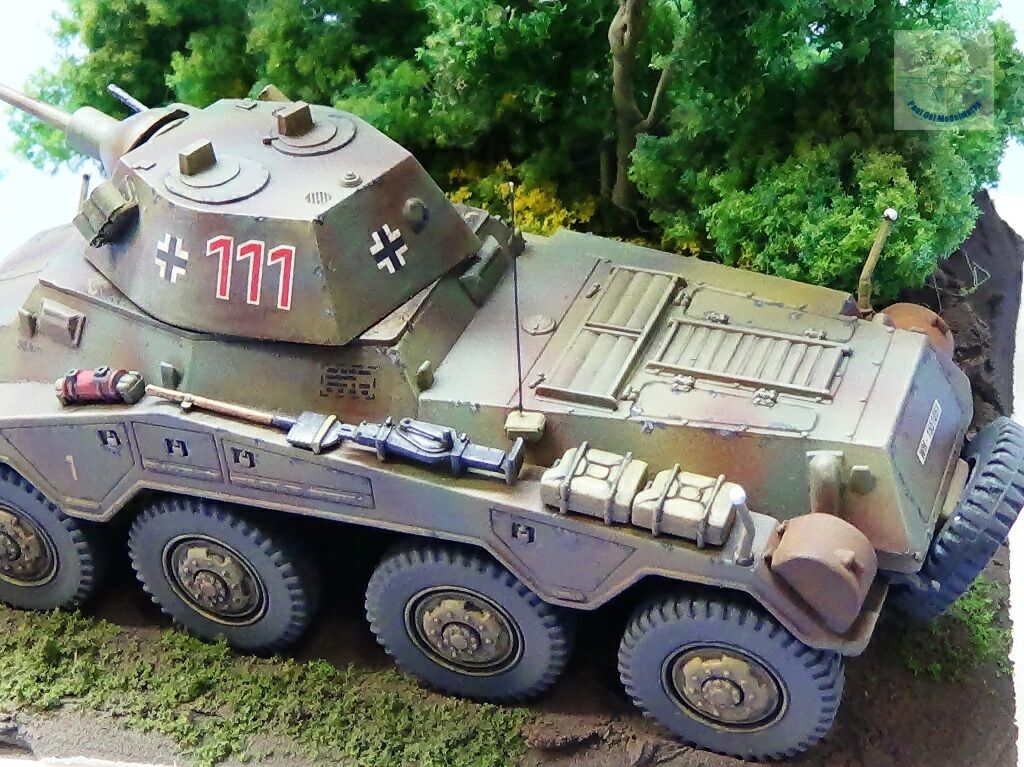
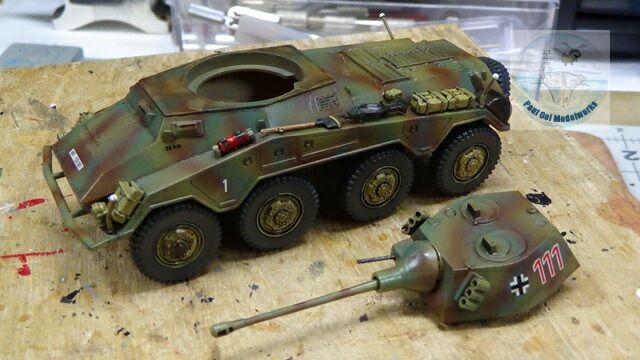
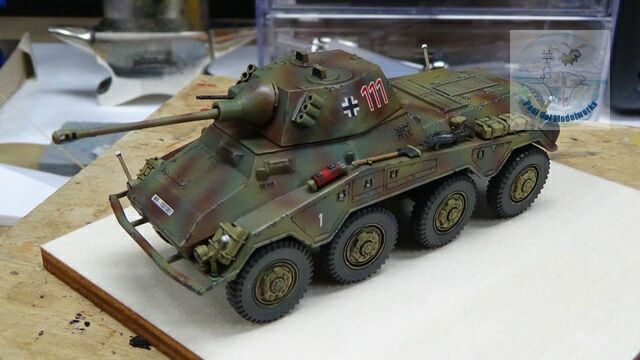
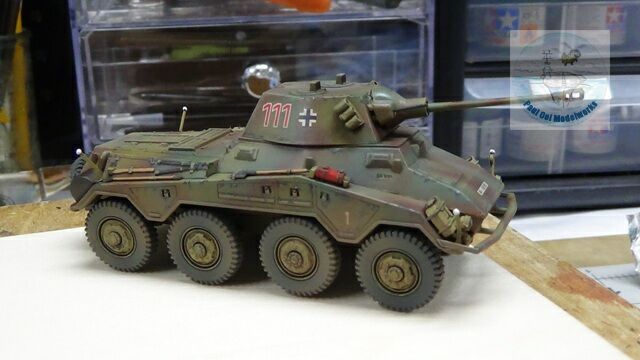
I chose to build the version used by the 2nd Panzer Division in Normandy in 1944. This unit of Pumas operated among the hedgerows and performed very well until they got decimated in the Falaise Gap. The model had the 3-colored camouflage scheme adopted by the Wehrmacht in 1943 comprising dark yellow, olive green and chocolate brown.
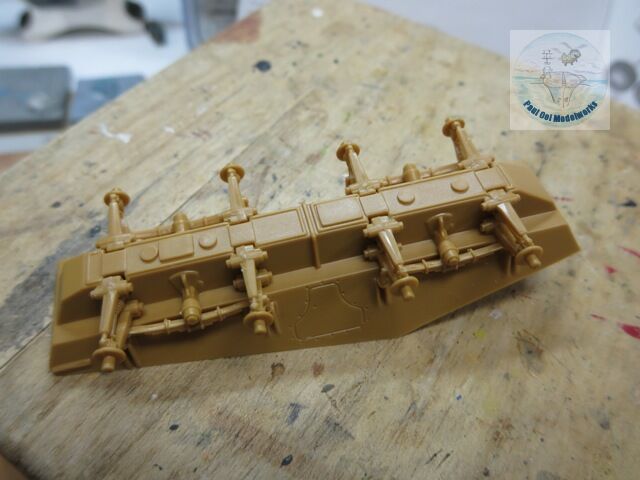
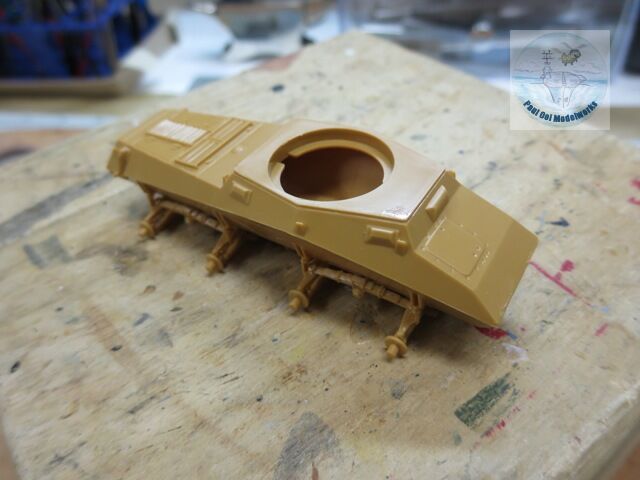
Construction of the hull was straight forward, with one-piece leaf-spring suspensions making it easier and less fragile to assemble. Just make sure that all the axle tips are coplanar so that all eight wheels will contact the ground.
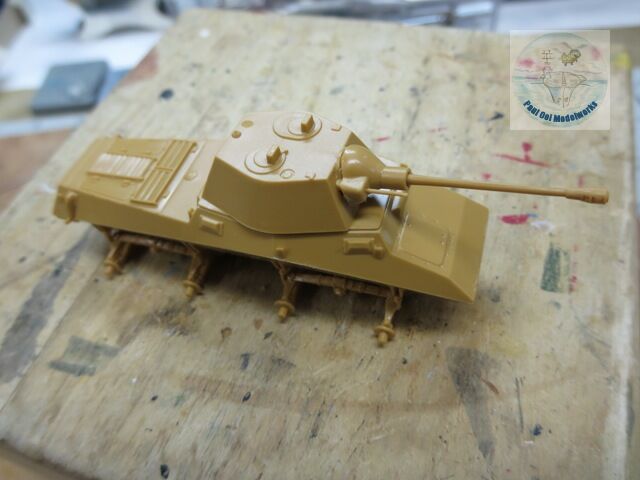
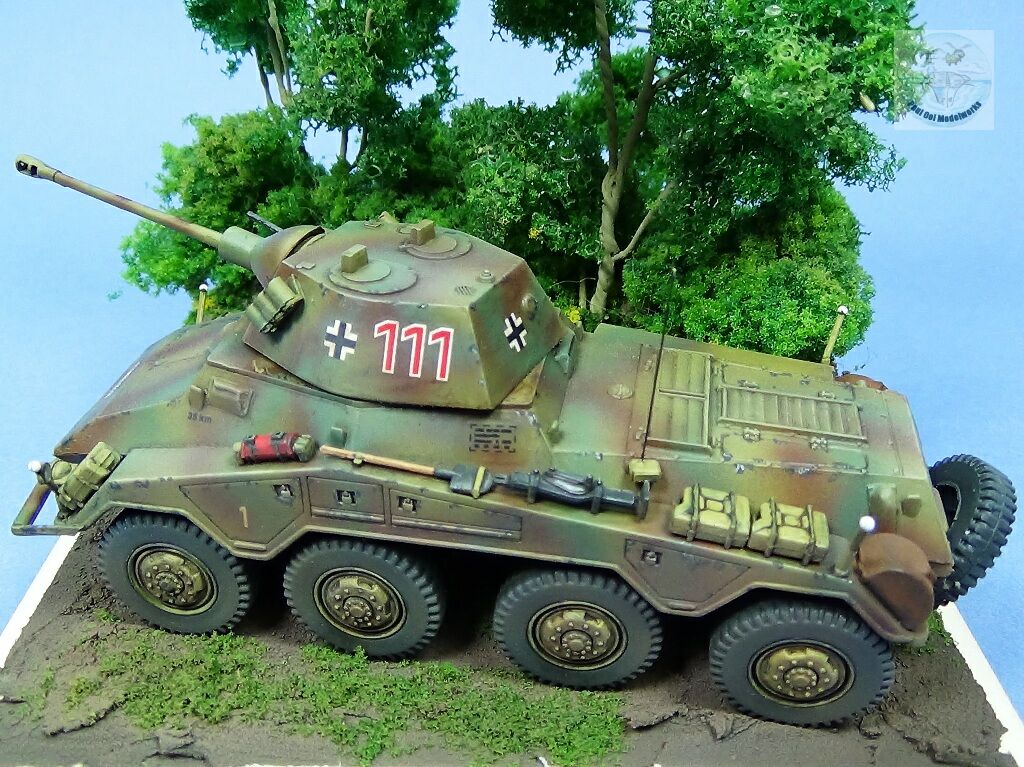
The turret itself comprises of a one piece hexagonal tub with the 50mm gun and the Saukopf mantel dominating the front. The coaxial MG is a little tricky in its insertion, and beware not to break it where the barrel meets the mantel piece. After the turret, the two side skirting were added to the hull.
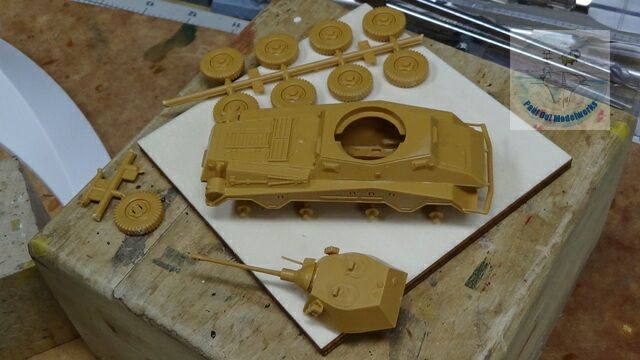
After a few more surface details ( I left off anything that protruded out like the rear mirror, tools, jerry cans), I prepared the hull, turret, and wheels for spray-painting.
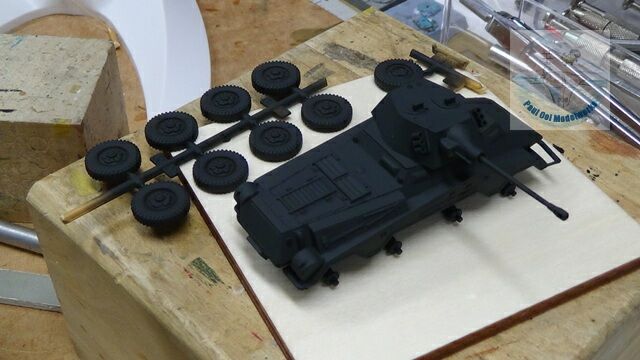
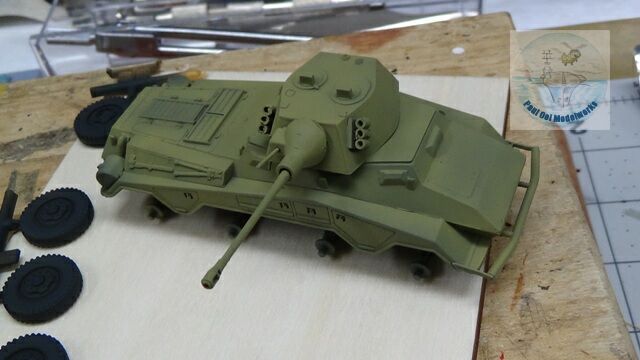
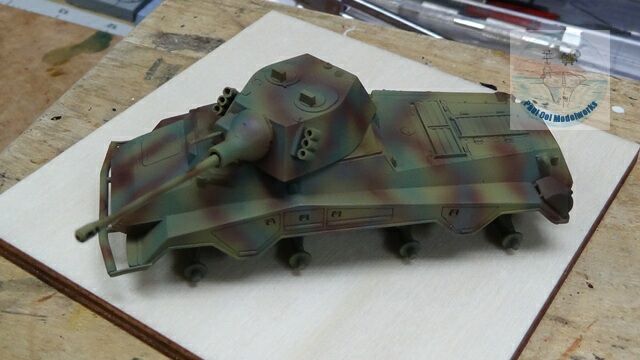
I started with my usual Tamiya NATO Black prime undercoating. This is followed by Model Master ’43 Panzer Dukelgelb. Then, using a fine tipped airbrush setting, I sprayed highly diluted (1:4) ’43 Schokoladen Braun web pattern by freehand airbrush, followed similarly by ’43 Olivgrun.
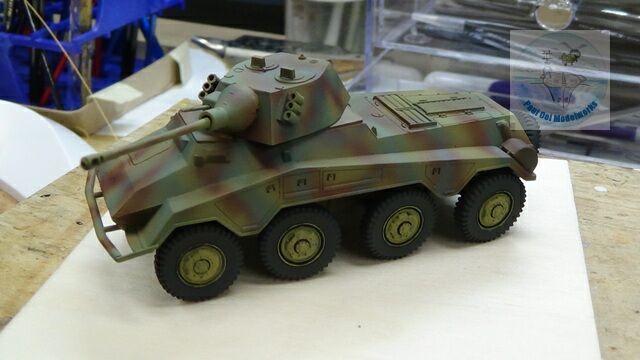
Shortly after, I installed all eight road wheels and the spare tire at the rear of the hull. Road wheels are painted NATO Black with Dunkelgelb hubs.
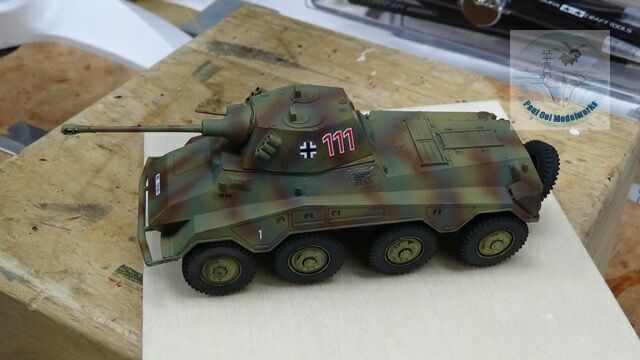
To apply decals, I first undercoated the underlying area with Testor Glosscote Lacquer. This provides a high gloss surface for the decals to adhere to without silvering. Once the decal dries, I seal the paintwork and decals with several coats of satin varnish.
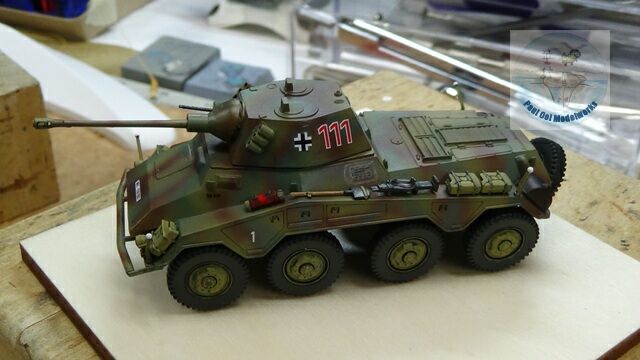
All the remaining detail items are painted and applied to the hull.
The hull and turret assemblies are then painted with an oil paint wash of Lamp Black mixed with Burnt Umber. Mechanical details are given a darker shade of the same wash.
Weathering is applied, first by drybrushing small quantities of Buff on raised details. This is followed by painting in scuffing and paint chips using Tamiya NATO Black, then highlighted with Prismacolor silver for high wear areas.
Upper surface fading is done by spraying a very fine dusting of thinned Buff. Then the lower regions (tires, chassis, edges of the skirting) was sprayed with Dark Earth to help blend with the ground later.
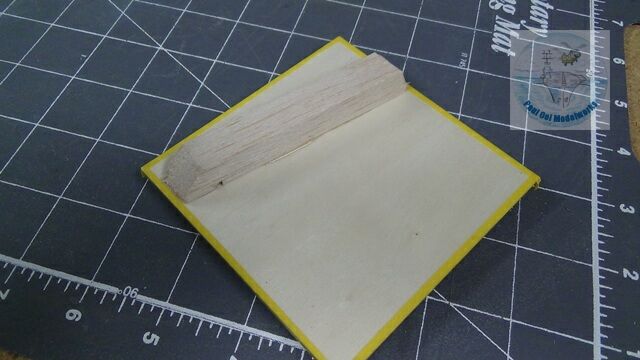
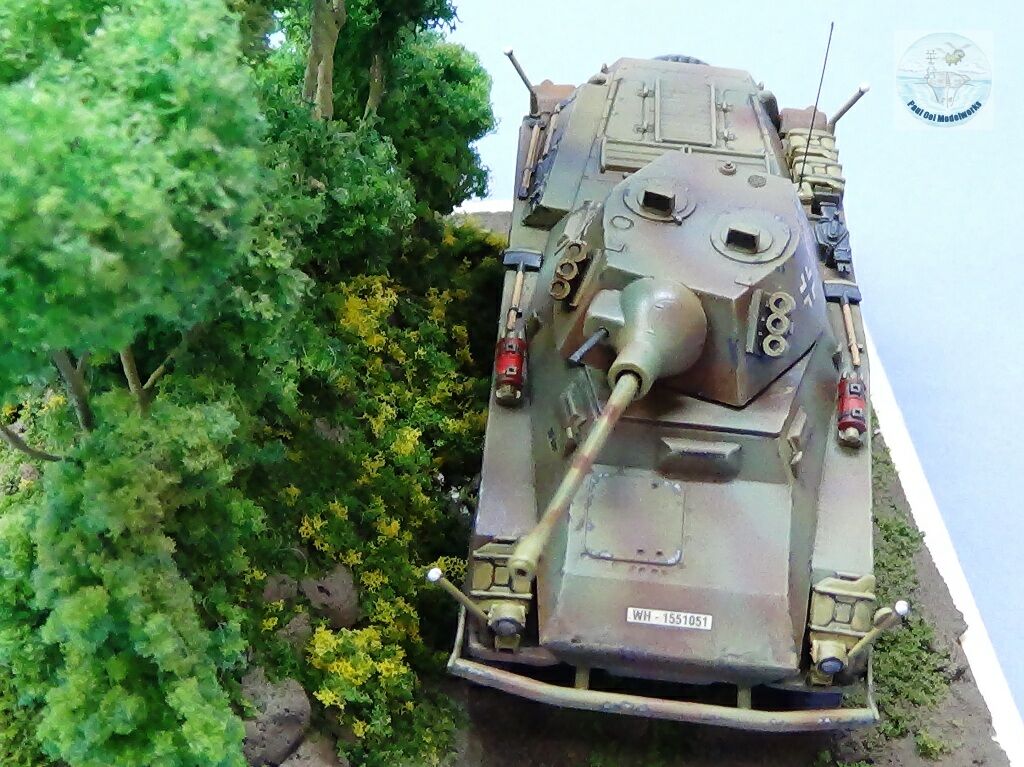
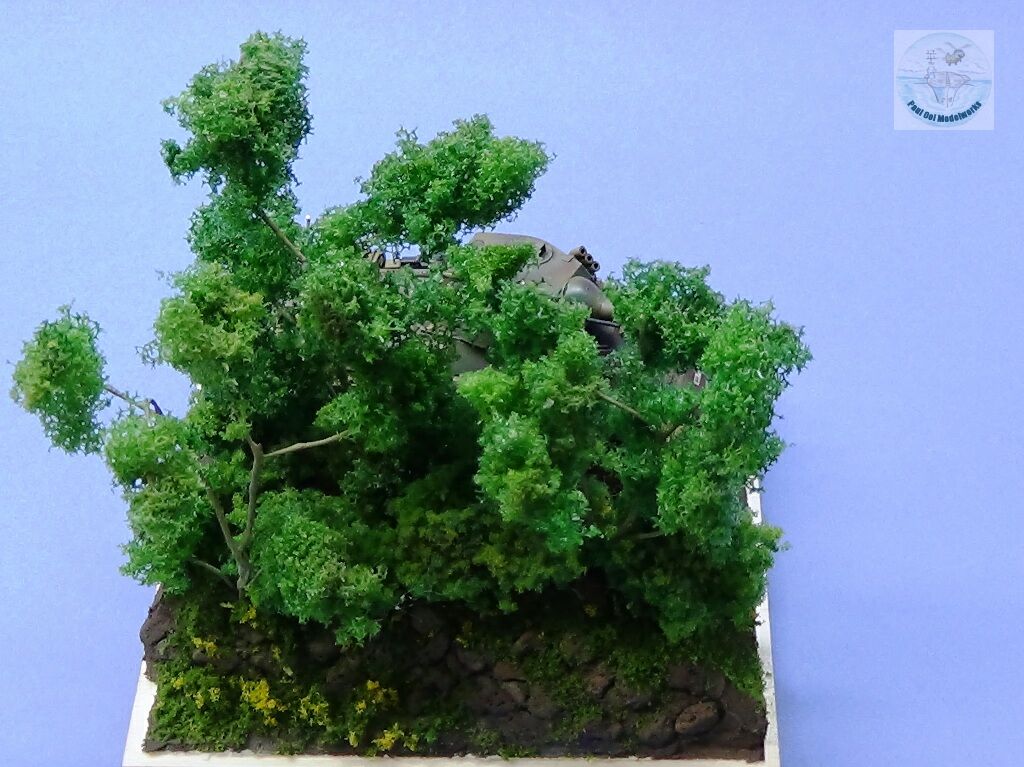
The plywood base measures approximately 3″ x 3″. To provide a core for the raised hedgerow, I glued on a section of 1/2″ square balsa wood.
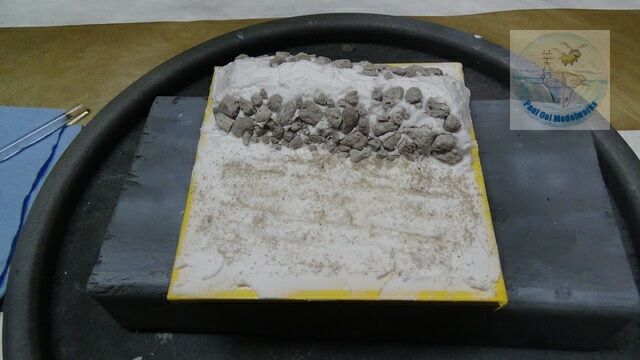
Using light weight spackle plaster, I coat the lane and hedgerow, then imbedded pieces of railroad model talus (coarse) to simulate the hedgerow rock enclosures at the base, then a sprinking of fine talus for the texture of the lane.I use the vehicle itself to create the necessary tire impressions on the wet plaster (protecting the vehicle by lining the plaster with kitchen shrink wrap).

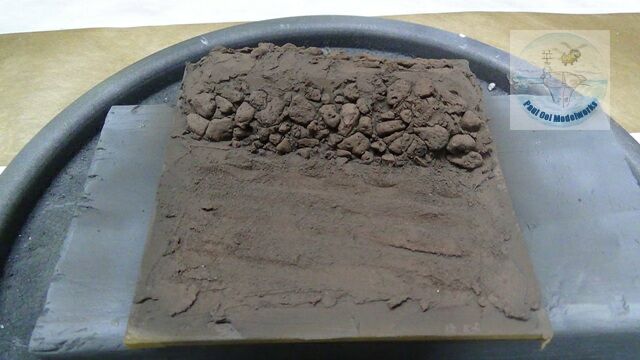
Then the assembly is undercoated first with Tamiya NATO Black, followed by Tamiya Dark Earth, with Buff highlights.
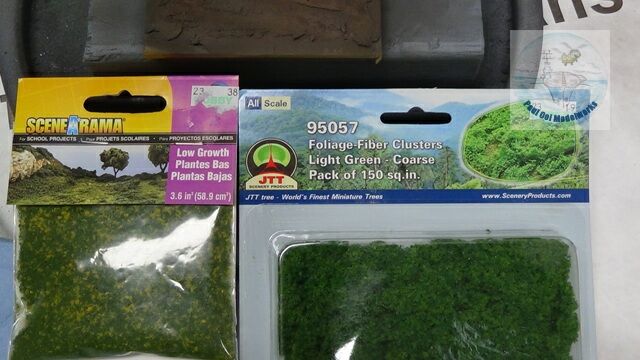
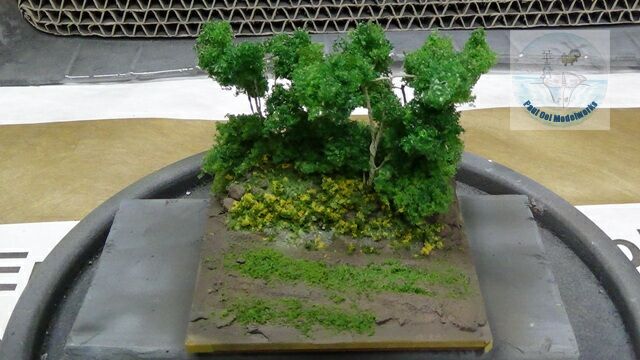
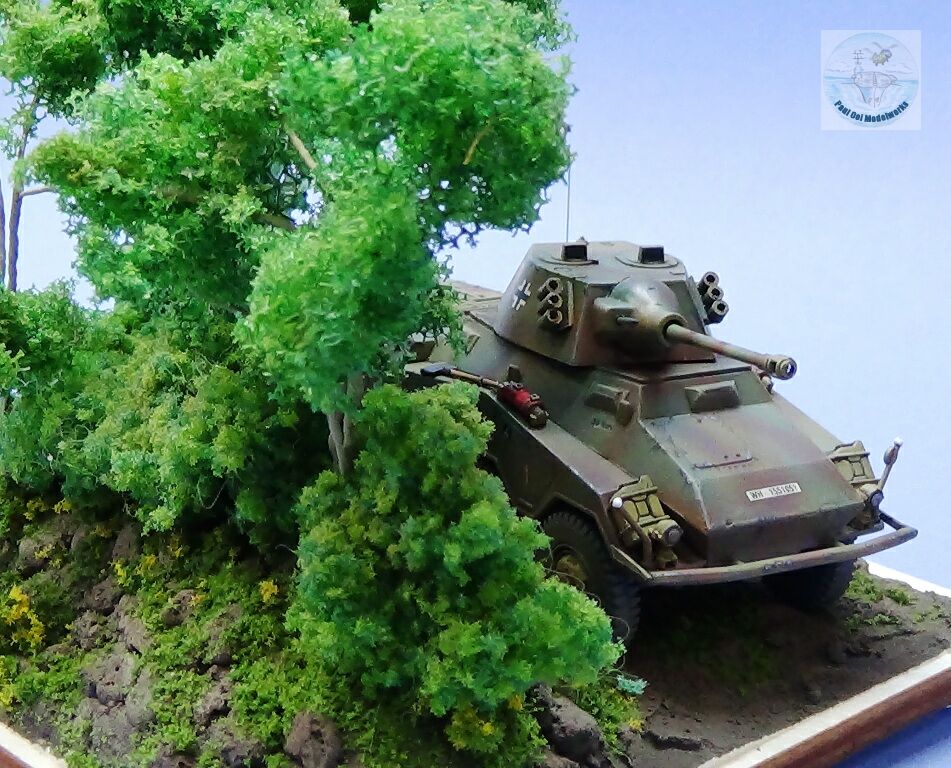
Grass and summer flowers were applied first, affixed with diluted white glue. Then foliage fiber clusters are glued to the hedgerow mound to create bushes. Lastly, trees were carefully inserted on hedgerow mound itself.
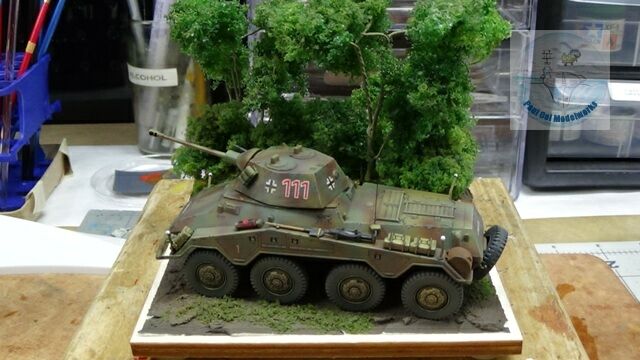
Once dried, the vehicle is mounted permanently onto the display base, complete with a thick messy tangled hedgerow.
Leave a Reply