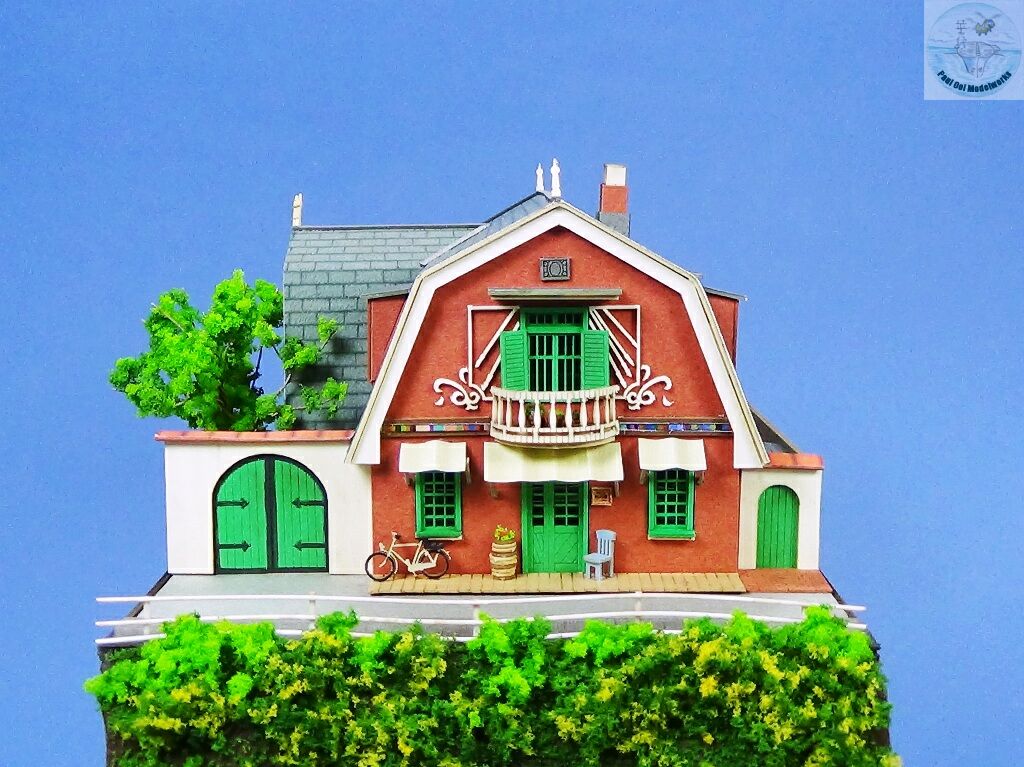
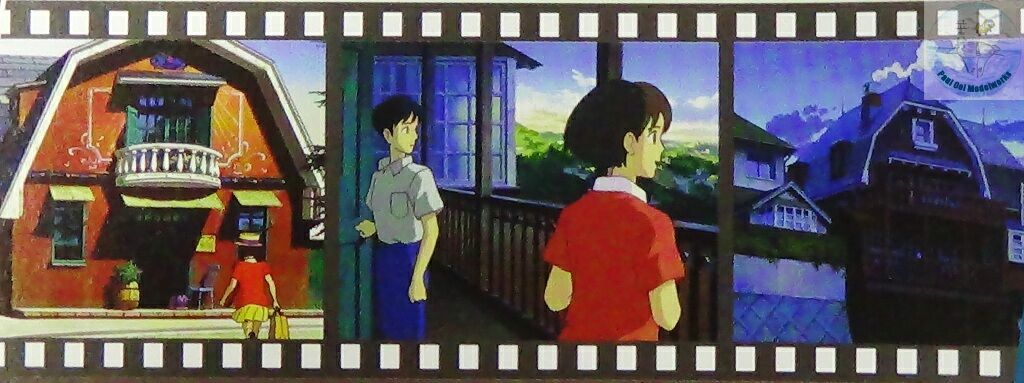
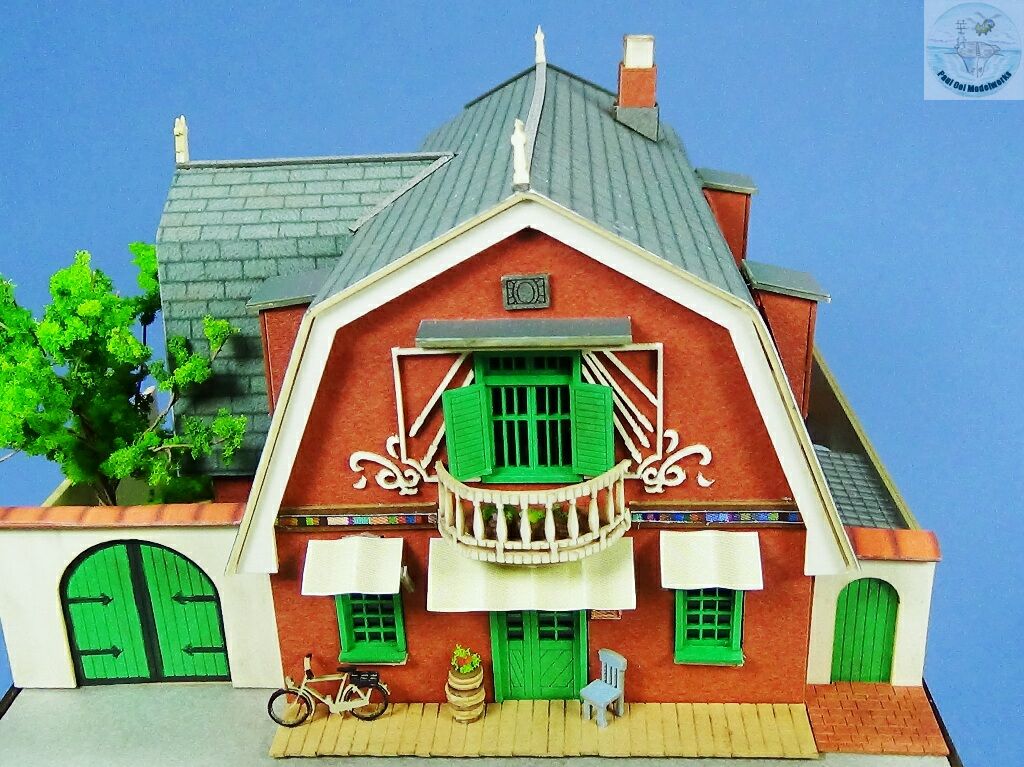
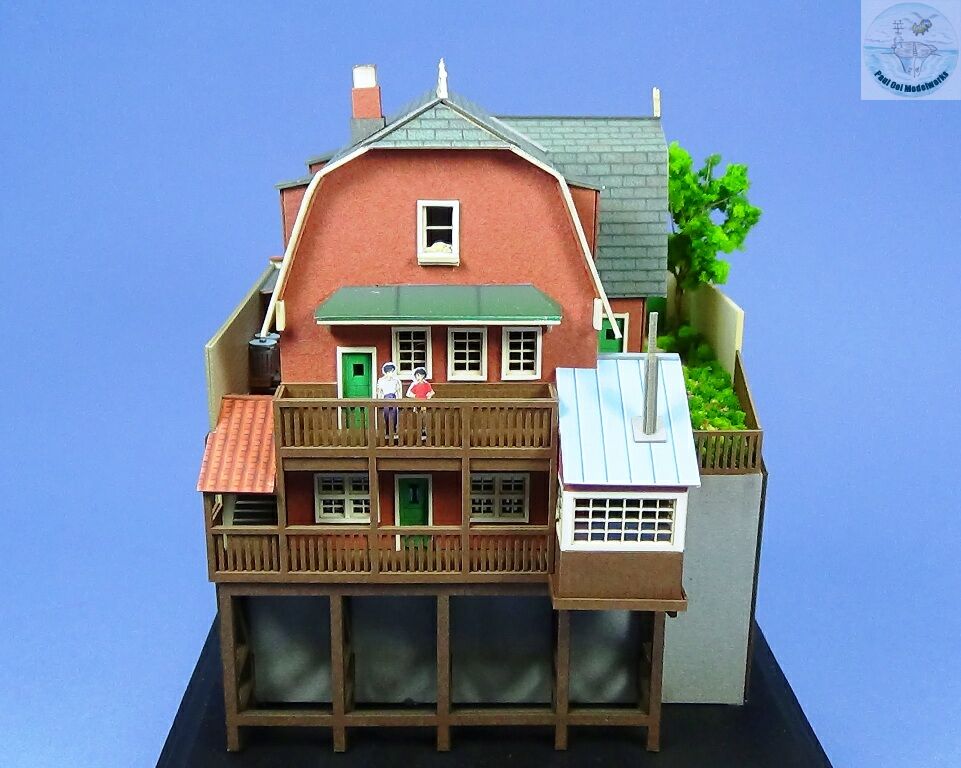
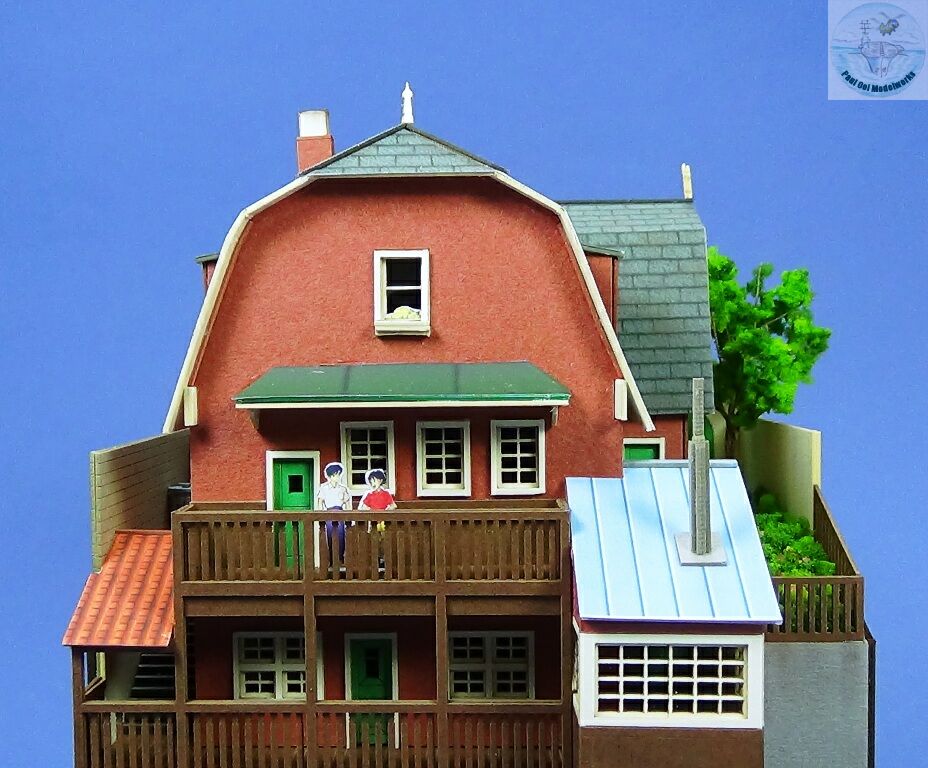
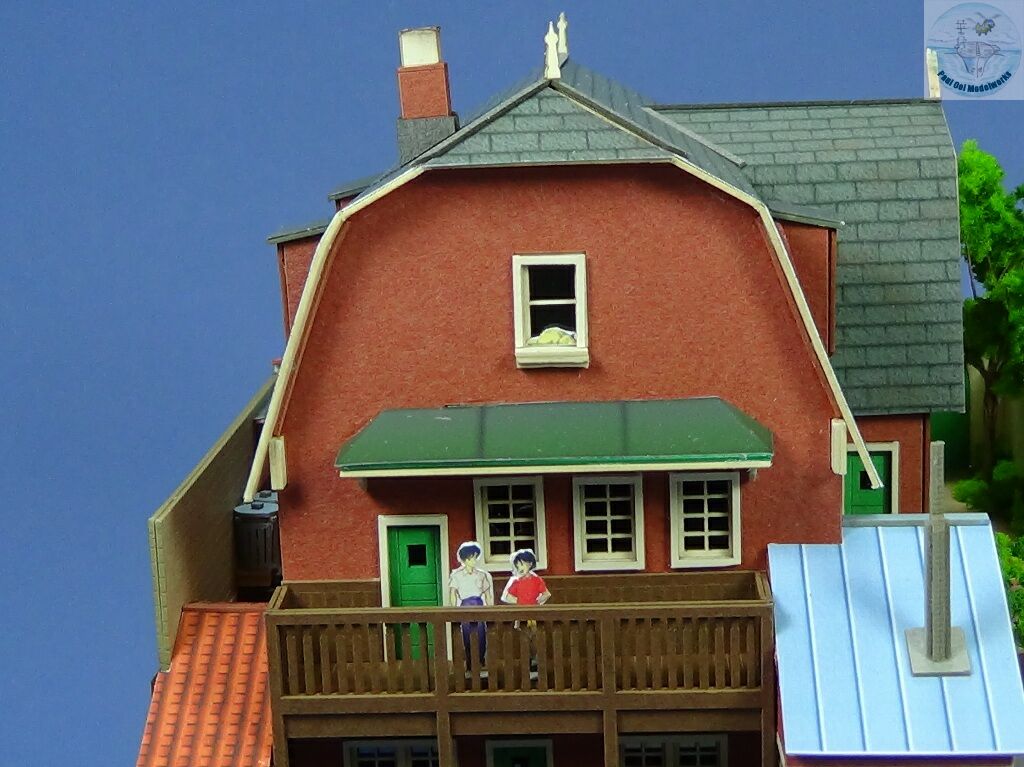
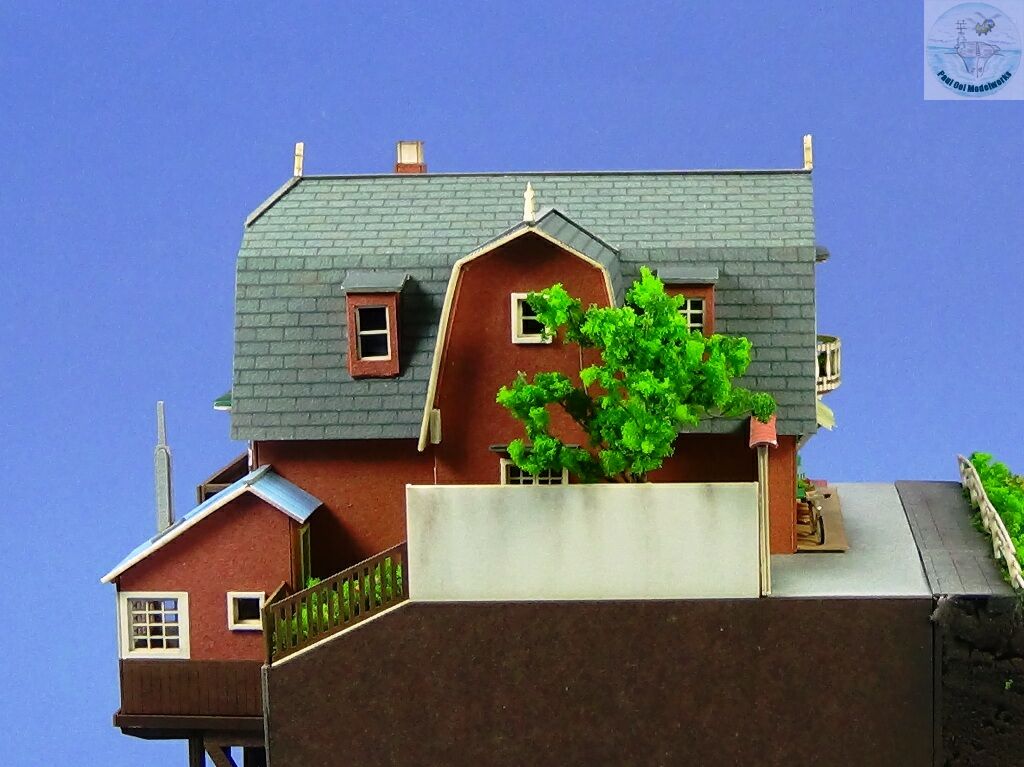
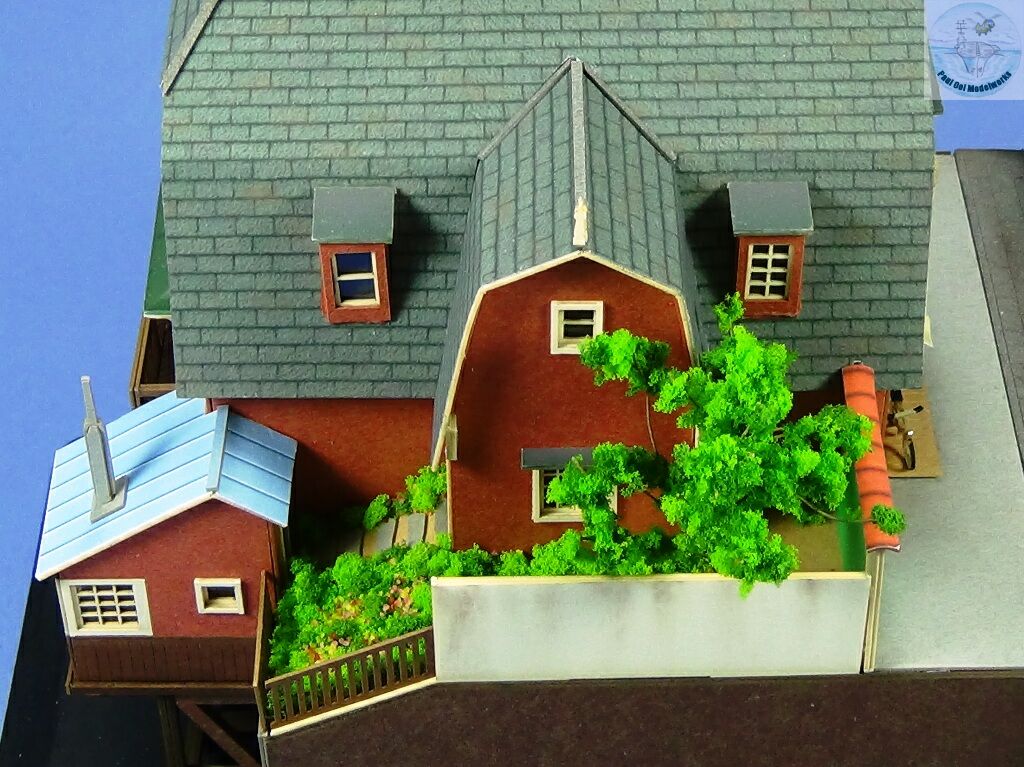
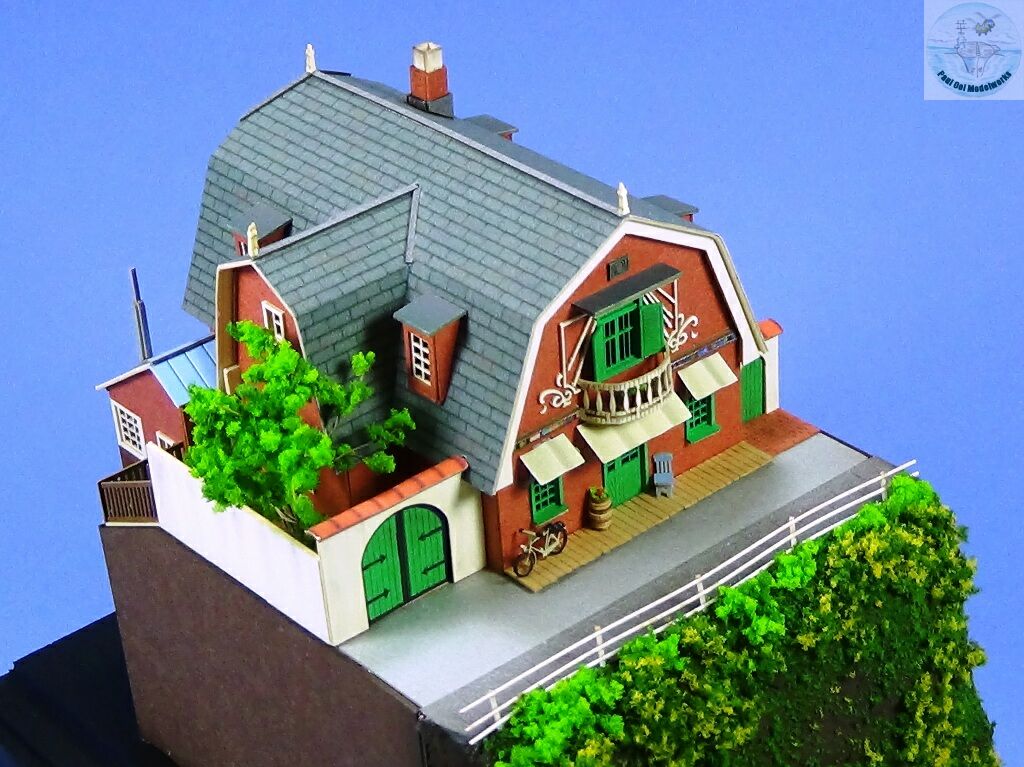
Chikyuu-ya or the Earth Shop was a mysterious antique store that was central to the plot of the Studio Ghibli movie “Whispers of the Heart”. Architecturally, the shophouse was an eclectic European-style mansion set in a Japanese hillside. The heroine in the story, Shizuku followed a cat on a train that led her to this shophouse up on a hill overlooking the Tokyo suburb of Tama. It was also there that she met the boy that became her love interest, Seiji. The shophouse itself was crammed full of strange and wonderful objects while the lower floor was Seiji’s violin-making workshop.
Gallery
Construction Notes
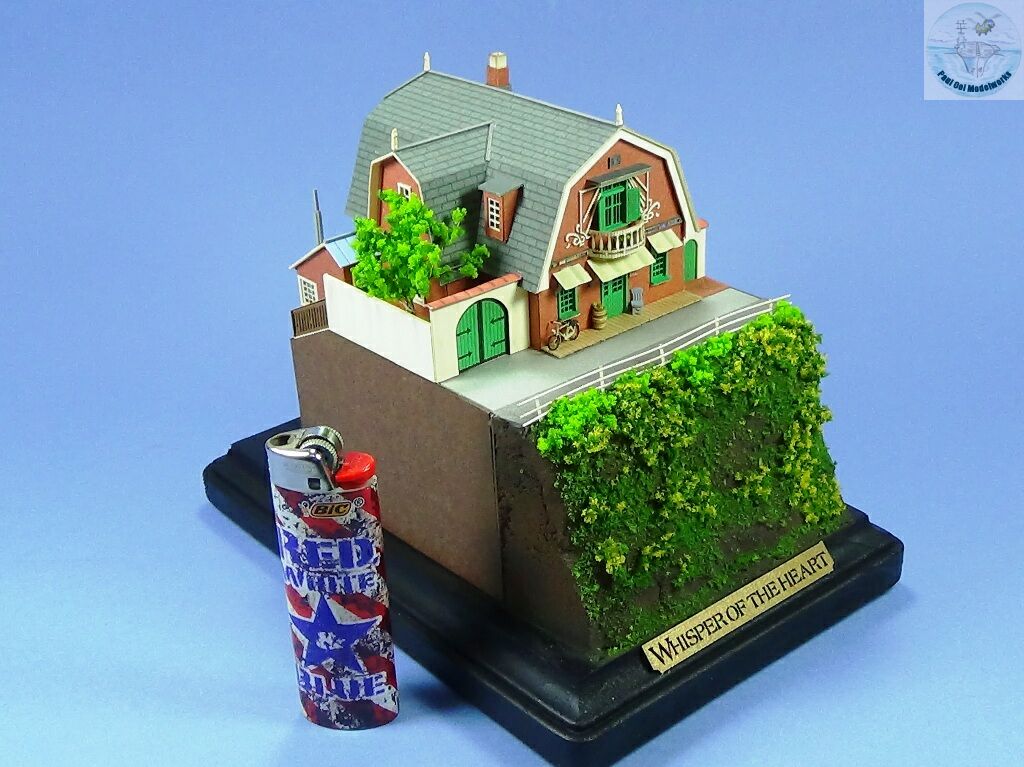
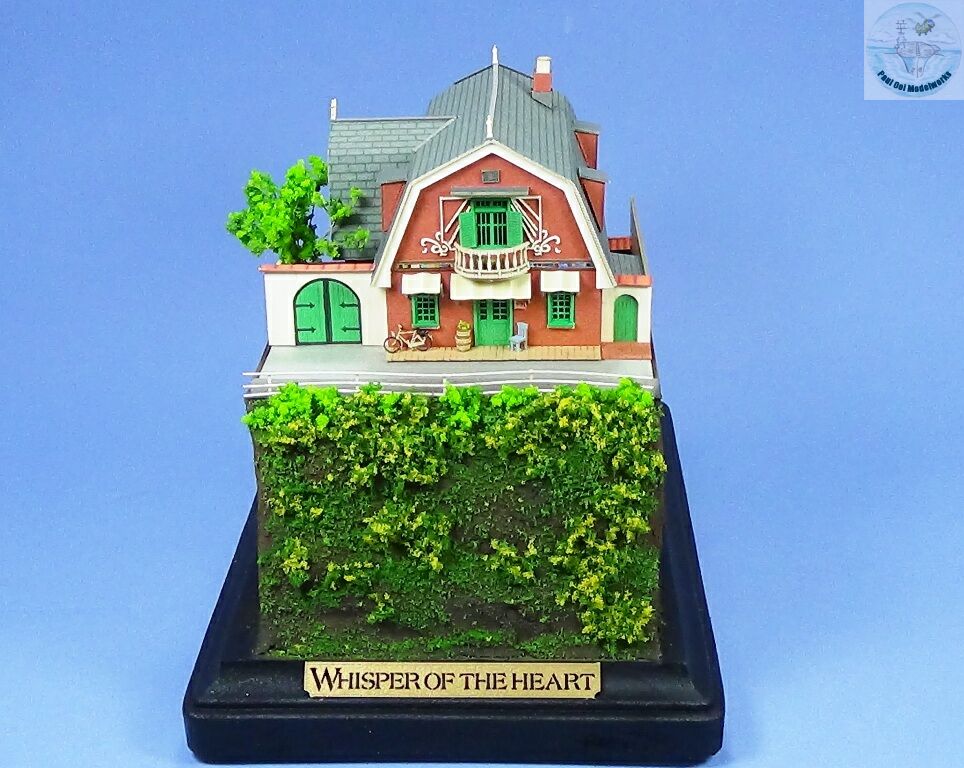
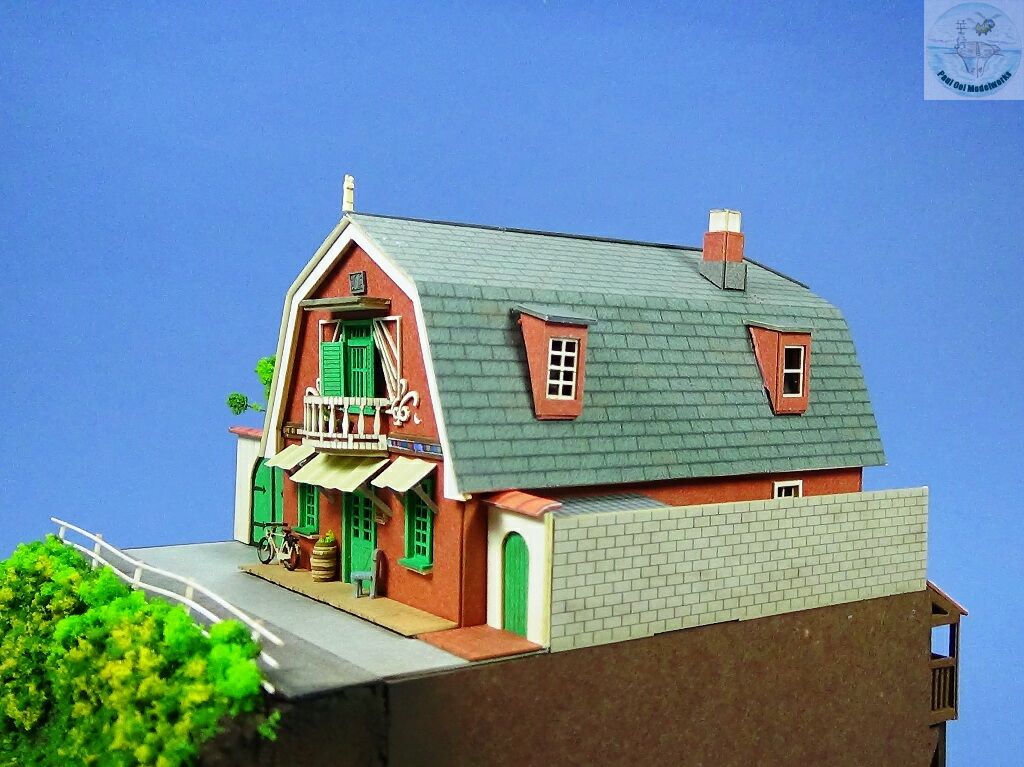
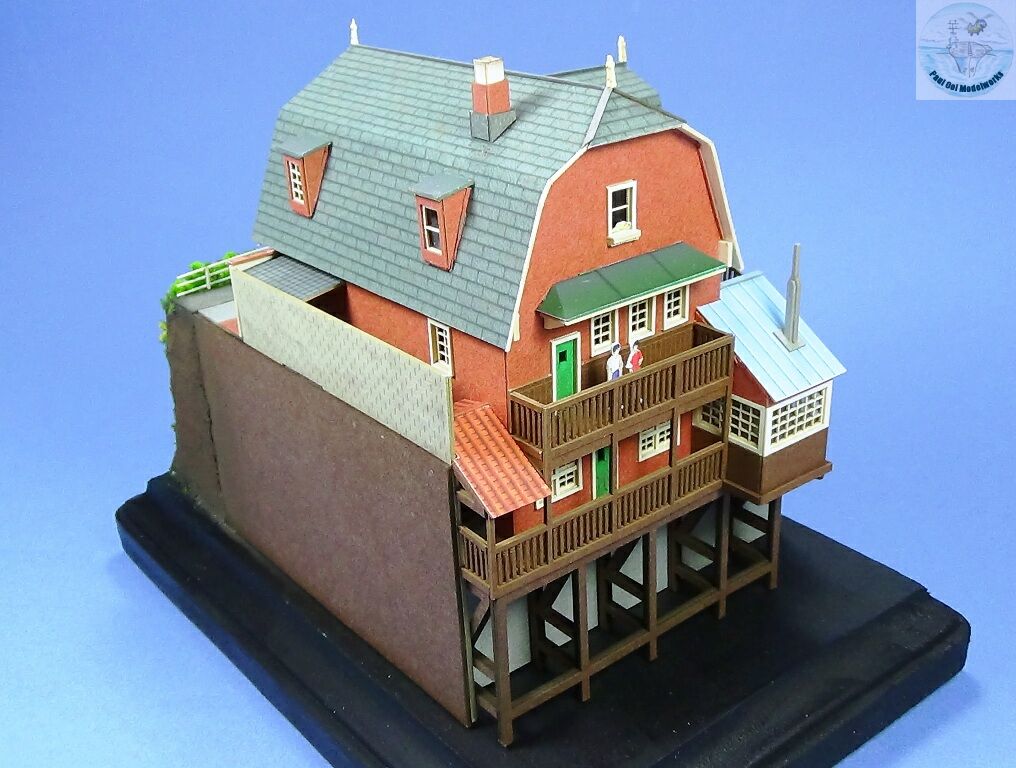
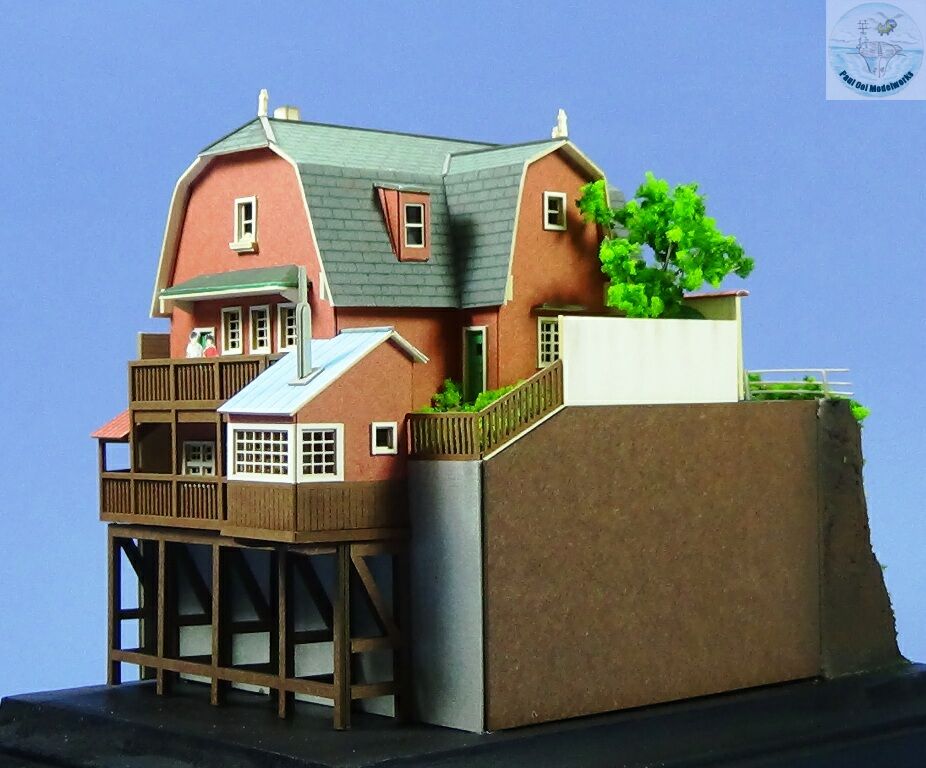
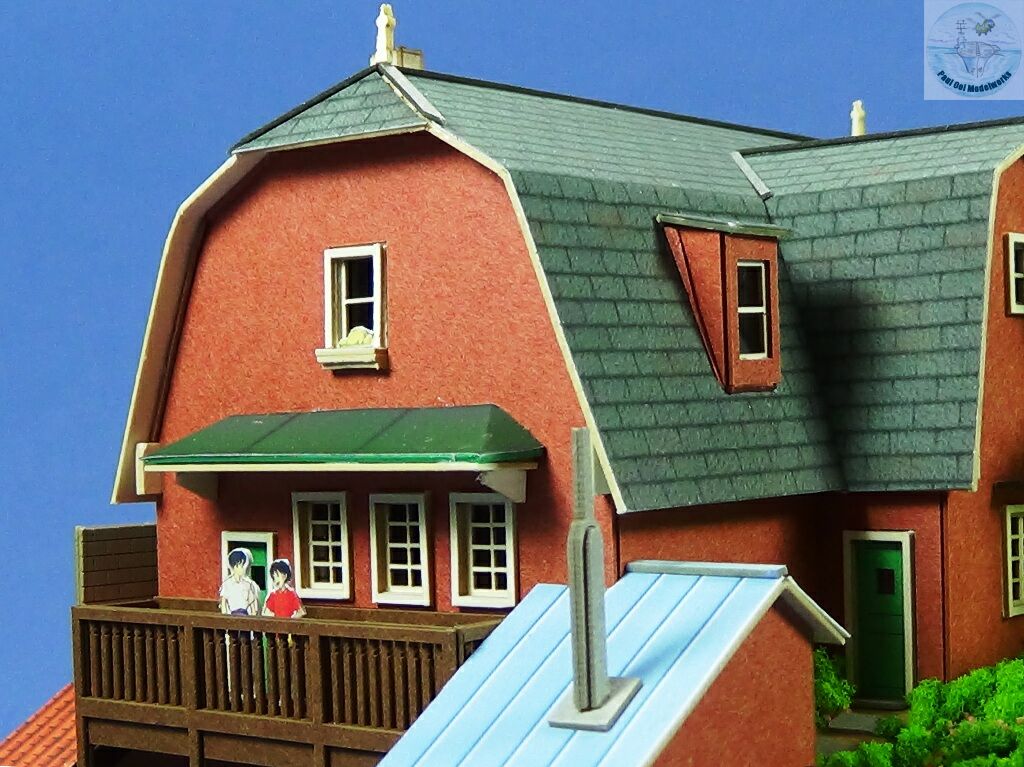
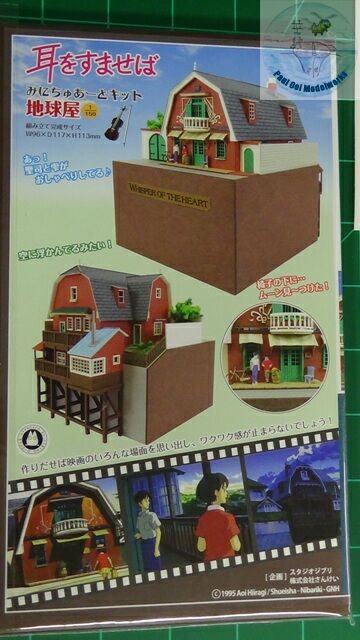 The paper card model of Chikyuu-ya is a 1/150th scale kit made by Sankei of Kyoto. It is similar in construction and composition as the previous Studio Ghibli themed paper models that I made like Satsuki and Mei’s House, The Catbus, and the Motorized Tricycle. What is different about this model is that the house is more extensive and also lies on a hillside with some challenging elevations towards the rear. I also liked the eclectic European look of the shophouse that retains one key Japanese feature, a bath-house complete with a furnace stack with a light-blue metal roof on the extreme right of the wooden deck. I did not like leaving the front of the shophouse with that flat brown cardboard facade with only the title plaque, so I planned to provide a bit of landscaping of my own for better realism.
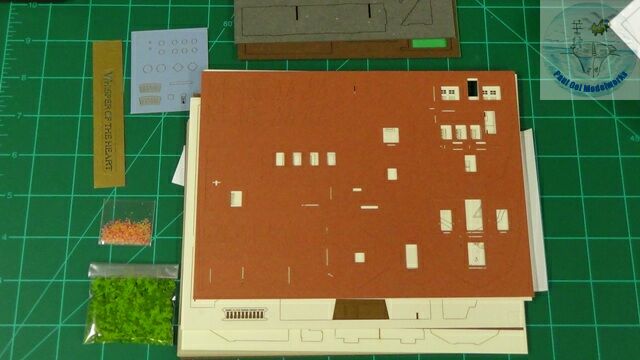
The kit 15 laser-cut sheets of color cardboard, two packets of landscaping material and a strand of copper wire to be used for a tree, There is also a sheet of clear acetate for the windows.
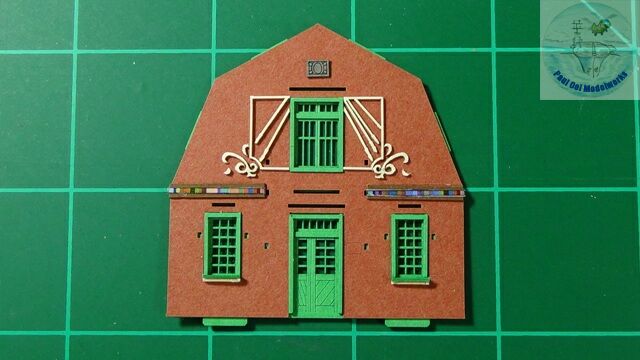 The first major panel to be built is this magnificent front facade of the shophouse. It comprises of several layers of different-colored cards and acetate window panes.
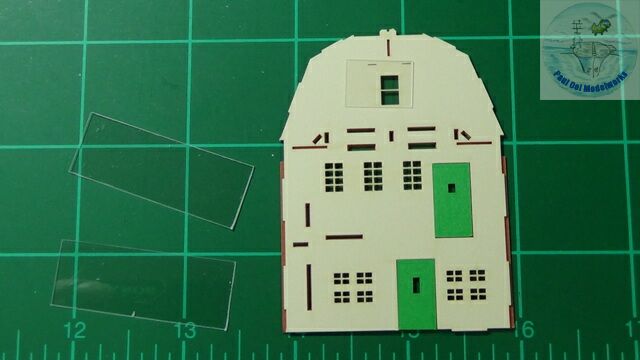
The next major panel is the rear face of the building. This section has two full storeys and a loft so there are many more windows and doors. You can see the beige colored under-sheet, the green door inserts, and the pieces of acetate specially cut to fit each set of windows. 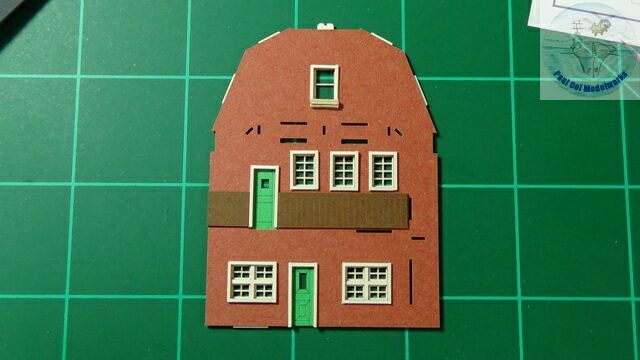 This is the same panel when you turn it around to face the outside of the building. Note that I use the same Neutral PH Permanent PVA glue for the cardboard and the clear acetate pieces.
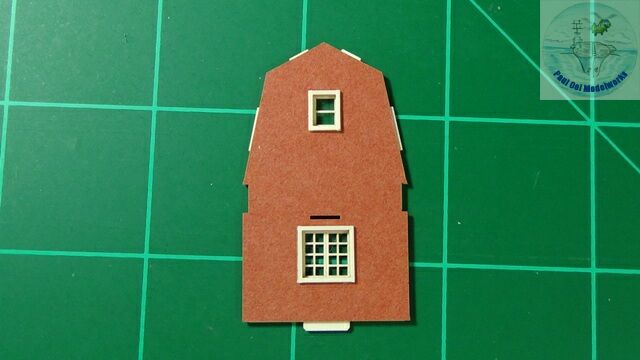 This piece is the face of the side gable on the right side of the building. The construction is similar to the other two main faces.
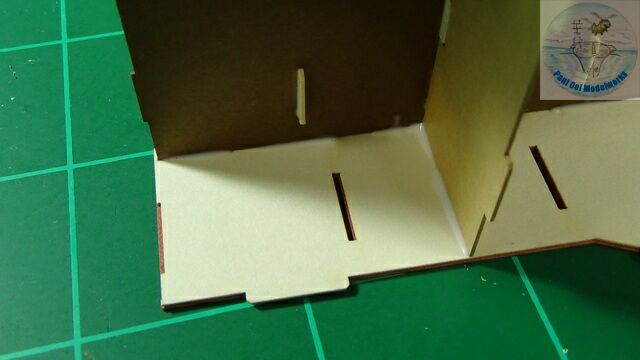
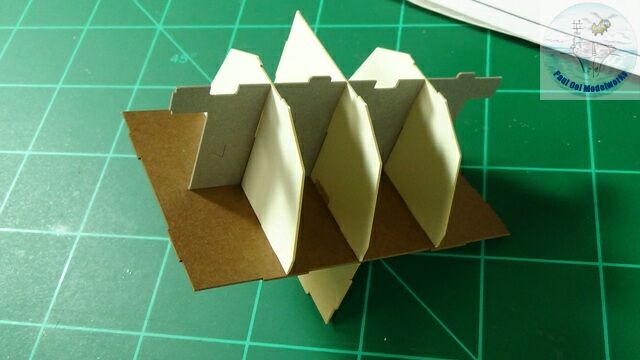 Next I construct the main interior support of the building. The upper floor and roof support are a series of bulkhead pieces inserted into that brown main floor. Orientation check is very important at this stage because a wrongly-positioned piece will be very hard to rework.
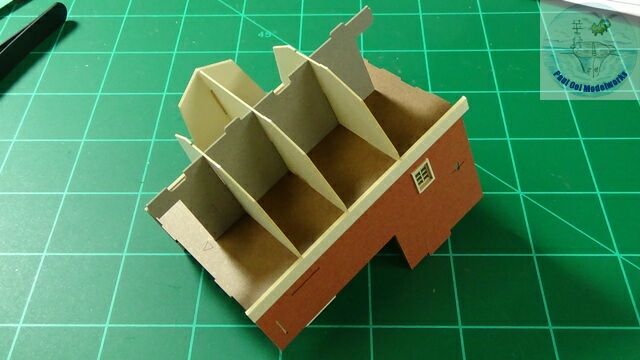 The basement walls are then added to the main building core framework.
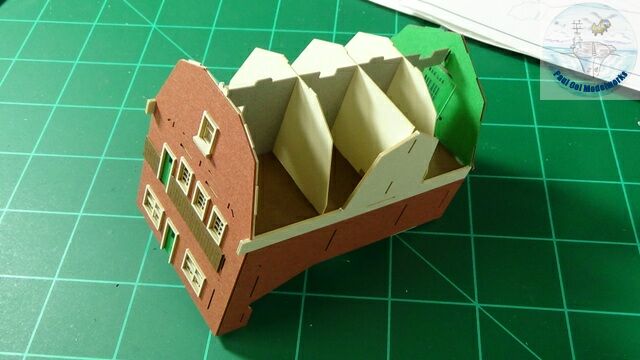 Then the front and back panels are carefully added to the main building frame. I made sure that no PVA glue would smear the windows in the panels.
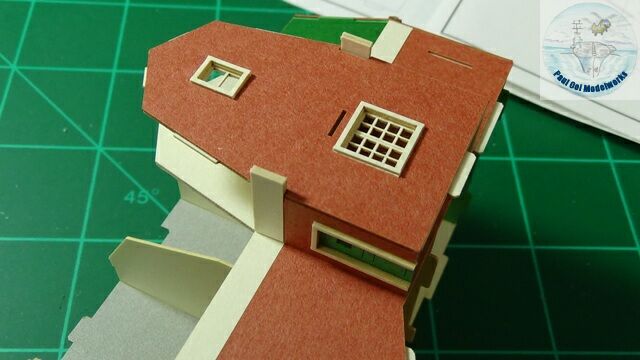 Similarly, the gable and side door section of the building was added to the right side elevation of the building frame.
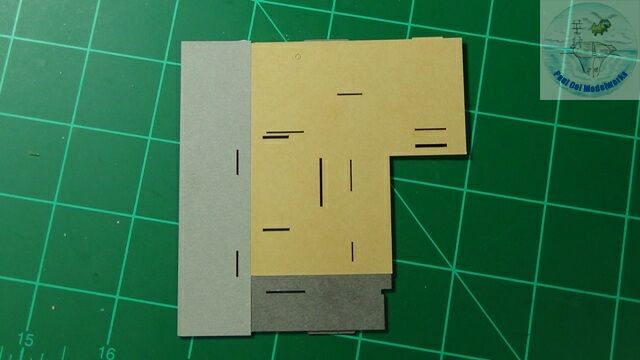 Next the “ground” and main floor pieces are first checked for alignment, and then carefully glued to the main frame.
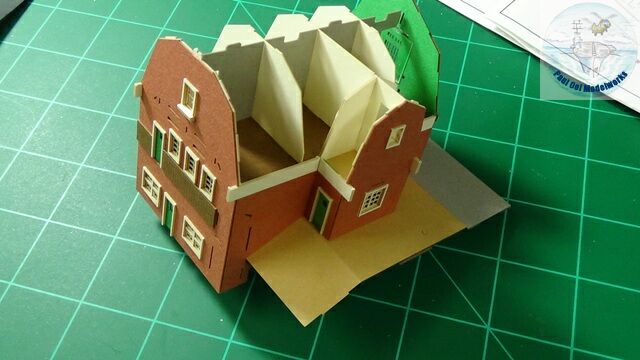 You can see here how the pieces of “floor” come together with the main building to form the sloping elevation of the house.
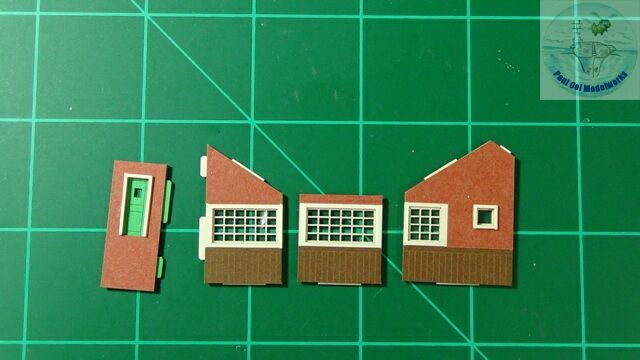 Then I proceed to build the panels that will form the bath-house or “o-furo” in Japanese. This tells you that this is a fairly luxurious Japanese house that has its own bath complete with a (wood-burning?) furnace.
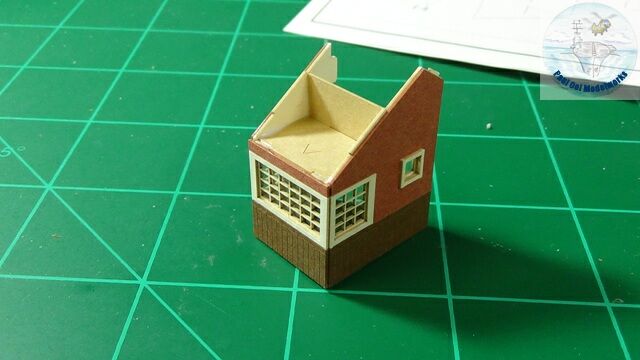 This is what it looks like when these small panels go together.
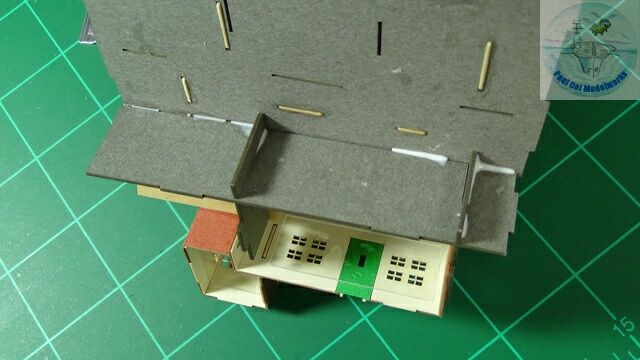 Then the heavy basement “floor” cardboard anchor panels are attached to the main building. This layer is very important as it provides the overall structural rigidity of the model building.
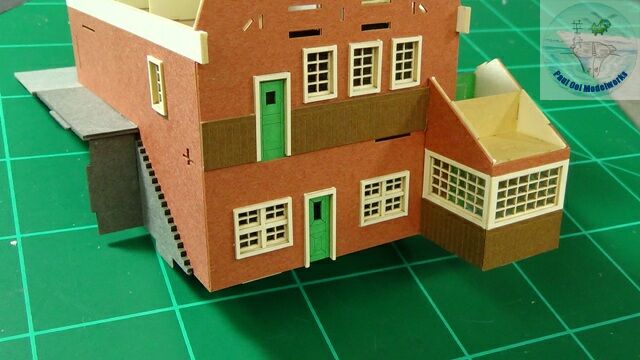 The bath-house gets attached and you can see the beginnings of a long flight of stairs on the left side of the building.
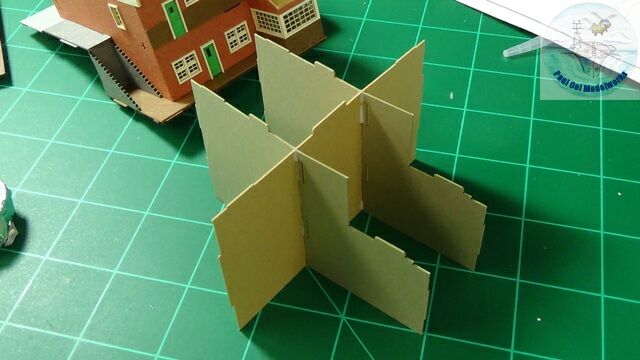 Then we begin to build the “ground” cardboard sections. Like the basement floor, these are the main supports for the model.
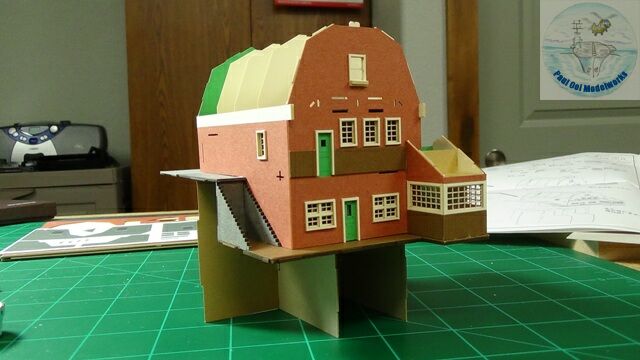 Another view of how the main building section integrates with these foundation pieces. Note the staircase pieces on the left side of the building.
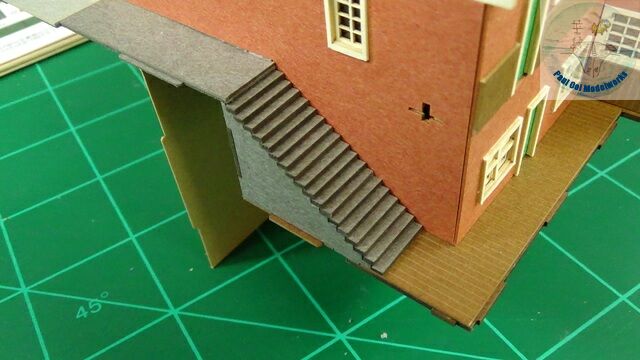 The pieces to form the stairs are added on one at a time.
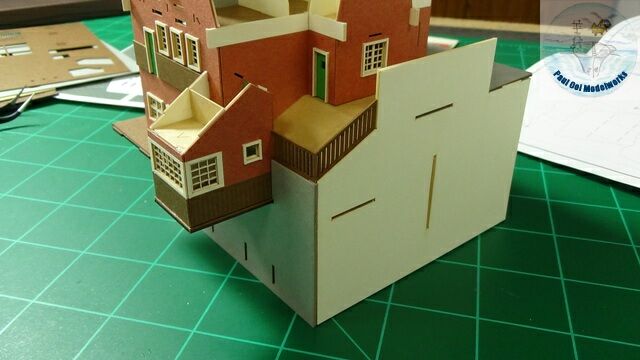 The large beige pieces that form the lower box support of the model are glued on on all four sides.
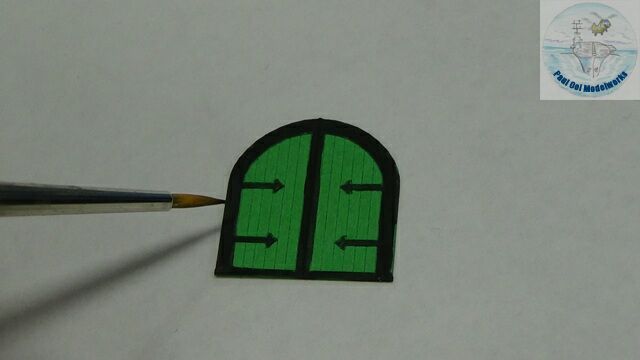 The wider garden doors are printed on green card. The hinges and boundaries are painted in Tamiya XF-69 NATO Black.
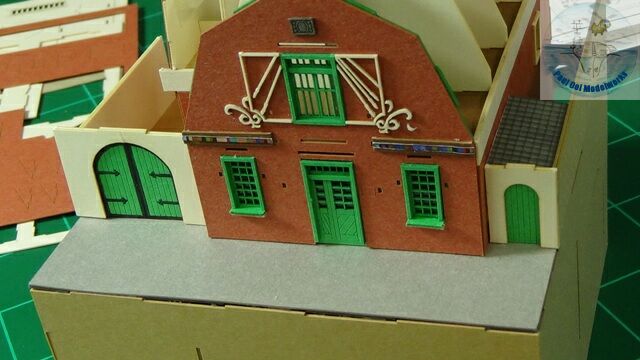 The doors and archways to the garden and the smaller alley on the right are installed.
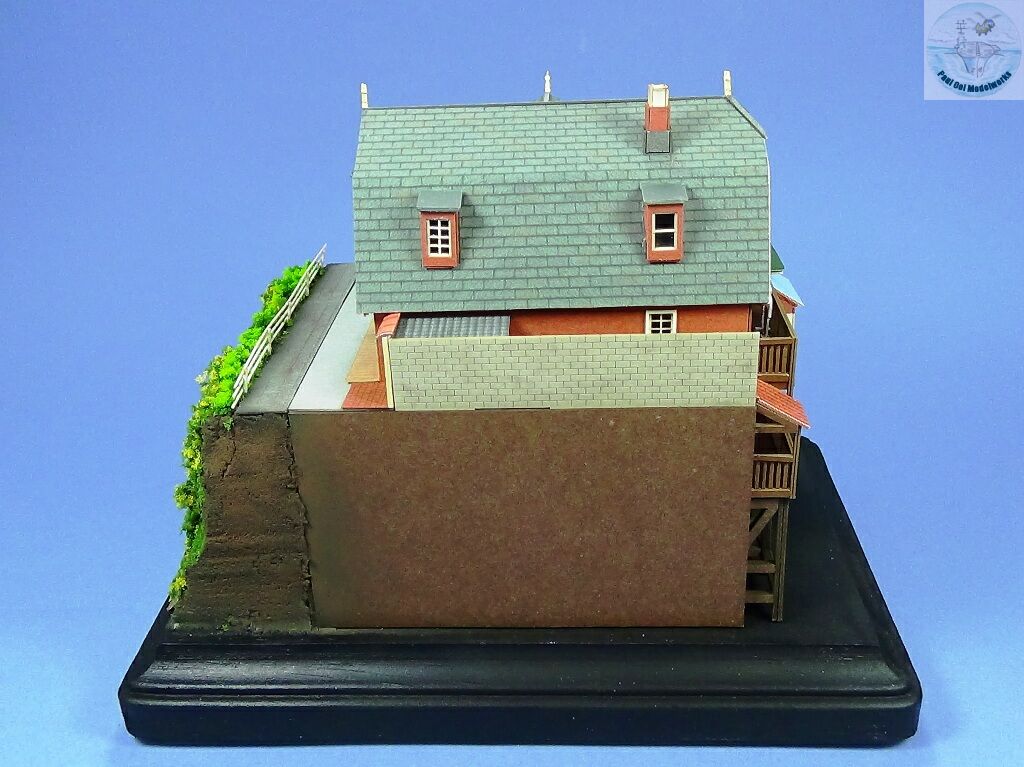
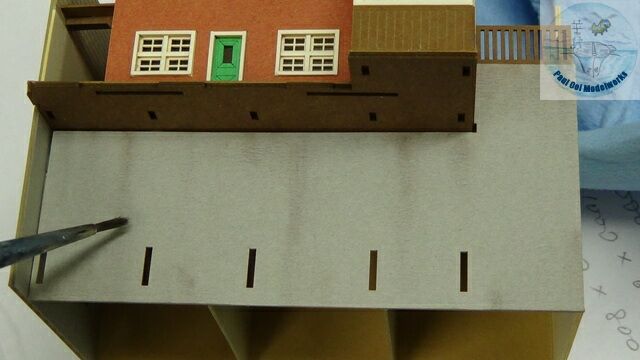 The facing board in light grey at the rear of the house was meant to simulate a concrete wall. I applied some stains in chalk pastels for increased weathering.
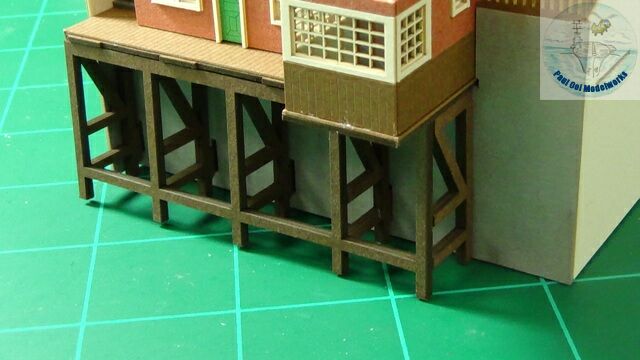 Then the timber supports for the rear deck are installed under the boardwalk.
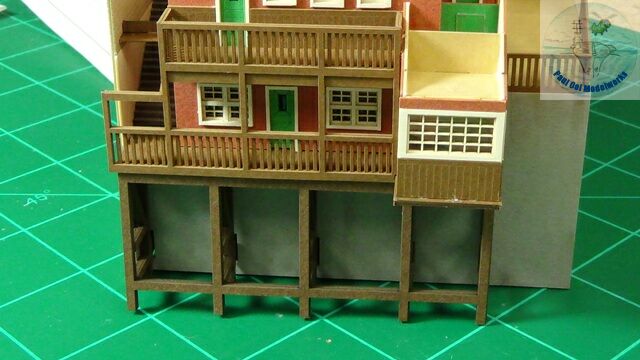 The rest of the deck railings and supports are added to complete that structure.
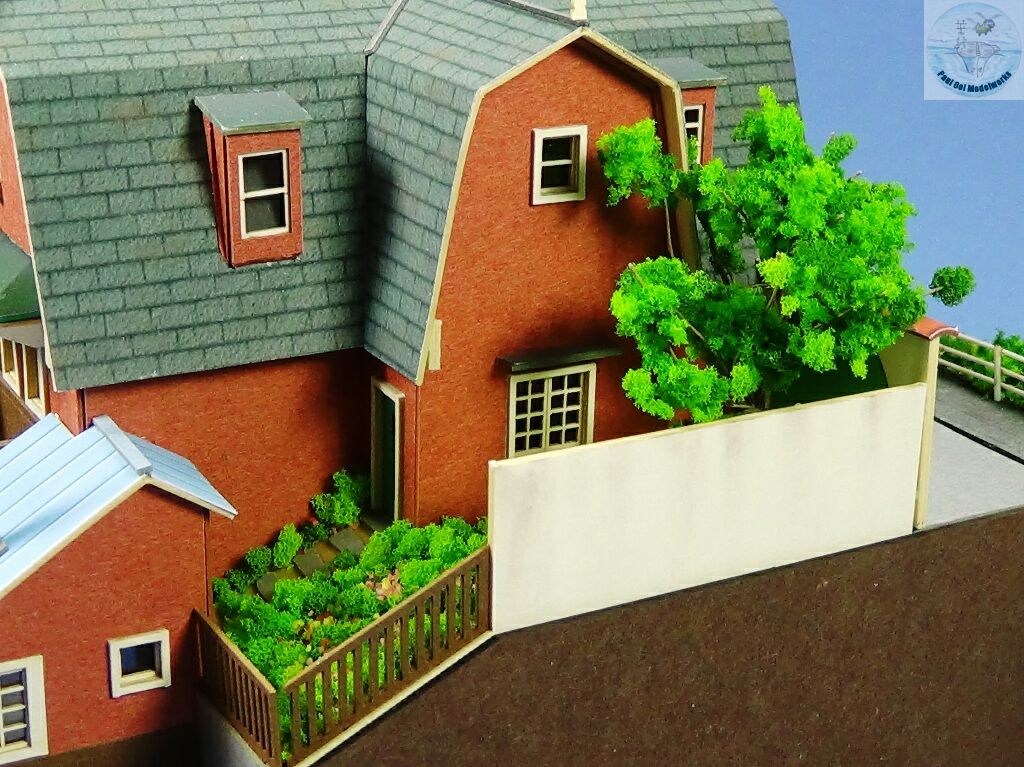
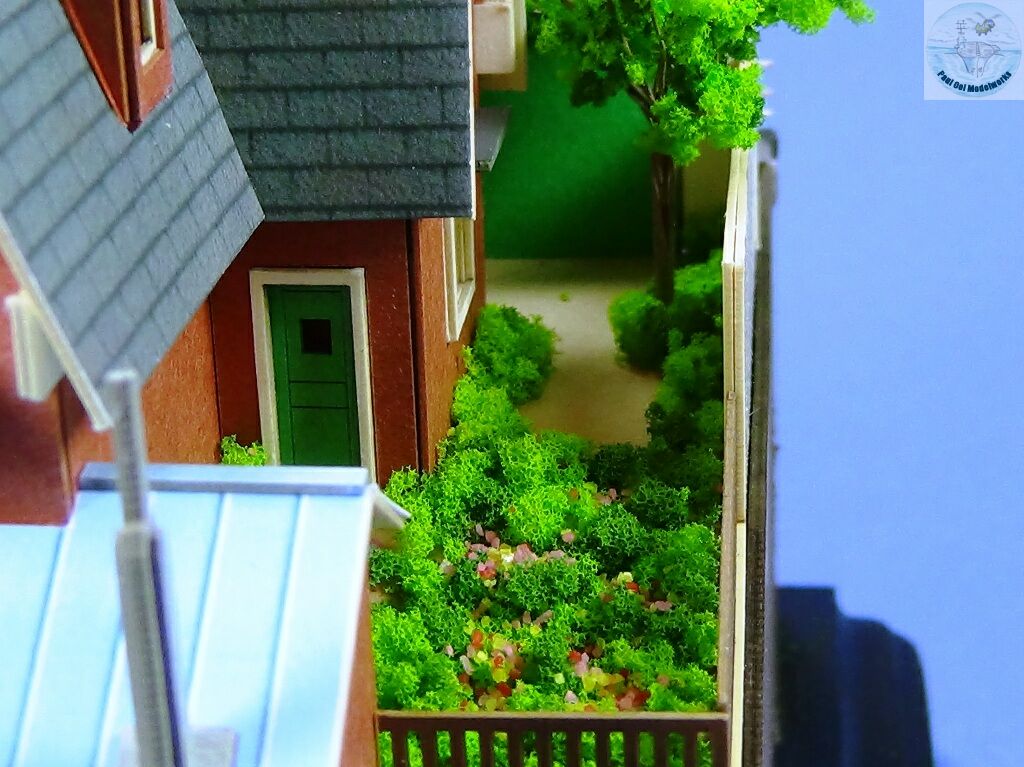
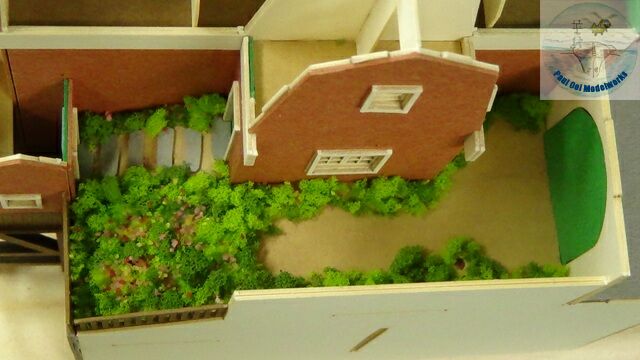 The side garden is “planted” using the green foam pieces and colorful sand (to simulate flowers) stuck together with white glue. A hole in the cardboard base is left for the tree trunk to be attached later.
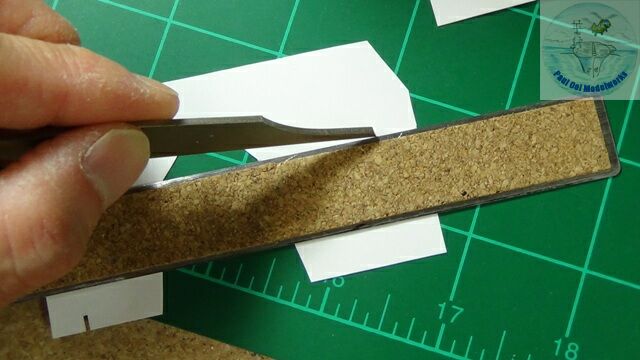 The roof shingle sheet has to be scored at the back in order to facilitate folding to conform the roof line.
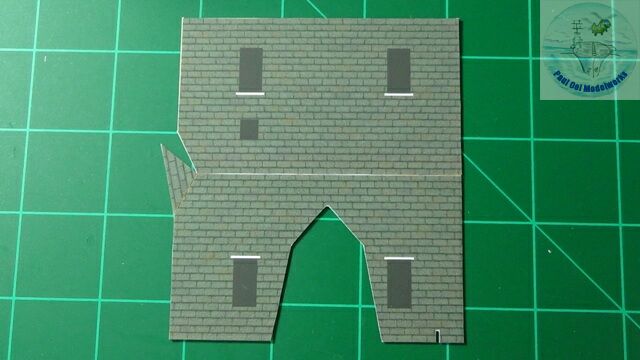 The shingle sheet is pasted onto the thick cardboard roof piece.
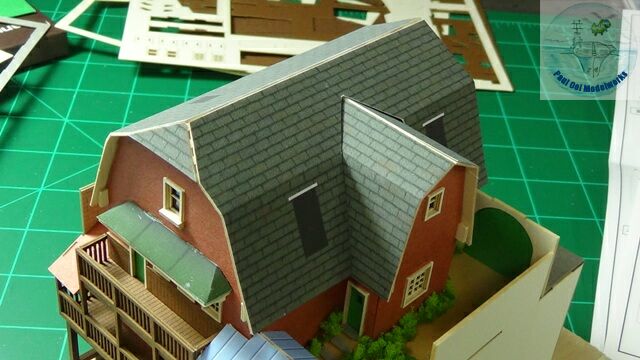 The main roof has been installed over the main building structure.
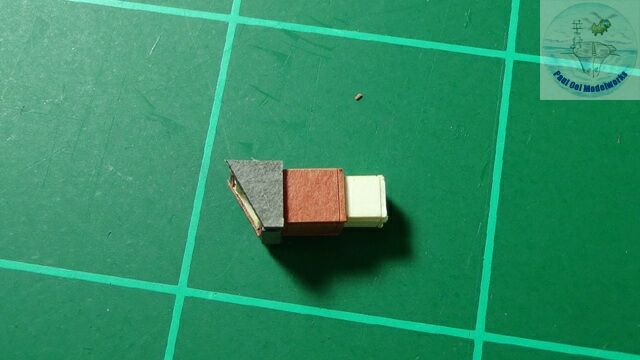 The chimney piece is built separately.
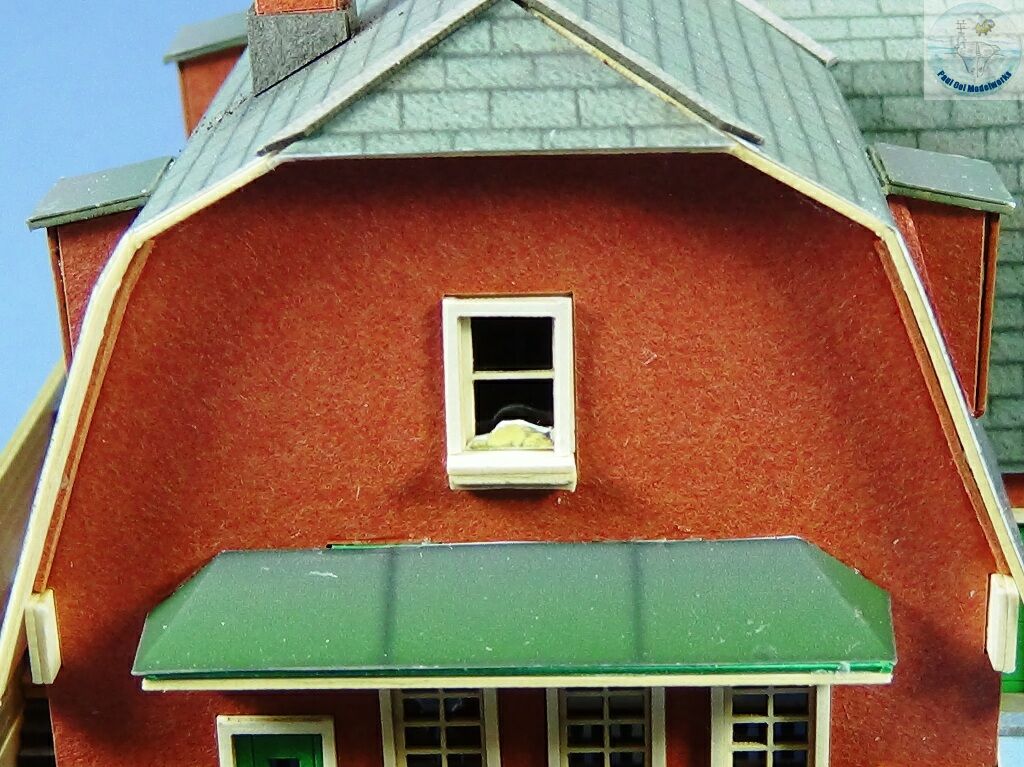
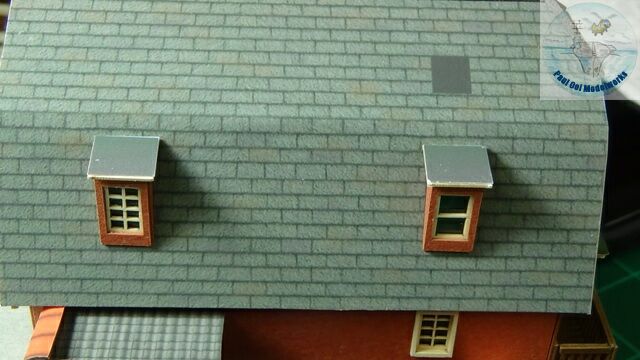 The attic gable windows (there are four of them) are made and glued onto the roof section of the main building.
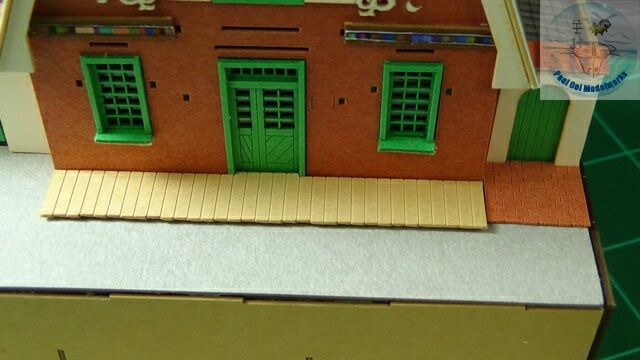 The front boardwalk and brick apron are installed.
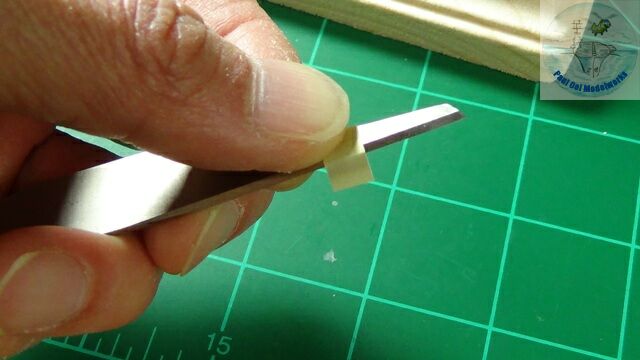
To install the front awnings:
The awning sheet needs to be pre-folded to allow the wavy form to have ridges.
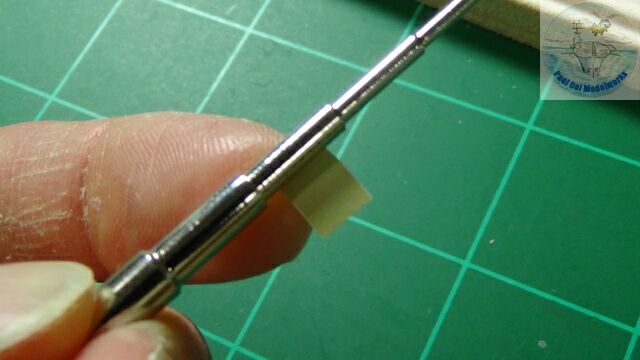 Each center portion between the ridges are rolled to form a trough using a leather forming tool.
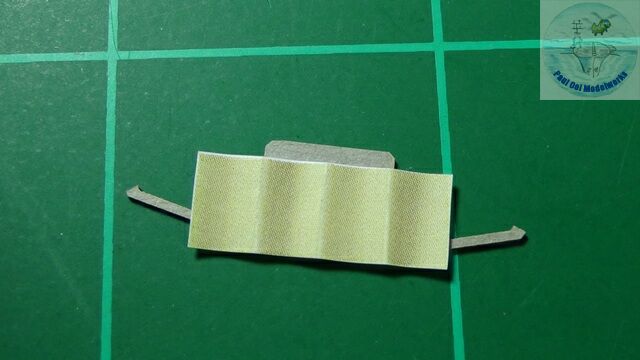 The awning with the wavy form.
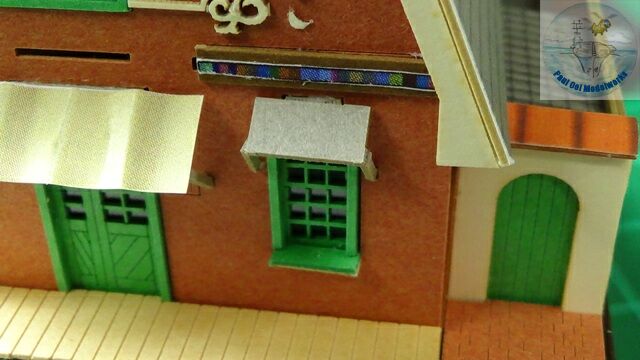 Awning pieces installed onto the front building facade.
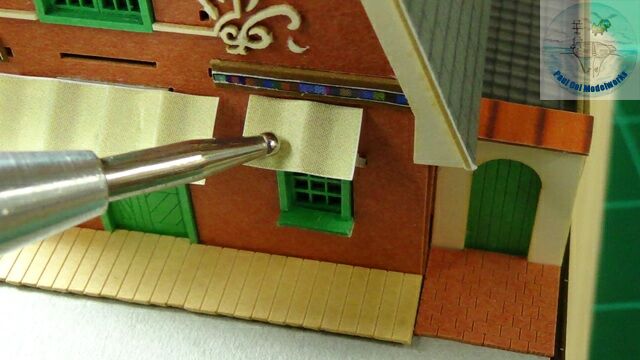 The wavy piece is glued and carefully pressed onto the awning support piece.
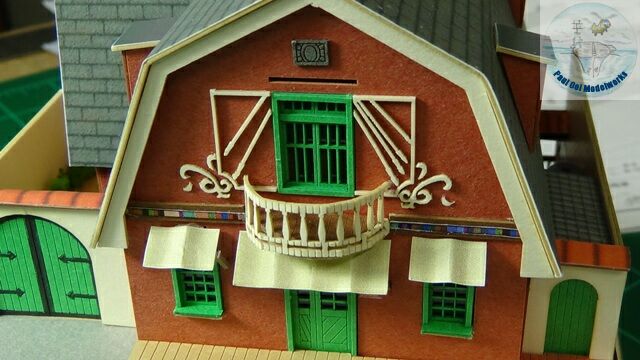 The overhanging half-moon balcony is carefully formed (it is easy to tear) and attached to the front facade.
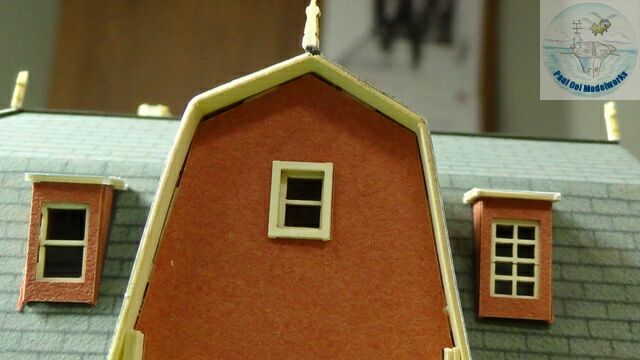
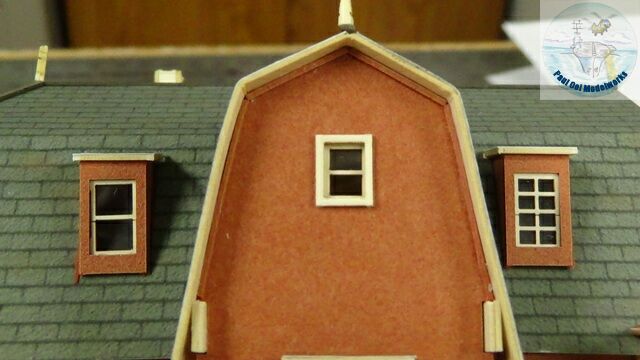 There are several seams under the roof line that are a bit larger. I close those gaps by cutting very narrow 0.5mm thick cardboard strips and applying them along the seams.
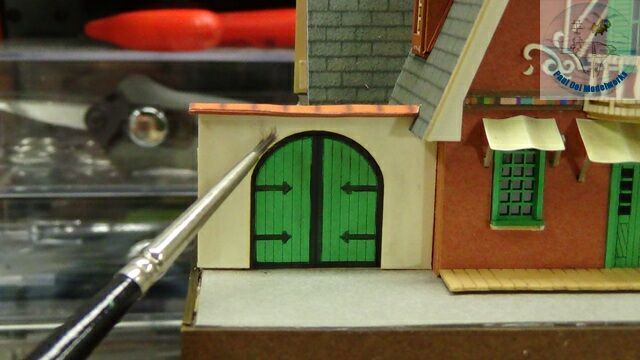 Walls are weathered just a bit using pastel chalk.
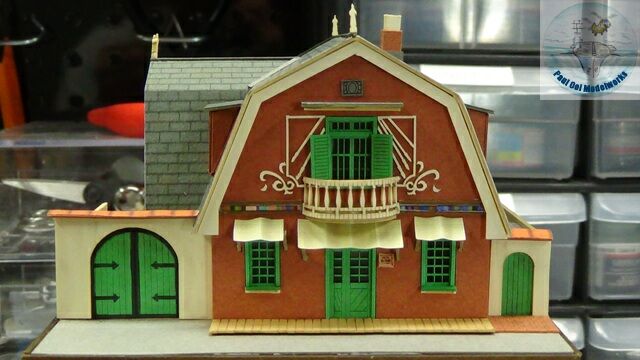
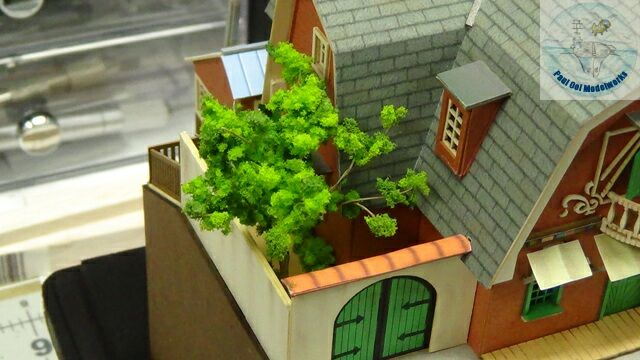
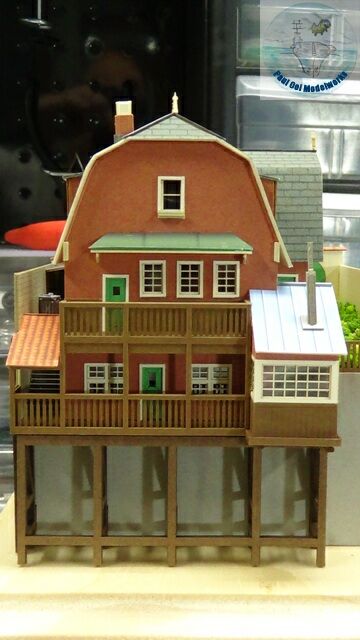 The main building and garden is complete. I still have to make the tree, add in some planters, characters, and landscape the front slope.
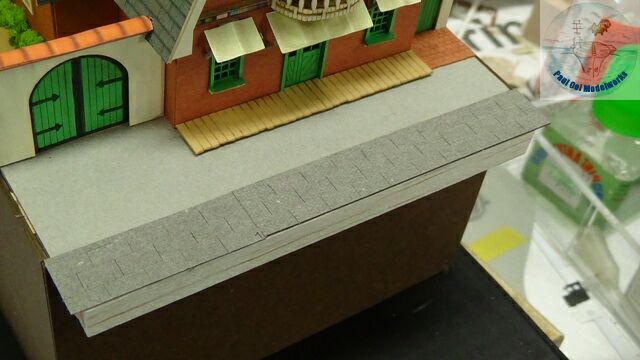 First, I add some concrete sidewalk to the narrow street in front of the house. I took some leftover thick grey cardboard, used an X-cto knife to score the pavers. Then the cardboard is attached to a strip of balsa wood that is glued with white wood glue.
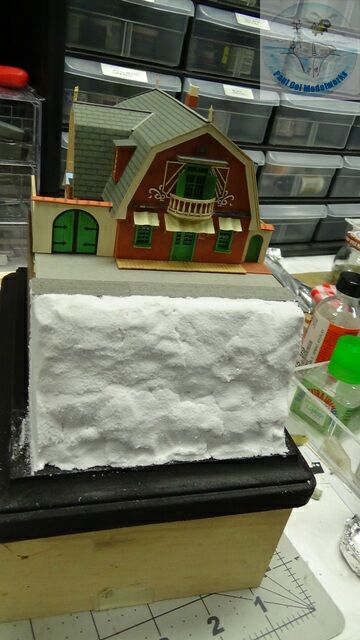
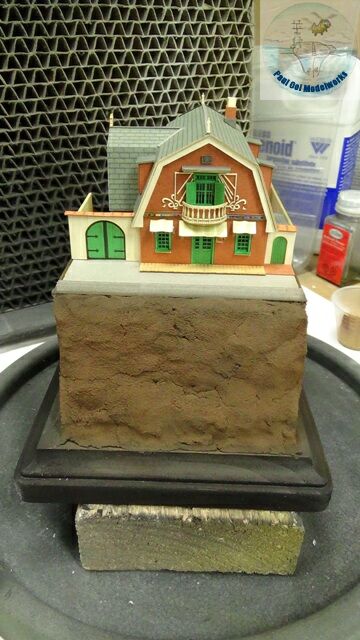
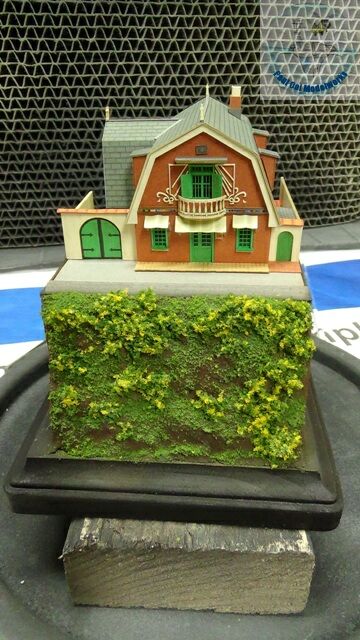 I used light weight spackle plaster to build up the slope. Once it is dried, I spray-painted the slop, first with an undercoat of Tamiya FX-69 NATO Black, then with Tamiya Red Brown XF-64. Grass and bush foliage are then added over diluted white glue.
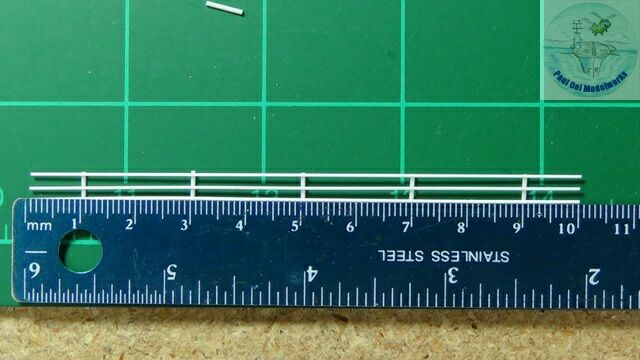 I made safety railings for the pavement using 0.75mm and 0.5mm Plastruct rods.
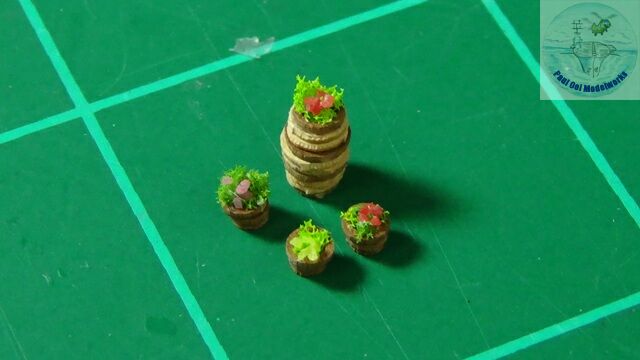 Little planters are made from the round cardboard pieces provided, added with foam foliage and colored sand flowers.
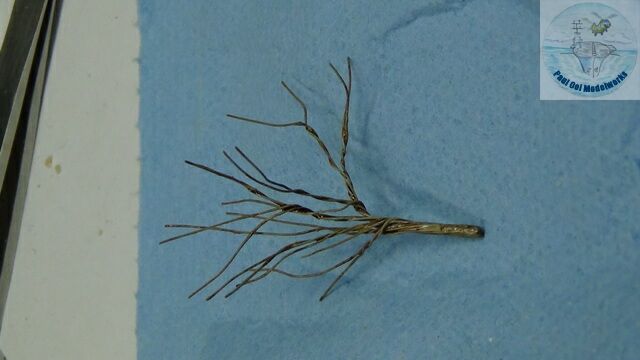 I left the tree to the very end. It is made by twisting a strand of copper wires into branches. I painted the trunk Tamiya XF55 Deck Tan, a nd given an oil wash of Burnt Umber.
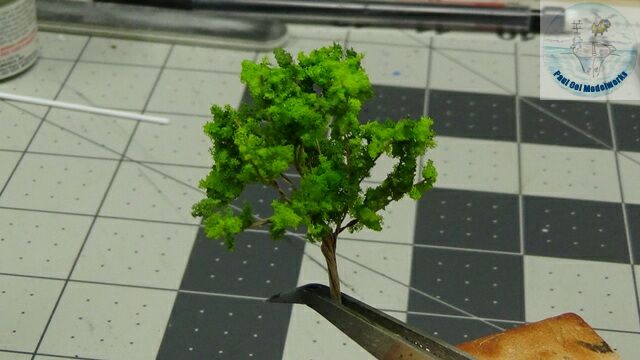 Foliage is attached using green foam infused with diluted white glue.


Leave a Reply