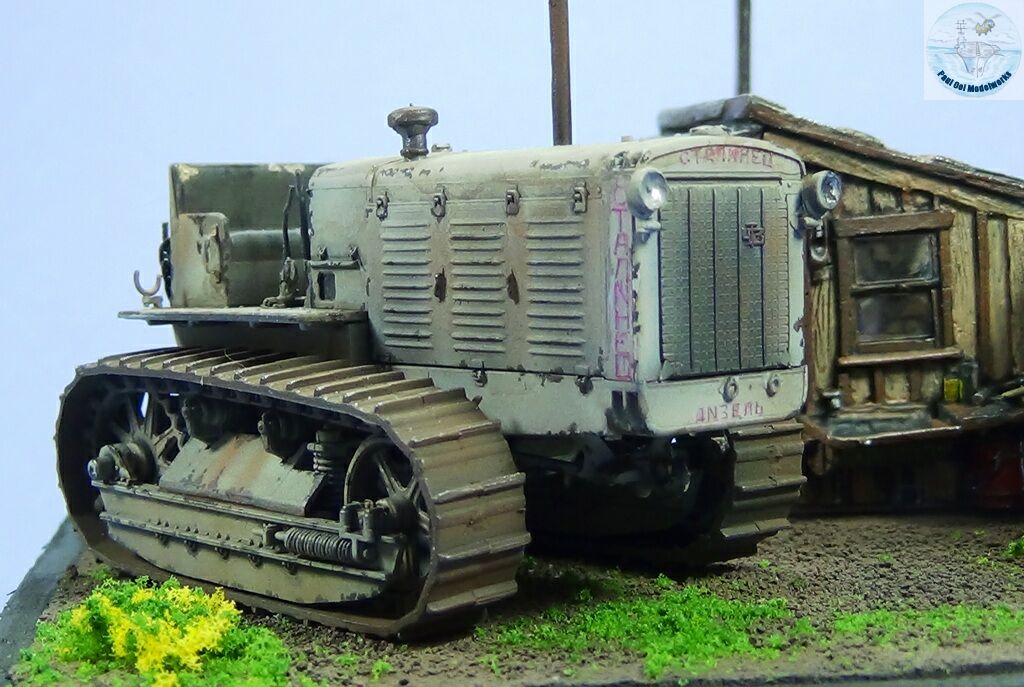
Soviet mechanized hardware in WW2 were characterized by a robust simplicity that defied the harsh climate of the Eastern Front. The Stalinetz artillery tractor started life as an agricultural vehicle built by the Chelyabinsk Tractor Factory. The Red Army used these heavy tractors to tow the 152mm ML20 gun and the massive 203mm B4 howitzer. These tractors were also used as tank recovery vehicles, pulling countless tanks out of tank traps, bogs, and the infamous Russian spring mud fields. The Stalinetz, as it was known, had very wide tracks that helped it move in snow and muddy terrain.
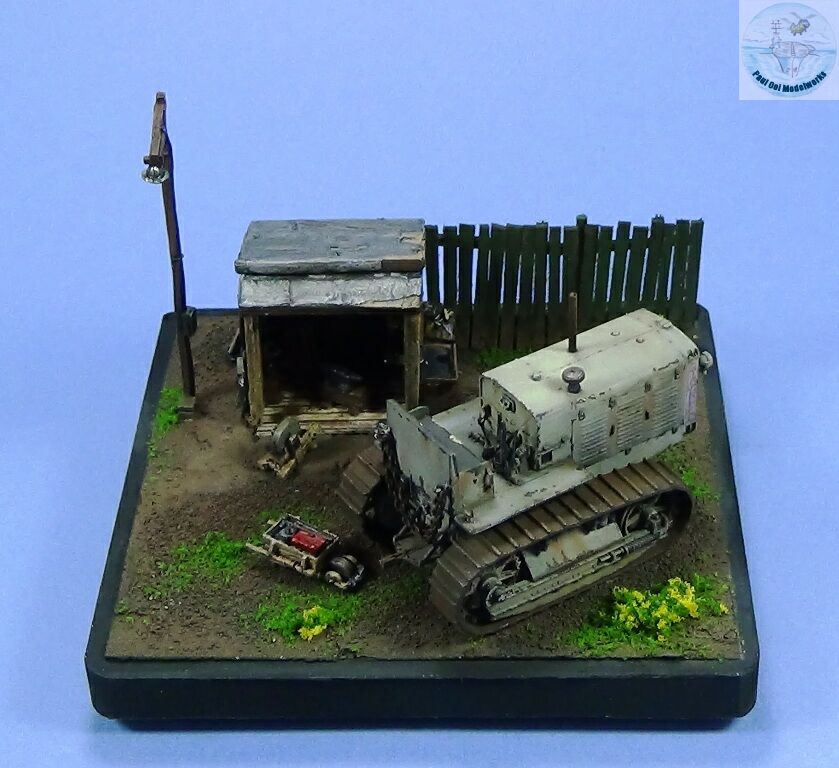
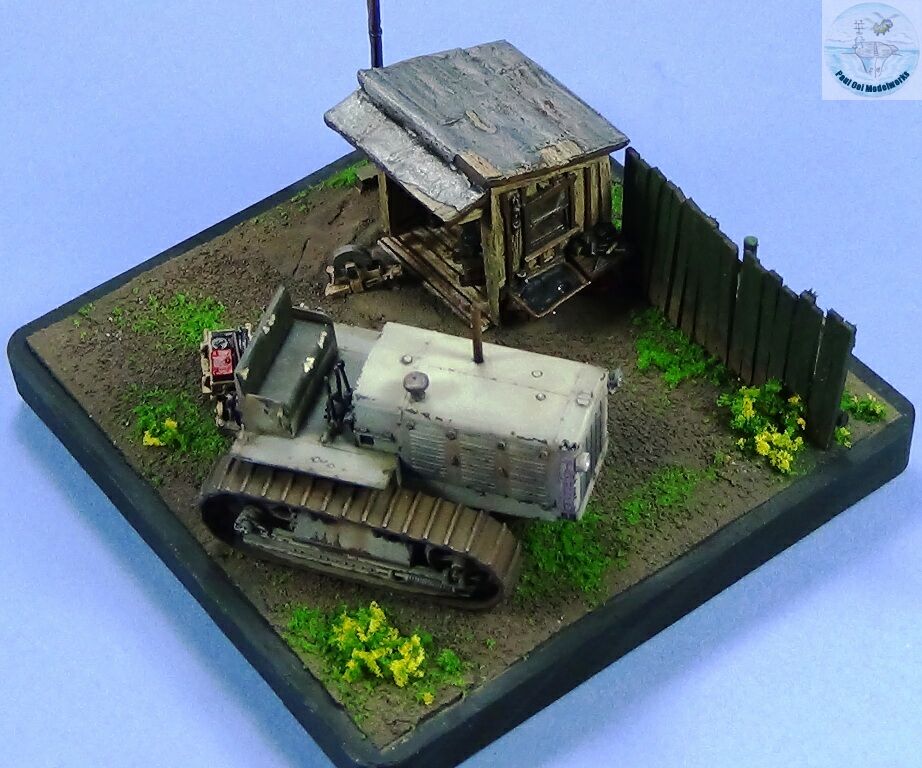
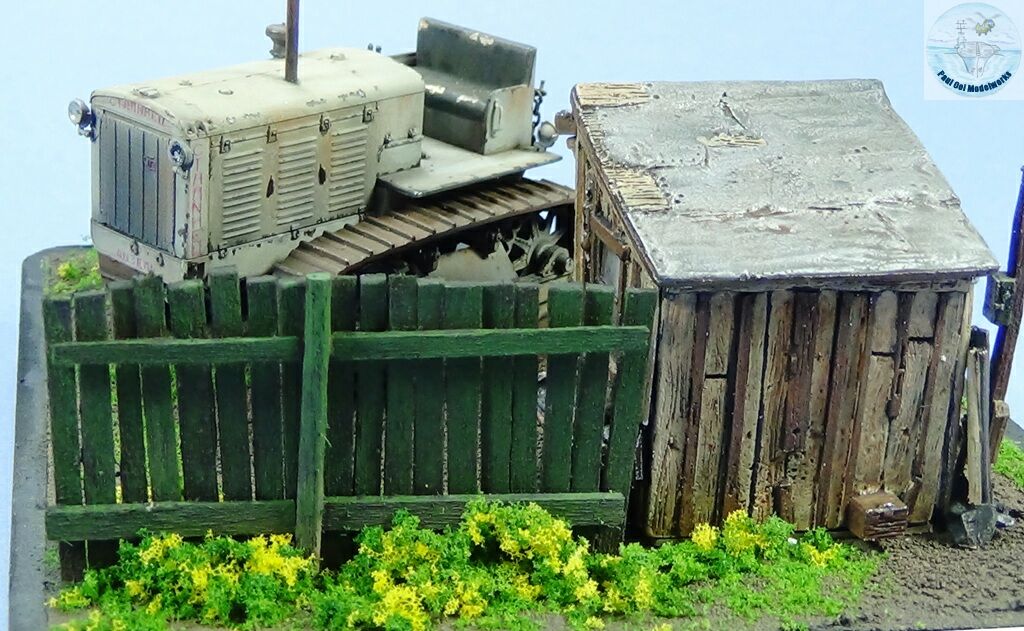
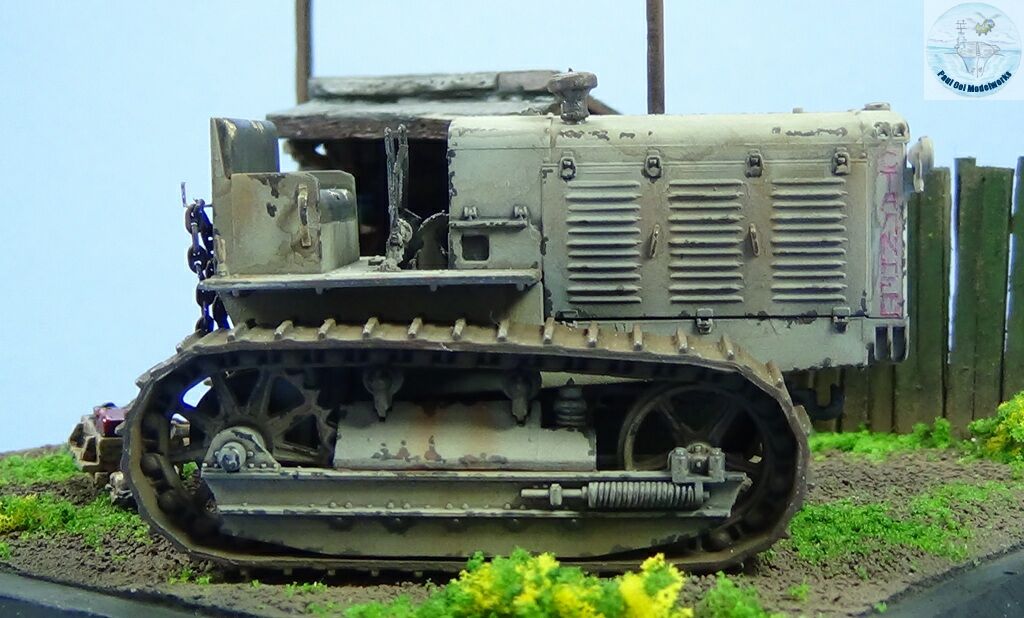
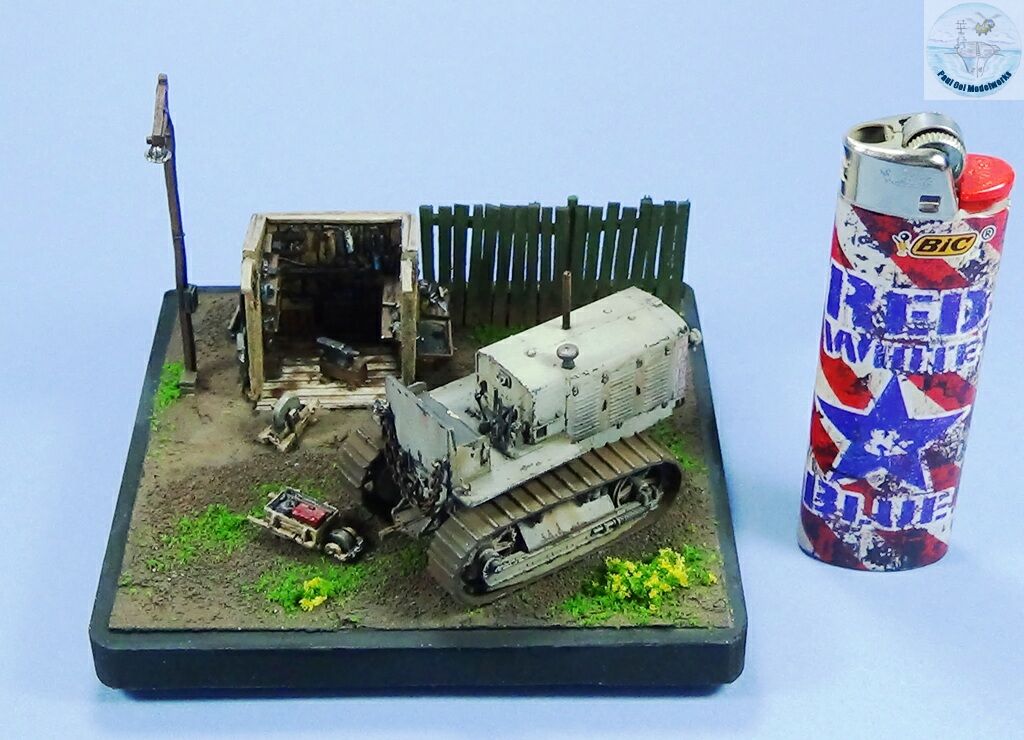
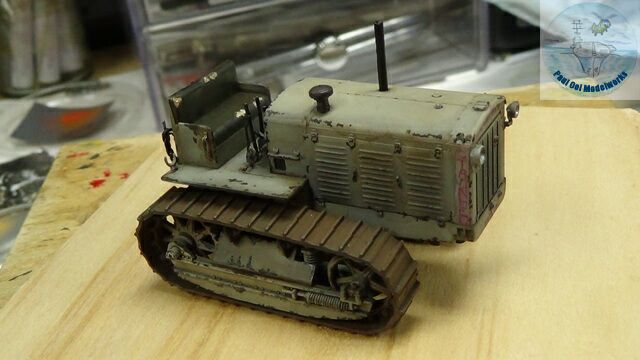
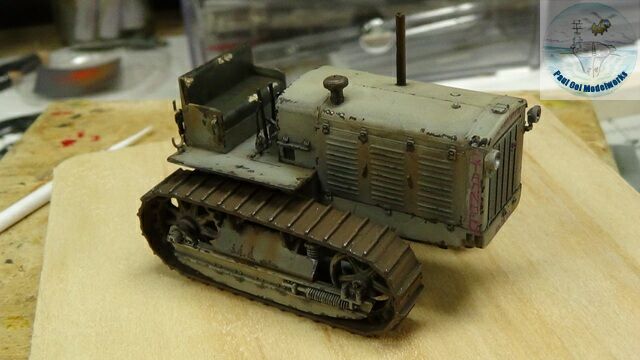
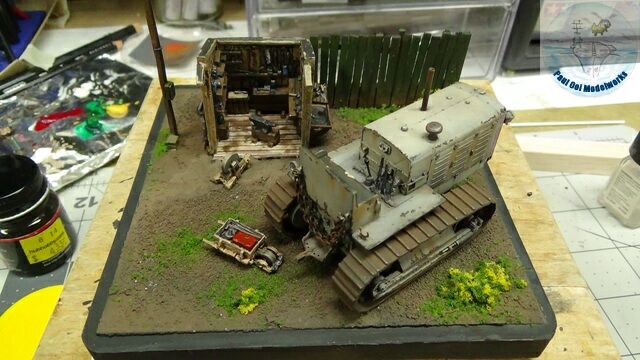
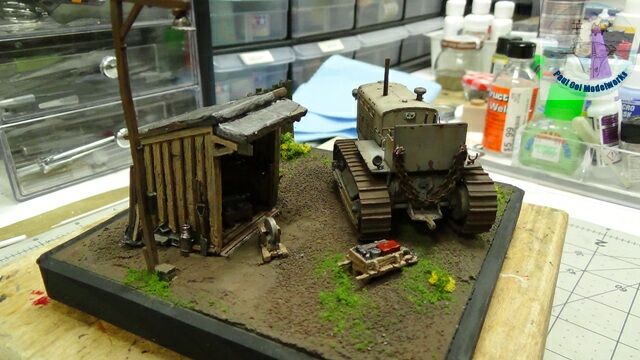
I wanted to portray this tractor in its post-war guise, similar to an earlier Old Warrior project for the US M5 High Speed Tractor. Showing considerable wear from pulling heavy loads around the collective farm, this tractor is parked awaiting its next patriotic struggle against earth and mud. Painted in Soviet Upper Body Gray, the former artillery tractor is right next to the tool shed of the farm awaiting some repair, or maybe a new coat of paint.
Gallery

Construction Notes
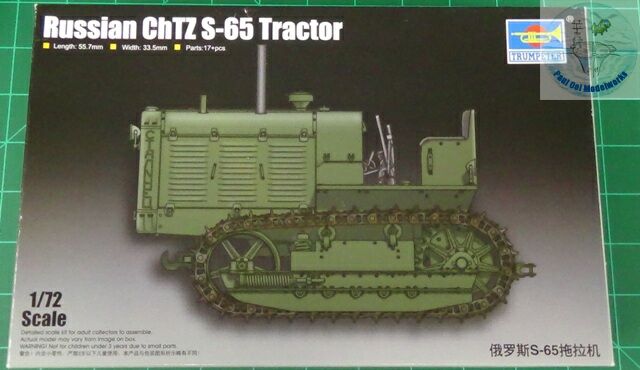
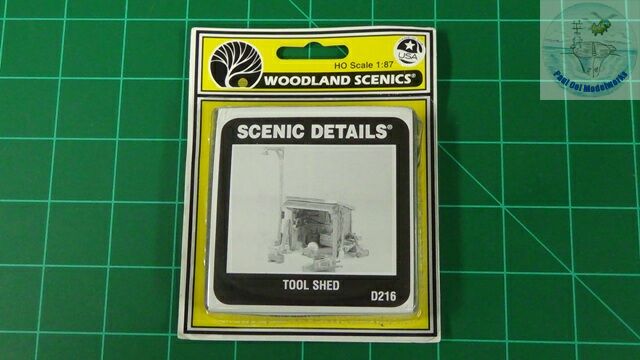
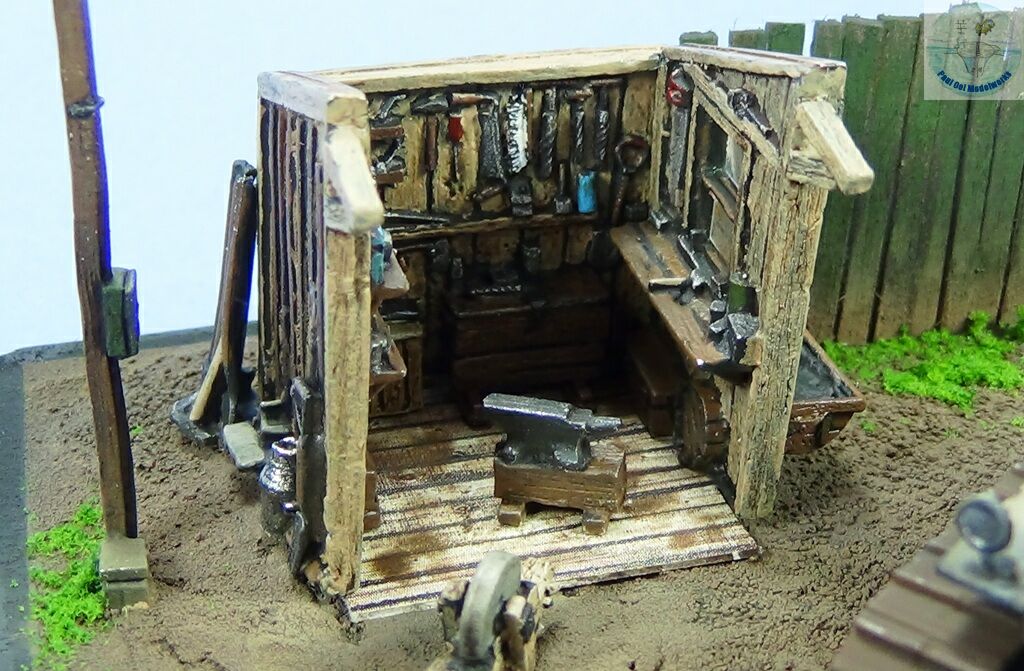
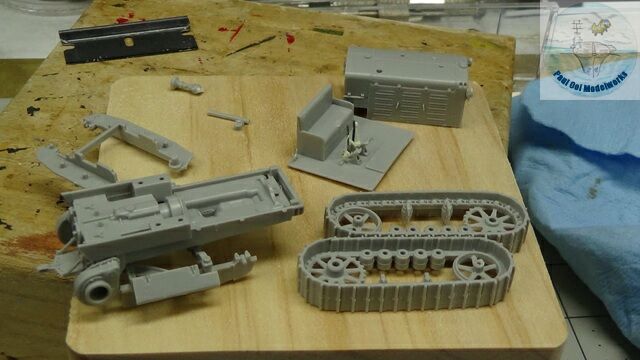
This 1/72 scale S-65 tractor kit from Trumpeter is fairly simple (not many parts) and pretty crisp details (but some glaring mistakes too). To add more accent and interest to the vignette, I paired it with this early 20th century style white metal Tool Shed from Woodland Scenics. The latter is a cute little gem loaded full of details already molded onto the walls.
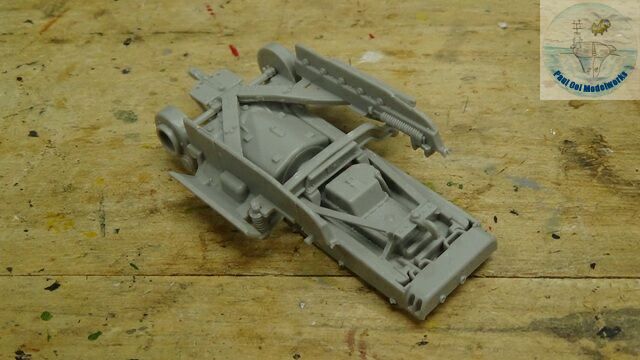
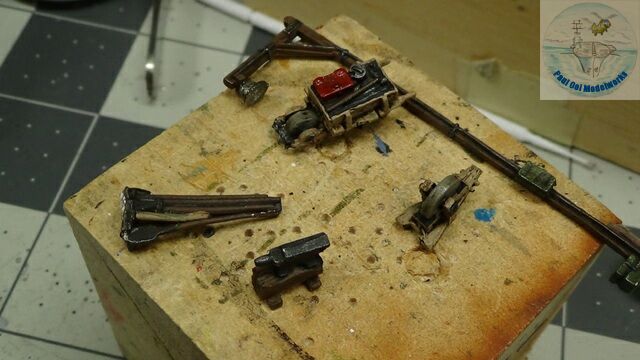
Like most soft-skinned vehicles, construction starts with the chassis frame. Pretty good detail down under the chassis but pity most of it will not be visible once mounted on the vignette.
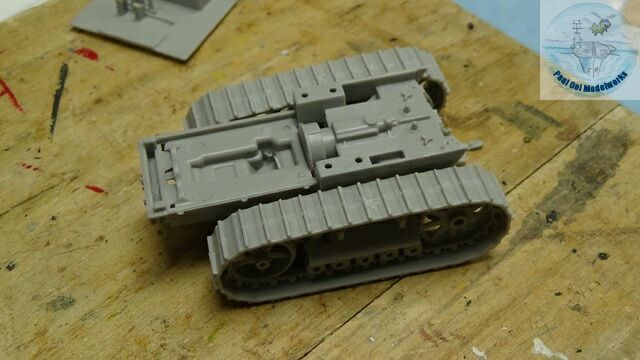
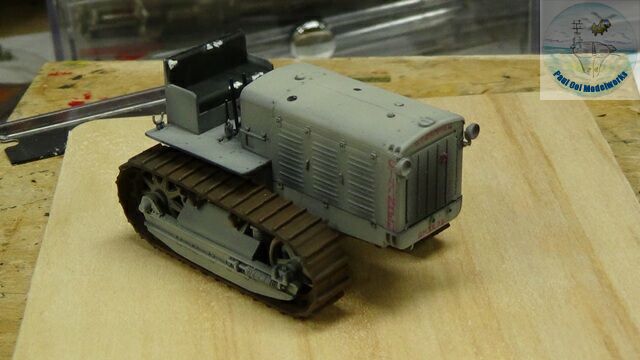
The rest of the lower chassis come together fast and easy. I just dry fitted the two integrated track assemblies for fit.
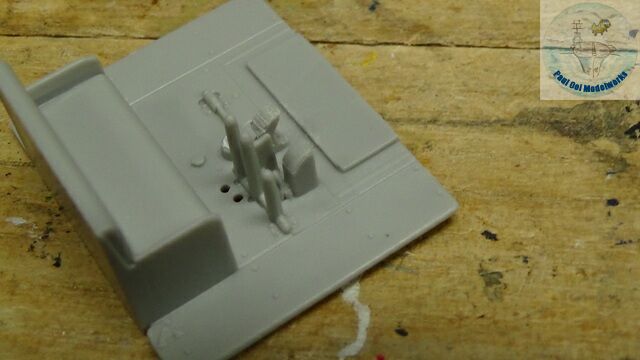
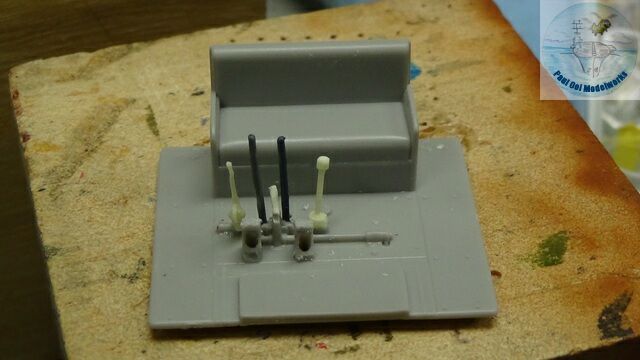
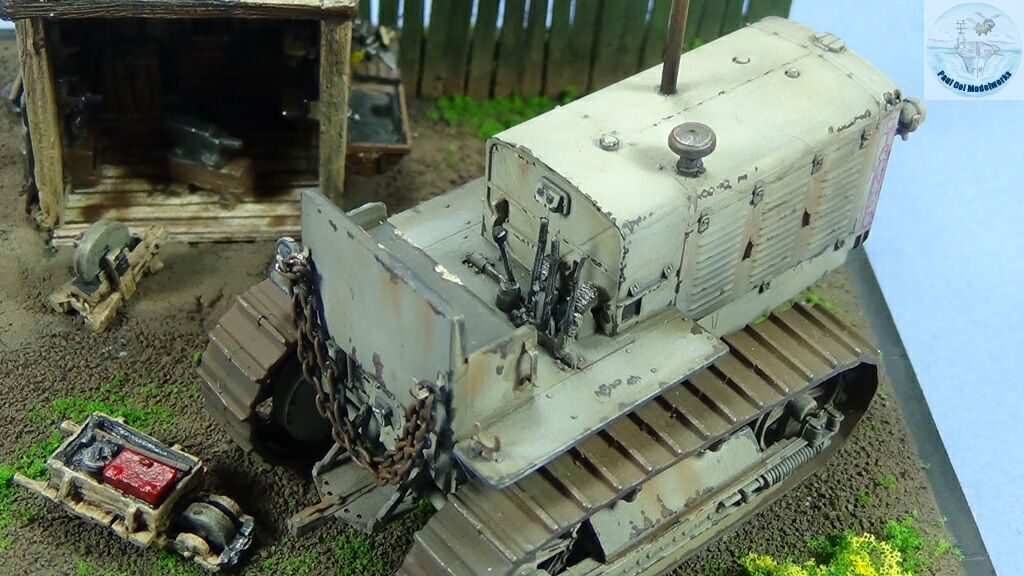
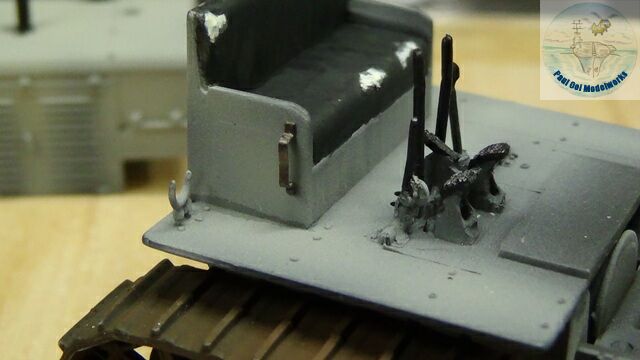
When I was building the driver’s cabin, the first detail anomaly was encountered. Despite the excellent molding elsewhere, they really dropped the ball on the control levers and the pedals. I re-sculpted the foot pedals to resemble the actual ones from a photograph. Then I replaced the poorly shaped levers with more appropriate-shaped ones from my spare parts box.
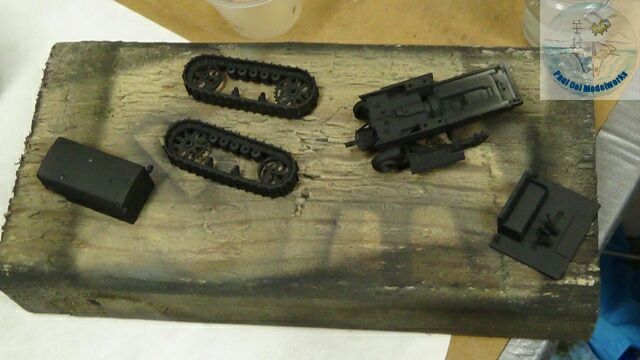
Then I primed the sub-assemblies with Tamiya XF-69 NATO Black.
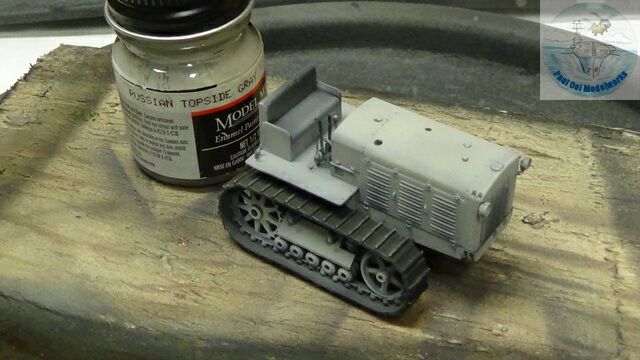
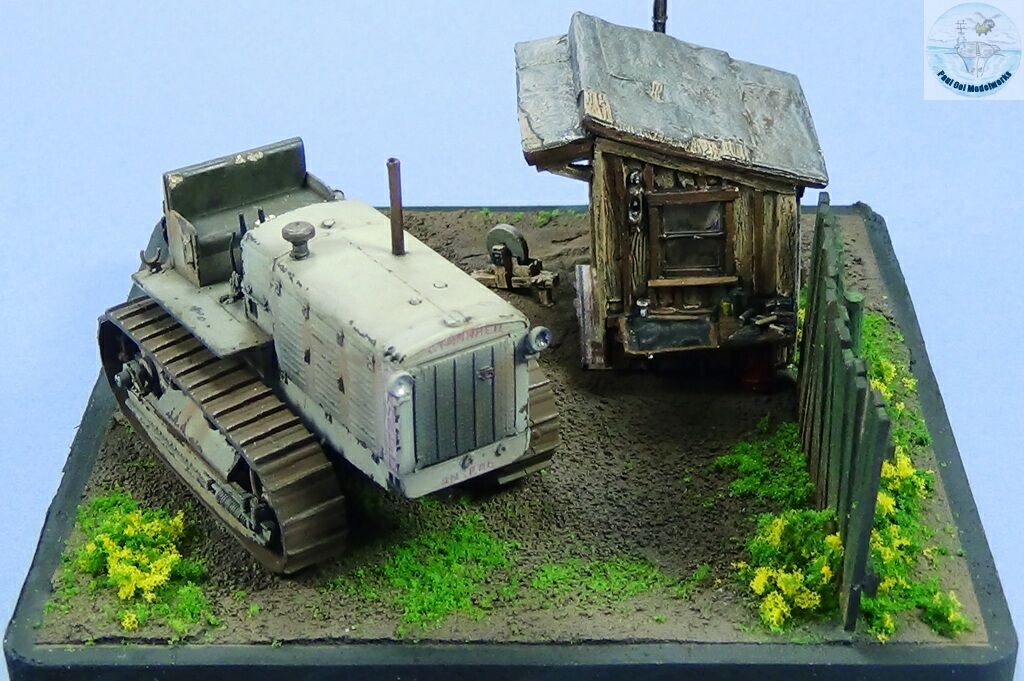
The body was painted in Model Masters enamel Russian Topside Gray. I found out in my references that Soviet tractors in civilian use were painted either in this light gray or a darker shade of blue gray (never Caterpillar Yellow!).
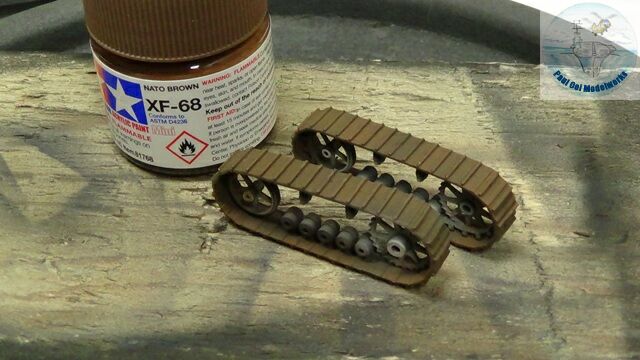
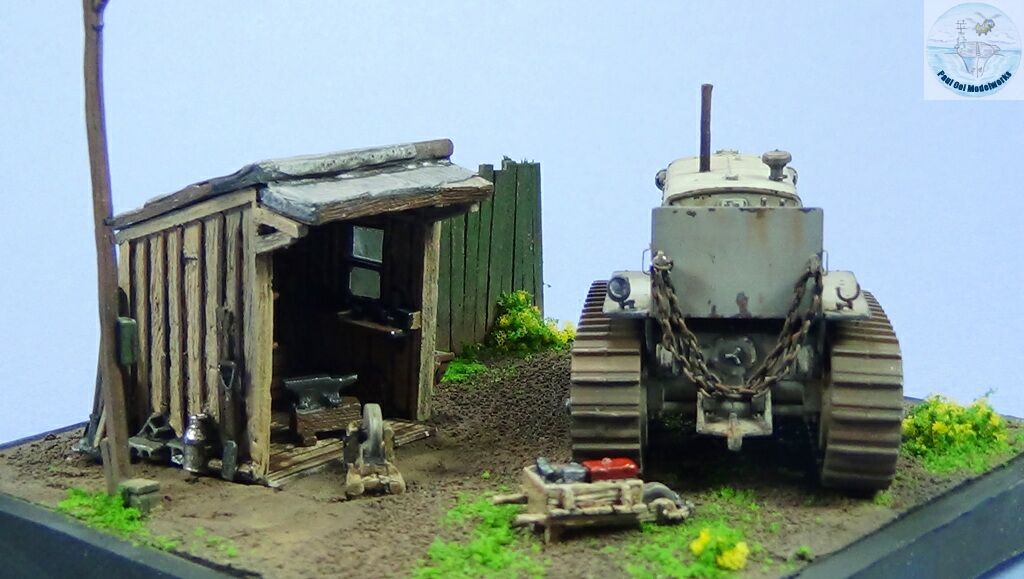
To provide a rusty iron base to the tracks, I applied NATO Brown XF-68. Note here that the track details were molded wrongly by Trumpeter and the detailed reverse face of the tracks end up on the inboard side towards the hull and will never be seen. However since much of that is obscured by the track mechanism anyway, it is not a showstopper. Gripe, gripe, gripe!
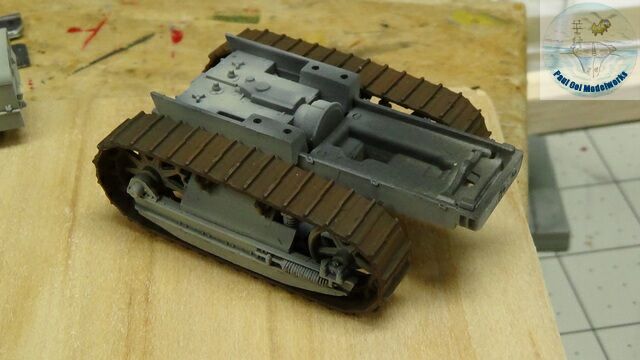
Rusty tracks are applied to the lower chassis assembly.
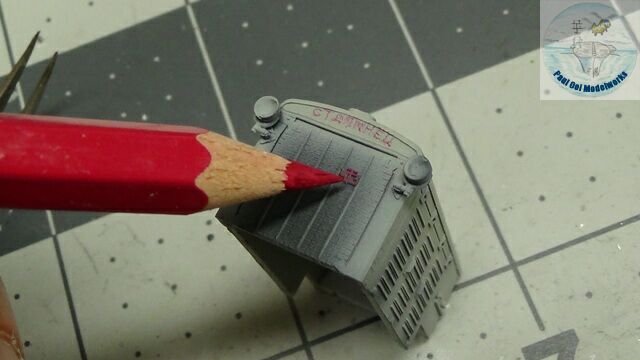
Detailing of the engine grille using a Faber-Castell red color pencil over the raised logo and embossed worlds (in Cyrillic). The engine housing is then installed onto the lower chassis assembly.
There were some grip handles that were prominent in the prototype which were not included in the kit, like this one installed next to the driver’s seat. I use spare photo-etched strips to form new handles.
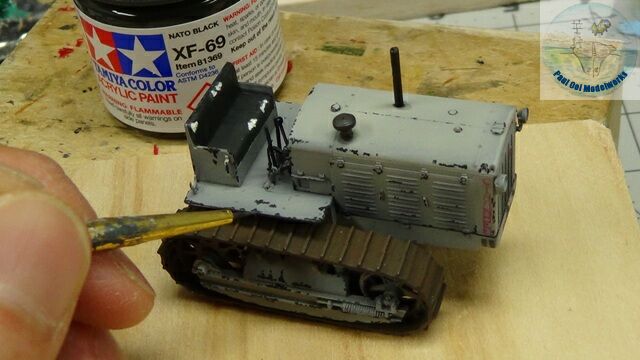
Three steps to turn Stalinetz into a rusty beast: 1) Paint on NATO Black pain chips and gouges , 2) Add an oil wash of Burnt Umber, and c) chalk pastels of bright red brown and orange to get more streaky rust stains.
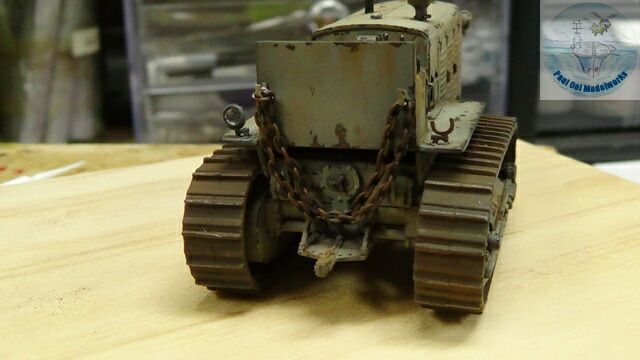
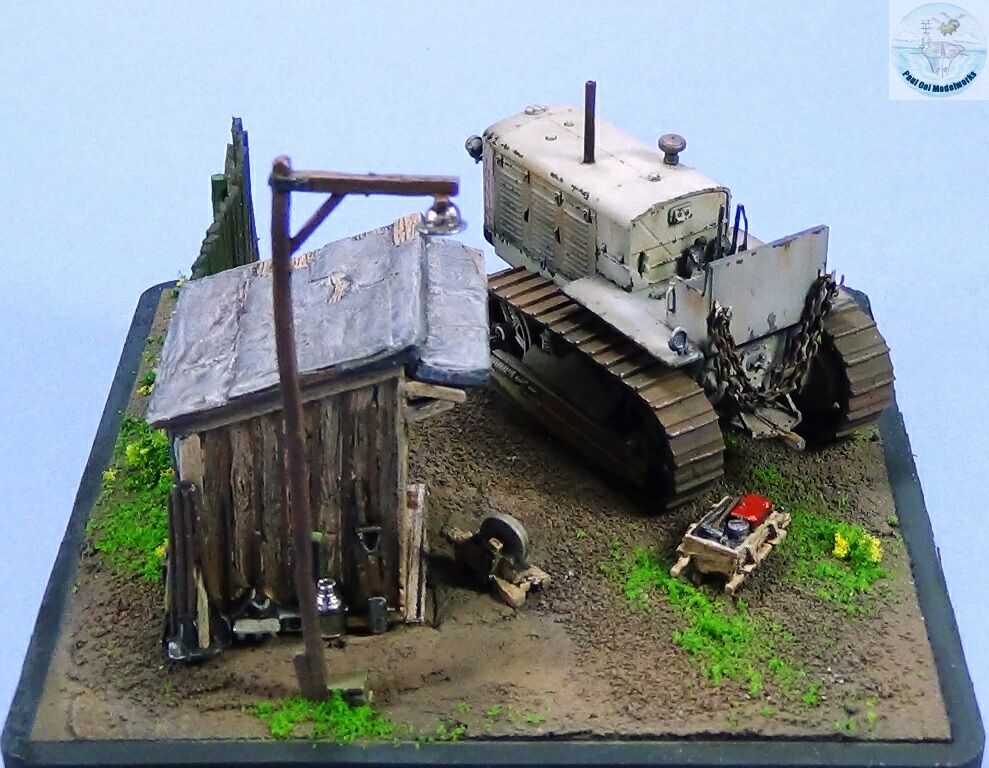
Lastly for the vehicle, I added these tow chains hung around the back onto special L-shaped hooks made from spare photo-etch strips.

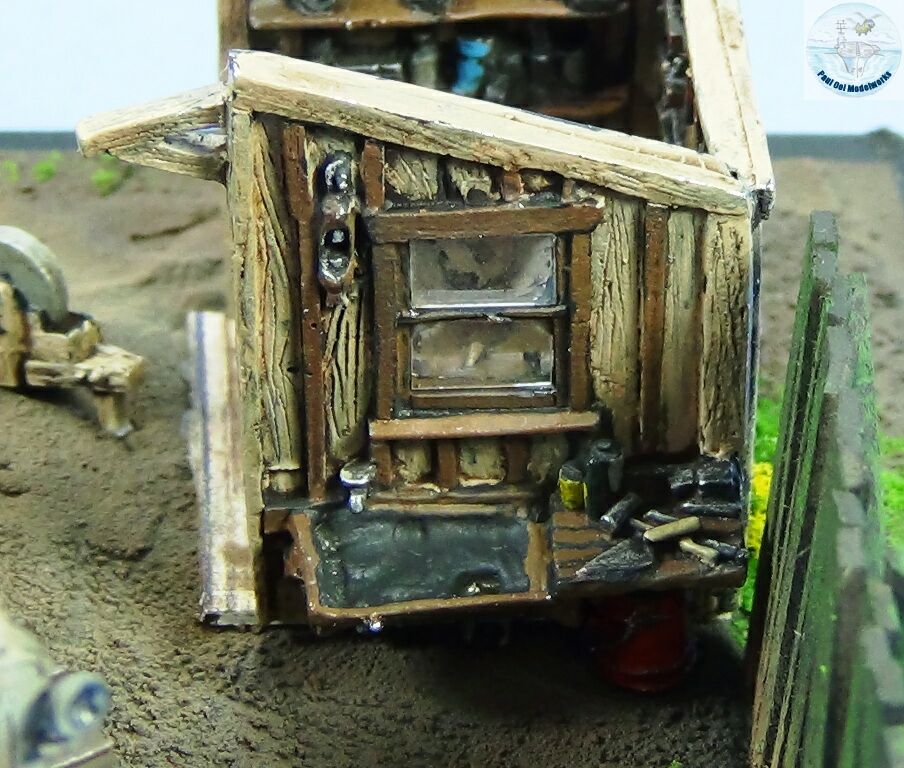
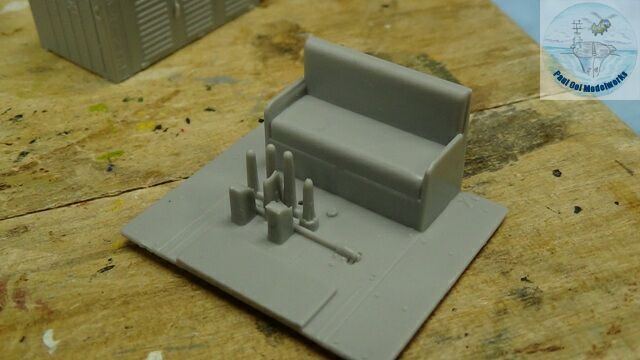
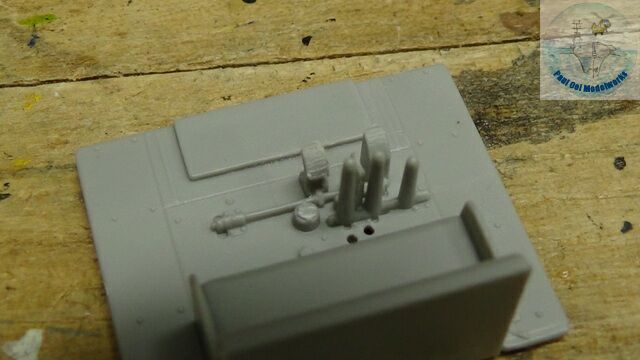
Now we turn out attention to building the tool shed. The parts are white metal and need to be carefully worked on to remove flash, mold lines, then polished with a hand tool brush (I use brass). Then I primed them with Tamiya XF-69 NATO Black.
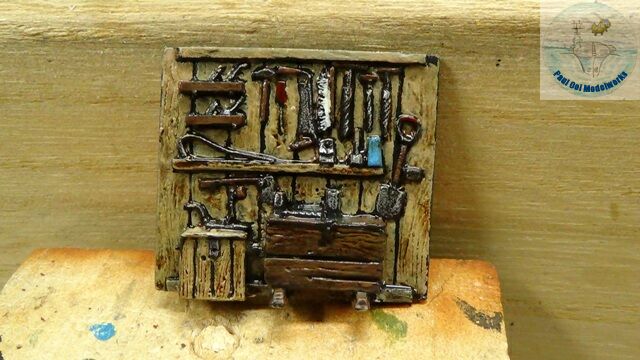
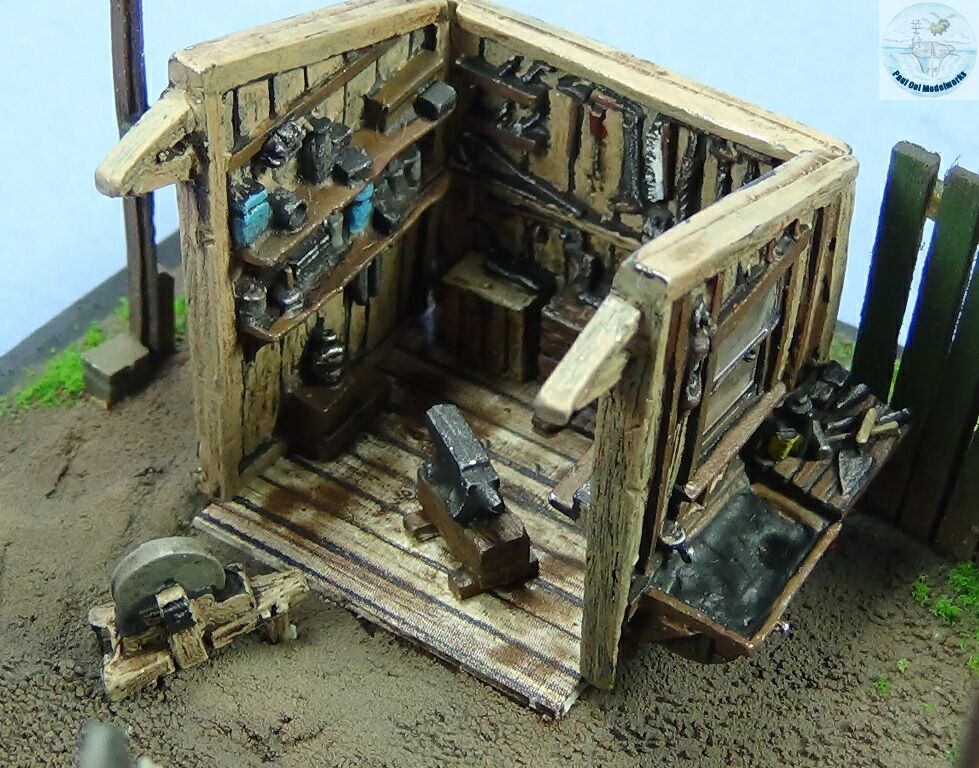
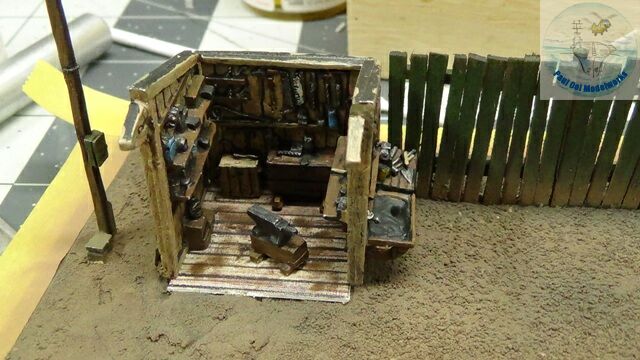
Each piece of wall has to be painted on the inside and out. Very detailed and cute set.

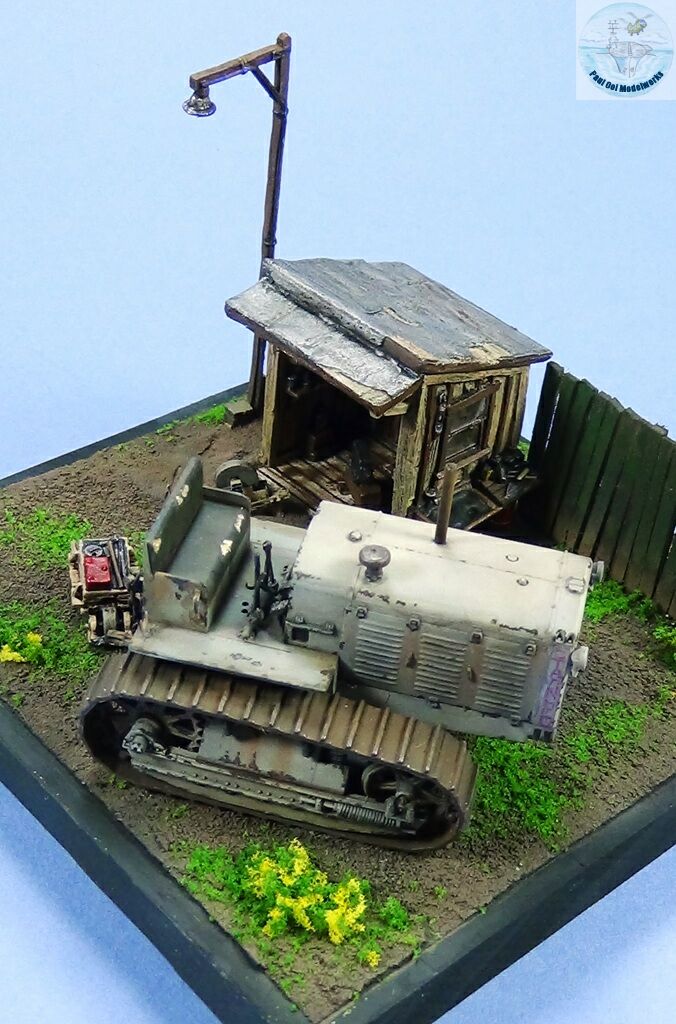
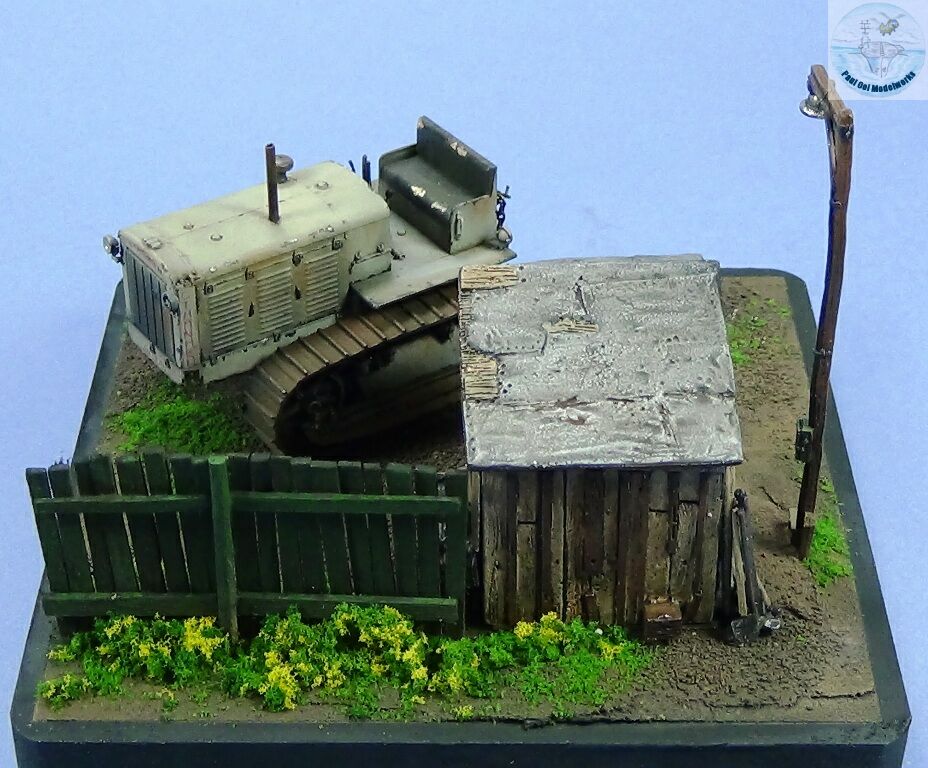
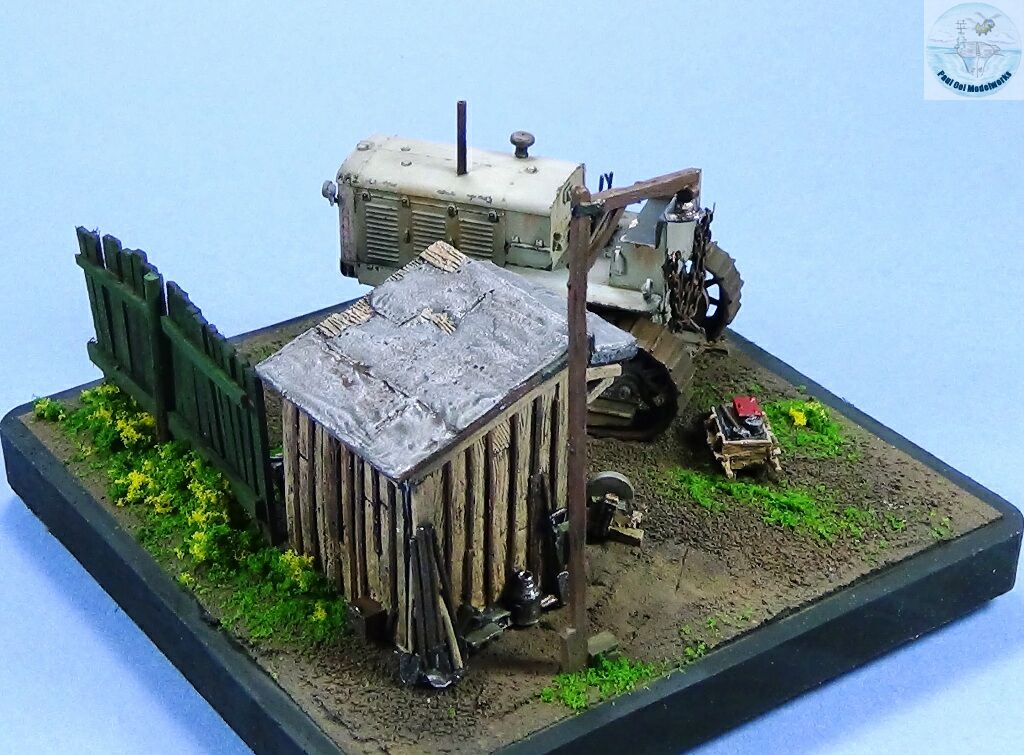
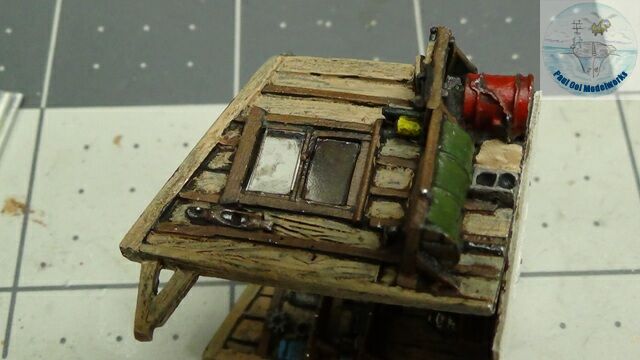
The shed roof was a mixture of exposed wood and sheet metal wrapped over. Metal finish was buffed Prismacolor silver. Very rustic.
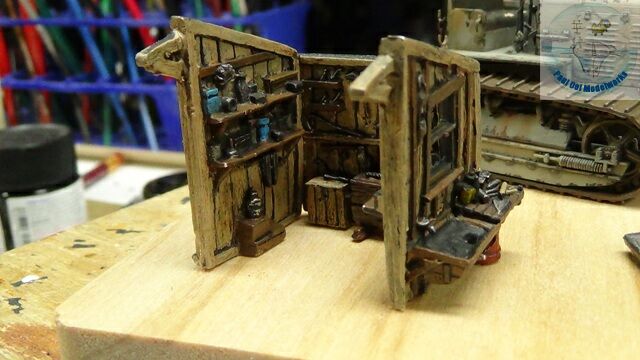
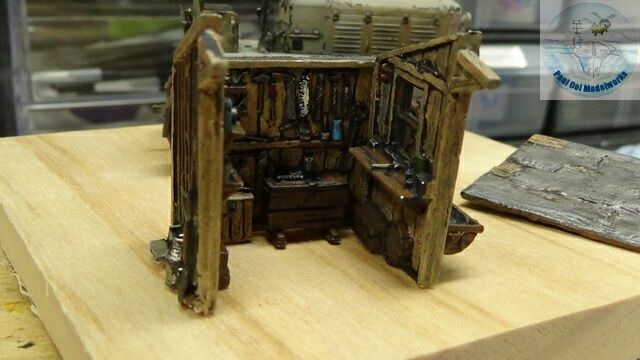
It took a while to paint all sides of the interior wall and the exterior stuff as well. But the finish was well worth the effort.
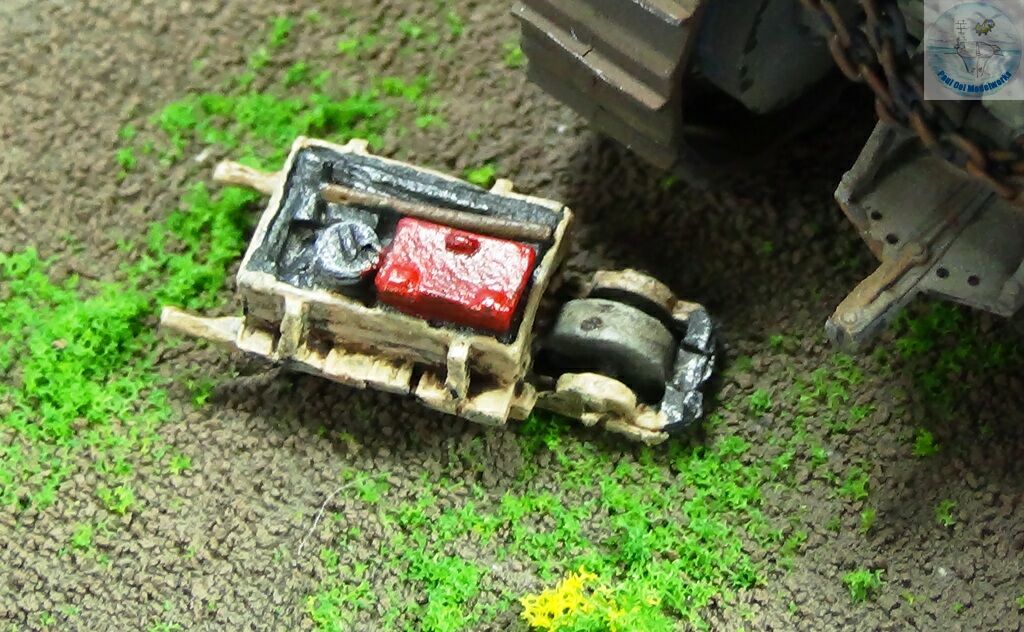
The rest of the knick-knacks got painted as well. Note that country lamp-post that give such an accent to the whole place.

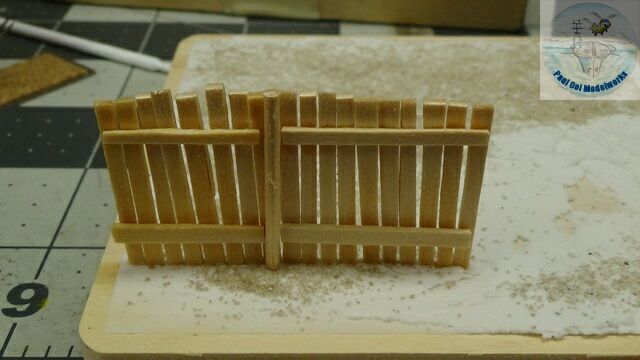
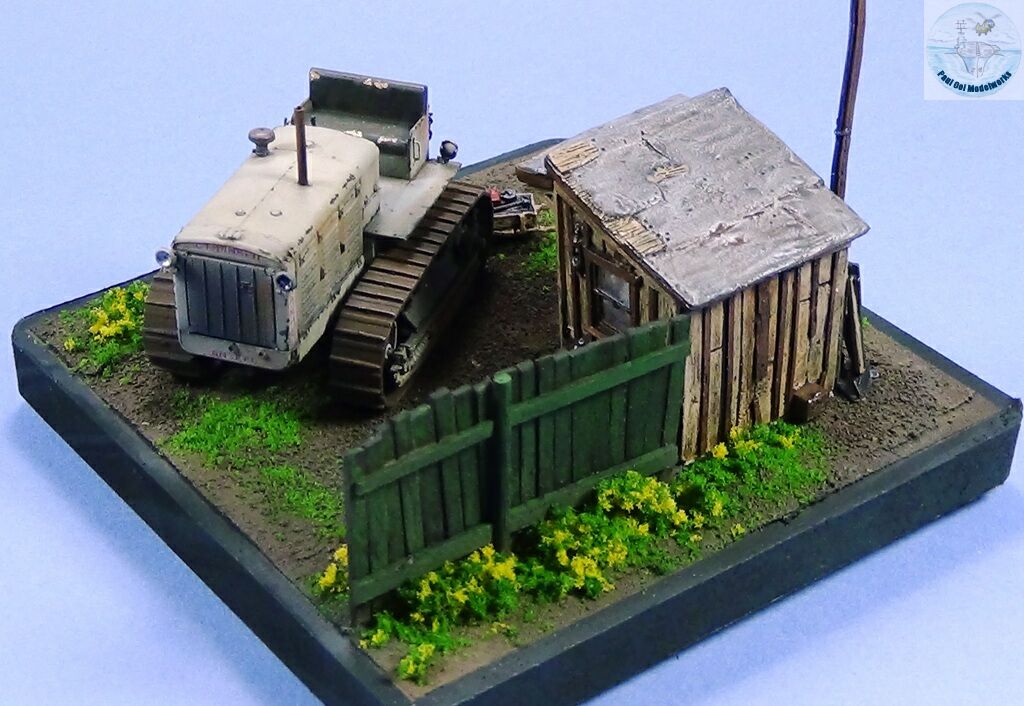
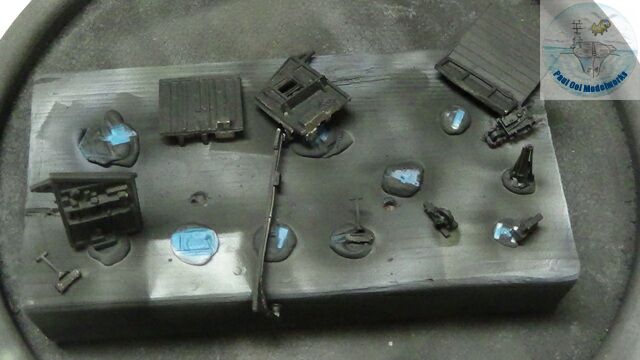
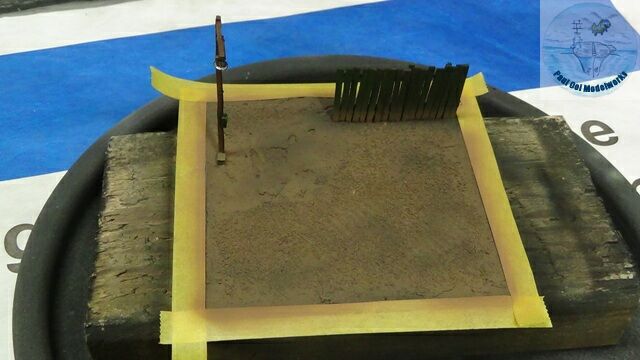
When I started the base, I wanted to build a fence next to the shed. I placed the shed on the wet plaster to create a place indent, and a groove to hold the fence boards. I used HO real wood “planks”. The support post for the fence is a toothpick (hey it works!).
The fence was painted Tamiya flat green XF-5, and the lamp post added. Over the NATO Black primer, I applied Tamiya Flat Earth XF-52.
I added a thin clear plastic card sections into the gaping window wells to act as glazing. I applied some oil wash to make the glass look grimy.
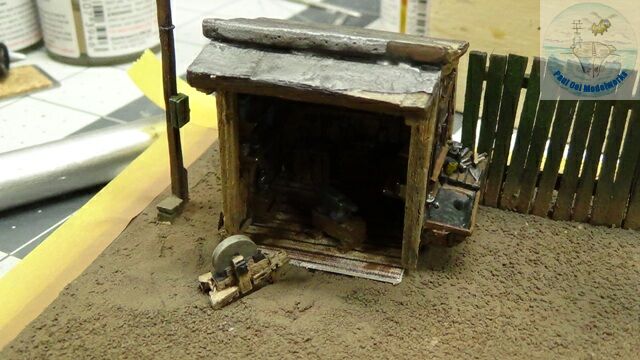
It was really exciting to put in the shed. Like a piece of jigsaw puzzle that falls into place. I left the roof piece unglued so that it can be removed to show the shed’s interior.
Static grass from Woodlands Scenic, together with some flowery mix (they look like yellow dandelions). Now “pull out that tree stump, comrade!”.
Leave a Reply