People growing in the 1940’s and 50’s may remember the Sky King adventures, stories of a crime-fighting rancher and his two younger assistants. While the setting was Western (in the Arizona desert), the do-gooders rode in a civilian version of the Cessna Bobcat or Bamboo Bomber aircraft. The series started as a radio program but in the 50’s the early television series featured the signature white and red aircraft bobbing along in the clear desert skies. Sky King’s aircraft was named the Songbird and featured the rancher’s “Crown” insignia on the sides of the fuselage.

Recently, I was asked by a customer to build a replica of this iconic aircraft. Czech Models has issued a 1/48th scale multi-media kit of the Songbird derived from the military Bamboo Bomber kit. The kit comes with a fret of photo-etched parts and several resin parts as well, the most notable being the radial engines for both the civilian and military versions.


As usual, work starts with the cockpit and the passenger seats at the back. The interior was painted with the paneled tan interior and light tan seats. Quite a lot of detail work went into the main cabin, including seat belts, instrument panel and radio set. My main grouse is that most of these details could not be seen properly once the fuselage was closed.

The fuselage halves had fairly poor fit and it required quite a bit of coaxing to get the cockpit floor to fit in between the halves. There was no easy way to get the seam of the fuselage halves to line up properly despite the use of rubber bands and clamps to secure the fuselage. I quickly realized that this kit was going to require quite a bit of seam work and filling in of the gaps.

The wings were butt-joined onto the fuselage and the fit weren’t good at the wing root seams either. I needed stretched sprue and some wedges of polystyrene stock to close off the large gaps. After many days of working the seams with the use of Squadron white putty, the aircraft finally took shape. While the shape of the aircraft was simple, this kit had such a challenge with the seams that it tested my modelling patience.

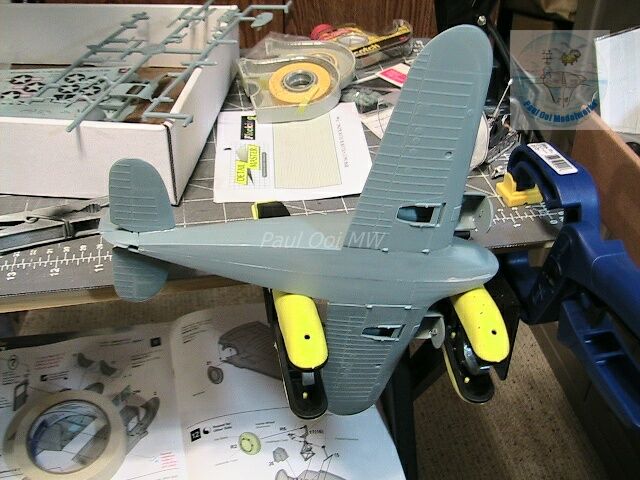
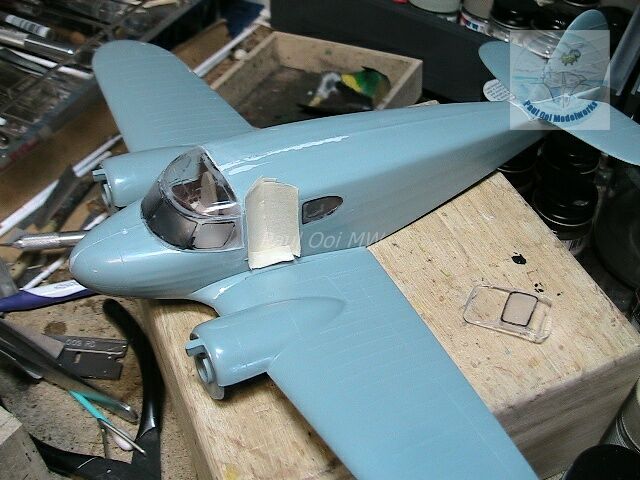
Finally, the window panels were masked for painting.

First, I airbrushed the main cabin canopy with medium grey to provide a solid base for the white paint to come on later and prevent light from penetrating the painted section (as it is likely to do with white paint, no matter how thick that color gets applied on clear plastic parts). The same medium grey paint was also applied to the wheel wells of the aircraft.

Once the grey paint was dry, the lower panels of the engine compartments were installed.

Then, the resin radial engines were pre-painted and installed to the engine housing.

The nacelles were added over the installed radial engines. Again the fit was poor and needed careful alignment to get the right look for the engines. Shortly after, protective masking tape was applied to close off the painted radial engines.


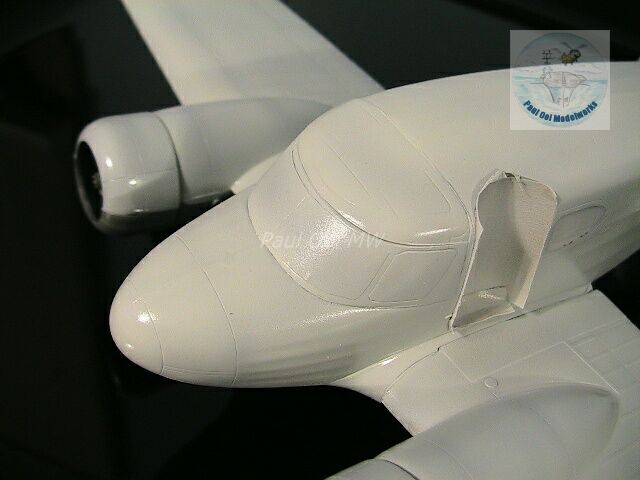
The basic priming layer for the aircraft was matt white. Then gloss Insignia White was applied in several layers to achieve a pearly finish. This layer was then sealed under several coats of satin varnish.


The underside of the aircraft required masking off the leading edge to keep the white sections, and then sprayed with Navy Grey FS36251.

Although the kit decal sheet provided sections of insignia red decals to wrap around the nose and forward nacelles, the fit was very poor and the decals were too thick. I revised my plans and masked off the necessary sections and airbrushed gloss insignia red on those sections instead.

Once the paintwork had been sealed with several layers of varnish, the decals were applied to the aircraft.

The undercarriage sections and the fuselage side door was installed. Fine details like pitot tubes, antenna and position lights were added to finish the aircraft.


Awesome job! It’s a shame you can’t see more of that beautiful interior, though!
It looks like quite a challenging kit, from the poor fit to the white and red finish. You really hit this one out of the park. Five stars!
-Kyle
Hello Kyle,
It takes a keen modeler like yourself to realize the difficulty in pulling off the red-and-white paint scheme. No room for mistakes since both colors are pretty unforgiving and any small smudges of red on white will show up as pink(!).
Paul
That’s a very nice rendition! I just picked up this kit from a model show vendor yesterday. I opened it up and lo and behold, it was chock full of every after market goodie made for this kit, including figures of “Sky King” himself and Penney! I’ve got one Czech Model kit under my belt (the Yak-15), so I can attest to the challenges when building one, and the satisfaction you feel when you successfully complete one.
Good luck with your build! Paul
Beautiful job on the T-50. What would it cost for you to make another one to sell ?
Hello Ron,
I will respond directly to you via email. Thank you.
Paul
Nice job on the T50. What would it cost to have another made with a specific paint job? It would be silver with a green air ambulance cross on the fuselage. Also the N number if I can find it.
Thanks
Dick
Awesome job!
Where did you find the color scheme?
Looks great.
Please email me the paint colors and brand(s) you used.
Thanks
This was a direct commission work from the pilot’s daughter so there was a big cache of yellowed slides from the 1960’s. The info on the paints can be found as you read the article https://www.paulooimodelworks.com/cessna-bird-dog-o-1e-the-feisty-spotter-from-phu-loi/
Paul