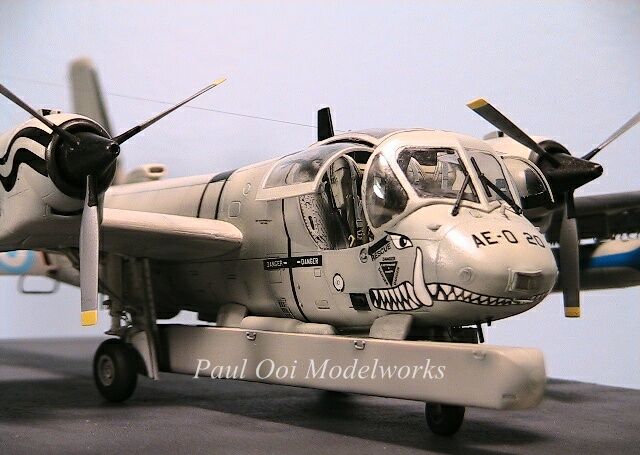
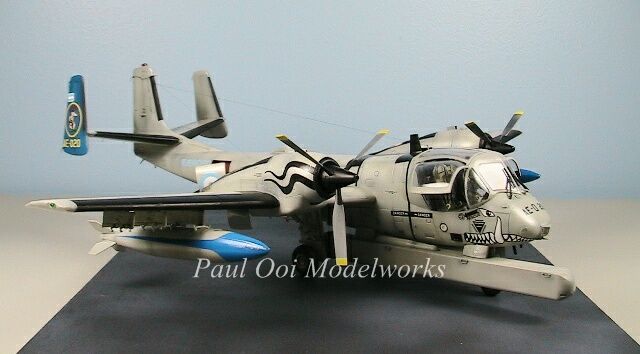

The Grumman Mohawk cannot be mistaken for any other aircraft in this world. It has such a distinctive form and the cabin is designed for great visibility for the crew. The original design first flew in 1959, and the aircraft continues to be used in various functions in civil and military service to this day, more than half a century later! The last war that the Mohawk was deployed in was with the US Army in 1991 as a battlefield surveillance aircraft and was credited with the effective suppression and detection of many Iraqi AA and tank positions.
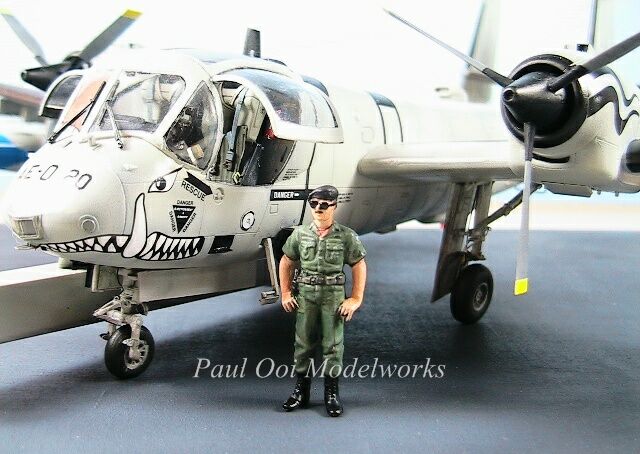
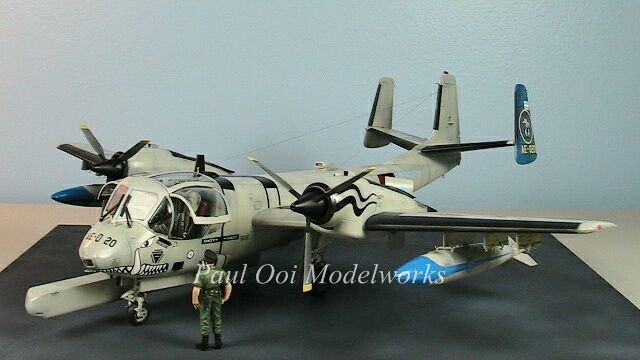
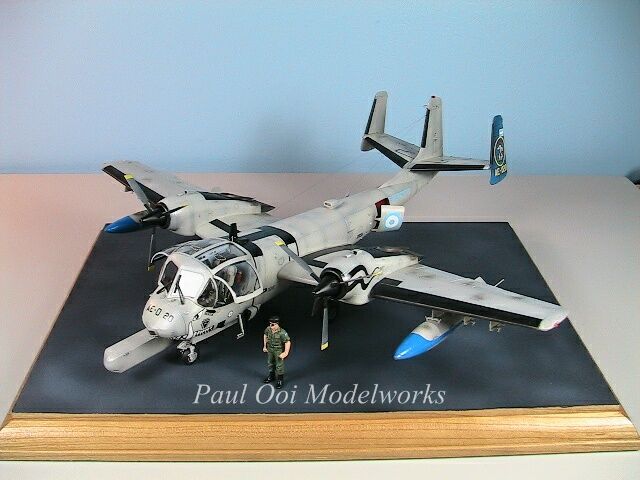
After the first Gulf War, the Mohawk OV-1D was withdrawn from US Army service and 20 of them were subsequently transferred to the Argentinian Army Aviation or Comando de Aviación Ejército Argentino in 1992. It is in this configuration that I decided to build the 1/48th scale Roden kit that I had kept for some time. You can check out on the Argentine Mohawks at this link.
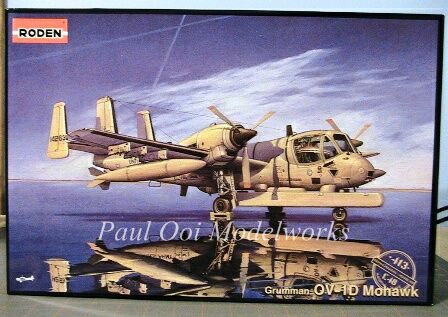
Anyone who has any doubts that good box art sells should check this picture below.
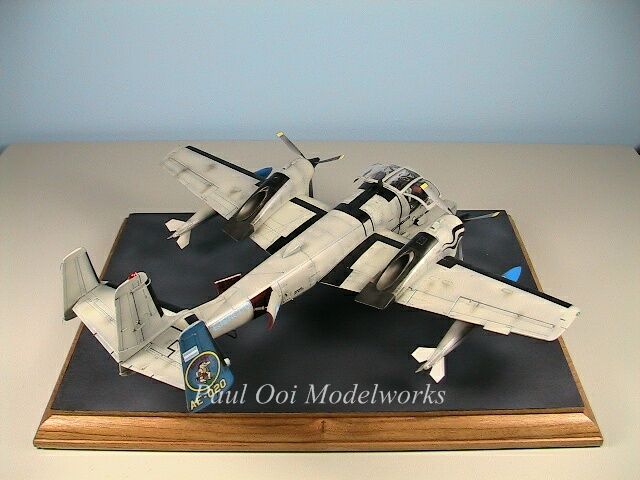
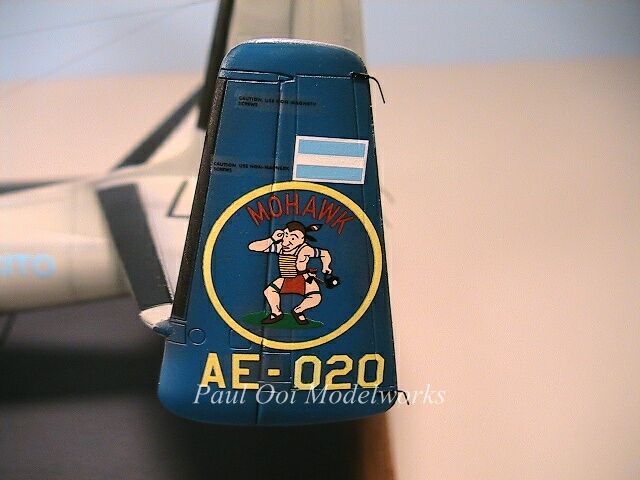
I was impressed with the nose art of the warthog on the Argentine version and the flashes of bright blue. Much more interesting than the gull grey and gunship grey tones of the original US Army version. This particular aircraft is stationed in Campo de Mayo Army Air Unit outside of Buenos Aires and was painted with these special markings as the first Mohawk in Argentine service. These markings came from an Eagle Strike after-market decal sheet. One word of complaint. The decal sheet had the call number of the aircraft as “AE-120” when it should have been “AE-020”. I rummaged through my spare box of decals and managed to get the right sized 45 degree numbers, plus tinting the white ones yellow for the tail section.
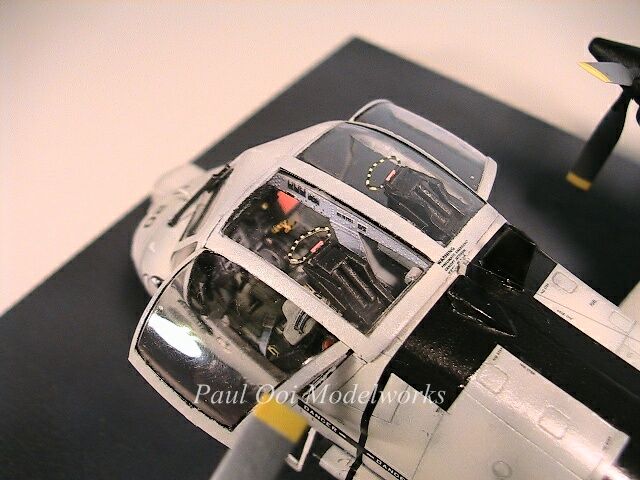
One of the biggest challenge in this kit is the sheer amount of detail that is visible in the bubble cockpit. I used Eduard’s photoetch kits for interior detail, exterior detail and the wheelwells.
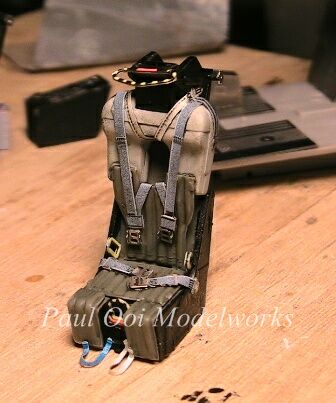
Each of the seats comprised of more than 10 individual parts, almost a kit in itself. The details are pretty awesome.


There seemed to be more parts than the little cockpit cabin could hold. The fit was critical and there was simply no margin for error. The level of detail was a real challenge but the results can be very rewarding (after holding my breath for what seemed like a week)


The other area of major “plastic” surgery were the wheel wells. The kit part lacked the actual ribbing, so the photoetch parts took over. First, I had to remove ALL of the recessed plastic wheel box, and then re-construct the photo-etched panels as seen on the right.

When the wheel strut assembly gets added in, the effect is just right.


The turbojet exhaust pipes behind each of the engines were also in need of improvement. The plastic parts were too thick and left a center seam that was hard to hide. Plus, nothing looks more like burnt exhaust metal than burnt photo-etch metal held over a candle flame, then burnished.
Finally, its off to the spray booth and several different coats of paint to bring the Pampas Mohawk to life.

Oh, and not to forget “Raul”, the security guy hanging around the Mohawk…fully equipped with his sunglasses and walkie-talkie.

Enjoy the pictures!


Hi, Paul,
RE: Argentine Mohawk
Very nice work (as always). I have two questions regarding this model as follows:
1. What is that long. semi-rectangular object mounted to the lower right-hand side of the fuselage (that protrudes well in front of the nose of the aircraft)? My guess would be some type of ASW electronics pod (similar to the tail booms on the old Lockheed P2V Neptune or P3 Orion). But why is it so large and ungainly (blunt-nosed and rectangular – rather than streamlined like an external fuel tank or under-wing ordnance)? Furthermore, with this pod being off-center and so large and heavy, I would think that it would require some serious aileron and trim tab settings just to keep the darn thing in level flight.
2. I notice you have the props set in their “fully feathered” position. Is this a reflection of how the props would normally be set when the aircraft was “off duty”?
Finally, congratulations on your new website. It’s very clean and precise (just like your model work!). Now I have a “one-stop shop” to re-visit your model collection (rather than digging up archival e-mails).
Cheers!
1. That’s a solid piece of concrete to make life dangerous for the pilot……NO! 😉
It is called SLAR (Side Looking Airborne Radar) and it was introduced in the OV-1B model. SLAR enables continuous radar recording of the terrain on both sides of the aircraft along the flight its flight path. This is unique to the Mohawk and enables it to take large swaths of battlefield data. The casing is a fiber glass housing. As to why it is not streamlined? I don’t know. Maybe some retired Motorola engineer could tell us. They did say though that by the time of the first Gulf War, the Army engineers could mount or remove the SLAR within an hour. The US Geological Dept has a slimmed down version for seismic fault line mapping on their OV-1B’s.
2. I got this VERY important detail from the internet. By fully feathering the props when on the ground this prevents the props from “wind-milling” when there is a breeze. Wind-milling can damage the engine turbines.
As for the website , I have my beautiful assistant at home who does all the IT stuff and set this up for me while I was busy building this bird.
Very nicely done, Paul!
This is Kyle from the hobby store– I’ve been enjoying looking at your many models on your website, and I think this is my favorite. It isn’t often that I encounter a modeler who has a nice, well-constructed website, fantastic photography skills, AND is a world-class modeler all at once!
I really like the OV-1 as an airplane, and your model really does it justice. I especially like how you photographed the interior before you put the canopy on, and I also like how you showed the difference between the kit exhaust and the photoetched ones.
Happy Modeling!
-Kyle Nelson
Hi Kyle, Thanks for your compliments. It is my belief that people will appreciate plastic models far more when they get to see how much work went into making these little gems. Treated with respect, every model, no matter how simple, even snap-tite ones, can be made into treasures. And provide hours of fun for the builder and viewer alike.
Ciao….Paul