
The Vildebeest belongs to that category of aircraft that look so ungainly and ancient that it is actually beautiful in its own way. The little known aircraft has a name that (I think) is pretty well matched with its appearance. Already obsolete at the beginning of WW2, these aircraft were distributed across the more remote corners of the British Empire where the likelihood of war was seen to be low as compared to Europe. One of those “peaceful” outposts was the island of Singapore…
The Vildebeest bore the brunt of the Japanese invasion of Malaya, flying torpedo sorties against Japanese landing ships off the East Coast of Malaya out of their base in Seletar airfield.The aircrews flew these relics bravely against their modern Japanese opponents and inflicted losses on Japanese shipping. In the climactic battle of Endau on January 26th 1942, less than half of the Vildebeests survived the mission and these were withdrawn to Java. None of the Vildebeest survived the subsequent Java campaign.
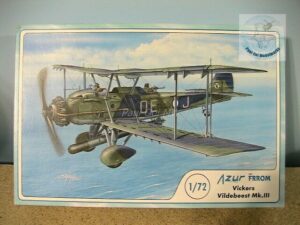
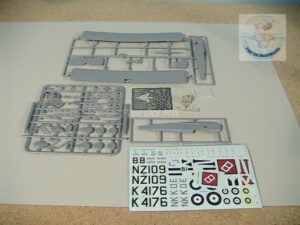
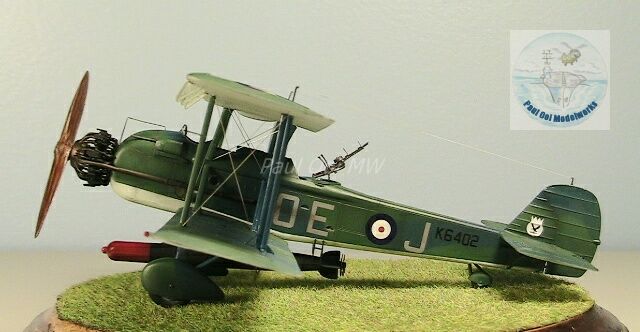
Azur of France partnered with Czech manufacturer Frrom to make this rarity in a limited run kit in 1/72 scale format. Despite the small scale, the kit is very detailed and comes with resin parts and photo-etched fret. Since the open radial engine was so visible, having it in resin form really provided great detail that stood up to close inspection. I decided to build the 1942 color scheme of Sqn 36 in Seletar.
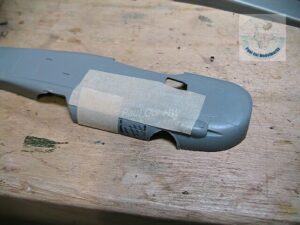
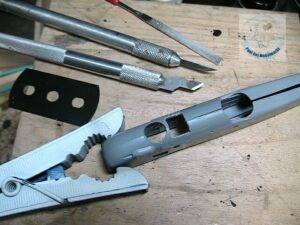
Like all interesting projects, this one begins with surgery when I slice open the hatch space immediately behind the pilot’s cockpit. The ‘Beest had 3 crew positions although many were flown with only two crew members. All reference pictures of the Far East ‘Beests show that hatch in an opened position (probably to help air the interior).


The interior of the cockpit was painted in British Interior grey-green. I used my precious last bottle of Poly-S paint, although one can also substitute with Tamiya XF71 cockpit green as well. The panels were painted with Tamiya XF69 NATO brown. I also rigged the interior panels with brass wires at this time.
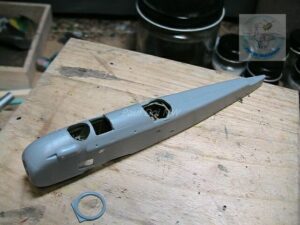
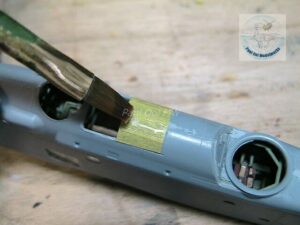
After the halves were joined, I could install a replacement hatch for the 3rd crew compartment using Tamiya masking tape and stiffened with diluted white glue.

Preparatory work for painting was done by masking off all the side windows and crew cockpit ports.
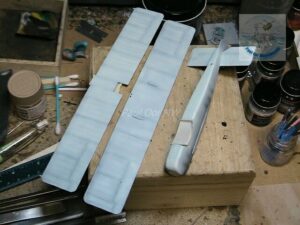
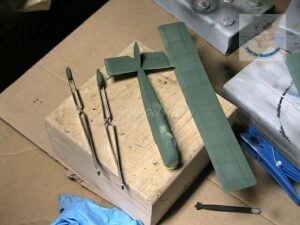
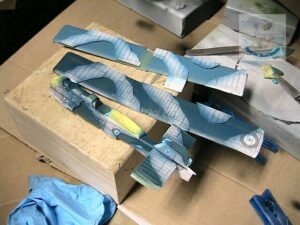
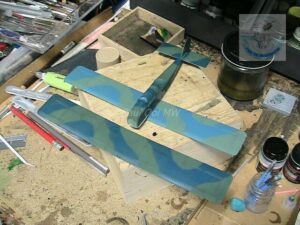
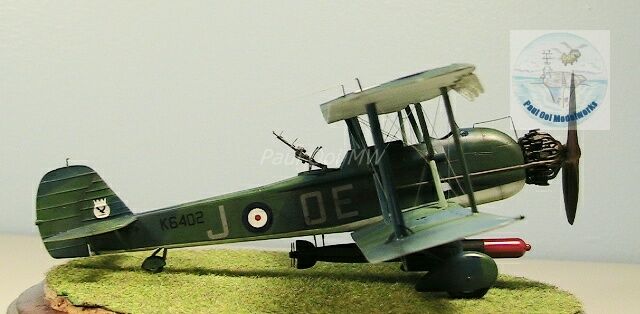
The camouflage scheme of this aircraft was pretty unique, a blue and green pattern that I have not encountered with any other British aircraft from the WW2 period. Painting started with the undersides airbrushed with Duck Egg Blue. This was followed by Euro Dark Green FS34092 lightened with some white for scale effect on a 5:1 ratio. The camouflage pattern was then completed with Blue Angel Blue FS15050, again lightened with white on a 5:1 ratio. The upper surfaces of the lower wing is further lightened for both green and blue to a ratio with white of 3:1.


While the main sections dry out, i worked on the fiddly bits like the “bee-hive” engine, wooden propeller and the torpedo.

The decals were applied to the fuselage and upper wing section before they were joined together (more of that perennial biplane nightmare coming up next!). The decals settled nicely and the quality was excellent.
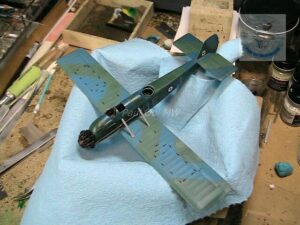
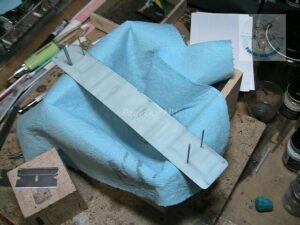
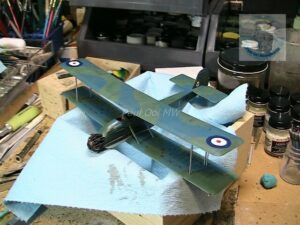
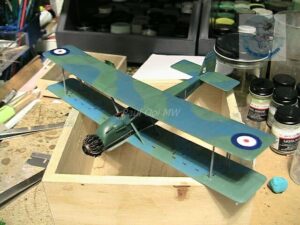
Upper wing attachment is always tricky so I always have to remind myself to breathe, and allow a lot of time to align the struts. I start with the lower cabane struts, followed by gluing the outer interplane struts to the upper wing. Then I lower the upper wing assembly carefully onto the lower wing, get the struts into their position holes….after 10 attempts. With much care, I install the upper cabane struts in the middle that will give the upper wing much more support. There are NO shortcuts to this procedure.

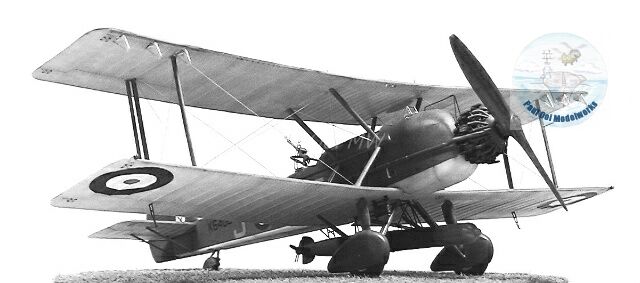
Once the upper wing was firmly attached after overnight drying, I installed the undercarriage with the wheel spats. I must say that the latter gives the aircraft that really ‘Beest-ly look.
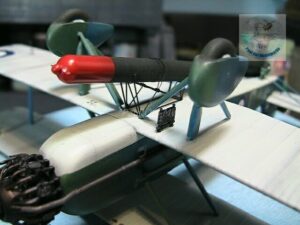
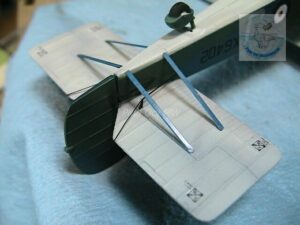
The rest of the underside details get added on after the undercarriage. The torpedo carrying frame is spectacular and the makers of the photoetch frame did an outstanding job.

The final topside detail was the rear gun assembly.

After my usual brass wire rigging for the interplane area and stretch sprue for the antenna rigging, the ‘Beest is ready to fly.







Wonderful work, as usual. Funny that I should receive this ‘Just completed’ notification today as I actually popped over to you website just last night after having not been there for a long long time. 🙂
Hi Carl,
Great to have you here. I’m glad I got this Malayan/Singaporean craft in time for your visit 😀 If Lin Yih is still interested in scale models, you can let him know as well.
Check out all my recent posts, especially the USS Iwo Jima.
The propeller looks like real wood!
Yes, the paint job is a multi-layered process and takes several days to dry properly. Making plastic look like wood or metal is not nearly as bad as making it look like stretched linen on a frame (see the Oeffag project) which is a 10-day painting project.
Hi, Paul,
RE: Vicker Vildebeest
Another spectacular job. Every time I think that someday I might want to build a model in my impeding retirement – I look at your stuff and think to myself, “Why bother?”
As always, I appreciate your attention to historical detail as well. I thought I was pretty well-versed in virtually all the aircraft which saw combat in WWII – but I confess I’ve never even heard of (nor seen a picture of) the Vildebeest. I thought that the famous Fairey Swordfish (aka “The Stringbag”) was the only British biplane torpedo bomber which saw action in WWII (sinking three Italian capital ships at Taranto and then disabling the Bismark’s rudder to render her a helpless, wallowing target for the Briitish battlewagons that finished her off).
I’ll be looking forward to your next project. I have no doubt it will be both historically intriguing and meticulously crafted.
Regards,
Dave Hardy
Hi Dave,
Don’t let my “babies” dissuade you from building your own. I want to promote the hobby and show people what is possible with these little scraps of metal and plastic 🙂
I thought (and knew) that the Vildebeest would fascinate aviation history buffs such as you. The Swordfish has such a legendary status that it eclipsed all the other biplanes that were still in the RAF’s inventory at the beginning of WW2. Again, in the same tradition as the Swordfish, the Vildebeest actually inflicted losses on Japanese shipping at both Endau and later at Rambang in Java.
Paul
Hi Dave
Don’t forget the Albacore which was supposed to replace the swordfish but wasn’t as good ! Other biplanes are the supermarine stranraer which was you will remember the big twin engined flying boat.
Paul, an amazing job I have the contrail kit of the vilderbeast which l think if I spend a lifetime on will never look like yours !
Cheers Pat
Hello Pat,
Welcome! I do happen to have an unbuilt kit of the “Apple-core” with Operation Torch markings…Now I am torn over that and the French Cams 37 E, another rarity that I happen to pick up in Britain. Meanwhile, you can check out the new post on the Albatros D.V posted today 🙂
Paul
Absolutely amazing how realistic your models look. Someday I’m going to get back into this hobby!
That’s the spirit!
Great Model!! i am building the same Vildebeest and now thinking what camo should i use…
Hello Andrey,
It is a hard choice between the unusual blue-and-green versus the “silver” period of the RAF. I am personally tempted to get another Vilderbeest to make a “silver ghost”. Do watch out for the step of mounting the upper wing and best of luck!
Paul