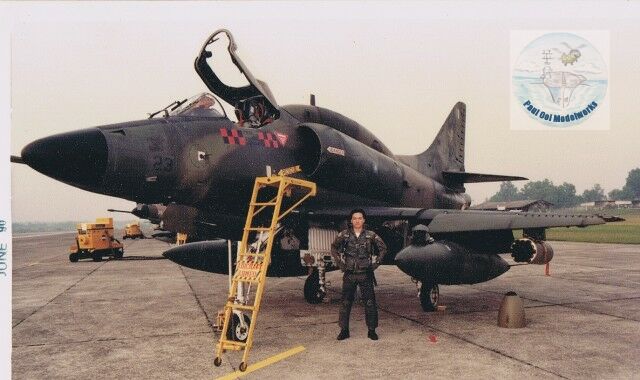

This project started more than 8 years ago. In a casual email exchange with my childhood friend Capt. Khoo, formerly of the Royal Malaysian Air Force, I had found out that from the mid-1980’s through the early 90’s, he had been a pilot of Malaysia’s A4-PTM Skyhawks in the ground attack role. The RMAF 6 Skuadron was stationed in Kuantan Air Base on the east coast of the Malay Peninsular. Since then, I had planned to build his personal aircraft as part of my collection of Malaysian-themed model builds.
Gallery:

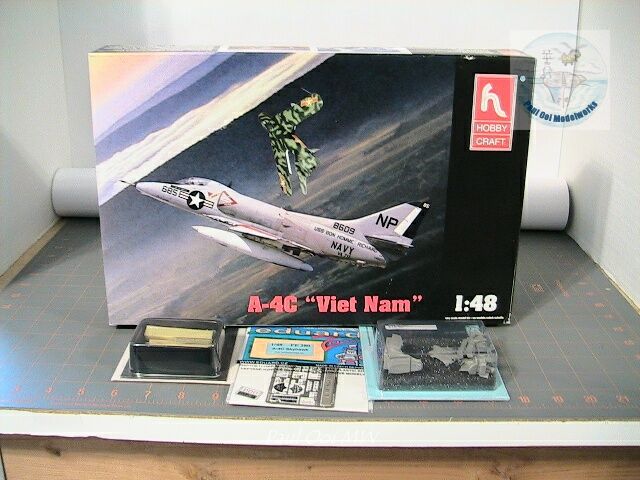
The basic kit that I had chosen was the A4-C Skyhawk kit by Hobby Craft because the set already had Malaysian Skyhawk markings and parts for the avionics “hump”. As it turned out later, I could not use most of those markings because they portrayed an earlier color scheme (sand-middle green-dark green) whereas then Lt. Khoo’s aircraft call-signed FROG was in the later Olive Drab-Jungle Green color scheme. I first picked up the kit back in 2005, and then over the years, accumulated the Aires resin cockpit set, Aires wheel wells and a photoetched fret from Eduard.
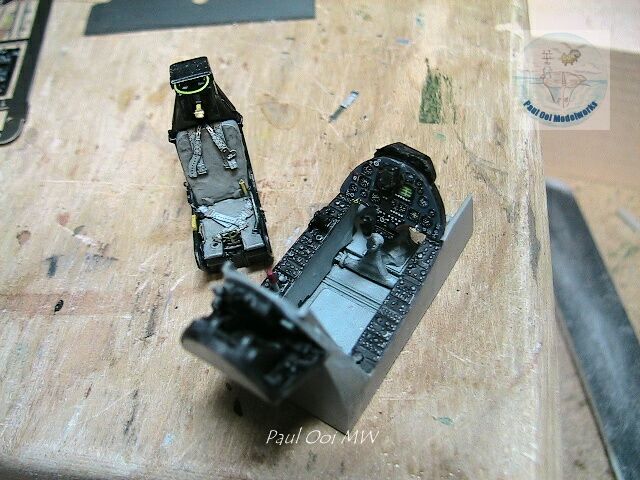
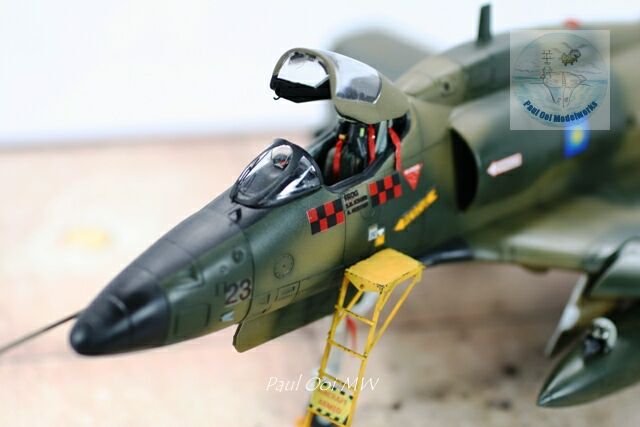
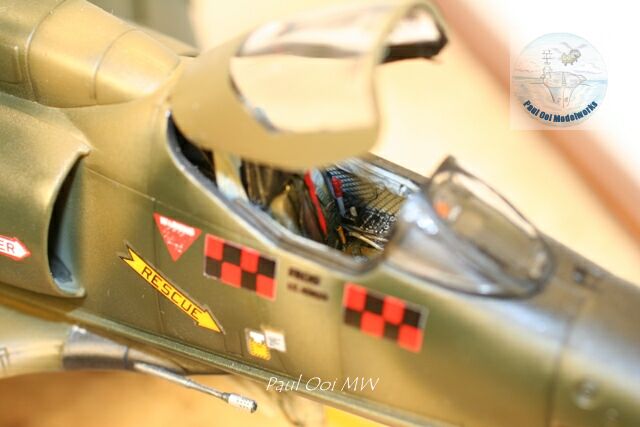
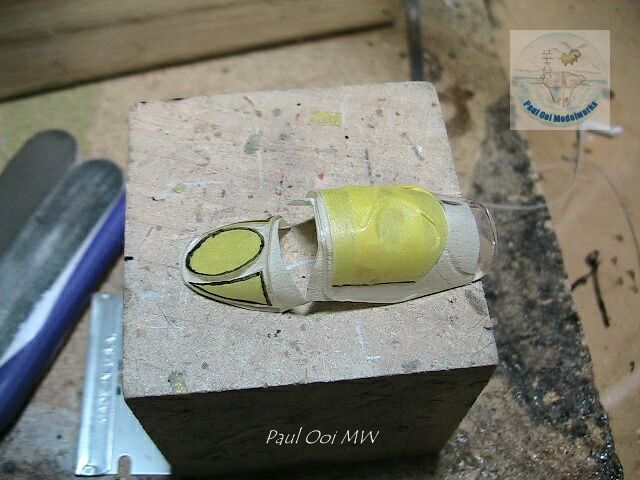
The Aires cockpit set was incredibly detailed and was a joy to paint. It stood in stark contrast to the pitifully bare cockpit details from the original Hobby Craft kit. The only thing I substituted was the instrument panel that I replaced with the Zoom colored panel from Eduard.
It’s always good to listen to the pilot! Before I finalized the cockpit, I asked my friend about the cockpit colors and he corrected my initial Grey color scheme for the seat and belts to the green color scheme that you can see on the right. That front office is always important in any aircraft project so I had to get it right.
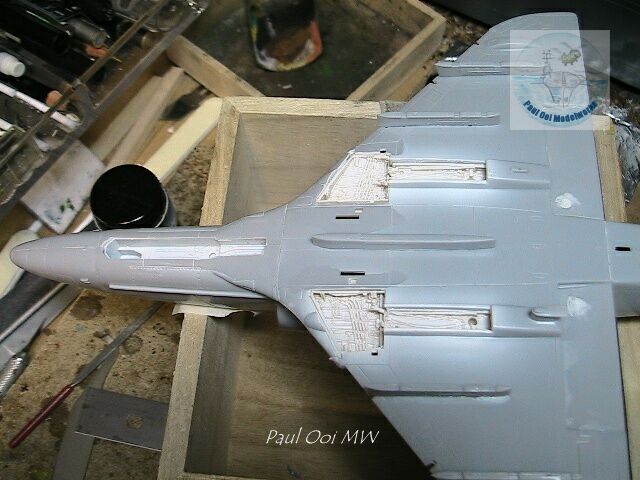
Directly beneath that cockpit tub was the front tricycle wheel well. I found the fit to be pretty poor and it left a huge gaping hole between the well and the fuselage. I used Evergreen plastic strips to fill in the huge gap. This will be the topic of a future Tutorial page.
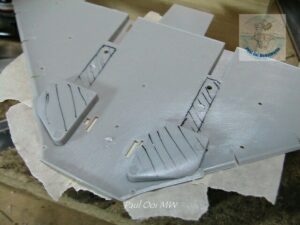

Next, I marked out the portions of the wheel wells on the underside wing section and carefully cut them out using my modelling fine saw and X-acto knife.
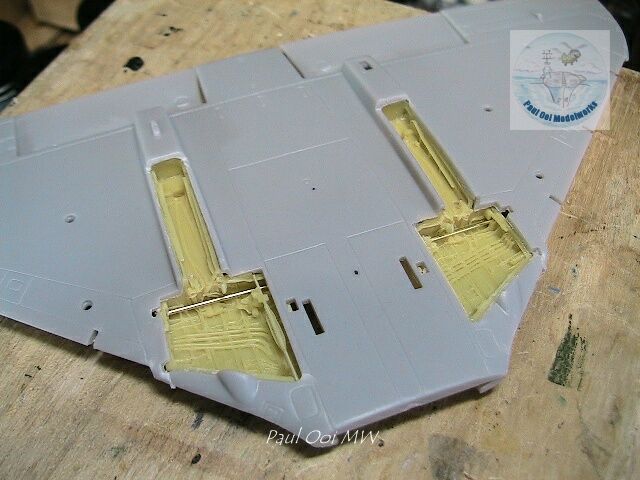
Once the cut sites were properly filed and cleaned, I replaced the sections with resin parts from Aires. Like the cockpit, the amount of detail in the resins parts are a huge improvement over the basic kit parts. The fit had to be just right and there was a lot of part-thinning and shaving needed in order for the wing halves to close together properly. Much patience needed with a lot of dry fitting and not for the faint-of-heart.

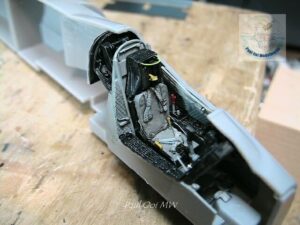
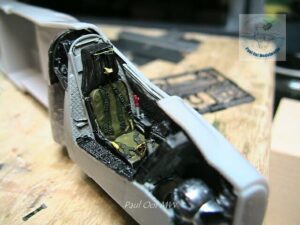
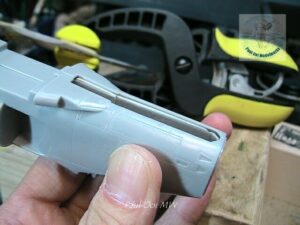
The fuselage halves get put together with the cockpit tub nicely fitted in.
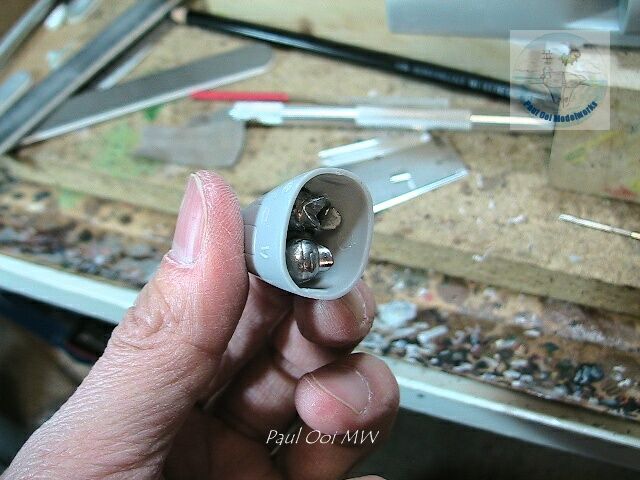
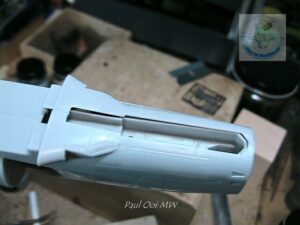
To prevent this aircraft from being a tail sitter, I added about 30 grams of lead shot into the nose cone.
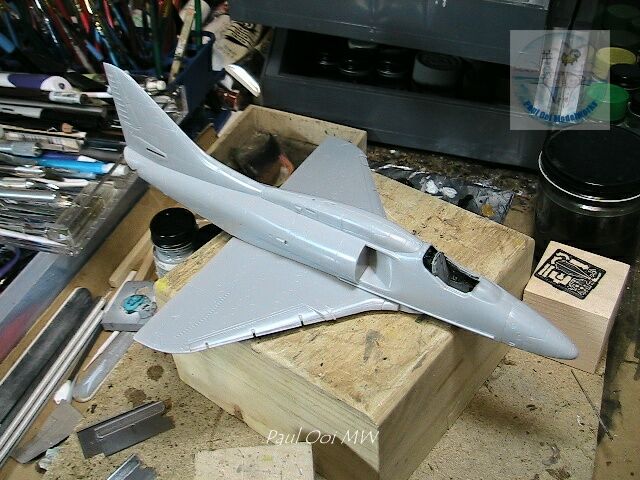
The wing section was carefully glued onto the fuselage. The wing root joints were pretty good on both sides and did not require any major gap filling of the seams.
In preparation for the spray booth, I masked off the windshield and canopy sections.

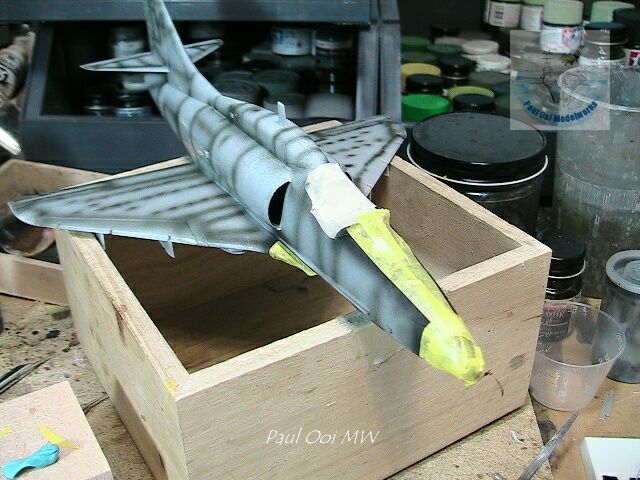
The initial undercoat preparation sequence starts with Gloss Insignia White FS12875 for the wheel wells, then followed by Tamiya NATO Black lines for the under-shading of the panel lines, followed by Flat Black FS37038 for the anti-glare panel and nose cone.
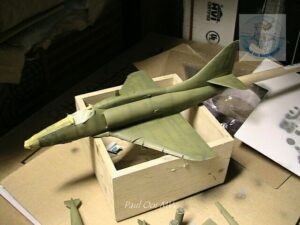
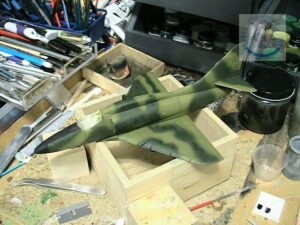
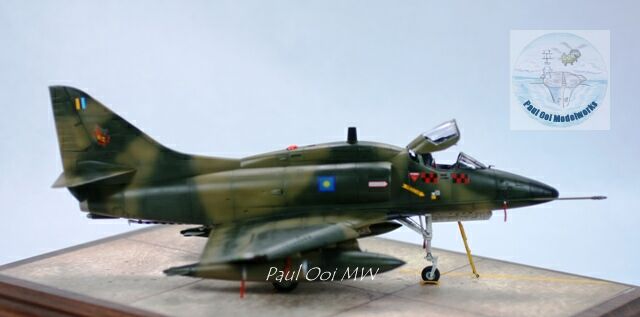
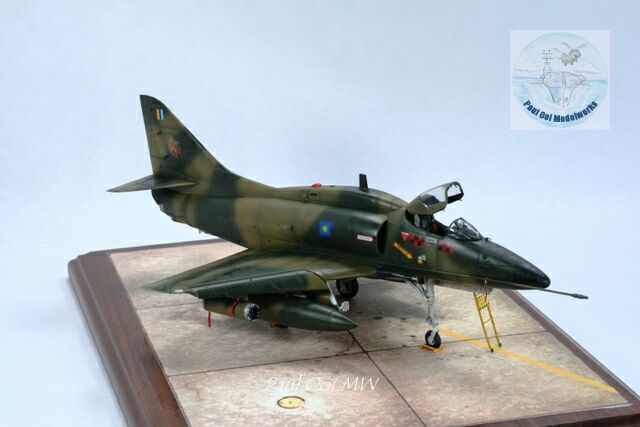
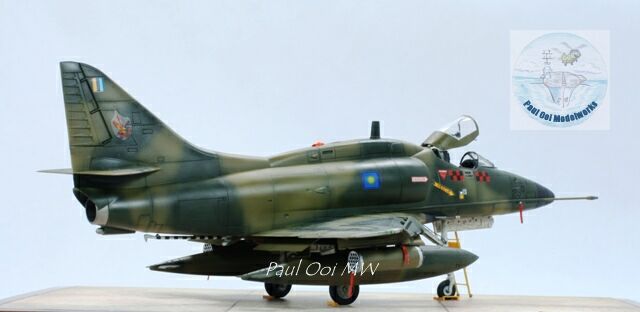
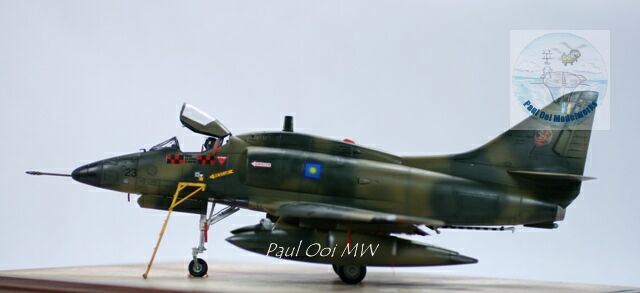
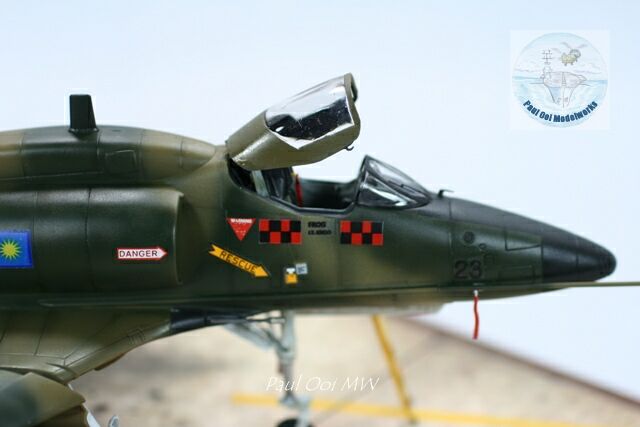
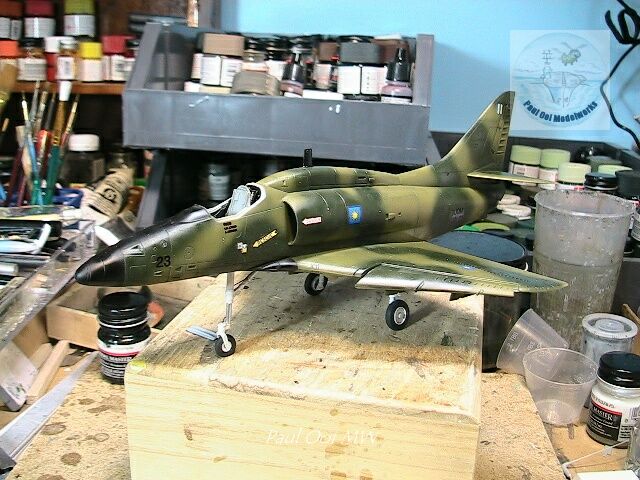
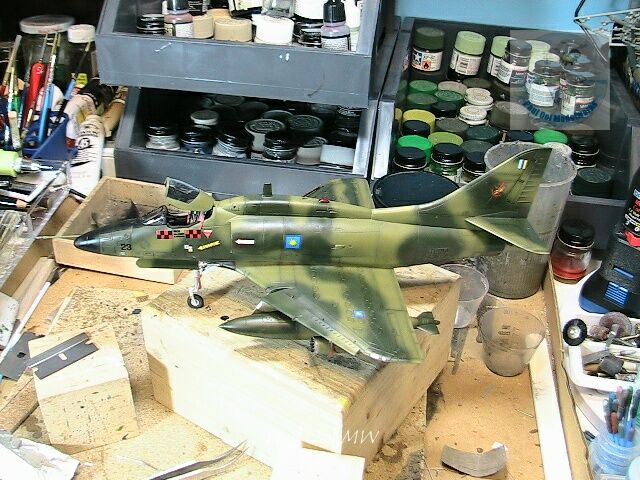
Olive Drab FS34087 is lightened with 20% Flat White as the first tone of the camouflage and applied uniformly including the underside of the aircraft. This is followed by Dark Green FS34079 darkened with 30% Flat Black applied freehand for that feathered pattern found on the Malaysian tropical 2-tone ground-attack scheme. Once dried, a gloss varnish was applied to prepare the aircraft for decal application.
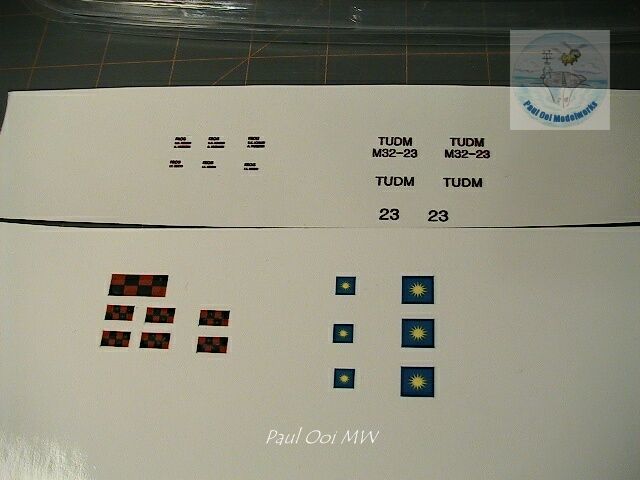
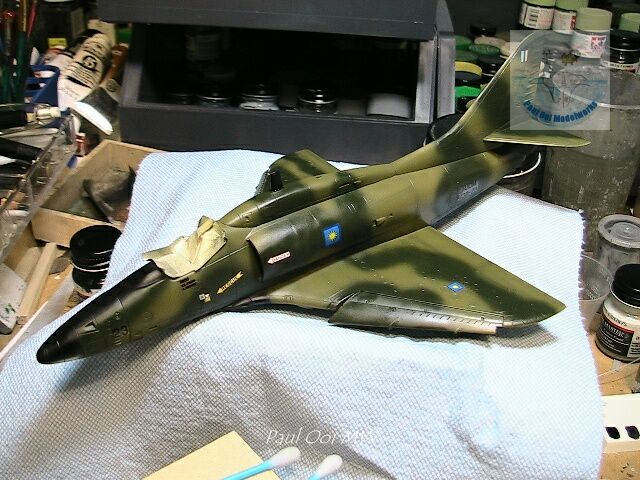
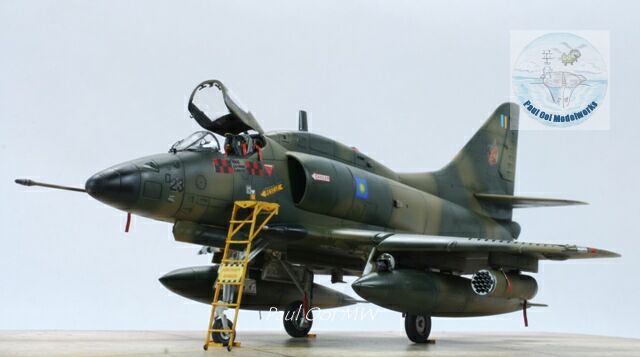
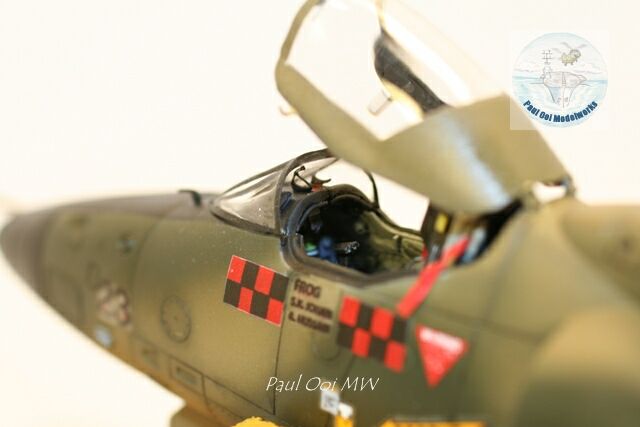
As I had mentioned earlier, the decals from the kit were not correct for the particular aircraft serial number M32-23. Khoo’s aircraft had square national insignia markings instead of the round ones from an earlier version. His aircraft also sported the red-and-black checkered bands on both sides of the fuselage under the cockpit. I printed these decals from my own artwork. The 6 Skuadron’s marking of a diving eagle with red thunderbolts seen on the tail were obtained from another decal sheet for the Hawk Mk. 1 kit. A layer of satin varnish was then applied to blend the decals with the paint work. Weathering was done using oil paint wash mix of Payne’s Grey + Burnt Umber.
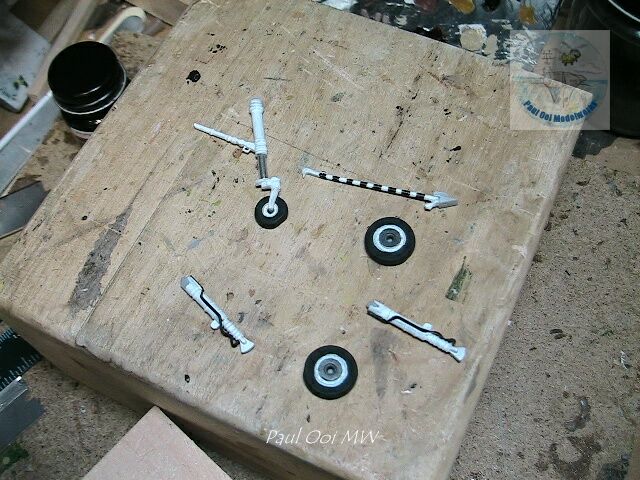
I proceeded to build the tricycle landing gear parts while the aircraft paintwork was drying. All the parts are painted gloss white like the wheel wells with bright silver for the hydraulic cylinders. Black wire was used to simulate the brake lines. The wheels were given the heat treatment to flatten the tires for the weighted look. Once fixed, the aircraft finally has its own “legs” and happily, not a tail sitter!
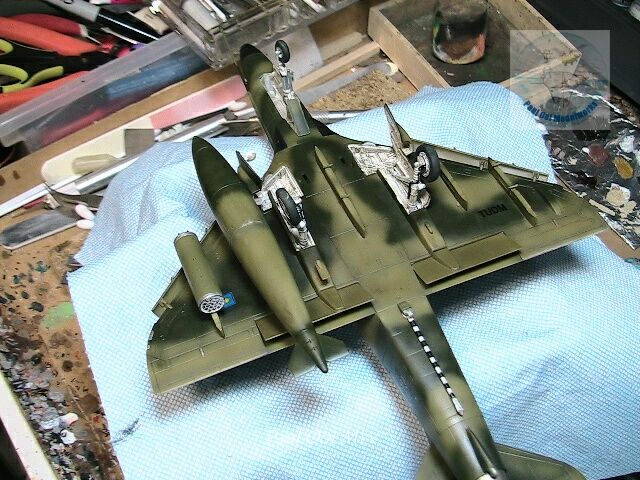
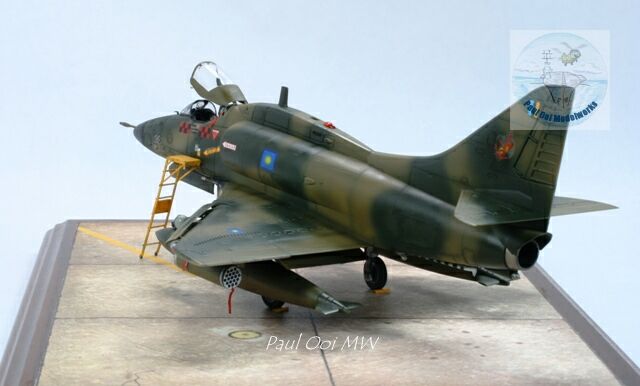
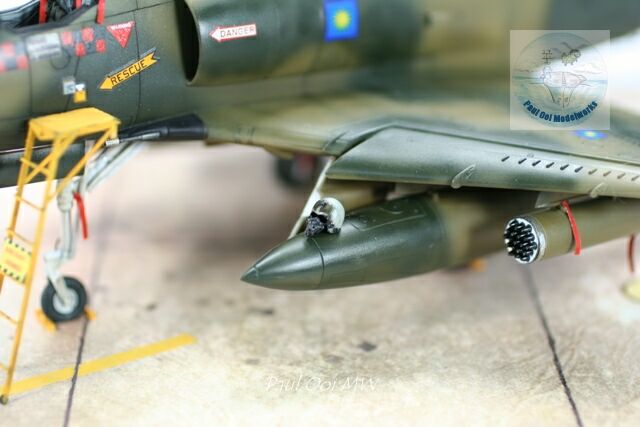
The final details for the underside were added at this stage. The aircraft carried two drop tanks, and a pair of rocket launchers (the ones that look like salt shakers) that I scavenged from my spare part box. The kit only supplied Zuni rocket launchers that were not used in the actual photograph of the aircraft.
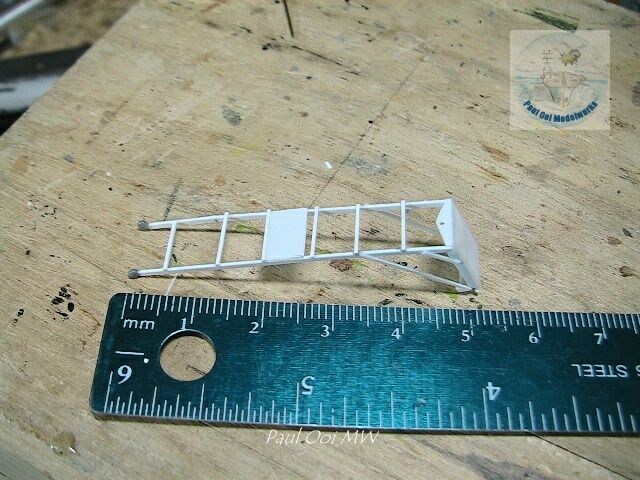
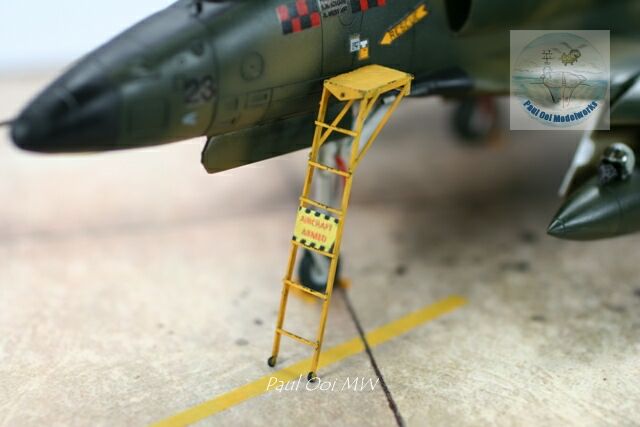
I scratch-built the ladder used with the Skyhawk with Evergreen plastic square and rectangular rods.Just like the real thing, the ladder is supported with a rod inserted into a hole in the side of the aircraft. Once the final details are added on the aircraft (canopy, navigation lights, pitot tubes), the Jungle Scooter is ready to roar into the tropical skies.
Paul,
You have an absolutely incredible talent! It is beyond words! I truly enjoy looking at your fantastic works of art.
Pierre
Hi Pierre,
Thank you for your kind remarks. It really makes my day 🙂
Paul
Fantastic. Great work of art. Reminds me of my RMAF days. Thank you Paul.
It was my pleasure. Thanks for your service all those years.
Paul
Hello Froggy sir. This is a real tribute to you. Cheers
Very nice work. You even got the helmet on the external fuel tank!
Hello Lokman, Yes, the helmet is a resin part from True Details for US/Malaysian helmets 1975-1990. Paul
Paul, great work. I am about to start on an A4PTM my self. 1/48 scale. Was wondering is you still produce those decals?
Typo…*if
Hello Sebastian,
I think I still have the artwork for some of the decals so I can make those. However for the squadron eagle insignia in the tail, I could not fine any representation of it elsewhere so I could not reproduce it except for this very expensive Hawk decal sheet from the UK. Please send your reply to [email protected] if you are still interested and I can provide you with more details.
Paul
Hi Paul,
I really like your model, and love the personal connection with your subject.
I am working on producing decals for our Skyhawks, would you be willing to share the call sign checkerboards to be included in my decals?
Thanks
Hello Aidy,
Sure, what info do you need? Artwork? Please let me know.
Paul
Hi Paul,
Picture would be nice, and any artwork would be fantastic.
Can you email me?
Thanks!
Aidy