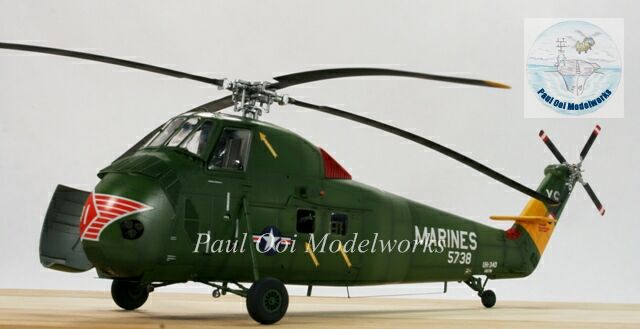
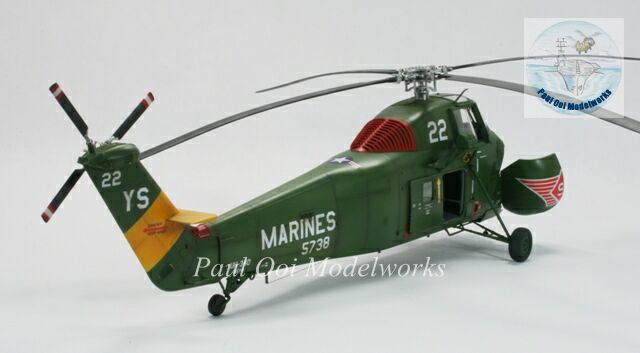
The Sikorsky H-34 series of helicopters was an early success in the history of the development of multi-role helicopters. First rolled out in 1953, this piston-engined machine had a long service history that extended well into the 1990’s. As the Westland Wessex, the venerable helicopter was still in use by the Royal Navy during the Falklands War. It has a distinctive hump that was unmistakable and the cockpit sat very high off the ground, in contrast to many modern designs.
Gallery:
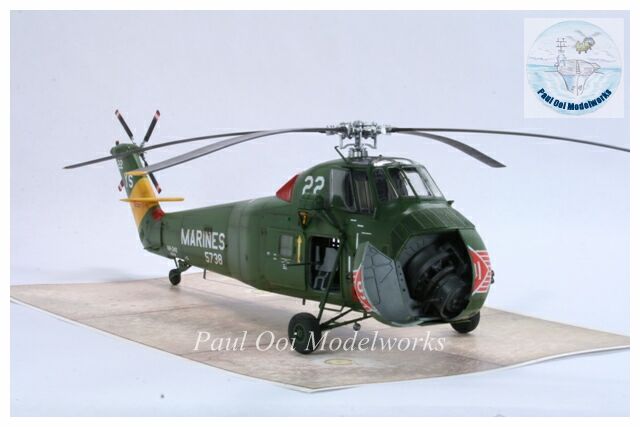
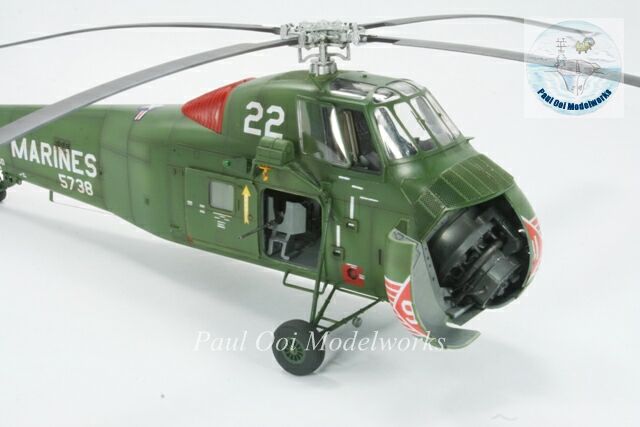

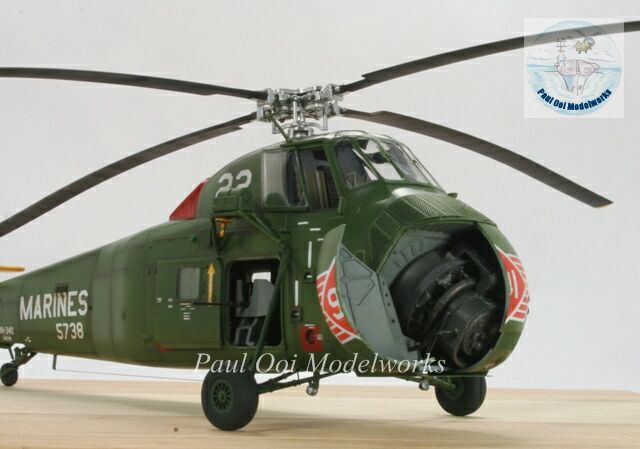
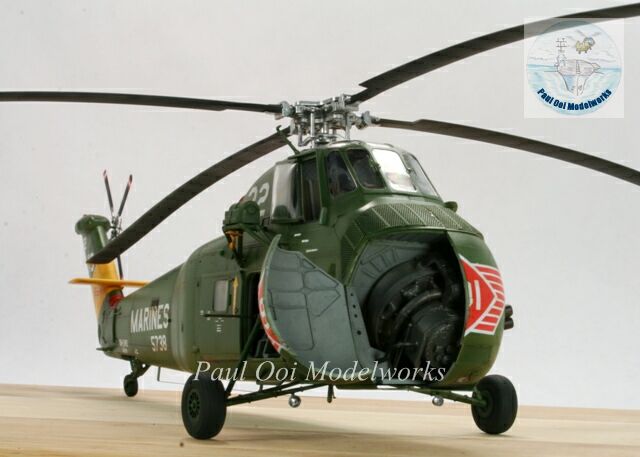
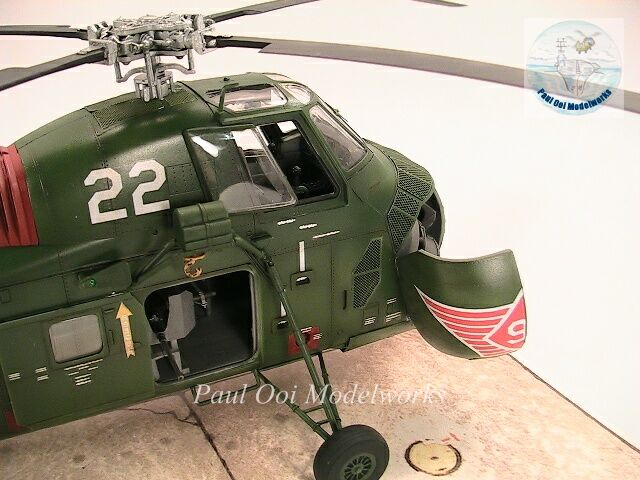
During the Vietnam War, the US Marines maintained the use of the H-34D throughout the 1960’s and only gradually replaced them with the Seaknight as the demand to carry more troops and payload increased in the later years. The helicopter had an unusual power train arrangement (as can be seen in the interior details), with the main engine located in the nose and the transmission running at an angle through the crew cabin before going through a gearbox behind the cockpit and leading back to a vertical spindle for the rotor head. The nose arrangement did make the helicopter more vulnerable to engine damage from ground fire, prompting the installation of armor plates to protect the engine.
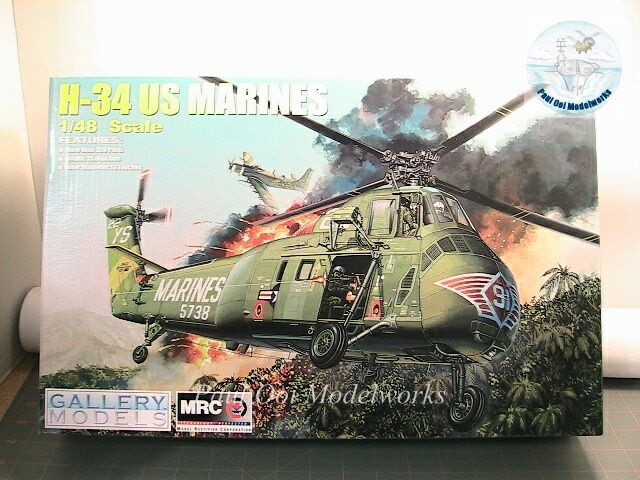
This project started at the request of a hobby store for a helicopter subject, and the Gallery Models 1/48th scale H-34 just made it to the shelves. Like I have observed before, great box art sells!The kit itself is very nicely molded and the fit is generally very good and the parts are flash-free. Along with the plastic parts are 2 frets of photo-etched parts.The request was for an out-of-box build without a display base and in a manner where the model can be handled. This model has some bugs in it that I hope the manufacturer would address as you will see during the build. For those reasons, the deceptively simple-looking build is actually potentially problematic for beginners.
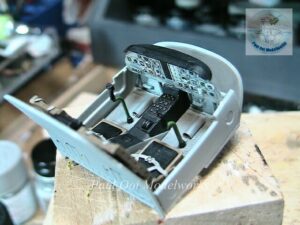
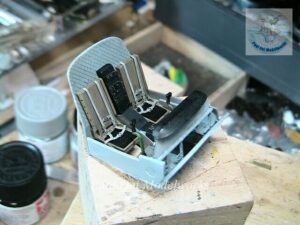
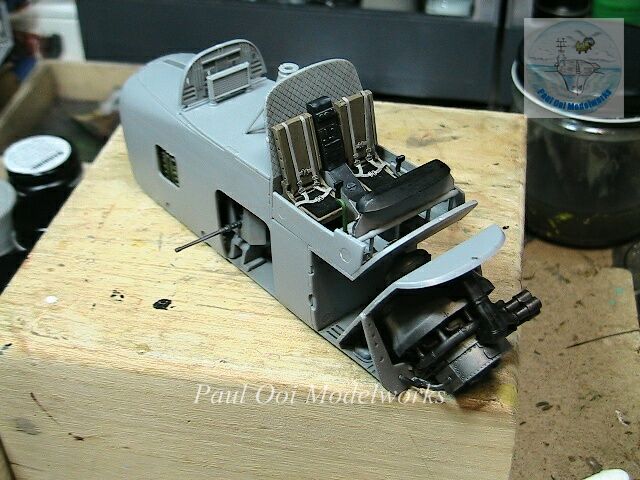
The cockpit assembly itself is a fairly simple affair. I would be surprised if some aftermarket resin cockpit from the likes of Aires does not arise to fill this niche. I used the decal sheet for the instrument panel but painted the panel color Dark Seagull Grey instead of black as called out in the instructions as all the references I have seen so far show the former as the correct color.
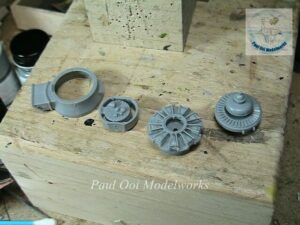
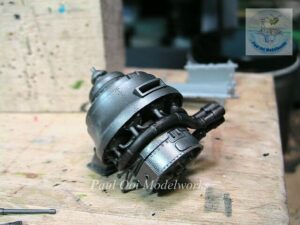
The nose engine is a beauty and properly painted, is truly a highlight of this kit. There are multiple parts that go together to make the engine, including the power train transmission assembly that cannot truly be seen as assembled but you can actually make out its silhouette through the mesh openings at the side behind the nose doors. I painted he engine assembly with bright silver, gun metal and burnt iron, plus weathering it with a wash of Tamiya Smoke+NATO Black.
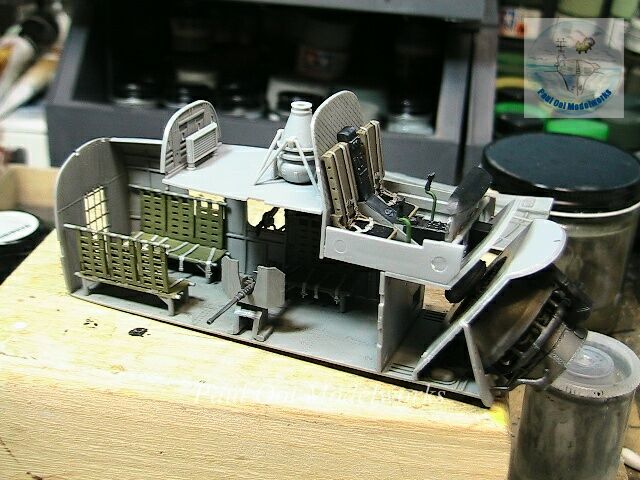
The interior details, all the way to the tail section are very impressive but unfortunately once the fuselage gets sealed up, very little of it can be seen except for the cockpit. The assembly of the three main compartments, namely the cockpit tub, the passenger cabin, and the slated engine compartment have to be dry-fitted many times to get them sitting just right. Failure to do so would mean that the whole structure will not sit properly into the fuselage halves which is why I cautioned that this kit is not quite that easy for beginners despite the modular interior “box” construction.
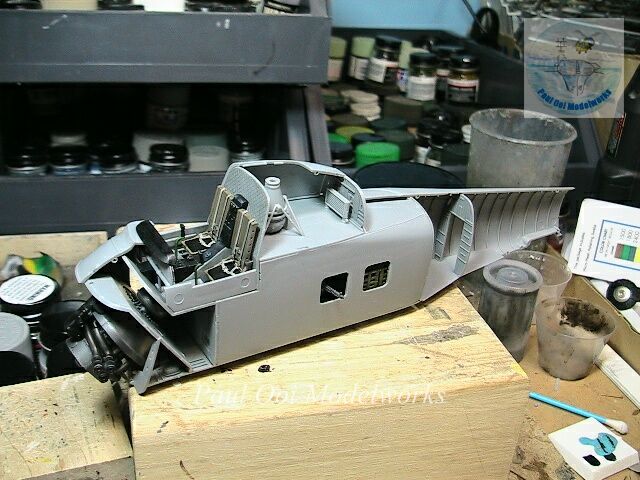
The interior “box” unit all ready to be installed between the fuselage halves. Even at this point, I made multiple dry-runs to ensure the good fit of the fuselage halves, as well as the bottom panel.
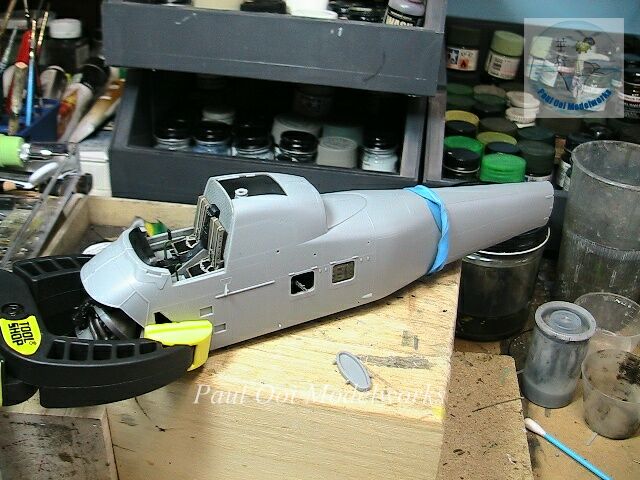
Finally, the fuselage is glued together and clamped. Proper restraints save a ton of seam-filling work later on.
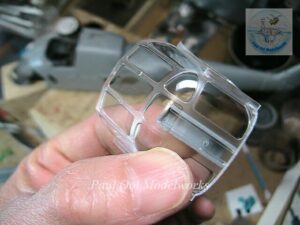
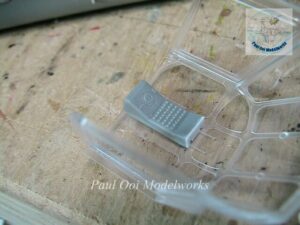
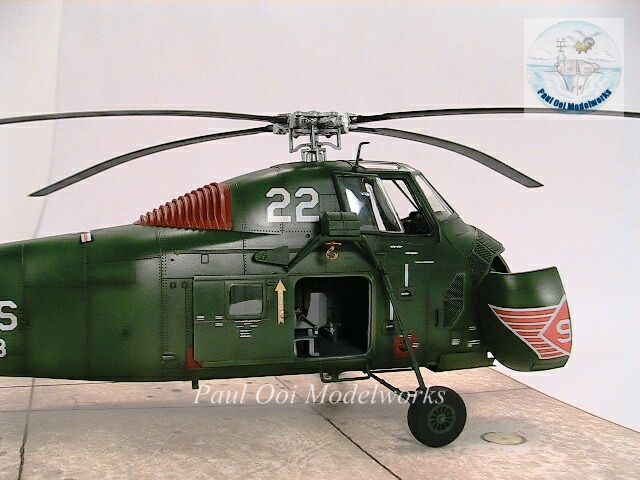
The other grouse I have is with the fit of the cockpit’s roof console under the main clear housing. Directly under one of the skylights, as supplied by the kit, the inside of the console juts out and can be seen by the observer later on. In order to deal with this, I first checked with pictures of that area in the original and the console does not jut out beyond the edge of the skylight. So I sawed off the excess the sealed the end with plastic card stock.
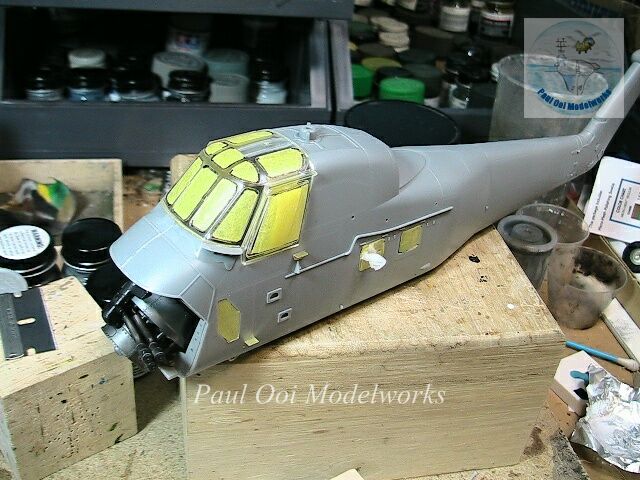
Masking the fuselage for the spraybooth is another important step in this model. Apart from the cockpit panels, the side windows, ventilation panels (there are lots of those, which I undercoated with NATO Black) and the engine compartment were also masked.
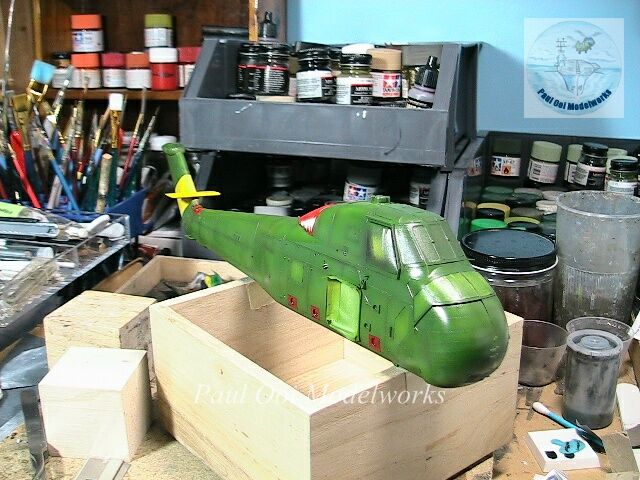
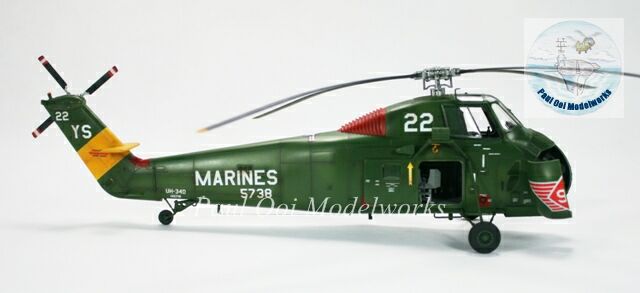
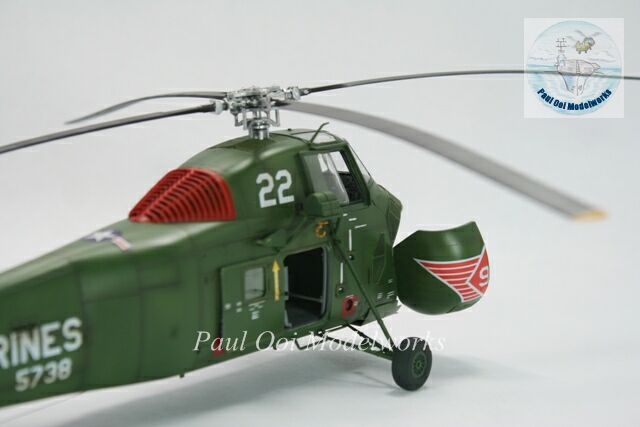
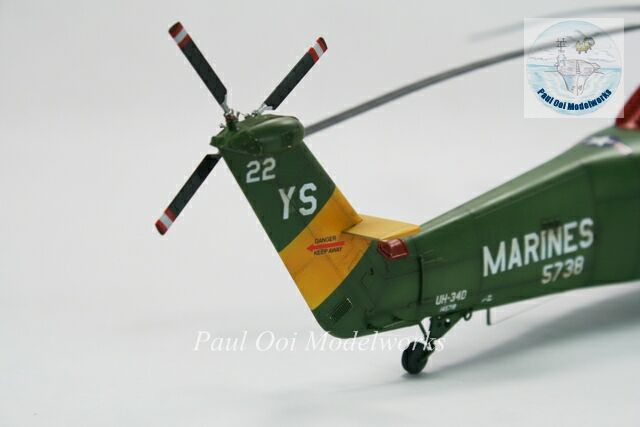
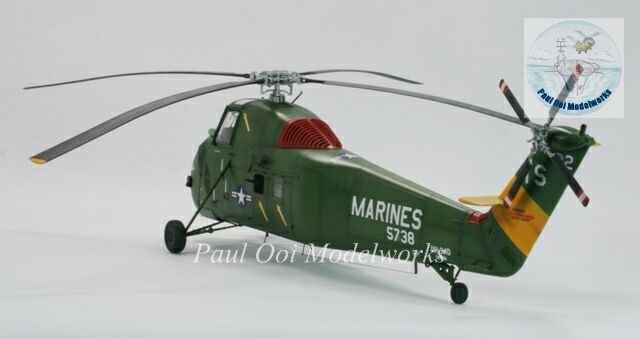
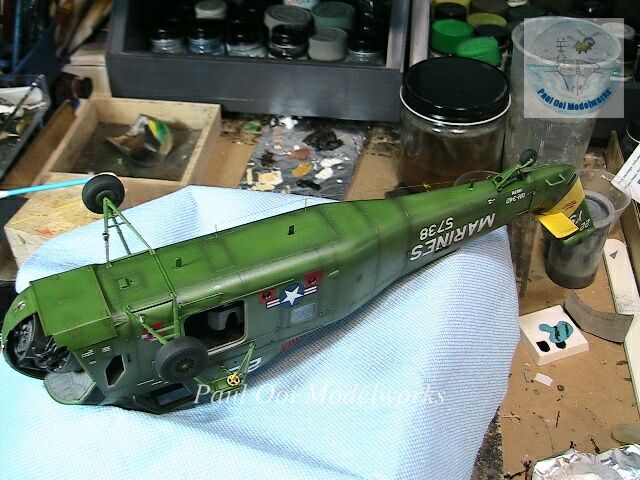
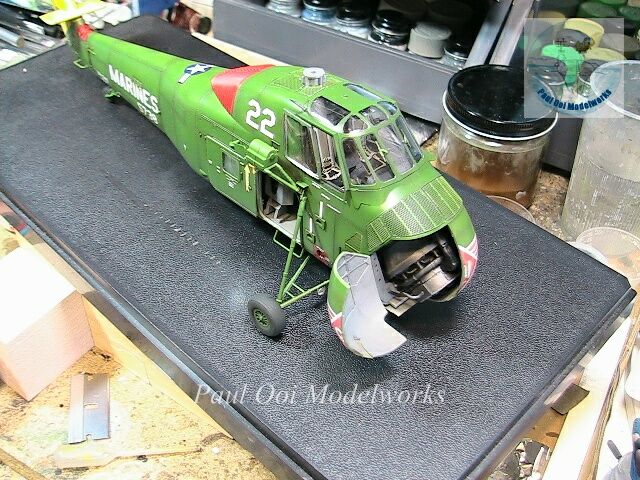
The fuselage was painted with first with Insignia Yellow FS33538 , masked off, then Medium Green FS34102 and finally, some panels of Insignia Red FS31196. The huge red shroud (that looks like a cockerel’s comb) behind the rotor was separately painted in Insignia Red. The whole thing was then coated with several passes of gloss varnish.
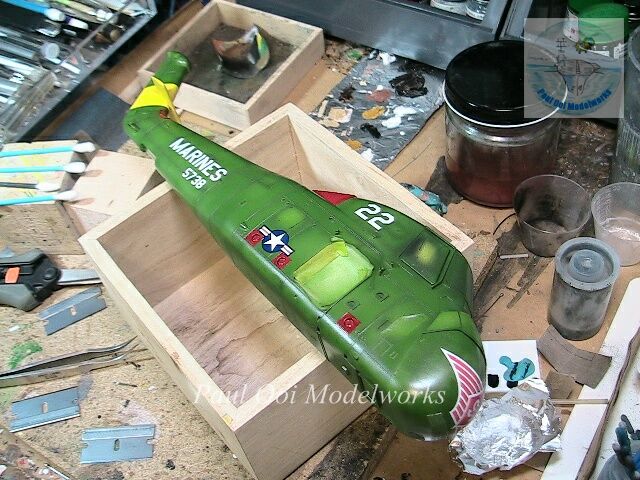
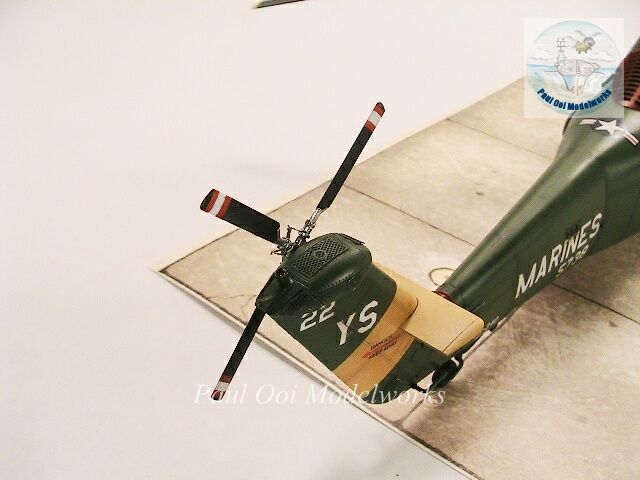
For markings, I chose the showiest one from the 3 available choices (all US Marines), build number 145738 and may have served with the USMC through the 1960’s in Vietnam. The decals are very good and settle down well on the surface without silvering. Even the ones on the nose with a lot of curvature to cover settled down pretty well, with some persuasion from Micro Sol setting liquid. Once cured, the decals were sealed under another layer of varnish.

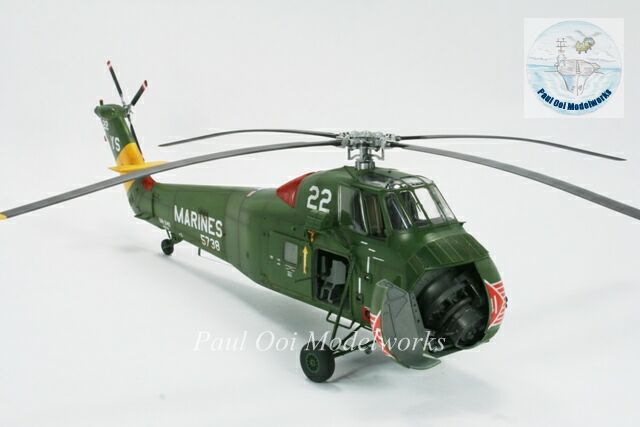
The panel lines and surface details are then highlighted and weathered with a wash of oil paint 50:50 mix of Burnt Umber and Ivory Black. The whole paintwork is then finally sealed under a satin varnish.
I left off the landing gear and underside details until the last, because these are fragile and do get into the way of finishing the fuselage.
The upper details are added at the very end, with all the open ports and panels, before adding on the rotors. One more final observation. The kit maker wanted a high level of detail by providing photo-etched mesh panels for the ventilation ports, but in practice, it would have been better to have these molded on as relief detail, as a good paint job would have achieved the same since as supplied, the areas underneath the panels are molded solid any way. In particular, around the tail rotor housing, the triangular panels fitted poorly.
I flew the H34D in Vietnam July 1965- Nov. 1966 at KyHa,ChuLai, Marble Mountain PhuBa DungHa, starlight, Shufly, hastings…
I also was a crew member in ET32 along with ET33 off the USS Boxer in the failed recovery of Gus Grissom’s Mercury space capsule back in 1961.ET33 picked up Gus’s but we could not lift the capsule because it filled with too much water. The shut did not detach acting as a sea anchor kept dipping so we had to pickle it.
My phone # 251-635-8003. I want to buy a good model H34D..
First of all I would like to say awesome blog!
I had a quick question that I’d like to ask if you don’t mind.
I was interested to know how you center yourself and clear your thoughts before writing.
I’ve had difficulty clearing my thoughts in getting my
ideas out. I do take pleasure in writing but it just seems like the first 10 to
15 minutes are usually wasted just trying
to figure out how to begin. Any suggestions or hints?
Cheers!
Most people have writer’s block to begin. I just do not seem to have that problem, so I don’t know what to tell you.
Paul
Outstanding models!
Why are the section behind the engine and rotors painted different colors?
Hello Jim,
You mean the bright red panels? That was simply how these helicopters were decorated at that time in the late 50’s until the early part of the Vietnam War. These later gave way to the uniform Olive Drab when the USMC switched to the Hueys.
Paul