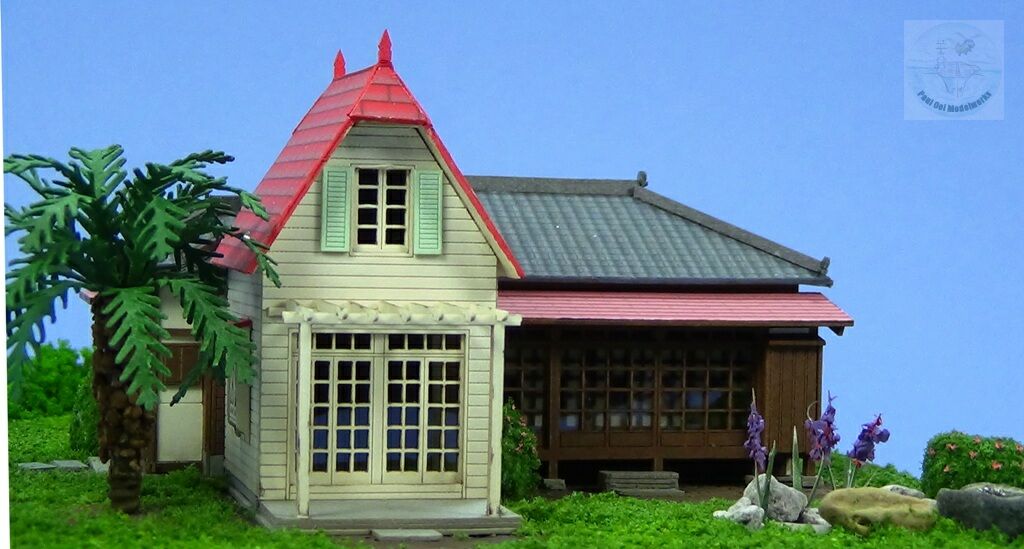
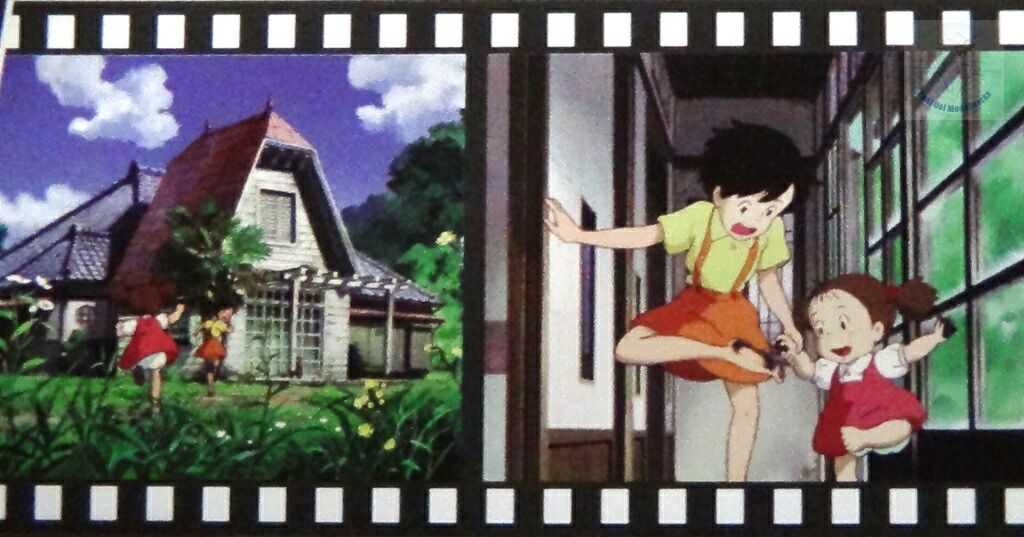
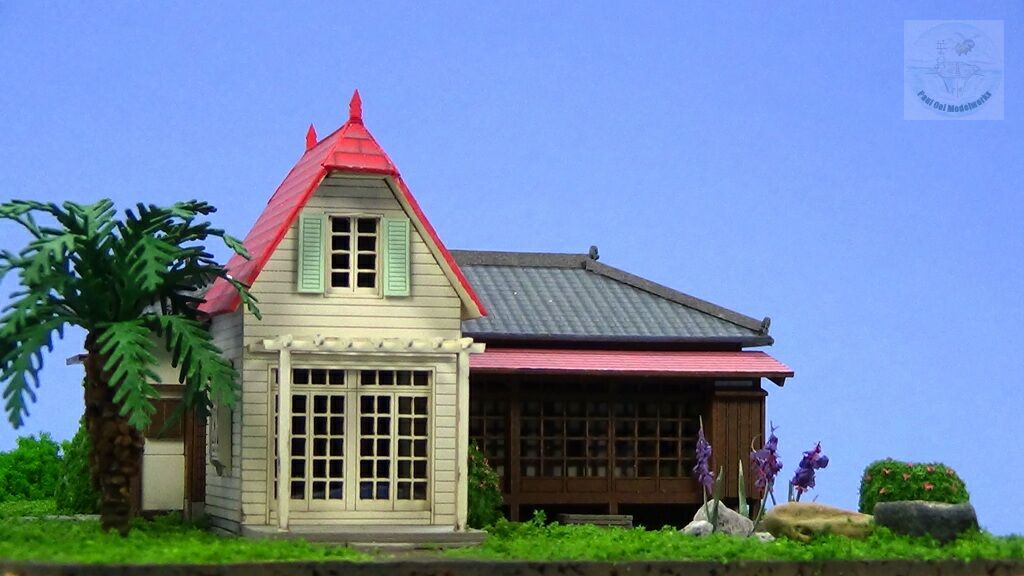
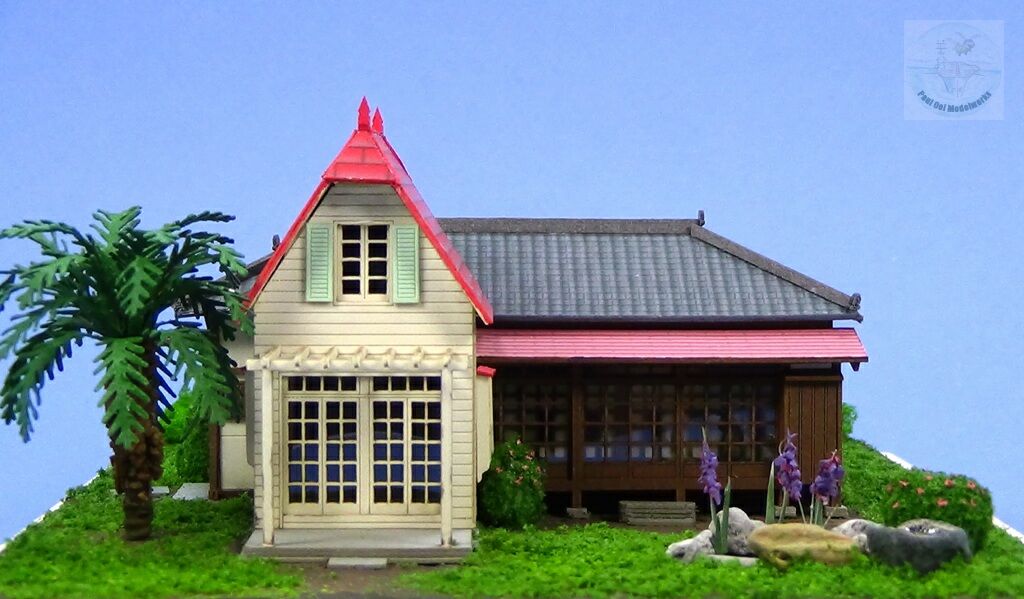
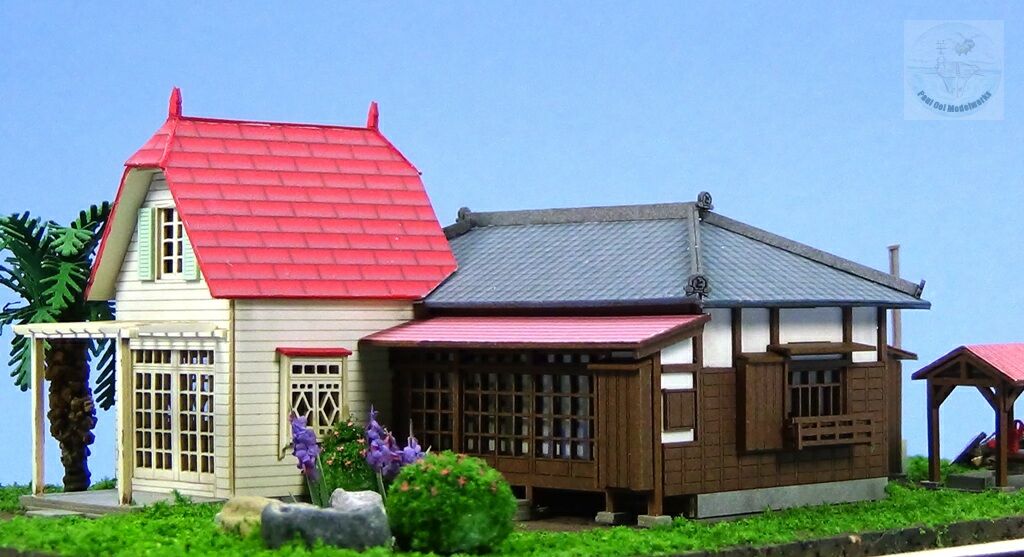
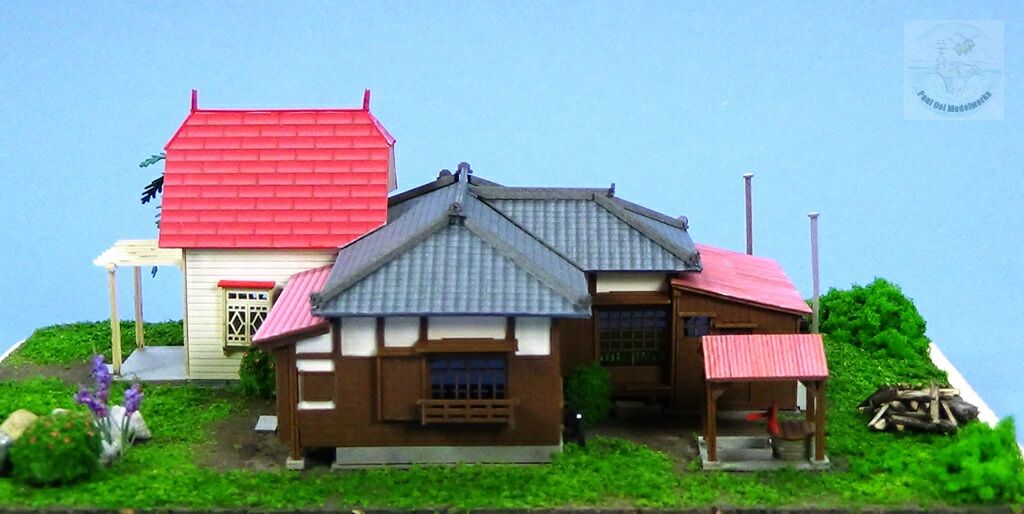
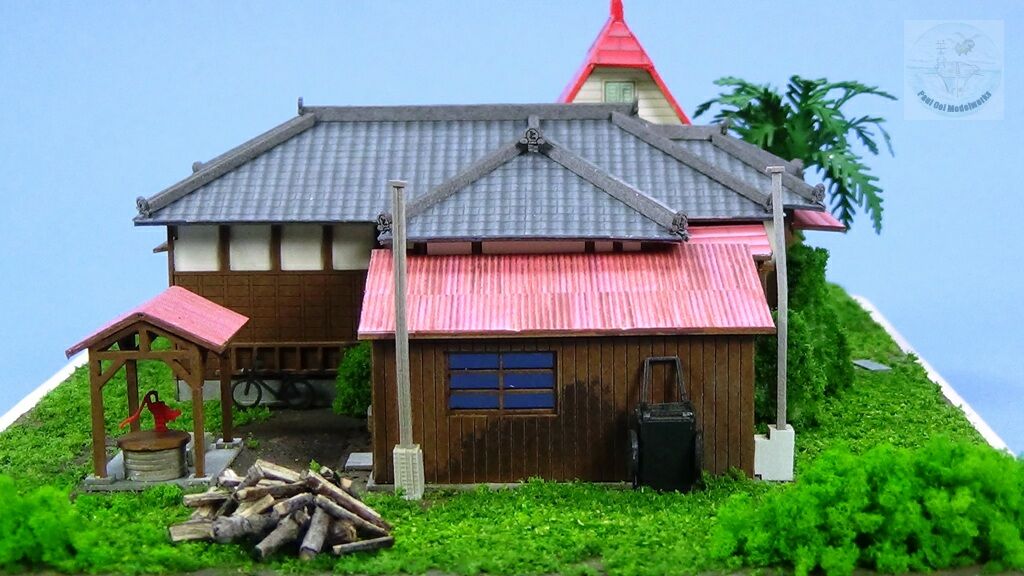
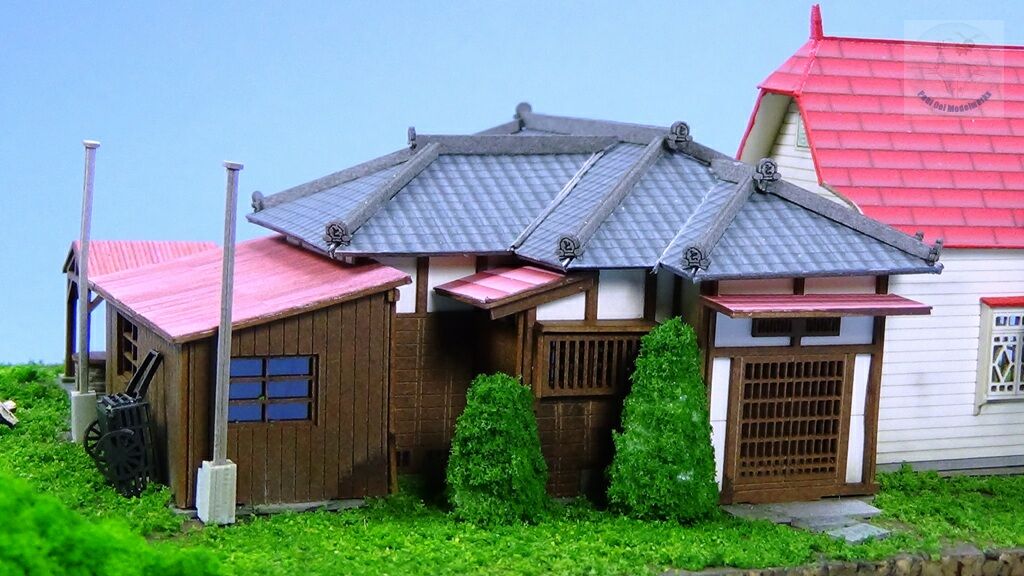
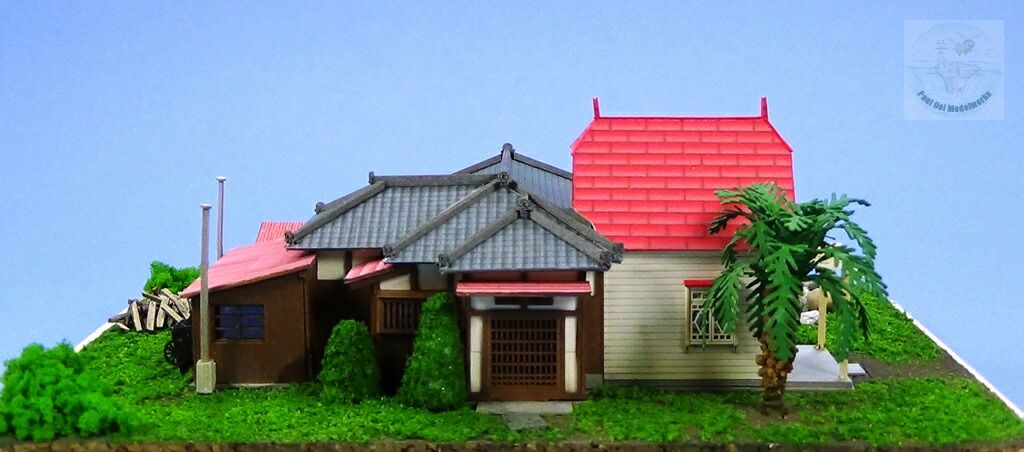
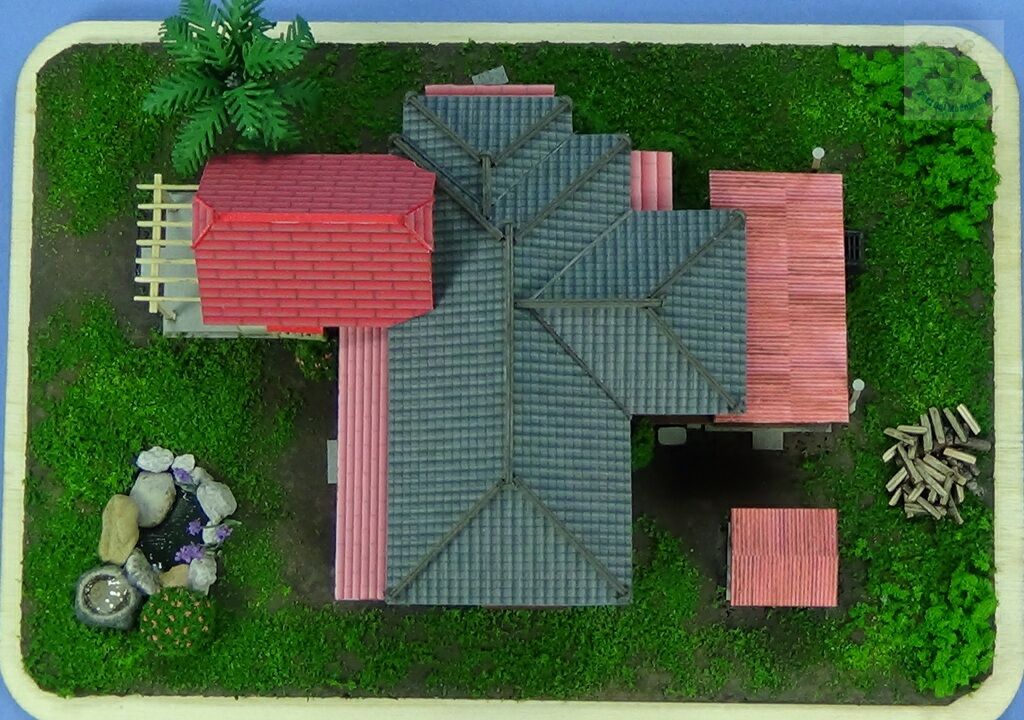
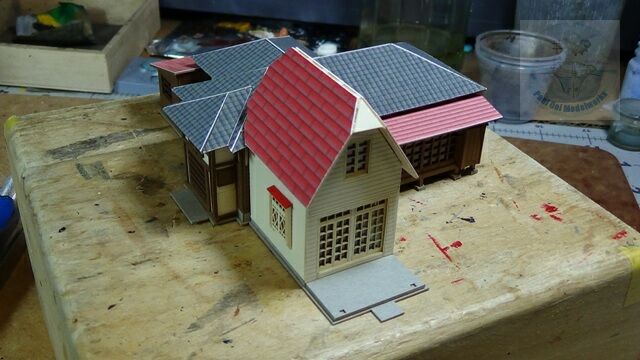
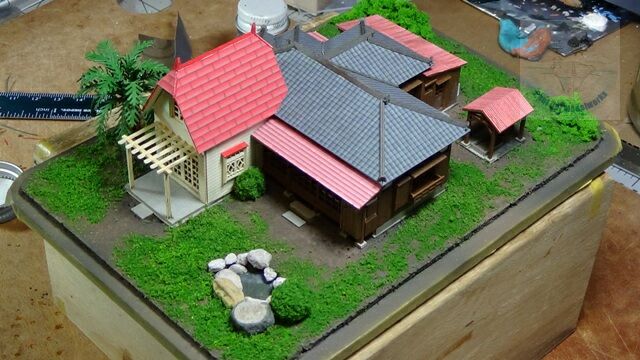
This is the third model feature from the anime movie “My Neighbor Totoro” which is the eclectic 1950’s country house that the Kusakabe family moved to at the beginning of the story. The house is a typical Japanese farm house (Min Ka 民家) with a western style portion added to one side. The back part of the house has a kitchen and bath house added. The house provided the setting for the adventures of Satsuki and her little sister Mei as they explored first the old house itself, and then the surrounding countryside where they encountered Totoro. There is a small decorative Japanese pond in front of the house with purple irises. To the left of the house, a couple of grown cycad palms were portrayed but given what I could find, I decided to place only one (it looked about the right size)
Gallery

Construction notes
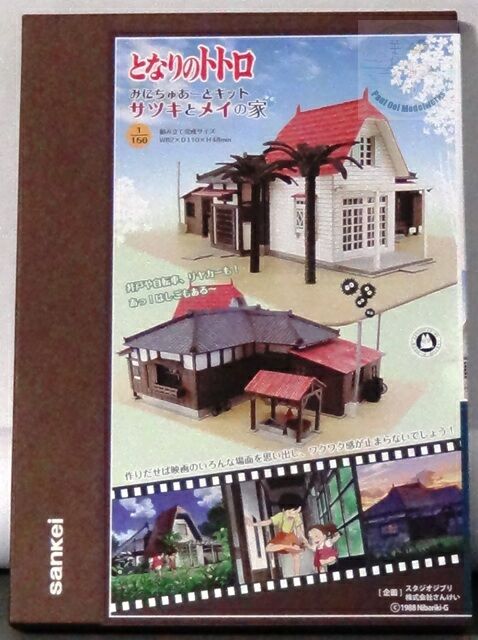
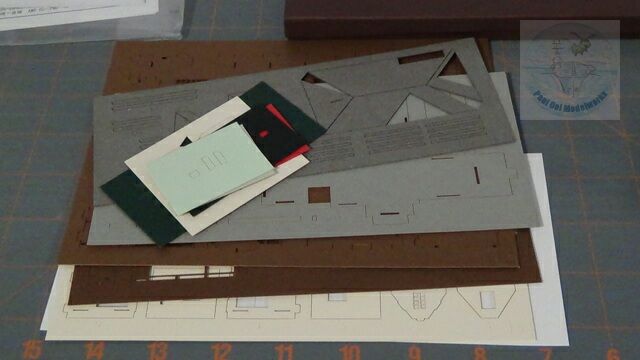
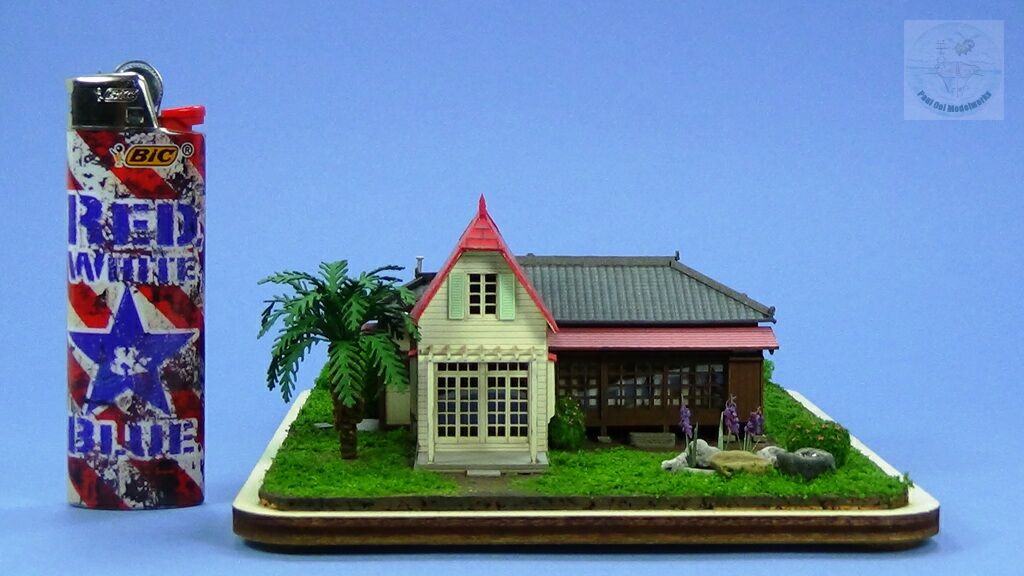
This paper card model from Sankei is approximately 1/150th scale and can be used with N-scale railway layouts. There are 13 colored cards and one clear plastic card for the windows. The laser-cut details are marvelous and very fine. The instructions are all in Japanese and does require some studying before assembly. I decided to build my own display base and discarded the mustard colored card base that came with the kit.
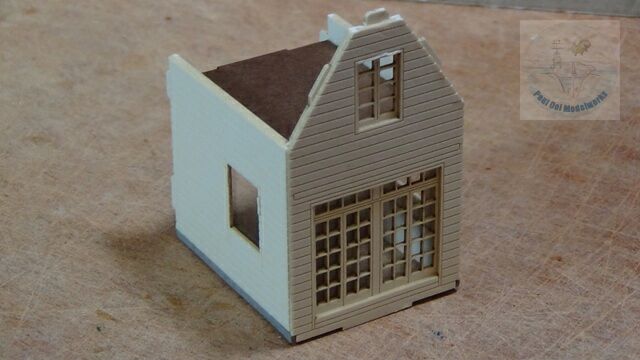
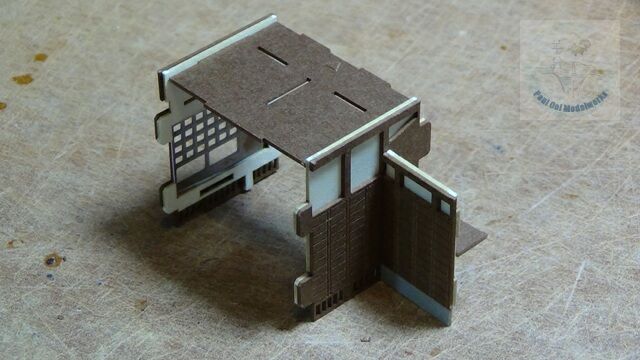
The first module to be assembled is the western 2-storey section of the house. The French windows are especially delicate, so cutting of the sections had to be done with care.
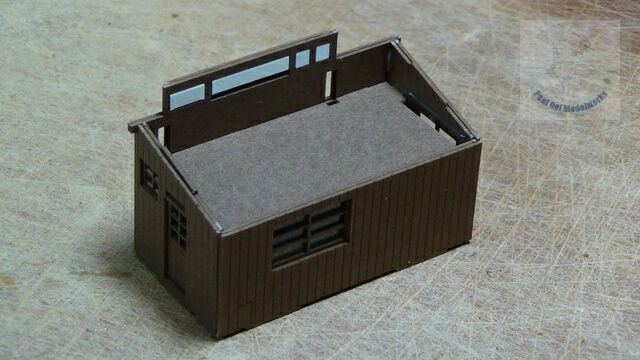
Next was the bath-house section.
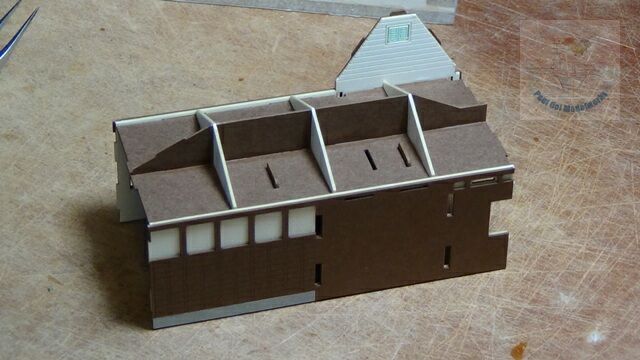
The main portion of the house is next followed by the short corridor leading to the bath house.
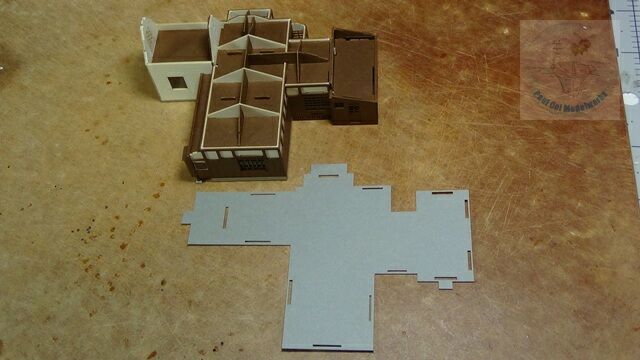
The main portion and corridor annex are united together, making sure that they are properly aligned.
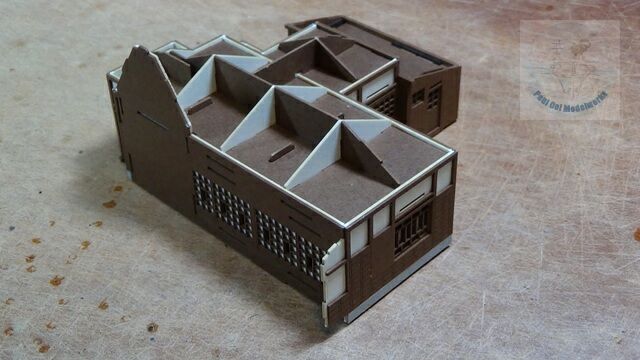
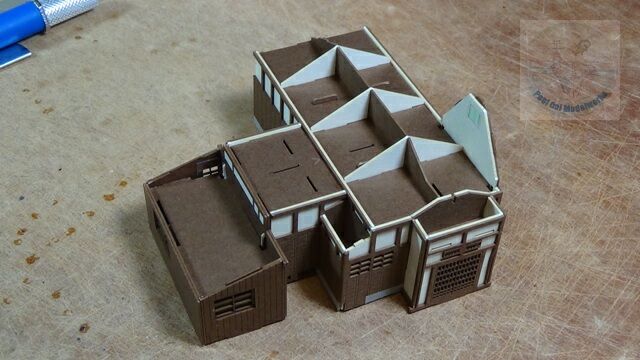
Then the bath-house is joined to the main house, followed by the end walls at both ends.
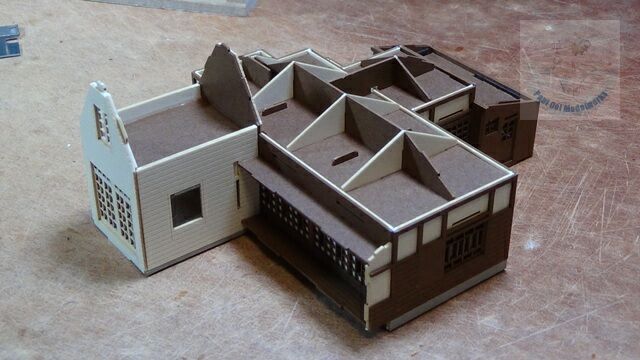
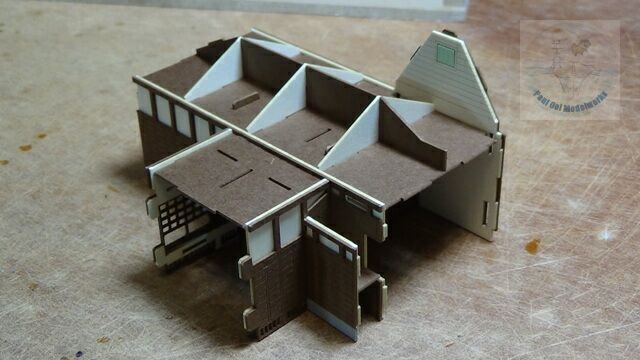
The first module is then carefully attached to the main house.
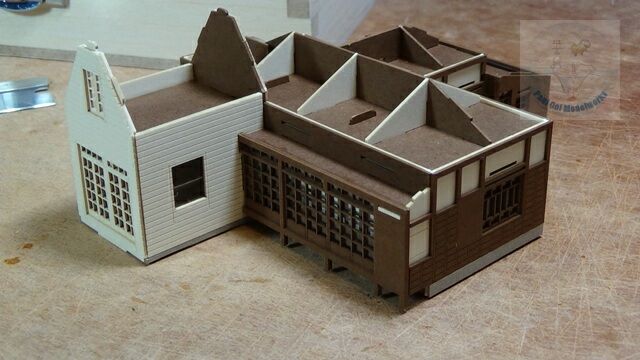
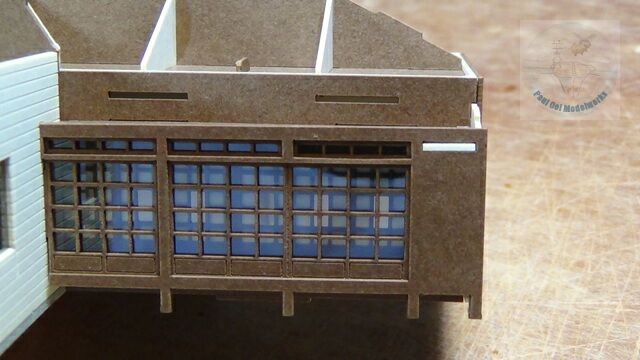
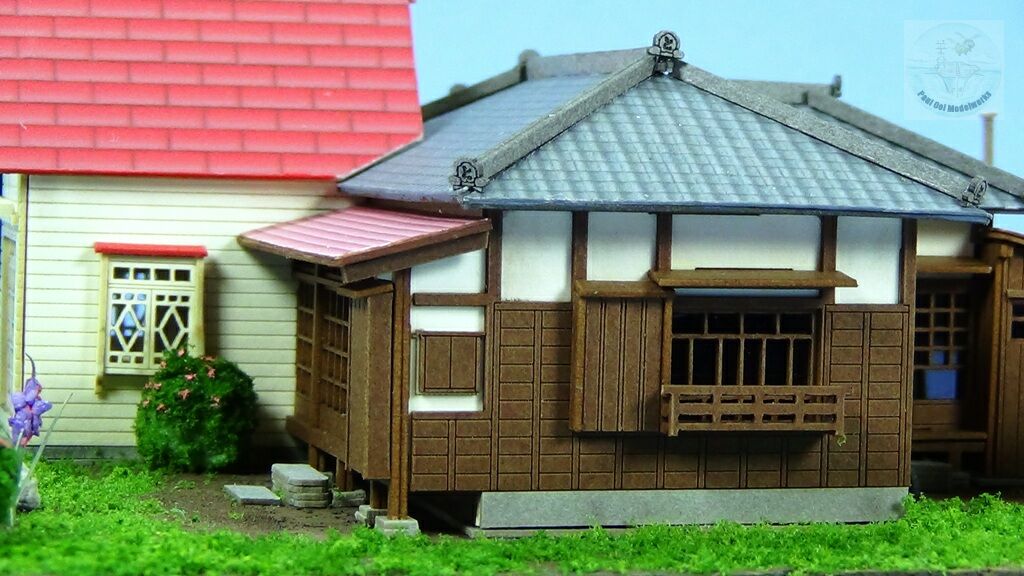
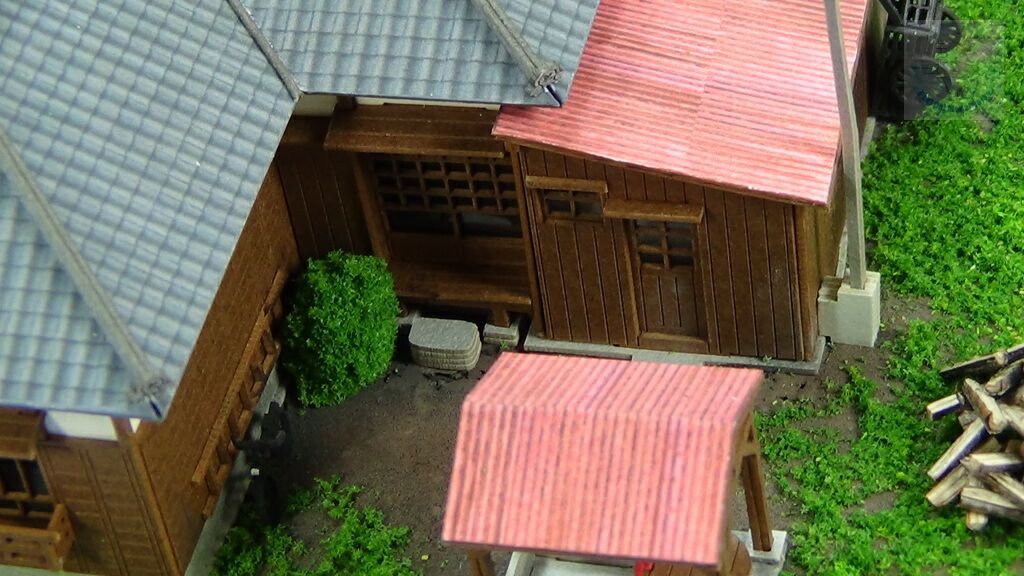
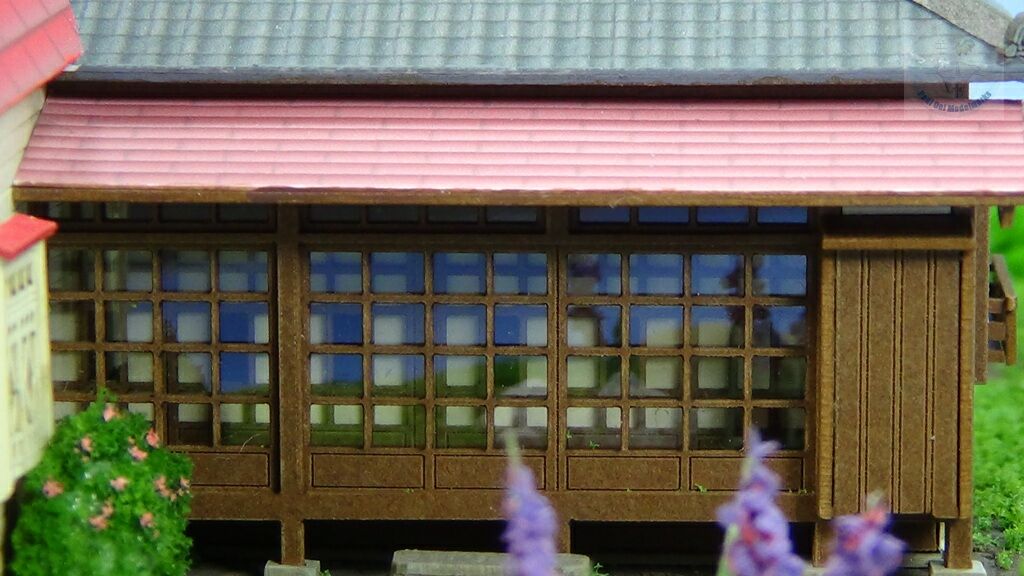
The largest portion of clear windows, that form the screens for the en-gawa are added. In Japanese homes of this style, this is where people open up the screens in the summer to cool off sitting on the en-gawa platform under the verandah facing the pond and garden. By the time Satsuki and Mei moved into the house, the pond was unkempt and the garden was overgrown with weeds.
The next step is to add the flooring of the house. This has to be done carefully to make sure that the seam is not too large and visible around the periphery of the house.
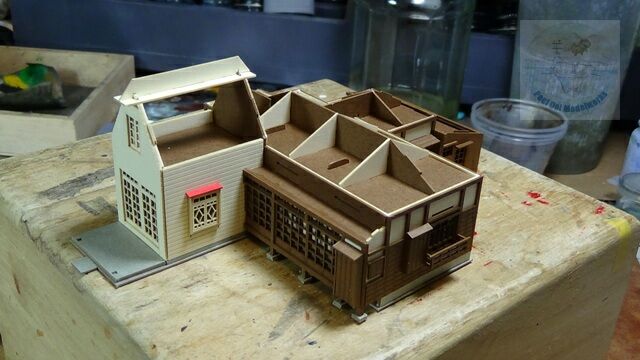
Then we start to add the roof support for the western-style attic, and also the delicate-looking windows.

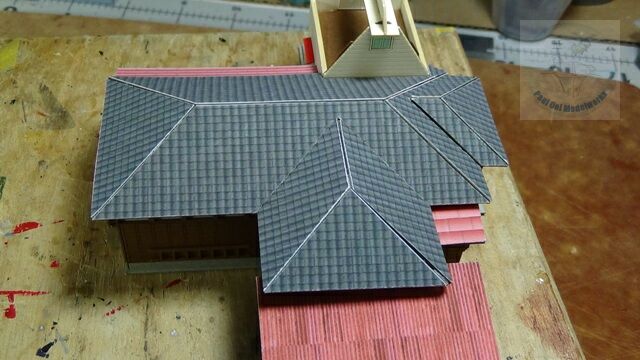
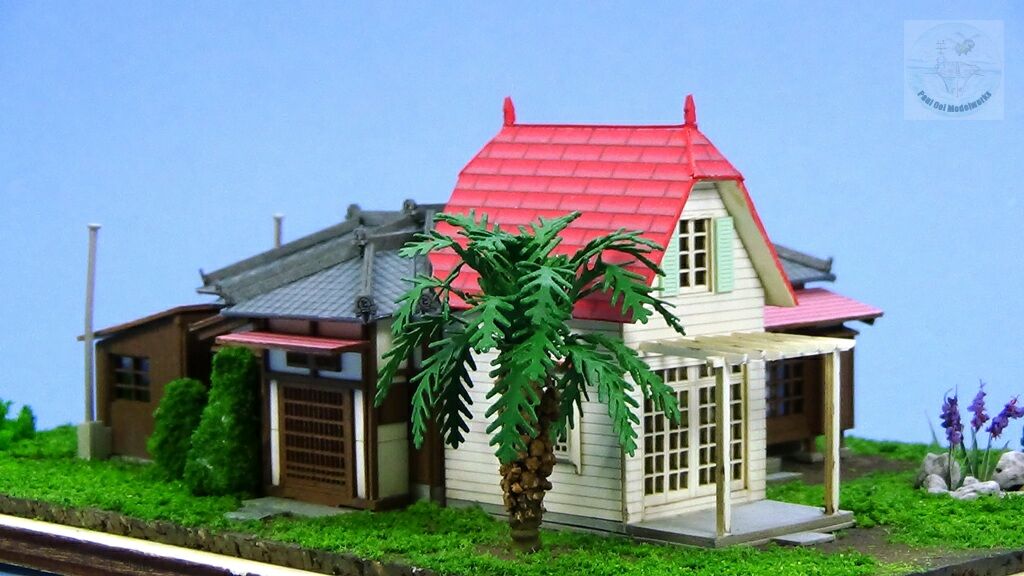
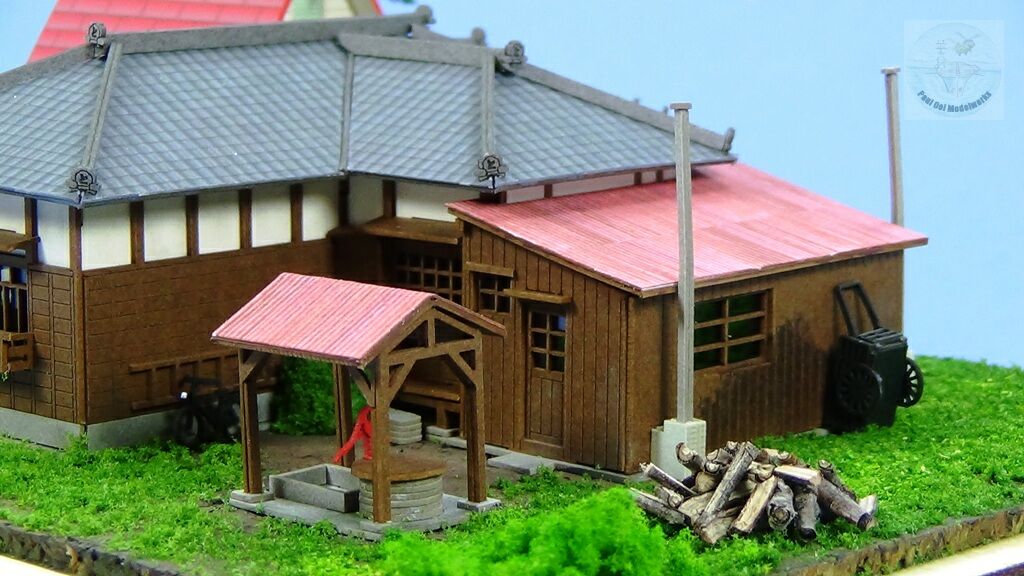
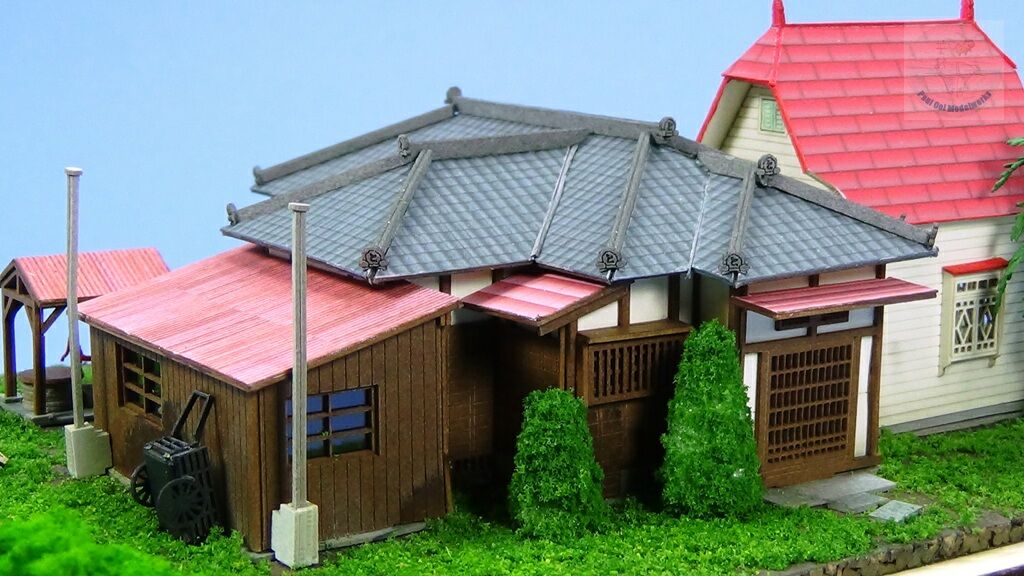
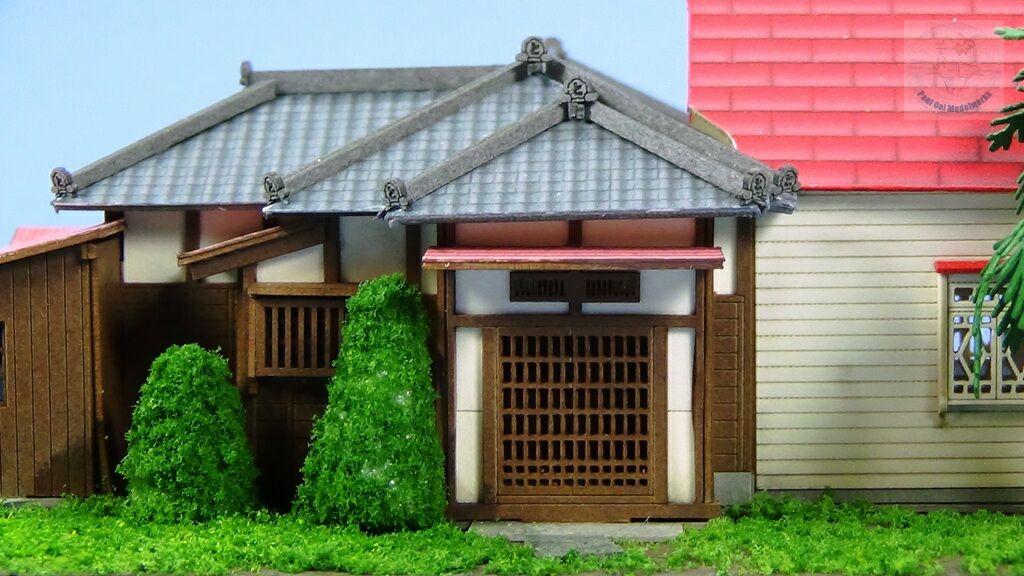
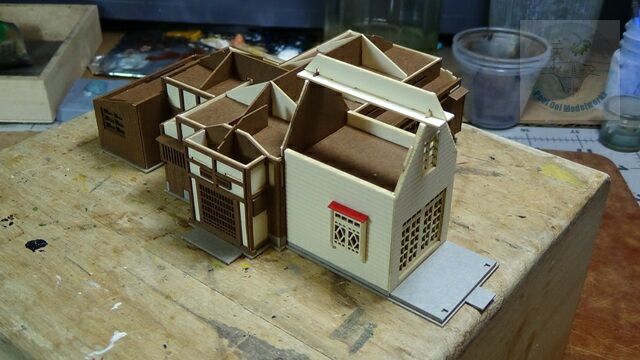
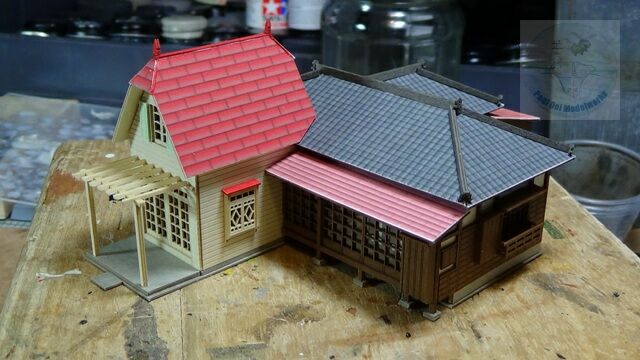
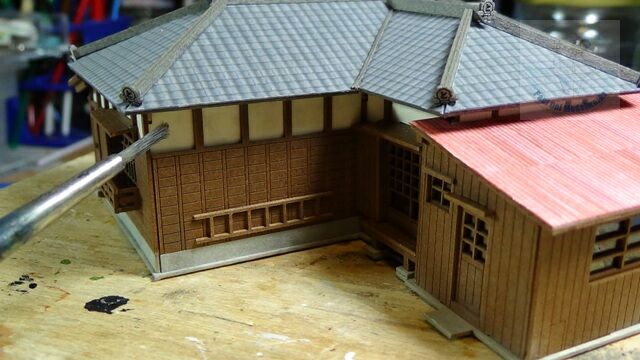
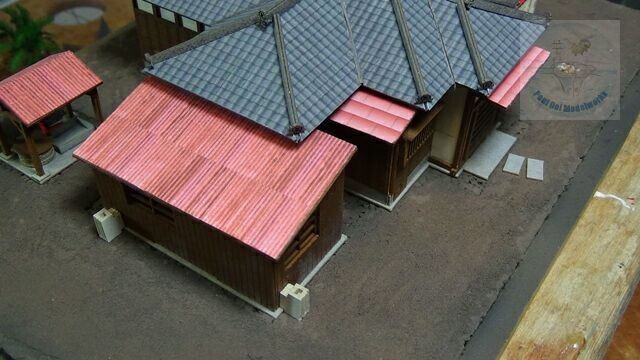
Now comes the trickiest portion of this construction: the roof. Fist we start with the simpler porch roofs (the original in the 1950’s would have been asbestos!) that appear reddish pink in the pictures. Then the traditional Japanese fired grey tiles ones dominate the main building. The grey section is pretty difficult and I try to minimize the gaps among the main seams.
Then I added the high gabled roof of the western-style section. This roof section is not symmetrical and has a relief cut at one section of the eaves to clear against the side of the main Japanese style center roofing.
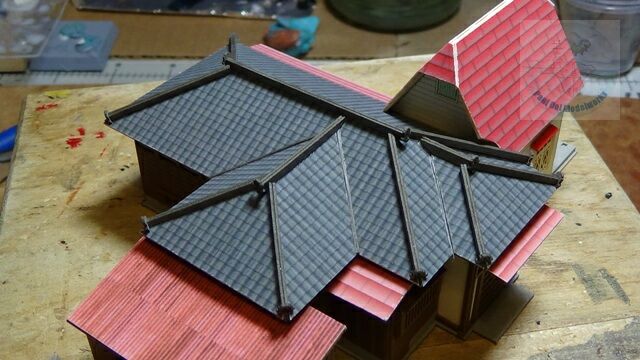
The main roof line has these large beams that line the ridges. Also there are gaps along the valley lines that I patched up using thin strips of grey card material. Patching the seams go a long way to making the roof look finished.
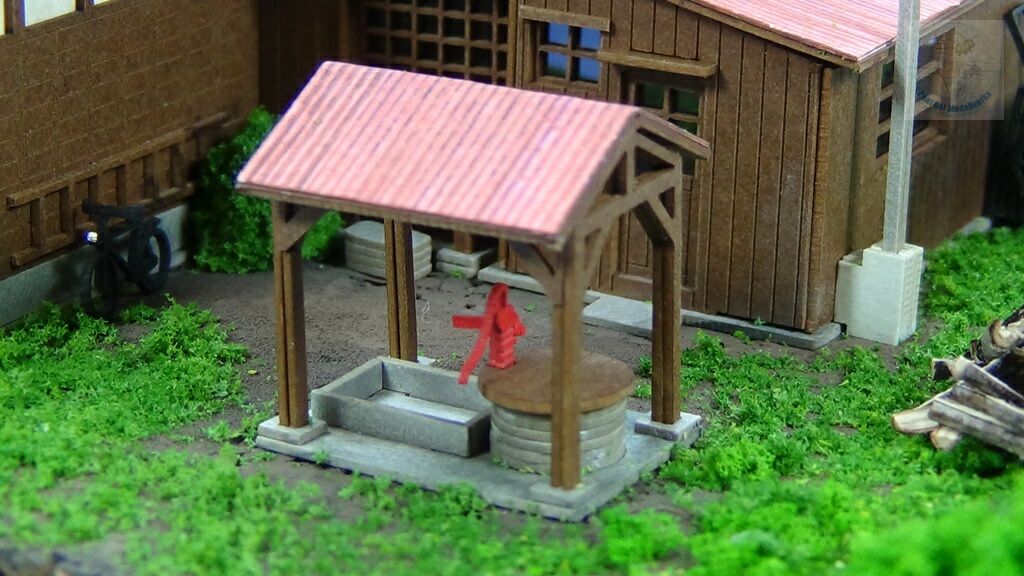
The edges of the roofs had white cardboard material showing so I carefully finished them using Tamiya Acrylic paints to match the roof colors. The pink/red roofs are line with a 2:1 mix of Tamiya XF2 White: XF 7 Red. The grey tile roof lining color is Tamiya XF53 Neutral Grey, and the asbestos flat roofs had a lining of XF64 Red Brown. The final section of the house is the front wooden pergola.
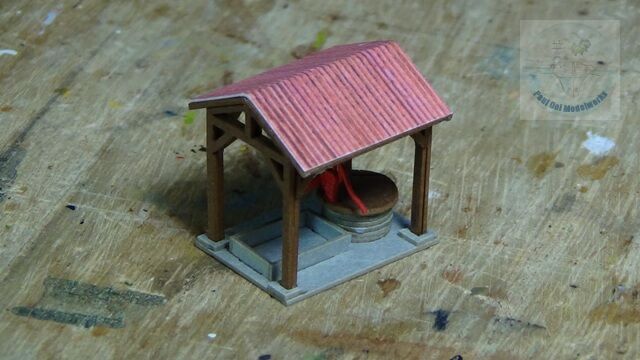
The water pump well is a cute little project all by itself.
Weathering of the house is done using chalk pastels to bring out some of the engraved features. I used a combination of greys, browns and black very sparingly.
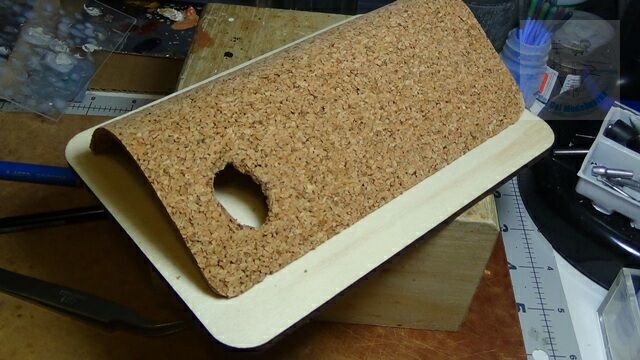
As mentioned before, I intended to build my own base that would look a lot more realistic than the card base provided by the kit. I start with a 4 1/4″ x 6 1/4″ plywood base and cut out a matching sized cork sheet. Notice too that I also cut out the hole for the “pond” at this time. The two layers are stuck together with white glue, preseed hard together by weights and left to dry properly.

I carefully mark off the perimeter of the building and water pump well with masking tape. Then I proceed to fill in the pitted cork surface with plaster.
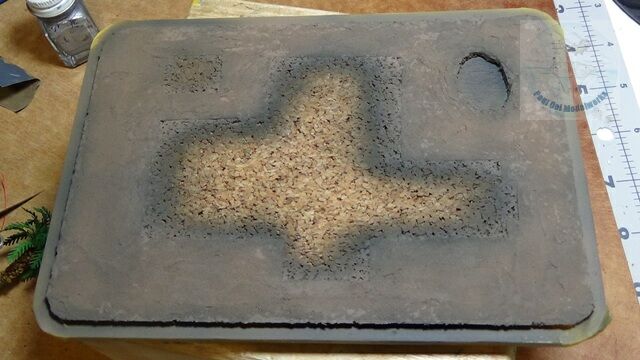
Once dry, I paint this base first with Tamiya XF69 NATO black, followed by XF52 Flat Earth.
The building is then glued to the base, making sure that the perimeter matched the previously masked area for a good flat fit and bond.
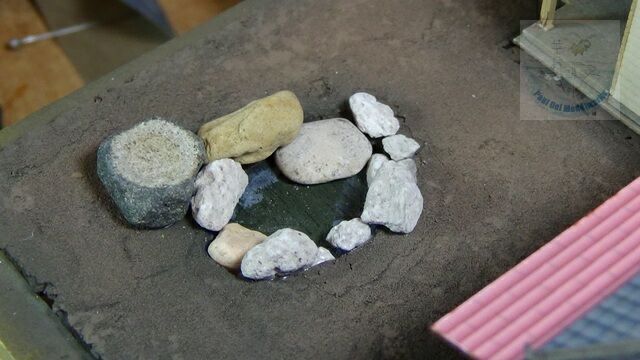
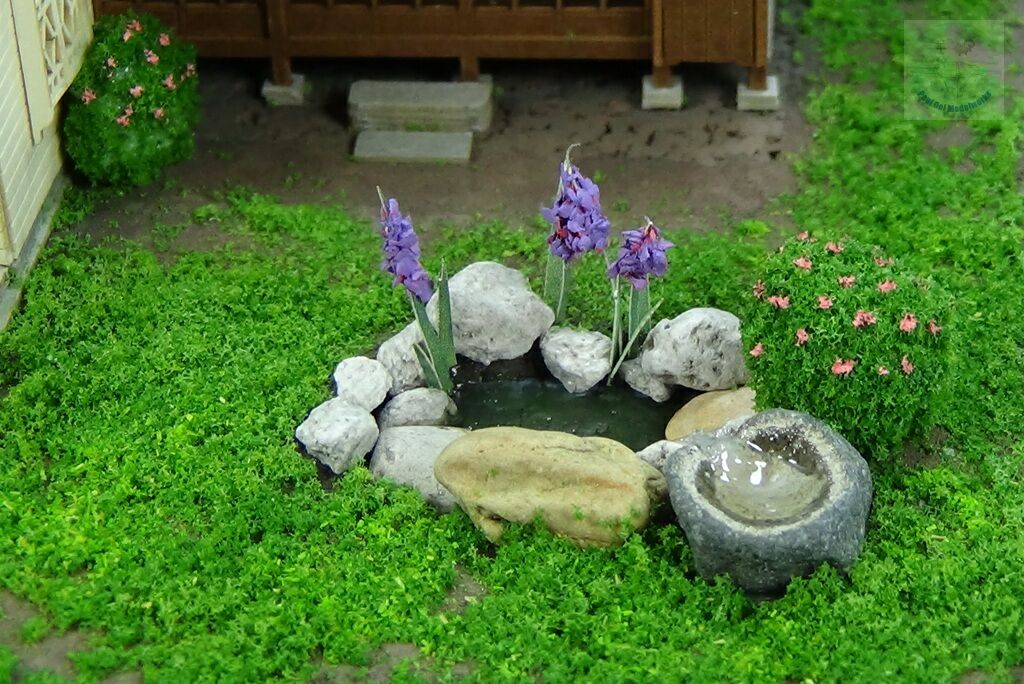
The little Japanese pond is carefully lined with river pebbles. Originally I had intended to construct a miniature Japanese stone lantern, but when I found this unique piece of river pebble with a basin. It looked like a perfect Japanese stone basin. For finishing the pond, please refer to the technique used in Japanese Five Story Pagoda.
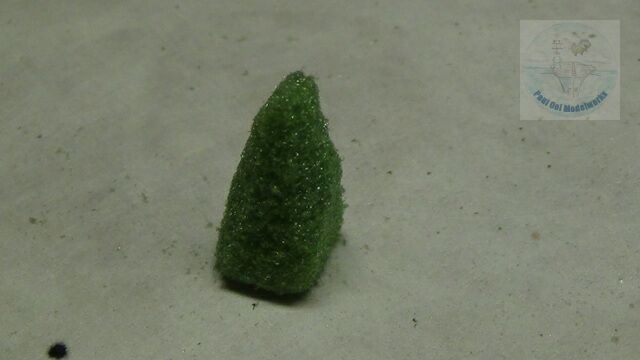
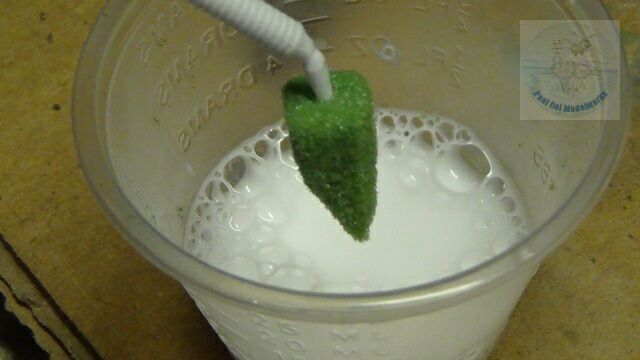
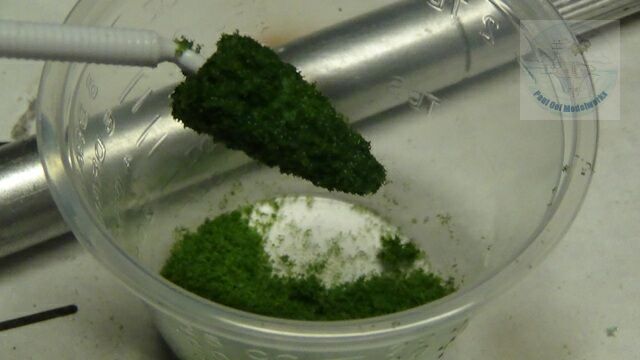
To make the medium and small bushes of arborvitae and azaleas around the yard, I start by cutting out sections of dry florist’s foam, making the approximate shapes of the intended bushes. Then I dipped the foam in diluted white glue, then into grass powder, blowing off the excess.
Then I “plant” them, using a pair of tweezers to carefully place them onto blobs of white glue onto the base.
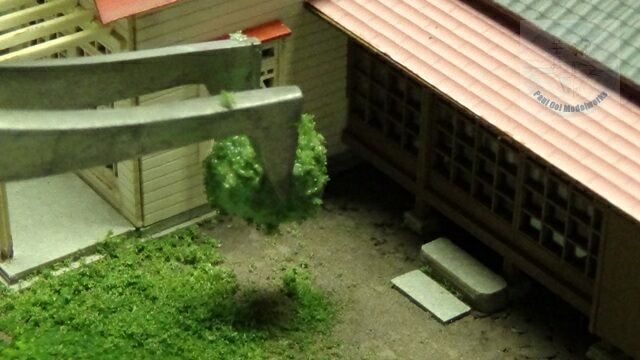
Grass is applied by first brushing on diluted white glue onto the base in small areas, sprinkle the grass powder (2 shades, deep green and then light green), with further fixing using diluted white glue applied with a pipette. The cycad palm has phot-etched leaves and comes from JTT Scenery Product’s excellent line of miniature trees.
[…] in construction and composition as the previous Studio Ghibli themed paper models that I made like Satsuki and Mei’s House, The Catbus, and the Motorized Tricycle. What is different about this model is that the house is […]