I remember watching the evening news back in the early 70’s with news footage of helicopters in the jungles of Vietnam. One of the last pictures to emerge from the fall of Saigon was that Huey helicopter on the roof of the US Embassy. The Huey helicopter is forever associated with the decade-long episode of the Cold War. As a modeler I have always wanted to portray the Huey in its element, running the gauntlet of enemy fire as it swooped down from the sky to ferry troops in and out of the crucible of war. The men who flew the missions were incredibly brave and dedicated, as they were flying those early helicopters with engines far less powerful than today and fuselages were not well armored. In fact, many modern helicopter tactics were developed using the Huey over the battlefields of Vietnam. This project is dedicated to our brave Vietnam War vets.
Gallery


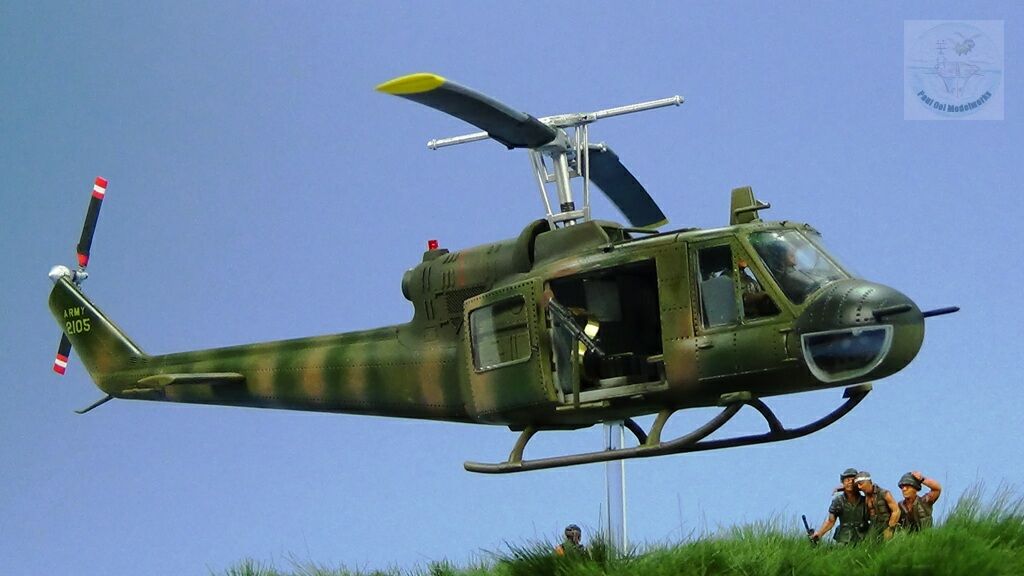


This project was 26 years in the making! I first came upon the Esci 1/72 US Army and Special Forces figures after the movie Platoon spawned a brief resurgence in Vietnam War era kits in the late 1980’s. The figures were very animated and I kept them all this time waiting to match up with a suitable Huey kit. For such a well-known helicopter, there are very few good 1/72 scale kits. It was only recently that I managed to pick up the 1/72 Hobby Boss H1-B, and even this one is equipped as a gunship, with fixed rockets at the sides instead of the M60 gun mounts more common for troop transport. Finally, I needed the gunner and pilot figures and the only ones available out there is the resin set made by CMK. Throw in the Eduard photo etch fret and I am finally ready to build this project.
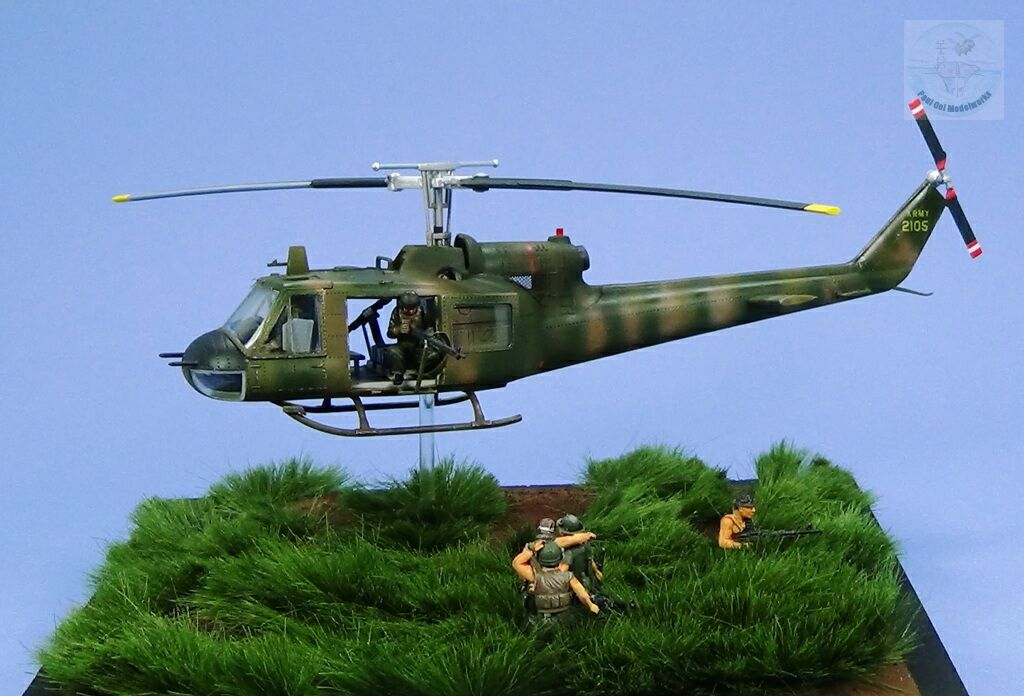
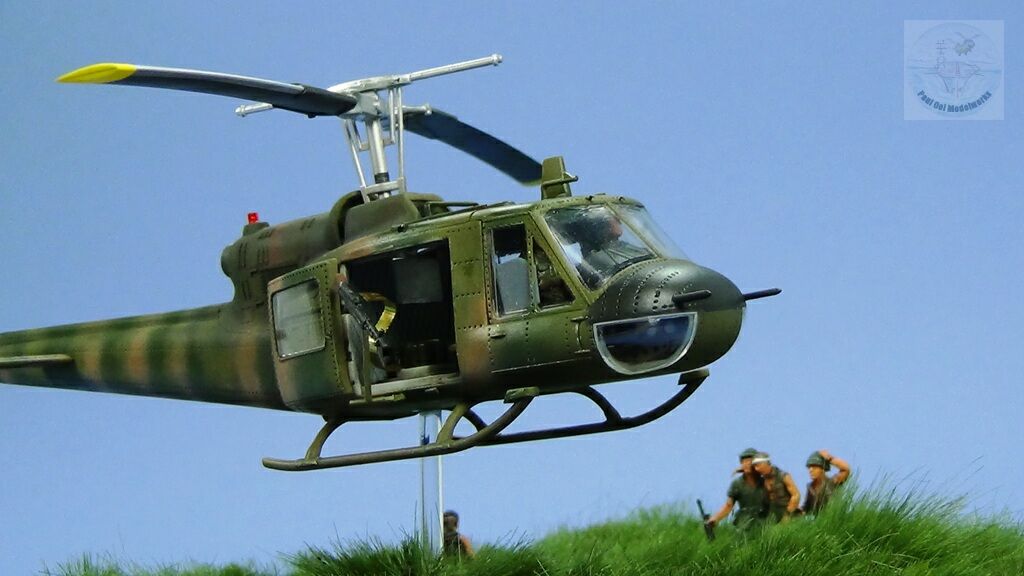
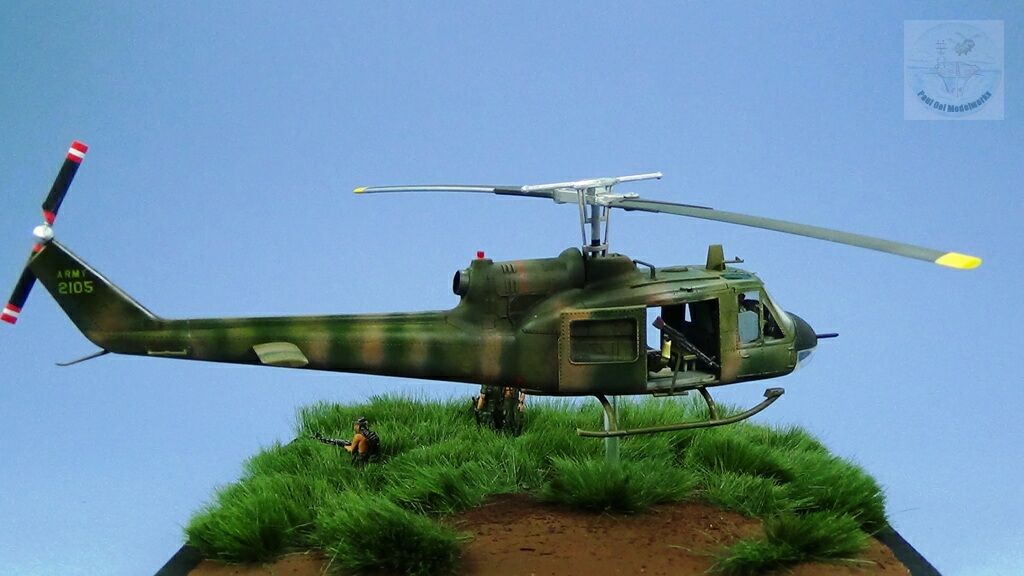
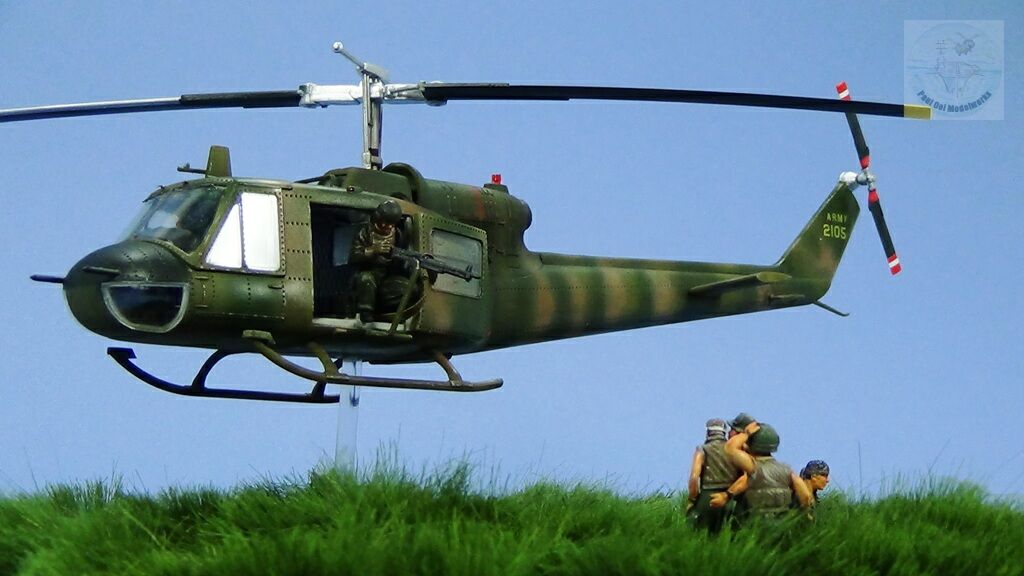
Instead of going through the usual construction as I have done with so many kits, I will only show the more interesting bits as the build methodology is pretty straight forward. I decided that I was going to build one of those US Army helicopters that was almost devoid of national markings except the yellow letters at the tail and a “Tiger” camouflage for those “unofficial” trips into Laos and Cambodia.
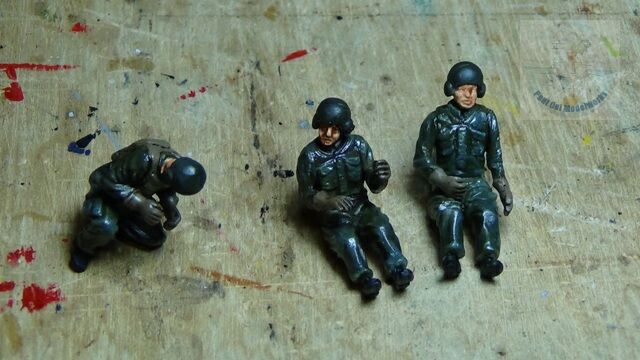
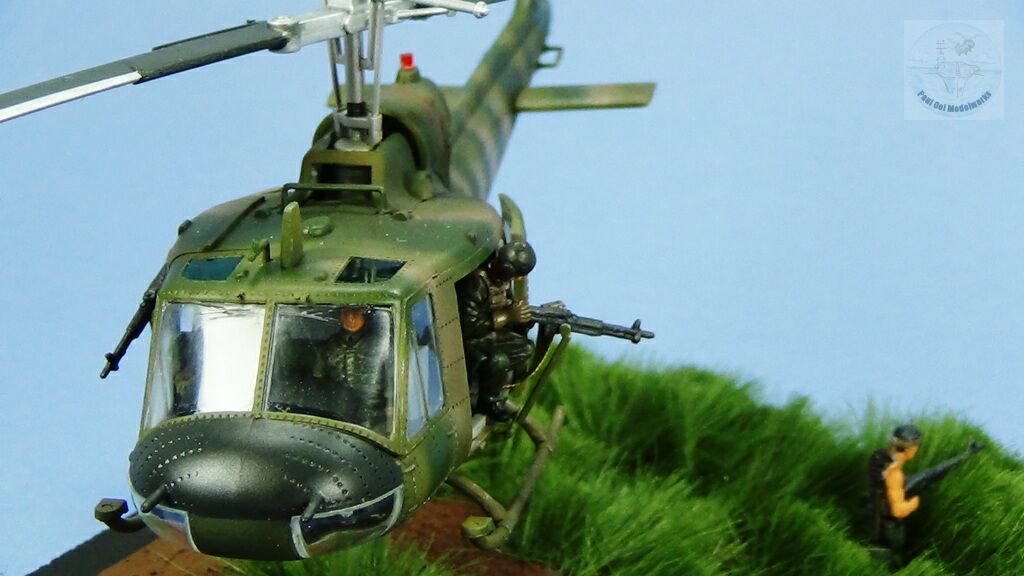
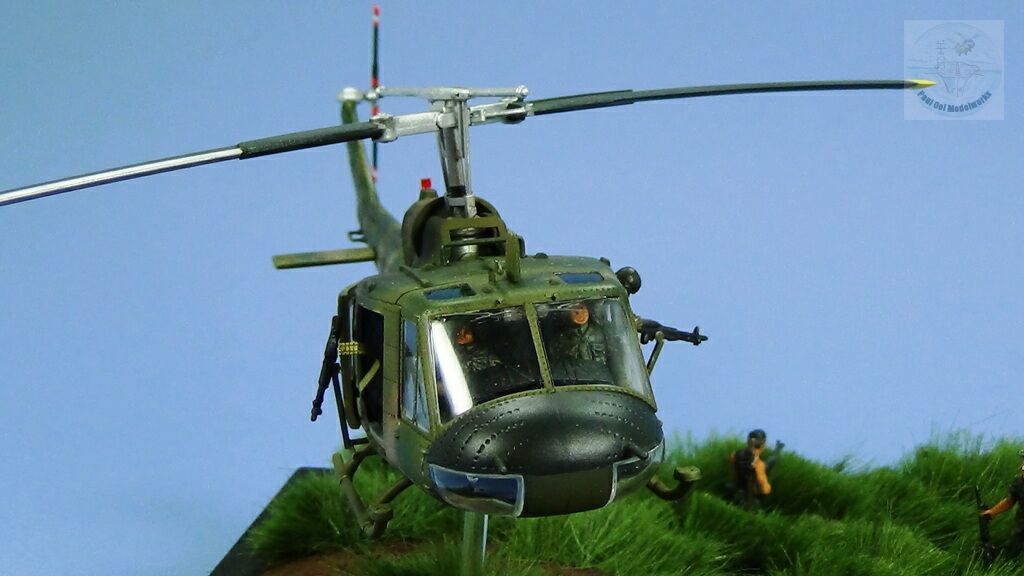
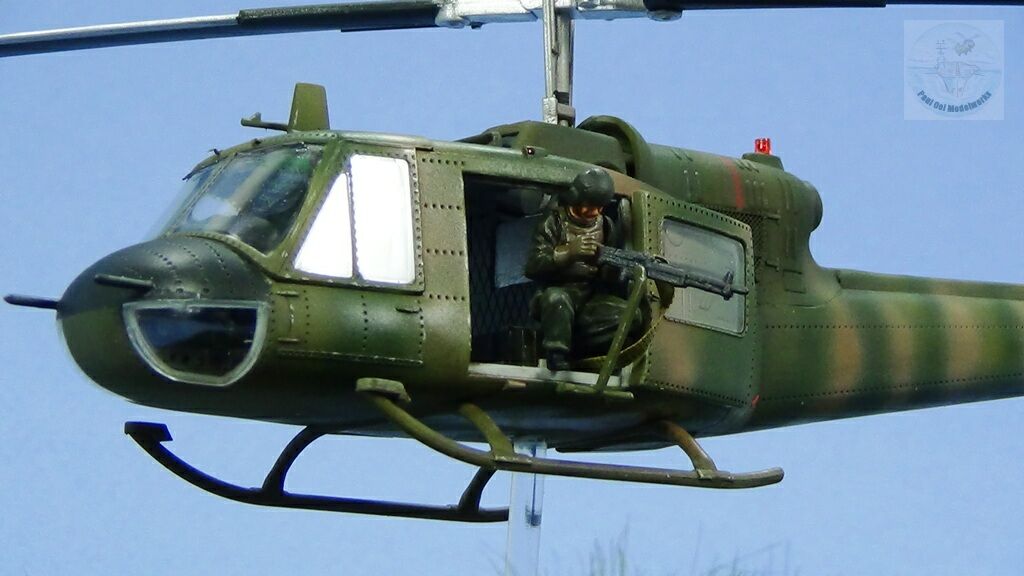
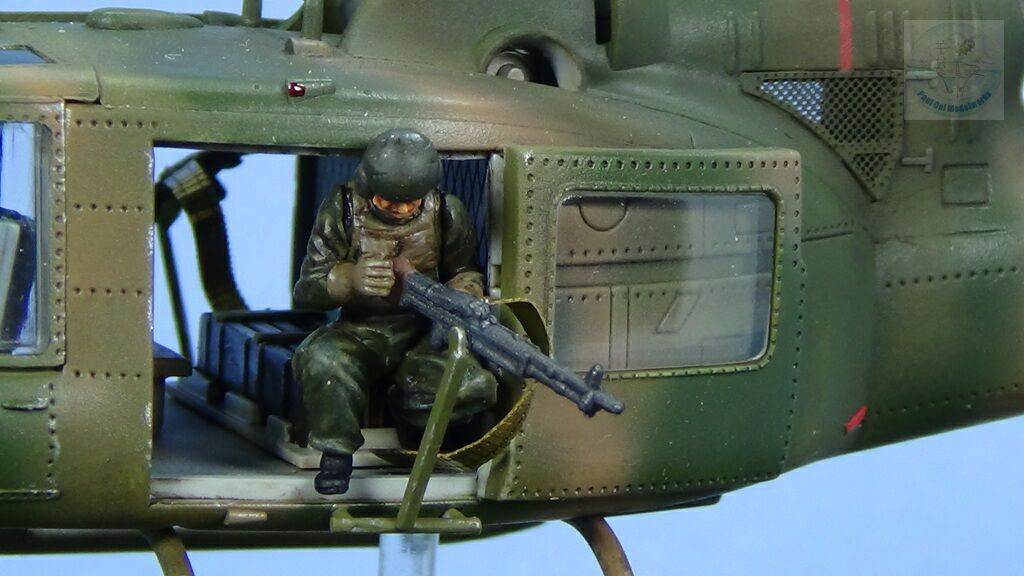
Among the three crew figures from CMK, the best was the gunner with a pretty realistic crouched around the gun pose. He also has the correct heavy armored vest that some gunners wore. The right-most pilot figure was awful, as he was pretty large for 1/72 and an ugly flat face. I painted these in Vallejo US Army Dark Green for uniforms and Tamiya XF 49 Khaki for the vests. Getting these resin figures to fit into the slightly smaller than scale Hobby Boss seats was a challenge and I literally had to grind off a fair bit the resin butts to make them fit.
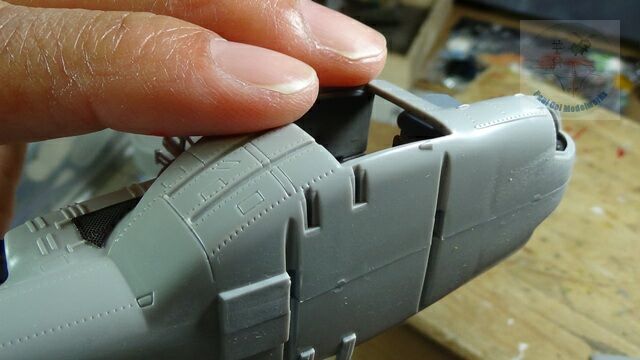
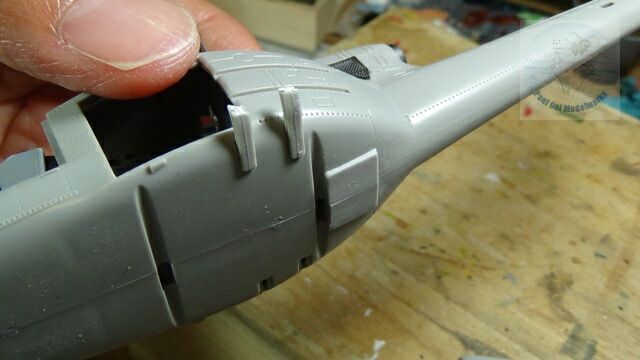
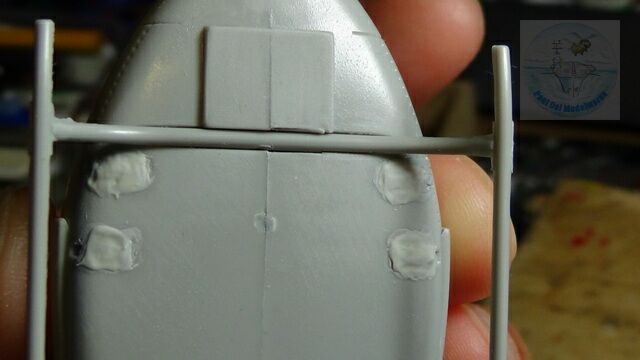
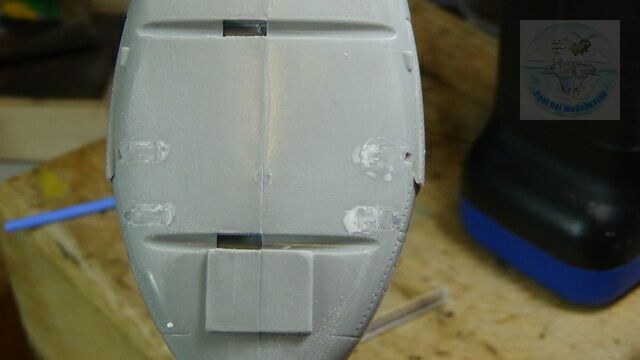
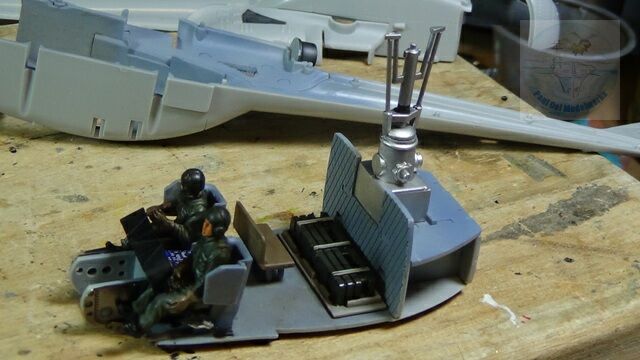
As mentioned earlier, the Hobby Boss kit was intended for some fixed pylons for the gunship role. Since I wanted to make this one into a troop transporter I had to fill in the large indentations for those fixtures. I decided to use the fixtures themselves as part of the filling material, attaching cut-off sections to the underside, then shearing them off and filing down the stumps. Then I filled the seams with Mr. Dissolved Putty, file some more, and finally a smooth layer of Mr. Primer Surface 1000. I did leave the forward pylon with a small square hole on both sides for mounting my scratch-built machine gun mounts beside the sliding doors.
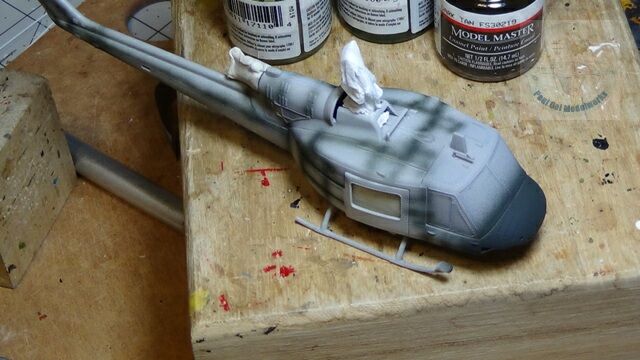
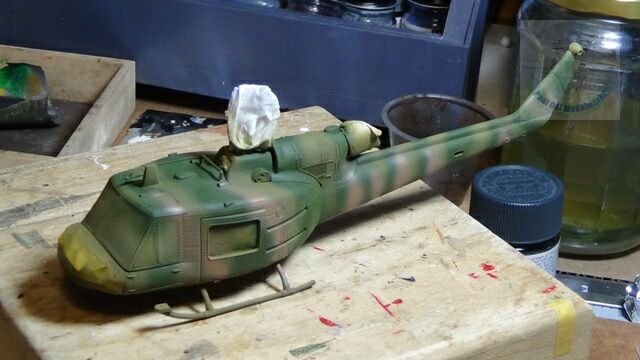
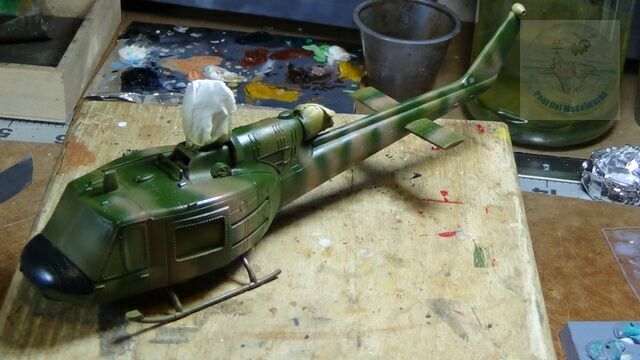
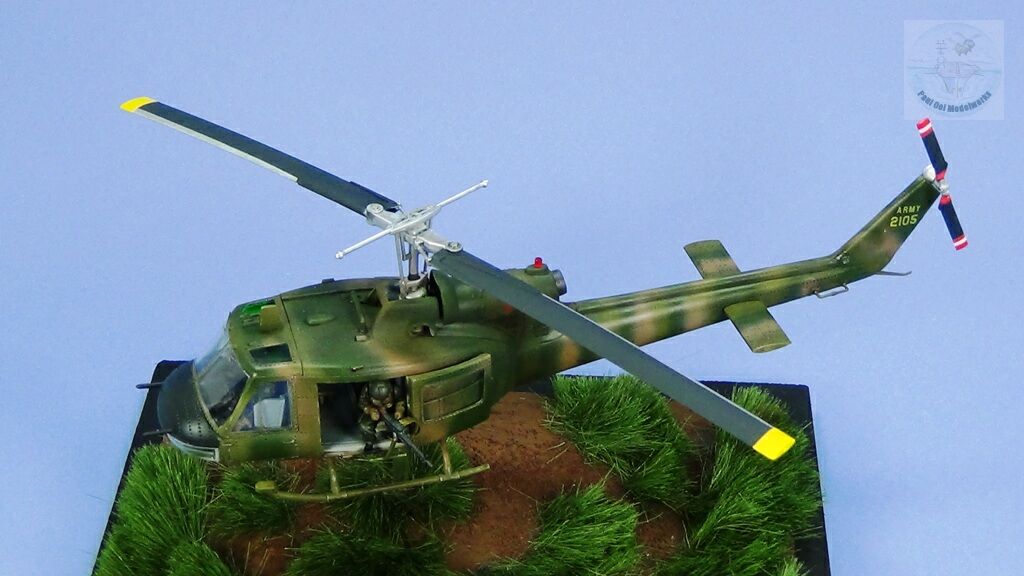
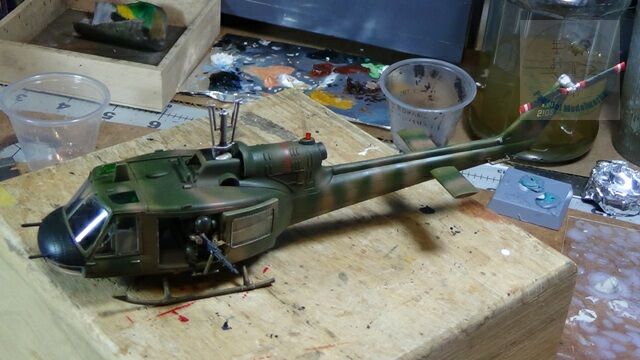
For the paint job, I started by applying Tamiya XF54 Dark Sea Grey over the clear section as interior coloring as well as to prime the exterior to the same grey shade as the rest of the model. Then it is Tamiya XF69 NATO Black for panel lines under shading, as well as for the Huey’s anti-glare nose panel. For the camouflage, I started with an overall coat of Model Master FS34087 Olive Drab, and then free-hand airbrushing under low pressure setting for Model Master FS34079 Dark Green, and finally Model Master FS30219 Dark Tan. The whole assembly is then coated with Future Floor Polish as varnish. There were very few decals to be applied.
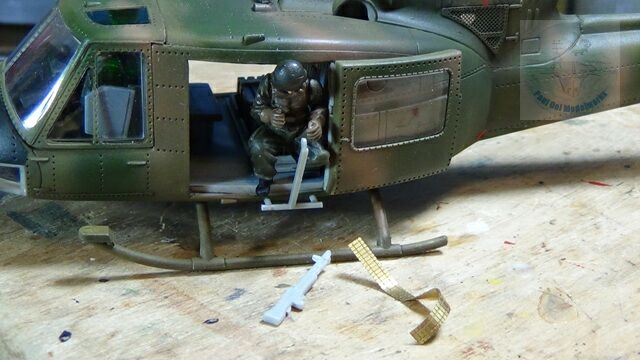
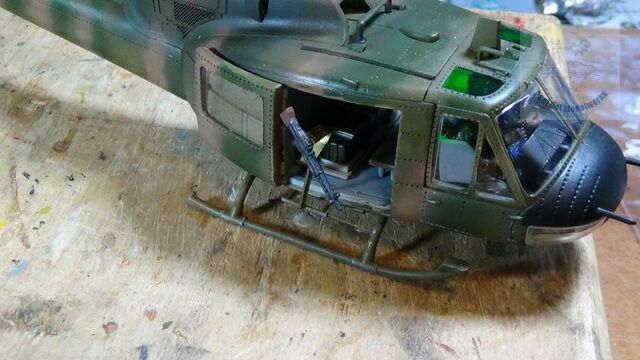
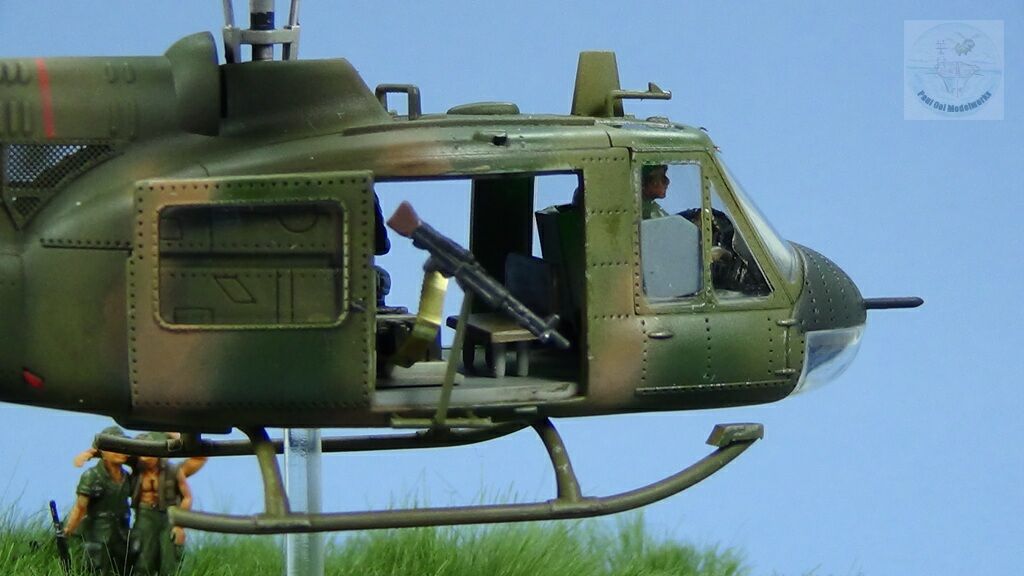
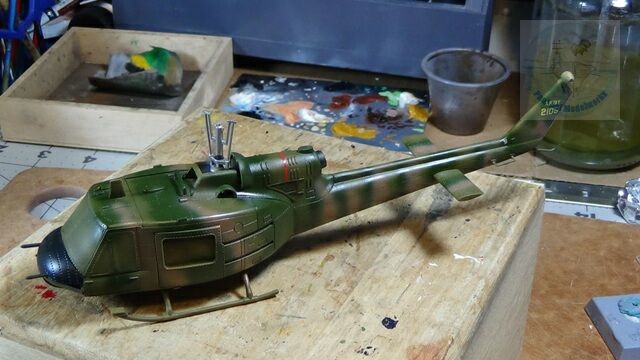
To build the door gunner’s position, I first positioned the previously painted resin figure at the desired location. Then I started scratch building the M60 machine gun fixture around the figure so that the machinegun will align properly with the crouched gunner. The M60’s came from the Italeri Bell AH-1 kit. The brass machinegun belt feed were salvaged from leftover photo-etched material from the B17 kit.
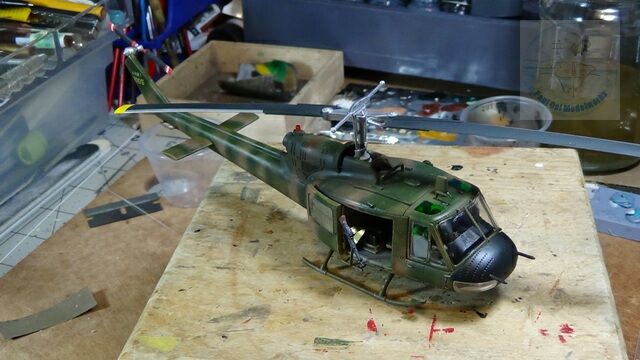
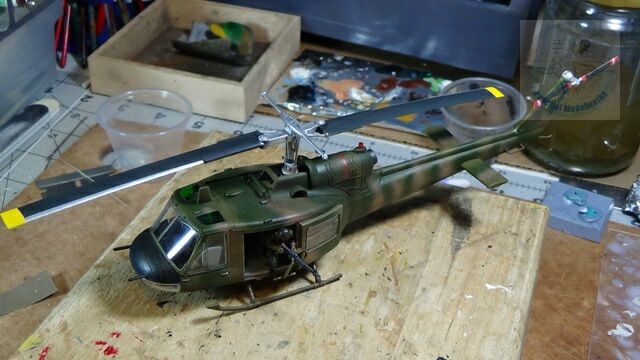
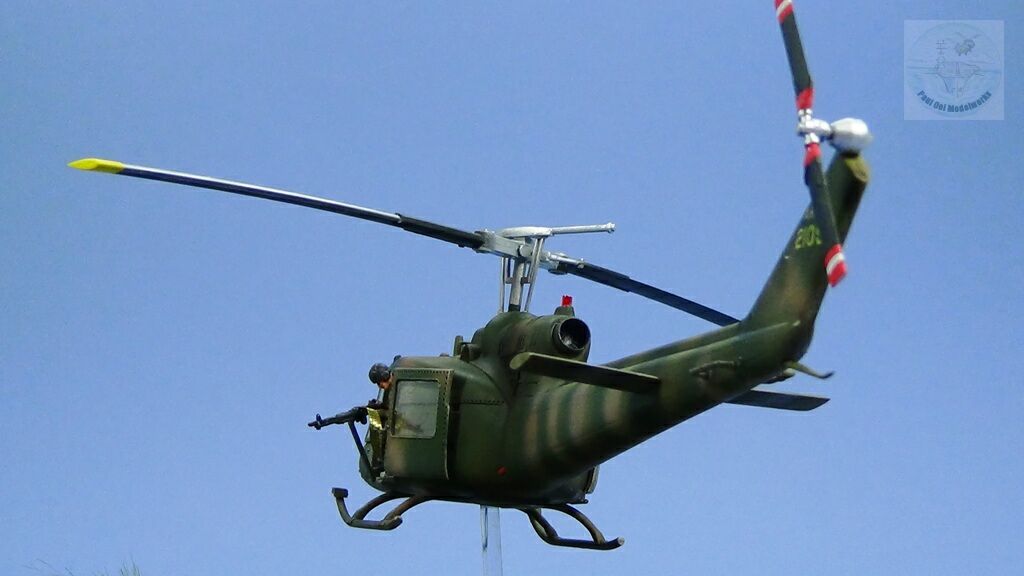
Once the final details are attached, I weather the helicopter with some thinned down Tamiya Red Brown+NATO Black mix to simulate blacked engine panels and also the dirt stuck on the skids. It is not visible here but I did pre-drill a 1/8″ hole at the underside of the helicopter to that it can be mounted in-flight fixed onto a piece of clear sprue frame.
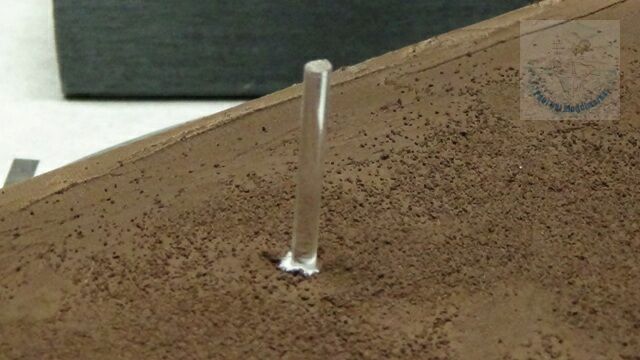
Here you can see that clear sprue support being glued into the display base which was still bare with only plaster painted in Tamiya XF-64 Red Brown (refer to Tutorial 4 on the basics of groundworks).
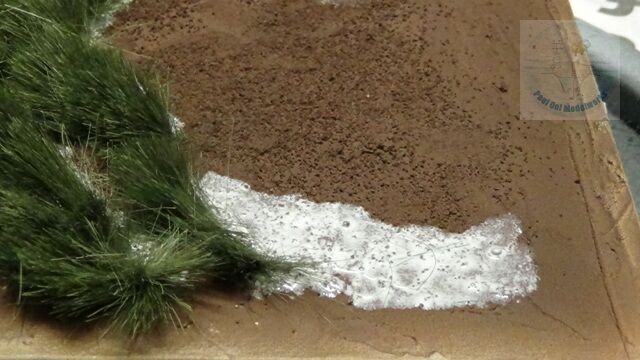
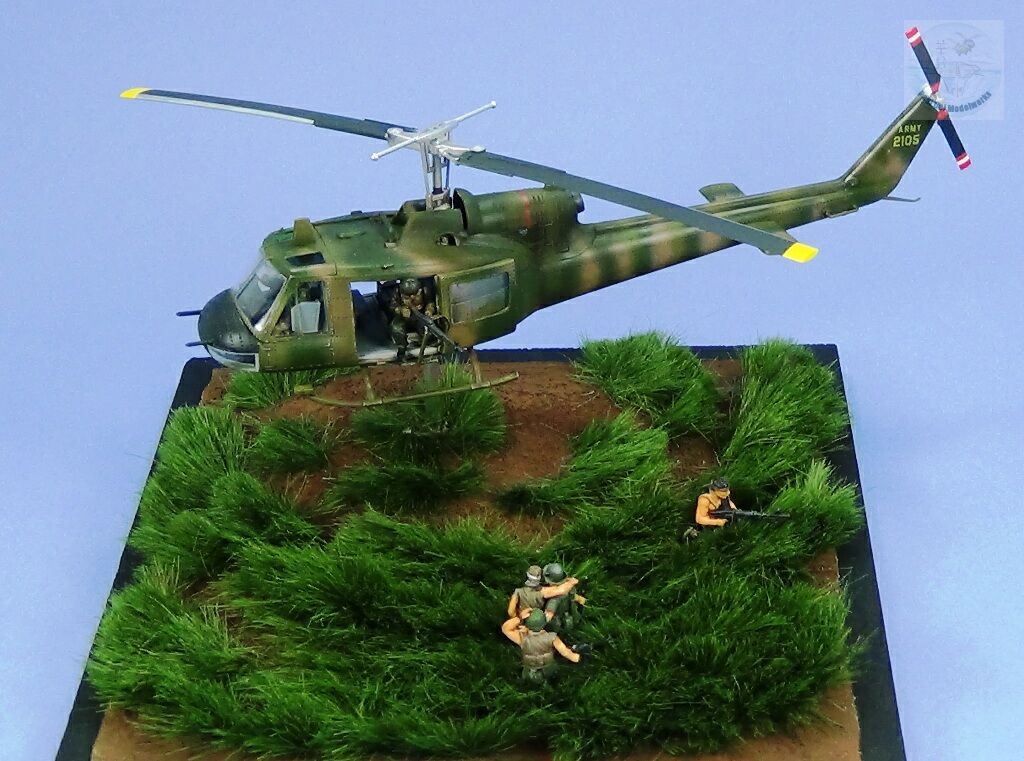
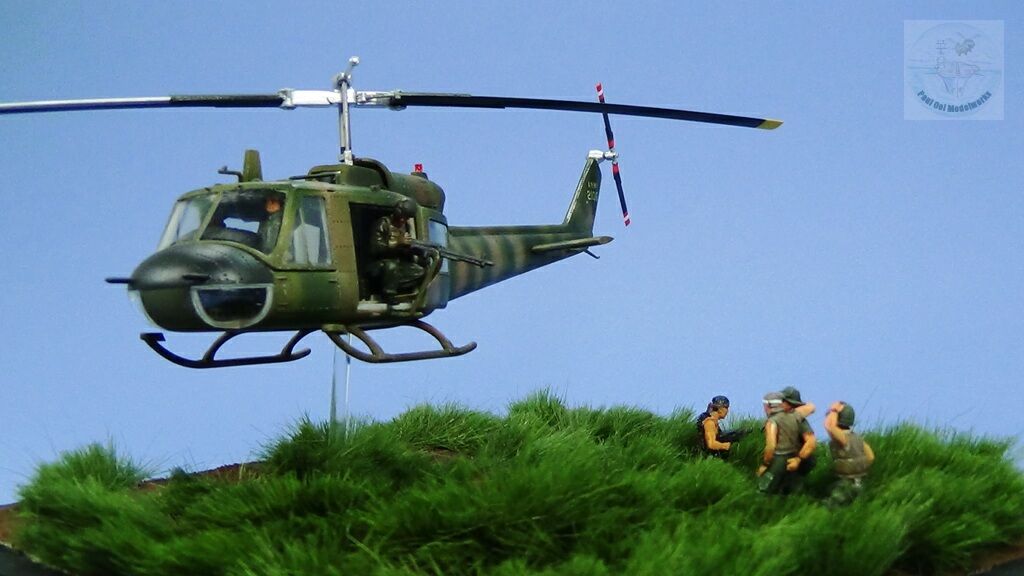
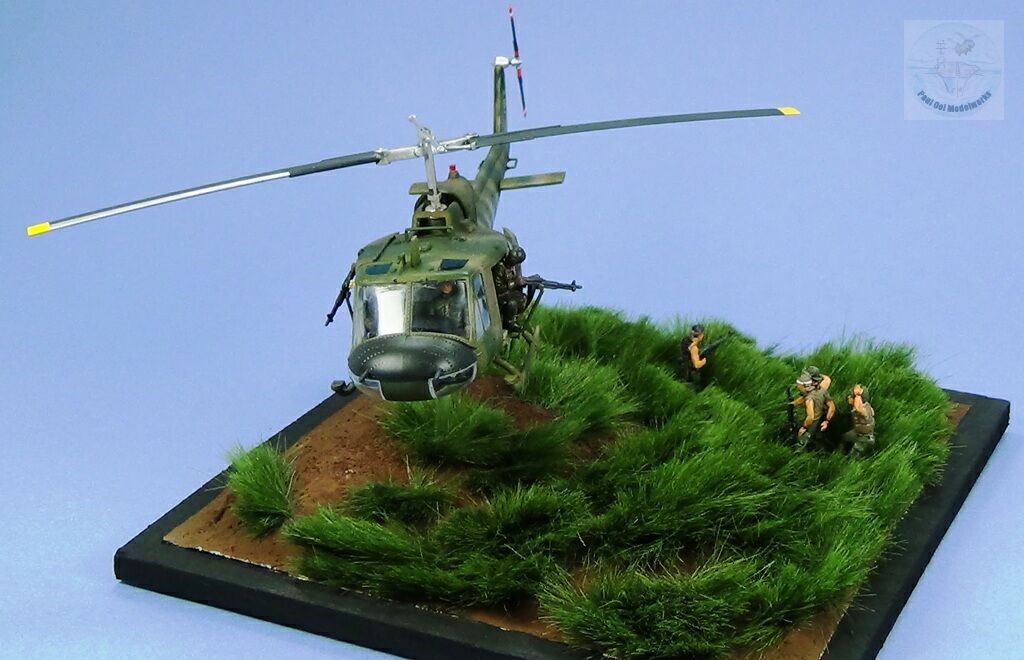
I wanted to portray the helicopter coming in under fire to pickup the troops while hovering over a grass plain. This is one of the most challenging to make as the grace will show the ripple effect of the helicopter rotor wash. To “plant” the tall grass, I start by making one clump at a time in a radial pattern around that clear sprue rod that denotes the “center of the helicopter. The clump is formed by spreading white glue (not diluted) straight out from the bottle but not too thick or it will take a long time to dry.
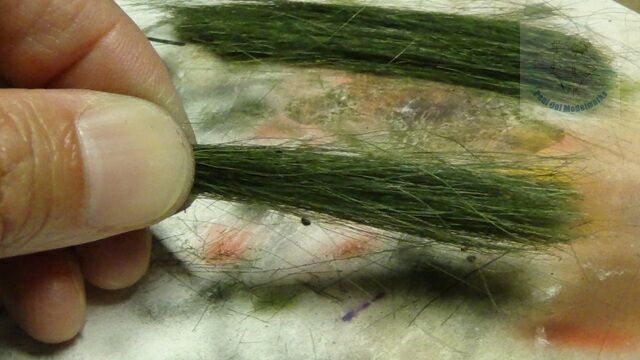
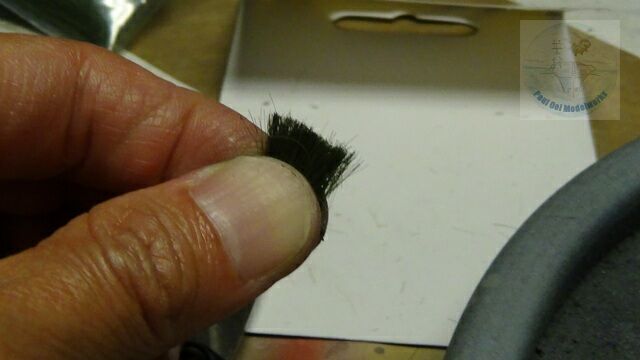
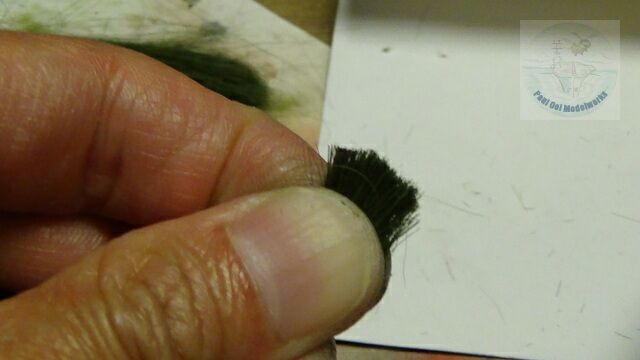
Form grass bundles using Woodland Scenics dark green “tall grass”. I cut these bundles off in 1/2 inch segments, grasping the bundle firmly to prevent dispersion. I trim one edge in a slightly arching pattern so that your tall grass will have a random natural look instead of looking like it was in a stadium.
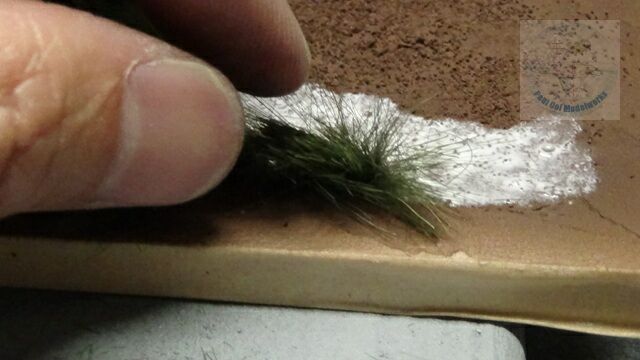
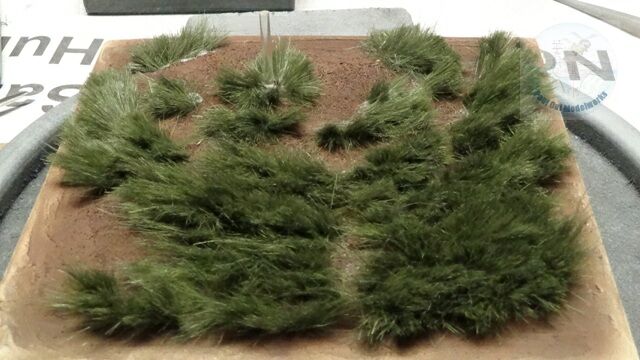
I place each bundle pressed against the white glue spread at a 30 degree angle to the base to simulate the wind wash of the rotors. You can see in the second picture how the pattern is finally formed around the center of the helicopter’s position defined by the support sprue.
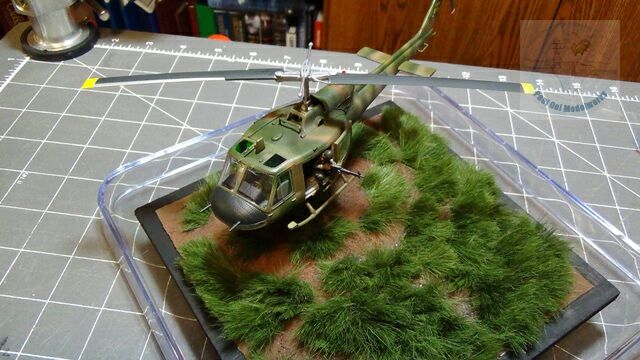
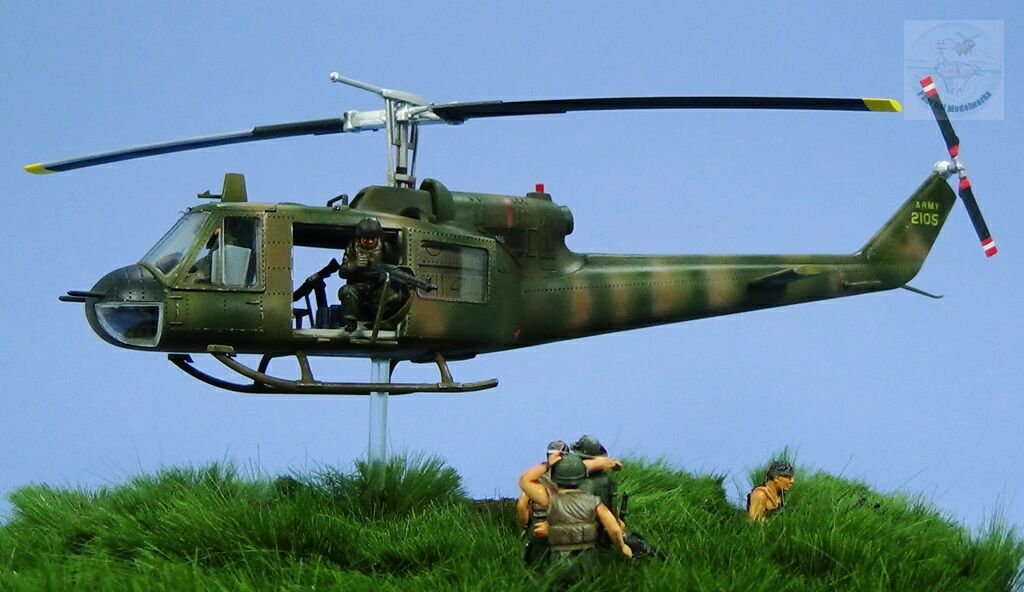
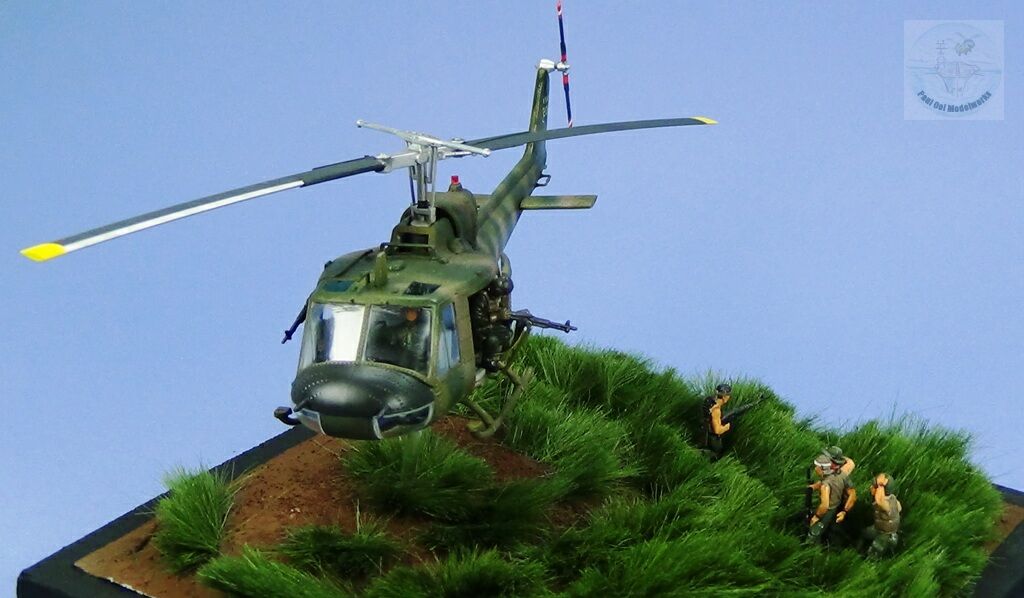
Once the base is dry, the helicopter is carefully glued onto the support sprue using Super Glue attached to the pre-drilled underside of the fuselage. Even without other figures, the pattern of the grass combines with the model to provide a very dynamic look to the layout.
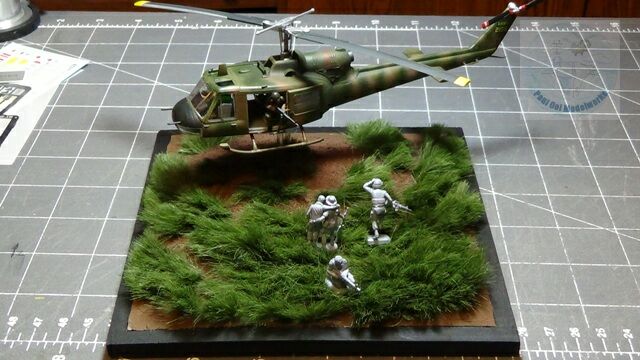
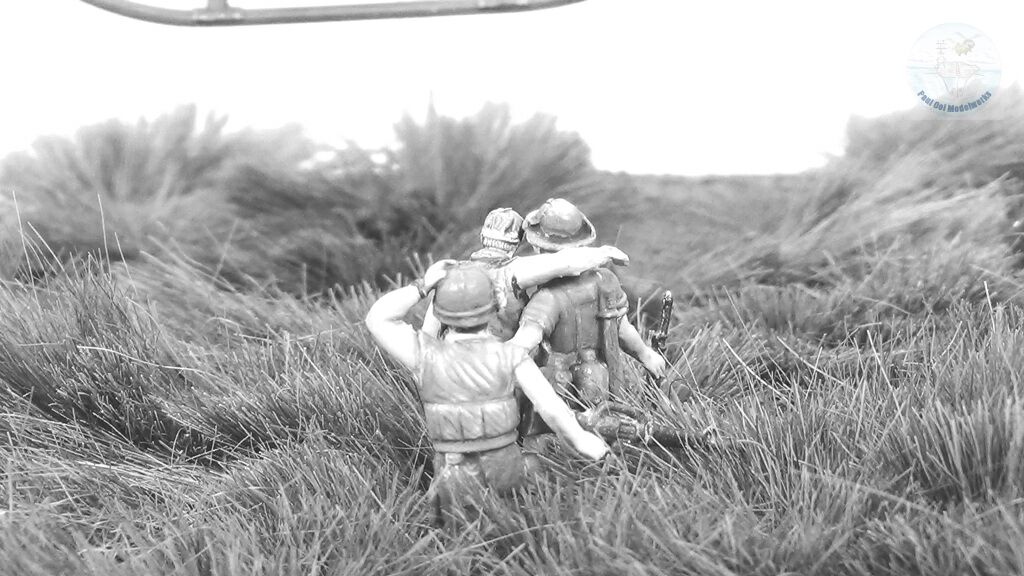
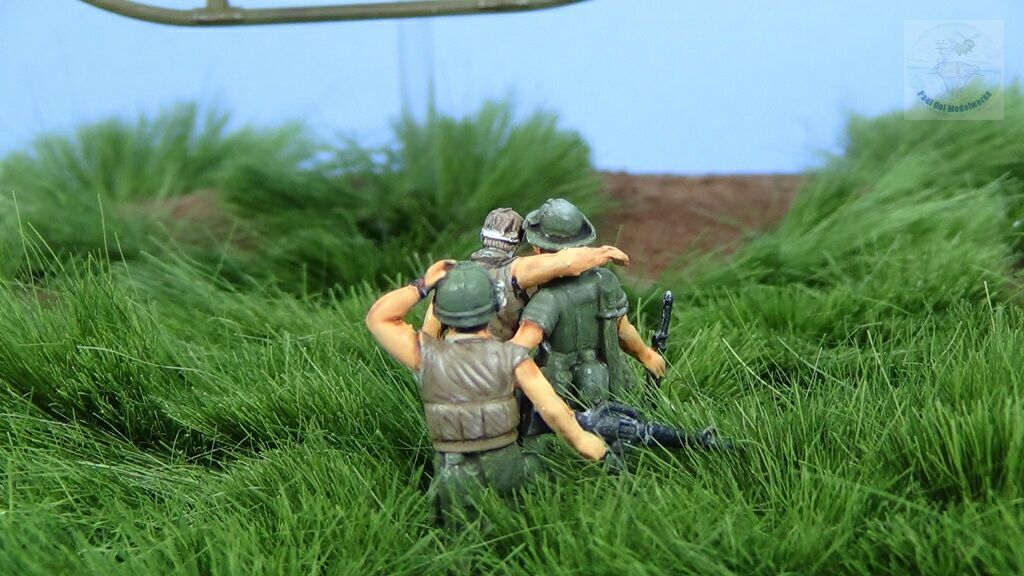
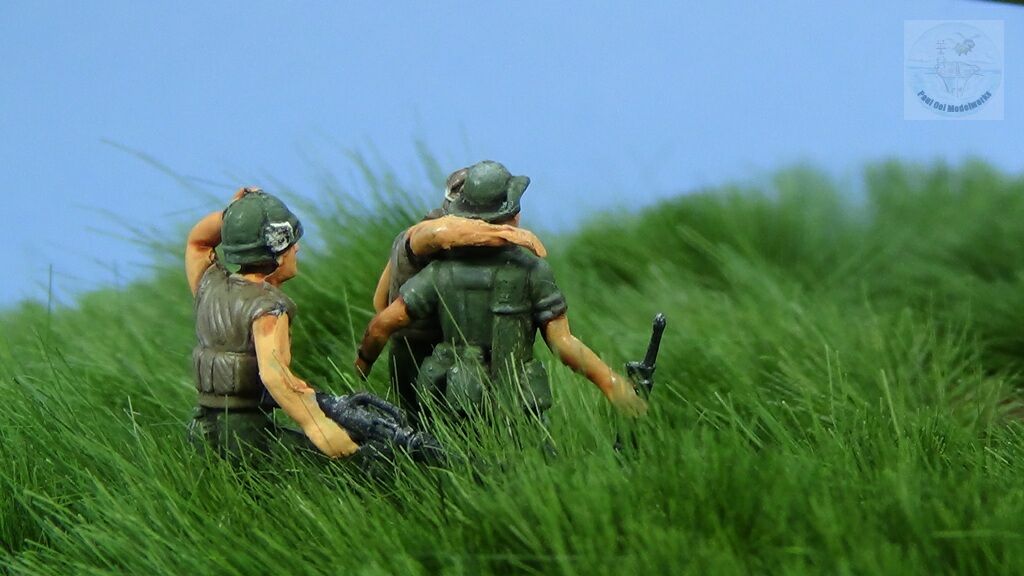
I try out some possible positions for the four figures (one Hmong scout and 3 Special Forces troopers) in the diorama.
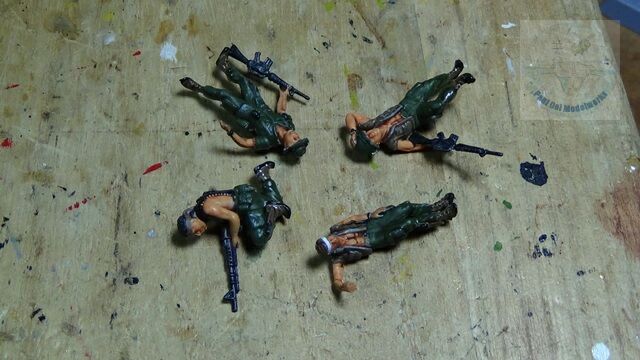
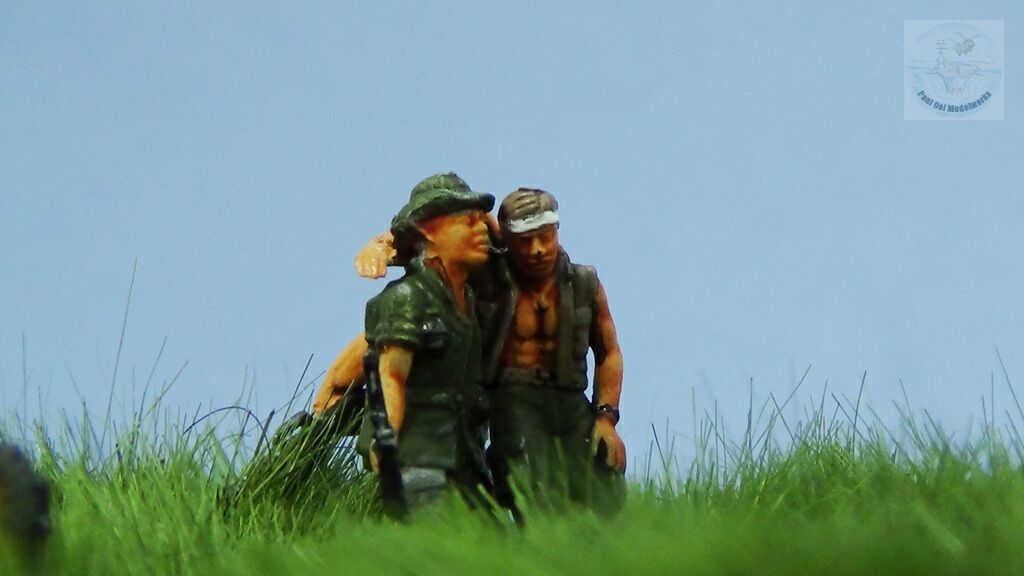
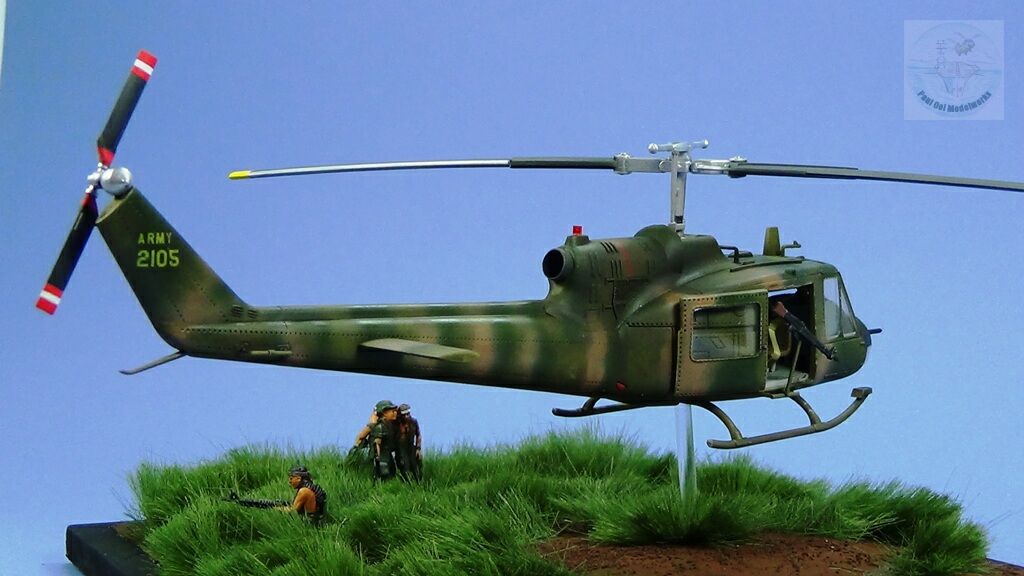
I paint the 1/72 scale troopers in Tamiya NATO green XF67 and Khaki XF49. Once these are properly positioned, in the final layout with the Hmong scout supporting the wounded soldier while another soldier stands close behind them clutching his helmet against the wind. The “Rambo”-like figure at the right is covering their evacuation with an M60 machine, as is the door gunner of the helicopter. Like the 1965 Animals hit “We Gotta Get Out of This Place. You can view the video that really jibes with this diorama –> We Gotta Get Out of This Place
Awesome work Paul!!!
I remember those TV news casts myself….
Watched as many archival videos as I can find on this same subject.
My uncle was over there as a Army Mechanic…
Pictures of all different kinds of stuff that he worked on while serving in 68-70…
These works of art bring back to life those past moments forgotten by many…
Great Details….
Great Subjects in All Your Works….
Thanks Again for the P61….
I’m still in a gathering mode for several scenes to come…
There is So Much available now compared to 25 years ago….
Lots of different techniques and materials out there to be used to enhance the subject matter in many ways….
May be cold again before I can get a good start….
Building up on all the stuff it requires to make this all come back to life takes Time…And Money….Alot more of the Latter…lol
Thanks for sending me your info… Love to see other ideas and live through others visions.
Fun Stuff
Jim Hise