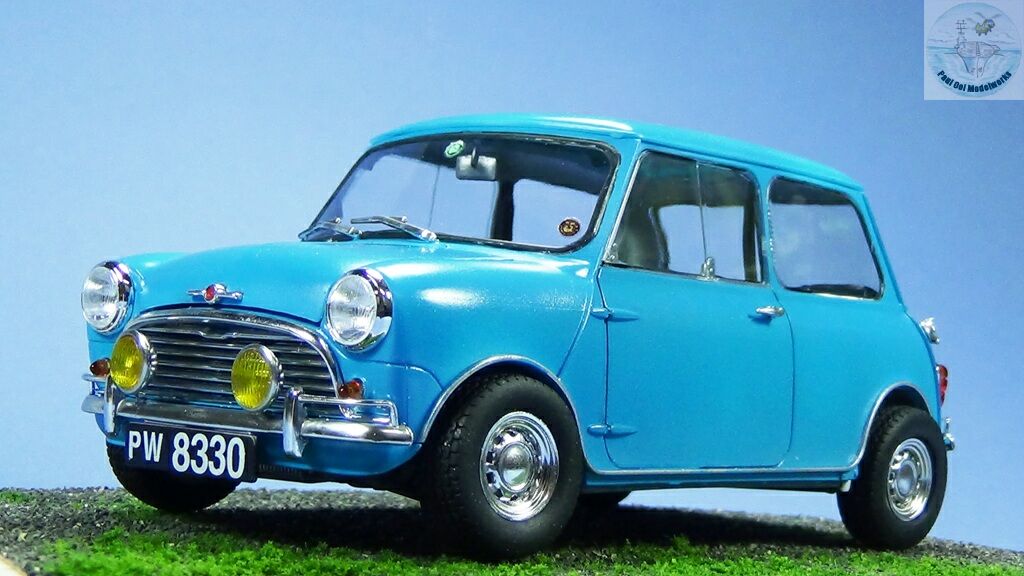
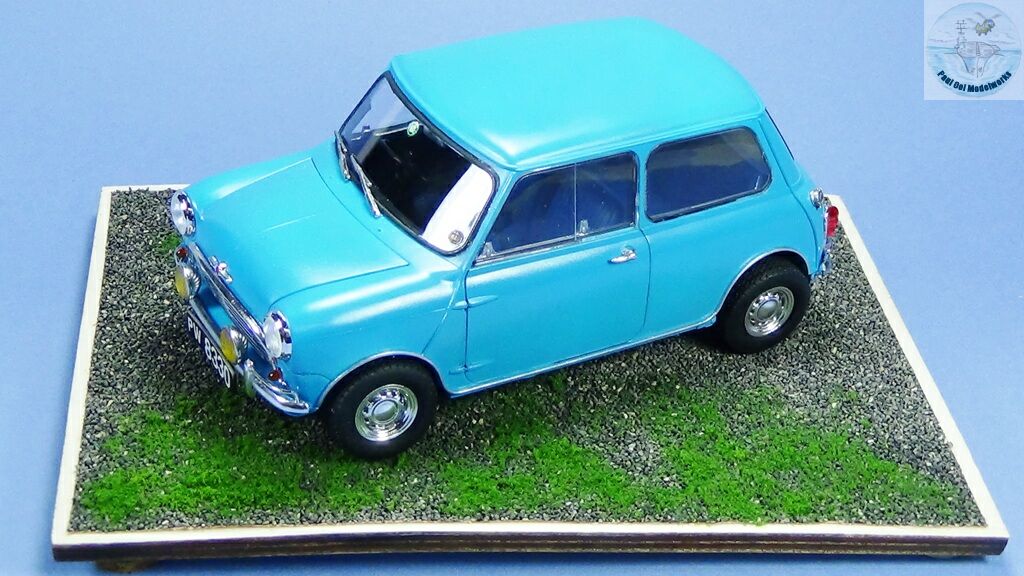
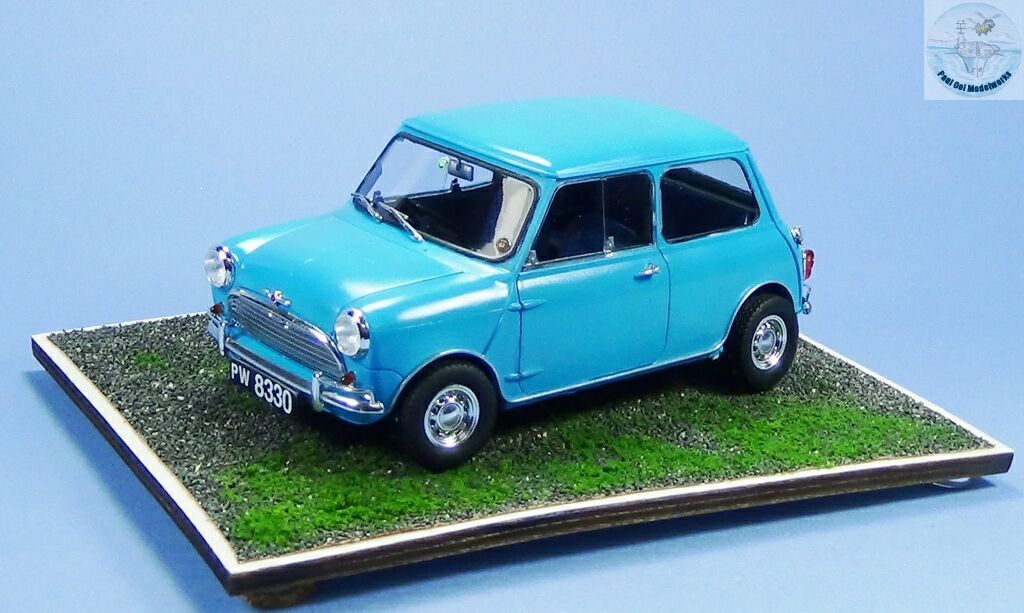
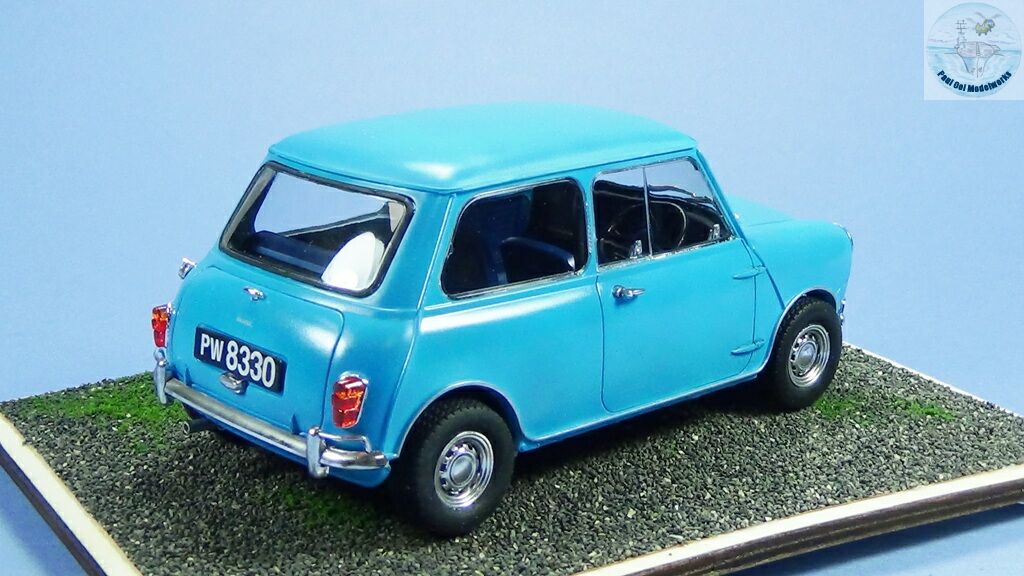
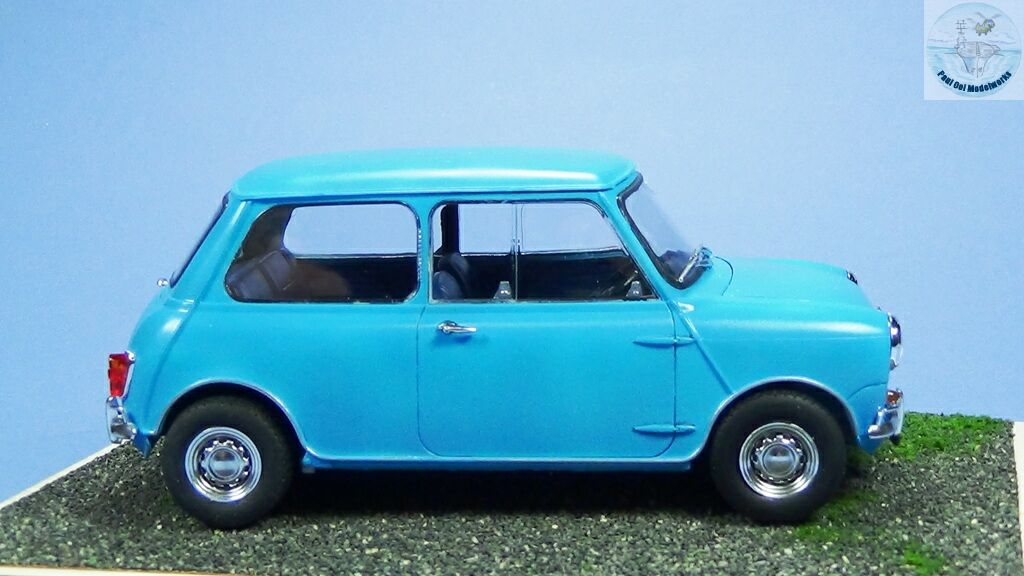
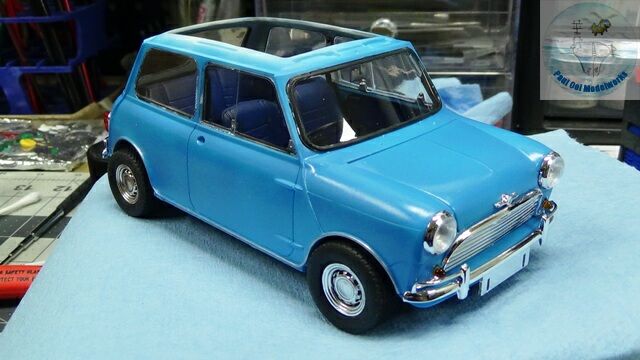
One of the fun things about being a modeler is that you get to recreate history. With enough information and imagination, one could rebuild a scene from the near or distant past. Recently, I got to build something from my own past. I owned this Olympic Blue Mini 850 back in 1986 in my senior year in university. I had gotten this car from my late brother-in-law and in those days, Minis in Malaysia were a dime-a-dozen, not the cult treasures that they are now. How many time in my dreams I wished I had the foresight to hold on to this old jalopy.
 The radiator misbehaving!
Unlike the much more famous Mini Cooper 1000 or the “stylish” Clubman, the 850 was a workhorse, albeit an under-powered one. Laboring in the tropical sun in Kuala Lumpur made it even more a struggle. The radiator was situated facing the side wall of the engine compartment making it very inefficient for cooling. The one thing I kept remembering was radiator-related breakdowns with the engine overheating in the most inconvenient places. It had no radio, no air-conditioning, not even a fan, and everything was manually operated. However, I was very happy to take it to campus and to be able to move around even when it rains, which happened on an almost daily basis. And most important of all, I could take my then-girlfriend out for dates because her parents would not let me do so in my previous 70cc motorbike (and sitting pillion on a bike messed up her hair). Good memories!
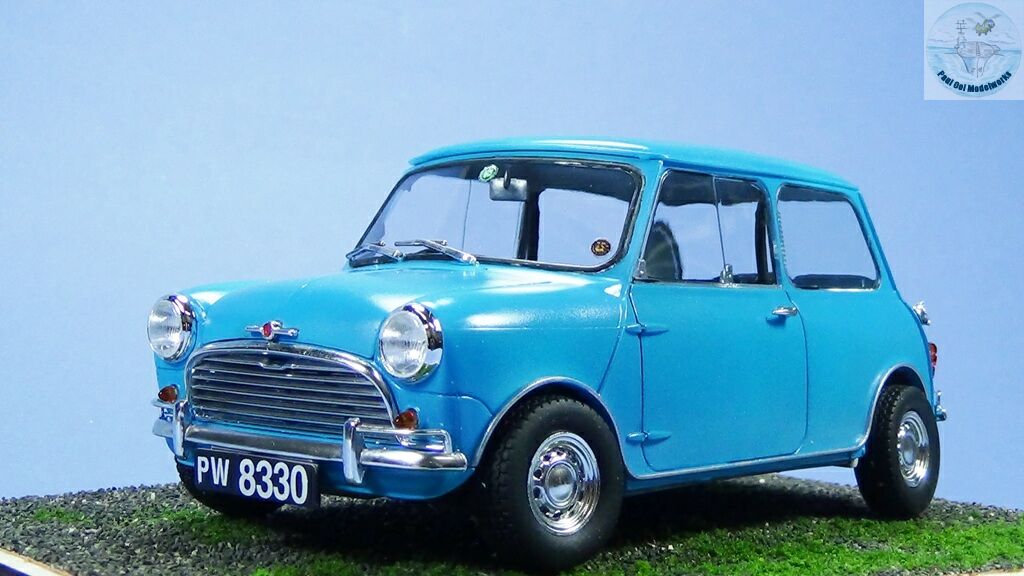
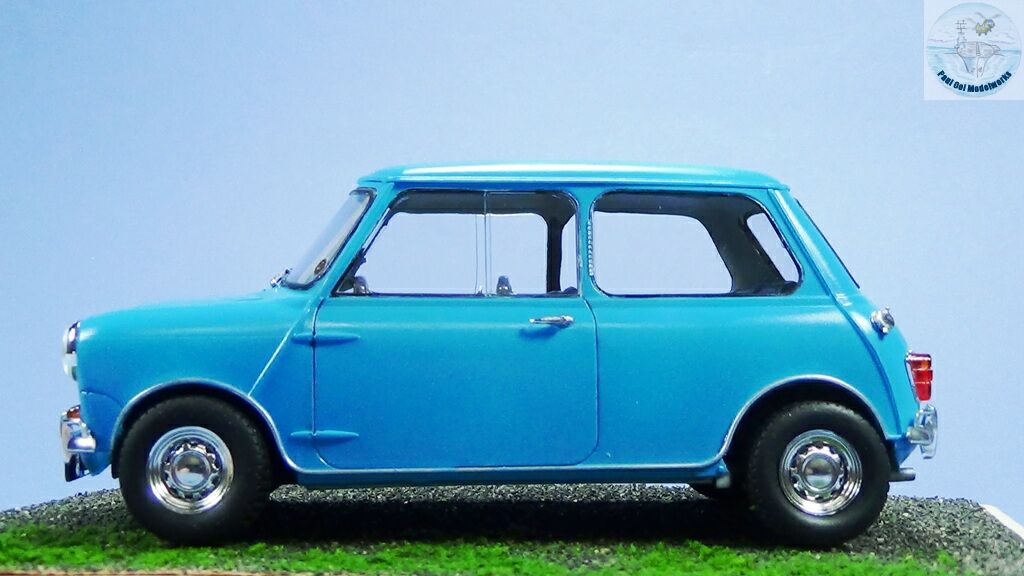
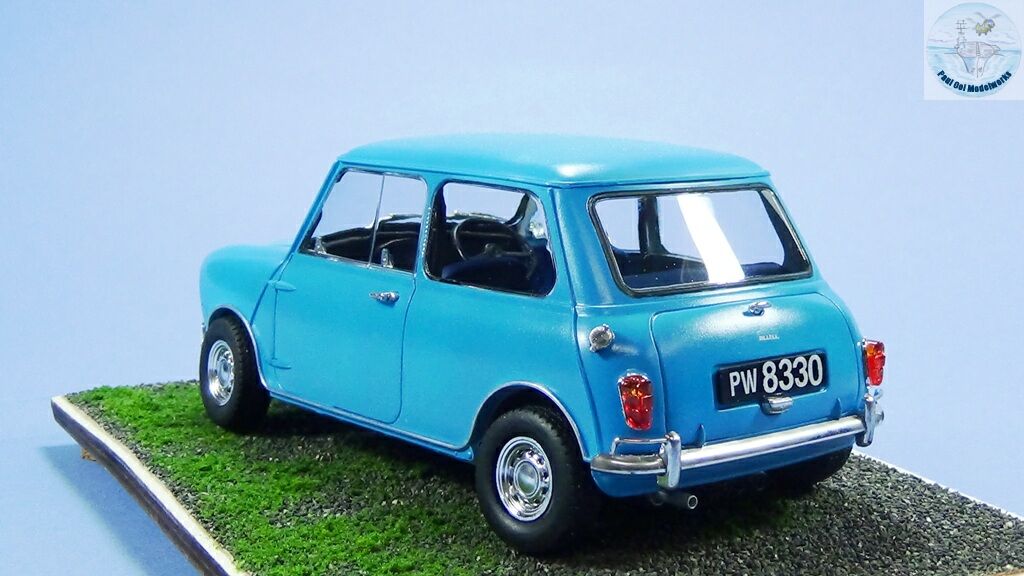
Gallery


Construction Notes
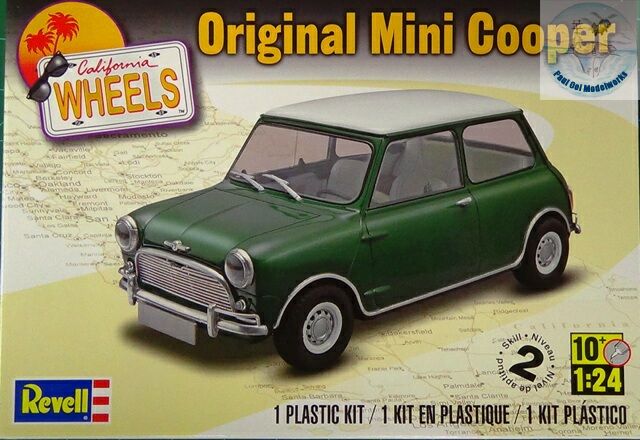 Revell came out with this 1/24 scale Mini Cooper kit about 8 years ago. The kit has good details like the engine compartment, and full interior. Unfortunately, none of the doors or trunk (we called it a “car boot” like they do in Britain) can be posed opened.Since the Cooper is really a soup-ed up basic Mini, I could still build this into the 850 with very little change. The other cool thing about this kit is that you could either build it as a Left Hand (US and Europe) or Right Hand Drive (UK. Japan, and former colonies like Malaysia). Mine was going to be a Right Hand Drive, as they say in UK, “The only Right Way to drive!”.
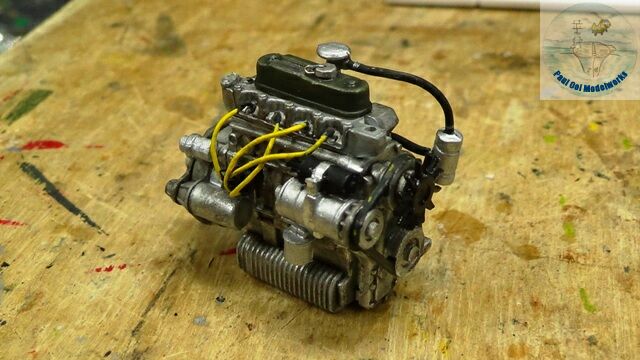
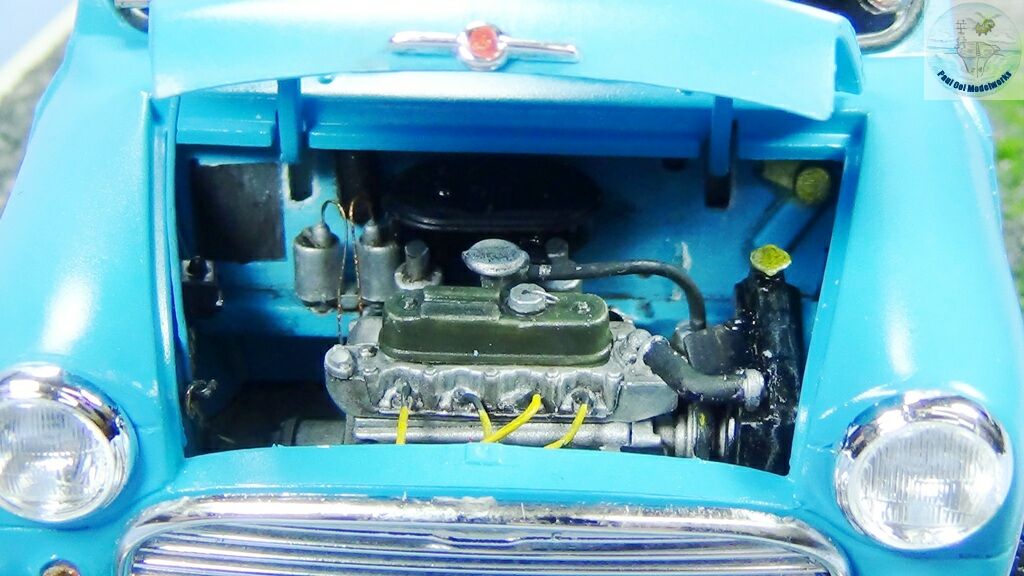
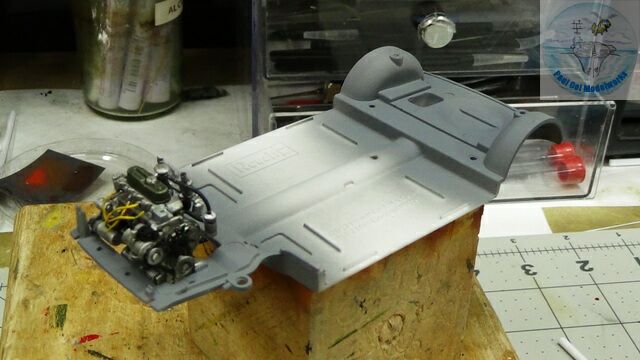
 The first order of business is to build the engine block. Although the instructions said to paint the entire block Hunter Green, the one I had was steel and metal all over except for the valve case at the top that was a dirty olive green.I did replace the kit’s molded spark plug connection wires to the alternator (second picture) with silver 60/40 solder wire that looked better in scale and more realistic (and I painted them yellow just like my original). This also brings back memories of replacing my own spark plugs, or rather reconditioning them by sandpapering and a bit of knocking to shape to get as much use out of them on a shoestring student’s budget.
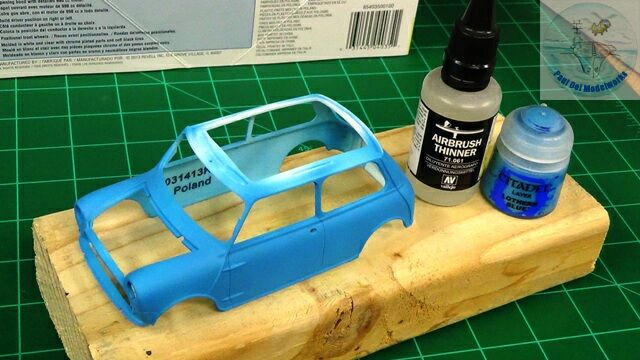
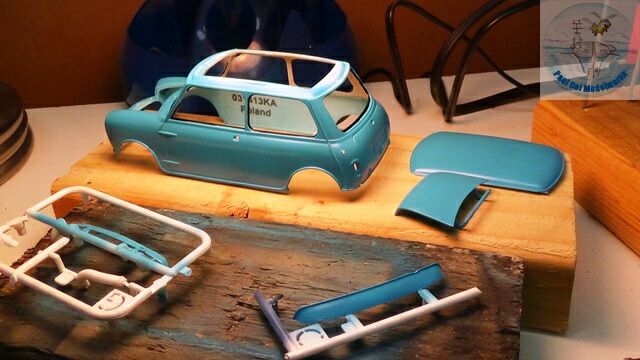 Next, I painted all the body parts with Olympic Blue, which is really Citadel’s Lothian Blue thinned with Vallejo airbrush thinner (worked out very well). Then I applied two layers of Pledge Future floor polish and left it to cure under a lamp. The interior of the shell and roof piece are painted Model Master Russian Topside Grey 2120.

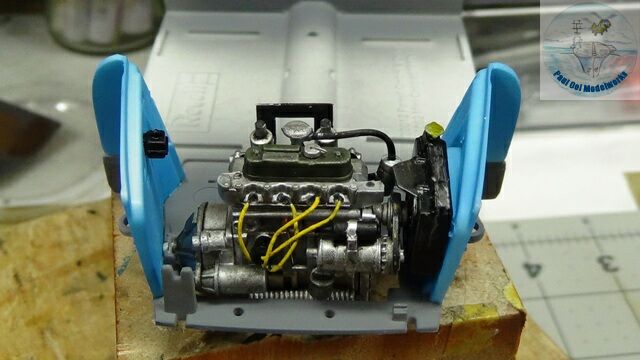
 I painted the chassis Tamiya Neutral Gray XF-53. After that, I could mount the delicate engine sub-assembly onto its mount on the chassis.
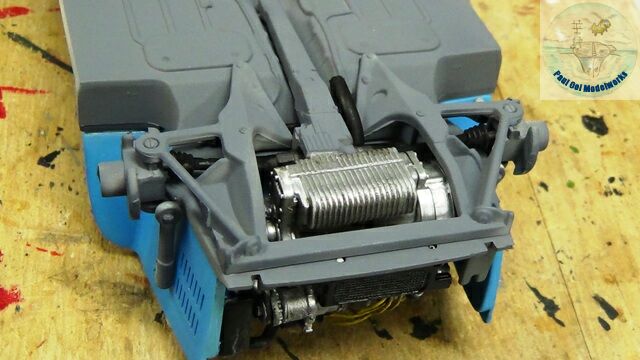
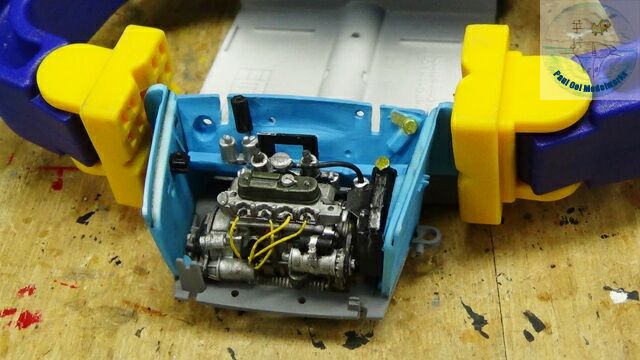 The left and right hand side engine compartment walls get added on shortly after. The left wall has to be fixed with the pesky radiator first before adding to the chassis. Just like in real life, the clearance between the radiator and the belt-driven fan is very tight but I managed to get it in. That is why the radiator repair is always expensive, because the mechanic has to disassemble the timing belt and fan before they can get to the radiator! Once I got the engine firewall in, The assembly needed a clamp to get the two side walls to press in properly.
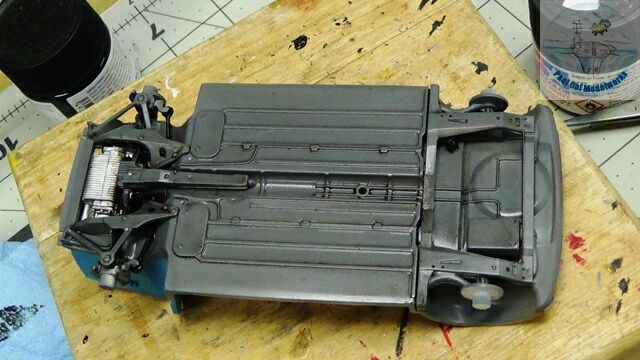
 Next, we flip the assembly over to the underside and install the front steering assembly. Fun fact: the front spindles can turn in unison with the help of a very flimsy tie rod that broke easily. In real life, the rubber bellows in the tie rod tend to crack and break in the tropical heat and was a source of frequent wear and tear. Notice the tiny shock absorbers along the side wall. I did not know they existed until now (just kidding)!
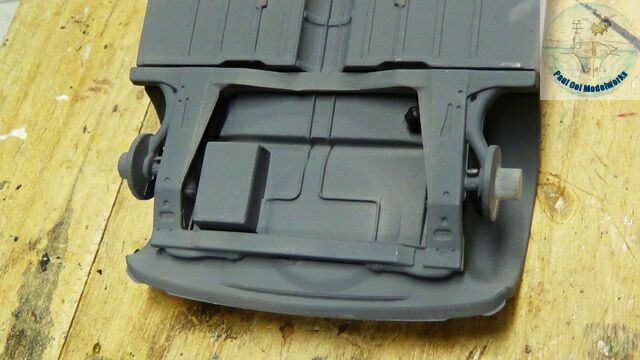
 The rear axle assembly was a very simple affair (no drive train, no fancy AWD). Then I gave the underside a liberal oil wash of Lamp Black and Burnt Umber (more Burnt Umber).
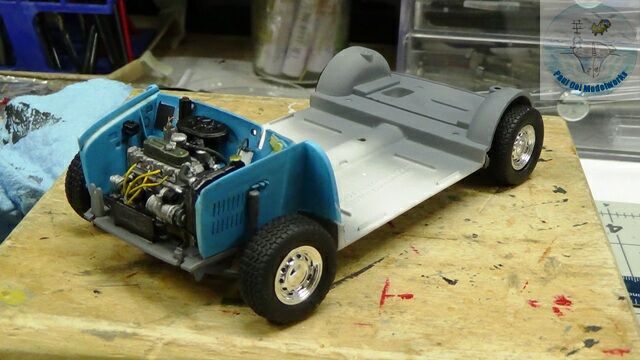 Big moment when the rubber wheels got added. Those wheel hubs are much brighter than I remembered them, so I will need to tone those down later.
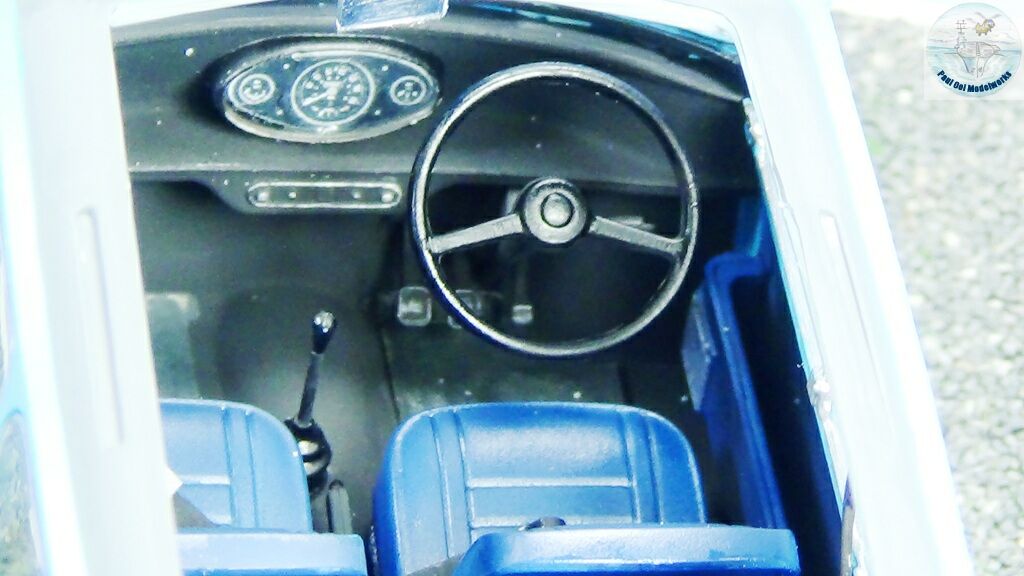
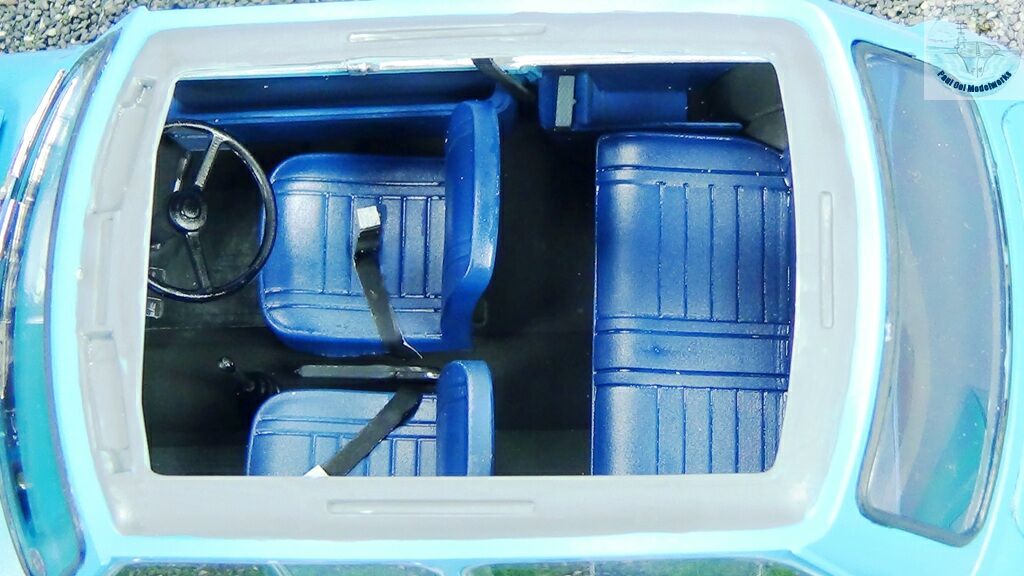
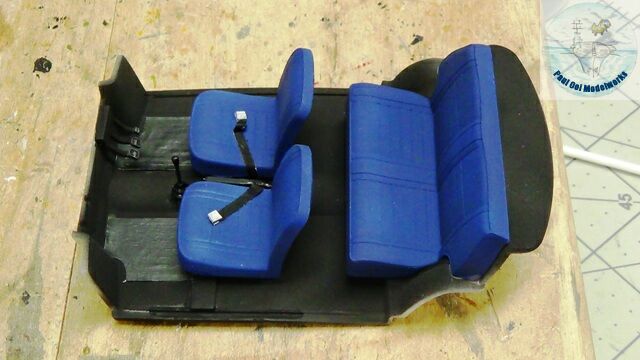 What’s a ride without the interior, right? I painted the interior floor Matt Black and added Dark Grey rubber mats for the driver and passenger. I added seat belt buckles and belts made from masking tape. In those days, rear seat belts were optional. The seats were actually dark blue vinyl. I painted these with 80% Tamiya Flat Blue XF8 + 20% Tamiya Flat Black XF1. Later, I will brush Pledge Future polish over the seats to recreate the vinyl look. At this point one has to be mindful to position the pedals on the correct side for the driver.
 Just trying out the interior onto the chassis. It’s really beginning to look like a car! Note the two side seatbelts sticking out into thin air. Those will be bonded onto the body shell later.
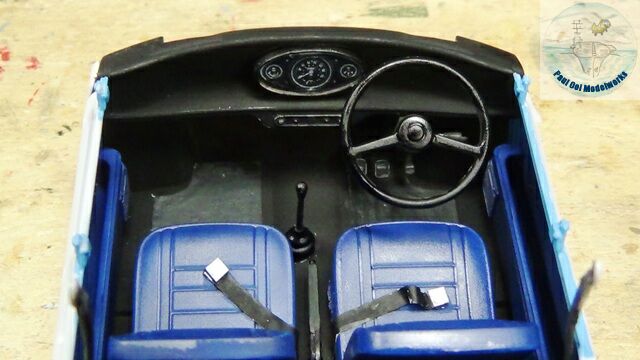 Now the dashboard gets into the act. Very simple and rudimentary panel, with only the Speedometer (miles per hour only), petrol gauge, and battery gauge. The switches are for the fog lights, main lights, and a toggle for the choke (remember those?). NOTHING is automatic. On the other hand if my battery went dead (happened a couple of times), I had enough able-bodied housemates to push start the car down the driveway. Not the size and angle of that steering wheel that felt like a “lorry” (that trucks in the US).
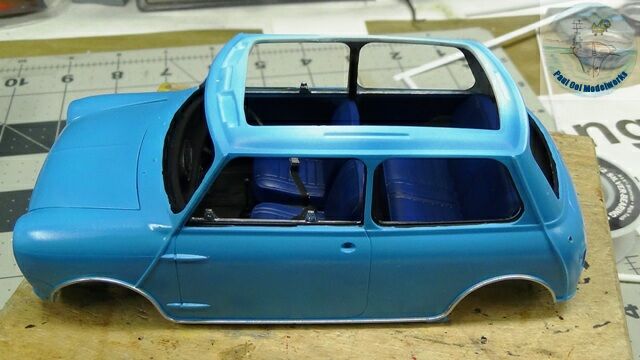 The interior unit gets bonded into the body shell first. The fit is snug but with some patient adjustments, it snaps in.
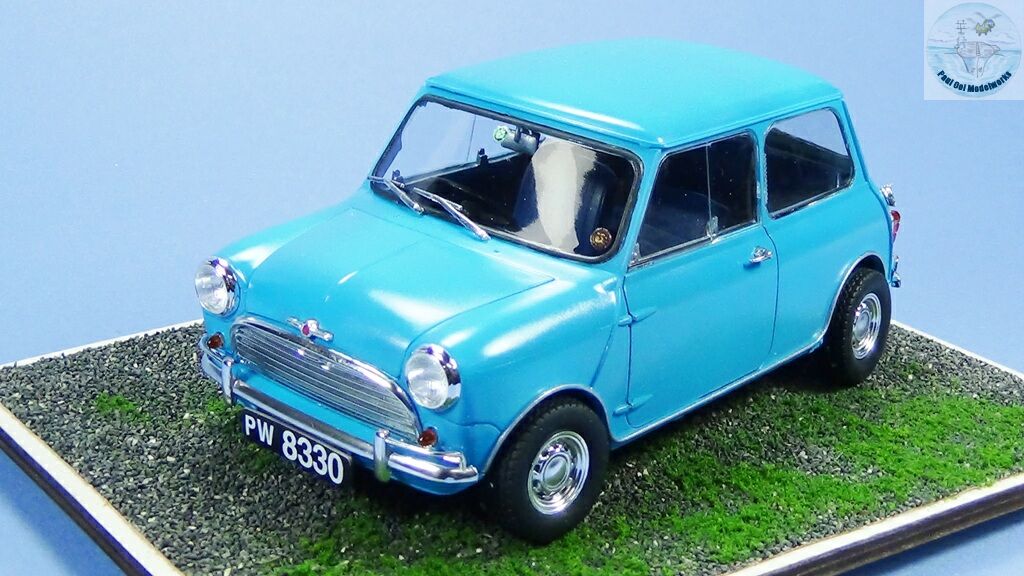
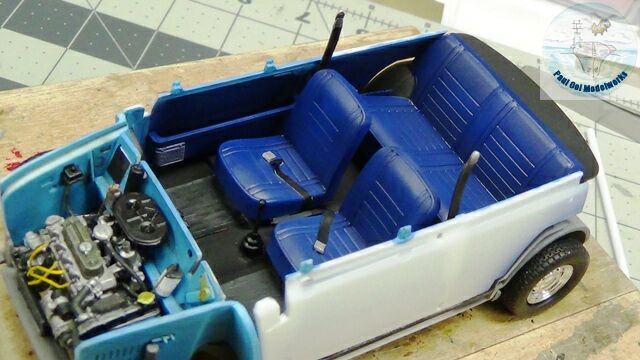
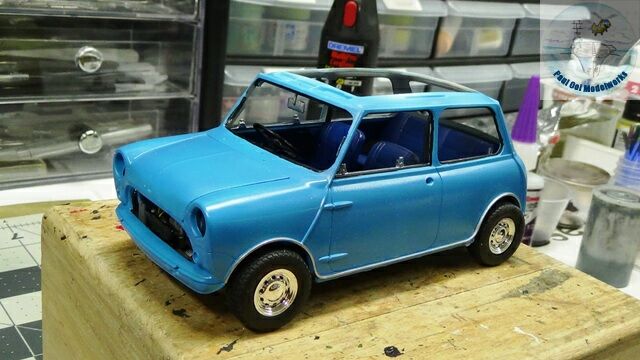 And then the whole upper body sub-assembly is pressed onto the chassis. Again the fit is very tight with almost no wiggle room. Well, it DOES look like a Mini.
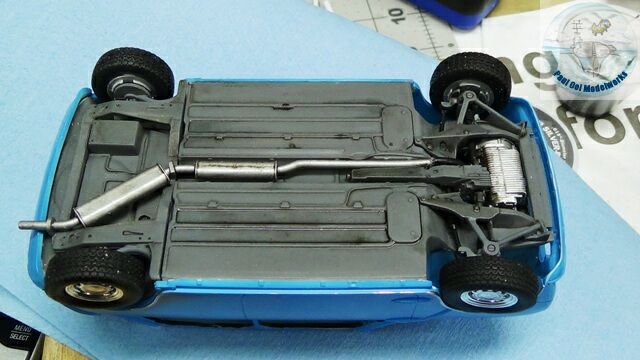 The exhaust system is painted in steel, and then given and oil wash of Black and Burnt Umber. The gunkier the merrier.
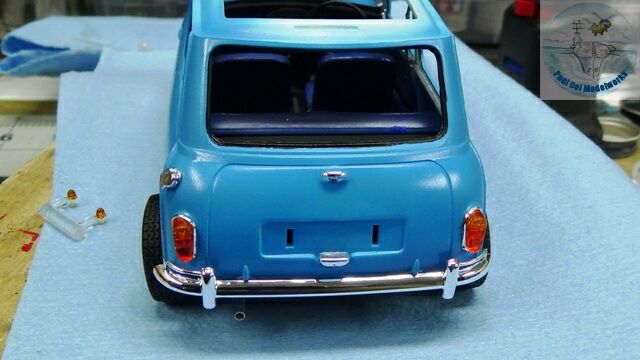 Rear lights, fuel cap, shiny bumper, and plate light added from the chromed components fret. Love the look. The rear lights are painted Clear Orange upper, Clear Red lower.
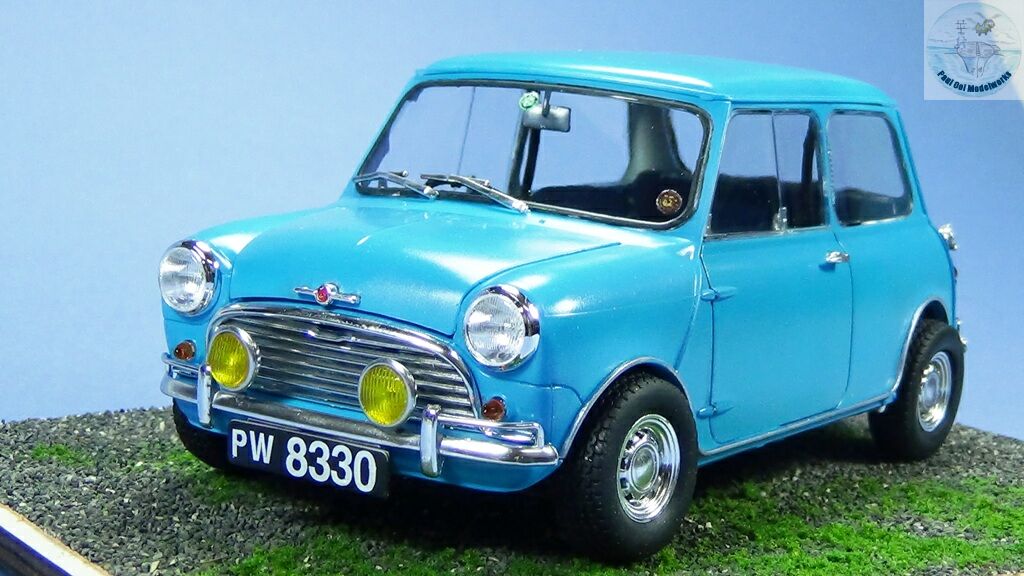
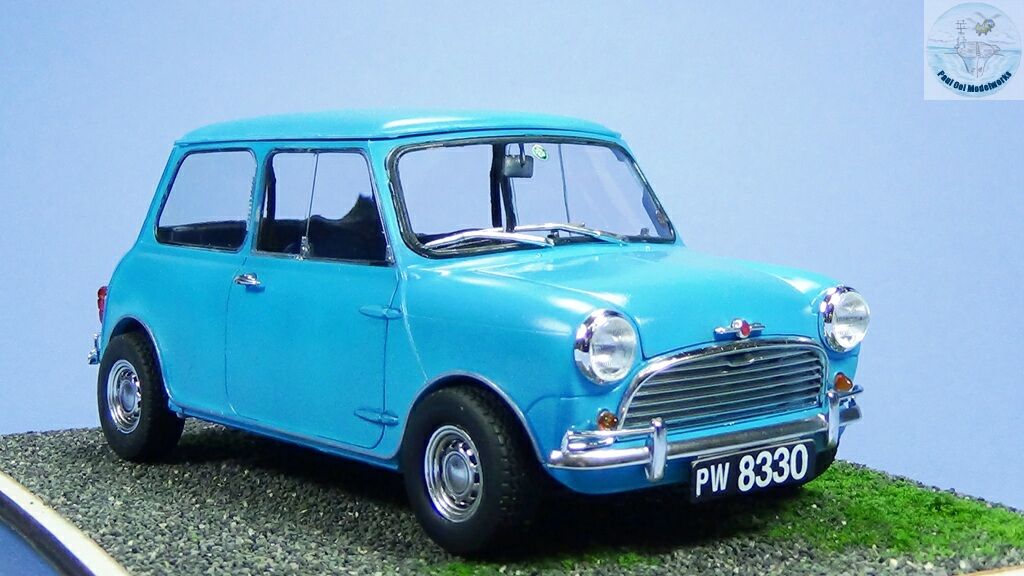
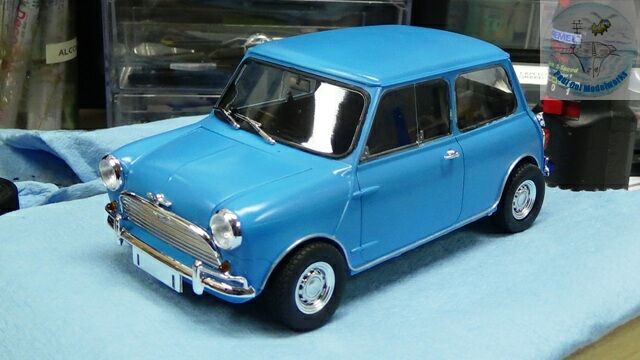
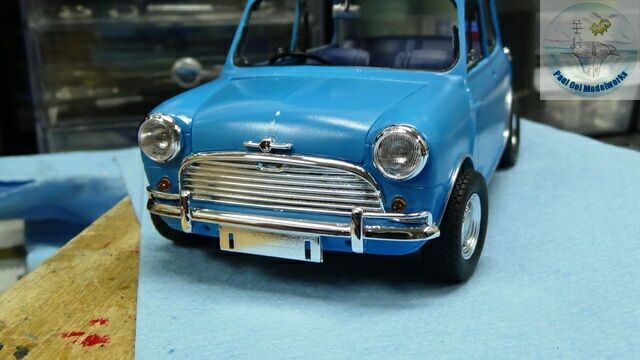 And now the Mini has a face! Love those lamps and front grill. They don’t make cars with character like these anymore. The front signal lamps are painted Clear Orange. I chose the old Morris logo for the front “bonnet” (hood in the US).
 All-important glazing are now added to the windshield front and rear and the windows. I did paint the rubber gasket onto the windshields using Tamiya NATO Black XF69.
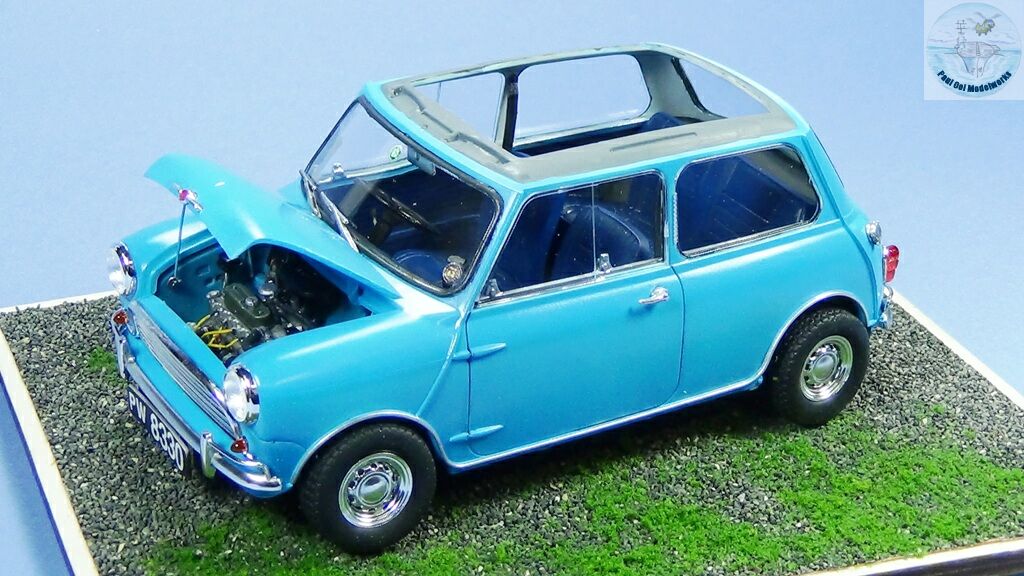
 The roof piece is fitted on but I chose not to glue it down, so that we can lift it up to show the interior. Otherwise it is hard to see the details through the glazing.
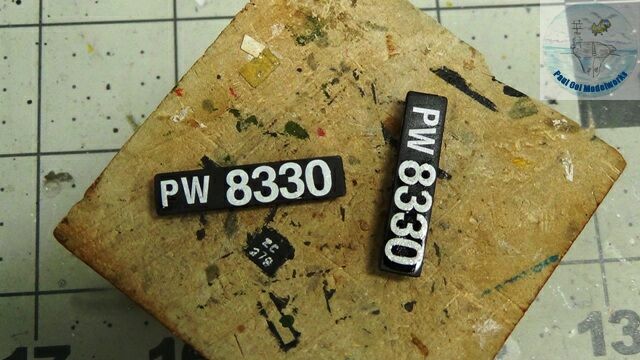
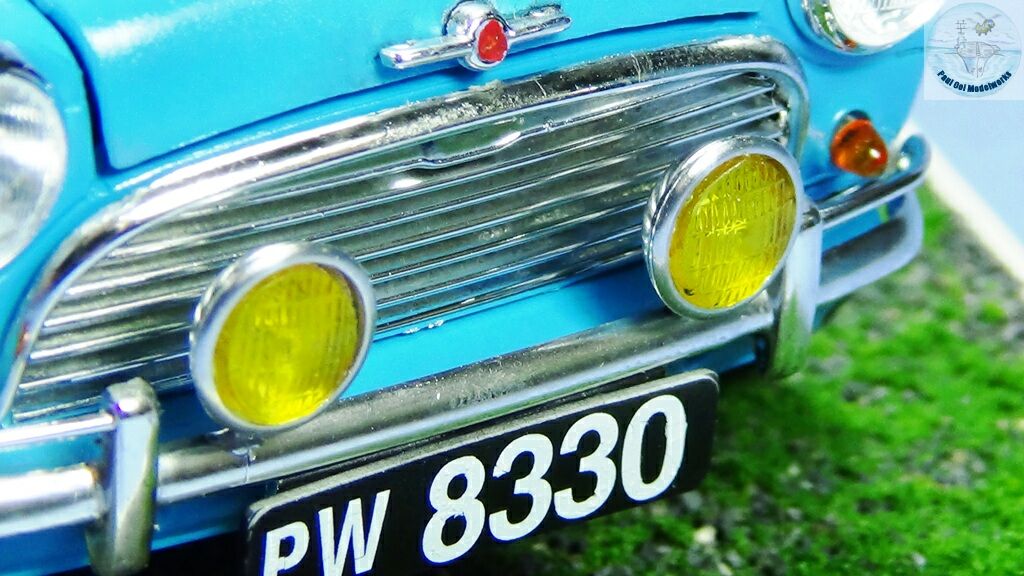
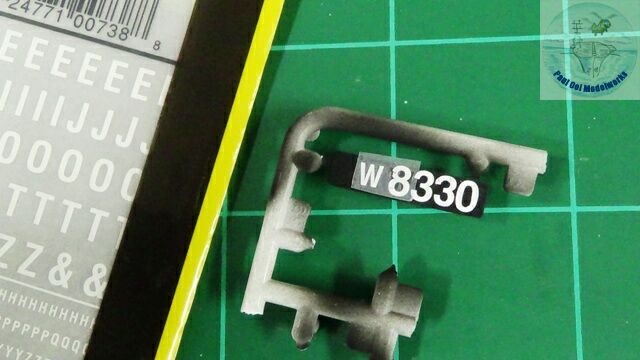 I made the license plates using dry transfers from Woodland Scenics. I realized too late that their numbers tend to be slightly larger than the alphabets. If I should encounter another set of dry transfers, I might re-do this one again. But for now, I’ll move along with these.
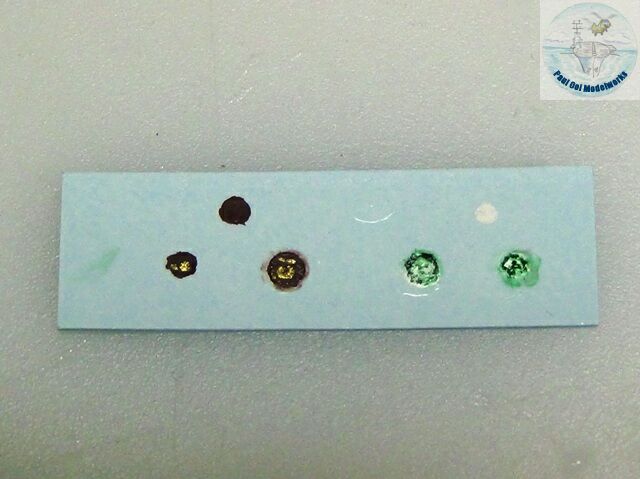
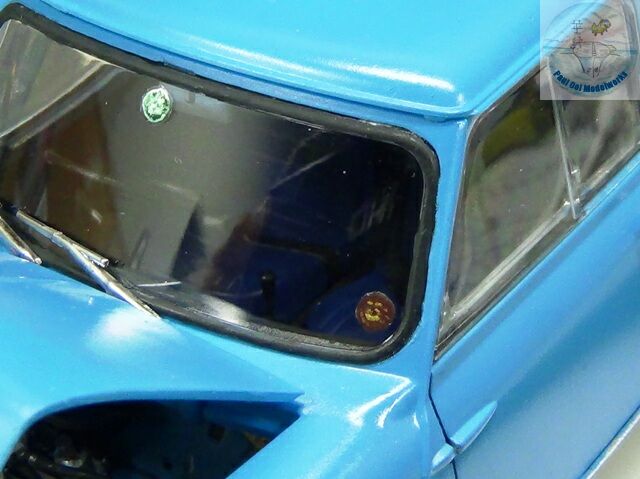 Details, details. I made two small decals using Microscales’ Liquid Decal Film and Trim Paper. One disk is a replica of the old version of Malaysian Road Tax Disc that must be displayed at a prominent location, most often directly in front of the rear view mirror. The other is my university entrance pass (we had security checkpoints at all entrances) and parking permit that needed to be on the passenger’s lower corner closest to the security guy.
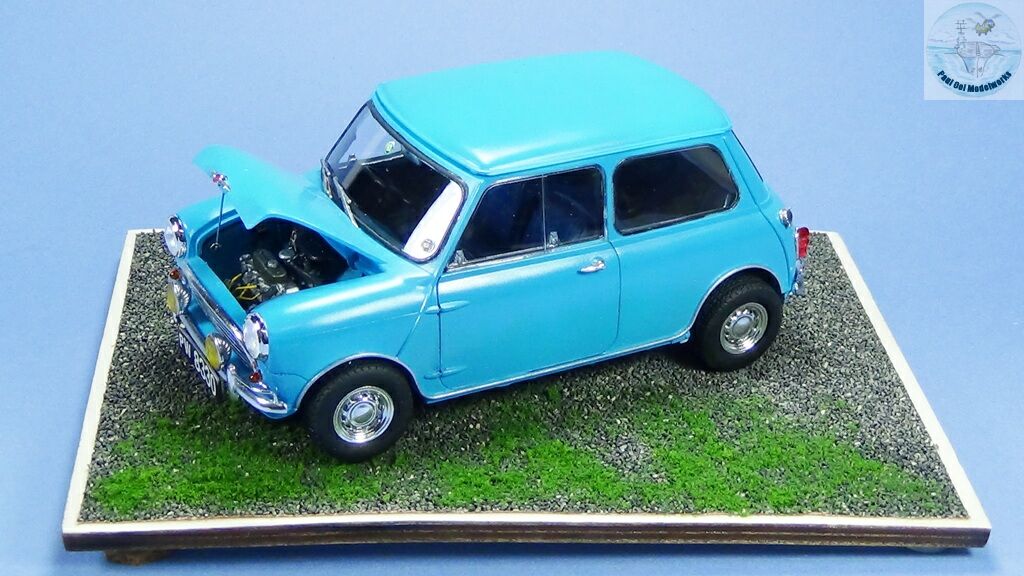
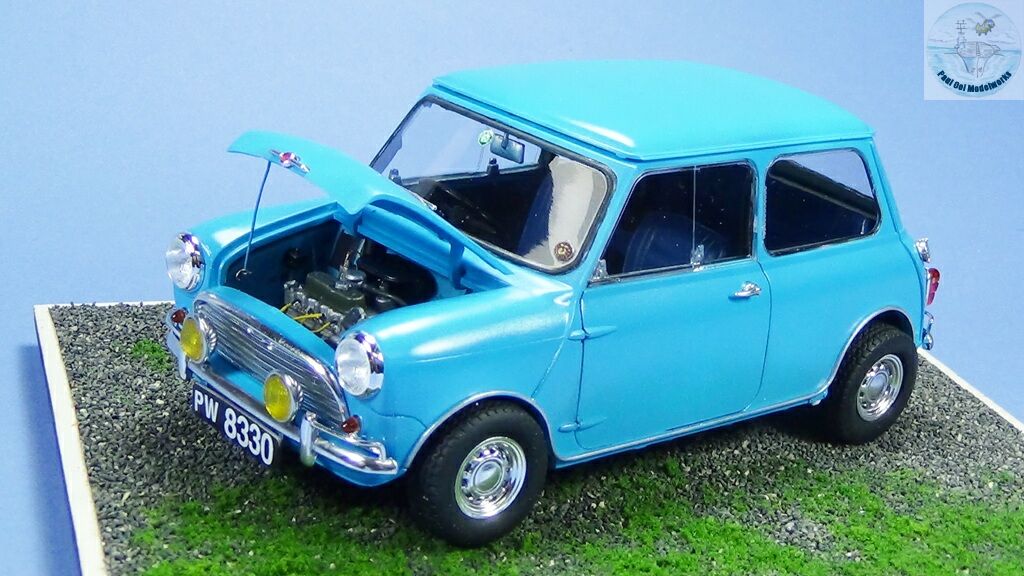
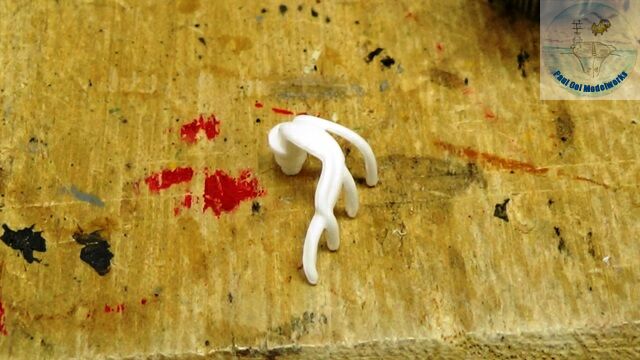
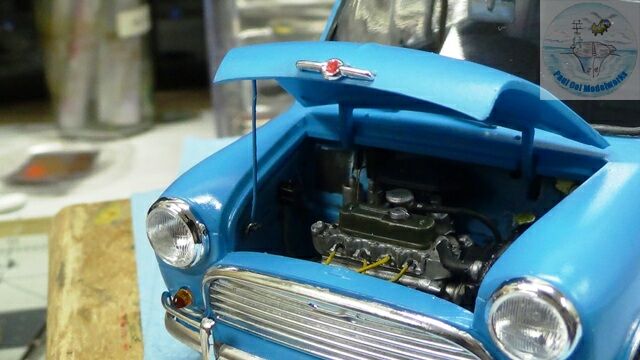 In order to be able to keep the engine on display, I made a rod with a hinge just like in the real thing to prop the cover open. Now if only those mail order fog lights would arrive sooner…..
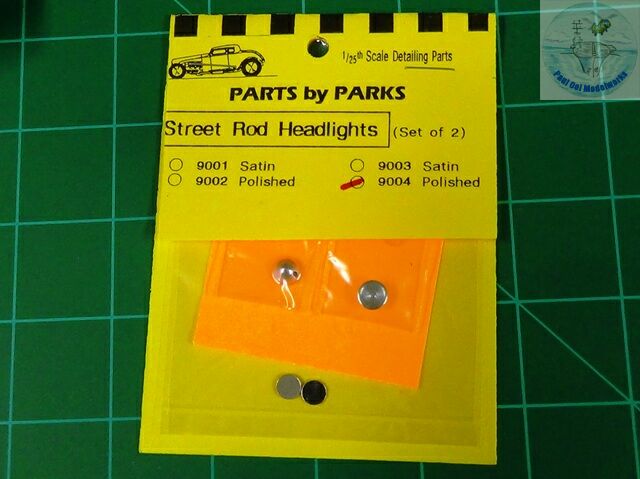
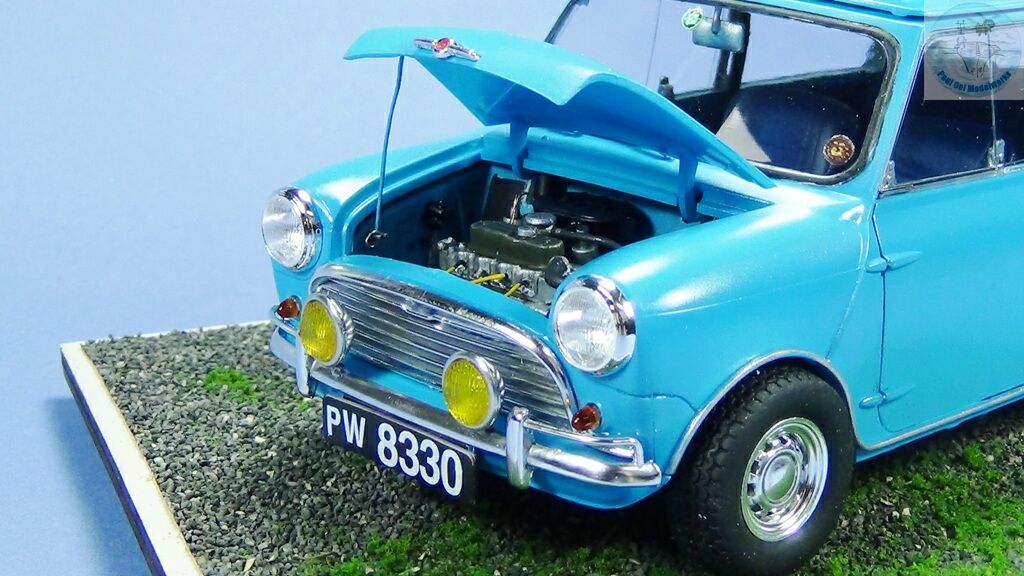
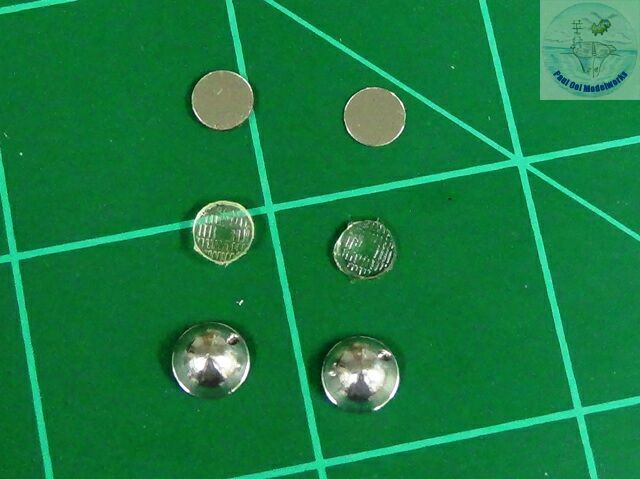 And the missing fog lamps appeared at my doorstep on Monday morning. They were exactly right and beautiful! Those polished lamp housing (metal) are actually breath-taking.
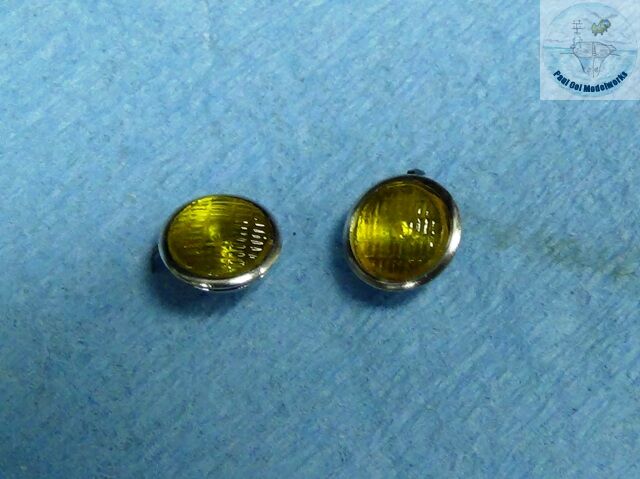
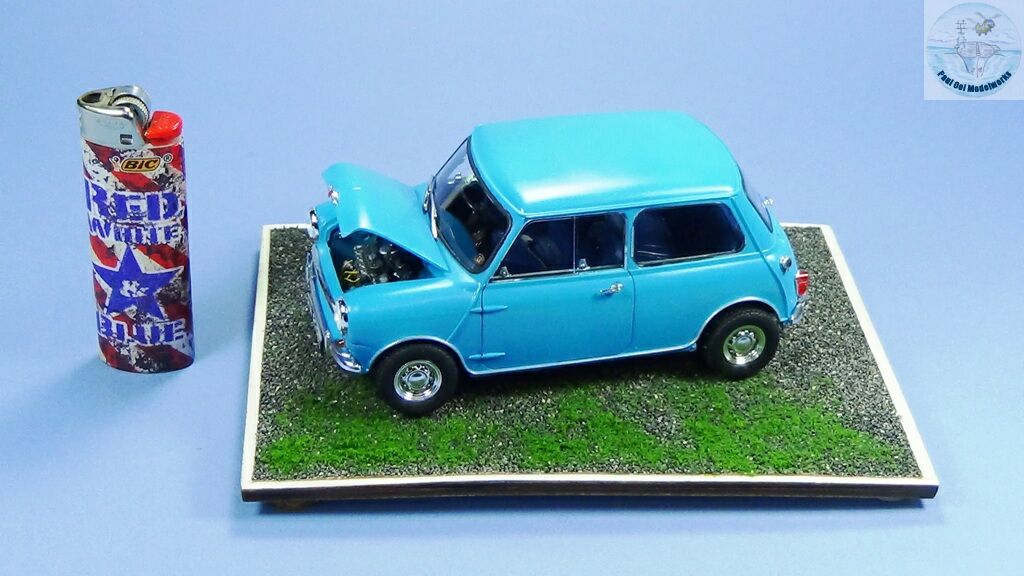
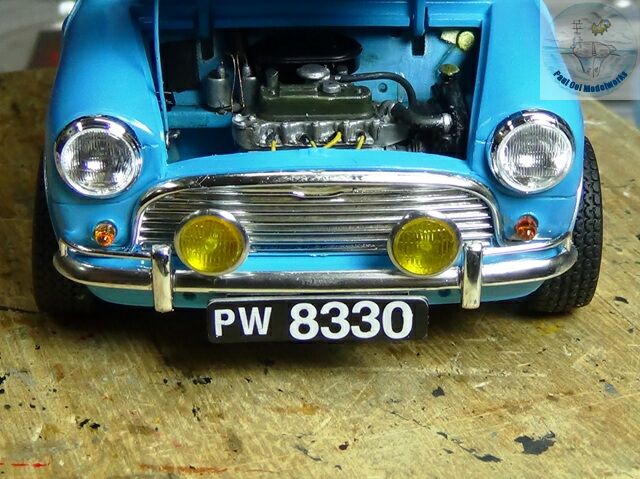 I tinted the lamps with Tamiya Clear Yellow and mounted them on the front bumpers just like the original! What a sporty difference that made to the humble 850!
Congratulations, nice model of a nice memory. I am building currently a mini 1:24 as well, but from Tamyia, a „cafe-racer“ following the sample of cool n‘ vintage.
Perhaps you should get it as well in 1:1…
Best regards vom Austria
Hello,
I would love to get it in 1:1 for the same old model, not the new one that is not the same. However, a good running one is hard to find, and the spare parts are even rarer. Good luck with the Tamiya build.
Paul