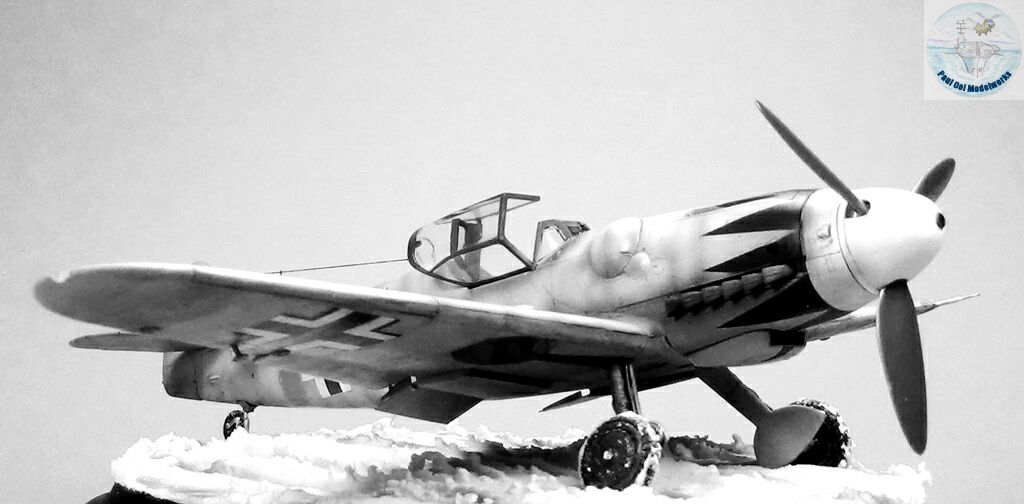
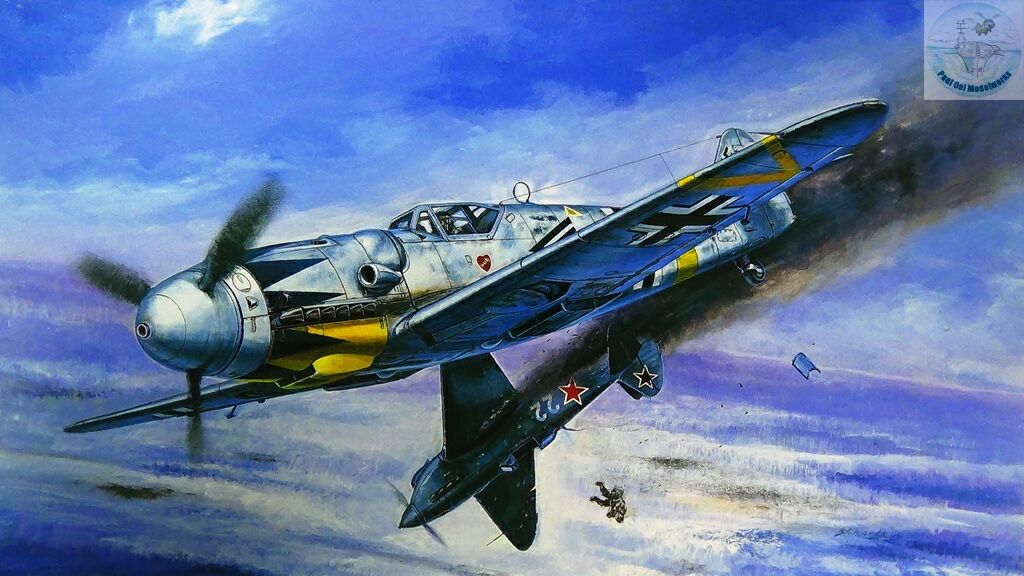
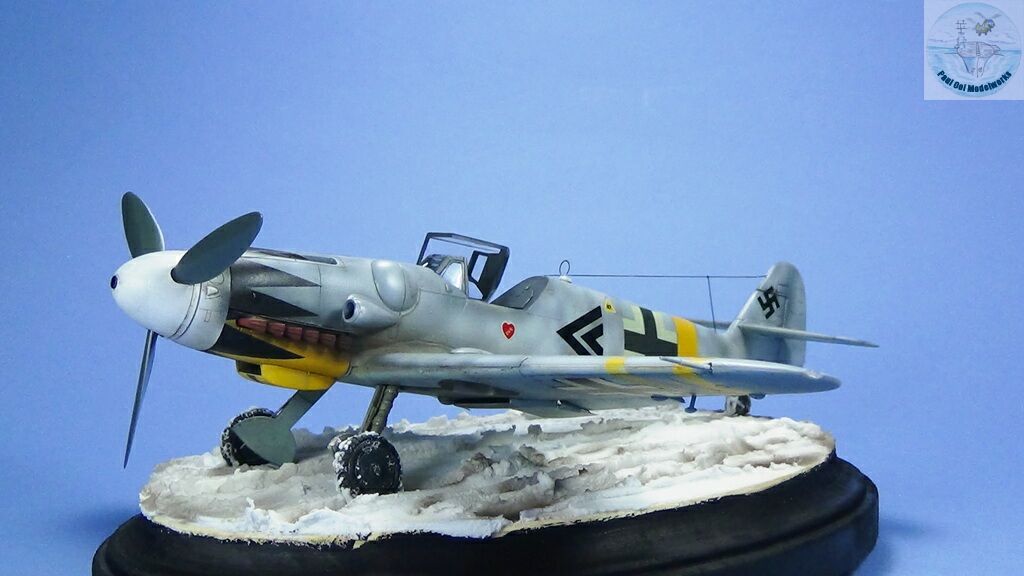
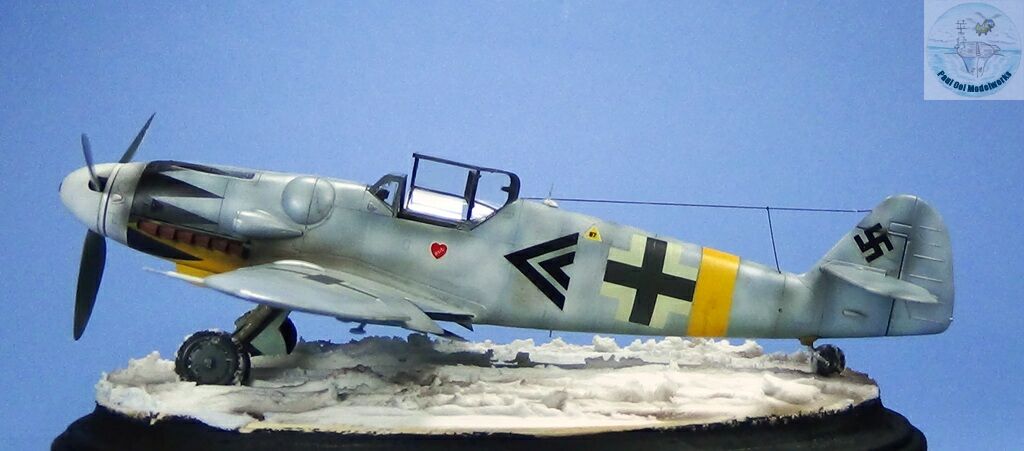
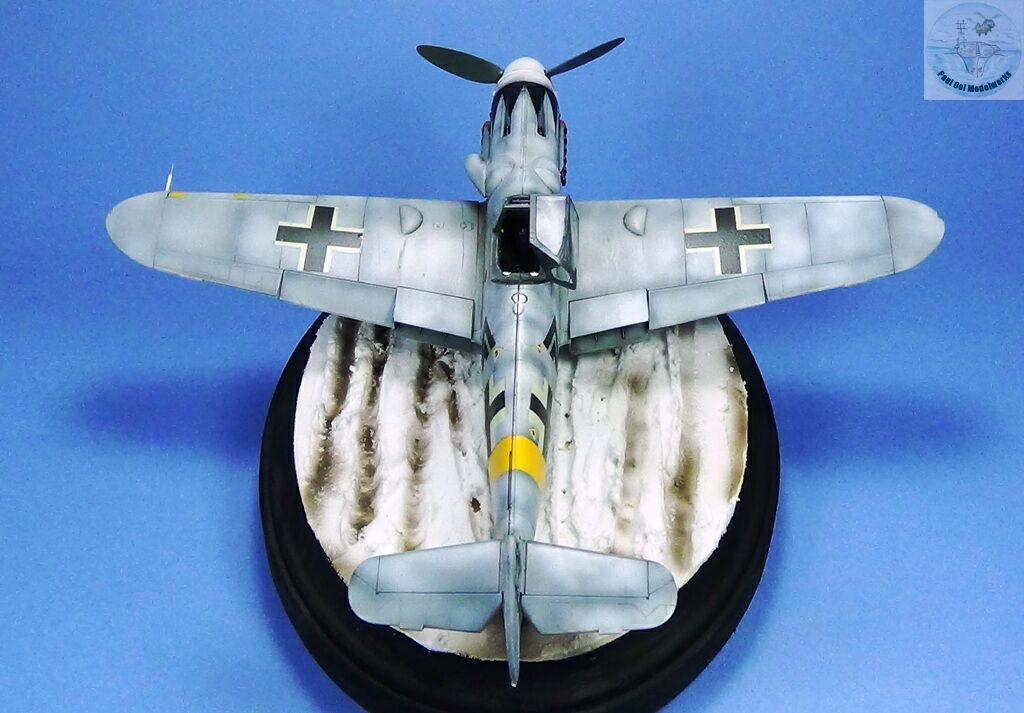
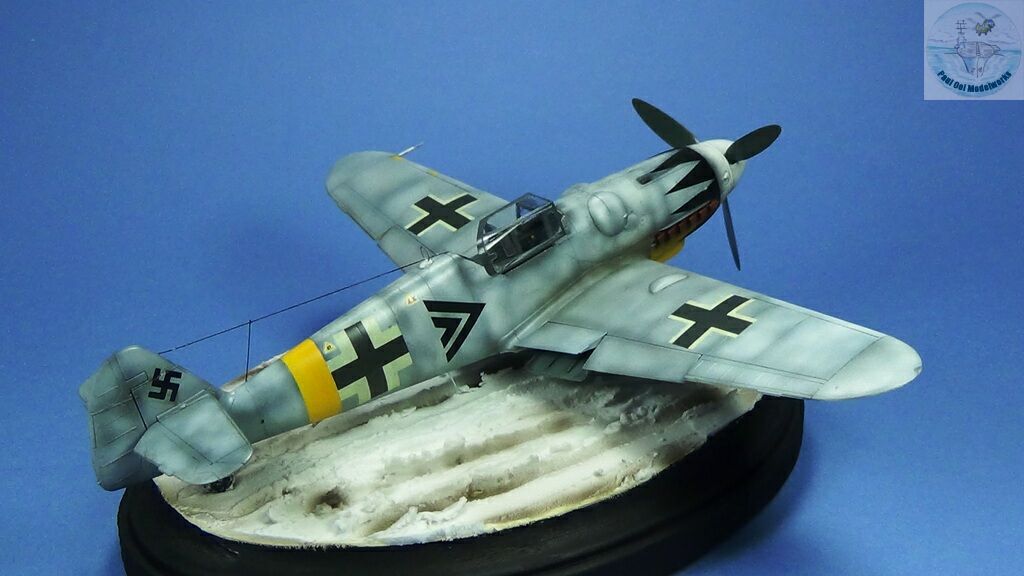
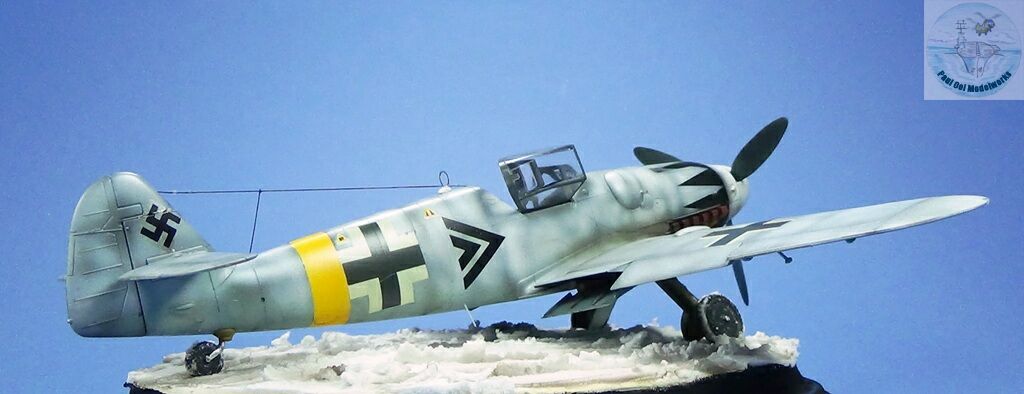
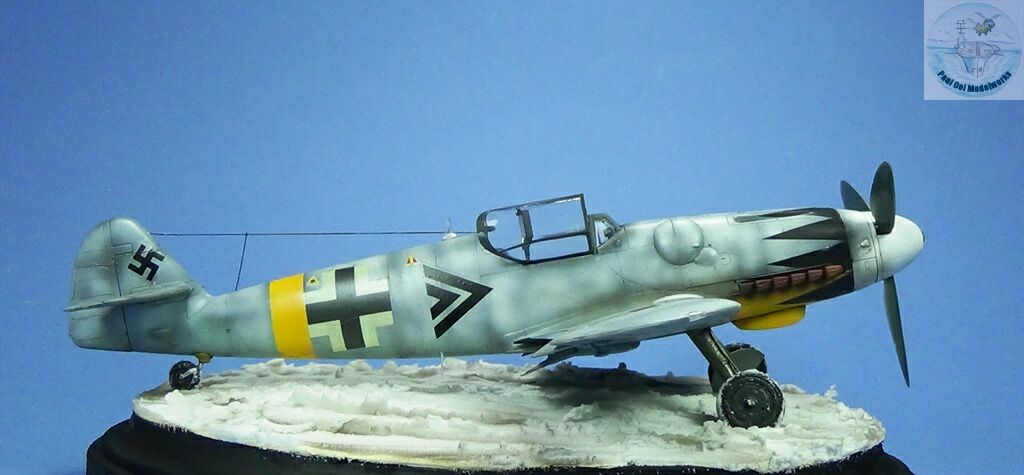
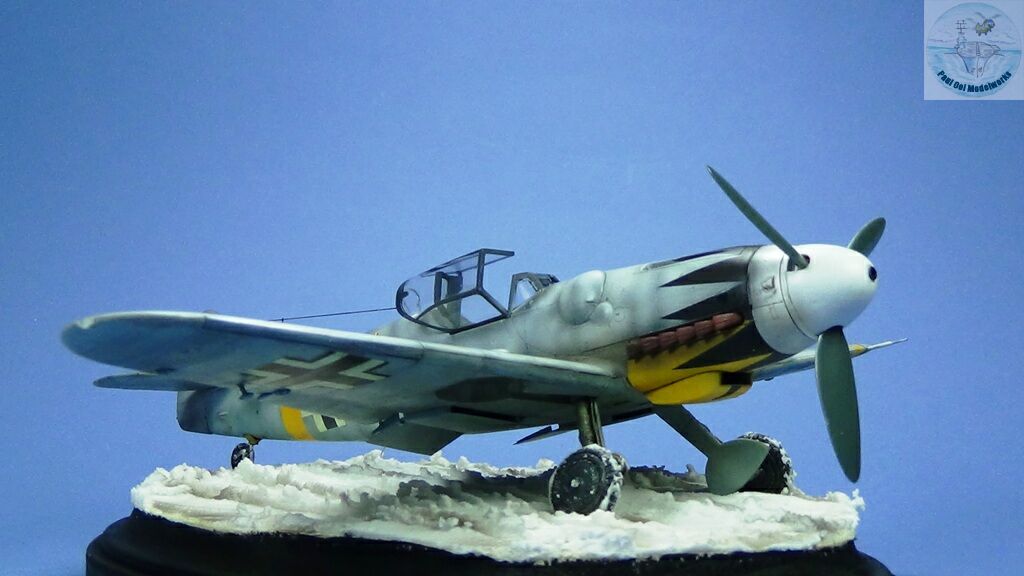
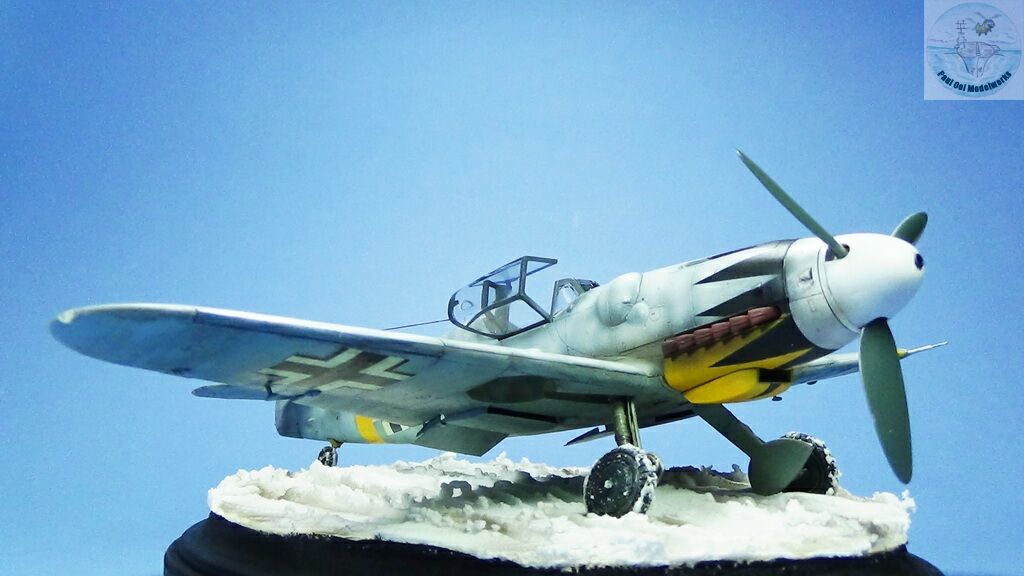
The Messerschmitt Bf 109 can really grow on you, as I just built a second one immediately after my recent Friedrich project. Between the Hans Bob Bf 109-F2 and Erich Hartmann’s Bf 109-G6, there were 4 years of hard fighting against the Soviets in the Eastern Front. Erich Hartmann still holds the world record of the most combat kills achieved by any fighter pilot in the world, totaling 352 kills out of which 345 were in the Eastern Front. Hartmann decorated his aircraft with his signature black tulip pattern around the nose, a practice that he continued into the post-war Bundeswehr with his F-86 Sabre. Today JG71 still honors this great fighter pilot with the same black tulip motif on their aircraft.
The G6 was the most prolific of the Gustav series and was the main fighter in the Luftwaffe at the end of the war. A much heavier machine than the Friedrich, The Gustav made up for the loss of agility with sheer power and heavier armament, and it was an extremely dangerous adversary for any Allied flyer. The most distinctive feature of the Gustav was the twin bulges over the machine gun housing on the nose. The main cannon was also upgrades from 20mm to 30mm. So popular was the G6 that several other nations continued to operate them in their air forces right into the 1950’s.
Gallery
Construction Notes
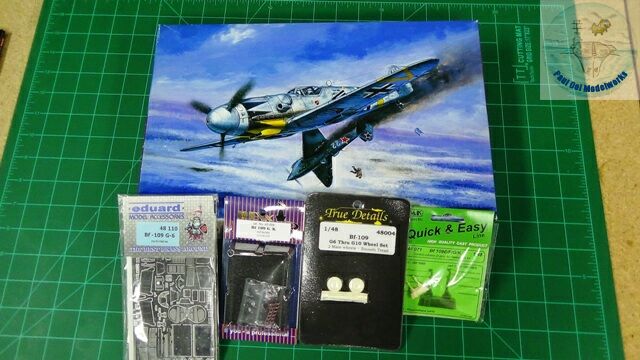
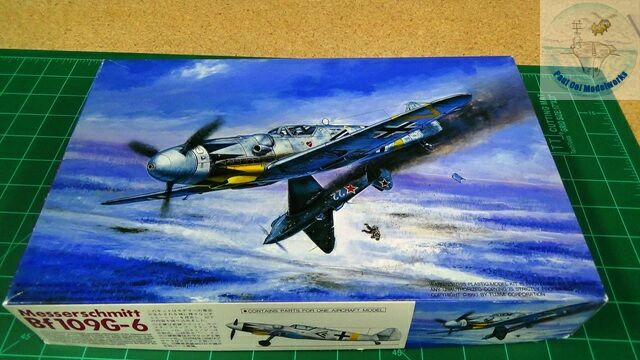
I got this kit about 10 years ago at about the same time as I bought the Zvezda Friedrich. However the Fujimi 1/48 scale kit is an older vintage than the Zvezda kit, first issued in 1994. This particular kit already sat in the store for almost a decade by my reckoning when I bought it, and the condition of the decals show the age (more on that later). The kit was nicely molded with crisp surface details, and moderate engraved panel lines. The box art is certainly a winner and anyone who says that great box art does not sell the kit does not know what he is talking about. Together with this kit, I had collected an Eduard detailing photoetch fret, Rexx exhaust manifolds, CMK joysticks, and True Details wheels.
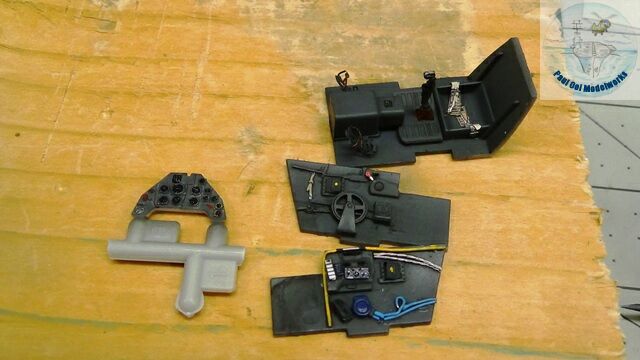
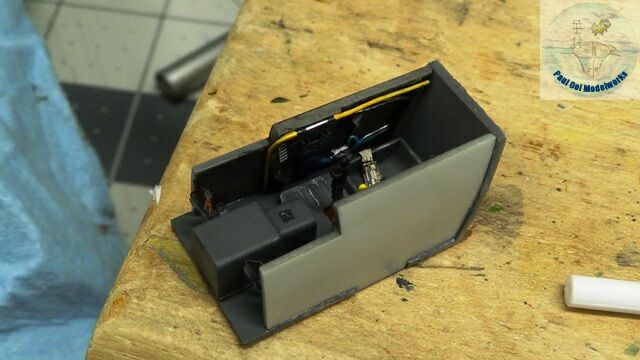
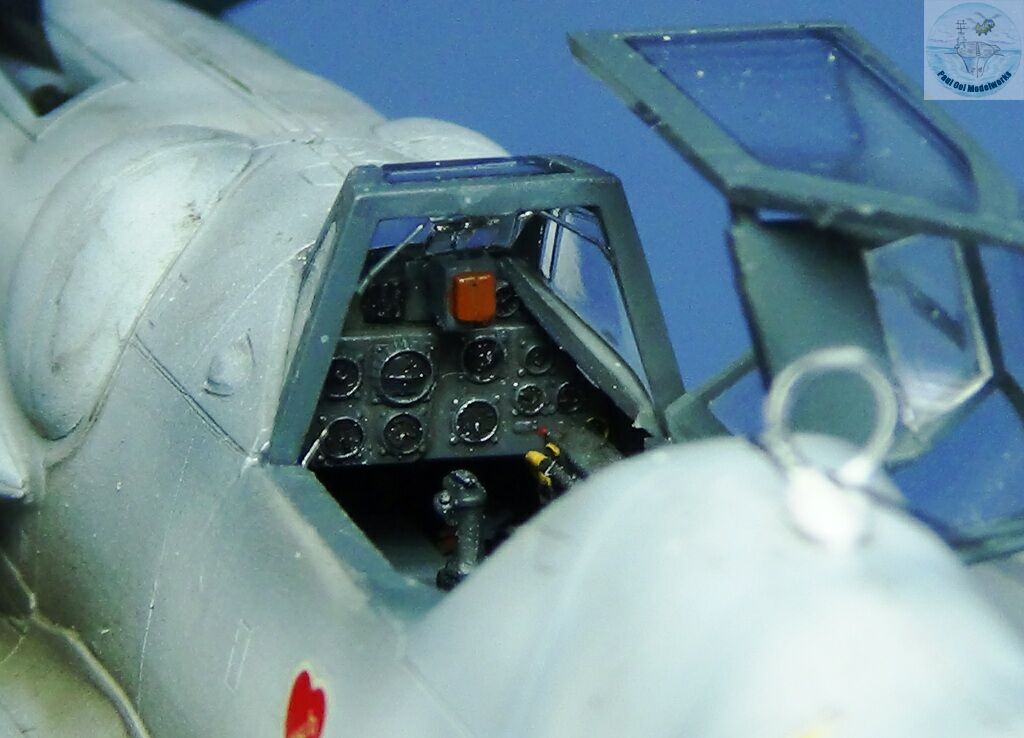
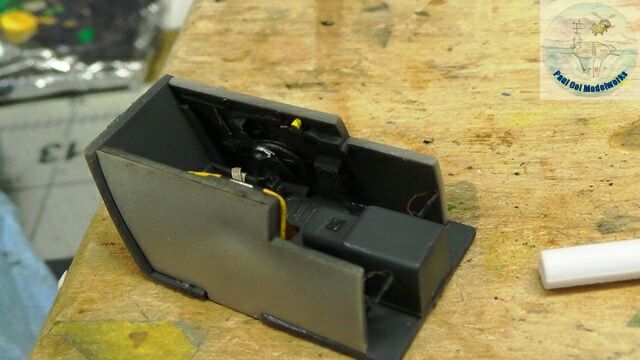 The Fujimi cockpit was a very basic affair and it builds into a tight tub insert. Apart from some enhancements from the Eduard photo-etch set, I also added several important and visible tubing into the cockpit, like the bright yellow fuel line running on the port side of the cockpit tub, and the blue oxygen line running below. The main coloration of the cockpit is this almost-black RLM66 Schwarzgrau. I decide to use the kit’s instrument panel instead of the Eduard one because the former fitted better and the level of molded detail was very good, just needed minute painting.
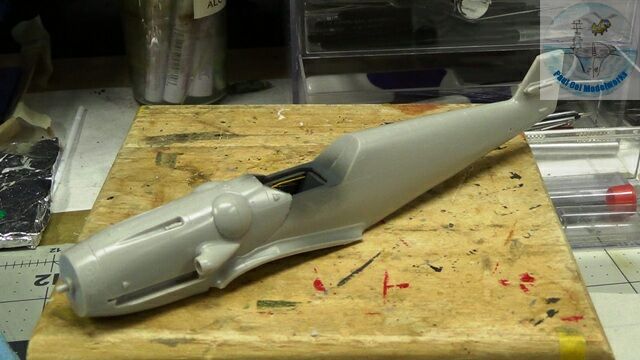 Once I could get the two fuselage halves together, the cockpit tub sits very snugly inside. Fujimi has this weird fuselage section just forward of the cockpit to have this curved “panel line” where it joins the main fuselage. This prominent curve needs to be removed or it would affect the appearance of the aircraft as there is no such panel separation in the actual aircraft.
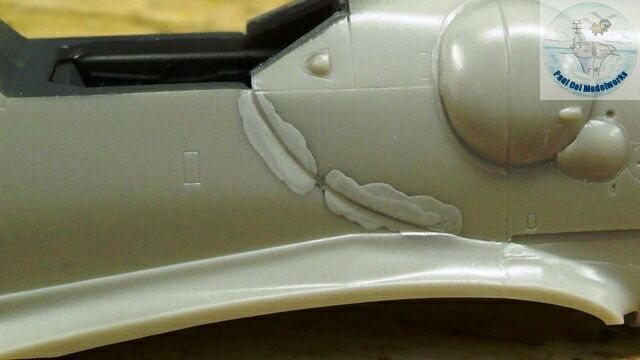
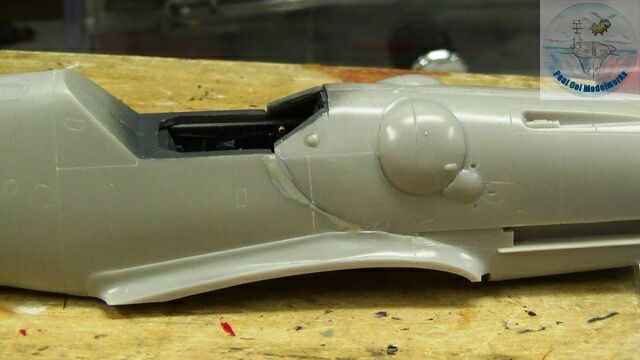 I had to fill in the curved line, first with Squadron white putty, and then a final layer of Mr. Surface 1000. Then I re-inscribed the actual vertical line for the panel at that location. This had to be done for both sides. If this problem bothers you, then the Fujimi kit is not for you.
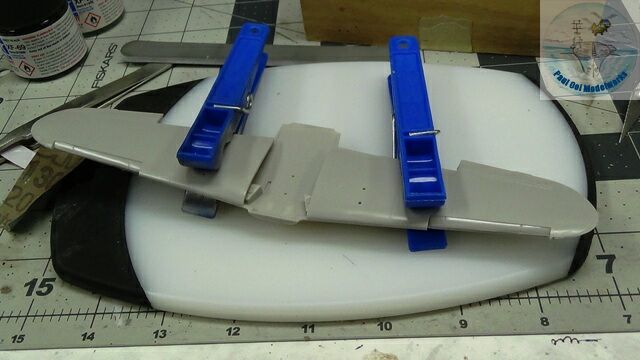
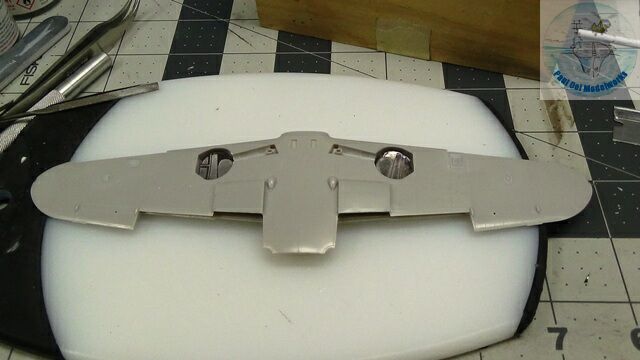
Next the wing sections come together, after which the wheel wells were lined with surface details from the Eduard kit. At this point I also grafted two pieces of clear material onto the wing tips for the navigation lights.
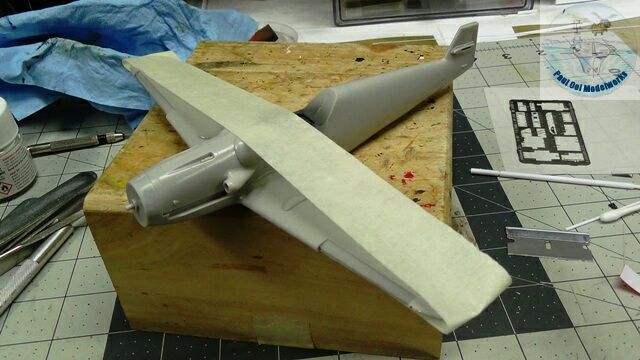
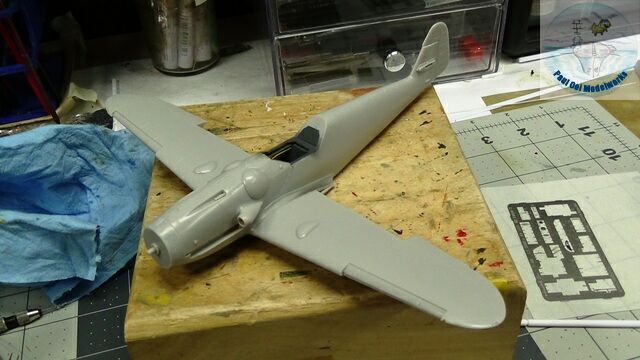 The wings get attached to the main fuselage and needed some tension-taping to achieve the correct diahedral angles.
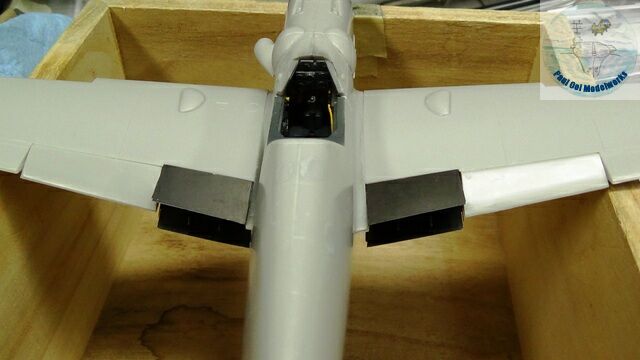 Next, I installed the flaps and the coolant heat exchange assemblies.
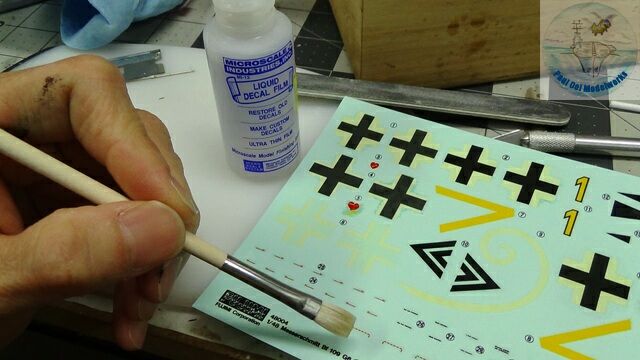 I had mentioned about the age of this kit, and now we have some problem with the cracking of the decals. In order to avert a decal disaster, I applied Microscale’s Liquid Decal Film and let it dry for several hours.
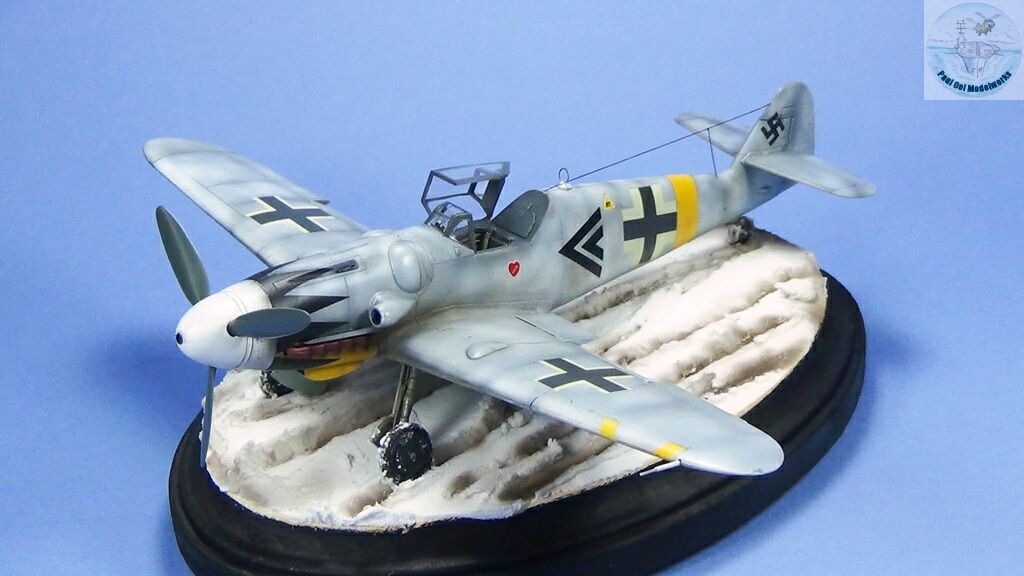
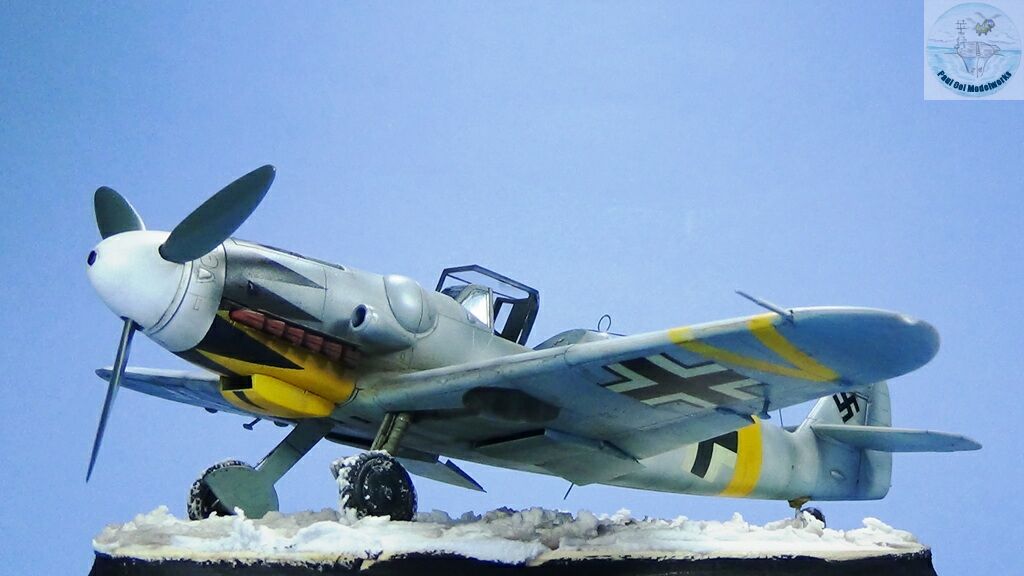
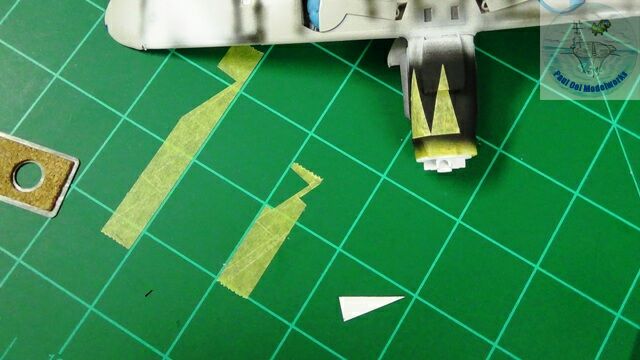 The Black Tulip pattern on Hartmann’s aircraft is the most prominent feature, and I felt that the decals supplied will have a hard time settling onto the varied curved surface of the Gustav. Instead, I used one piece as a template and traced 9 of these shapes onto masking tape, and then apply them over the Matt Black nose area that I had painted earlier.
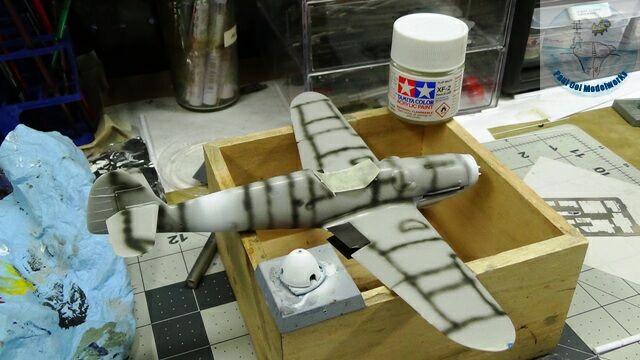
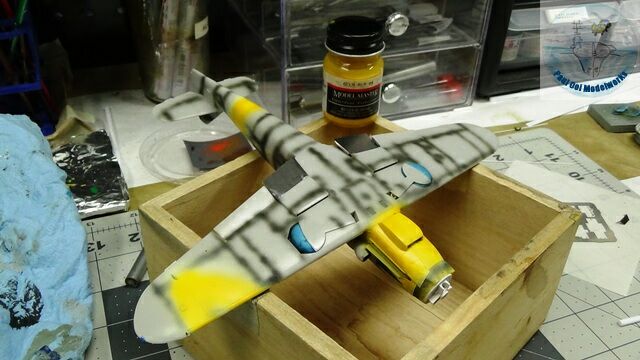 The rest of the airbrush work was undershading with Tamiya XF69 NATO Black, undershading all the yellow identifier markers with Tamiya XF-02 Flat White, and then Model Masters Gelb RLM04.
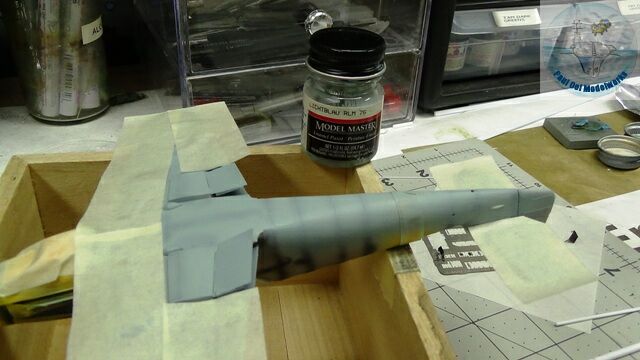 Masking off the yellow regions including the chevron pattern on the starboard wing, I spray the underside surface with Model Masters Lichtblau RLM76.
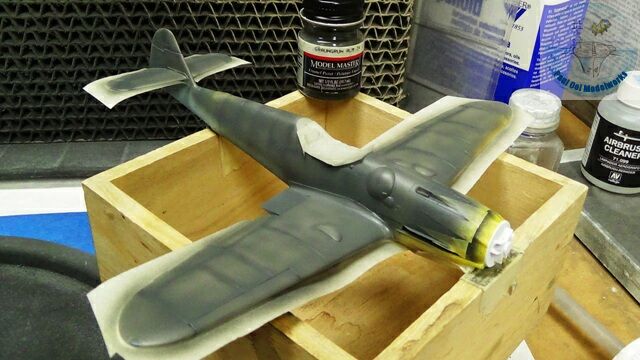
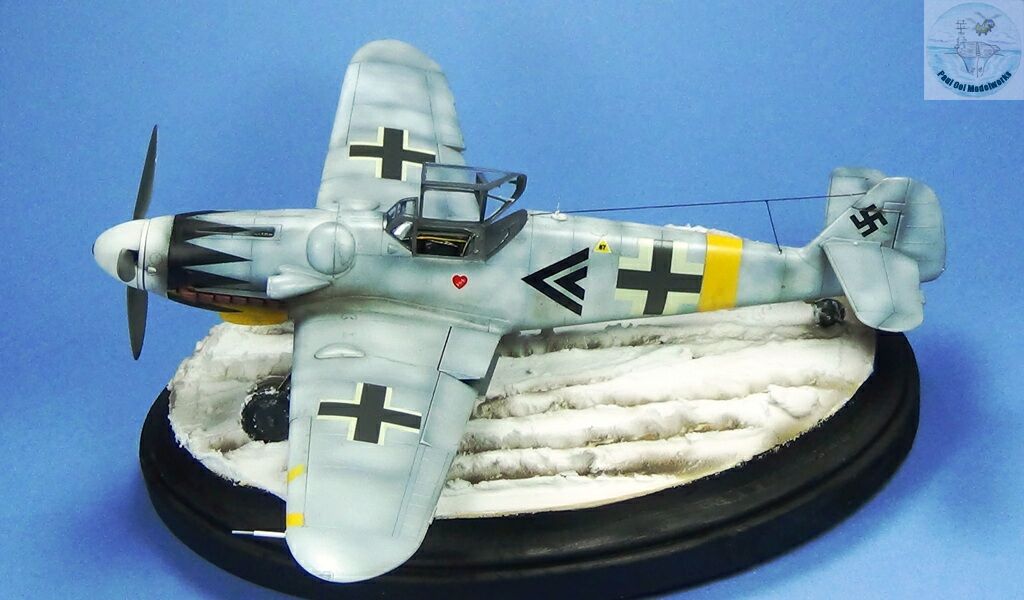
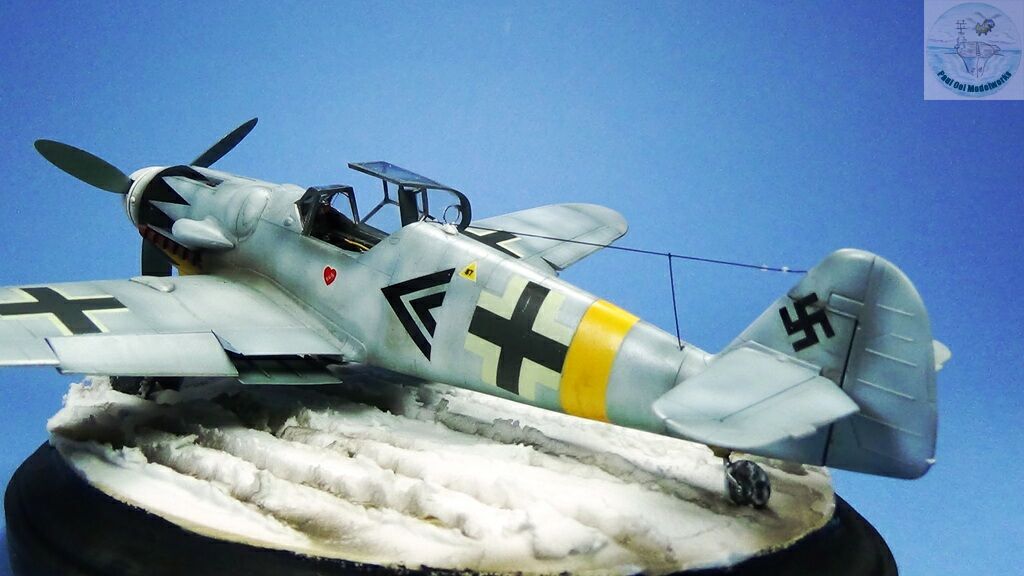
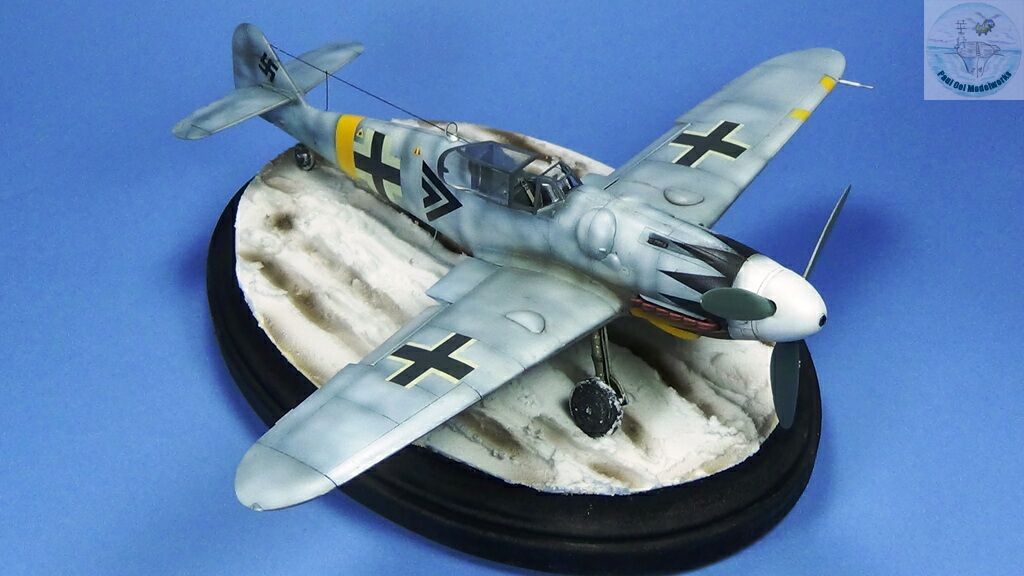
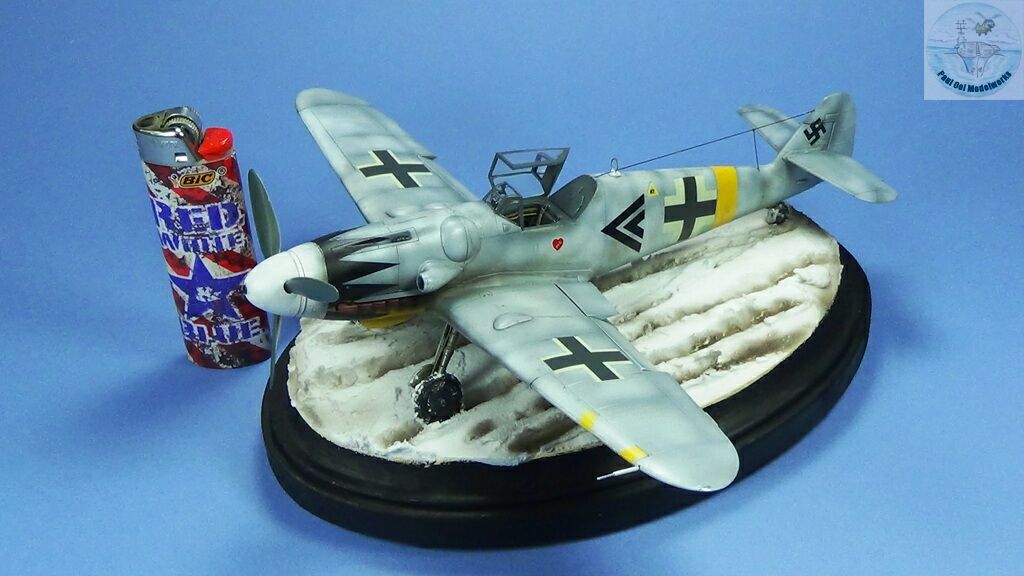
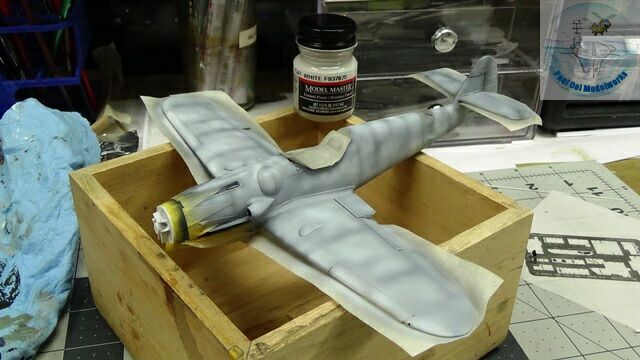 The topside is first covered lightly with Model Masters Graugrun RLM74. Then setting to very fine spray (remove front difuser) and about 14psi of pressure, I applied the winter white coating using Model Masters Flat White. The intention is to apply uneven coats along the panel lines, and areas of high wear consistent with the harsh field conditions.
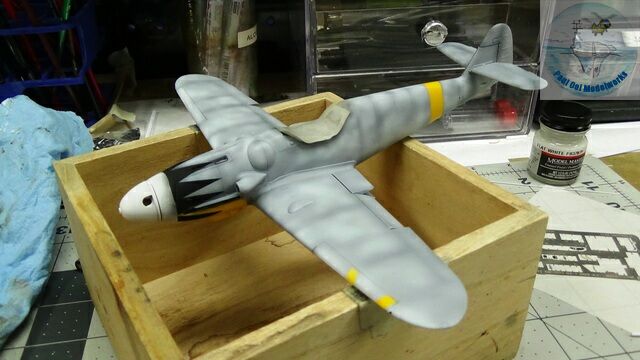 This is what the full pattern looks like after all the masking have been removed.
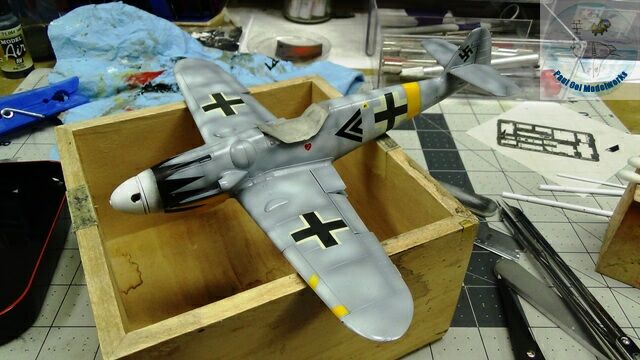 I applied Pledge Future Polish onto the whole aircraft and let it cure for 24 hours before applying the repaired decals. The film worked wonderfully and I did not have any mishaps with the old decals. They settled down nicely with some Microsol.
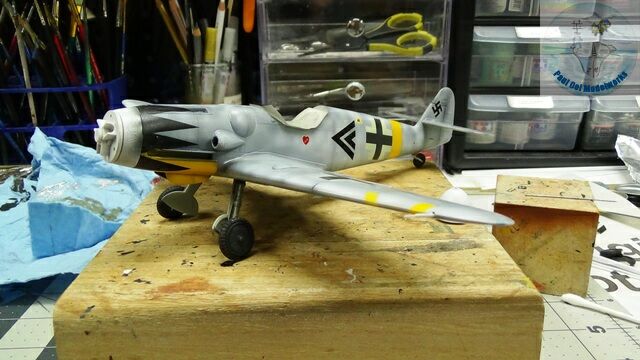 Setting the front undercarriage wheels are always a challenge for the Bf 109 due to the unusual forward and outward splay. This process takes time and careful alignment by eye and also with references to the drawings that came with the kit.
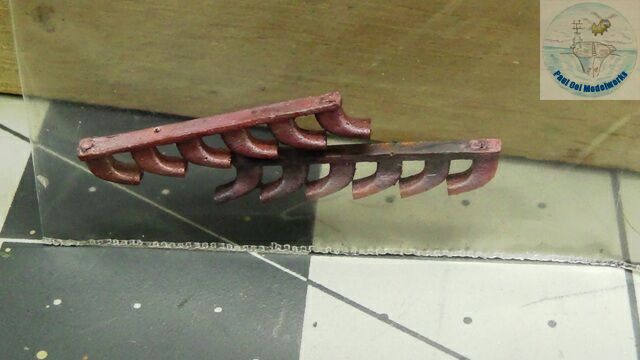
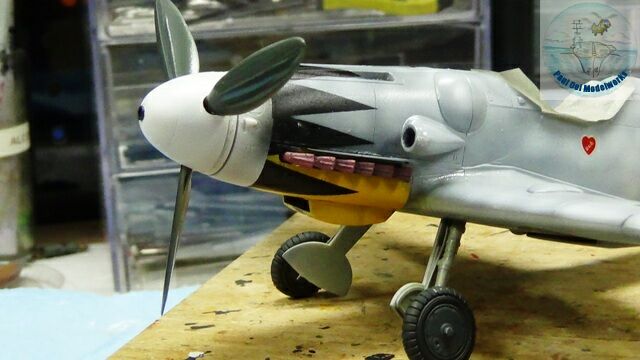
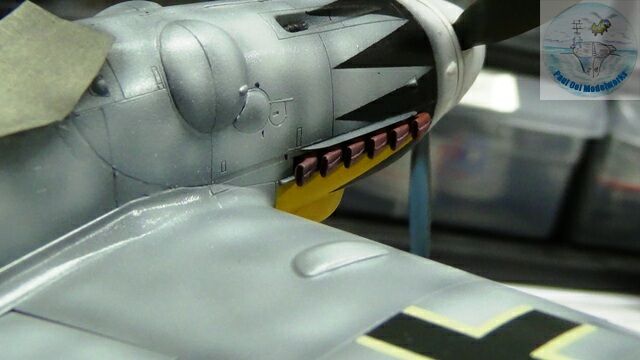 I picked up these Rexx (Ukraine) manifolds some years ago during Nordic Con. They are exactly the correct color and tube wall thickness for 1/48 scale. After this, I sealed the entire model with a satin varnish and left it to dry for another 24 hours.
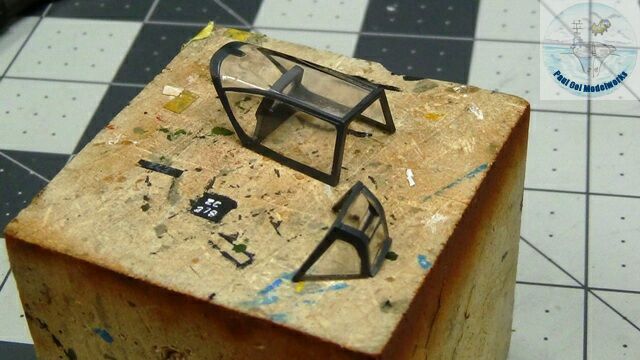 While waiting for the varnish to cure, I worked on the clear canopy parts, adding the armored glass headrest.
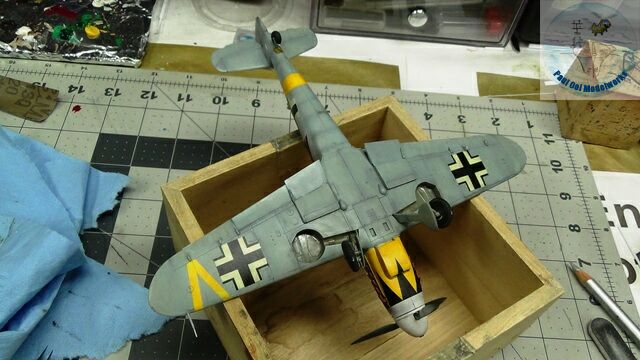
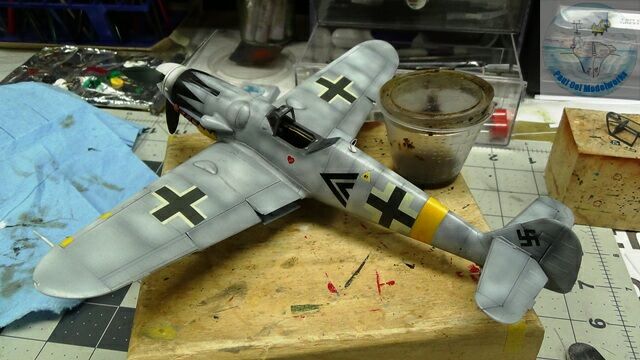 Then I apply an oil wash of 50:50 Lamp Black and Burnt Umber.This time I left the streaks in place instead cleaning them up, to simulate a heavily used aircraft in the closing days of WW2.
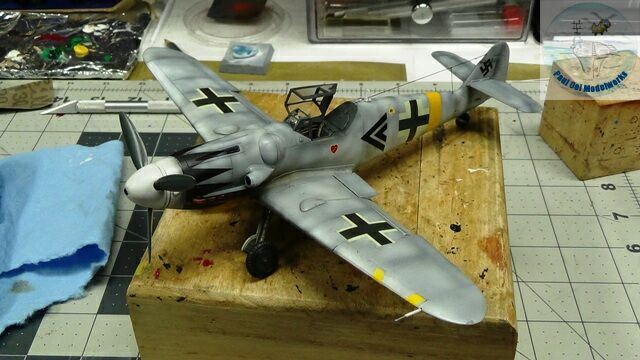 Adding the wire antenna (stretched sprue), the aircraft is finally completed.
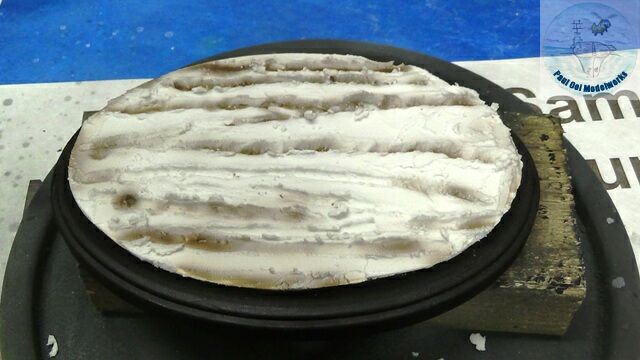
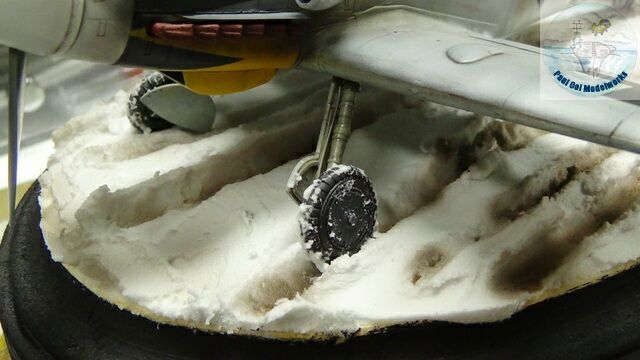
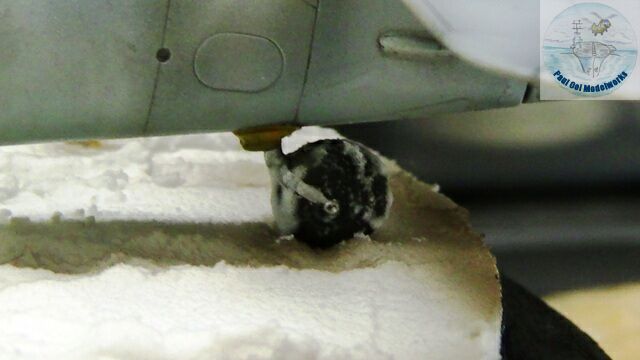
I wanted to show this aircraft sitting on a snowy field in Hungary in February. Anyone who has spent any time in snow country knows that snow and machines do not mix very well. The wheels churn the snow and the mud below it into a brown mire especially when it is very wet. Also, the tires can coated with some of that stick slurry mix. I used a small brush, mixed water and plaster to apply them onto the wheels to visually “tie it” to the snow field.


Leave a Reply