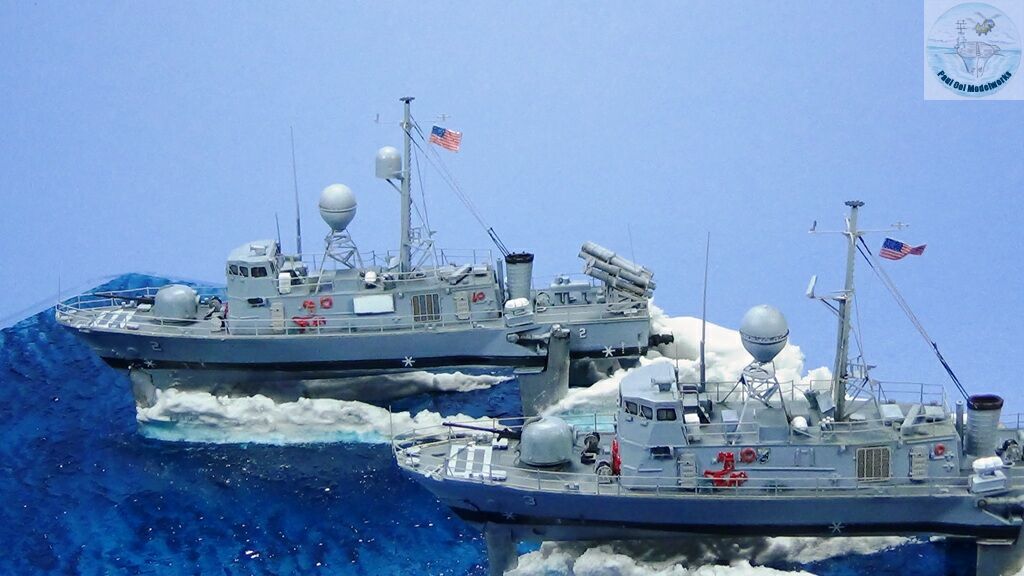
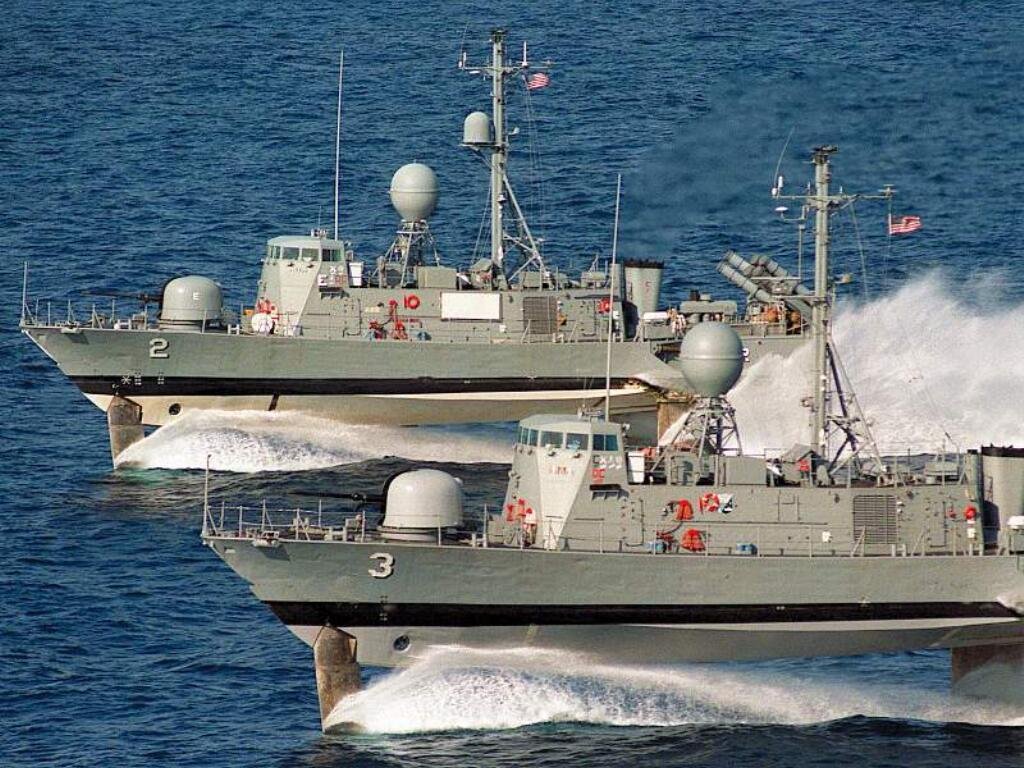
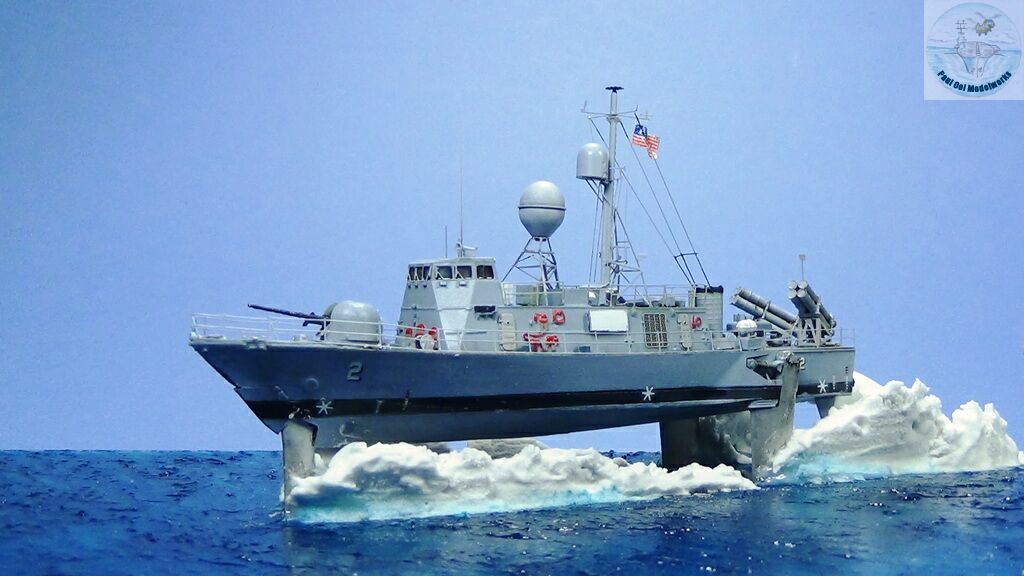
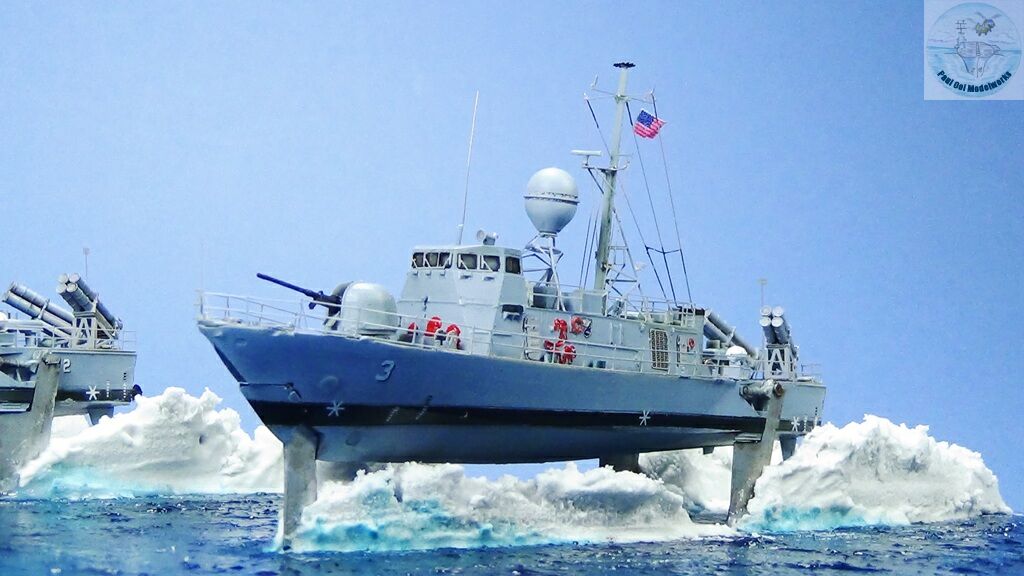
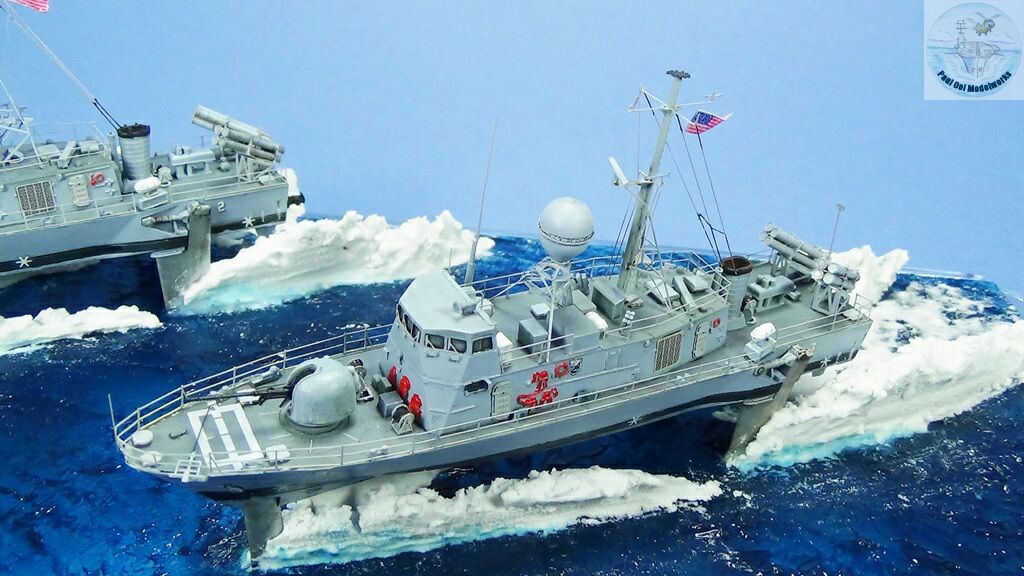
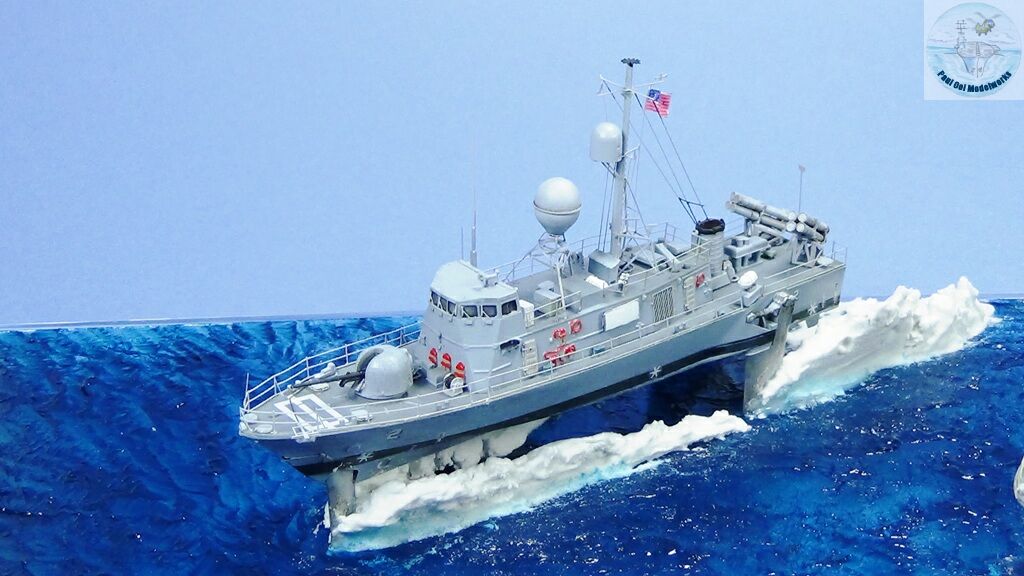
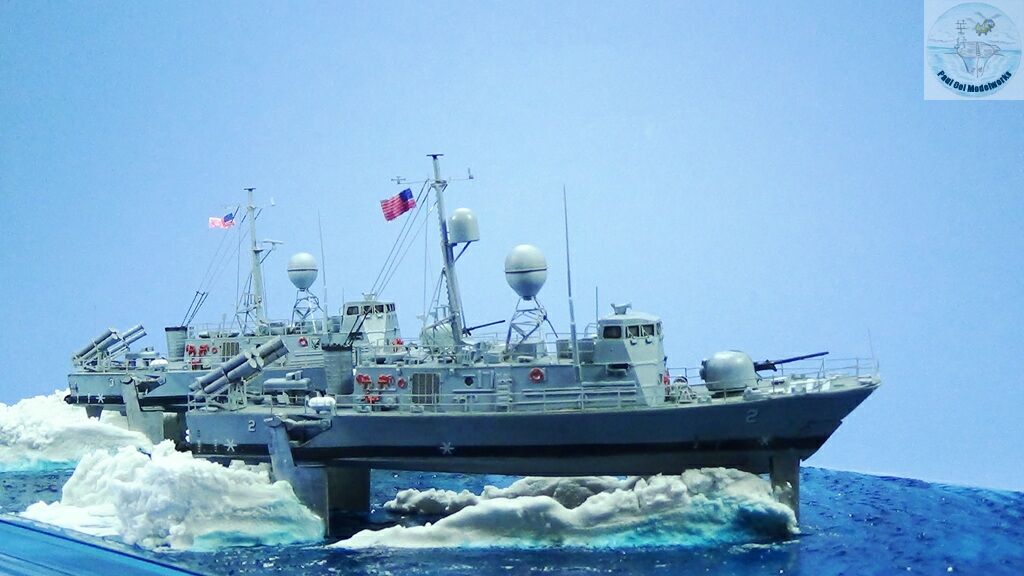
The Pegasus Class hydrofoil patrol craft were once the fastest surface vessels in the US. However their careers were pretty short between 1977 to 1993. This was mainly due to changing naval operations doctrines and a lack of acceptance of these unusual vessels among more traditional-minded commanders. Originally intended for NATO operations in the Baltic and North seas, these thoroughbred boats ended up doing contraband and anti-drug operations in the Caribbean based out of Key West FL. Once in the extended foil mode, these boats can do up to 48 knots and carry a full payload of eight Harpoon missiles.
In operation, the hydrofoils were extremely effective and chased down or neutralized many drug runners approaching the US coastline. They were also magnificent to watch as they cut through the water in a way akin to flying. Once in foil mode, wave action did not affect the main hull and the ride was smooth, allowing good fire control of the turret. The boat itself, with a single gas turbine for foil-borne, and 2 diesel engines for the hull-borne propulsion was relatively simple to operate and maintain.
Gallery
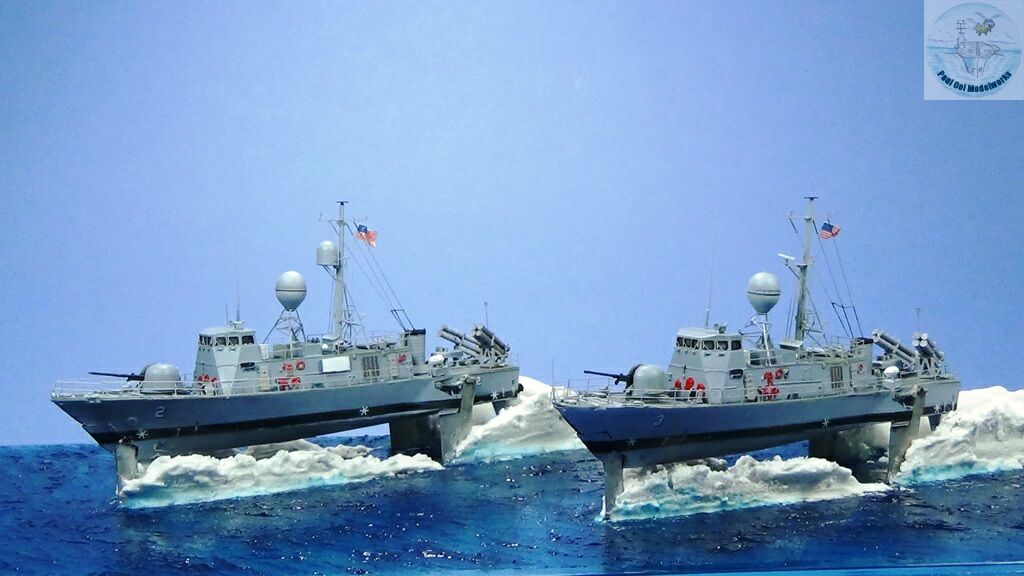
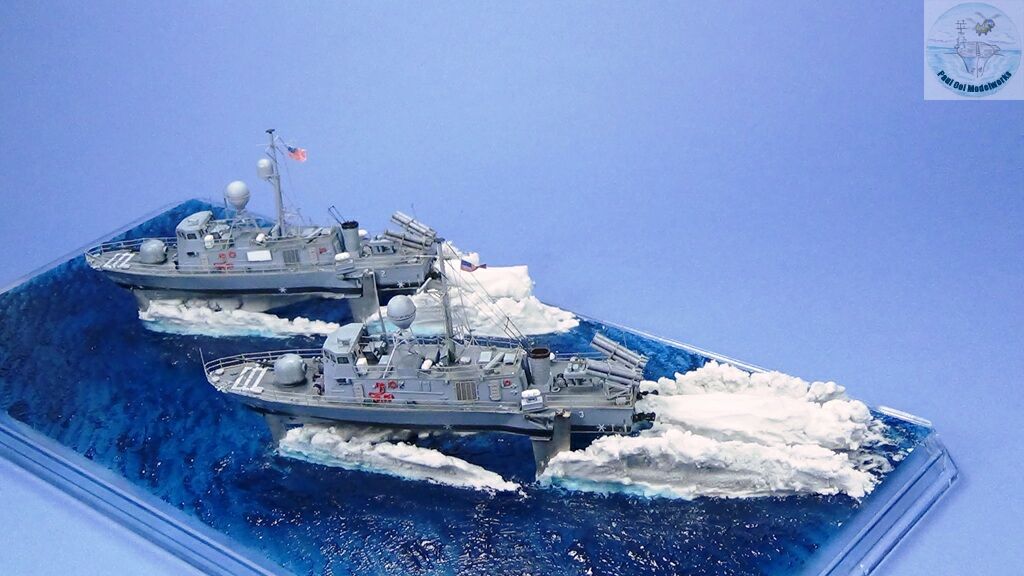
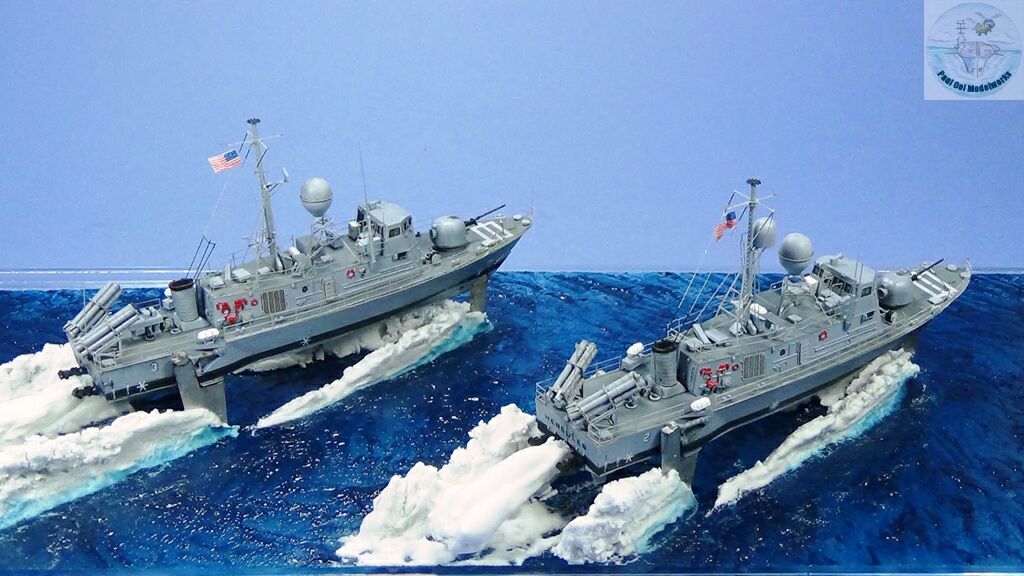
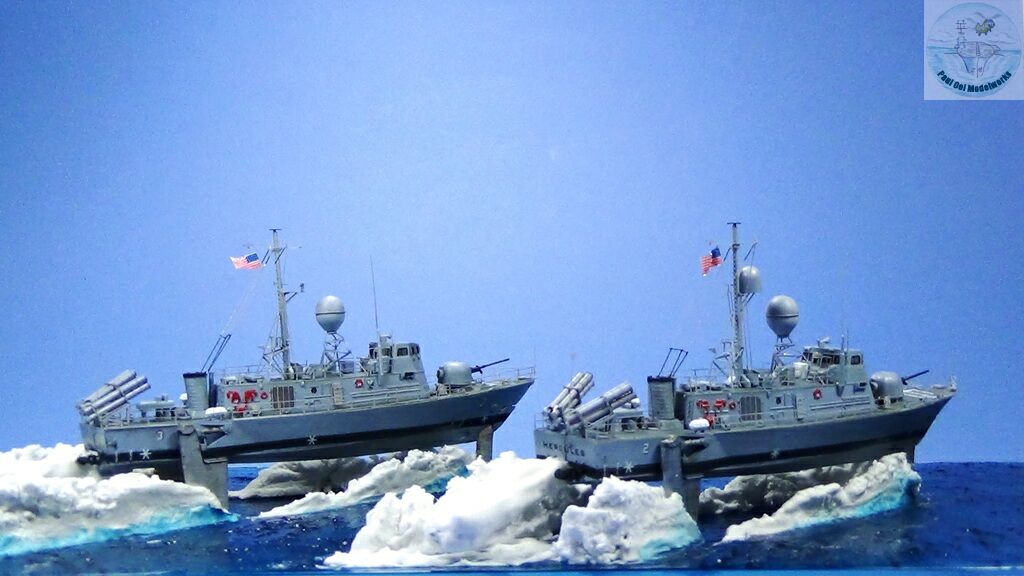
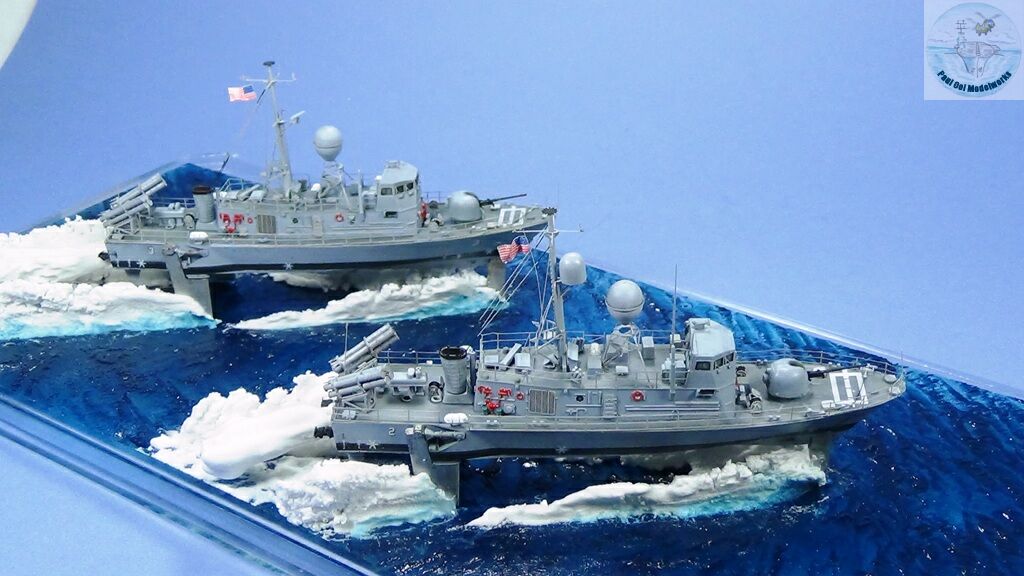
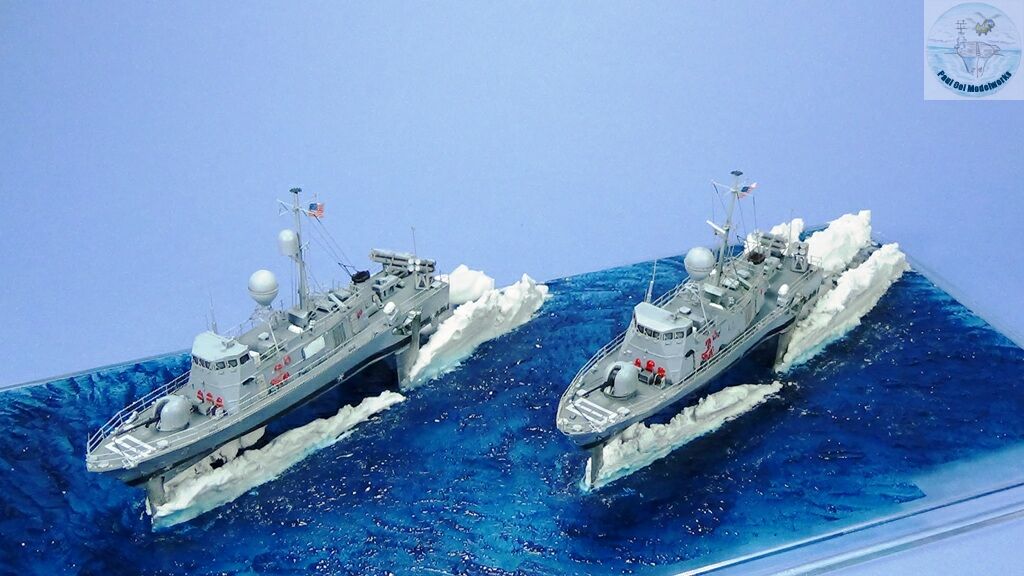
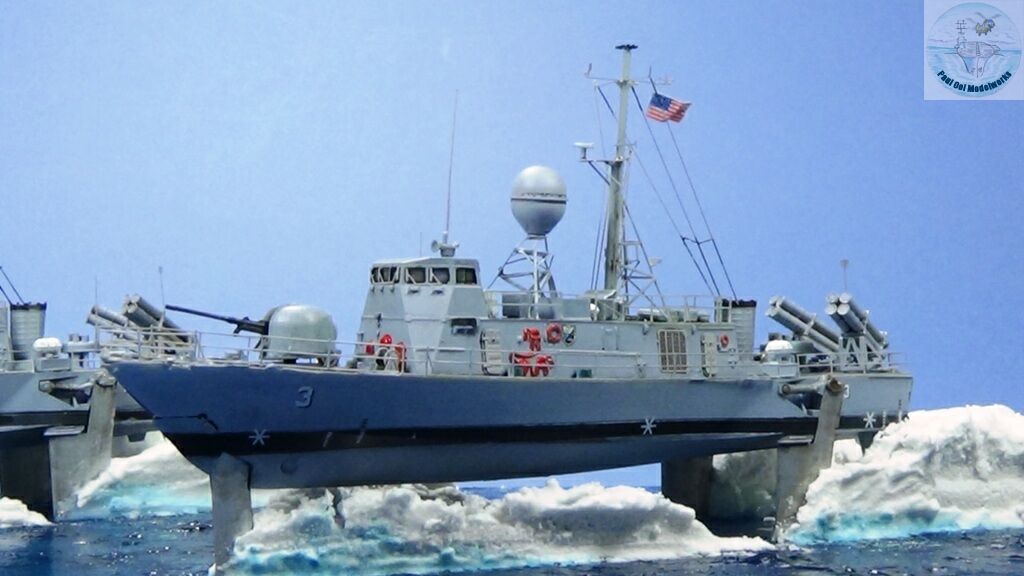
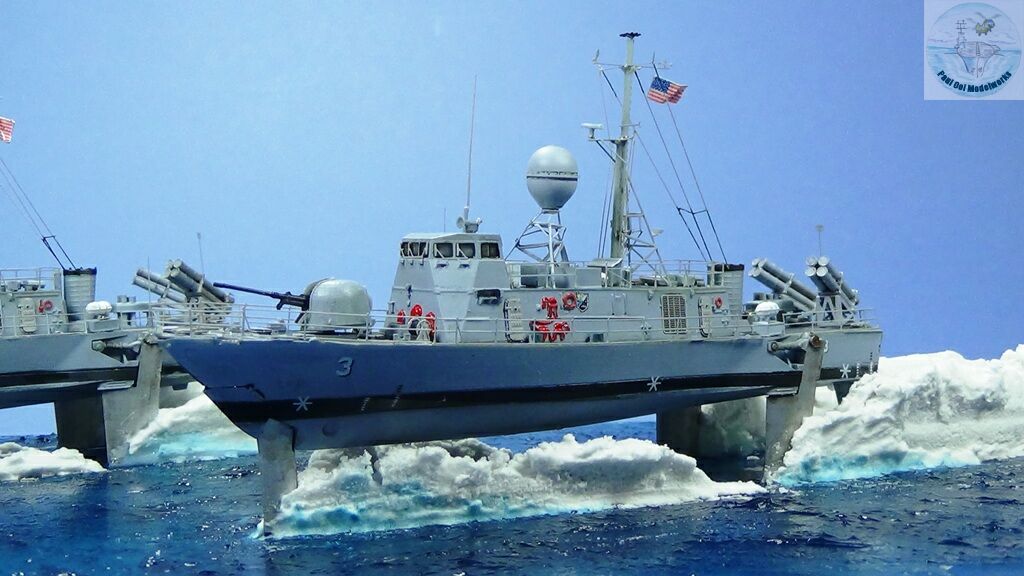
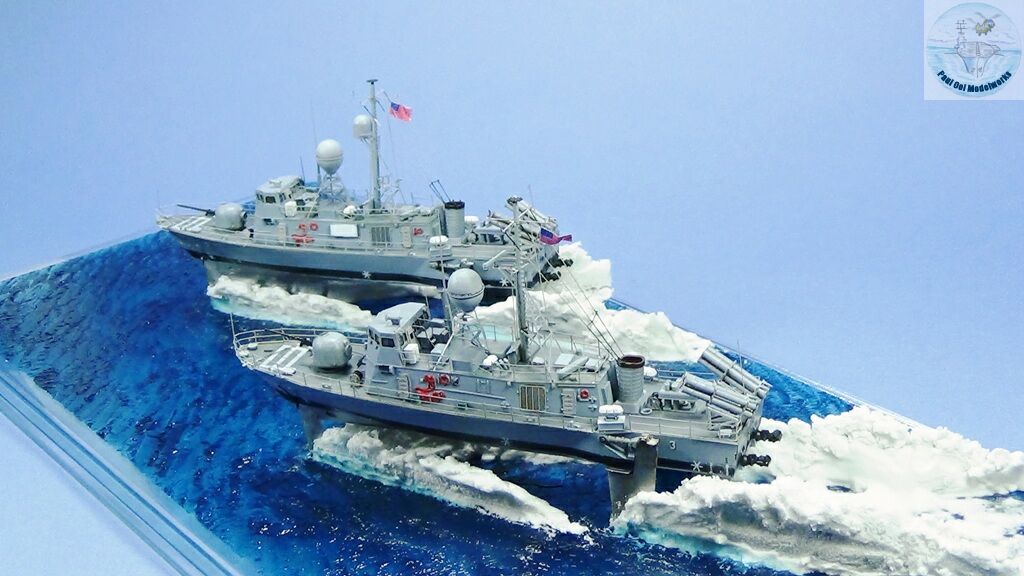
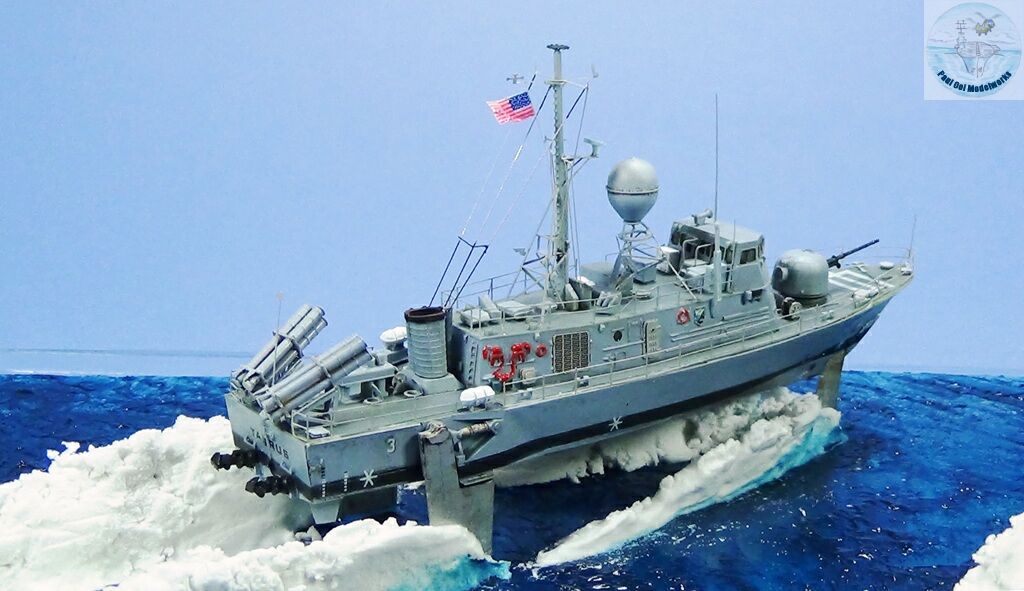
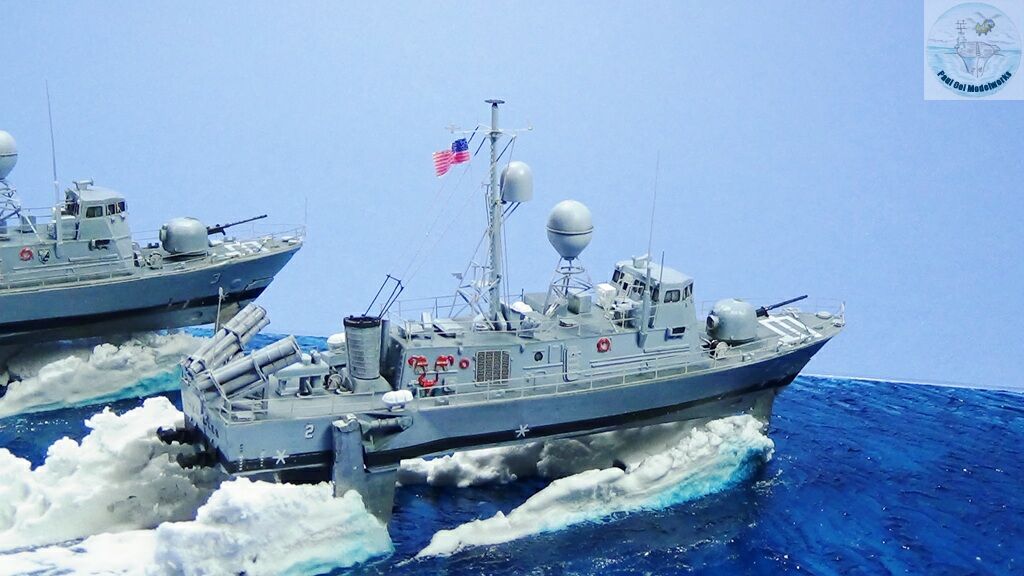
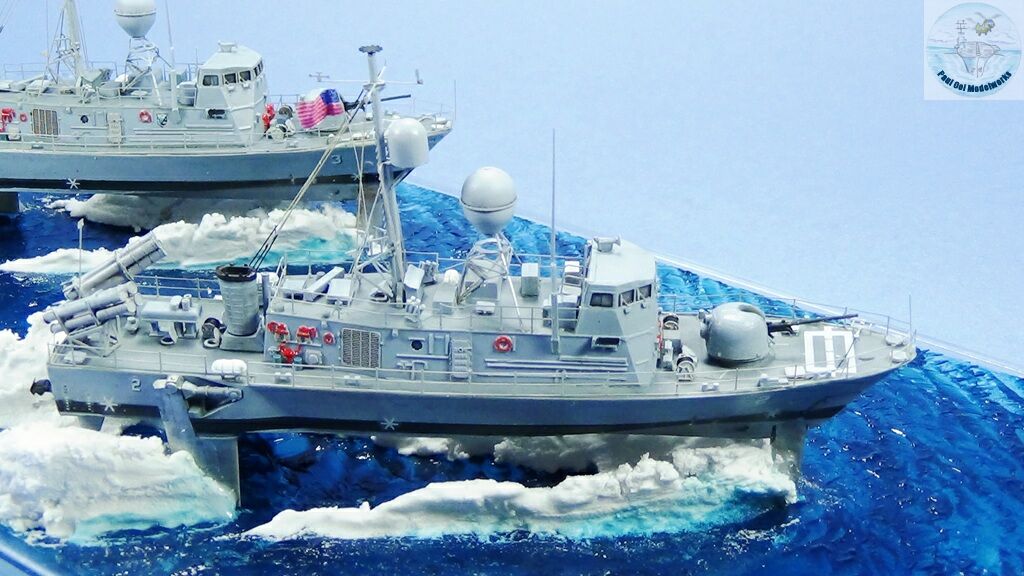
Construction Notes
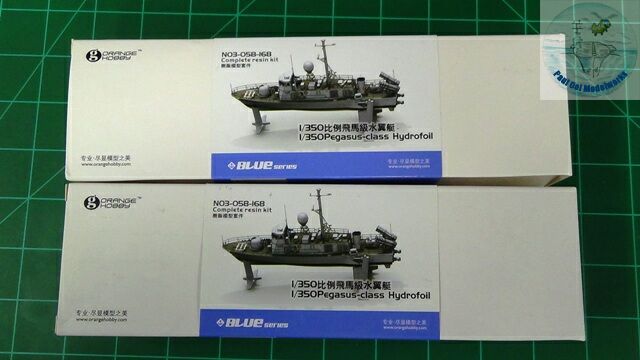
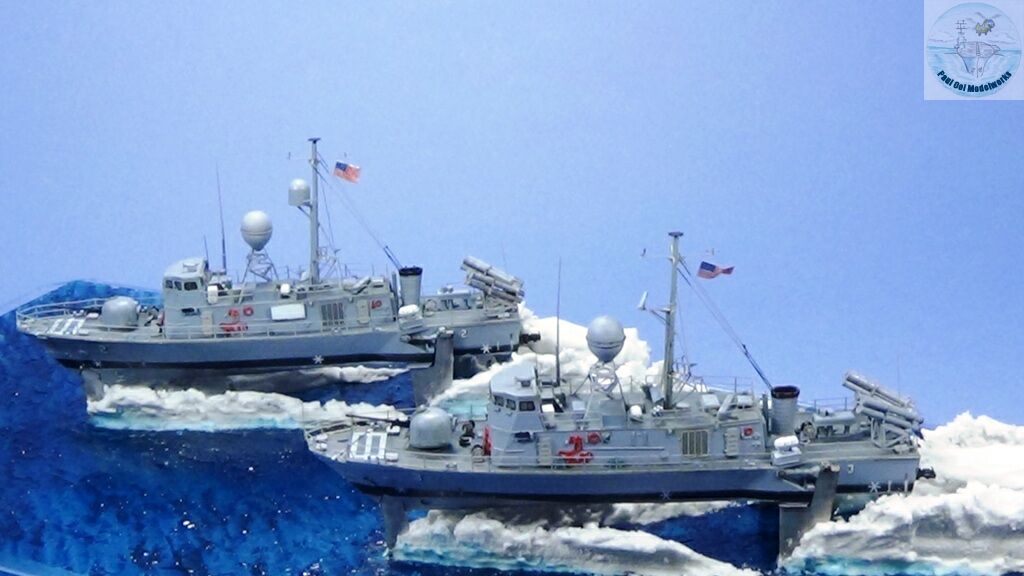
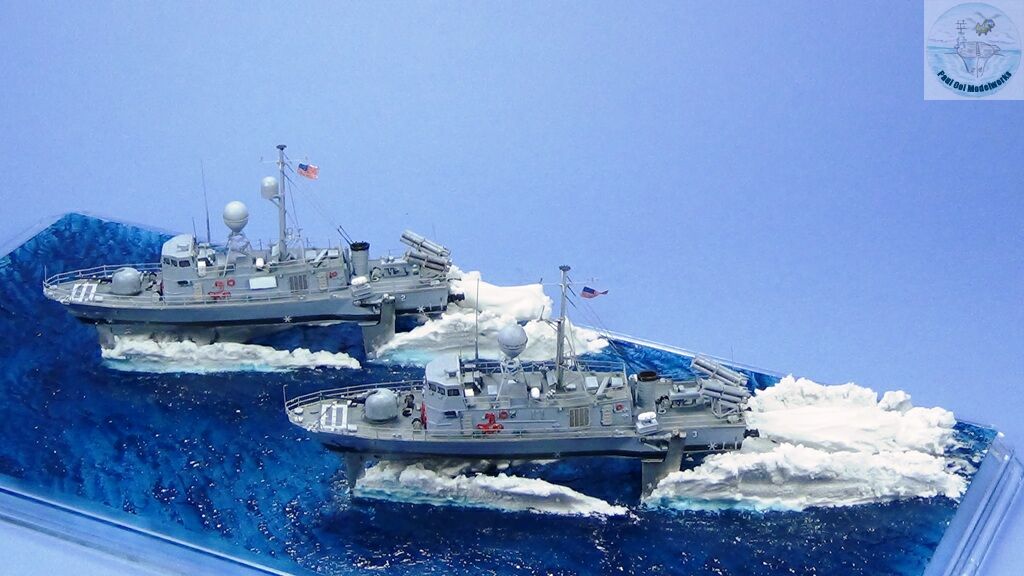
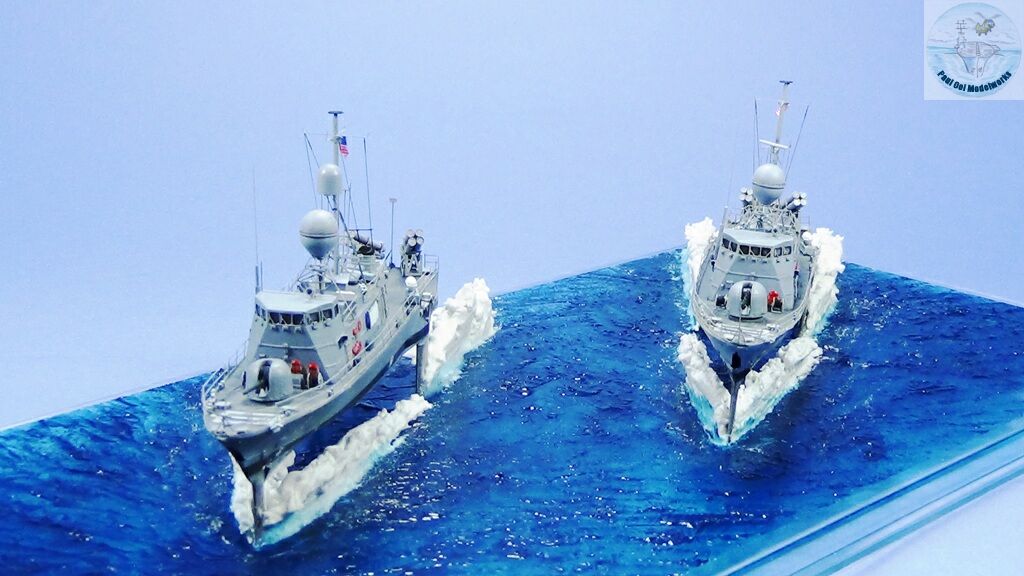
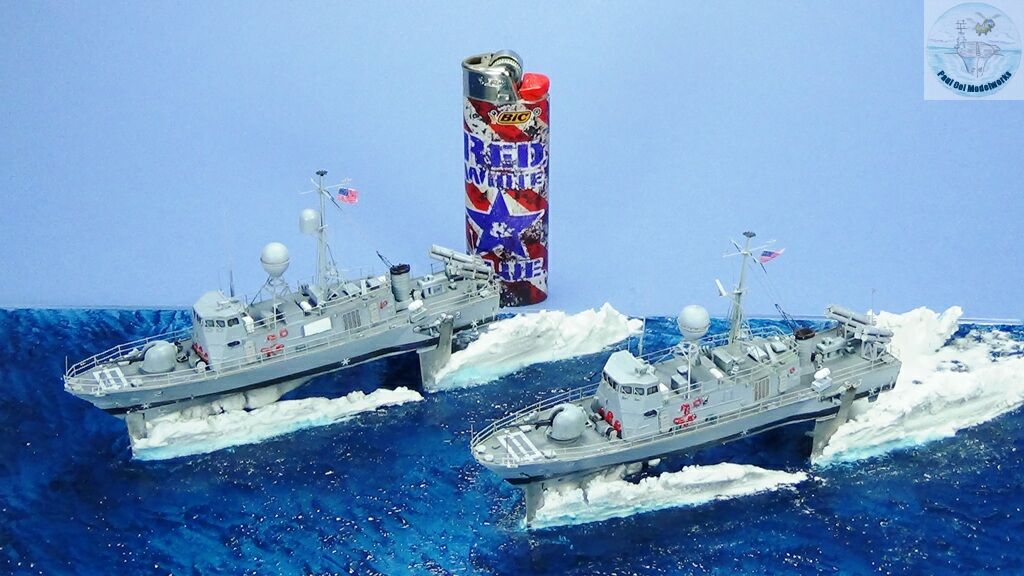
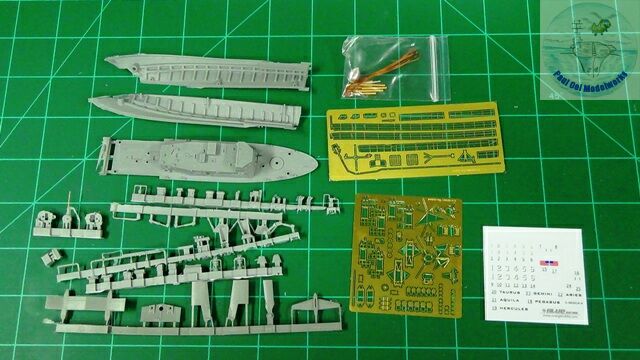 Orange Hobby from China issued this 1/350 scale kit of the USS Pegasus and provided enough decals to cover all six vessels of that class. This allowed me to re-create the picture of USS Hercules and Taurus sailing in formation.This is a multi-media kit composed of resin, photo-etched brass, turned brass rods, and a turned aluminum brass dome for the main radar. The interesting thing about the hull is that instead of a single cast, this resin kit assembles like a plastic kit with the hull coming in halves.
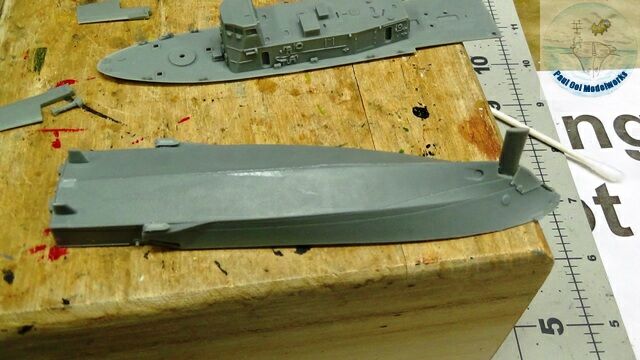
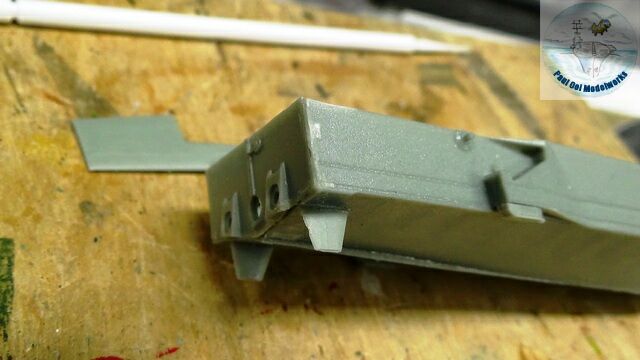 The first task is to put the halves together, making sure that the forward foil pier is inserted in between them. There is quite a bit of filing needed to ensure a good fit of the hull parts. Not for the beginner.
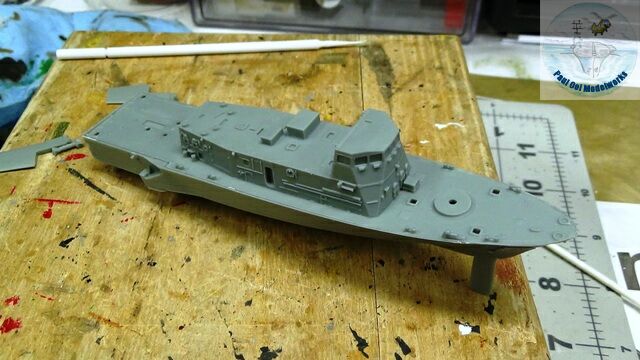 Then the entire main deck and superstructure gets bonded onto the hull. The fit of this large and important part is pretty good, even when there is a bit of warpage on the main deck. I decided to leave off the rear foil piers for now since we will need to mask and paint the main hull. The rear piers will get in the way, plus they are themselves are to be painted dull aluminum, not the Haze Grey of the main hull.
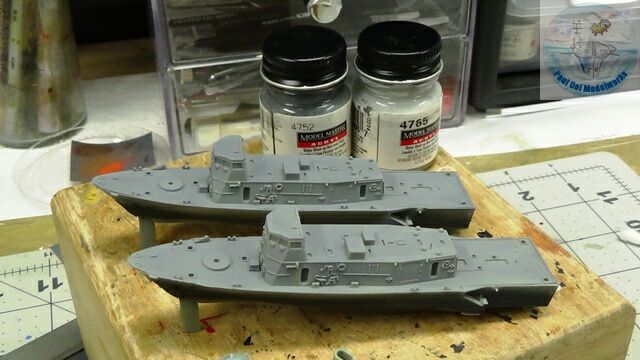 The main deck is painted with Model Master Gunship Grey 4752, lightened for scale with 4765 Light Grey. The waterline black stripe is painted with Tamiya NATO Black XF-69.
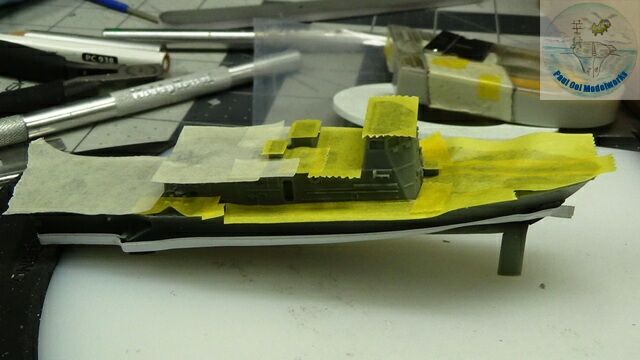
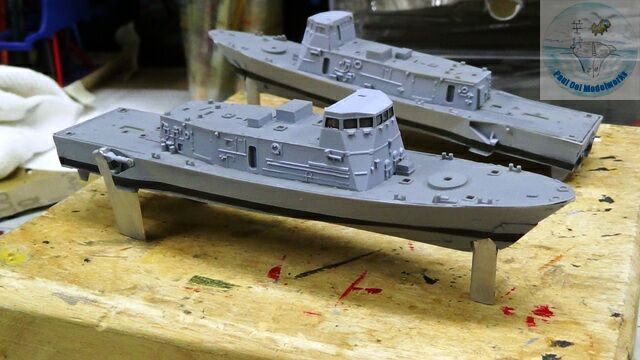 Then the main deck & upper decks, and the waterline are masked off. The whole assembly is then painted in Model Master Haze Grey 4865, also lightened for scale with 4765 Light Grey. The rear foil piers are added on after being painted with non-buffing Metalizer Aluminum.
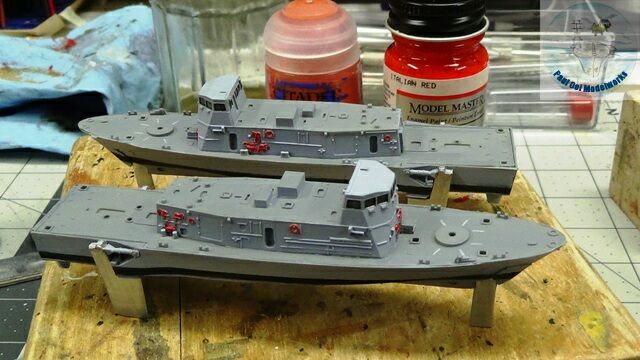 Superstructure details like livesavers, fire-fighting equipment are painted in Citadel Squig Orange and Model Master Italian Red.
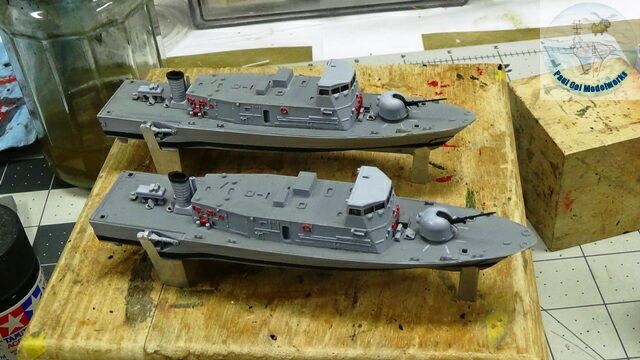 Main deck features like the funnel stack, gun turret, and engine room exhaust housing are added to the hull.
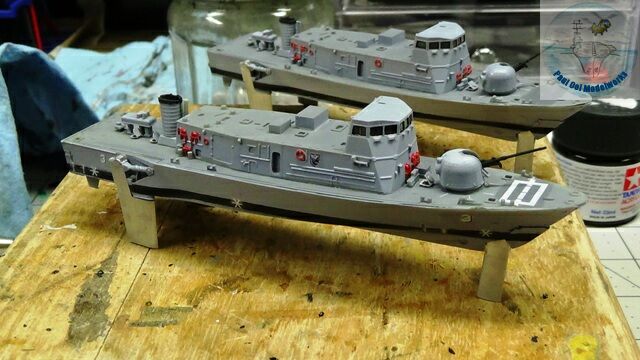 Decals are added to the main hull and deck. There are markings along the waterline, on the main deck, as well as the identification numerals and ship name at the aft. The entire hull assembly is then sealed with satin varnish.
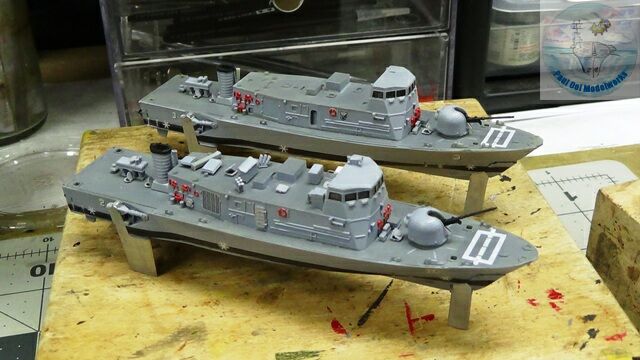 Upper deck fittings are added.
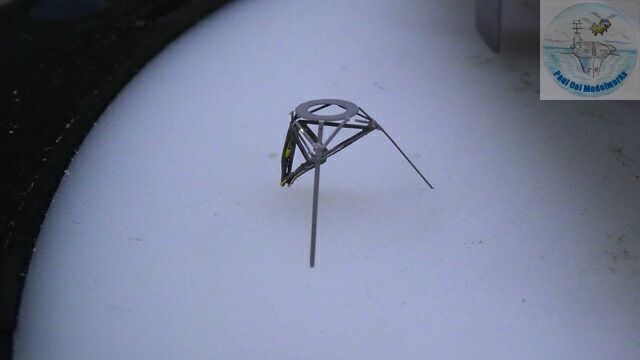
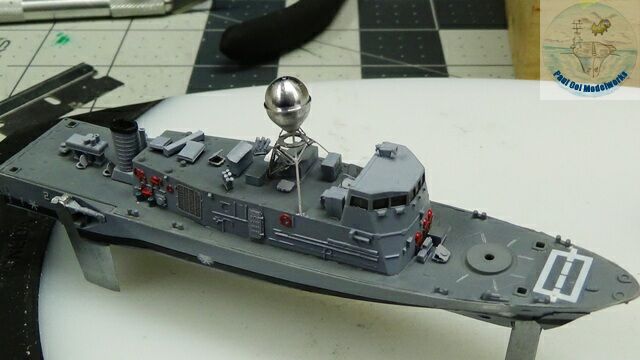 The fire control antenna support frame is the most difficult part of this kit. Orange did not provide instructions on how to fold the intricate single-piece photo-etched frame. I had to figure it out by looking at photographs, plus the part was extremely fragile and could not withstand re-bending in case of mistakes.Once it is done, I could test the fit and attitude of the egg-shaped antenna. If not done right, the whole thing will tilt, or worse still collapse under the weight of the solid aluminum “egg’. Builder BEWARE!
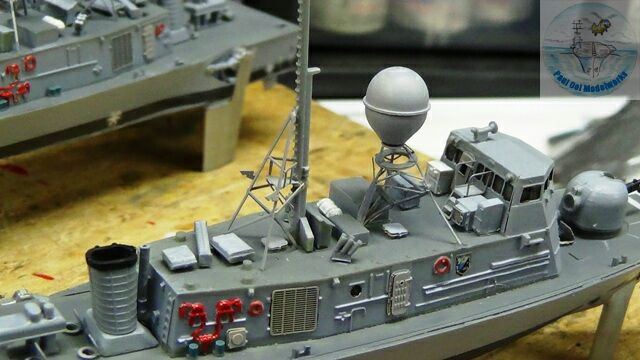
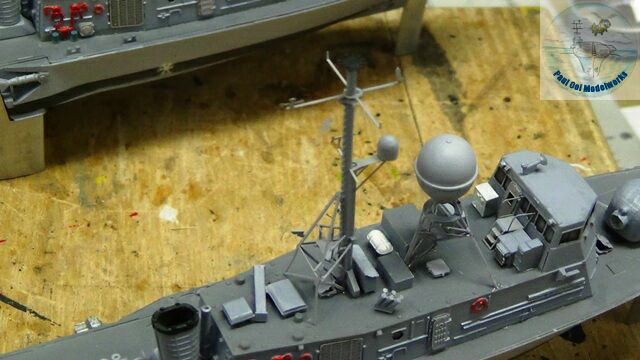
The main mast and its support tripod is the next assembly to be installed.
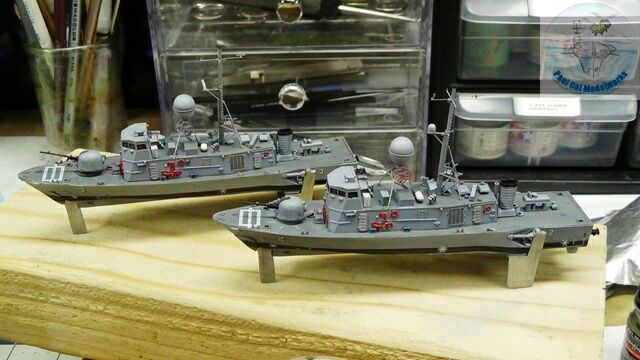 A black oil wash is now applied to the entire model.
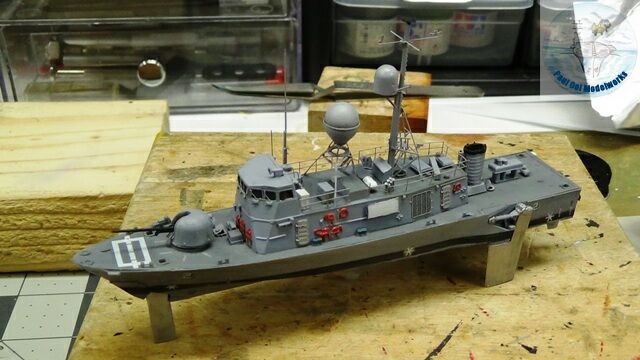 The final antennae fittings and upper deck lifelines installed. Note that for USS Hercules, the radar array is housed in a dome on the main mast, unlike USS Taurus that still has the radar array exposed.
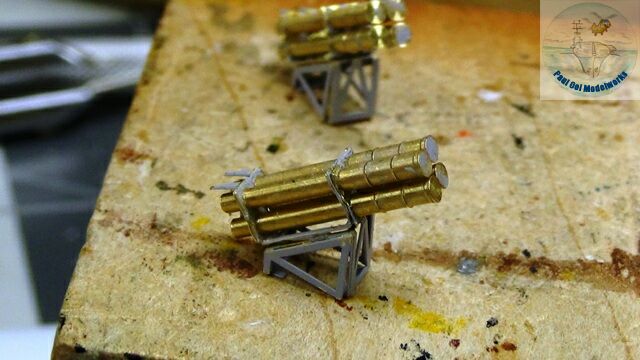
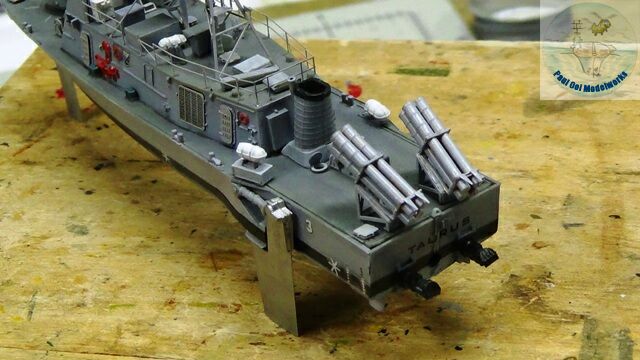 The Harpoon missile tubes are turned brass rods. Initially, I spray painted them but found that the tubes could not fit through the etched brackets. I had to remove the paint in order to get the tubes to slide through.
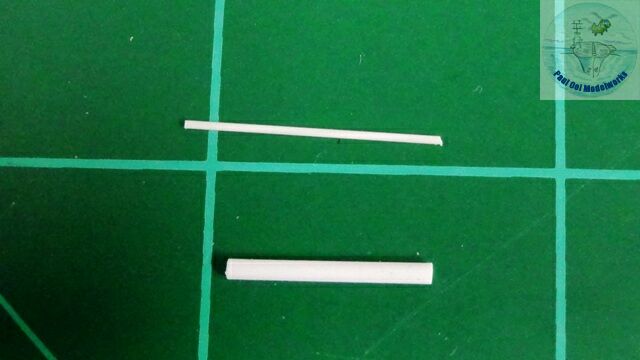
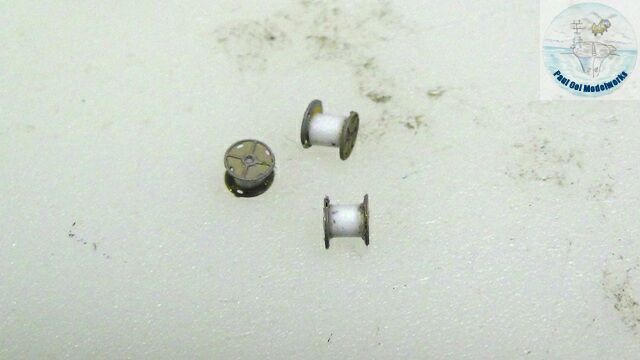
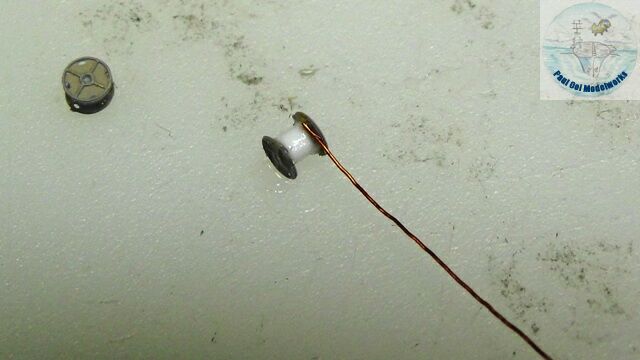
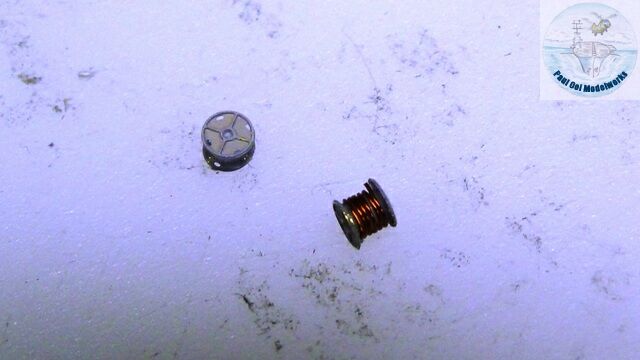
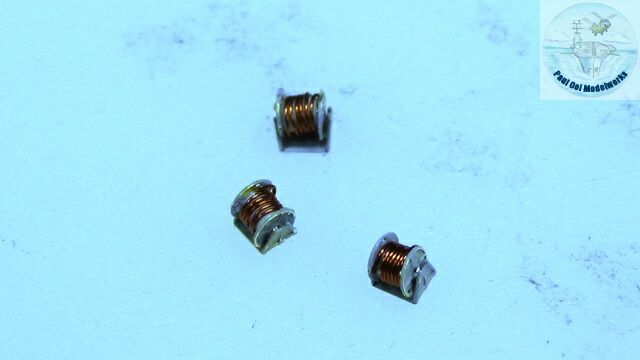 This shows the sequence of assembling togehter the tiny reel spools. The kit requires a 0.5mm diam. plastic rod to be used as the core of the spool and then winding a quantity of supplied 0.1mm magnet wire. However, I found that this took too much time and the spools tend to be too small. I replaced the plastic core with 1.5mm diam. plastic rod instead, and only have to wind one layer of magnet wire to achieve the same look.
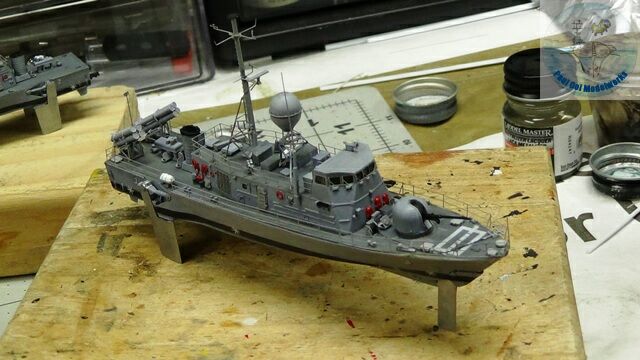 The completed model with the main deck lifelines and reel spools installed. I applied an oil wash of 50:50 Lamp Black:Burnt Umber for the foils. This is because despite being sheet aluminum, there were rust streaks from steel fasteners in the foils. Notice that I left off the actual underwater foils. This is because displayed in a waterline manner, the foils will not be visible except as a faint shape beneath the waves.
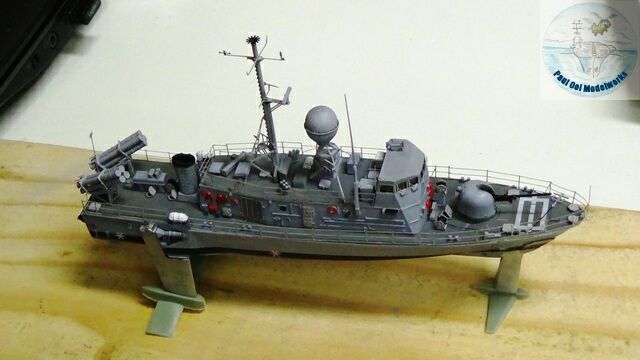 Here is what the craft would look like with the foils installed.
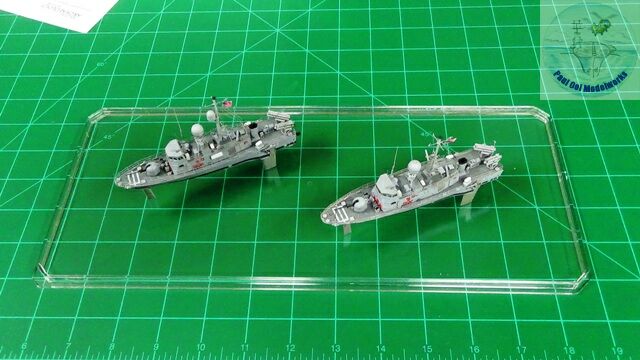
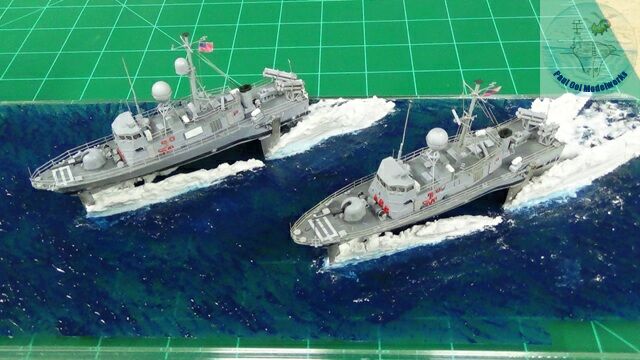 Placing and affixing the craft onto the display base which will be the topic of a future tutorial on sea waterline displays.


Leave a Reply