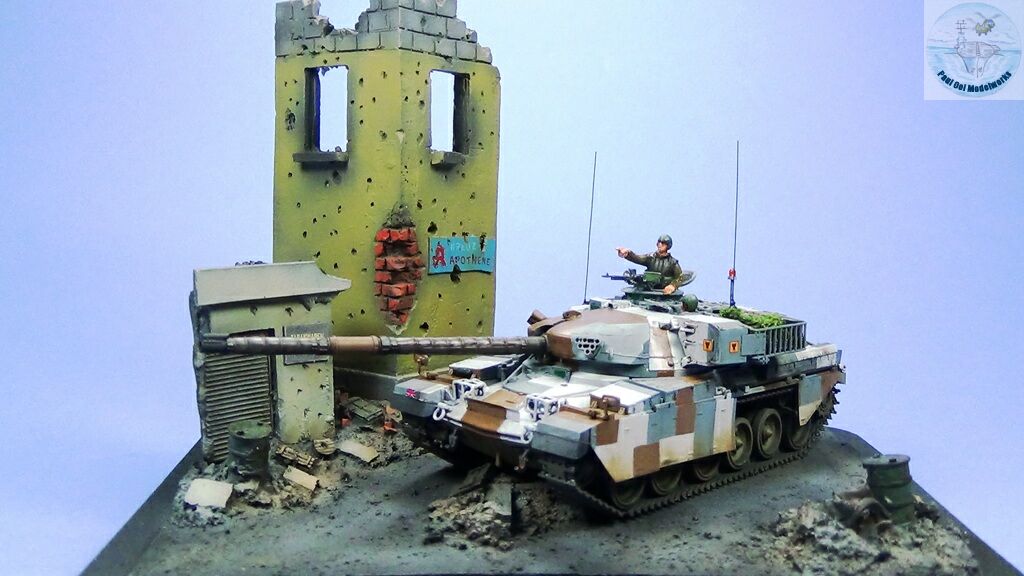
At the height of the Cold War, the MBT used by Great Britain in Germany was the Chieftain medium tank. The successor to the venerable Centurion, the Chieftain featured a more powerful engine, a rifled 120mm gun, and sloped armor that was the main feature of the turret design. By the late 1980’s the Mk. 10’s used by the King’s Hussars were painted with a unique urban camouflage pattern thought to blend better into the city of West Berlin. These tanks, as part of the Berlin Brigade, were the front line defenders against any Soviet moves against that enclave totally surrounded by the then East Germany.
I decide to display the tank in a what-if scenario in 1989 Battle of Berlin. Instead of allowing the wall protests to result in the collapse of East Germany, the hardliners in the Soviet Union decided to clamp down on that country in a similar style to the Prague Spring of 1968. Warsaw Pact troops stream into the troubled German republic to remove dissent. However instead of just stopping at the border with the West, the Soviets used the mobilization to attempt a takeover West Berlin and a general assault of West Germany. This ushers in the long-feared WWIII scenario. The Second Battle of Berlin unfolds with forward NATO units including the Chieftains of the Berlin Brigade slugging it out in street battles against the Soviet Guard tank regiments equipped with T-72s and T-80s. Post-Soviet declassification of secret documents did show detailed plans by the Warsaw Pact for exactly such a battle but happily for the world, it was never executed.
Gallery
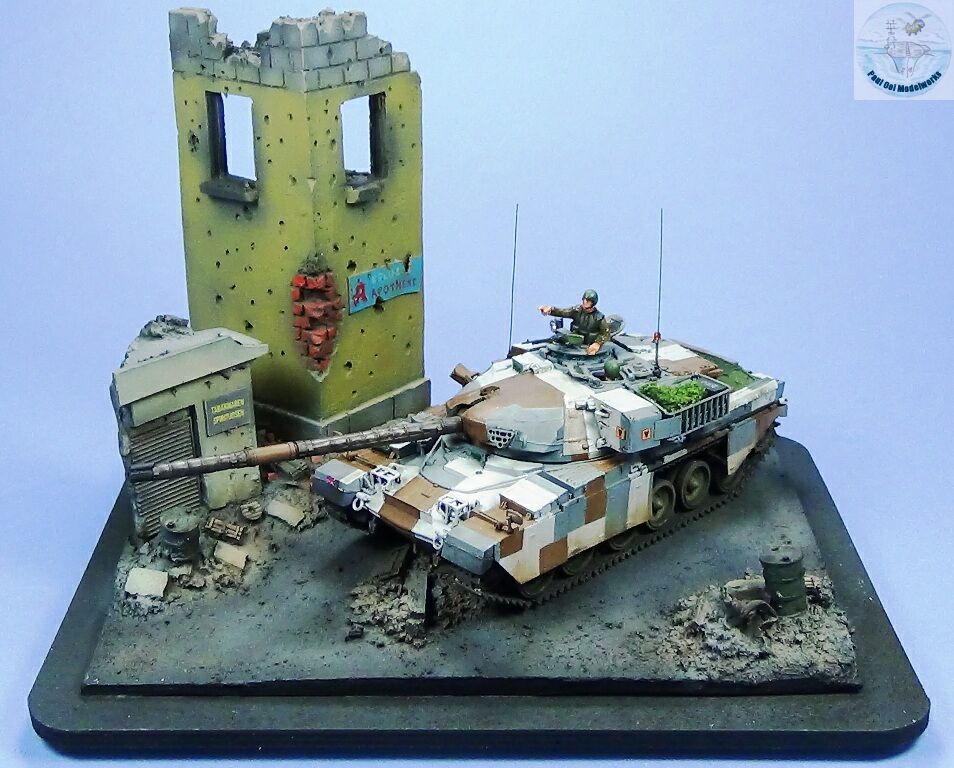
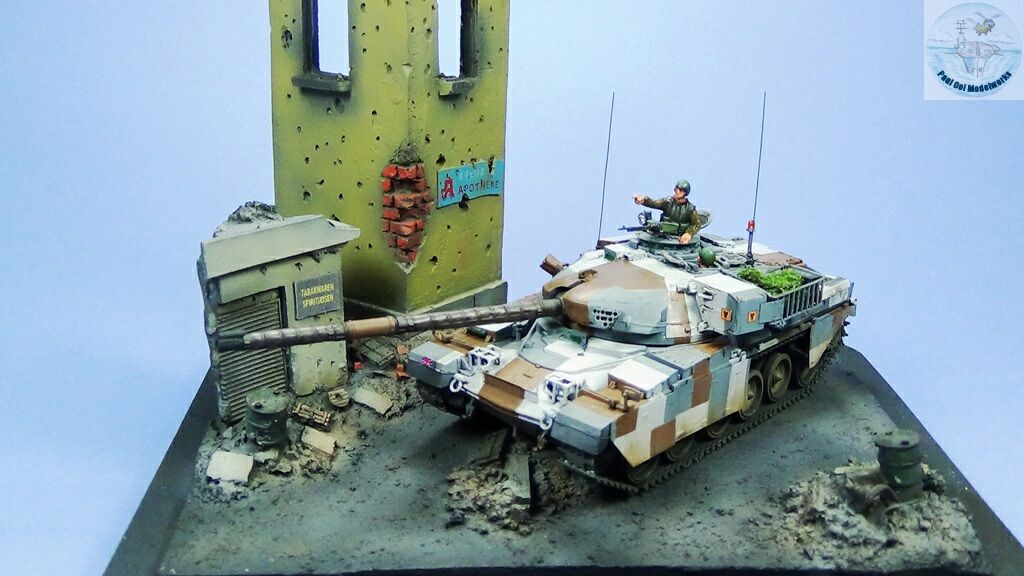
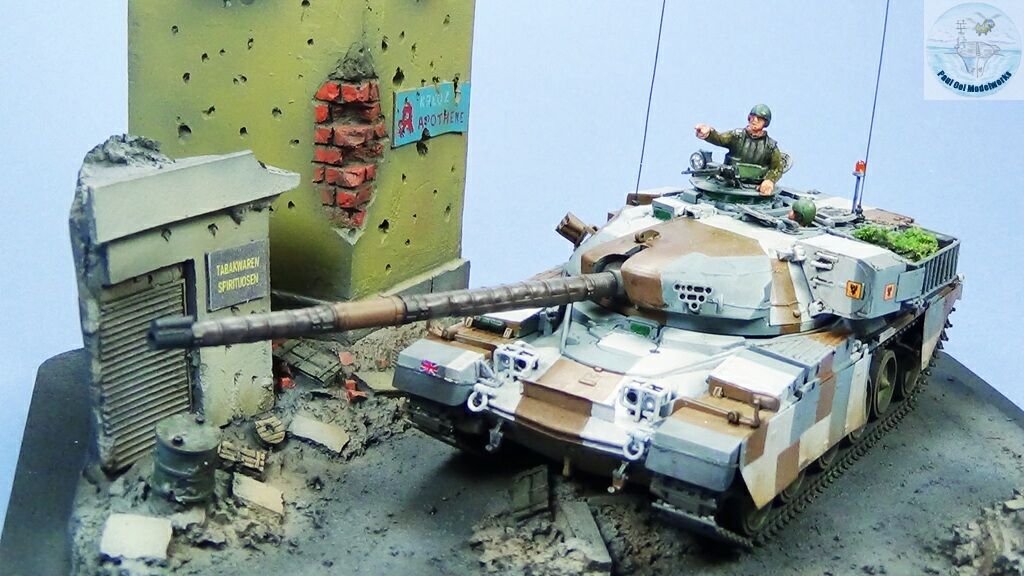
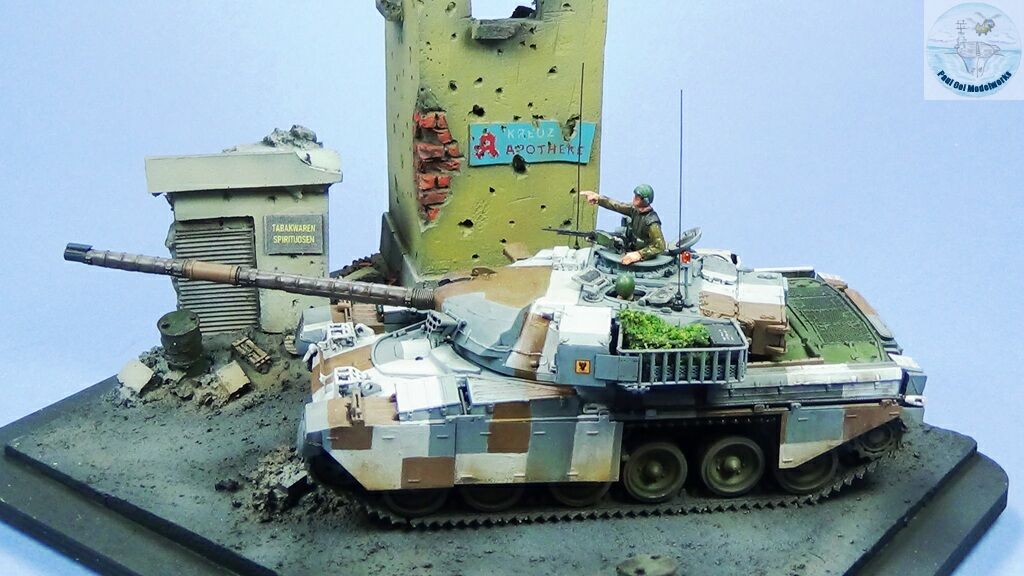
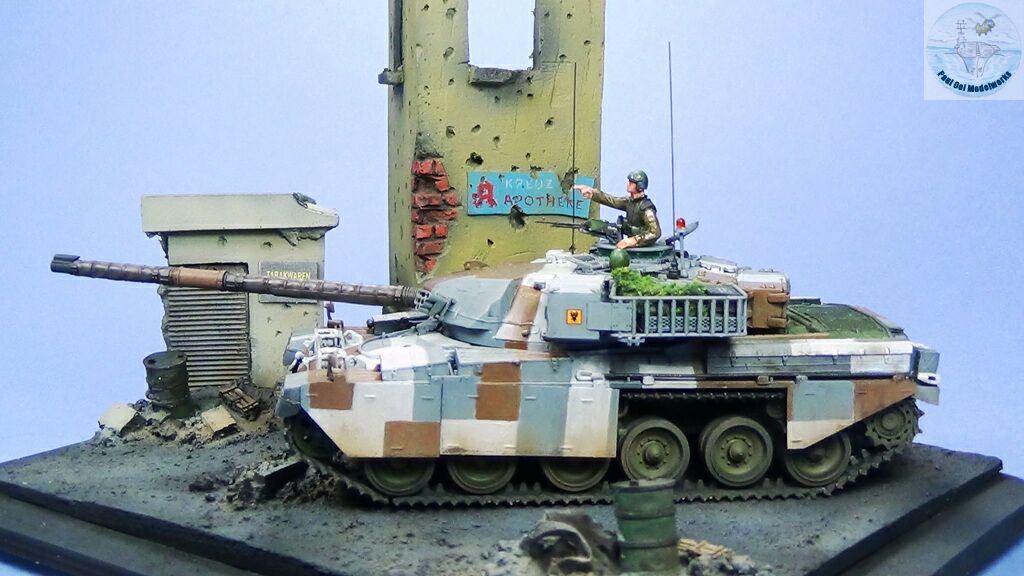
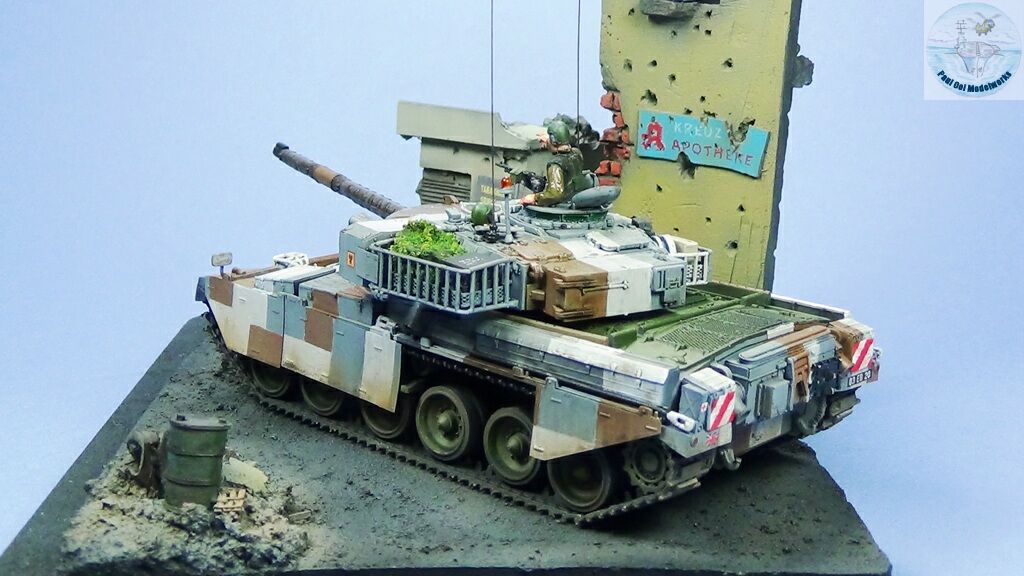
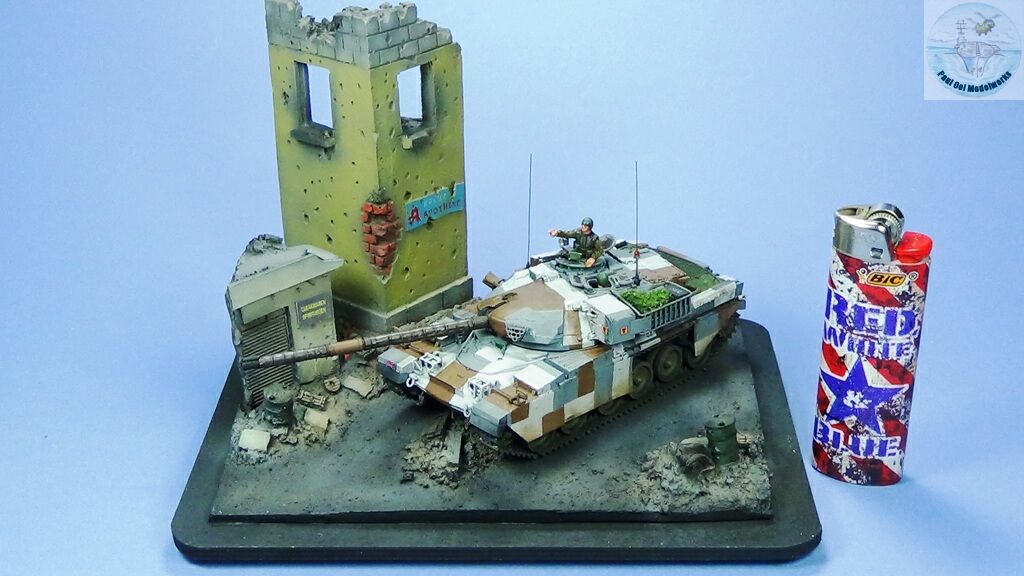
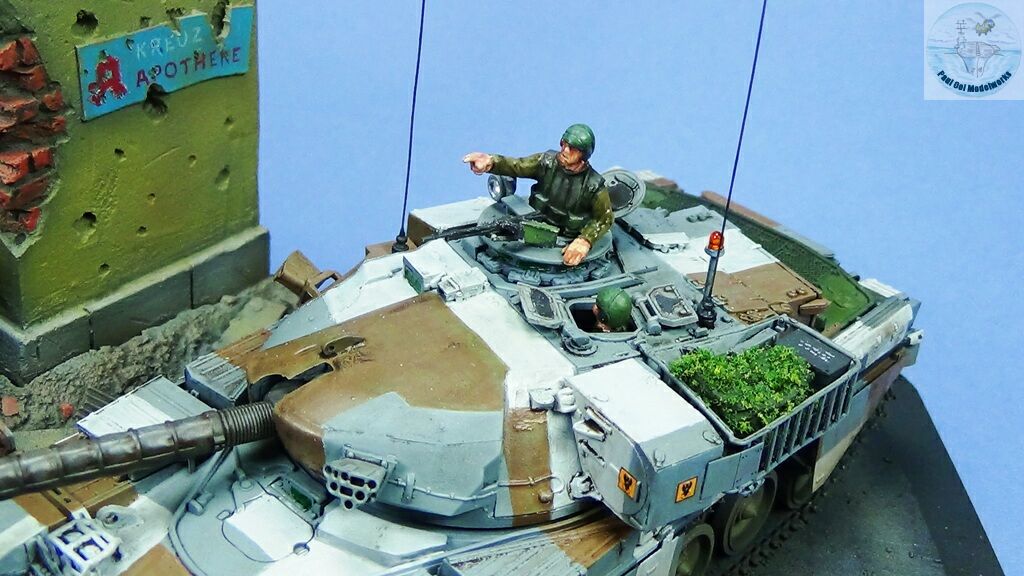
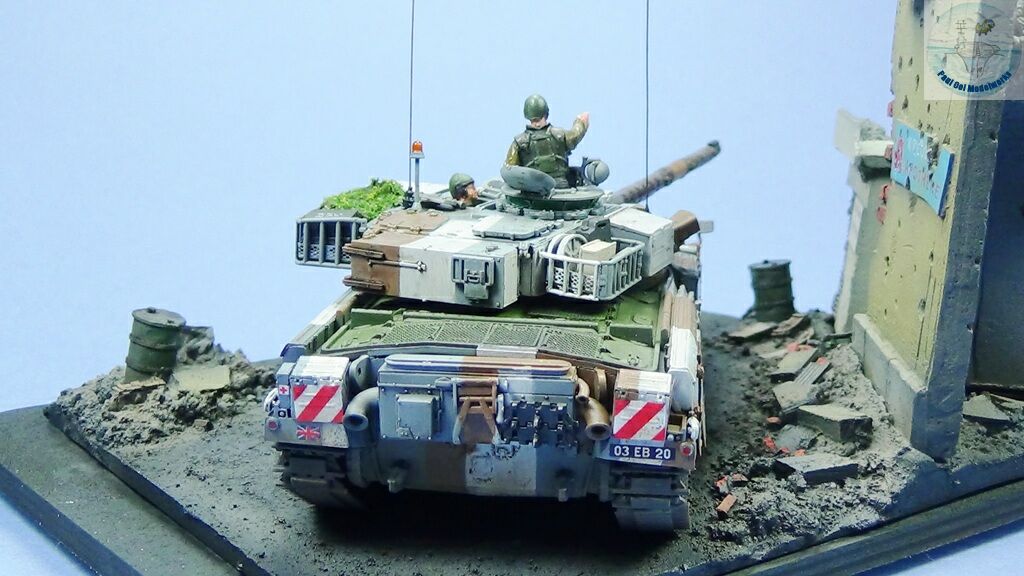
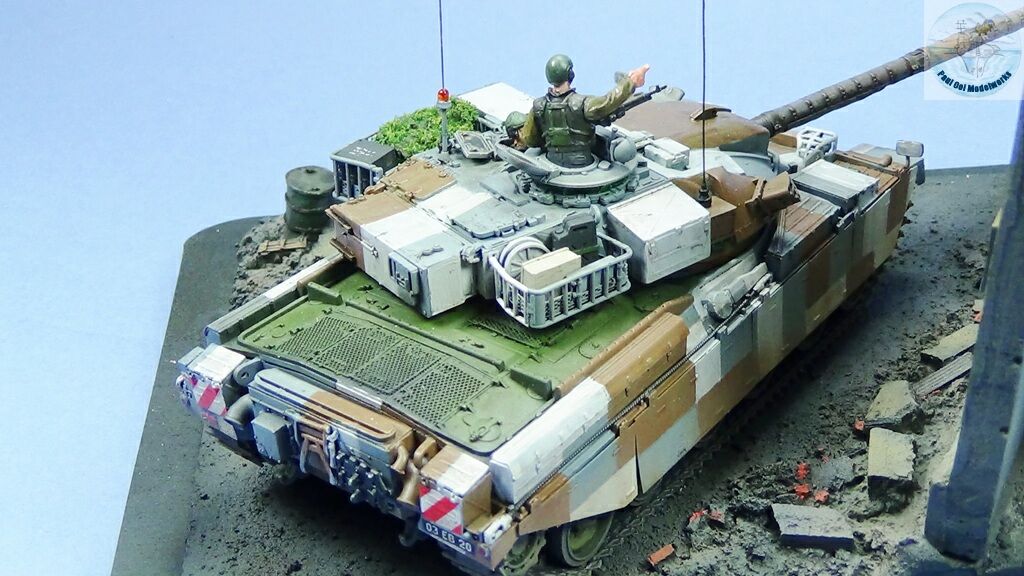
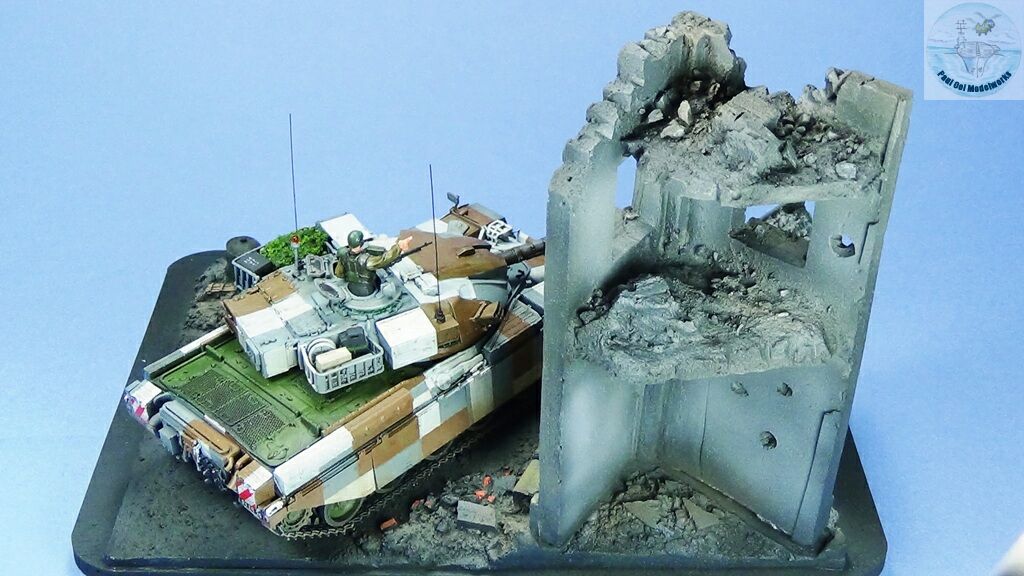
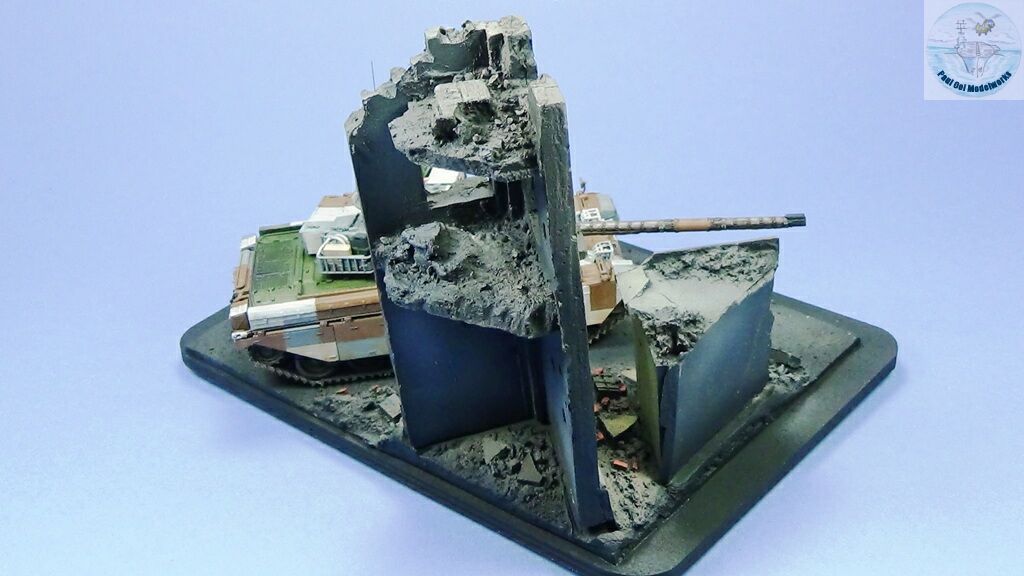
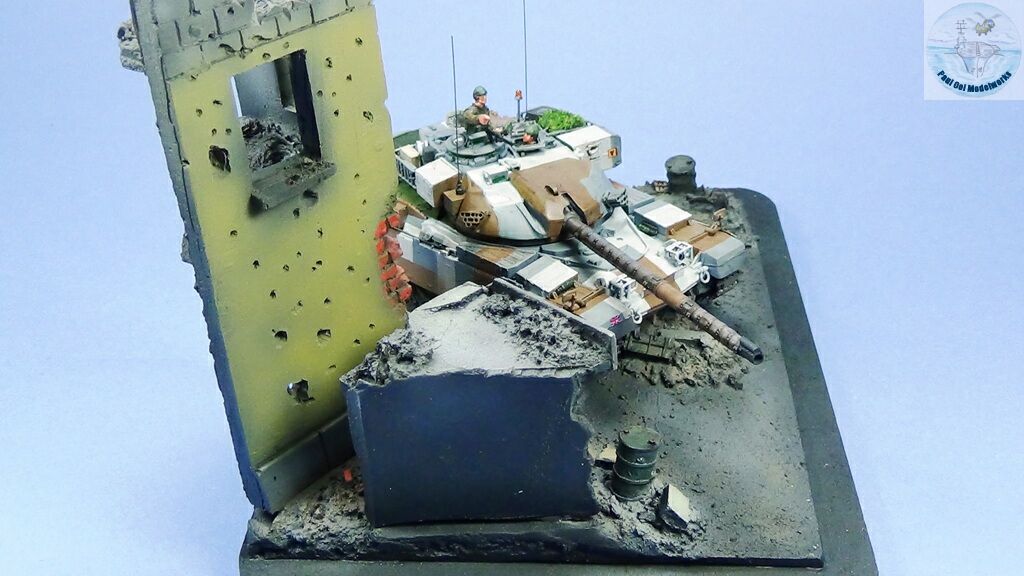
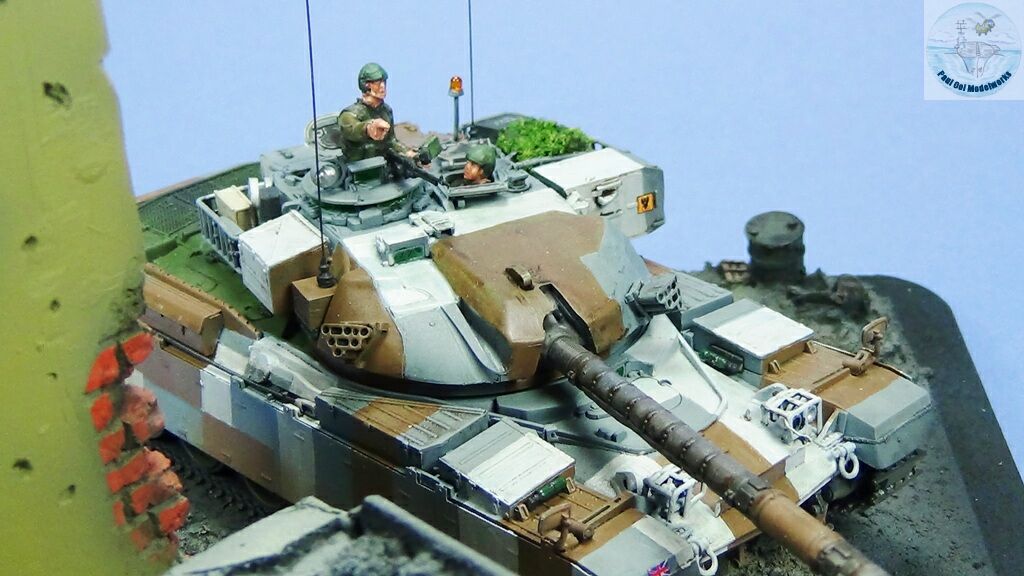
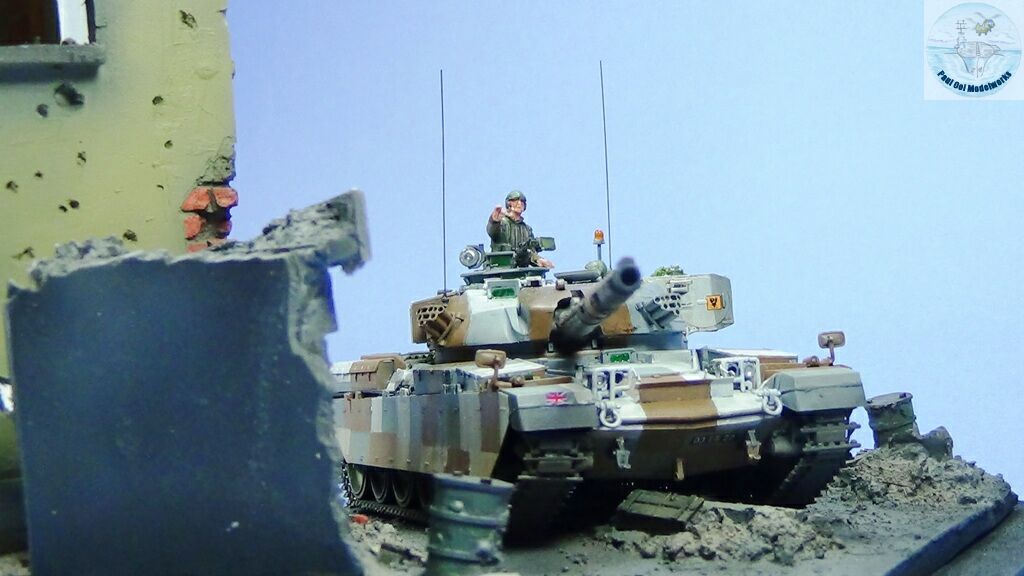
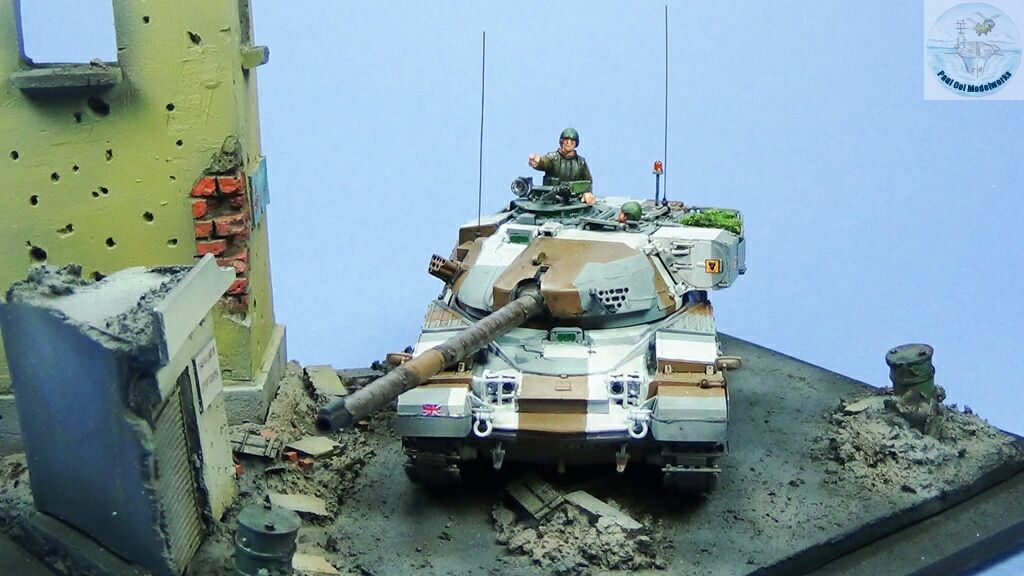
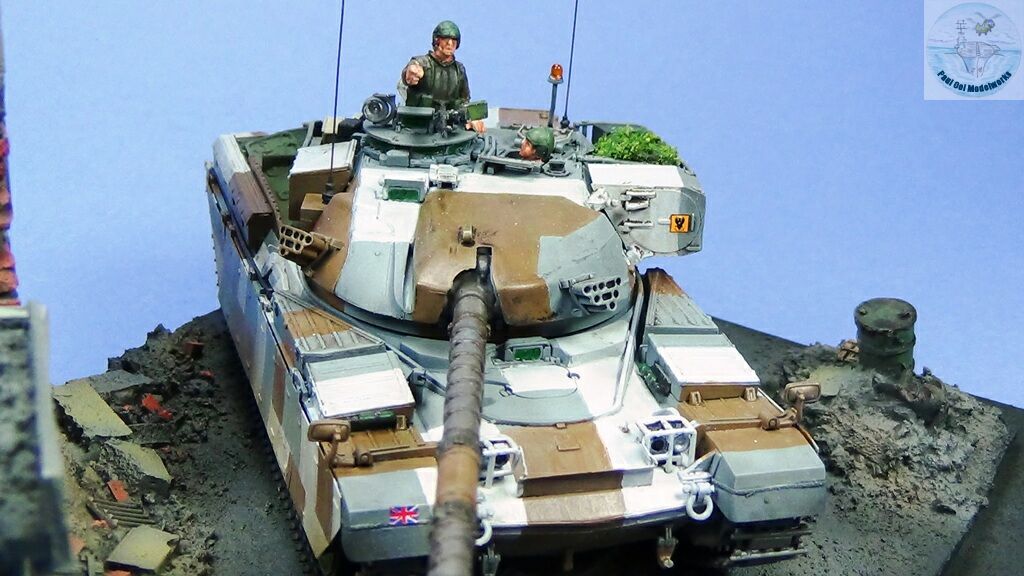
Construction Notes
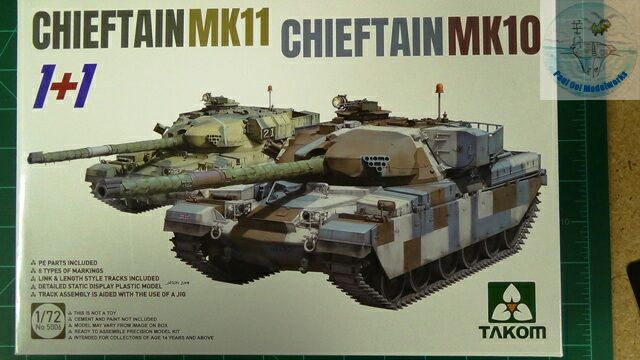
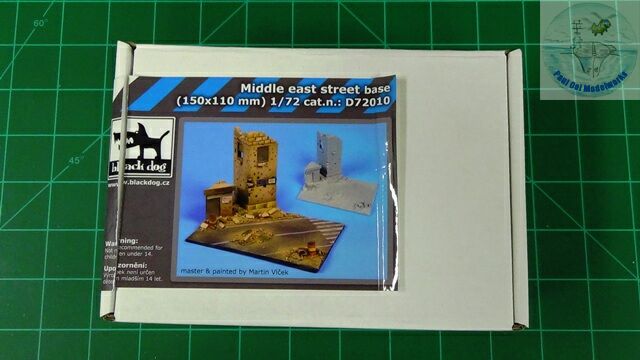 I had been wanting to build the Chieftain in 1/72 scale but until recently, the only one around was the venerable Airfix kit from 1975 (I still remembered when it first came out and we were saving our school money to buy it). So, I was delighted when Takom came out with a new, start-of-the-art double kit for the Mk. 10 and Mk.11. This kit pretty much got built within a week of arriving by mail. There were so many color schemes and versions to choose from (including the “Abrams” look from the Walking Dead Season 1). As previously mentioned, I was intrigued by the urban combat scheme of the Berlin Brigade from 1988-1991 and proceeded with that plan. The kit itself has pretty good fit, but some of the ejector pin marks were a little prominent and needed to be trimmed down. The photo-etched frets for the turret baskets and the side plates added a lot of detail and brings it up pretty close to 1/35 scale levels. I was looking for a modern city street diorama piece,since 1989 Berlin had very few WW2-looking buildings that tend to show up when you look for “German+building+resin”. I ended up getting this street scene from Black Dog that could be appropriately adapted to look like the 80s Berlin.
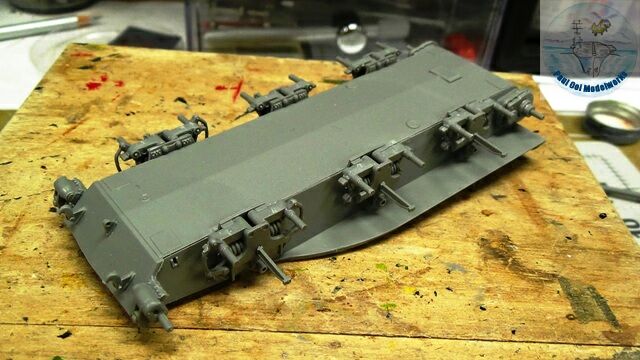 We start the assembly with building the chassis tub and attaching the suspension sub-assemblies for the tracks.
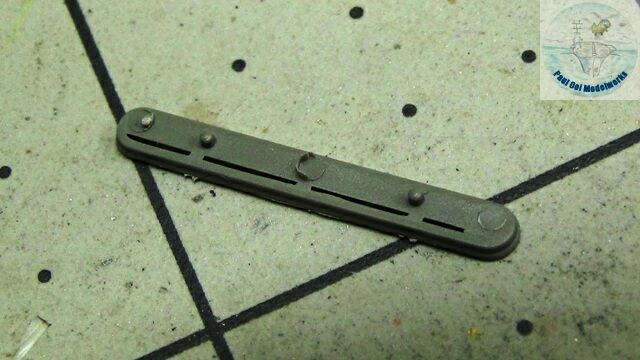 Just wanted to show the readers about my complaint that the ejector pins had a lot of flash and some stood proud of the general surface. These took a little bit more time to be removed.
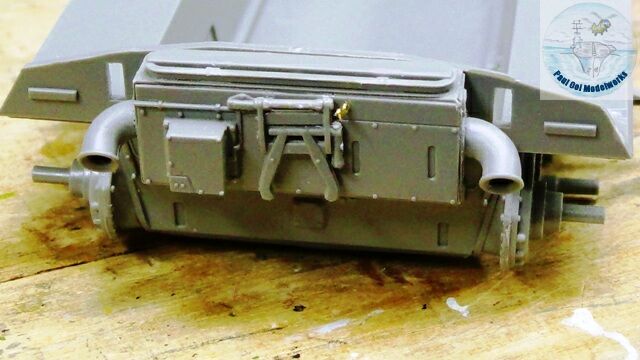
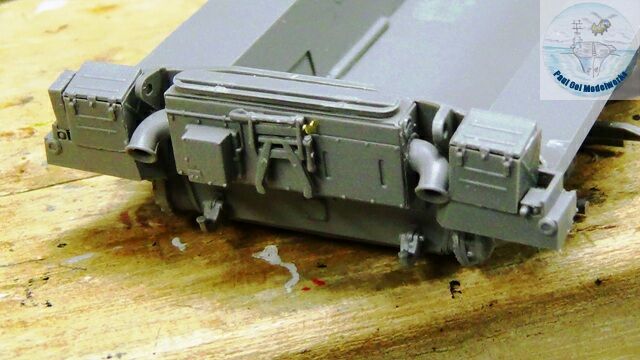 The exhaust pipe system at the rear of the hull is then attached to the main hull tub. I did drill out the main curved exhaust pipes to improve the appearance.
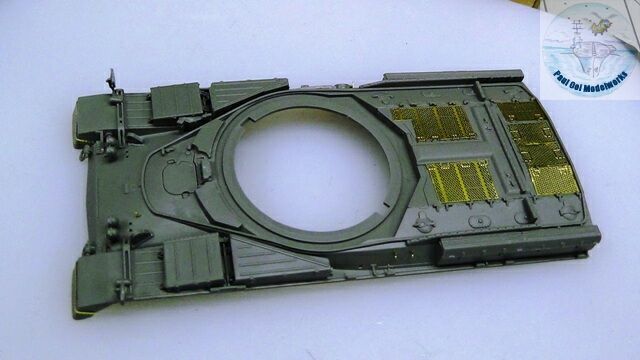 Next, I built the upper hull details (and they are lots of them!). I especially liked the engine grill covers seen here in its original brass color/
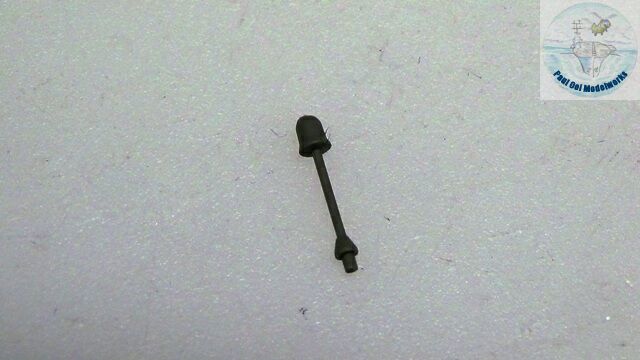
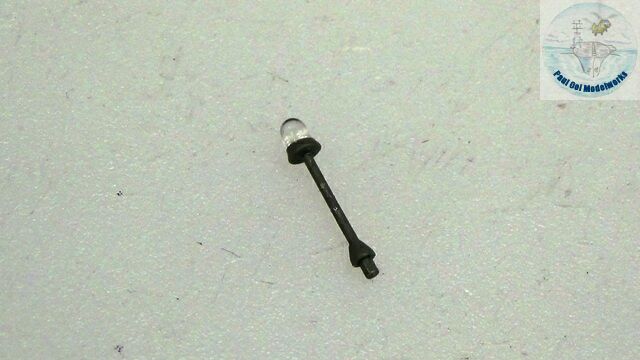 One refinement to the turret detail that I had to do was to replace the molded plastic beacon lamp that is so prominent on the turret. The kit part is molded solid, so I cut off the lamp section and replaced it with a piece of scrap clear part of similar diameter and shape.
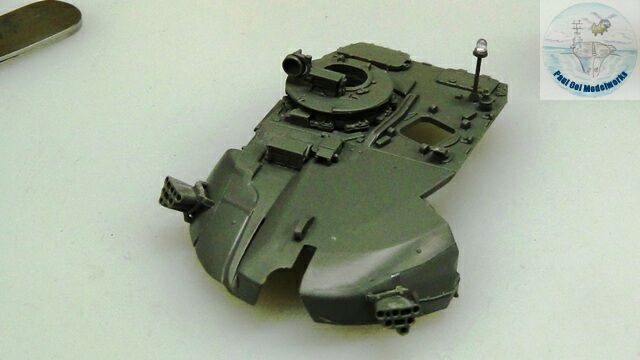
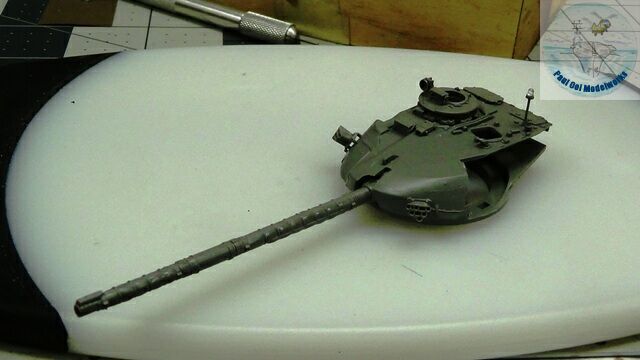 The turret and main gun get assembled together. Notice how the turret beacon lamp sits prominently and how good the clear part looks. I left off the hatch covers since I will to positioning some crew members in there later.
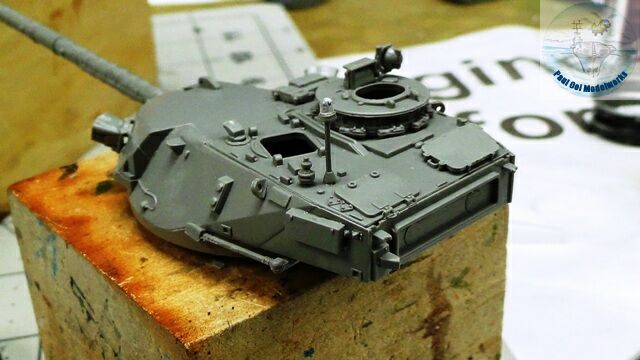 The more complex sloped left side of the turret wall gets fitted in here.
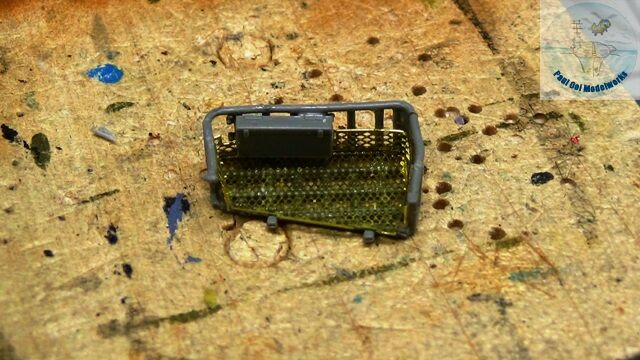
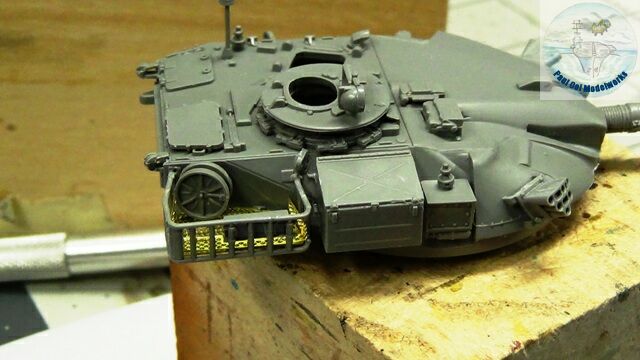 Now, we build the starboard side bustle basket first. I like the way it turned out!
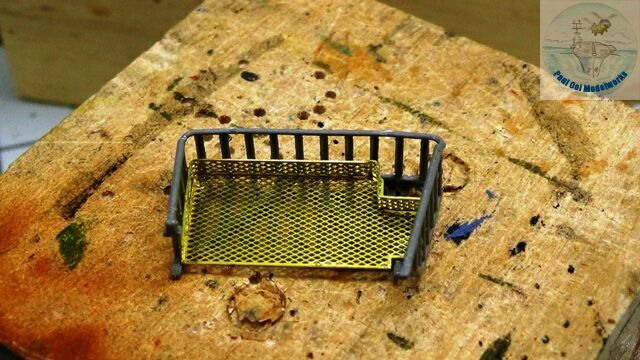
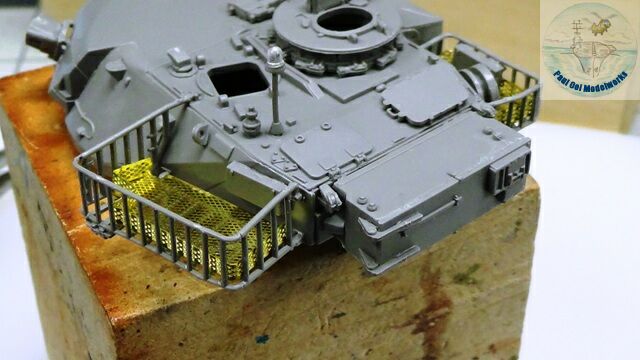 Then I build the port side bustle basket. This one is larger than the starboard side one, and has more a complex bending rail as well.
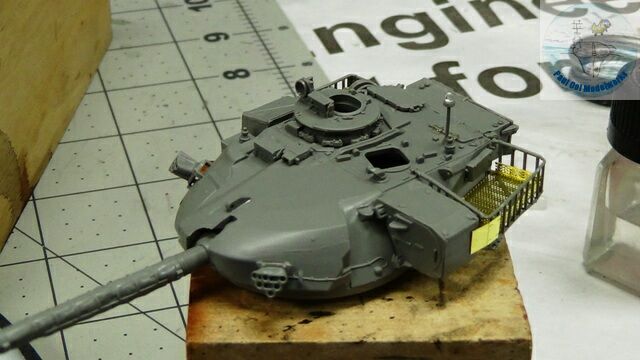 Finally we finish the main turret assembly with the infra-red searchlight box attached.
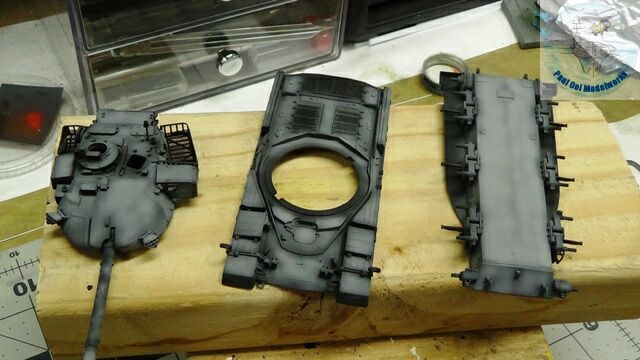 Painting starts with the undertone, first the Tamiya XF69 NATO Black, followed with highlights using Tamiya XF19 Sky Grey.
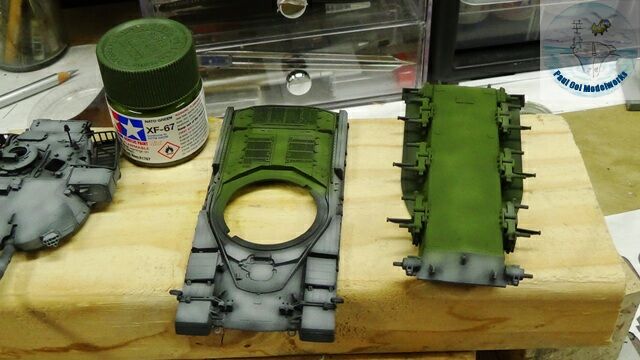
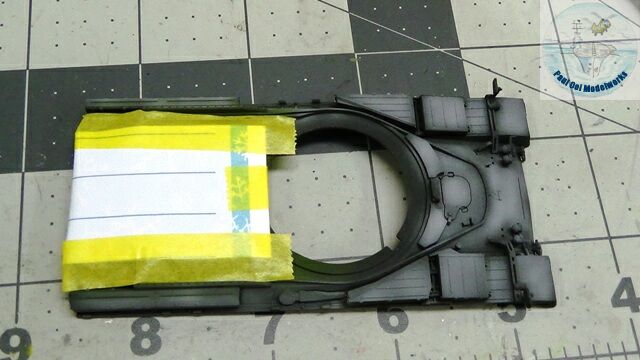 The underside, engine compartment, and road wheels are painted Tamiya XF-67 NATO Green. The engine compartment area is then masked off for the next airbrush phase.
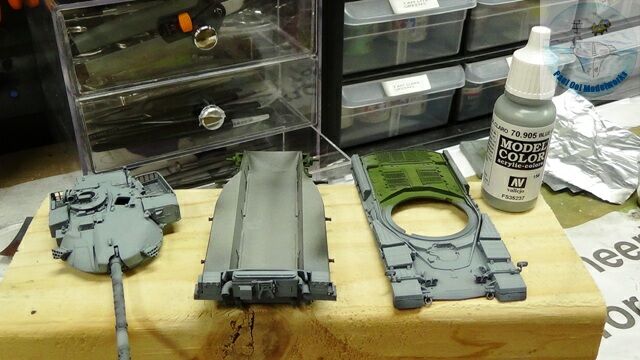 I sprayed the first color of the urban pattern using Vallejo Medium Grey 70.905.
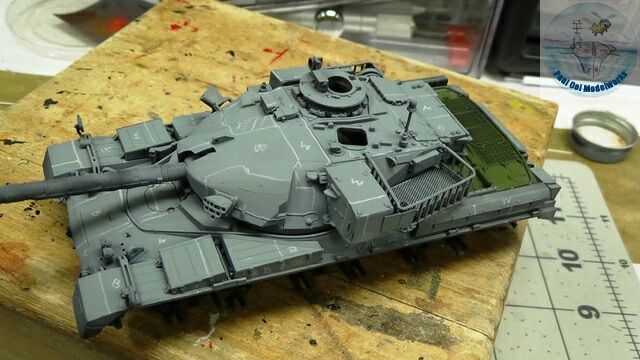 Using a Prismacolor whitecolor pencil, I marked out the colored squares based on the pattern given in the Takom instructions but also to correct some glaring mistakes by comparing those to the actual Berlin Brigade pictures. Instead of using a lot of masking to create the pattern, I hand-painted the squares in using the marked out design.
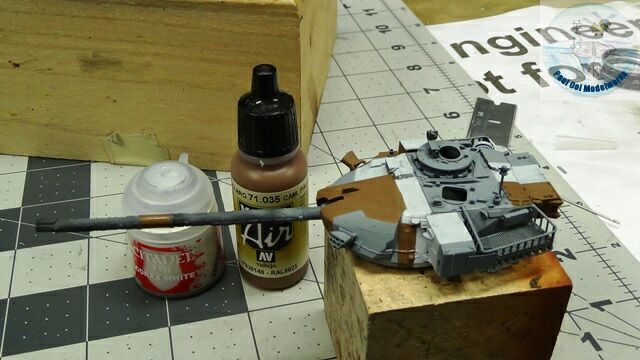 I started from top down, so the turret gets the pattern first. Then I match the breaks onto the upper hull, and finally down to the side skirts last. I use the toned down off-white from Citadel White Base, and the Vallejo Earth Brown 71.035.
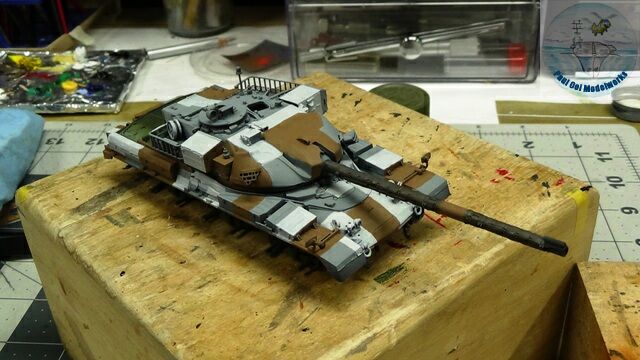
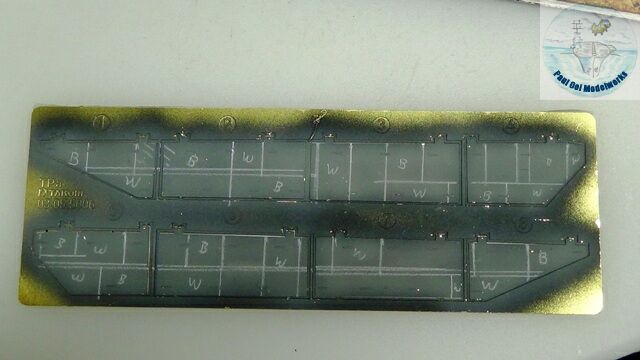
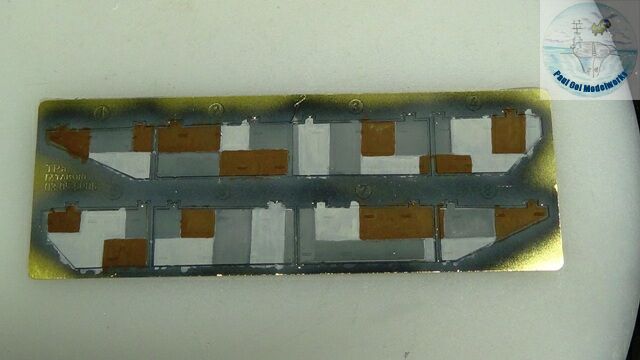 Here, you can see the progression down the hull, and finally to the side plates.
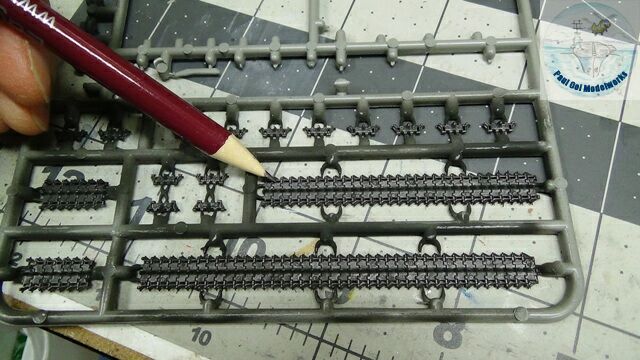
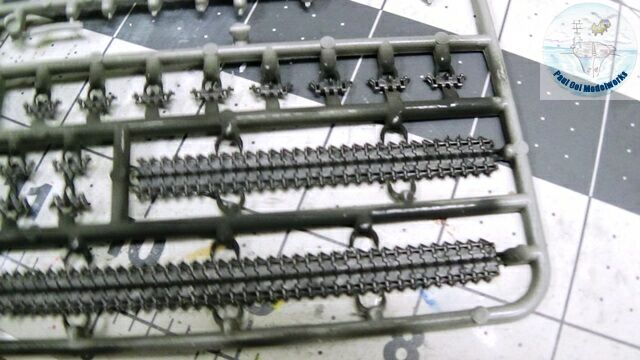 In preparation to install the tracks, I primed the sections with Tamiya XF-69 NATO Black, and then used a regular lead pencil to highlight the metal sections, leaving the rubber pads in the NATO Black color.
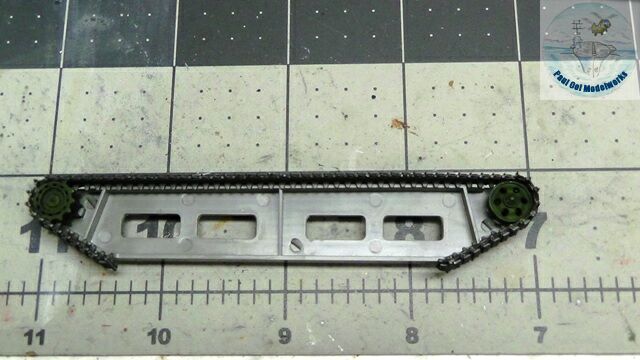
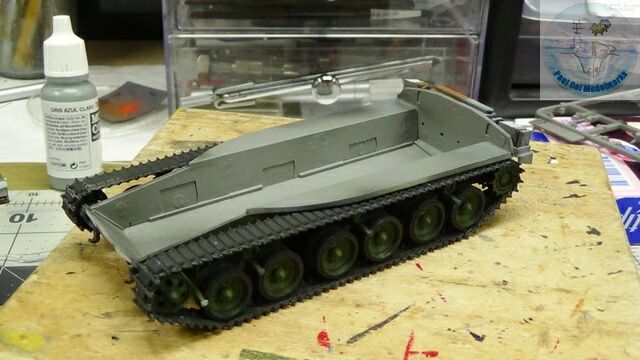 The kit comes with a track mounting template to build the tracks around the sprocket wheel and the follower. This came in really useful and helped to reduce some of the guesswork in positioning the track sections.
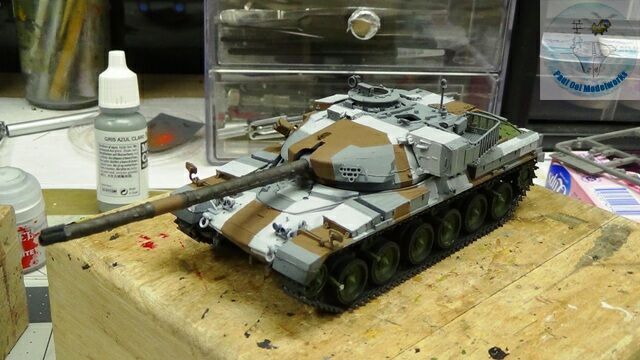 The big moment when we attach the upper hull and turret onto the chassis. It looks like a tank now! I forgot to add that the barrel shrouding was painted in Tamiya Khaki Drab XF-51.
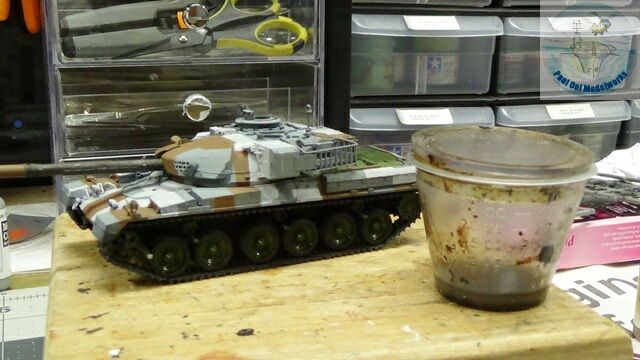 The chassis area and undersides get an oil wash of 50:50 Lamp Black + Burnt Umber.
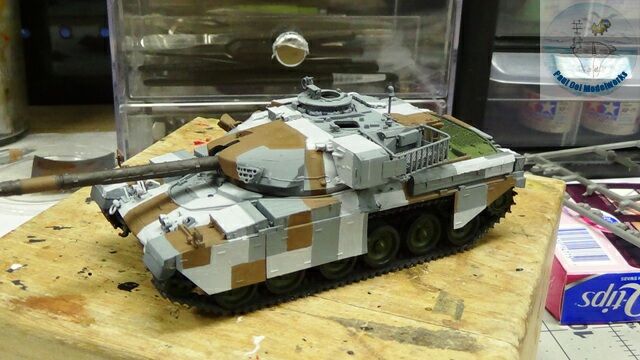
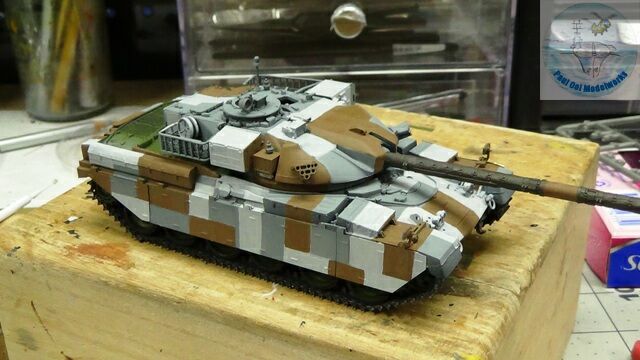 The side shields are installed now. I purposely left one off to show battle wear. Side plates do get lost in the frantic maneuvering with many post-battle pictures showing some tanks totally bereft of their shields.
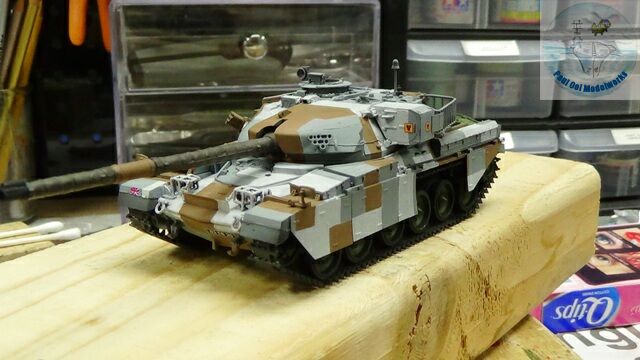
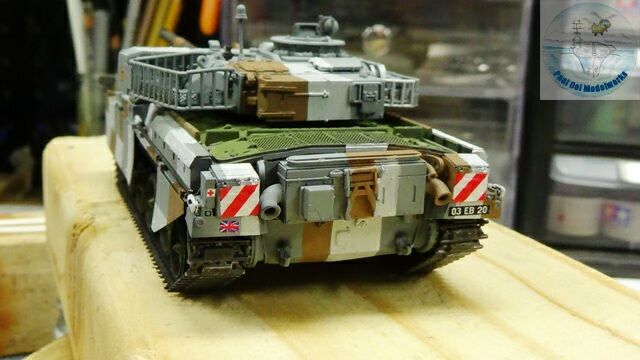 After applying small areas of Micro-Gloss for a smooth surface, I apply the tiny decals around the tank.Micro Sol helped the large red-and-white warning signs to settle onto the rear stowage boxes. After the decals have dried, I sealed the entire tank paintwork under a satin varnish.
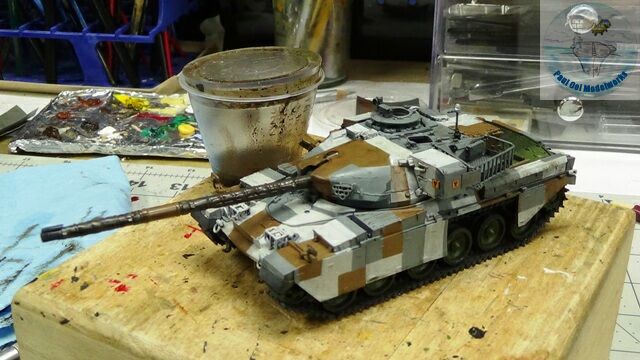 Then the entire tank gets an oil wash of 50:50 Lamp Black + Burnt Umber.
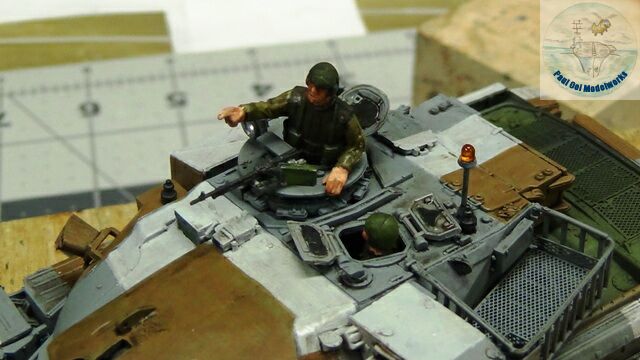 I added in the commander and gunner figures from the Caesar Miniatures Western Tank Crew Set 1.
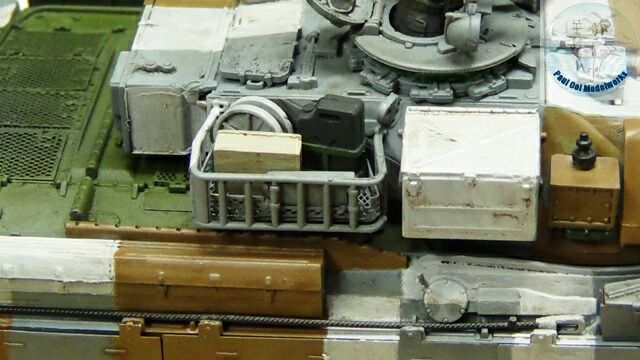
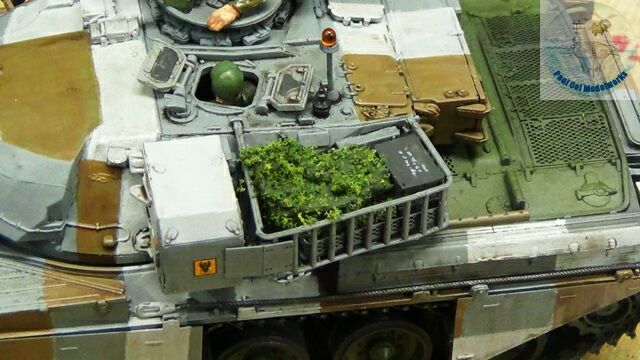 Since teh bustle baskets are such prominent features on the tank turret, it would not do to leave them empty. I added spare jerry cans, food and equipment stowage boxes and a roll of foliage netting often seen in Berlin Brigade tanks. Foliage netting is made with fine tissue paper soaked in white glue, painted green, and then rolled in grass powder.
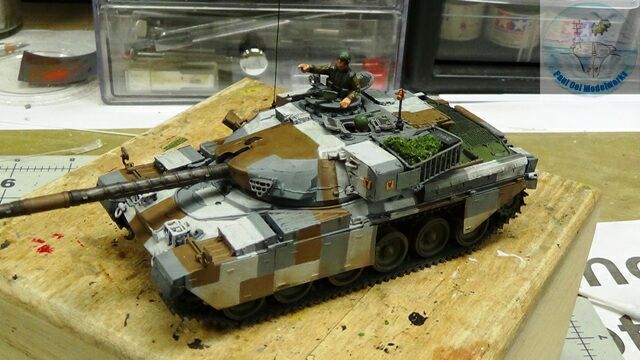 With the two antennae attached, the tank is ready for the base.
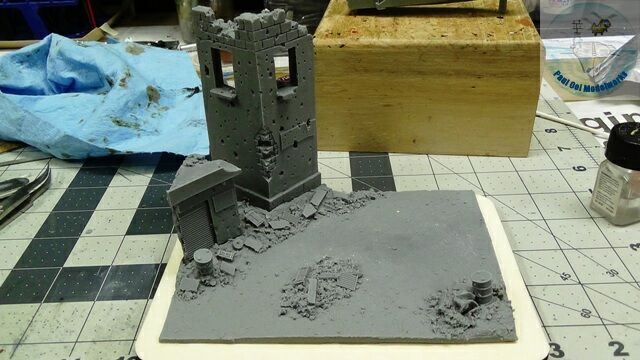
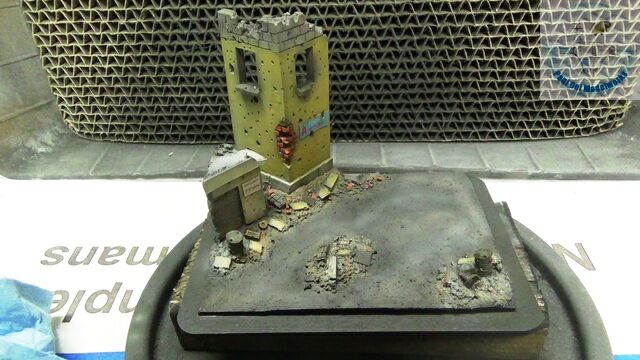
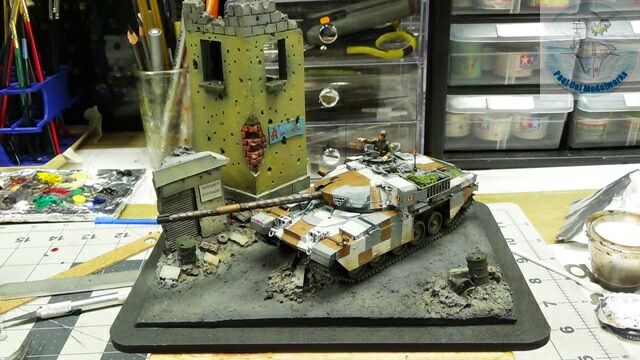 The resin buildings and base made it easy to build this simple diorama. I hand painted the small signs for a ruined pharmacy and a tobacco-and-liquor store next to it. I used colors of buildings that I saw in a picture of 1980s Berlin along Haubach Strasse.


Leave a Reply