At the beginning of the Cold War, the delivery of nuclear warheads into enemy territory was still a mission for bombers. The theory was for very fast bombers in a swarm not dissimilar from sorties in WW2 flying deep into enemy airspace to drop the bombs over their targets. It was hoped that their high speeds and very high altitudes will outrun any jet fighter before the latter can get to the altitude necessary to intercept the mission.
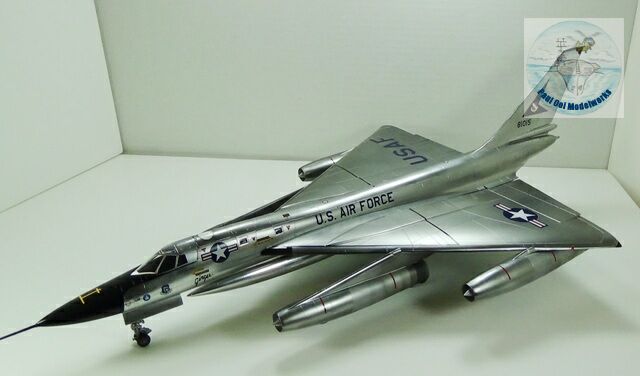
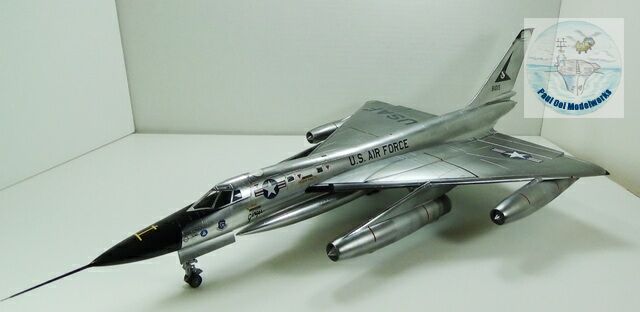
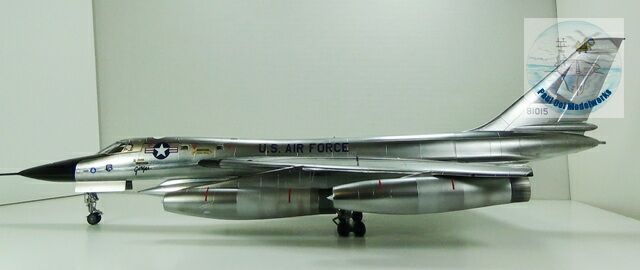
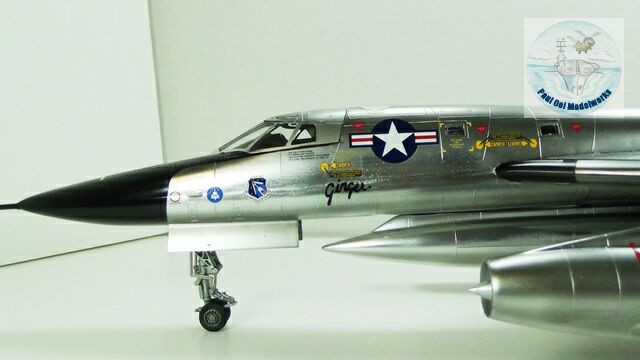
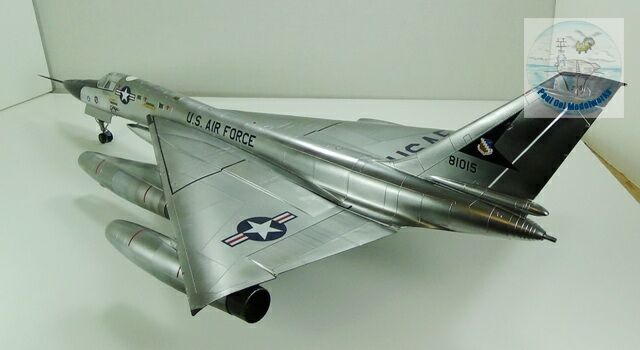
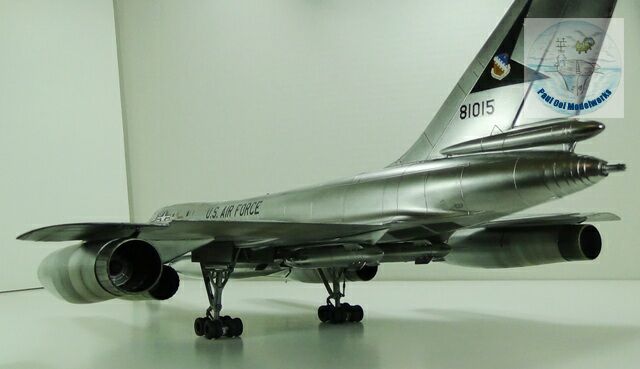
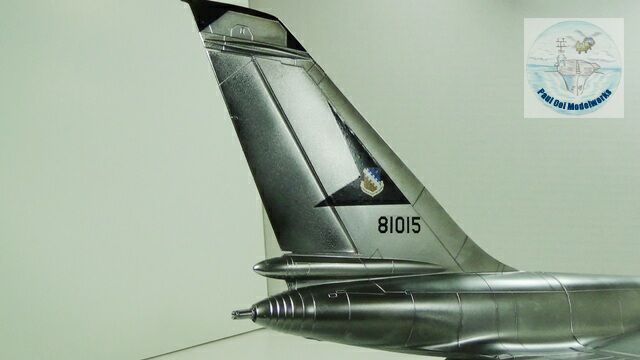
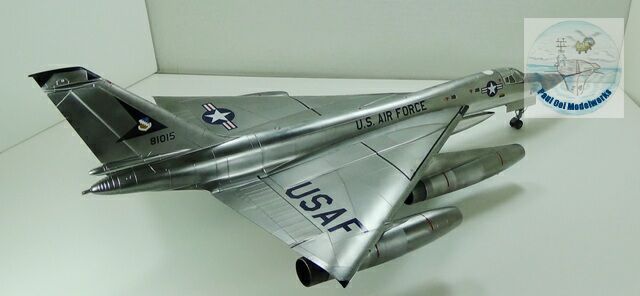
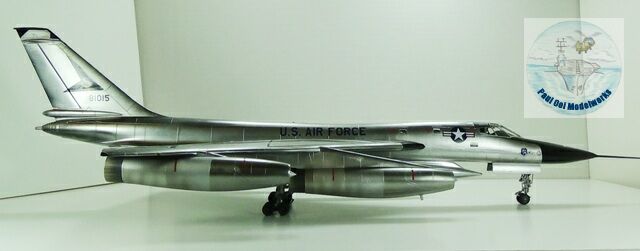
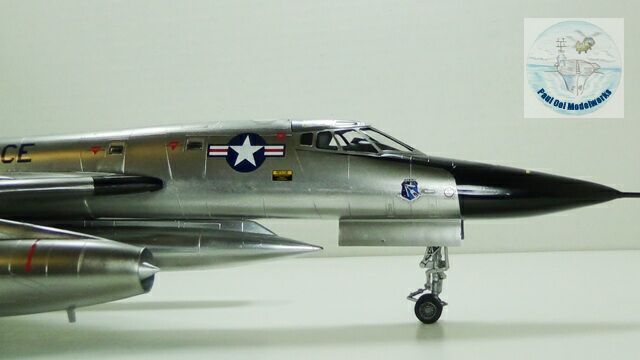
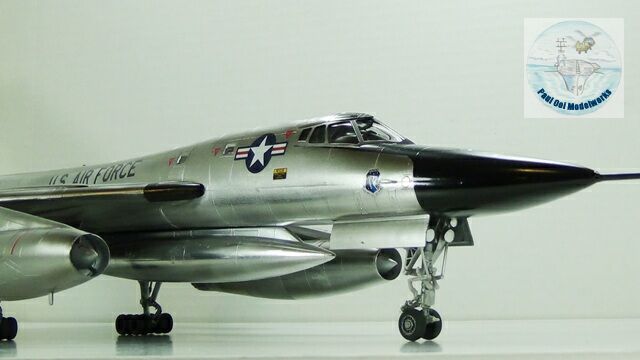
The B-58 Hustler, with it’s very streamlined supersonic design was the result of such thinking. Equipped with four J79 General Electric engines, the jet produced a loud sonic boom when it passed. It was had a distinctive delta wing, similar to fighters that were being introduced in the same era. The Hustler was a very attractive aircraft with sleek lines and represented the best of aerodynamic shapes produced in the 1950’s. The subject of this project, “Ginger” operating out of Edward AFB, was the first bomber to achieve sustained Mach 2 flight on 15th October 1959.
Gallery


Construction Notes
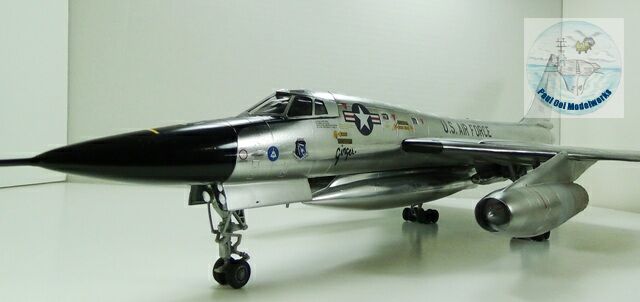
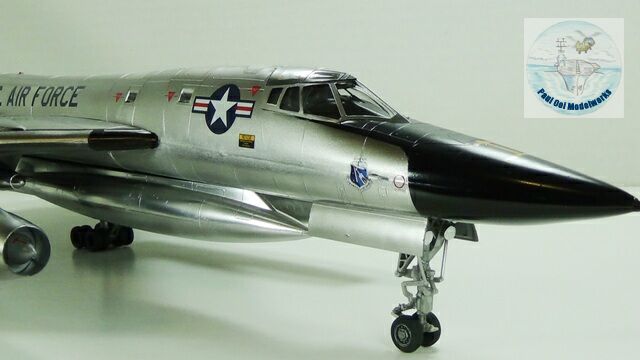
The Monogram 1/48th scale kit has been around more for almost 30 years and it is very typical of kits from that era, with raised panel lines and somewhat abbreviated details. However, the decals are recent and as proven later, attached very well to the kit surface. The finished model measures about 25 inches long. The seam lines were also a significant challenge, so much filling with putty and sanding was necessary. This was an out-of-box build, as desired by the customer.
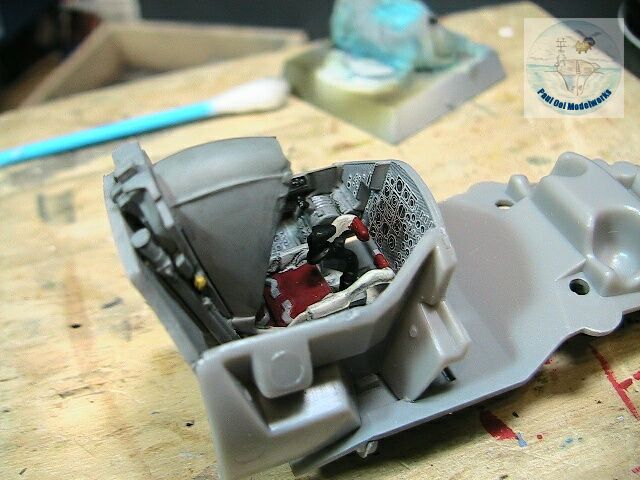
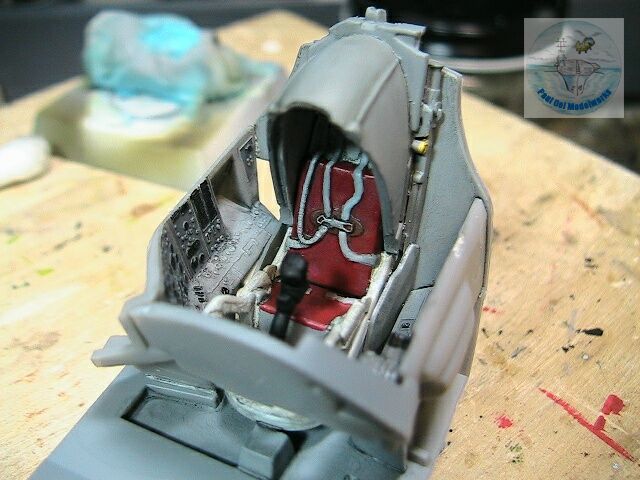
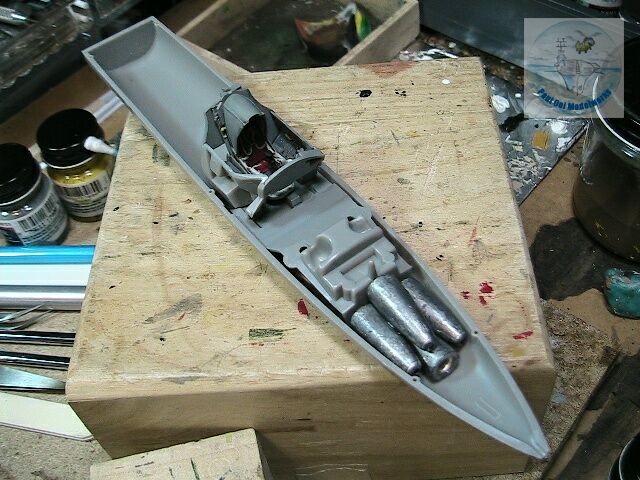
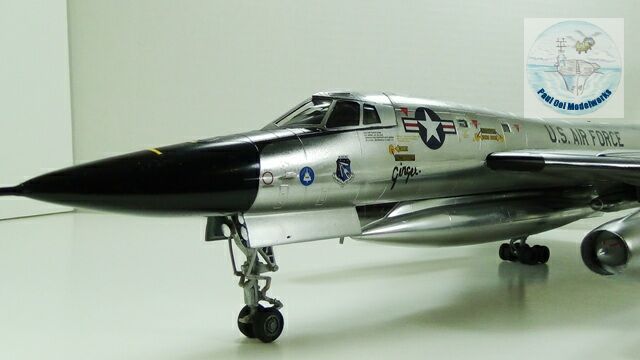
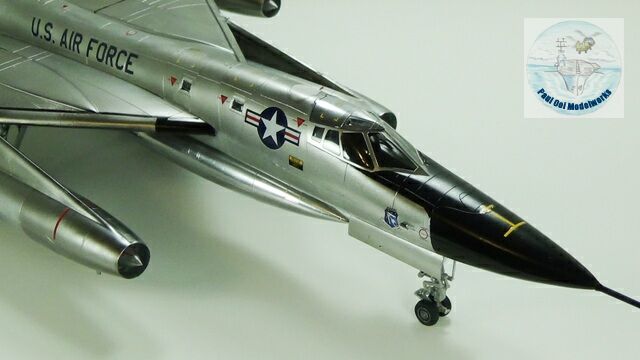
The cockpit detains were adequate, and since they will be hidden in the final assembly that was not a big detractor. The seat is painted a brilliant Insignia Red, just like the original and had a distinct 50’s Diner feel about it! The unique feature was the egg shell-like survival capsule, an early ejector seat design that was deemed necessary in the vent of ejection at extremely high altitudes in high speeds. After the cockpit assembly is completed, I made sure to attach about 60 grams of nose ballast or the aircraft will be a tail sitter.
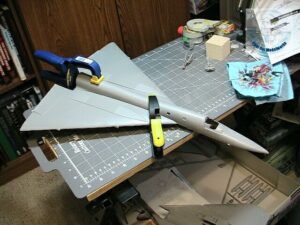
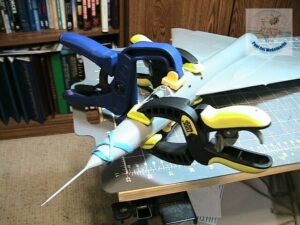
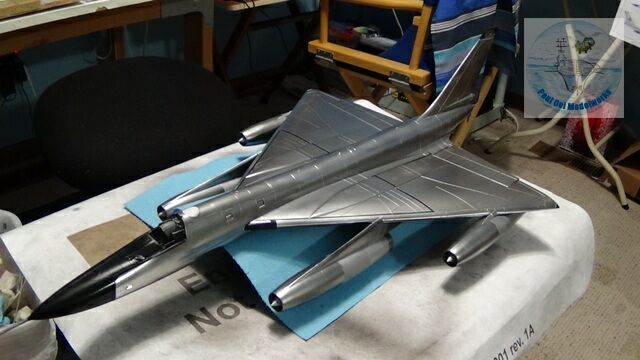
Putting the main halves together was a titanic struggle to overcome warped body sections and had to be progressively clamped and restrained. The cockpit section was formed from a top and bottom section, leaving a very conspicuous seam line running along the side. Much time and work went into first filling the space (see my Tutorial 3 on filling large seams) and then filing it as smoothly as possible since the metallic paint to come would accentuate the appearance of any roughness.
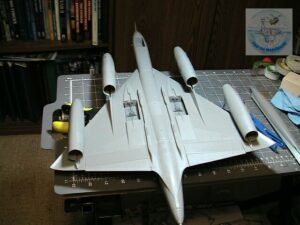
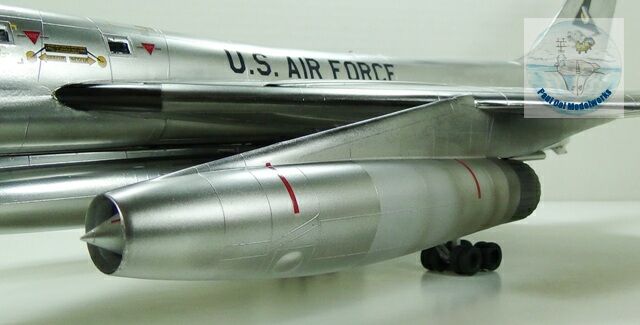
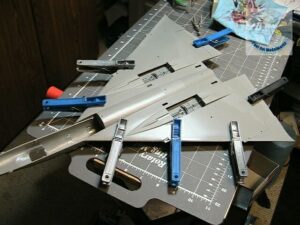
The next stage was to attach the engine nacelles. there are four of these, and although the instructions indicated that the two inboards engines are identical, upon careful observation, their fitting tabs are actually specific to either port or starboard sides. The same is true for the outboard engines, so care and caution are required in fitting these sections. The attachment tabs to the wing section are also poorly molded and had to be filled and filed down to shape.

Although the kit has few parts, because of the fit issues and simply the size of the aircraft, surface cleaning and seam removal took a considerable amount of item. At the end of it, the main surfaces are polished with Novus Grade 2 plastic polish to prepare the surface for airbrushing.
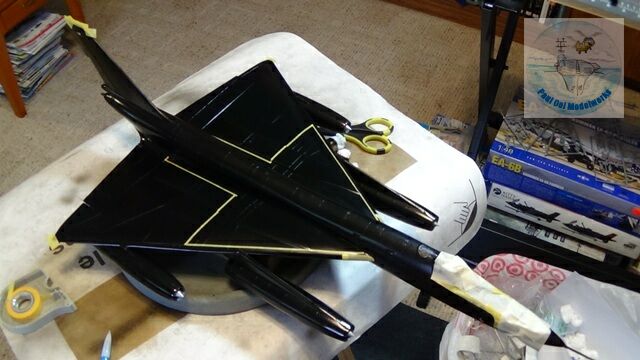
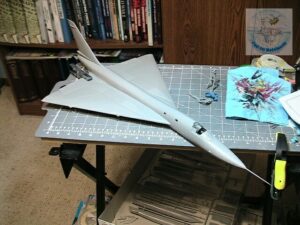
Since I was planning on using Alclad II metal paints, this has to start with the Alclad gloss black primer coating. I applied this in 3 separate coats over 3 days. At the end of this, i masked off sections that need to remain black, including the walkway marker strips on either side of delta wing section.
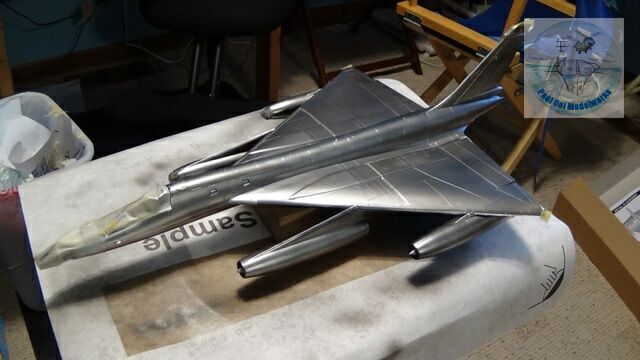
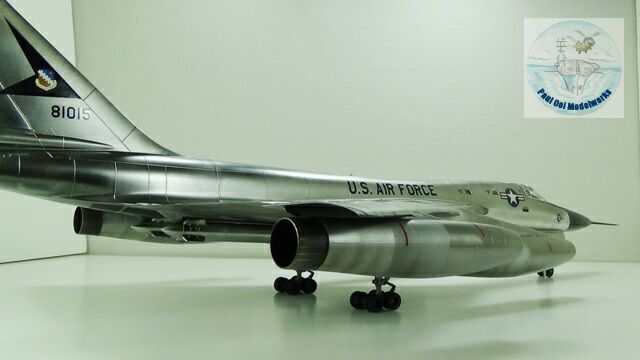
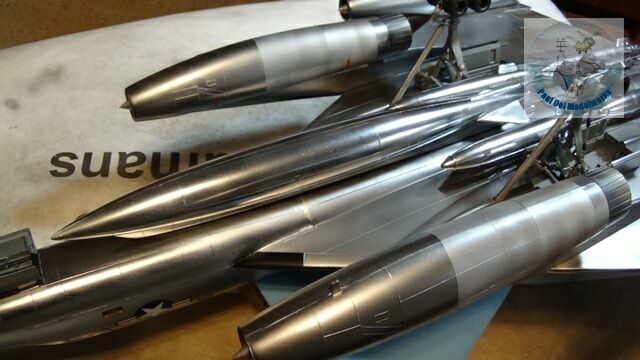
Next I sprayed Alclad Polished Aluminum on the entire top and bottom surfaces, working in stages to allow for handling (this aircraft is heavy!). The Polished Aluminum looks bright and slightly bluish when it is first applied, but once it dries overnight, takes upon a darker hue.
Over the next two days, I applied first Alclad Dull Aluminum along the engine panels, followed by Testor Metallizer Steel.
Once properly cured, the metal-painted surfaces can be handled, but even then I take the precaution of using a paper towel to prevent finger oils from attacking the paintwork.
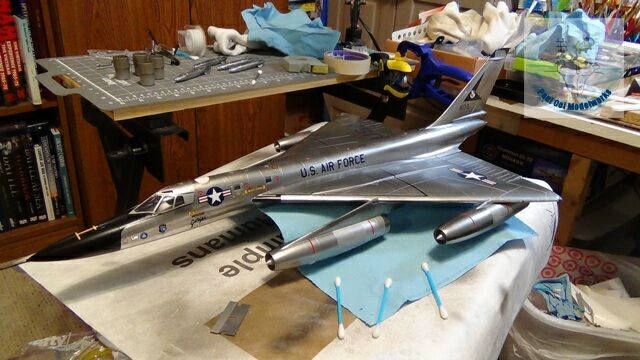
The decals finally come on directly over the metal paints. Given the extremely smooth mirror finish of the paintwork, the decals adhere very well and no setting solution was required.
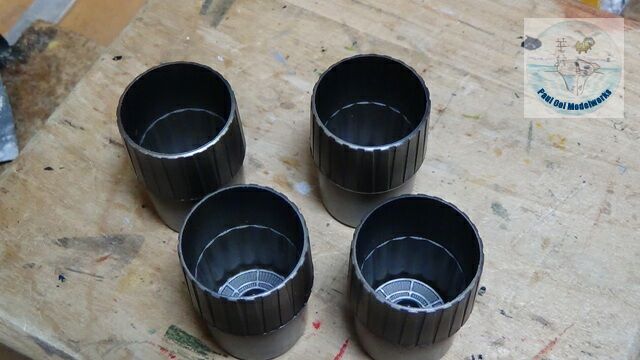
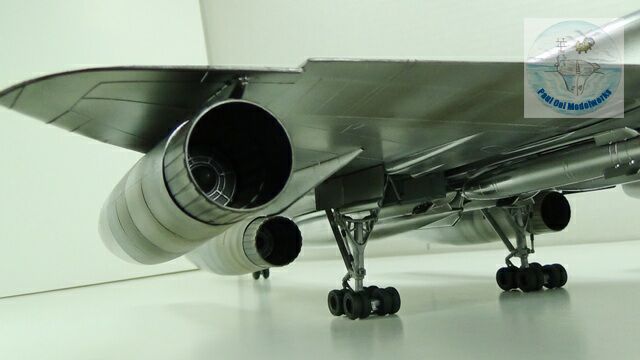
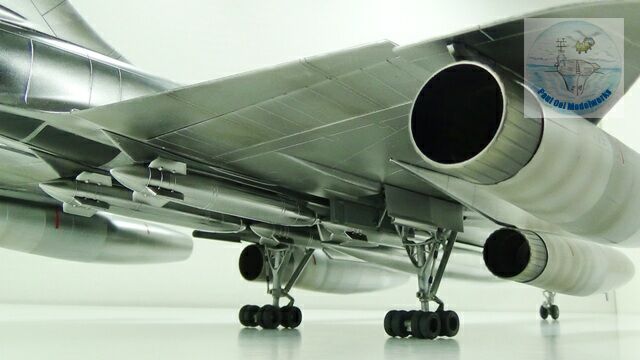
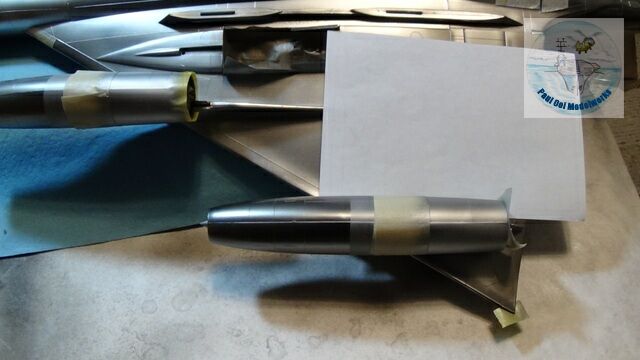
While the fuselage went through various stages of drying, I worked on the after-burner tubs and the landing gear wheels. In the former, I started painting the exhaust sections with Testors Jet Exhaust enamel, which come out slightly brownish grey. Then I proceeded to weather it with Testors Buffing Metallizer Exhaust. The jet engine visible in the rear tubes are painted gun metal.
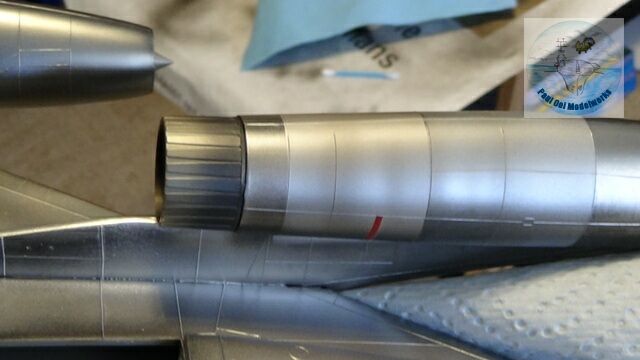
After I fit the afterburner sections into the engine housing, I weather the whole assembly (all four nacelles) with a fine low pressure spray (about 10 psi) of highly diluted mix of Tamiya NATO Black and Red Brown. When done properly, this should give you the ring-like effect of heat stressed engine housing.
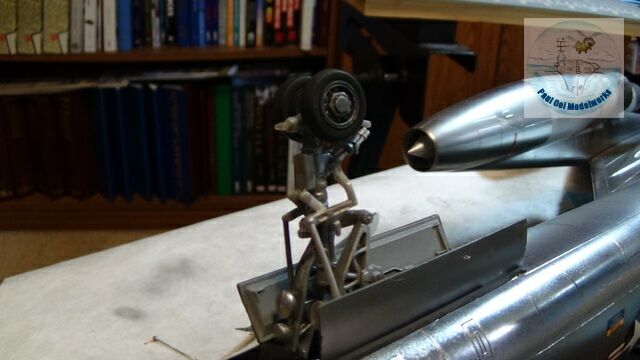
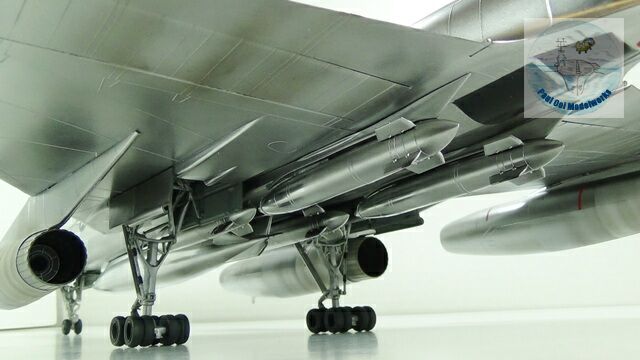
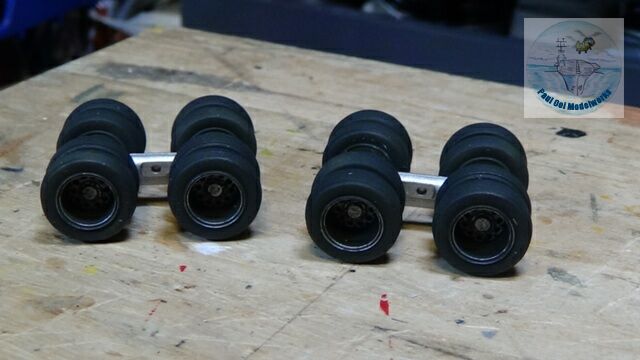
The next critical part is to work on the landing gear, starting with the front tricycle, then working my way back to the 2 main landing gears.
Finally, I attach the gear doors, the (ulp!) nuclear bombs and the central fuel tank. This is one aircraft where the final touches are all done on the underside instead of the top. It is such a busy place under the wing that looking at the aircraft from the top, one might be forgiven for mistaking this for a simple kit, but it is not.
Can you build this B 58 model for me ?? If so how much would you charge ?? I would like to have one this beautifully done in 1/48 scale thanks. Will
Hello Will,
I no longer build models on order, only for my own collection now. Sorry.
Paul