
When people mention about the famed “Flying Tigers” squadron(s) in China during WW2, the first and only aircraft to come to mind is the P-40 Warhawk with the iconic shark’s mouth. Fewer people know the history of the P-51D Mustangs that eventually replaced the Warhawks by mid-1944 in Kunming. I was honored to be asked to build a replica of Wayne Johnson’s P-51 as part of a museum project at Big Stone county to honor Minnesota veterans who flew during WW2. A larger wind vane replica of Wayne’s aircraft hovers over Wayne Johnson Municipal Airport at Silver Bay, MN.
This 1/48th scale Tamiya kit started life as the Korean War Mustang that Tamiya offers. What I liked about this kit was that it offered ALL the parts for late war Mustang variants as well as the correct basic decals to go with it. The Tamiya Mustang kit remains the standard by which all other 1/48th scale Mustang kits are measured by in terms of fit and accuracy. It helped that I managed to get 23rd Fighter Group, 14th AF “thunderbolt” decals from SuperScale Decals. By late ’44, most aircraft did not carry the Tigershark noseart but replaced them with the striking black-and-gold thunderbolt motif on the fuselage and wings. However, after consultation with Wayne, we decided that his version with a combination of the Tigershark motif was the best choice (and I am sure you will agree).
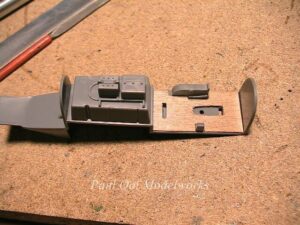
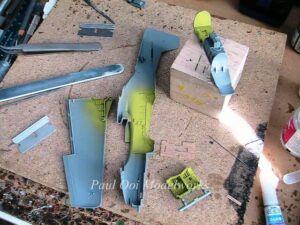
We start with the cockpit. The P51-D had a plywood floor and I wanted to simulate this best with….plywood! I use very thin laminate plywood (0.3mm thick) stock that is available in the remote control aircraft material section. Plywood isn’t as crazy as it seems. Given the harsh conditions of airfields in WW2, plywood does not corrode and it is very strong to withstand the strain exerted on the overall airframe. Then I over-sprayed all the inside surfaces with zinc chromate green, the standard anti-corrosion paint used in WW2.
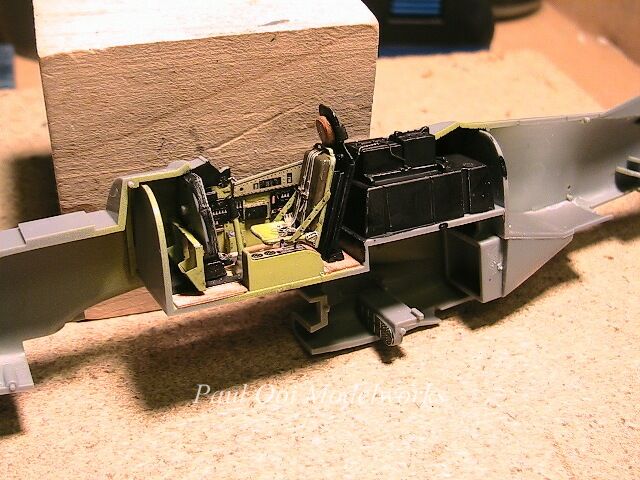
The photo-etched parts from Eduard worked beautifully and the cockpit comes to life with dials and levers. The seatbelts are added last and all that is really missing is the pilot! The large black thing at the back of the cockpit seat are the radio and batteries. The mass of batteries combine with the rear armor plating to keep the pilot alive even when the plane gets shot up! No wonder the pilots loved the plane.

With the interior settled, we seal the fuselage and start working on the engine cowling and wing sections. Of all the aircraft kits I have worked on, the wing sections come together perfectly without any seam work required. This really helps to preserve the molded features and no time lost on fillling, filing or fussing!
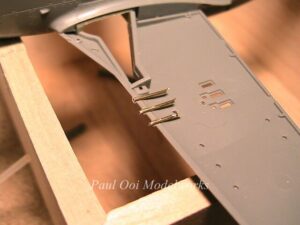
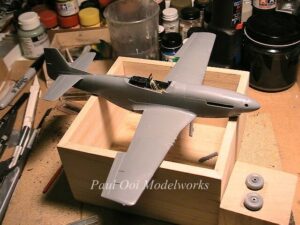
Now for a complaint. One missing feature in the wing detail is the form of the gun barrels sticking out of the gun ports. The kit had solid little cylinders instead of proper hollow tube gun barrels and given the prominence of these on the Mustang’s forward wing line, something had to be done about it. I drilled out the solid plastic “gun barrels” and hollowed out the section carefully to make the gun ports. Then I inserted brass tubes of the correct size and appearance to make the 50 caliber Brownings.
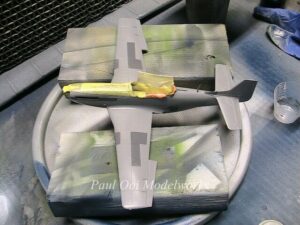
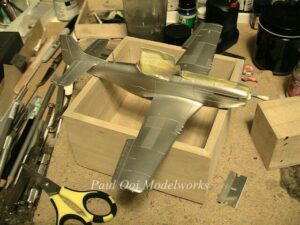
This aircraft has a bare aluminum plate finish, which is always lovely to behold but can be a spray booth nightmare for modelers. Many articles can be found elsewhere in the web that go into great detail about finishing this finicky paint scheme. I used Testor’s aluminum plate buffing metalizer, being careful to paint all other colors and masking them off BEFORE applying the metalizer coat. Also, any imperfection on the plastic surface and seams do get magnified with a metal finish, so I had to inspect the bare plastic for imperfections and file them down, smoothen them with polishing compound before airbrushing.

After sealing the aircraft with varnish, the decals go onto the surface easily and I must say that I enjoyed this one. Even the long fuselage thunderbolt motif did not give me problems but I did cut them into sections instead of applying the entire sheet at once. The colors are so vibrant and they combine well with the metal finish.

The last sections to go onto the aircraft were the landing gear assembly and doors. Again, the assembly was made easier with the deep sockets and square pin alignment that takes the guess work out of the task. Finally the bird could land on her own two feet (and tail wheel)! A little bit of fiddly work at the end to drill through the plexiglass canopy (gasp!) for the antenna line. Finally I mount the model onto a display with a field of crushed rock reminiscent of the airfields in Kunming.
This has been one of my favorite builds as far as WW2 planes go and the results are marvelous. It is a fitting post for the Fourth of July, showcasing one of the best legacies of American engineering and the cooperation that was once displayed between two giants across the Pacific.
(Note: I am in the midst of building a Soviet era-themed model, and it is something huge……)


Nice Mustang ! Too bad these markings were never applied … :o(
That’s why building models can be fun. You can always make the “what-ifs” happen! 😉
Paul
Now I did not know that the P51’s were used by the Flying Tigers. My dad flew with the Flying Tigers during the war, and I only know of the P40’s. Thanks for your sharing, Paul.
As trainee pilots, they used the Nieuport 17’s. I remember my dad and his mates discussing that during one of the class reunions in Taiwan back in the 70’s. Here’s my small contribution. 🙂
Hi Carl,
The P40’s represented a time before the US joined the war, and the Flying Tigers were outside of the US legal framework of involvement in WW2. There is a lot of mystique surrounding those aircraft. The later Mustangs were less glamorous (but I’m sure the pilots much prefer the P51’s).
Paul