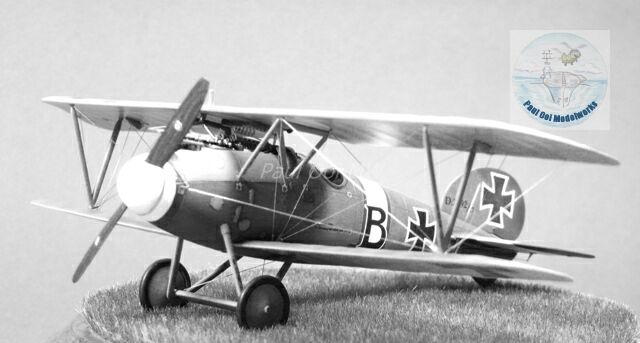
The Albatros was probably the most ubiquitous German fighter of World War 1. Actually the characteristic bullet-shaped fuselage was introduced with the D.III version in 1916 and developed until the late war version of D.Va. I felt that the Albatros and the French Spad were the most streamlined of the Great War fighters. Many of the German aces used Albatros fighters at one point or another, including the Red Baron, Boelke, Udet and Hermann Goering.

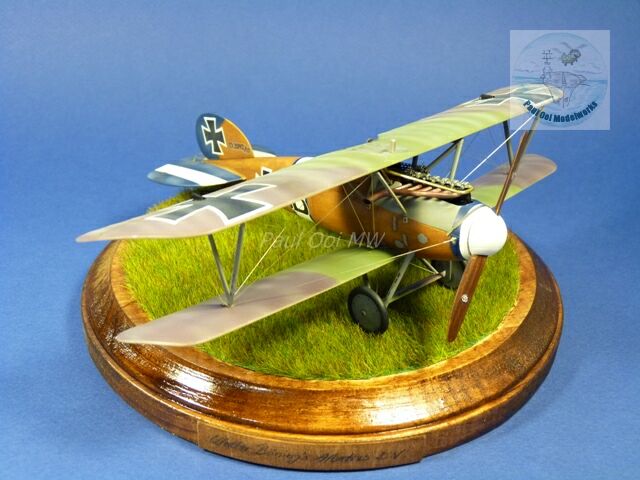
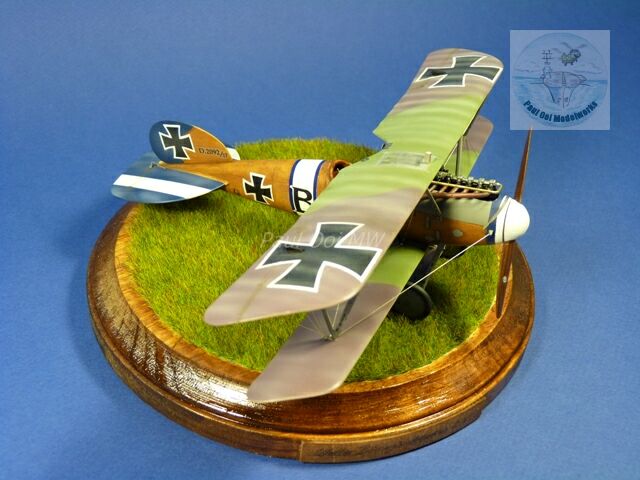
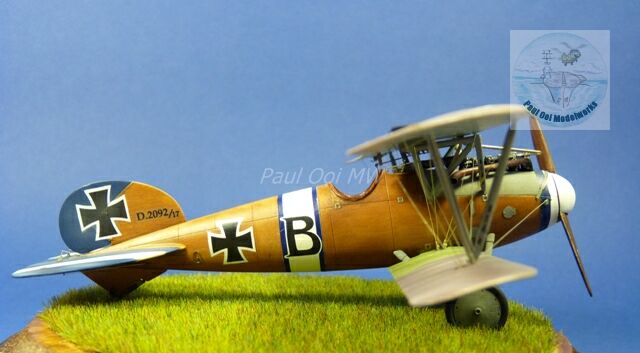
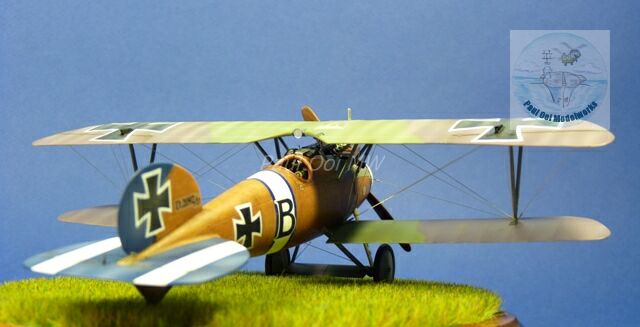
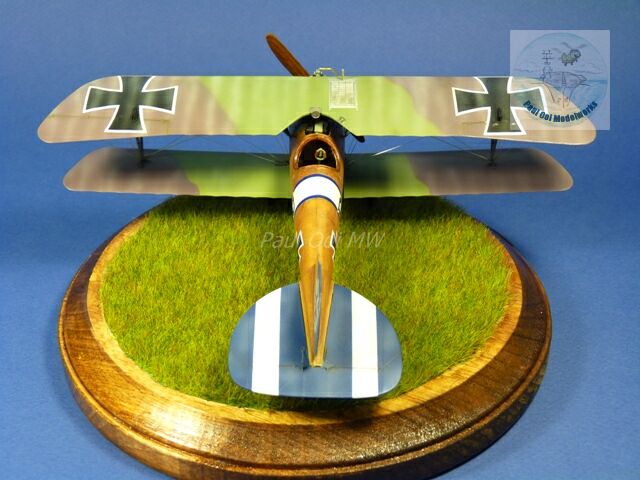
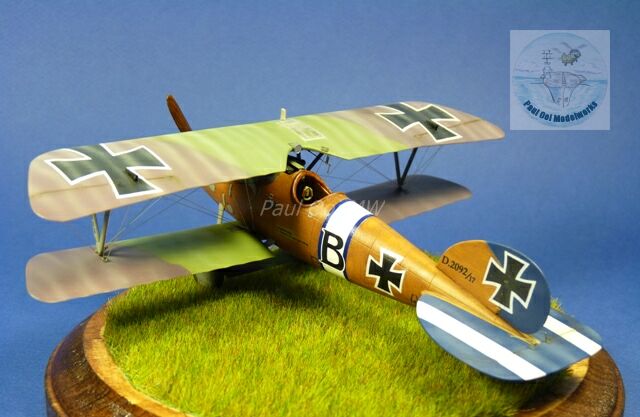
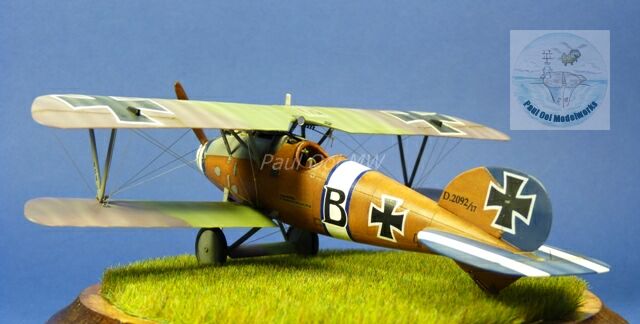
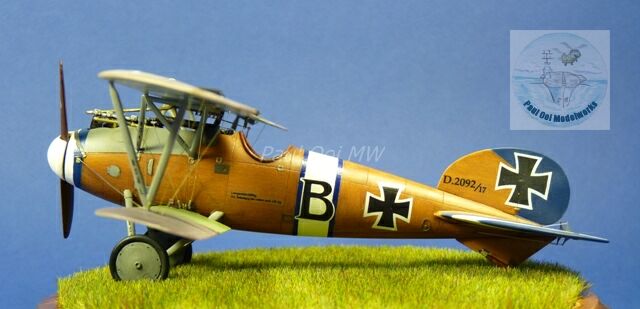
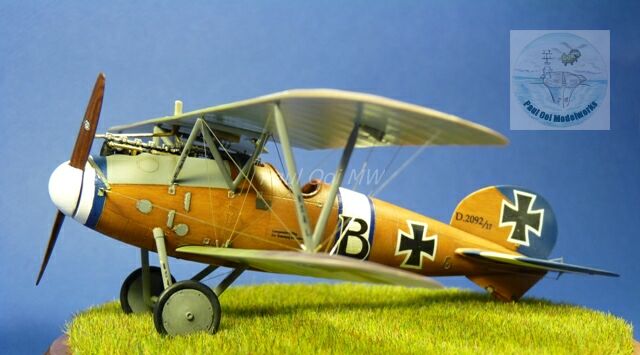
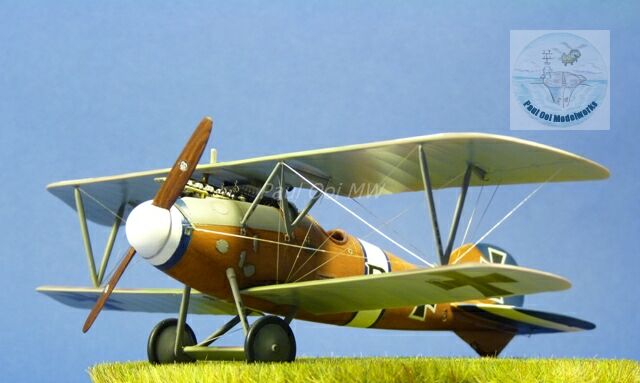
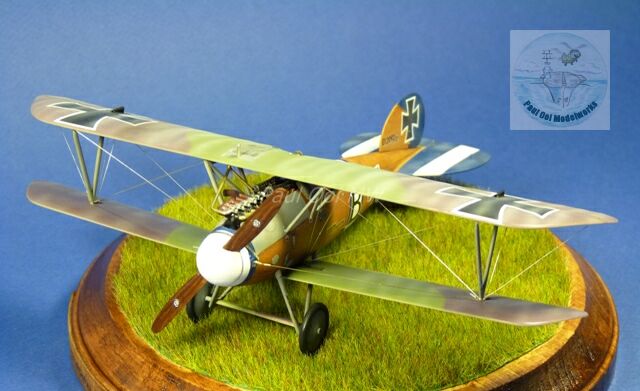
Eduard makes some very nice 1/48th scale WW1 fighters and this one is no exception. The kit comes with 2 photoetch frets, a masking sheet and enough parts to make alternative versions of the D.V. I chose the color scheme for Leutnant Walter Boening’s mount from early to mid-1918. Boening survived the war with 17 kills. I also obtained a beautiful exhaust manifold made by Rexx of Ukraine.

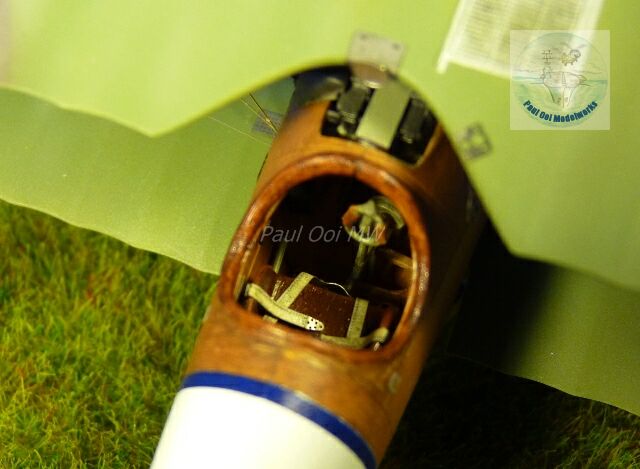
The interior is painted in wood finish using burnt umber-ochre oil paint mix overlaid on an under coat of acrylic tan. I set these panels aside to be dried thoroughly for at least 3 days.

While waiting for the wooden interior to dry, I work on other details like the Parabellum LMG8/15 machine guns. The kit photoetch parts require some surgery of the plastic parts as one can compare between the two and the difference in appearance. It is certainly well worth the efort.


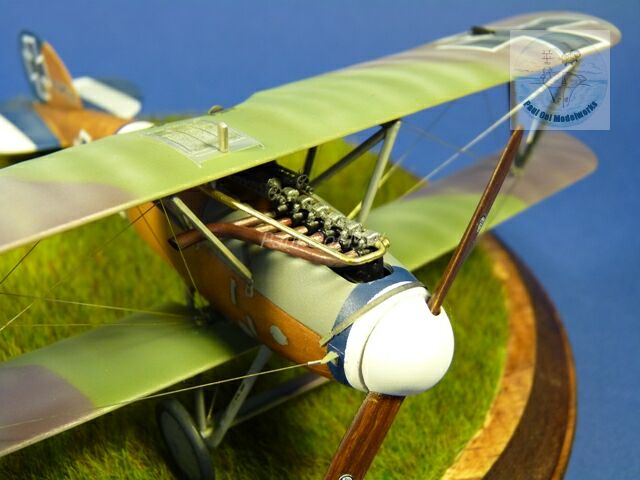
The cockpit involved some very fiddly bits that need to come together just right. The forward compartment is dominated by the Mercedes D.IIIau engine (a whopping 185 hp!).
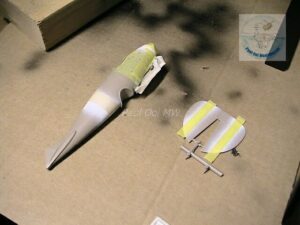
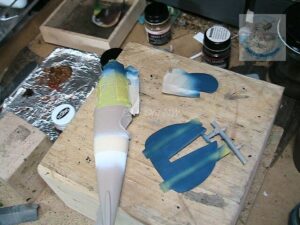
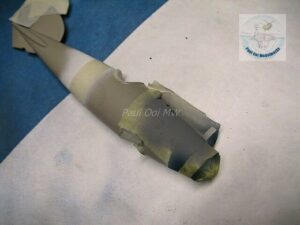
Once the fuselage has been put together, the colors of white, blue and neutral grey are applied in quick succession with the necessary masks. Every painted portion had be to be masked in preparation for the wooden panels painting that came next.

The wooden fuselage was undercoated with acrylic tan followed by coats of oil mix and textured with a brush. For wood panel techniques, please refer to Wingnut’s hints and tips in their model website.

Once the wooden sections are completely dry, I coat the fuselage with Future polish. Once properly dried (2 days), I applied the fuselage decals.

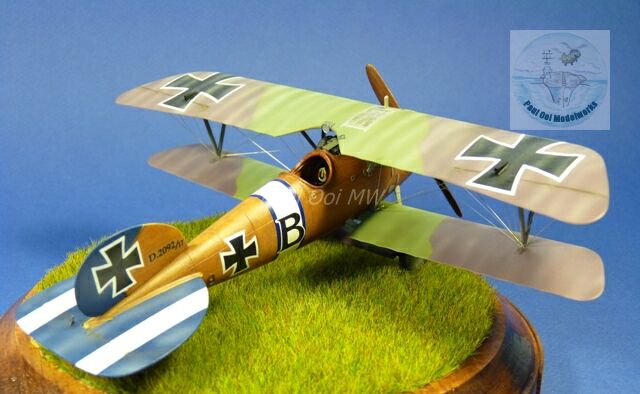
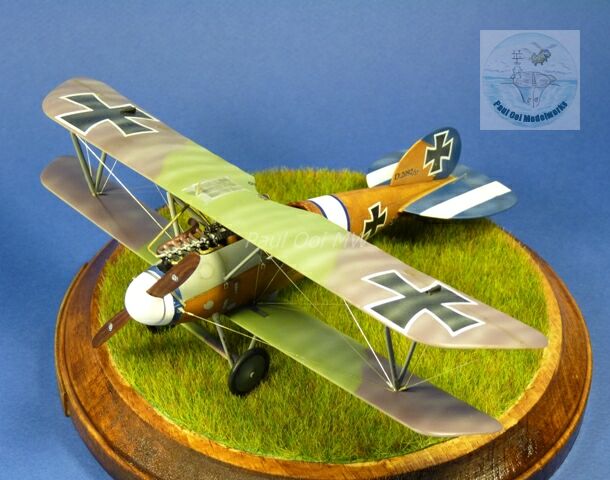
The two-tone German wing camouflage has been the source of some debate. The purple ranged from brown to light violet, while the green ranged from light green to German schwarzgrun (almost black). I referred to Wingnut’s color scheme using Mauve (1 part Tamiya purple + 1 part Buff) and Tamiya Cockpit Green XF71. The underside of the wings were painted Hellblau RLM78. Putting the upper and lower wings together is always stressful but with some proper planning, and keeping at least 2 grades of cynoacrylate glue handy, the task was completed.

Once the wing assembly dried properly, I flipped the aircraft onto its back and applied the undercarriage and under-side details.
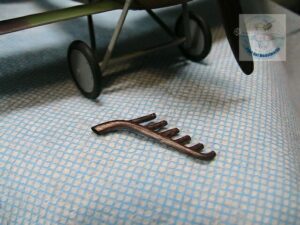
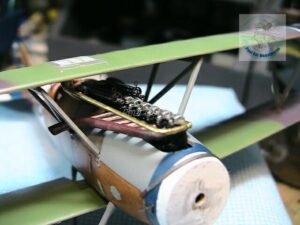
The metal manifold from Rexx was really beautiful with the actual appearance of thin tubing. It matched the Eduard engine manifold perfectly.

The final detailing took two more days with the final rigging being the last. The Knight of the Air is ready to battle over the Western Front.


Leave a Reply