
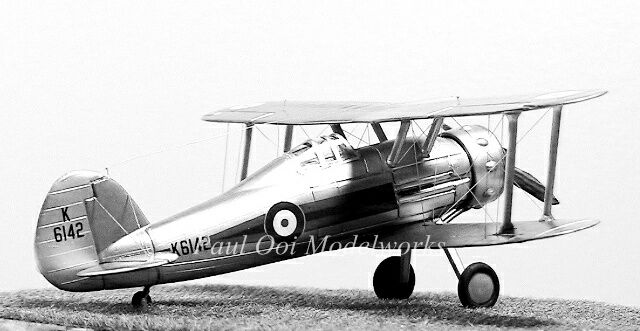
The last biplane fighter to enter RAF service, the Gloster Gladiator is best remembered for the heroic defense of Malta against the Italian Air Force. An earlier episode was the disastrous Norwegian campaign where the Gladiator was outclassed by the Bf 109 E and served as a wake-up call for the RAF to withdraw the biplane from front-line service.
The Gladiator was introduced in the RAF in 1937 and it was already obsolete that very year as the Messerschmidt Bf 109 was also entering service at that same time. The latter could out-climb and out-run the little biplane. The Gladiator survived only by pure skill and tenacity of the pilots as were demonstrated by the Fleet Air Arm in Malta and the Finns during the Winter War with the Soviets.
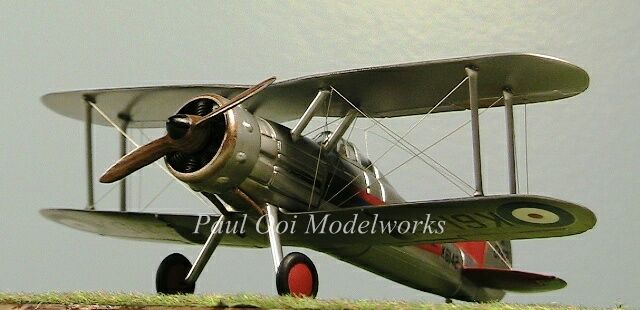
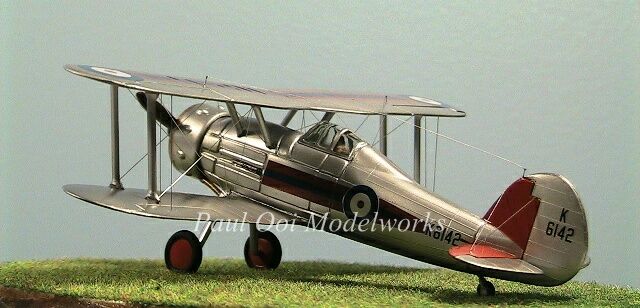
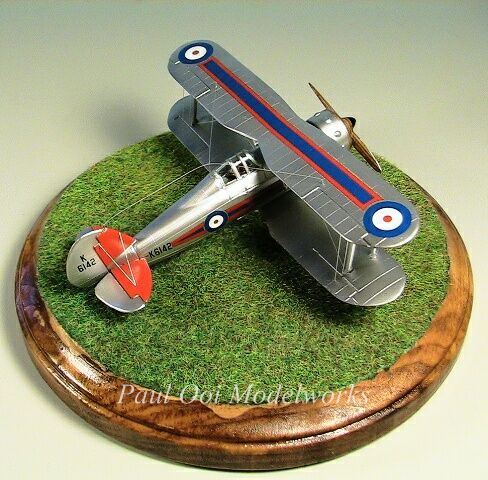
I decided to build the aircraft in the pre-War silver aluminum finish with some very colorful squadron bands in that period of the RAF. This particular one was K6142 of 72 Sqn, RAF Church Fenton in 1937 when the aircraft was fresh out of the factory.


This 1/72nd scale kit from Airfix is also a throwback to a previous era of plastic-modelling with simple details and no cockpit detail. The kit was originally released in 1956! The plastic parts are arranged in a “tree” sprue structure typical of those old kits. So with modern super-detailed kits to choose from, why did I choose this one?
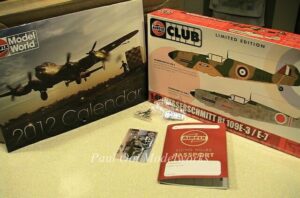

Firstly, this marks my entry in The Airfix Club after 40 years of waiting! Back in 1972, I had seen the “Airfix Club” application form in my first plastic model kit but I did not have enough pocket money to pay for the annual fee and postage. Over the years, the club went away when Airfix was absorbed into Humbrol. The club came back about 2 years ago and I decided to join this year. The membership came with a limited edition 1/48 scale Bf 109 E (British and Japanese markings).
Secondly, I wanted to build an old kit from the 60’s and still show how attractive the results can be when treated with some care and respect. So I put Cliff Richard’s “Travelling Light” CD on my player and I was instantly transported back in time…..
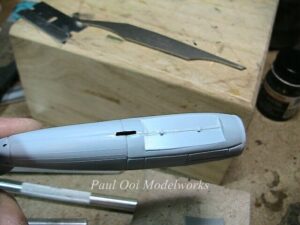
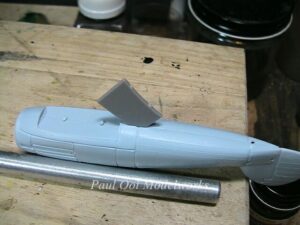
Typical of old kits, there is a slot at the bottom of the fuselage for inserting the display stand tab (no longer provided with the new re-packaged kits). I fill this slot in with spare plastic stock of the appropriate thickness and cut off the excess, later filing and smoothing it down.
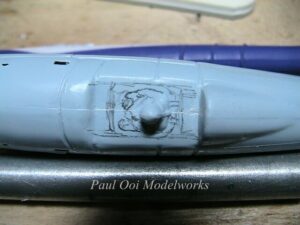

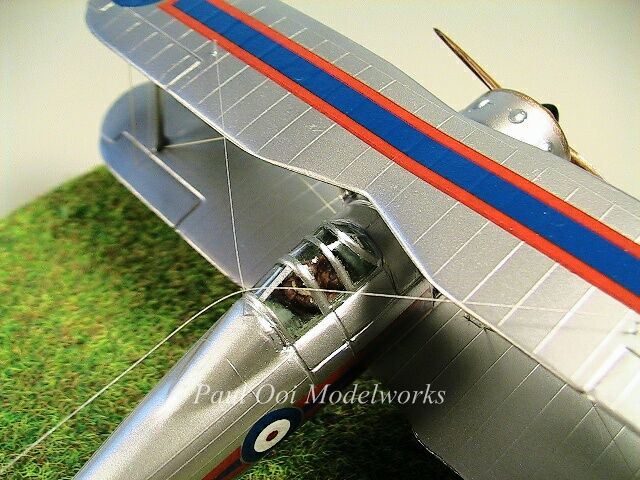
As I mentioned earlier, there were no cockpit interior details. This was still the “toy” approach to the kit with the pilot’s head and shoulders molded into the cockpit space. Most modern builders cut out this section and re-build the cockpit with a new interior. In keeping with my “time-travel” mode, I decide to do something different: paint the area in 2D to simulate the “interior”, complete with the pilot’s body like one was looking down directly into the cockpit.
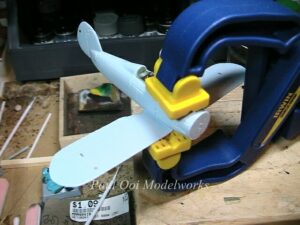
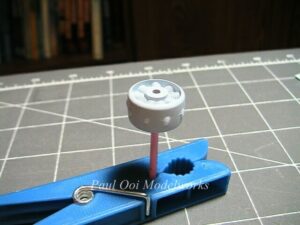
The lower wing needed some gentle persuasion to fit flush against the fuselage, so clamps were needed for the task. The other glaring issue was the engine cowling as molded did not have good “bump” details that are characteristic to the Gladiator. I filed off the mold line around the cowling and added new bumps using a needle to add globs of slow-drying super glue and letting them dry over-night.

I painted the aircraft fuselage and upper wing using Alclad “white aluminum”. By checking with online references, I was delighted that the tail section and stabilizers, and the wheel hubs were actually painted “Post Office Red”. Together with the decals, this made a really attractive color scheme, underscoring the “make Peace, avoid War” mode of the RAF in the 1930’s.
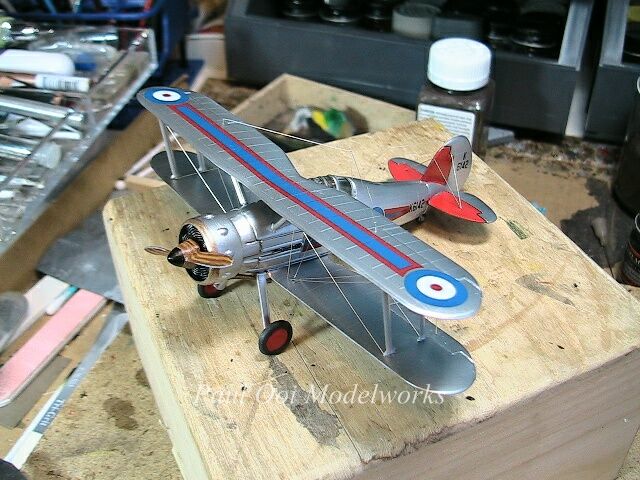
The wooden propeller was painted using the same technique demonstrated in the Oeffag D.253 post. After rigging with brass wires, the aircraft is ready to join the base with simulated grass field, all ready to take off for a wonderful summer’s day flight over Yorkshire with only the clouds above and sheep below to worry about.





I really admire what you’ve done here, especially the rather ingenious work on the cockpit – I wish I’d thought to do the same when I was making mine up!
This felt like something I was willing to do at that time. Of course the other option was to surgically cut out that space and scratch-build the interior of the actual cockpit. Maybe next time. At any rate, it’s all about having fun.
Brilliant piece of work! Who really needs the new kit(only joking cos it’s a quantum leap forward….but is it as much fun I wonder?)
This kit, in a plastic bag from Durham Woolworths, was my intro to modelling in 1956…I was 7, and my Dad and I put the light blue parts together back home in Guisborough.
I’m now doing a set of Gladiators in multi-national markings from new Airfix, Revell/Matchbox and HobbyBoss kits. But my remaining old Airfix mould….?
I remember those early Airfix kits in those plastic bags with the “box art” on the card that also acted as the instruction sheet. Unlike today’s kits, one could examine all the (loose) parts through the plastic bag. Great box art but somehow as a child I could never finish the model to look like that! Good luck with your Gladiator project. I have an un-built Roden 1/48 scale Sea Gladiator waiting to come to life. Paul