
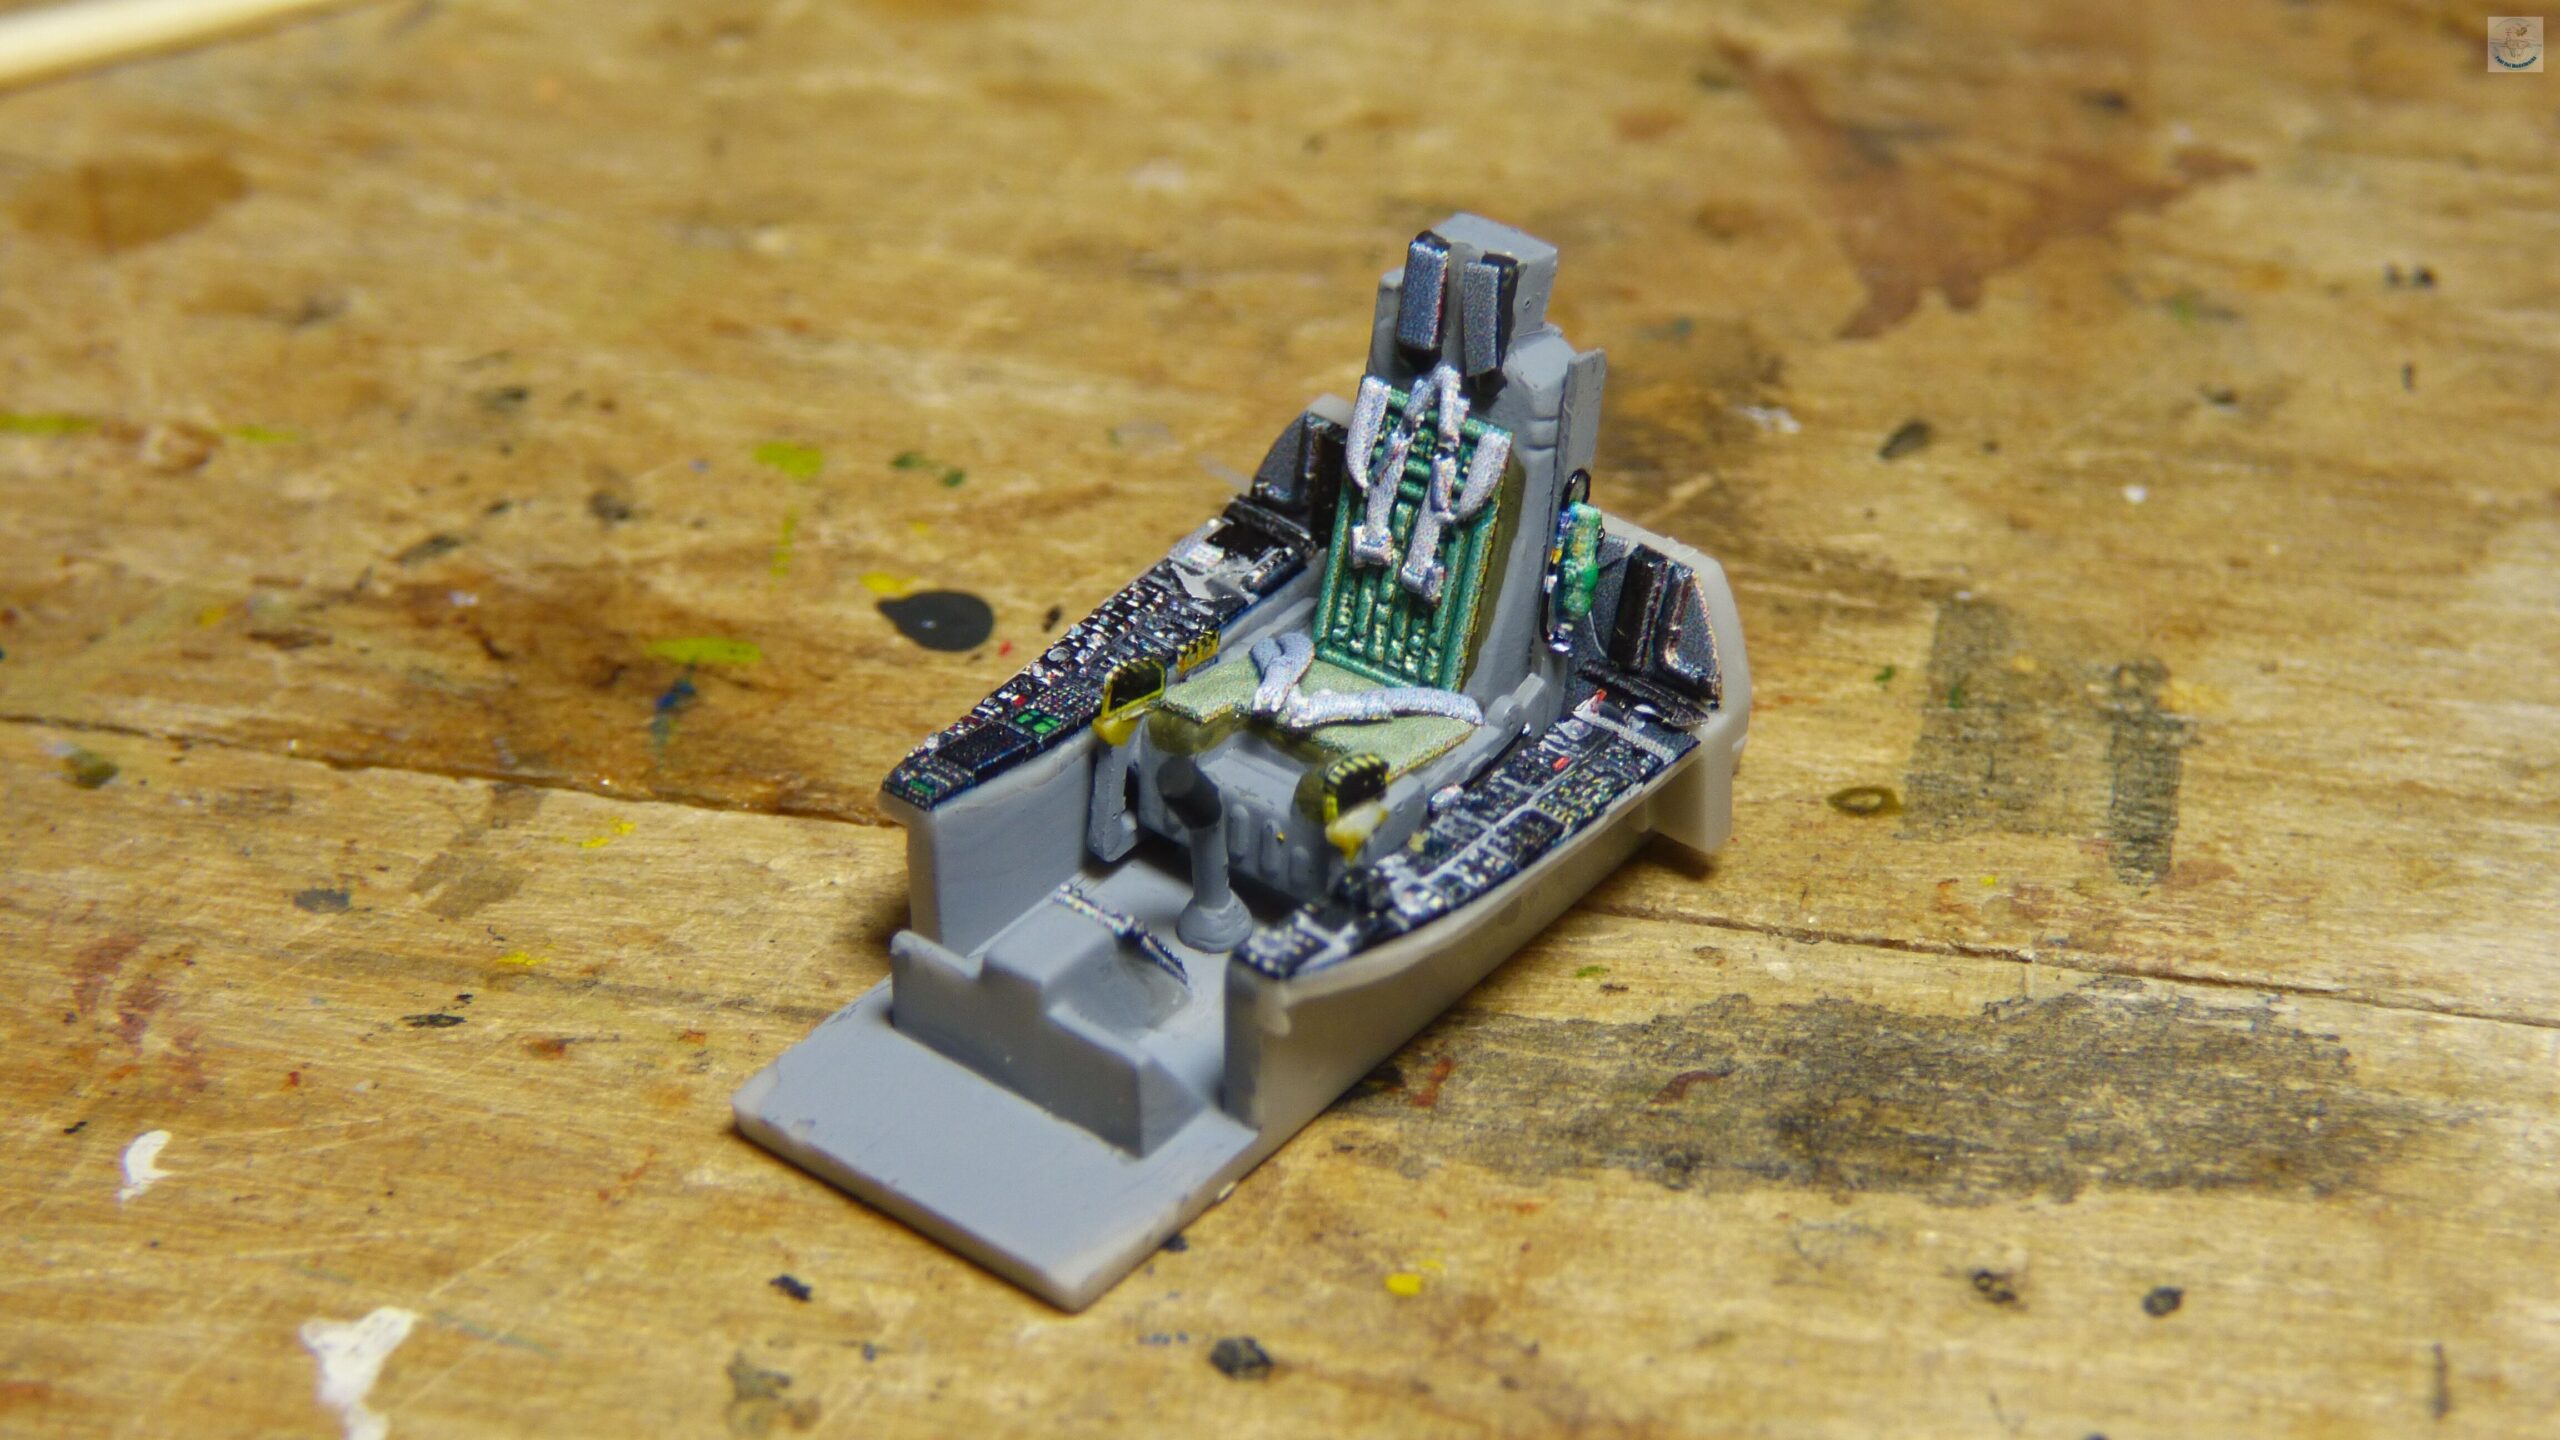
3D vinyl decals is one of the more recent innovations to provide fabulous detail for the cockpit and other aircraft interior. In the past, we had relied on photoetched parts, or to meticulously paint resin parts. Vinyl decals offer the 3D texture coupled together with colored prints that gets to as close to instant gratification (albeit with a small bit of work).
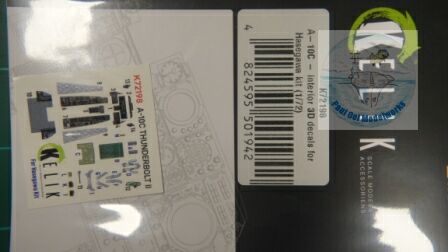
3D decals arrive in little packets of decal sheets with the 3D printed vinyl bits attached to a decal transfer sheet. Please note that these packets are kit-specific, so for the best results, you need to get the exact one for the kit you have.
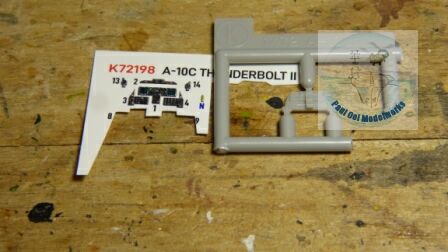
Here we can contrast the instrument panel from the kit with its molded dials and the corresponding panel pieces on the 3D vinyl sheet.
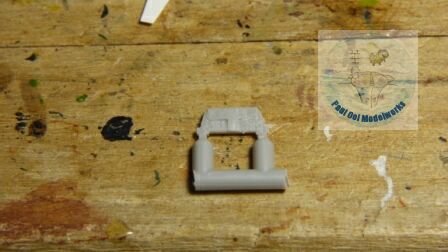
The target surface needs to be sanded down to prepare the surface for the vinyl decals. Some raised features may have to be preserved for the different vinyl panels, so sanding has to be done carefully.
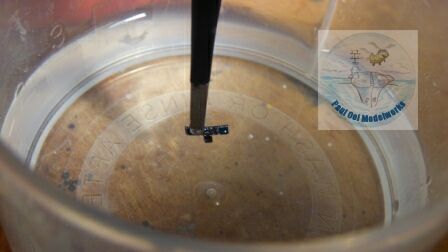
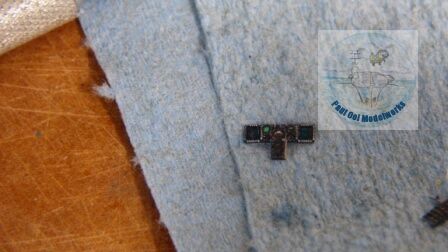
To release each vinyl panel from the decal release sheet, do as one would for wet transfer decal; first you cut off a bit of the sheet with the part attached to it. Immerse it in room-temperature water (not hot water, or the vinyl will shrivel and curl). After about 30 secs to 1 minute, the vinyl piece will detach from the sheet. Retrieve the vinyl part and set it on tissue or absorbent cloth to dry. There is no adhesive layer on the vinyl part.
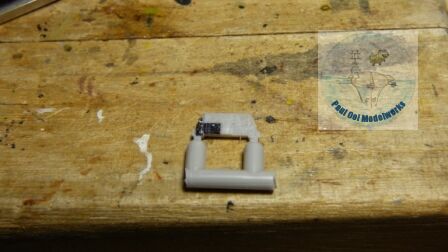
Attach the vinyl decal piece onto its target location on the kit part using superglue.
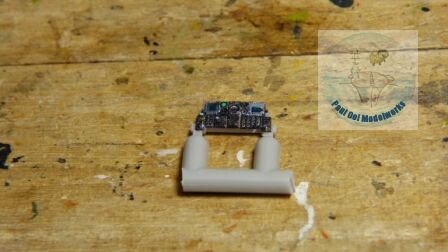
Repeat the same steps to release each piece until the entire instrument panel is complete.